Crochet fox hat pattern
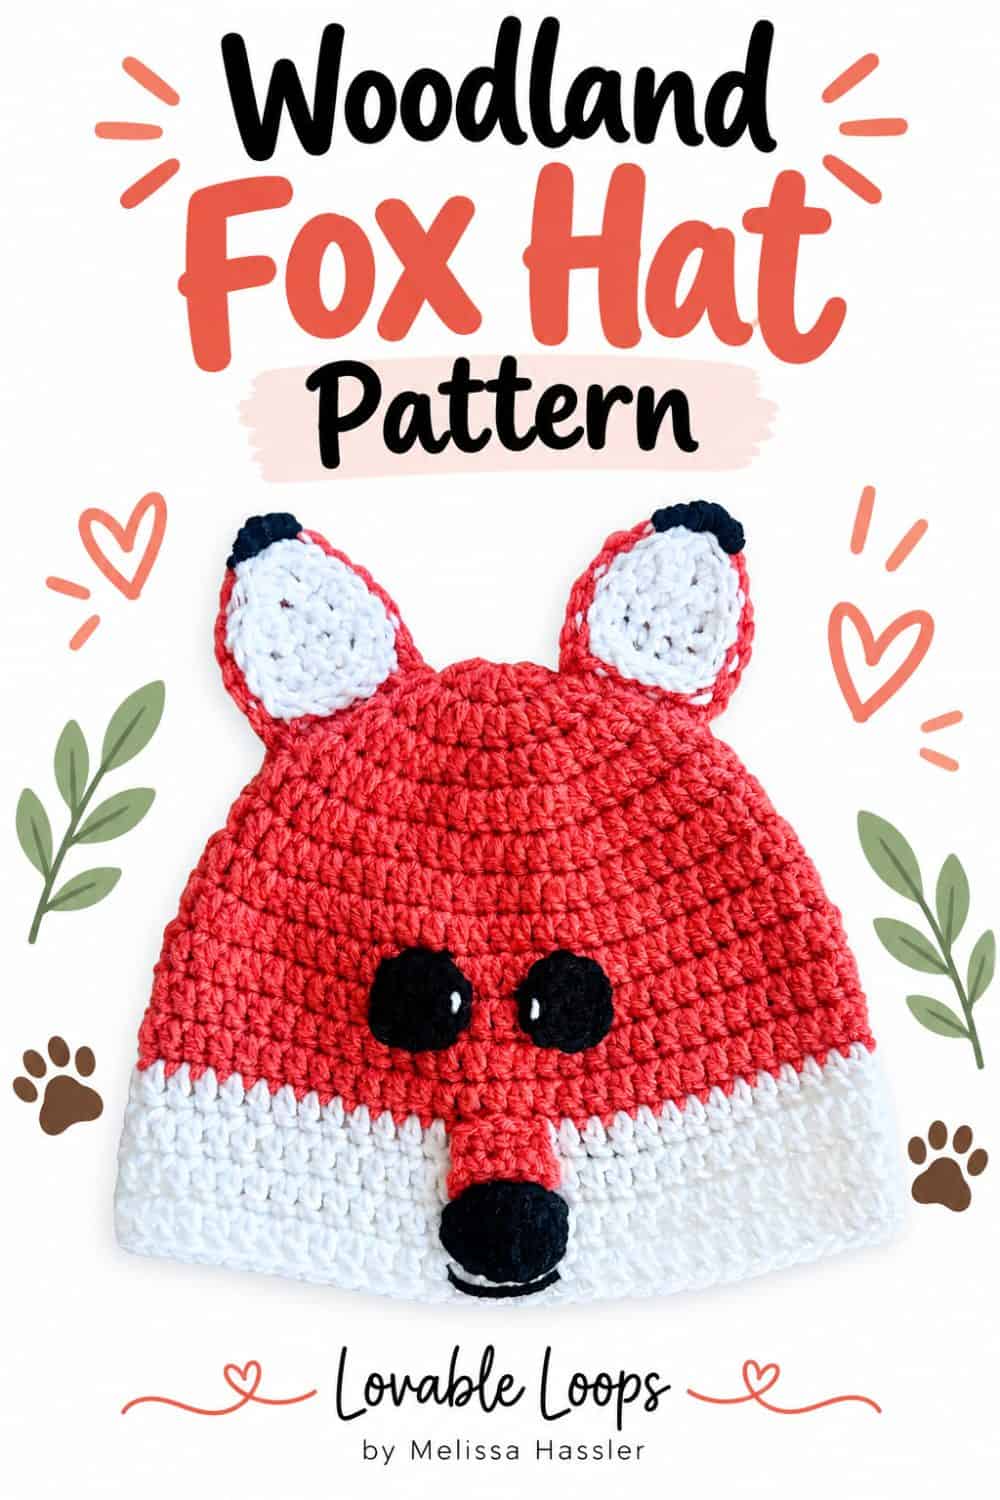
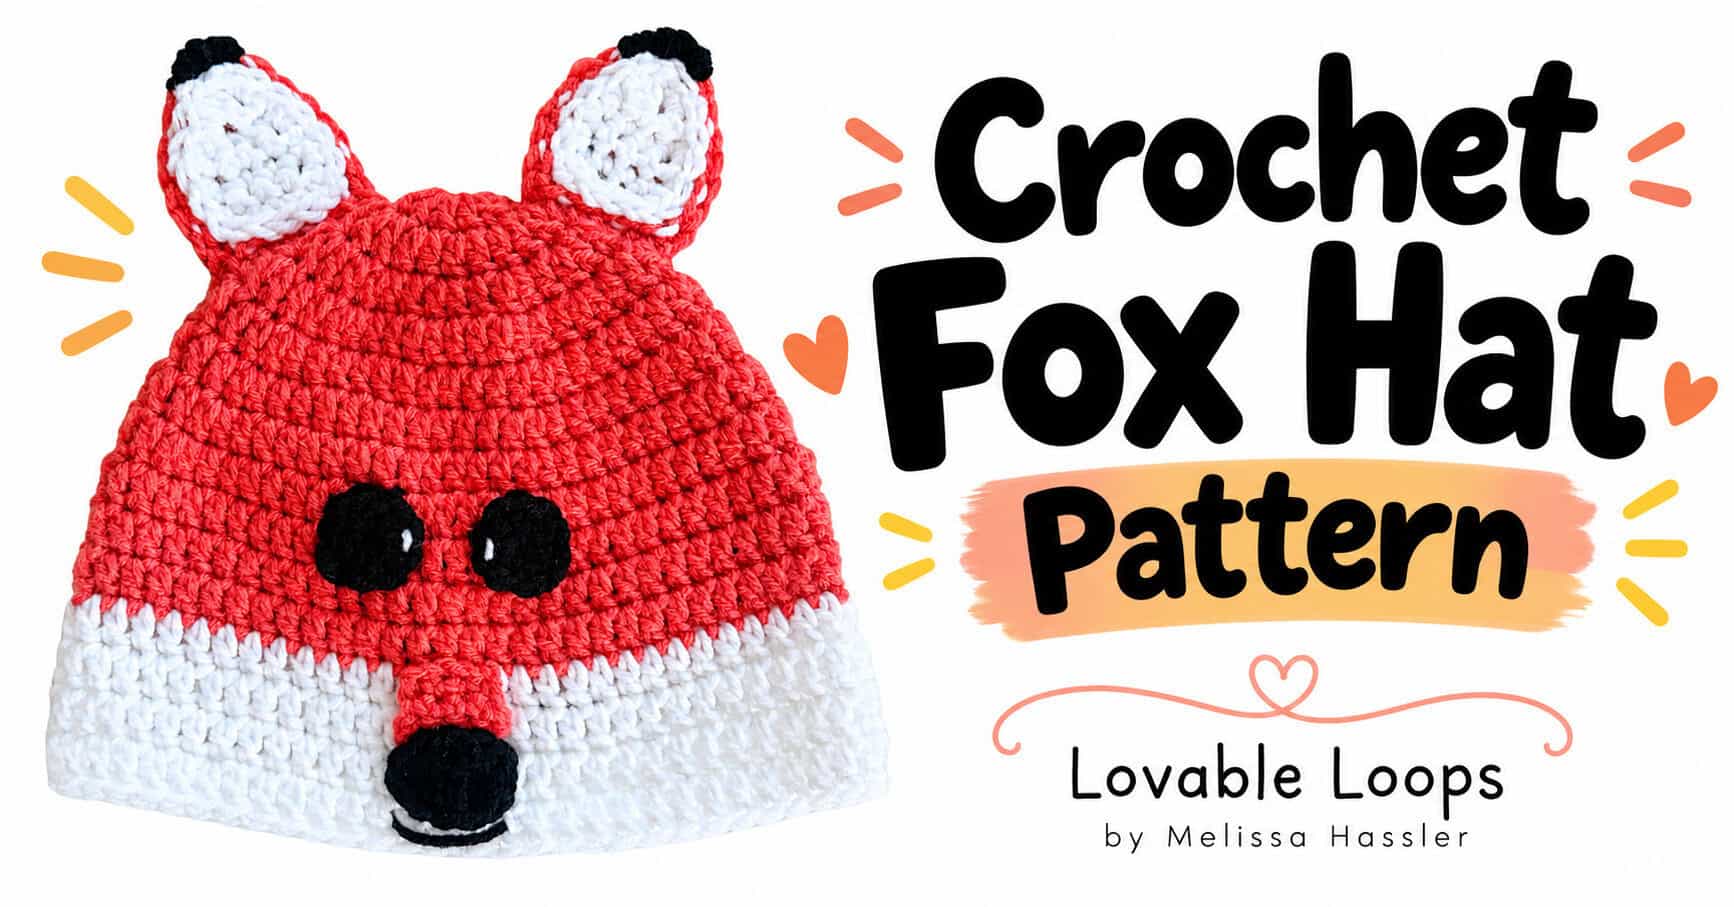
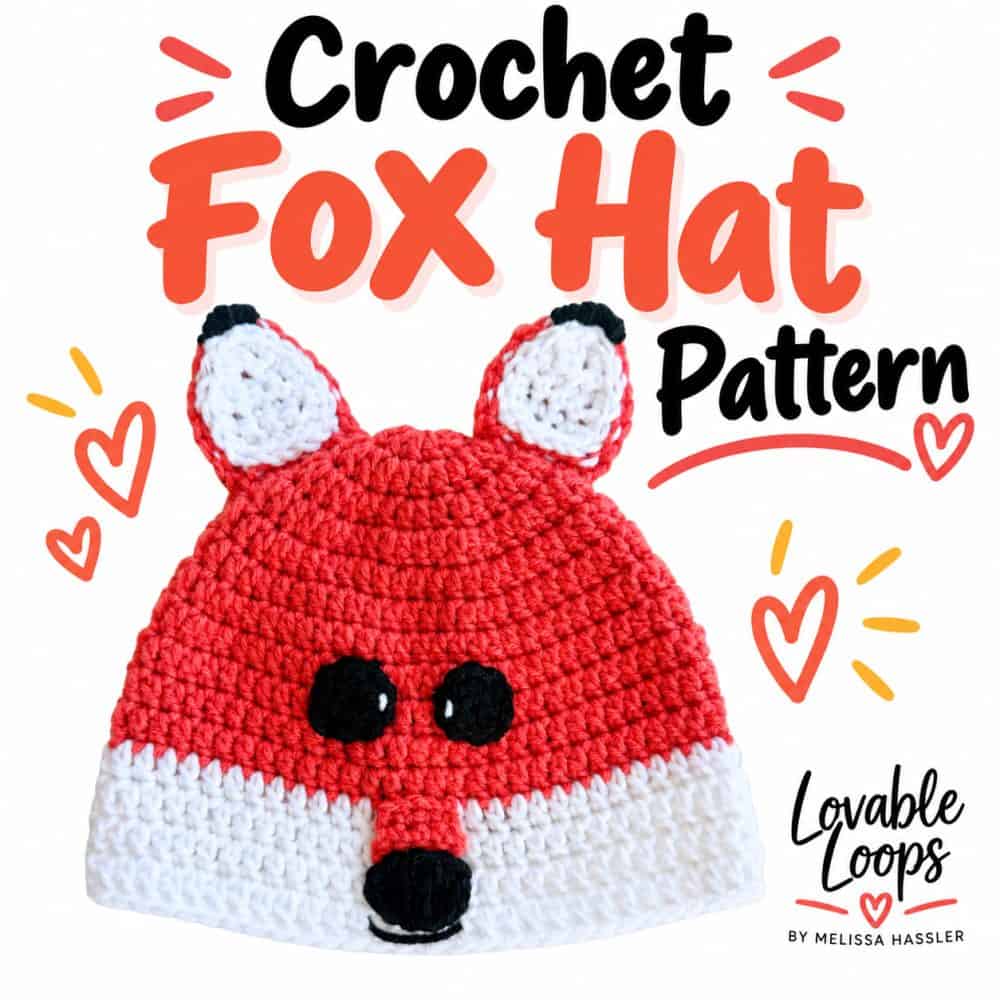
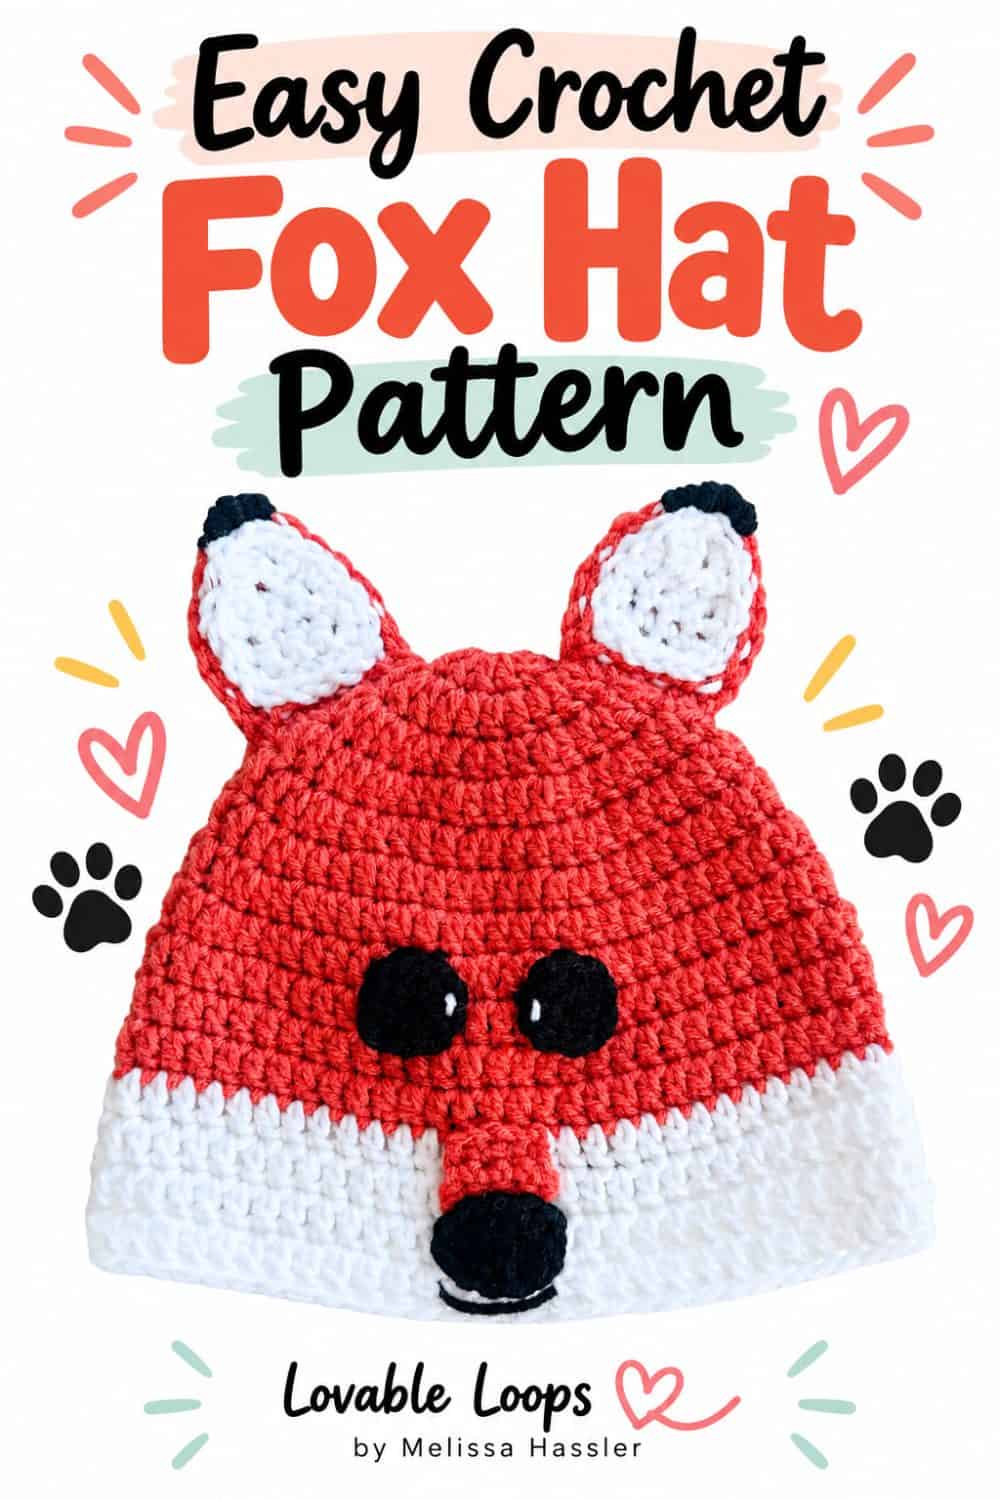
This crochet fox hat pattern turns a simple beanie into an adorable woodland fox with pointed ears and a sweet little face. It’s a playful choice for animal lovers, dress-up, Halloween costumes, photo shoots, or handmade gifts.
Quick answer
This advanced-beginner fox hat is worked from the top down in joined rounds using worsted weight (#4) yarn and an I-9 (5.5 mm) crochet hook. The ears and main facial pieces are crocheted separately and sewn onto the finished hat, with simple stitched details added at the end. The pattern includes baby, toddler, child, and adult sizes.
Crochet fox hat pattern details
Here’s a quick overview of the materials, sizing, gauge, and pattern notes before you begin.
Skill level
Advanced beginner — This pattern uses basic crochet stitches, simple increases and decreases, joined rounds, basic shaping, and sewing to attach the facial features and ears.
Materials needed
- I-9 (5.5 mm) crochet hook
- Worsted weight yarn (#4) in orange, white, and black
- Yarn needle
- Scissors
Size guide
This pattern includes four sizes designed to fit the following head circumferences:
- Baby — 16–17 inches (41–43 cm) head circumference, 6.25 inches (16 cm) tall
- Toddler — 18–19 inches (46–48 cm) head circumference, 6.75 inches (17 cm) tall
- Child — 19–20 inches (48–51 cm) head circumference, 7 inches (18 cm) tall
- Adult — 20–23 inches (51–58 cm) head circumference, 7.75 inches (20 cm) tall
See my crochet hat sizing guide for full details and size charts.
Gauge
16 dc and 10 rounds = 4 inches (10 cm)
Learn how to check crochet gauge before you begin so you can adjust your hook size if needed.
Crochet abbreviations
- dc = double crochet
- sc = single crochet
- hdc = half double crochet
- sc2tog = single crochet decrease
- ch/chs = chain/chains
- st/sts = stitch/stitches
- sl st = slip stitch
Pattern notes
- The hat is worked from the top down in joined rounds.
- The beginning ch 2 does not count as a stitch.
- Join each round with a sl st to the first stitch.
- The pattern is written in US crochet terms.
Free crochet fox hat pattern instructions
Begin with orange yarn.
Baby size
Round 1: Make a magic circle. Ch 2, work 11 dc into the ring. Join with a sl st to the top of the first dc. (11 sts)
Round 2: Ch 2, 2 dc in each st around. Join. (22 sts)
Round 3: Ch 2, *2 dc in next st, dc in next st; repeat from * around. Join. (33 sts)
Round 4: Ch 2, *2 dc in next st, dc in next 2 sts; repeat from * around. Join. (44 sts)
Round 5: Ch 2, *2 dc in next st, dc in next 10 sts; repeat from * around. Join. (48 sts)
Round 6: Ch 2, *2 dc in next st, dc in next 11 sts; repeat from * around. Join. (52 sts)
Round 7: Ch 2, *2 dc in next st, dc in next 12 sts; repeat from * around. Join. (56 sts)
Rounds 8–9: Ch 2, dc in each st around. Join. (56 sts)
Switch to white yarn.
Rounds 10–13: Ch 2, dc in each st around. Join. (56 sts)
Toddler size
Round 1: Make a magic circle. Ch 2, work 11 dc into the ring. Join with a sl st to the top of the first dc. (11 sts)
Round 2: Ch 2, 2 dc in each st around. Join. (22 sts)
Round 3: Ch 2, *2 dc in next st, dc in next st; repeat from * around. Join. (33 sts)
Round 4: Ch 2, *2 dc in next st, dc in next 2 sts; repeat from * around. Join. (44 sts)
Round 5: Ch 2, *2 dc in next st, dc in next 10 sts; repeat from * around. Join. (48 sts)
Round 6: Ch 2, *2 dc in next st, dc in next 11 sts; repeat from * around. Join. (52 sts)
Round 7: Ch 2, *2 dc in next st, dc in next 12 sts; repeat from * around. Join. (56 sts)
Round 8: Ch 2, *2 dc in next st, dc in next 13 sts; repeat from * around. Join. (60 sts)
Rounds 9–11: Ch 2, dc in each st around. Join. (60 sts)
Switch to white yarn.
Rounds 12–15: Ch 2, dc in each st around. Join. (60 sts)
Child size
Round 1: Make a magic circle. Ch 2, work 11 dc into the ring. Join with a sl st to the top of the first dc. (11 sts)
Round 2: Ch 2, 2 dc in each st around. Join. (22 sts)
Round 3: Ch 2, *2 dc in next st, dc in next st; repeat from * around. Join. (33 sts)
Round 4: Ch 2, *2 dc in next st, dc in next 2 sts; repeat from * around. Join. (44 sts)
Round 5: Ch 2, *2 dc in next st, dc in next 10 sts; repeat from * around. Join. (48 sts)
Round 6: Ch 2, *2 dc in next st, dc in next 11 sts; repeat from * around. Join. (52 sts)
Round 7: Ch 2, *2 dc in next st, dc in next 12 sts; repeat from * around. Join. (56 sts)
Round 8: Ch 2, *2 dc in next st, dc in next 13 sts; repeat from * around. Join. (60 sts)
Round 9: Ch 2, *2 dc in next st, dc in next 14 sts; repeat from * around. Join. (64 sts)
Rounds 10–12: Ch 2, dc in each st around. Join. (64 sts)
Switch to white yarn.
Rounds 13–16: Ch 2, dc in each st around. Join. (64 sts)
Adult size
Round 1: Make a magic circle. Ch 2, work 11 dc into the ring. Join with a sl st to the top of the first dc. (11 sts)
Round 2: Ch 2, 2 dc in each st around. Join. (22 sts)
Round 3: Ch 2, *2 dc in next st, dc in next st; repeat from * around. Join. (33 sts)
Round 4: Ch 2, *2 dc in next st, dc in next 2 sts; repeat from * around. Join. (44 sts)
Round 5: Ch 2, *2 dc in next st, dc in next 10 sts; repeat from * around. Join. (48 sts)
Round 6: Ch 2, *2 dc in next st, dc in next 11 sts; repeat from * around. Join. (52 sts)
Round 7: Ch 2, *2 dc in next st, dc in next 12 sts; repeat from * around. Join. (56 sts)
Round 8: Ch 2, *2 dc in next st, dc in next 13 sts; repeat from * around. Join. (60 sts)
Round 9: Ch 2, *2 dc in next st, dc in next 14 sts; repeat from * around. Join. (64 sts)
Round 10: Ch 2, *2 dc in next st, dc in next 15 sts; repeat from * around. Join. (68 sts)
Rounds 11–12: Ch 2, dc in each st around. Join. (68 sts)
Switch to white yarn.
Rounds 13–17: Ch 2, dc in each st around. Join. (68 sts)
After completing the final round for your size, fasten off and weave in the yarn ends.
Snout
Use orange yarn.
Row 1: Ch 5, sc in the 2nd ch from the hook and in each remaining ch. Ch 1 and turn. (4 sts)
Row 2: Sc in each st. Ch 1 and turn. (4 sts)
Row 3: Sc in each st. Ch 1 and turn. (4 sts)
Row 4: Sc2tog twice. Ch 1 and turn. (2 sts)
Row 5: Sc2tog. Fasten off, leaving a long tail for sewing. (1 st)
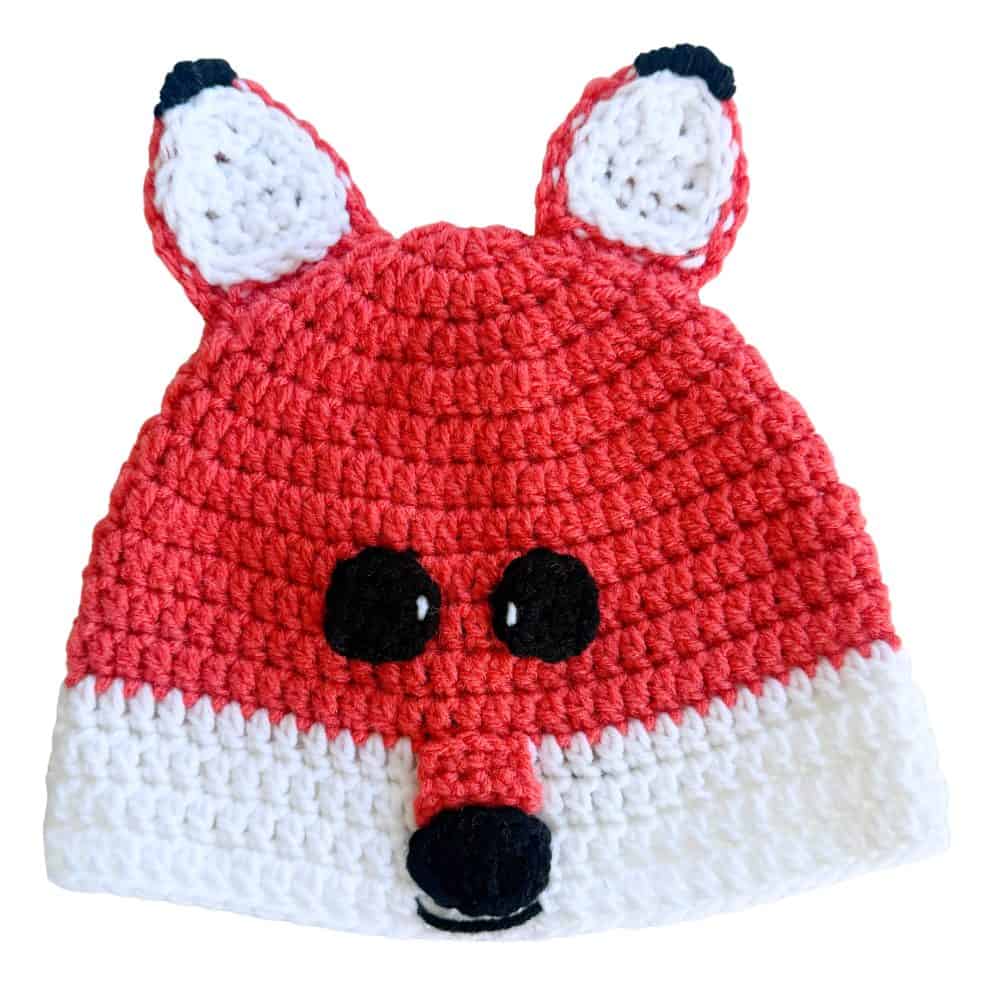
Position the snout vertically in the center front of the hat with the wider end at the top and the tapered end pointing down. Use the photo as a guide for placement.
Using the long yarn tail, sew around the outer edges of the snout to secure it to the hat. Keep the piece flat as you sew. Fasten off and weave in the remaining yarn end.
Nose
Use black yarn.
Round 1: Ch 5. Work 2 hdc in the 3rd ch from the hook, hdc in the next ch, and 4 hdc in the last ch. Rotate your work to crochet along the opposite side of the foundation chain. Hdc in the next ch and 2 hdc in the last ch. Join with a sl st to the first hdc. (10 sts)
Fasten off, leaving a long tail for sewing.
Position the nose over the tapered bottom end of the snout. Using the long yarn tail, sew around the outer edge of the nose to secure it in place. Fasten off and weave in the remaining end.
Eyes
Make 2 using black yarn.
Round 1: Make a magic circle. Ch 1, work 9 hdc into the ring. Join with a sl st to the first hdc. (9 sts)
Fasten off, leaving a long tail for sewing.
Position the eyes side by side on the front of the hat, evenly spaced above the snout. Use the photo as a guide for placement.
Using the long yarn tails, sew around the outer edge of each eye to secure it to the hat. Fasten off and weave in the remaining ends.
Using a small amount of white yarn and a yarn needle, stitch a short highlight near the inside edge of each eye.
Ears
Outer ear
Make 2 using orange yarn.
Row 1: Ch 7, sc in the 2nd ch from the hook and in each remaining ch. Ch 1 and turn. (6 sts)
Row 2: Sc in each st. Ch 1 and turn. (6 sts)
Row 3: Sc in each st. Ch 1 and turn. (6 sts)
Row 4: Sc2tog, sc in the next 2 sts, sc2tog. Ch 1 and turn. (4 sts)
Row 5: Sc in each st. Ch 1 and turn. (4 sts)
Row 6: Sc2tog twice. Ch 1 and turn. (2 sts)
Row 7: Sc2tog. Do not fasten off. (1 st)
Border: Sc evenly down the first side of the ear. Ch 1 at the bottom corner, sc evenly across the bottom edge, ch 1 at the next bottom corner, then sc evenly up the other side. Join with a sl st to the first sc. Fasten off, leaving a long tail for sewing the ear to the hat.
Inner ear
Make 2 using white yarn.
Row 1: Ch 5, sc in the 2nd ch from the hook and in each remaining ch. Ch 1 and turn. (4 sts)
Row 2: Sc in each st. Ch 1 and turn. (4 sts)
Row 3: Sc in each st. Ch 1 and turn. (4 sts)
Row 4: Sc2tog twice. Ch 1 and turn. (2 sts)
Row 5: Sc in each st. Ch 1 and turn. (2 sts)
Row 6: Sc2tog. Do not fasten off. (1 st)
Border: Sc evenly down the first side of the ear. Ch 1 at the bottom corner, sc evenly across the bottom edge, ch 1 at the next bottom corner, then sc evenly up the other side. Join with a sl st to the first sc. Fasten off, leaving a long tail for sewing.
Sewing the inner and outer ears together
Place one white inner ear on the front of one orange outer ear, centering it so an orange border shows around the white ear.
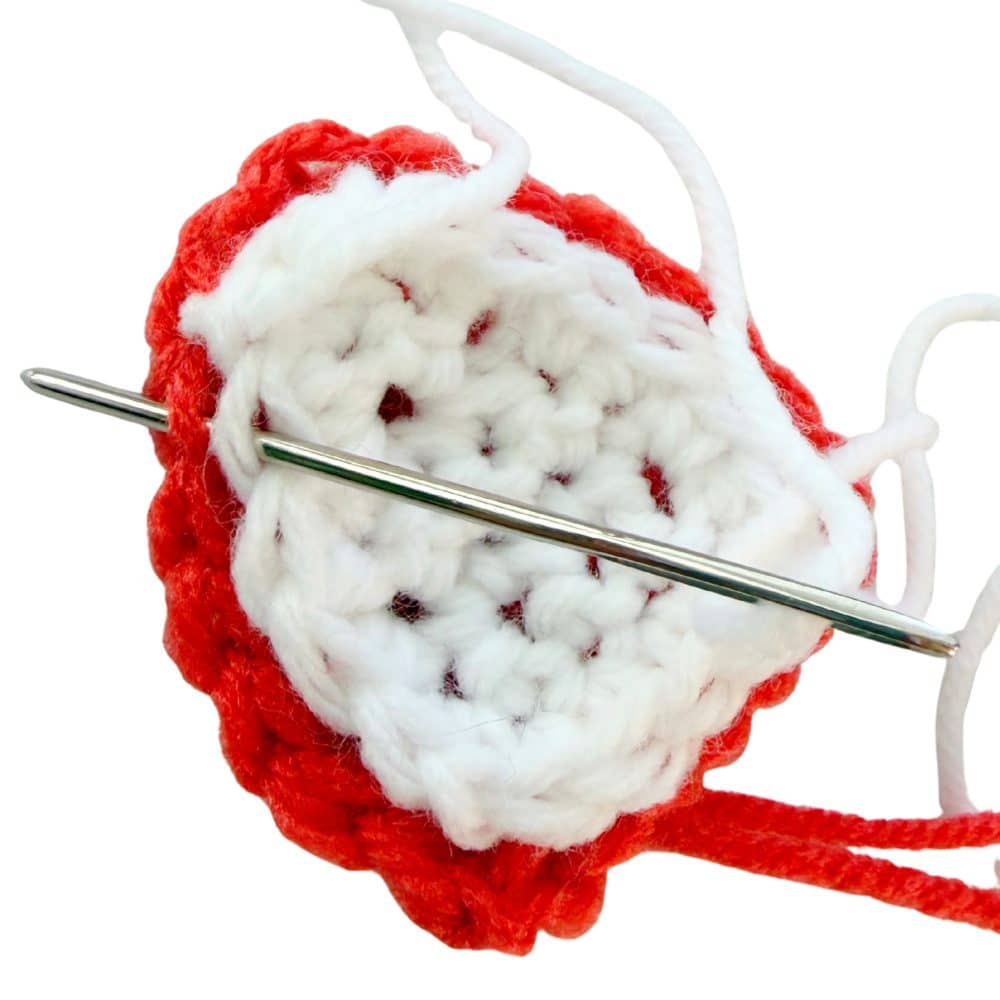
Thread the long white yarn tail onto your yarn needle. Working around the edge of the inner ear, pass the needle through the back loop of each white border stitch and then through the front loop of the corresponding orange border stitch.
Continue around the entire inner ear, keeping your stitches in these loops only so the white sewing yarn does not show through on the back of the orange ear.
When the inner ear is securely attached, fasten off and weave the remaining white yarn end between the two layers.
Repeat for the second ear.
Adding the black ear tips
Using black yarn and a yarn needle, stitch back and forth across the top of each ear to create the black tip. Continue adding stitches until the top section is filled in evenly.
Secure the yarn on the back of the ear and weave in the ends.
Sewing the ears to the hat
Position the completed ears on the top of the hat with the white inner ears facing forward. Space the ears evenly and use the photo as a guide for placement.
Thread the long orange yarn tail onto your yarn needle. Sew along the bottom edge of each ear and through the stitches on the hat to secure it in place.
Fasten off and weave in the remaining yarn ends.
Adding the smile
Using black yarn and a yarn needle, stitch a small curved smile just below the nose. Secure the yarn on the inside of the hat and weave in the ends.
Finishing
Make sure the ears, eyes, snout, nose, and smile are securely attached. Weave in all remaining yarn ends and trim any loose ends. Gently shape the ears and facial features as needed.
More free crochet patterns
Looking for more fox projects? Try my baby fox hat, hooded fox cowl, fox pillow, single crochet fox square, or C2C fox square for more cute fox-inspired designs.
You can also browse my crochet animal hat patterns for more playful animal designs, or explore my full collection of free crochet hat patterns for babies, kids, and adults.
Let’s connect!
I’d love to see what you’re making! Share your finished project and follow along for more free crochet patterns and tutorials.
📌 Don’t forget to pin this pattern for later!
Happy crocheting! 🧶
— Melissa