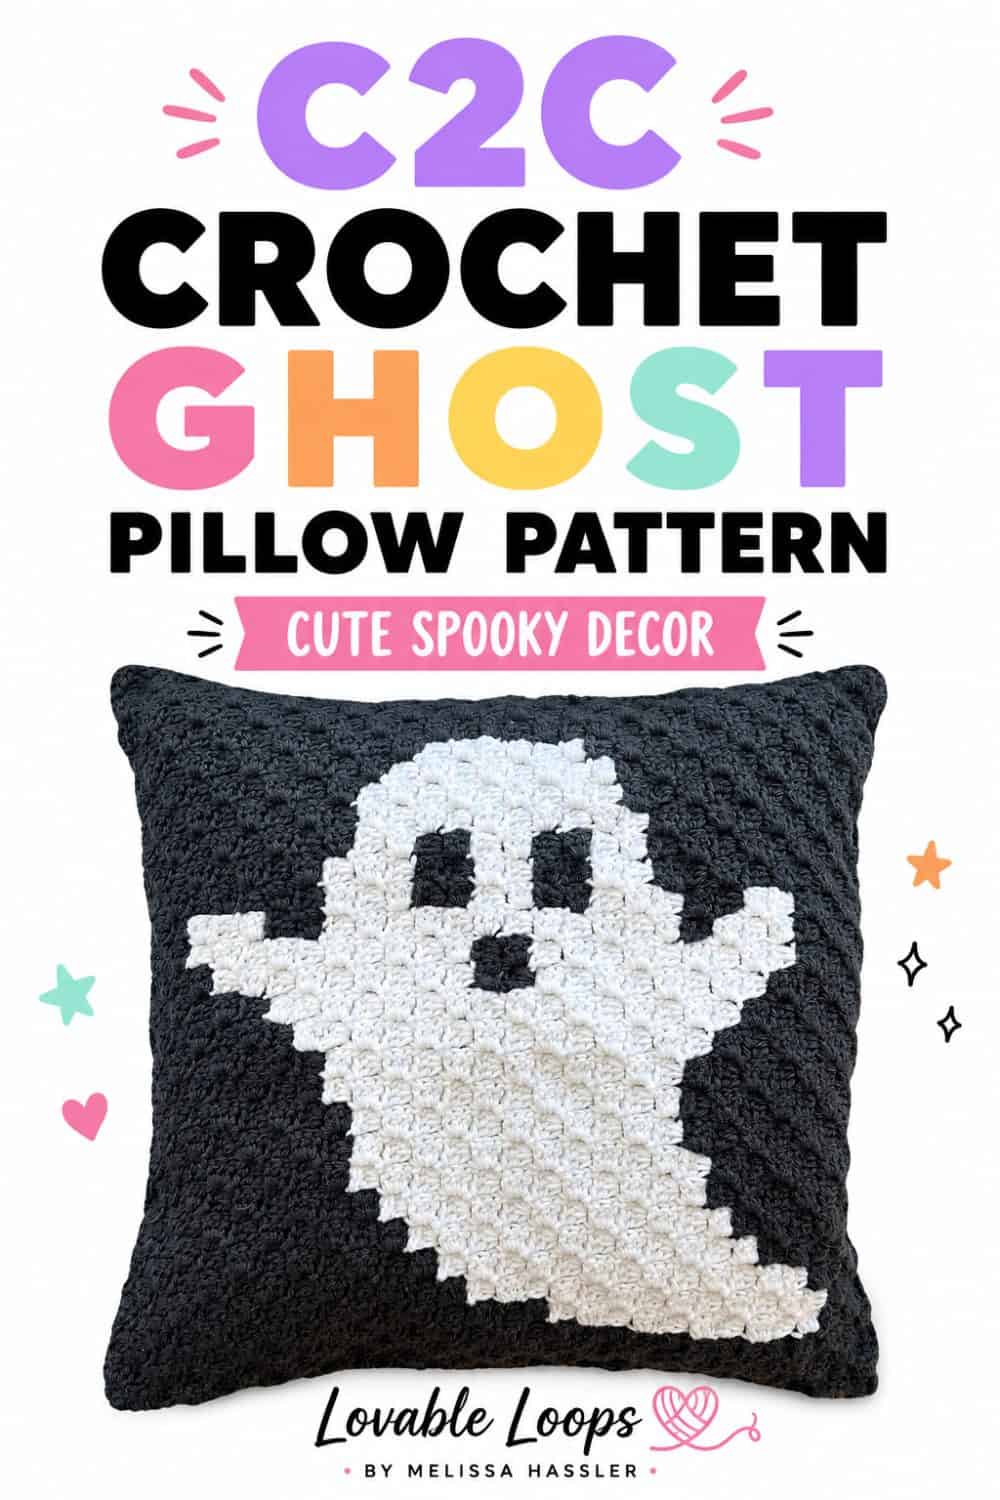
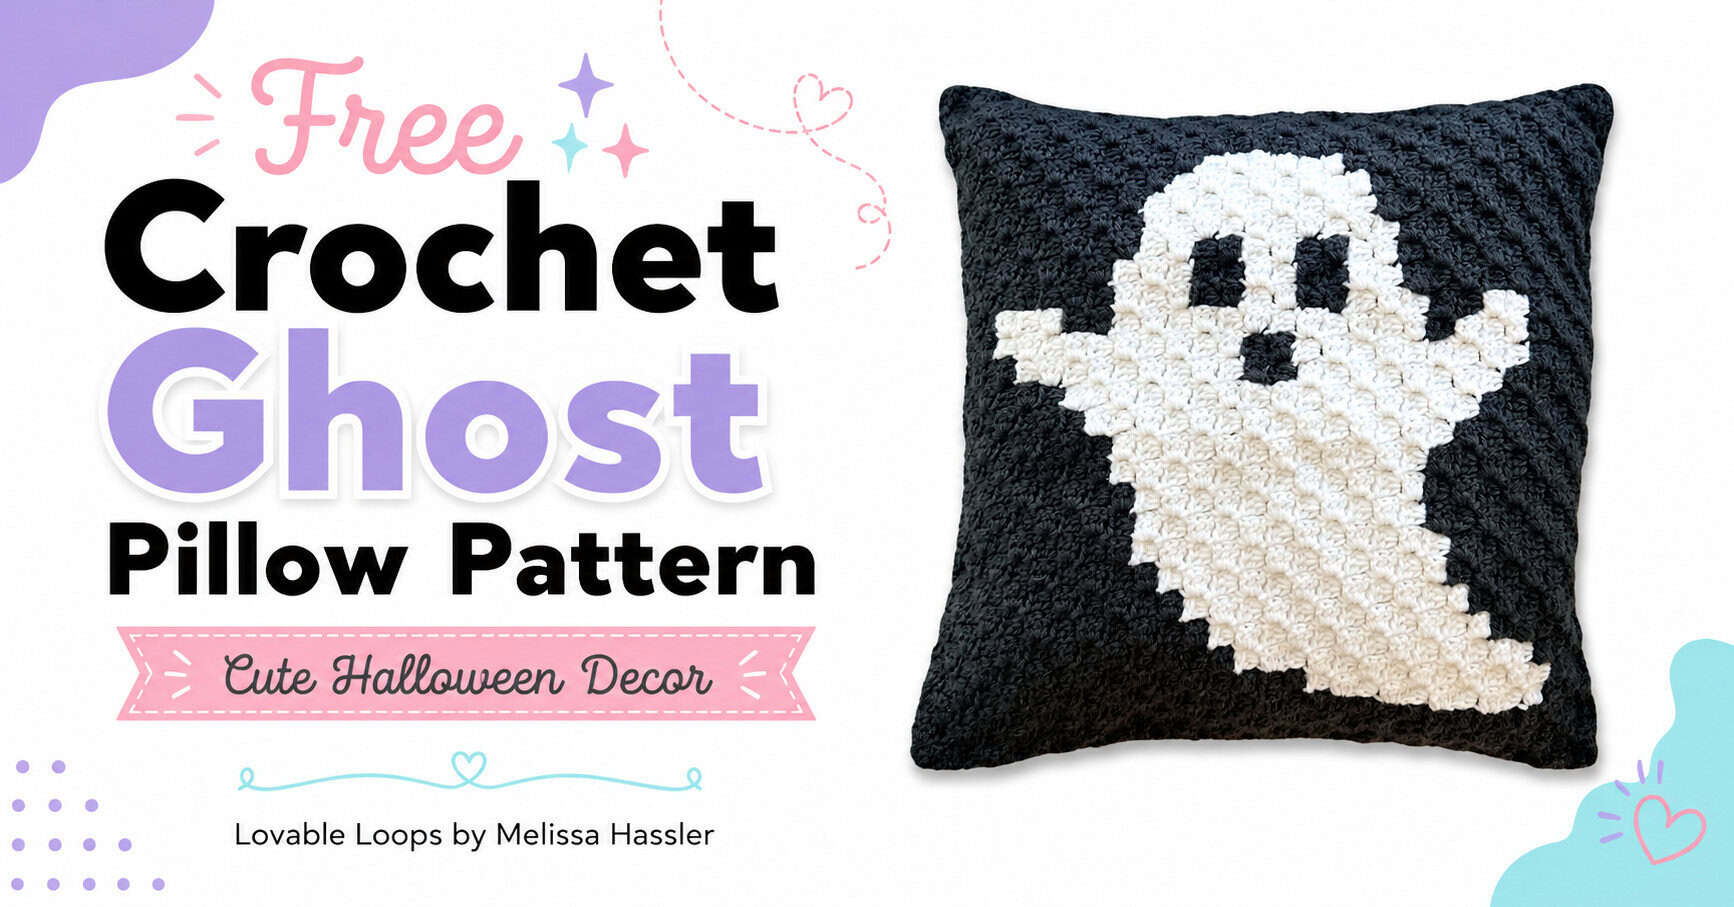
Crochet ghost pillow pattern
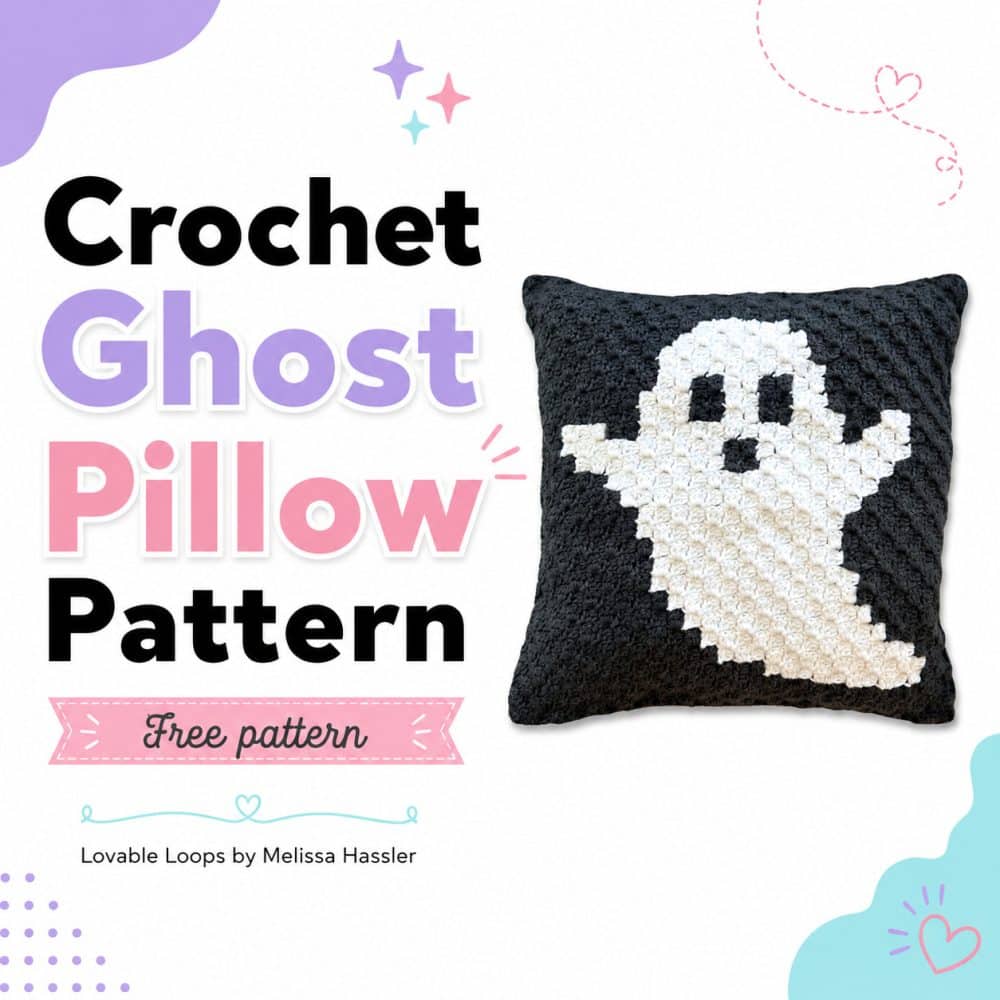
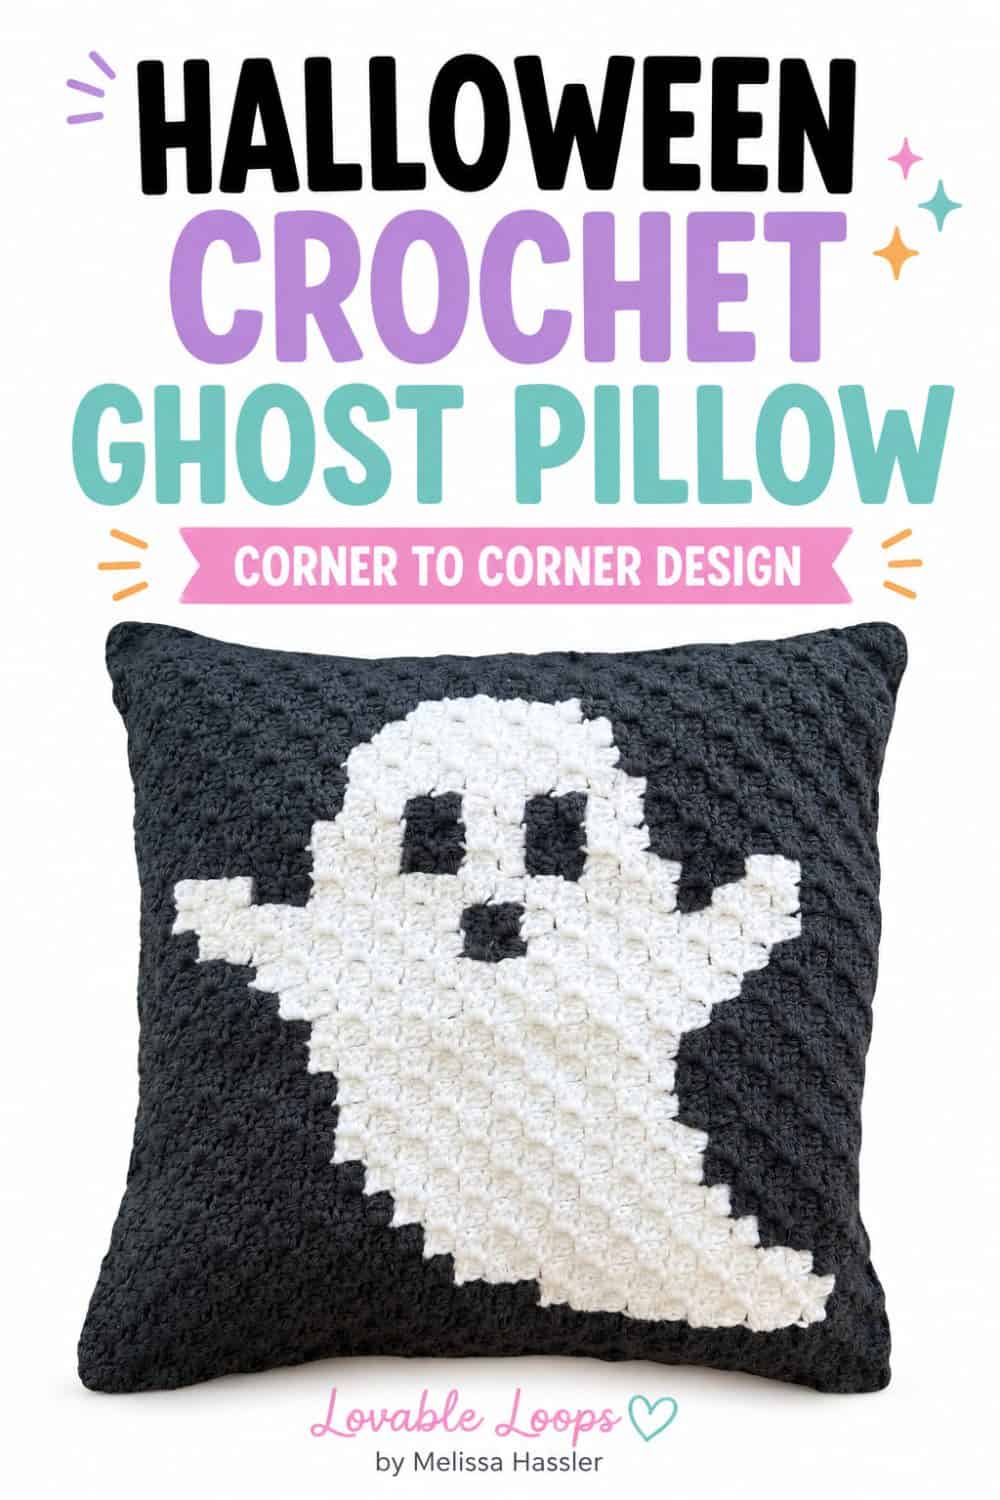
Add a little spooky-cute style to your fall décor with this crochet ghost pillow! The white ghost pops against the gray background for a simple Halloween design that’s fun to make and easy to display on a couch, chair, or bed.
Quick answer
This crochet ghost pillow pattern is an advanced beginner C2C crochet project made with worsted weight (#4) yarn and a G-6 (4 mm) crochet hook. The finished pillow measures approximately 16.5 x 16.5 inches. Crochet one C2C front panel with a white ghost on a gray background and one solid gray C2C back panel, sew the panels together, and finish the pillow with a pillow insert or fiber fill.
Crochet ghost pillow pattern details
Skill level
Advanced beginner — This C2C crochet pillow pattern uses basic corner-to-corner construction with color changes to create the ghost design. You should be comfortable following C2C instructions and changing yarn colors as you work.
Materials
- G-6 (4 mm) crochet hook
- Worsted weight yarn (#4) in white and gray
- Yarn needle
- Scissors
- 16-inch pillow form or fiber fill
Finished size
The finished crochet ghost pillow measures approximately 16.5 inches wide by 16.5 inches tall.
Gauge
7 C2C blocks = 4 inches (10 cm)
My guide to crochet gauge explains how to measure your stitches and adjust your hook size.
Abbreviations
- ch = chain
- dc = double crochet
- sl st = slip stitch
Pattern notes
- This pillow is made from two C2C crochet panels: one front panel with the Christmas tree design and one solid white back panel.
- Each panel measures 26 blocks wide by 32 blocks tall.
- Each C2C block consists of ch 3 and 3 dc.
- Ch 6 to begin an increase row and ch 3 to begin each new C2C block.
- Rows 1–26 increase to 26 blocks.
- Rows 27–32 keep 26 blocks in each row by decreasing on one side while continuing to increase on the other.
- Beginning with Row 33, decrease on both sides until 1 block remains in Row 57.
- When changing colors, switch to the new color as you join with a sl st to the next C2C block.
- You can follow either the graph or the written color counts for the front panel.
- ↙ indicates a right-side row.
- ↗ indicates a wrong-side row.
- The pattern is written in US crochet terms.
C2C video tutorial
If you’re new to corner-to-corner crochet, this tutorial uses my mini heart square to demonstrate the same C2C technique used for this pillow pattern.
Prefer YouTube? Watch my step-by-step C2C crochet tutorial on YouTube.
Free crochet ghost pillow pattern instructions
Graph
Download the ghost pillow pattern graph.
Written instructions
↙ Row 1: gray x 1 (1 block)
↗ Row 2: gray x 2 (2 blocks)
↙ Row 3: gray x 3 (3 blocks)
↗ Row 4: gray x 4 (4 blocks)
↙ Row 5: gray x 5 (5 blocks)
↗ Row 6: gray x 6 (6 blocks)
↙ Row 7: gray x 7 (7 blocks)
↗ Row 8: gray x 4, white x 1, gray x 3 (8 blocks)
↙ Row 9: gray x 3, white x 2, gray x 4 (9 blocks)
↗ Row 10: gray x 4, white x 2, gray x 4 (10 blocks)
↙ Row 11: gray x 4, white x 3, gray x 4 (11 blocks)
↗ Row 12: gray x 4, white x 3, gray x 5 (12 blocks)
↙ Row 13: gray x 6, white x 3, gray x 4 (13 blocks)
↗ Row 14: gray x 4, white x 4, gray x 6 (14 blocks)
↙ Row 15: gray x 7, white x 4, gray x 4 (15 blocks)
↗ Row 16: gray x 4, white x 5, gray x 7 (16 blocks)
↙ Row 17: gray x 8, white x 5, gray x 4 (17 blocks)
↗ Row 18: gray x 5, white x 5, gray x 8 (18 blocks)
↙ Row 19: gray x 8, white x 6, gray x 5 (19 blocks)
↗ Row 20: gray x 5, white x 6, gray x 9 (20 blocks)
↙ Row 21: gray x 9, white x 7, gray x 5 (21 blocks)
↗ Row 22: gray x 6, white x 7, gray x 9 (22 blocks)
↙ Row 23: gray x 5, white x 12, gray x 6 (23 blocks)
↗ Row 24: gray x 7, white x 12, gray x 5 (24 blocks)
↙ Row 25: gray x 5, white x 13, gray x 7 (25 blocks)
↗ Row 26: gray x 8, white x 12, gray x 6 (26 blocks)
↙ Row 27: gray x 9, white x 10, gray x 8 (27 blocks)
↗ Row 28: gray x 9, white x 10, gray x 9 (28 blocks)
↙ Row 29: gray x 9, white x 11, gray x 9 (29 blocks)
Corner: Start decreasing on both ends
↗ Row 30: gray x 9, white x 10, gray x 9 (28 blocks)
↙ Row 31: gray x 8, white x 4, gray x 1, white x 5, gray x 9 (27 blocks)
↗ Row 32: gray x 9, white x 4, gray x 2, white x 1, gray x 1, white x 2, gray x 7 (26 blocks)
↙ Row 33: gray x 6, white x 2, gray x 2, white x 1, gray x 1, white x 5, gray x 8 (25 blocks)
↗ Row 34: gray x 8, white x 7, gray x 2, white x 1, gray x 6 (24 blocks)
↙ Row 35: gray x 5, white x 2, gray x 1, white x 7, gray x 8 (23 blocks)
↗ Row 36: gray x 7, white x 5, gray x 1, white x 5, gray x 4 (22 blocks)
↙ Row 37: gray x 4, white x 4, gray x 2, white x 4, gray x 7 (21 blocks)
↗ Row 38: gray x 6, white x 5, gray x 2, white x 4, gray x 3 (20 blocks)
↙ Row 39: gray x 3, white x 4, gray x 1, white x 5, gray x 6 (19 blocks)
↗ Row 40: gray x 5, white x 2, gray x 1, white x 7, gray x 3 (18 blocks)
↙ Row 41: gray x 3, white x 6, gray x 2, white x 2, gray x 4 (17 blocks)
↗ Row 42: gray x 4, white x 2, gray x 3, white x 4, gray x 3 (16 blocks)
↙ Row 43: gray x 3, white x 3, gray x 4, white x 2, gray x 3 (15 blocks)
↗ Row 44: gray x 3, white x 1, gray x 10 (14 blocks)
↙ Row 45: gray x 13 (13 blocks)
↗ Row 46: gray x 12 (12 blocks)
↙ Row 47: gray x 11 (11 blocks)
↗ Row 48: gray x 10 (10 blocks)
↙ Row 49: gray x 9 (9 blocks)
↗ Row 50: gray x 8 (8 blocks)
↙ Row 51: gray x 7 (7 blocks)
↗ Row 52: gray x 6 (6 blocks)
↙ Row 53: gray x 5 (5 blocks)
↗ Row 54: gray x 4 (4 blocks)
↙ Row 55: gray x 3 (3 blocks)
↗ Row 56: gray x 2 (2 blocks)
↙ Row 57: gray x 1 (1 block)
Back panel
Use gray yarn to crochet a solid C2C square that matches the front ghost panel.
The back panel should be 29 squares wide by 29 squares tall, just like the front panel. Work the entire panel in gray, increasing until you reach 29 blocks across, then decrease to complete the square.
When finished, the back panel should measure approximately 16.5 x 16.5 inches and match the front panel before you sew the two pieces together.
Assembling the crochet ghost pillow
Place the front and back panels together with the wrong sides facing each other and line up the edges evenly.
Using gray yarn and a yarn needle, sew the panels together around the edges. Leave one side partially open for stuffing.
Insert a 16-inch pillow form or add fiber fill until the pillow reaches your desired fullness.
Once the pillow is stuffed, sew the remaining opening closed. Fasten off and weave in all remaining ends.
Finishing
Once the pillow is fully assembled, weave in any remaining yarn ends and trim the excess yarn.
Gently shape the pillow with your hands so the corners and edges sit evenly. If you used fiber fill, redistribute the stuffing as needed for a smooth, even shape.
Your crochet ghost pillow is now finished and ready to display for Halloween.
Printable PDF version
You can purchase the ad-free PDF of this Crochet Ghost Pillow Pattern in my Etsy shop. The downloadable pattern is easy to save, print, and keep with your crochet projects.
More free crochet patterns
Looking for another corner-to-corner project? Browse my free C2C crochet patterns for panels, blankets, squares, and other colorful designs.
For more handmade projects for your home, explore my free crochet home décor patterns for pillows, baskets, wall décor, and more.
Looking for a wearable ghost project? Try my crochet ghost hat pattern in four sizes from baby through adult.
Let’s connect!
I’d love to see what you’re making! Share your finished project and follow along for more free crochet patterns and tutorials.
📌 Don’t forget to pin this pattern for later!
Happy crocheting! 🧶
— Melissa