Crochet hat with ear flaps pattern
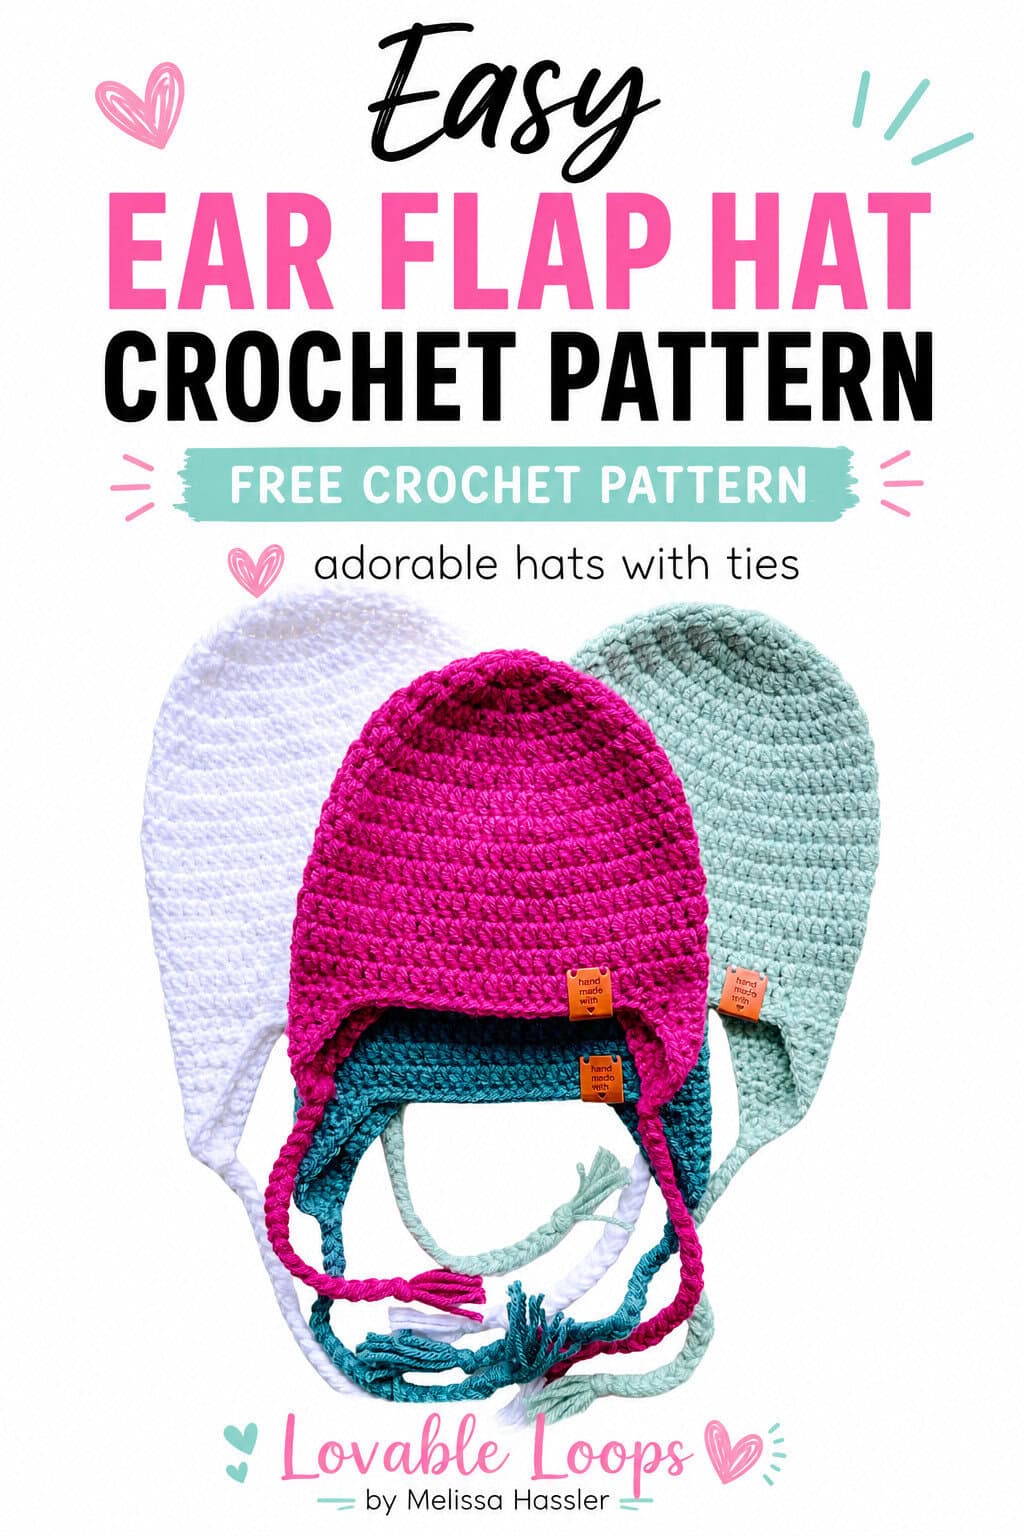
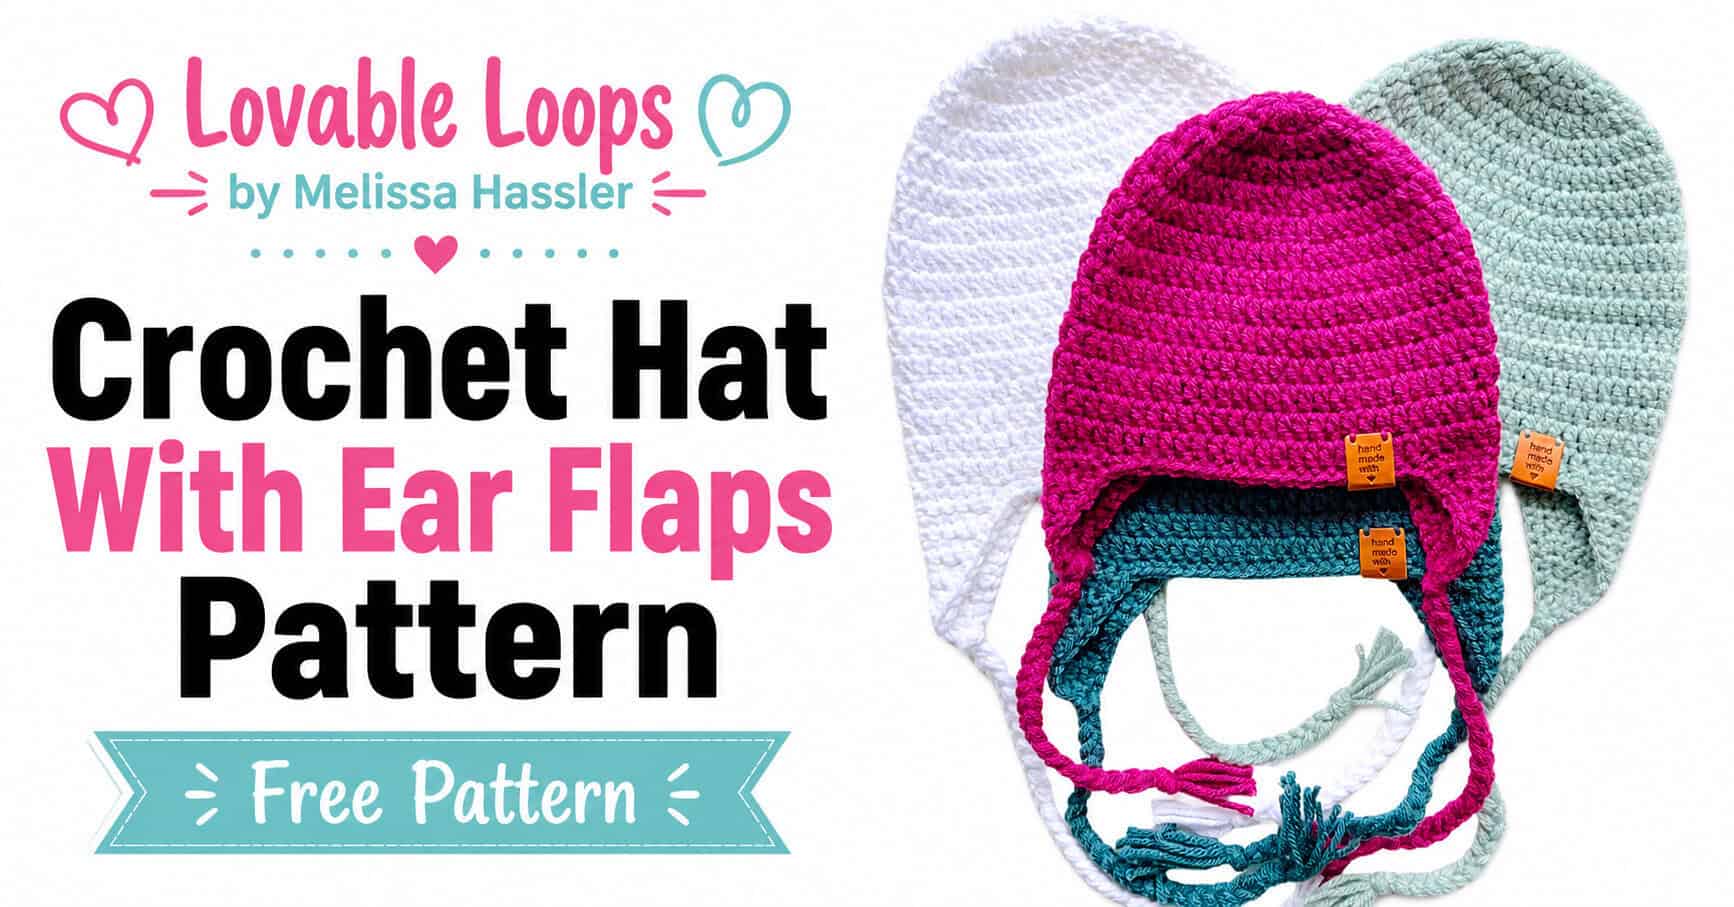
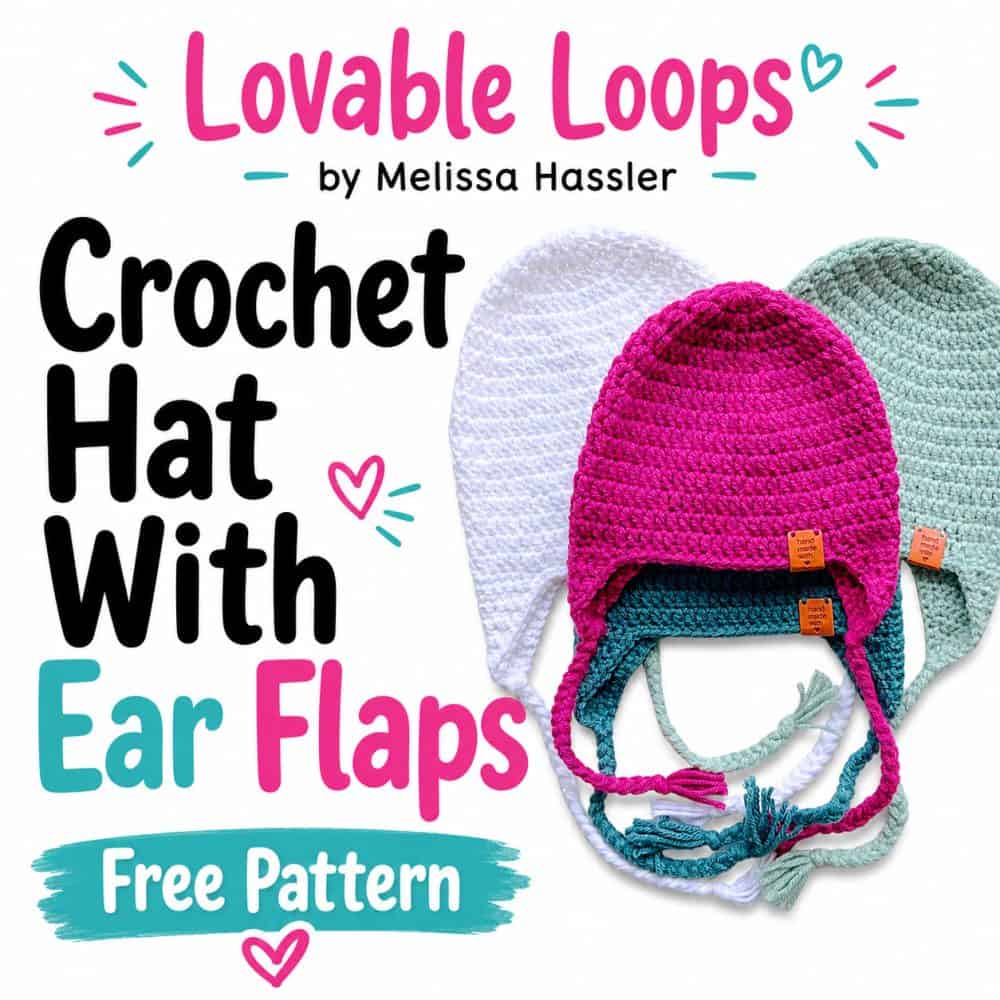
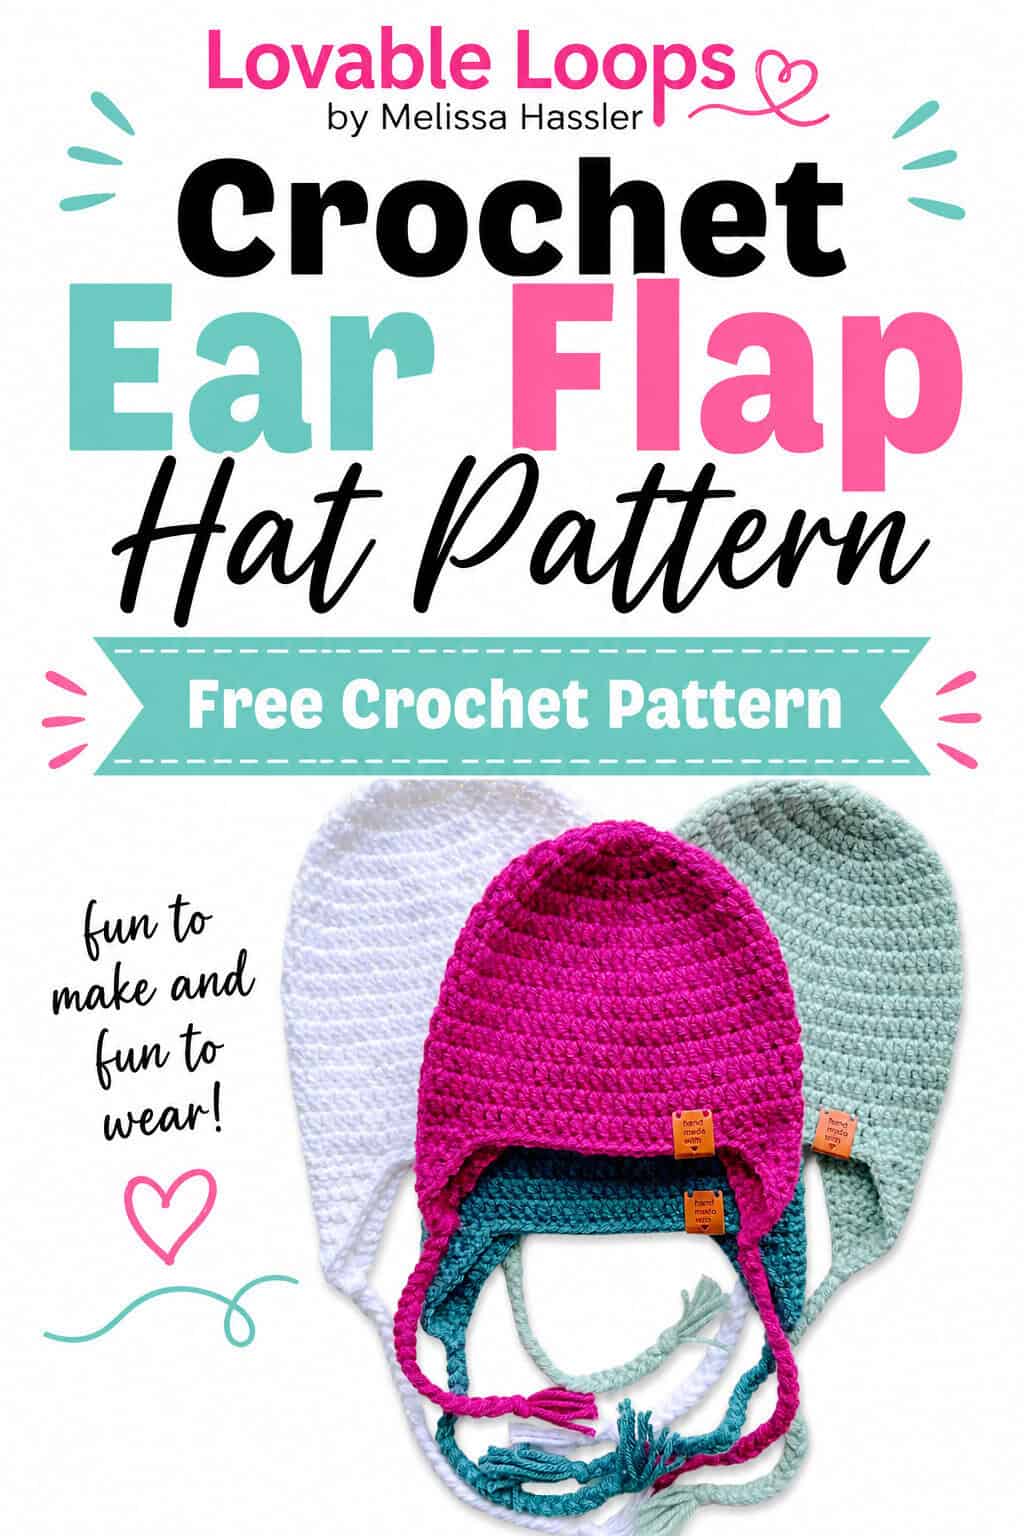
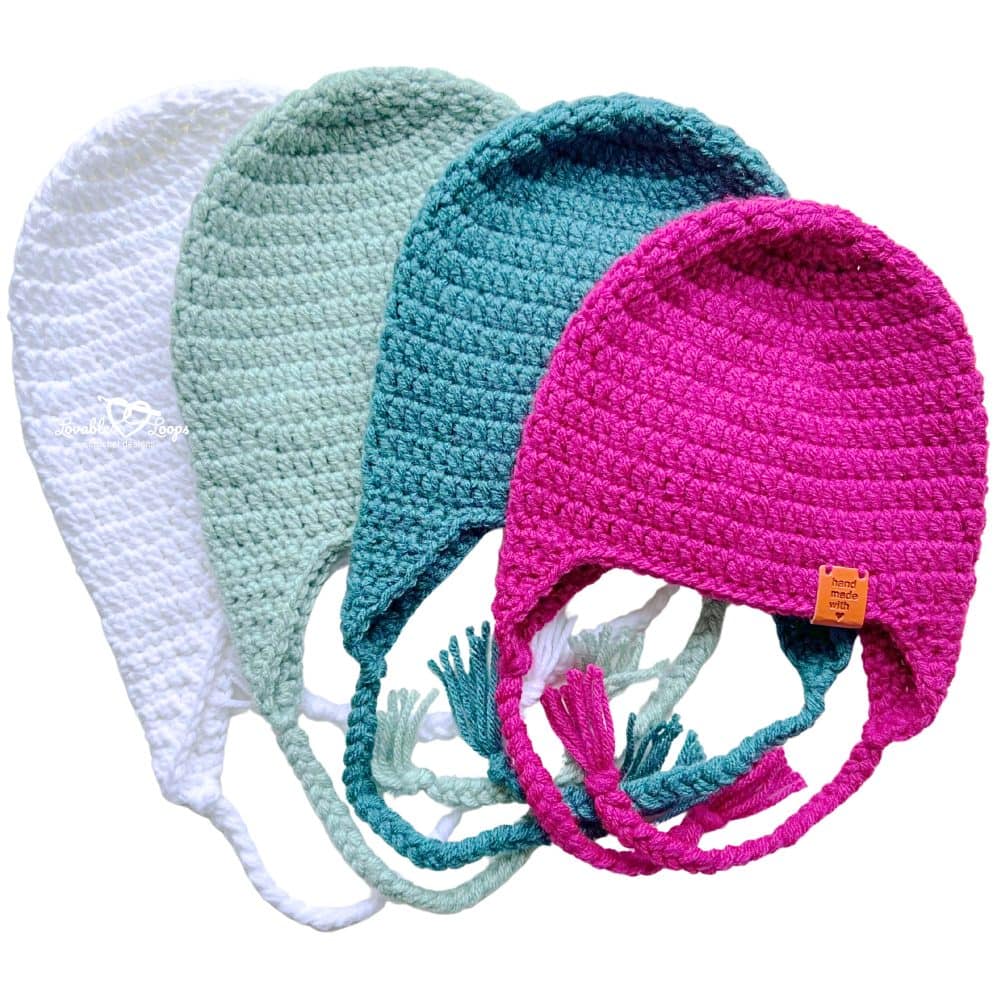
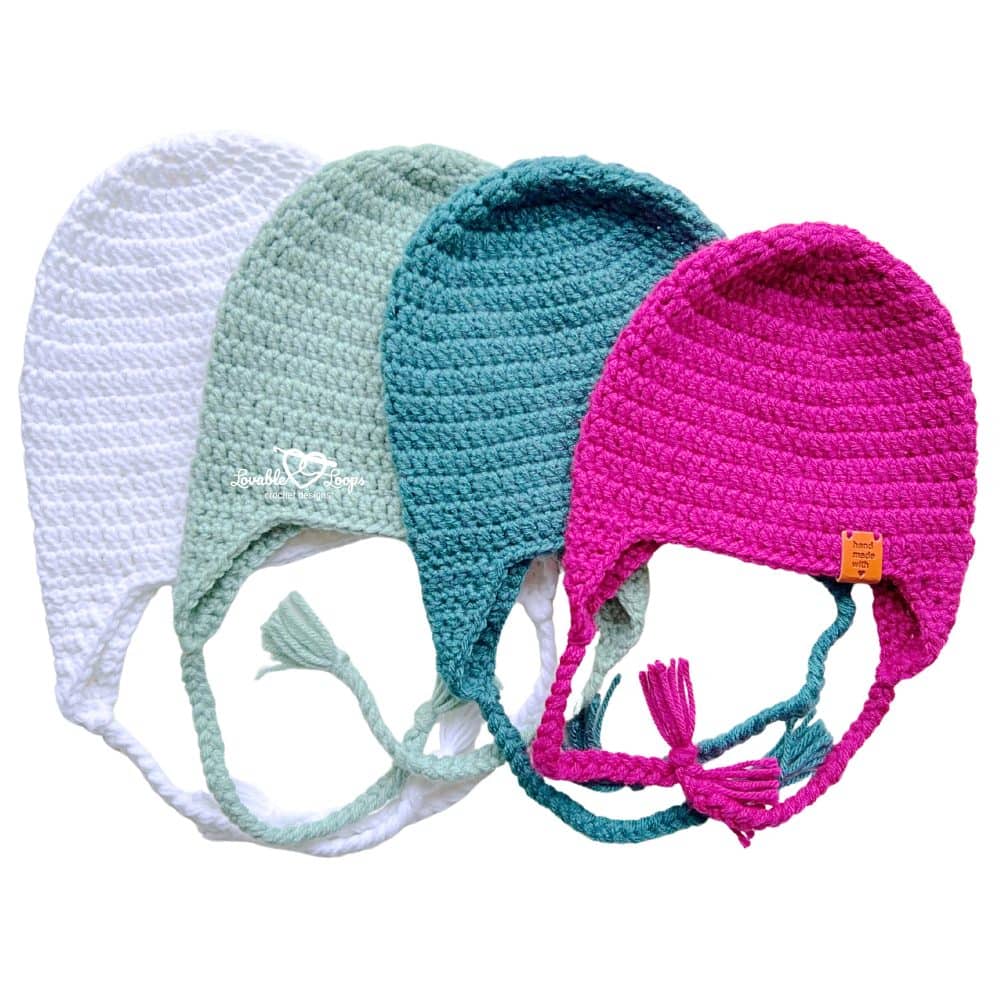
Keep ears extra cozy on cold days with this crochet hat with ear flaps pattern. The ear flaps add extra coverage, while the braided ties give it a fun handmade finish that works well for everyday winter wear, outdoor play, or gifts.
Quick answer
This beginner-friendly crochet hat with ear flaps pattern is worked from the top down in joined rounds using worsted weight (#4) yarn and an I-9 (5.5 mm) crochet hook. The pattern includes baby, toddler, child, and adult sizes, with the ear flaps and braided ties added after the main hat is complete.
Crochet hat with ear flaps pattern details
Skill level
Beginner — This hat pattern uses basic stitches and simple shaping, making it an easy and fun project for new crocheters.
Materials needed
- I-9 (5.5 mm) crochet hook
- Worsted weight yarn (#4)
- Yarn needle
- Scissors
- Stitch markers (optional)
Size guide
This crochet hat pattern includes four sizes.
- Baby — 16–17 inches (41–43 cm) head circumference, 6.25 inches (16 cm) tall
- Toddler — 18–19 inches (46–48 cm) head circumference, 6.75 inches (17 cm) tall
- Child — 19–20 inches (48–51 cm) head circumference, 7 inches (18 cm) tall
- Adult — 20–23 inches (51–58 cm) head circumference, 7.75 inches (20 cm) tall
See my crochet hat sizing guide for full details and size charts.
Gauge
16 dc and 10 rounds = 4 inches (10 cm)
Learn how to check crochet gauge before you begin so you can adjust your hook size if needed.
Crochet abbreviations
- dc = double crochet
- sc = single crochet
- sc2tog = single crochet decrease
- ch/chs = chain/chains
- st/sts = stitch/stitches
- sl st = slip stitch
Pattern notes
- The starting chain does not count as a stitch.
- Join each round with a slip stitch to the first stitch.
- The pattern is written in US crochet terms.
Free crochet hat with ear flaps pattern instructions
Choose your size below and complete the hat body before adding the ear flaps and braided ties.
Baby size hat
Round 1: Make a magic circle. Ch 2, work 11 dc into the ring. Join. (11 sts)
Round 2: Ch 2, 2 dc in each st around. Join. (22 sts)
Round 3: Ch 2, *2 dc in next st, dc in next st; repeat from * around. Join. (33 sts)
Round 4: Ch 2, *2 dc in next st, dc in next 2 sts; repeat from * around. Join. (44 sts)
Round 5: Ch 2, *2 dc in next st, dc in next 10 sts; repeat from * around. Join. (48 sts)
Round 6: Ch 2, *2 dc in next st, dc in next 11 sts; repeat from * around. Join. (52 sts)
Round 7: Ch 2, *2 dc in next st, dc in next 12 sts; repeat from * around. Join. (56 sts)
Rounds 8–13: Ch 2, dc in each st around. Join. (56 sts)
Toddler size hat
Round 1: Make a magic circle. Ch 2, work 11 dc into the ring. Join. (11 sts)
Round 2: Ch 2, 2 dc in each st around. Join. (22 sts)
Round 3: Ch 2, *2 dc in next st, dc in next st; repeat from * around. Join. (33 sts)
Round 4: Ch 2, *2 dc in next st, dc in next 2 sts; repeat from * around. Join. (44 sts)
Round 5: Ch 2, *2 dc in next st, dc in next 10 sts; repeat from * around. Join. (48 sts)
Round 6: Ch 2, *2 dc in next st, dc in next 11 sts; repeat from * around. Join. (52 sts)
Round 7: Ch 2, *2 dc in next st, dc in next 12 sts; repeat from * around. Join. (56 sts)
Round 8: Ch 2, *2 dc in next st, dc in next 13 sts; repeat from * around. Join. (60 sts)
Rounds 9–15: Ch 2, dc in each st around. Join. (60 sts)
Child size hat
Round 1: Make a magic circle. Ch 2, work 11 dc into the ring. Join. (11 sts)
Round 2: Ch 2, 2 dc in each st around. Join. (22 sts)
Round 3: Ch 2, *2 dc in next st, dc in next st; repeat from * around. Join. (33 sts)
Round 4: Ch 2, *2 dc in next st, dc in next 2 sts; repeat from * around. Join. (44 sts)
Round 5: Ch 2, *2 dc in next st, dc in next 10 sts; repeat from * around. Join. (48 sts)
Round 6: Ch 2, *2 dc in next st, dc in next 11 sts; repeat from * around. Join. (52 sts)
Round 7: Ch 2, *2 dc in next st, dc in next 12 sts; repeat from * around. Join. (56 sts)
Round 8: Ch 2, *2 dc in next st, dc in next 13 sts; repeat from * around. Join. (60 sts)
Round 9: Ch 2, *2 dc in next st, dc in next 14 sts; repeat from * around. Join. (64 sts)
Rounds 10–16: Ch 2, dc in each st around. Join. (64 sts)
Adult size hat
Round 1: Make a magic circle. Ch 2, work 11 dc into the ring. Join with a sl st to the top of the first dc. (11 sts)
Round 2: Ch 2, 2 dc in each st around. Join. (22 sts)
Round 3: Ch 2, *2 dc in next st, dc in next st; repeat from * around. Join. (33 sts)
Round 4: Ch 2, *2 dc in next st, dc in next 2 sts; repeat from * around. Join. (44 sts)
Round 5: Ch 2, *2 dc in next st, dc in next 10 sts; repeat from * around. Join. (48 sts)
Round 6: Ch 2, *2 dc in next st, dc in next 11 sts; repeat from * around. Join. (52 sts)
Round 7: Ch 2, *2 dc in next st, dc in next 12 sts; repeat from * around. Join. (56 sts)
Round 8: Ch 2, *2 dc in next st, dc in next 13 sts; repeat from * around. Join. (60 sts)
Round 9: Ch 2, *2 dc in next st, dc in next 14 sts; repeat from * around. Join. (64 sts)
Round 10: Ch 2, *2 dc in next st, dc in next 15 sts; repeat from * around. Join. (68 sts)
Rounds 11–17: Ch 2, dc in each st around. Join. (68 sts)
Adding the ear flaps
Begin the first ear flap where you ended the final round of the hat. After completing the first ear flap, fasten off. Use the chart below to locate the second ear flap, join your yarn at that position, and repeat the ear flap instructions for your size.
After both ear flaps are complete, work sc evenly around the entire hat and both ear flaps.
| Size | Front of Hat | Back of Hat |
| Baby & Toddler | leave 18 stitches in front | leave 14 stitches in back |
| Child | leave 20 stitches in front | leave 16 stitches in back |
| Adult | leave 22 stitches in front | leave 18 stitches in back |
Baby size ear flaps
- Row 1: Ch 1, sc in 12 sts, turn (12 stitches)
- Row 2: Ch 1, sc2tog, sc in 8 sts, sc2tog, turn (10 stitches)
- Row 3: Ch 1, sc in each st, turn (10 stitches)
- Row 4: Ch 1, sc2tog, sc in 6 sts, sc2tog, turn (8 stitches)
- Row 5: Ch 1, sc in each st, turn (8 stitches)
- Row 6: Ch 1, sc2tog, sc in 4 sts, sc2tog, turn (6 stitches)
- Row 7: Ch 1, sc in each st, turn (6 stitches)
- Row 8: Ch 1, sc2tog, sc in 2 sts, sc2tog, turn (4 stitches)
- Row 9: Ch 1, sc in each st, turn (4 stitches)
- Row 10: Ch 1, sc2tog, sc2tog, turn (2 stitches)
- Row 11: Ch 1, sc2tog (1 stitch)
- Repeat for second ear flap and then continue to single crochet around entire hat and both ear flaps.
Toddler – adult size ear flaps
- Row 1: Ch 1, sc in 14 sts, turn. (14 stitches)
- Row 2: Ch 1, sc2tog, sc in 10 sts, sc2tog, turn (12 stitches)
- Row 3: Ch 1, sc in each st, turn (12 stitches)
- Row 4: Ch 1, sc2tog, sc in 8 sts, sc2tog, turn (10 stitches)
- Row 5: Ch 1, sc in each st, turn (10 stitches)
- Row 6: Ch 1, sc2tog, sc in 6 sts, sc2tog, turn (8 stitches)
- Row 7: Ch 1, sc in each st, turn (8 stitches)
- Row 8: Ch 1, sc2tog, sc in 4 sts, sc2tog, turn (6 stitches)
- Row 9: Ch 1, sc in each st, turn (6 stitches)
- Row 10: Ch 1, sc2tog, sc in 2 sts, sc2tog, turn (4 stitches)
- Row 11: Ch 1, sc in each st, turn (4 stitches)
- Row 12: Ch 1, sc2tog, sc2tog, turn (2 stitches)
- Row 13: Ch 1, sc2tog (1 stitch)
- Repeat for second ear flap and then continue to single crochet around entire hat and both ear flaps.
Adding the braids
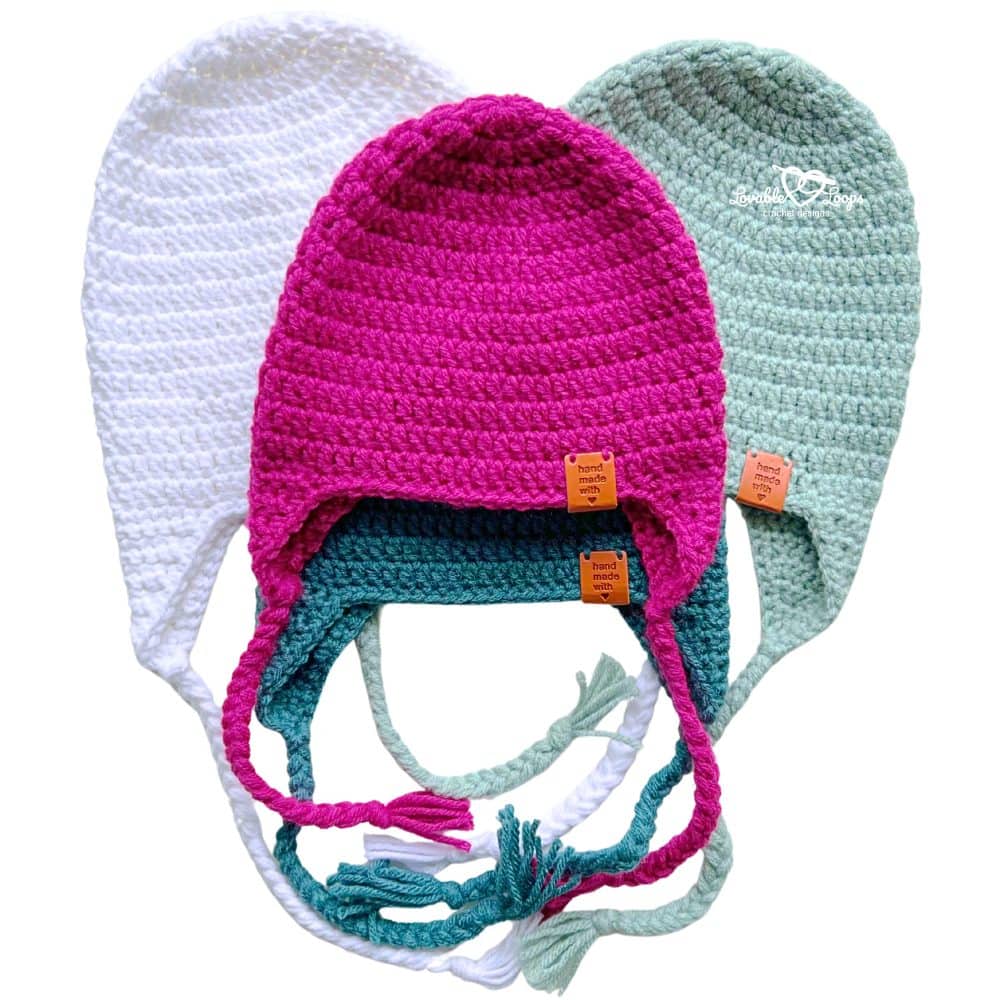
Add a braided tie to the bottom of each ear flap to finish the hat.
- Cut six equal lengths of yarn, about 24–30 inches each, for each ear flap.
- Hold all six strands together, fold them in half, and pull the folded loop through the bottom of the ear flap.
- Pull the yarn ends through the loop and tighten to secure. You will now have 12 working strands.
- Divide the 12 strands into three groups of four strands each and braid to your desired length.
- Tie a knot at the end to secure the braid.
- Trim the ends evenly.
- Repeat for the second ear flap.
Finishing
Weave in any remaining ends with a yarn needle.
Frequently asked questions
Can I make this hat without ear flaps?
Yes! Simply stop after the final round of the main hat body and skip the ear flap section. You’ll have a classic beanie-style hat.
Printable PDF version
You can purchase the ad-free PDF of this crochet earflap hat pattern in my Etsy shop. The downloadable pattern is easy to save, print, and keep with your crochet projects.
More crochet hat patterns
Looking for another hat to make? Browse my easy crochet hat patterns for more beginner-friendly designs made with basic stitches, or explore my full collection of free crochet hat patterns for hats in baby, child, and adult sizes.
Looking for a simpler hat without earflaps? Try my free basic crochet beanie pattern, available in seven sizes from preemie through adult.
Let’s connect!
I’d love to see what you’re making! Share your finished project and follow along for more free crochet patterns and tutorials.
📌 Don’t forget to pin this pattern for later!
Happy crocheting! 🧶
— Melissa