Crochet wristlet pouch pattern
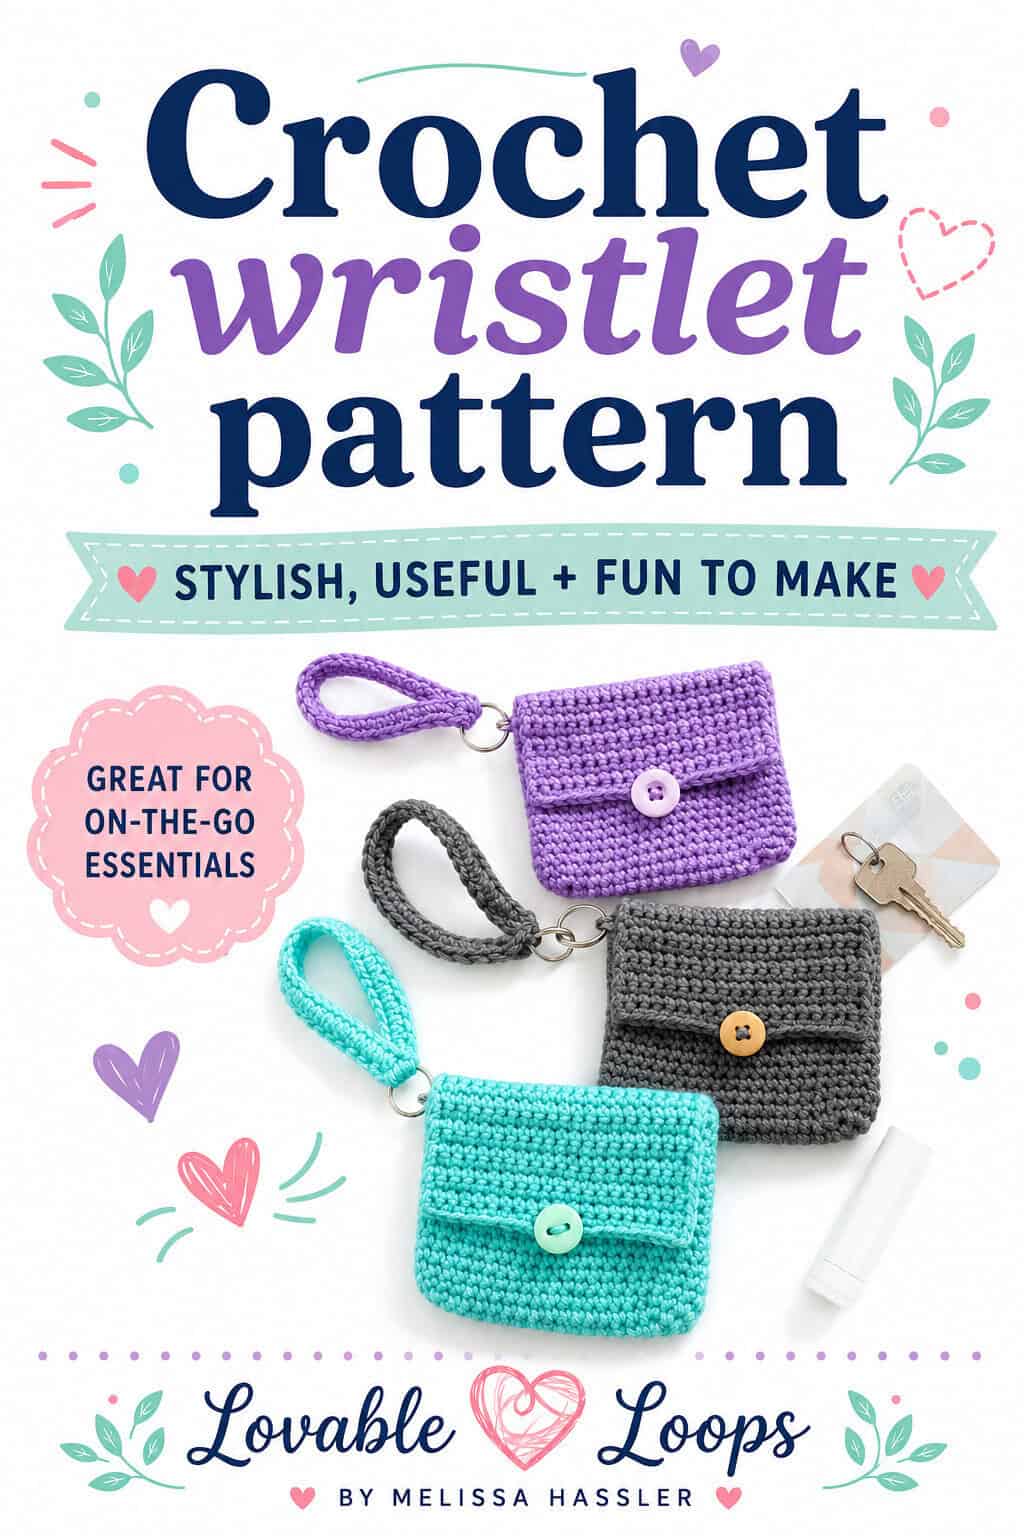
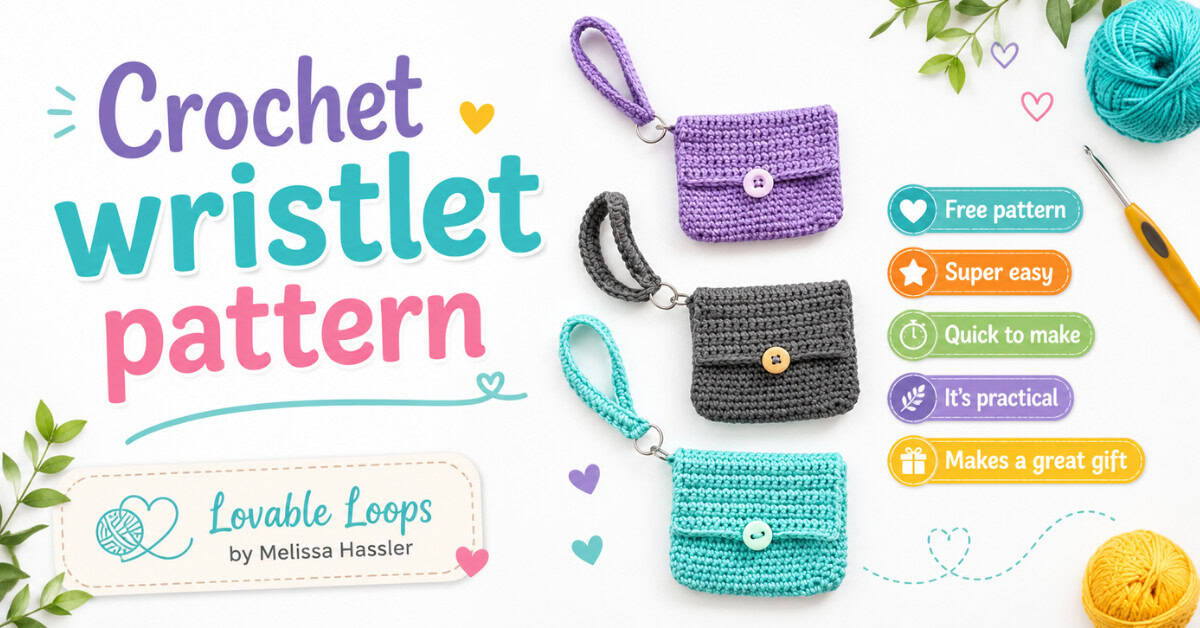
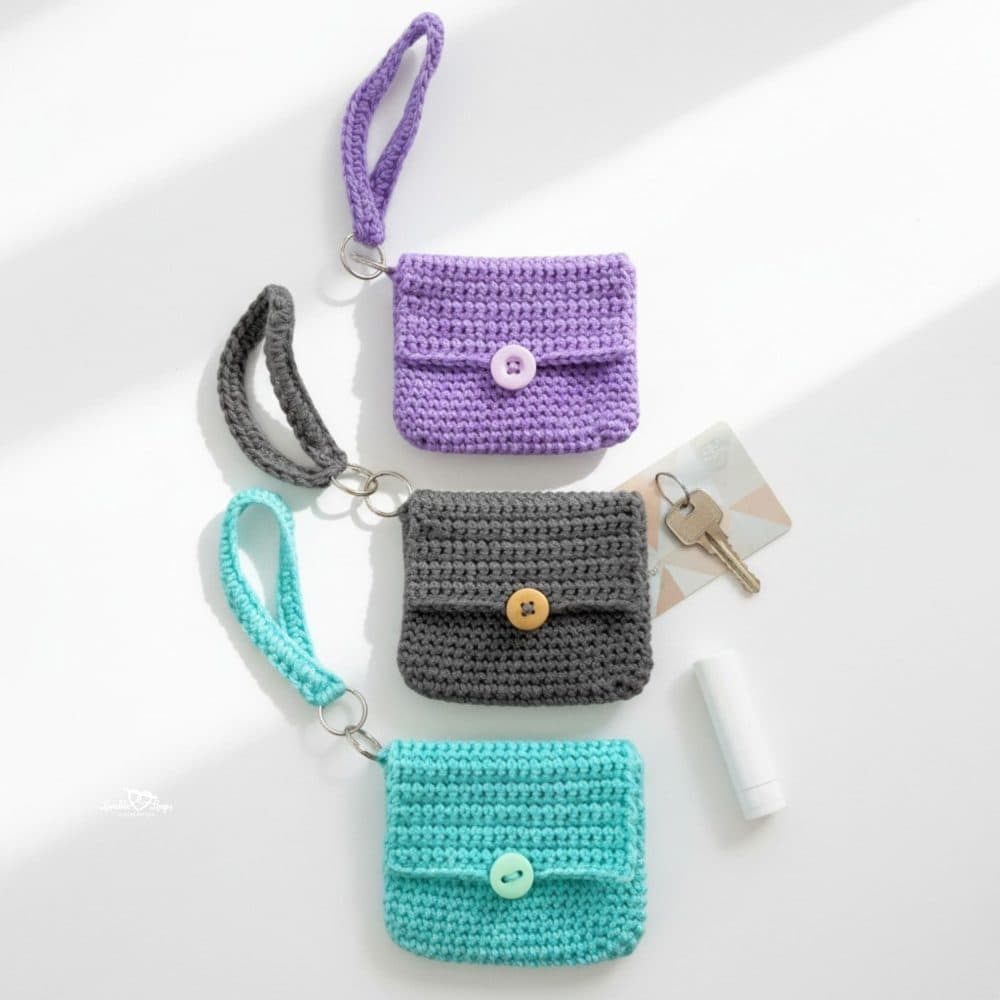
Need a cute little bag for your everyday essentials? This crochet wristlet pouch pattern features a handy button flap and a matching wrist strap. It’s perfect for carrying keys, cards, cash, or lip balm when you don’t want to bring a larger bag. It also makes a thoughtful handmade gift!
Quick answer
This advanced beginner crochet wristlet pouch pattern uses worsted weight (#4) yarn and an H-8 (5 mm) crochet hook. The pouch is worked from the bottom up in joined rounds of single crochet, with a button flap added in rows. A separate crochet wrist strap attaches to the pouch using two keychain rings. The finished pouch measures approximately 4.5 inches wide and 4 inches tall (11.5 × 10 cm), excluding the strap.
Crochet wristlet pouch pattern details
Skill level
Advanced beginner. This pattern uses single crochet stitches, increases, joined rounds, and simple rows. You’ll also make a buttonhole and attach a wrist strap using keychain rings.
Materials needed
- H-8 (5 mm) crochet hook
- Worsted weight yarn (#4)
- Yarn needle
- Scissors
- Button: 3/4 inch (2 cm)
- 2 keychain rings
- 2 stitch markers
Finished size
The wristlet pouch measures approximately 4.5 inches wide by 4 inches tall (11.5 cm wide by 10 cm tall), not including the wrist strap.
Gauge
Gauge is not important for this pattern.
Crochet abbreviations
- sc = single crochet stitch
- ch/chs = chain/chains
- st/sts = stitch/stitches
- sl st = slip stitch
Pattern notes
- Join each pouch rnd with a sl st to the first sc of that rnd.
- The beginning ch 1 in the rounds and rows does not count as a st.
- The pattern is written in US crochet terms.
Crochet wristlet pouch pattern instructions
Crochet the pouch
Use an H-8 (5 mm) crochet hook.
Round 1: Ch 17, work 2 sc in the 2nd ch from the hook, sc in the next 14 chs, and 4 sc in the last ch. Continue working along the opposite side of the starting chain. Sc in the next 14 chs, then work 2 sc in the last ch. Join with a sl st to the first sc. (36 sts)
Round 2: Ch 1, work 2 sc in each of the first 2 sts, sc in the next 14 sts, 2 sc in each of the next 4 sts, sc in the next 14 sts, and 2 sc in each of the last 2 sts. Join with a sl st to the first sc. (44 sts)
Rounds 3–18: Ch 1, sc in each st around. Join with a sl st to the first sc. (44 sts)
Fasten off. You will now add the button flap.
Crochet the button flap
Lay the pouch flat and use stitch markers to mark the 20 center stitches along the back of the pouch.
Join yarn to the first marked stitch.
Row 1: Ch 1, sc in each of the 20 marked sts. Turn. (20 sts)
Rows 2–12: Ch 1, sc in each st across. Turn. (20 sts)
Row 13: Ch 1, sc in the next 9 sts, ch 4, skip the next 2 sts, sc in the last 9 sts. (18 sc, 1 ch-4 buttonhole)
Fasten off and weave in the yarn ends.
The ch-4 opening creates the buttonhole. Check that your button fits through the opening before finishing the flap.
Crochet the wrist strap
Use an H-8 (5 mm) crochet hook.
Row 1: Ch 35, sc in the 2nd ch from the hook and in each remaining ch. Turn. (34 sts)
Row 2: Ch 1, sc in the chain space directly below each st across to make the strap thicker. (34 sts)
Fasten off, leaving a long yarn tail for sewing.
Attach the wrist strap and keychain rings
- Attach the first ring: Bring both short ends of the crocheted wrist strap together around one keychain ring.
- Secure the strap: Use the long yarn tail and a yarn needle to sew both ends of the strap securely around the ring.
- Connect the rings: Attach the second keychain ring to the first ring.
- Attach the pouch: Use a yarn needle and yarn to sew the second keychain ring securely to the wristlet pouch.
- Check the attachment: Make sure the rings are connected securely and the wrist strap is firmly attached.
Add the button
- Position the flap: Lay the wristlet pouch flat with the button flap folded down over the front.
- Mark the button placement: Center the button on the front of the pouch, directly underneath the ch-4 buttonhole.
- Sew the button: Use a yarn needle and a piece of yarn to sew the button securely to the front panel.
- Check the closure: Fold the flap down and make sure the buttonhole fits comfortably around the button. Adjust the button placement if needed.
Finishing
Weave in all remaining yarn ends securely.
Check that the button closes properly and the wrist strap is firmly attached.
Your crochet wristlet pouch is ready to use or give as a handmade gift!
Printable PDF version
You can purchase the ad-free PDF of this Crochet Wristlet Keychain Pattern in my Etsy shop. The downloadable pattern is easy to save, print, and keep with your crochet projects.
More free crochet purse and pouch patterns
Looking for another small bag? Try my small crochet purse pattern, featuring a colorful heart design and strap options for children and adults.
Love making handy little pouches? My crochet drawstring bag pattern features cheerful rainbow stripes and a gathered top.
You can also browse my collection of crochet bag and tote patterns for more free bags, pouches, and handmade accessories.
Let’s connect!
I’d love to see what you’re making! Share your finished project and follow along for more free crochet patterns and tutorials.
📌 Don’t forget to pin this pattern for later!
Happy crocheting! 🧶
— Melissa