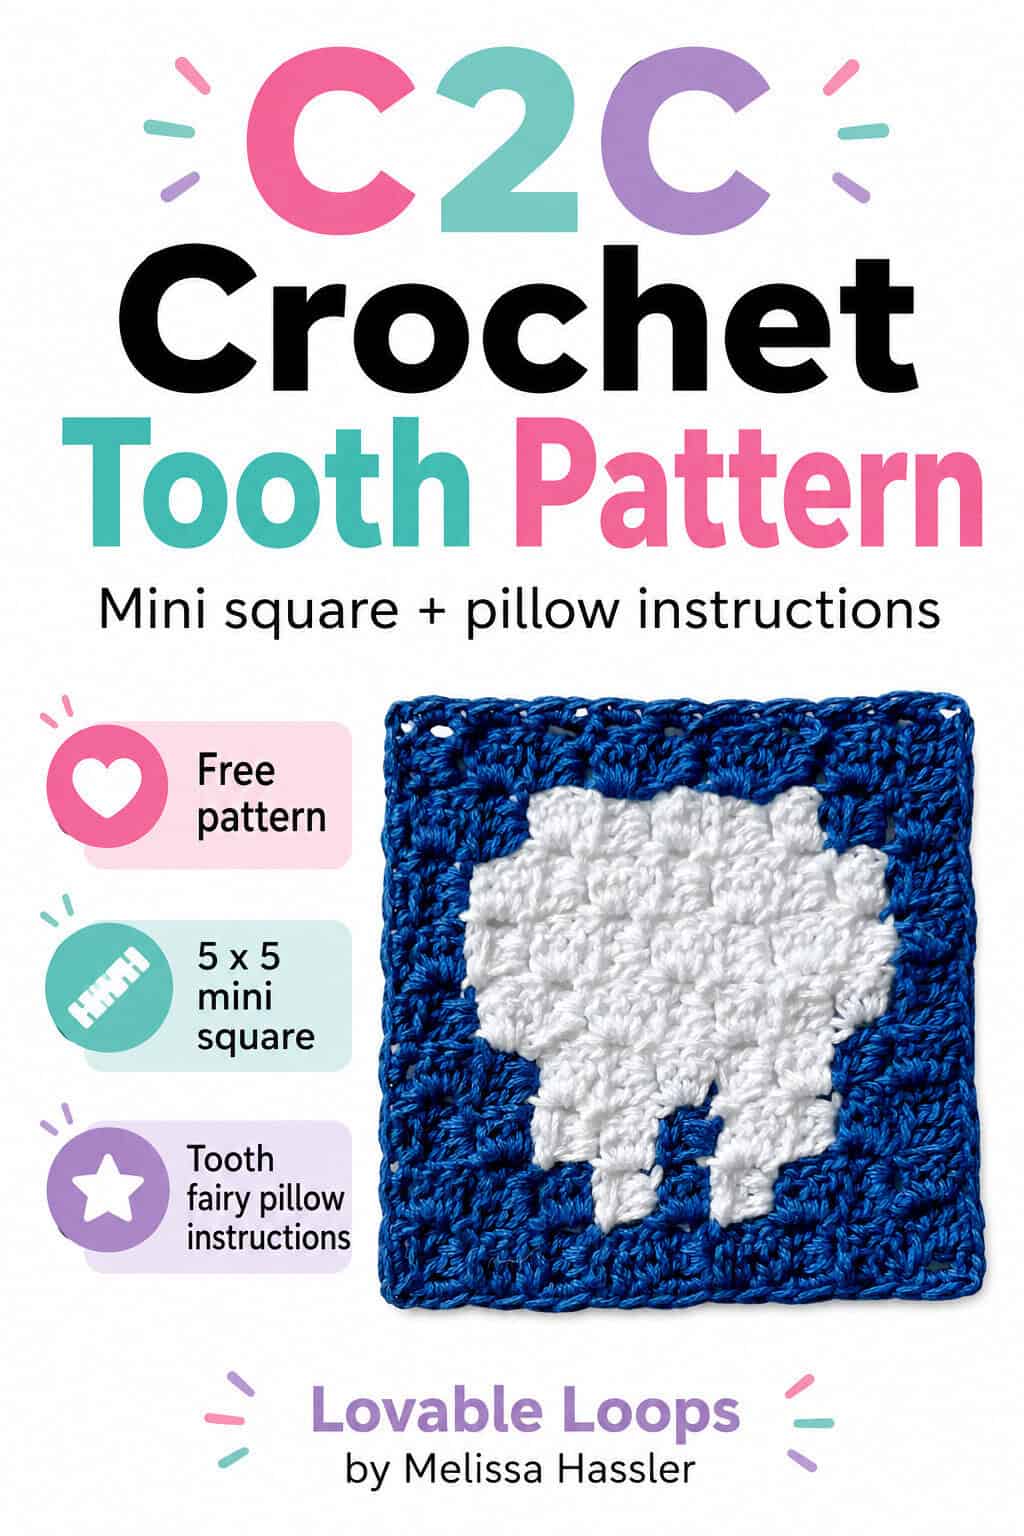
C2C crochet tooth pattern + pillow instructions
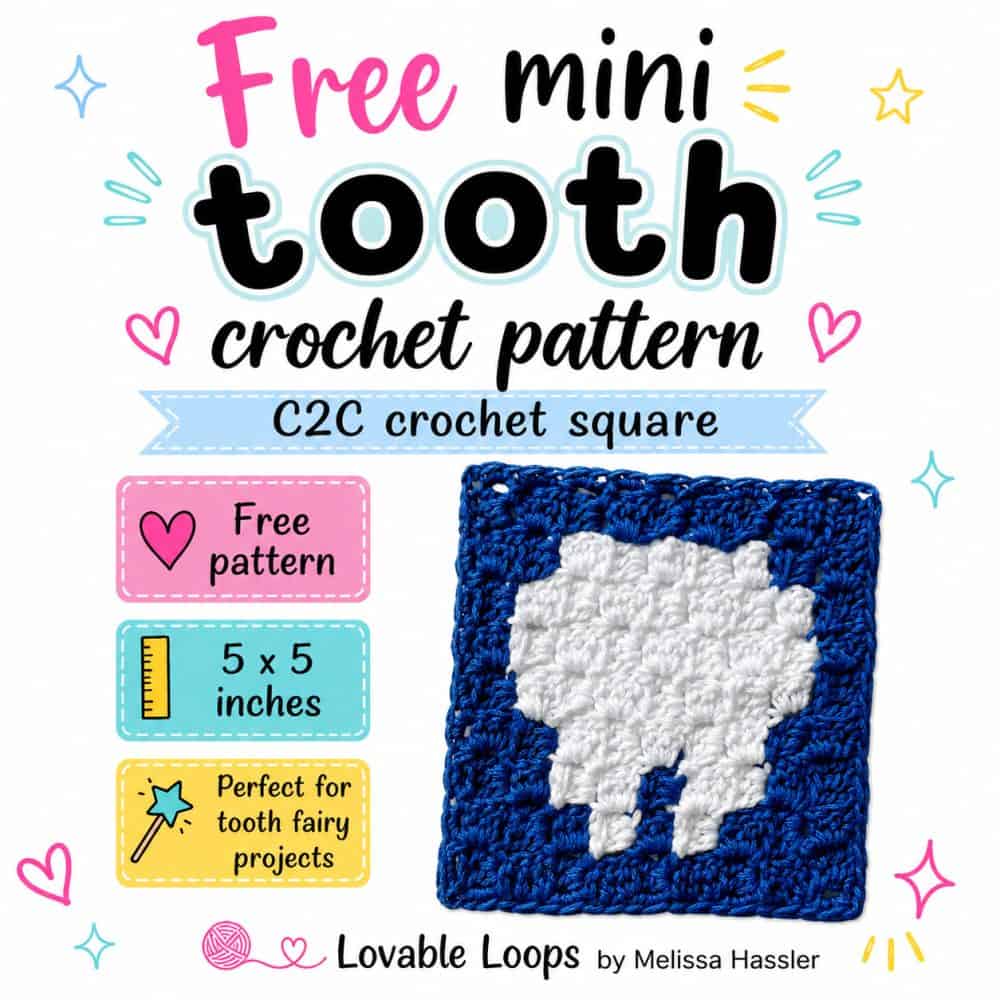
This mini C2C crochet tooth pattern is such a fun little project for tooth fairy gifts, dental-themed decor, and playful handmade makes! The small tooth square works up quickly and can be used for pillows, wall hangings, tote bags, blankets, or a cute tooth fairy pillow.
Looking for a larger tooth fairy project? You may also like my tooth fairy pillow crochet pattern.
C2C crochet tooth pattern details
Here’s a quick overview of the materials, sizing, gauge, and pattern notes before you begin.
Skill level
Advanced beginners. This mini square is made using the C2C crochet method and it involves color changes.
Materials needed
- Crochet Hook Size: G-6 4 mm
- Yarn: Worsted weight yarn. I used Lion Brand Yarns 24/7 Cotton in white and navy.
- Fiber fill: Use this if you’re making a tooth fairy pillow.
- Yarn needle: Use this to weave in your ends.
- Scissors: Use scissors to fasten off your yarn.
- Stitch marker(s): Optional. Use these to help keep track of your stitches.
Finished size
The finished square measures 5 x 5 inches (13 x 13 cm).
Gauge
8 squares (ch 3 + 3 dc) = 4 inches (10 cm)
Crochet abbreviations
- dc = double crochet
- sc = single crochet
- ch/chs = chain/chains
- st/sts = stitch/stitches
- sl st = slip stitch
Pattern notes
- The panel is made in the C2C technique. You make “blocks” in diagonal rows starting in the bottom right corner and ending in the top left corner.
- Each block is made of a chain 3 + 3 double crochet.
- Chain 6 to start a new row and chain 3 to start a new block.
- You can follow the graph or the written pattern.
- The written pattern tells you how many blocks to make of each color and in what order.
- ↙ You are working on the “right side”.
- ↗ You are working on the “wrong side”.
- The pattern is written in US terms.
Free C2C crochet tooth pattern instructions
Crochet the tooth square following the picture graph or the written pattern. Instructions for making a tooth fairy pillow are below.
Graph
Download the tooth square picture graph.
Written Instructions
Adding a border
Make 2 sc in each square along the sides and in each corner square make (2 sc, ch 2, 2 sc).
Finishing
Fasten off and then weave in all of your ends. Block if desired.

How to make the tooth fairy pillow
If you want to make a tooth fairy pillow, make a back following the same pattern as the front, but without the color changes. Add the single crochet border.
Adding the pocket for the tooth
↙ Row 1: white x 1 (1 square)
↗ Row 2: white x 2 (2 squares)
Corner: Start decreasing on RS
↙ Row 3: white x 2 (2 squares)
Corner: Start decreasing on WS
↗ Row 4: white x 1 (1 square)
Border: Make 2 sc in each square along the sides and in each corner square make (2 sc, ch 2, 2 sc).
Assembling the pillow
Sew the pocket to the front of the tooth square. Then, lay the covers together with the “right sides” facing out. Sew three of the sides together and stuff with fiber fill. Finally, sew the last side together.

Printable version
View this crochet pattern in my Etsy shop: Crochet Tooth Pattern
C2C video tutorial
Need C2C help? I have a step by step C2C tutorial for my mini heart square on my YouTube channel.

More free C2C crochet patterns
Looking for more graph-style crochet projects? Visit my collection of free C2C crochet patterns for mini panels, squares, and other picture designs. If you’re newer to patterns, my how to read a crochet pattern guide can help you understand common terms and repeats.
Let’s connect!
I’d love to see what you’re making! Share your finished project and follow along for more free crochet patterns and tutorials.
📌 Don’t forget to pin this pattern for later!
Happy crocheting! 🧶
— Melissa