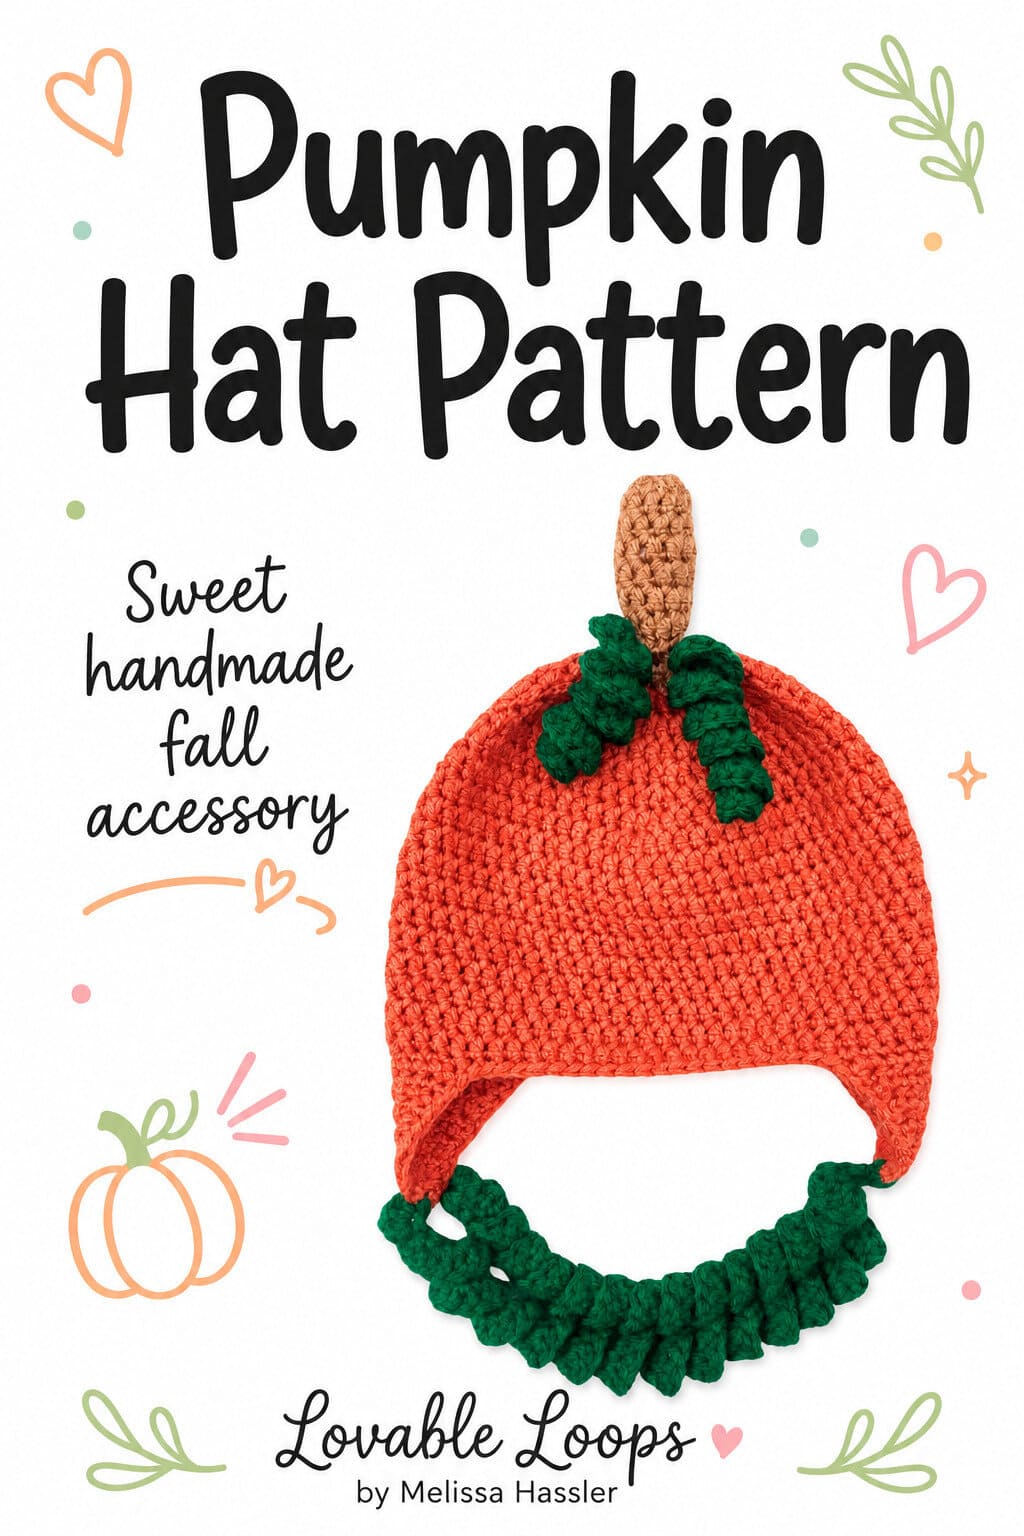
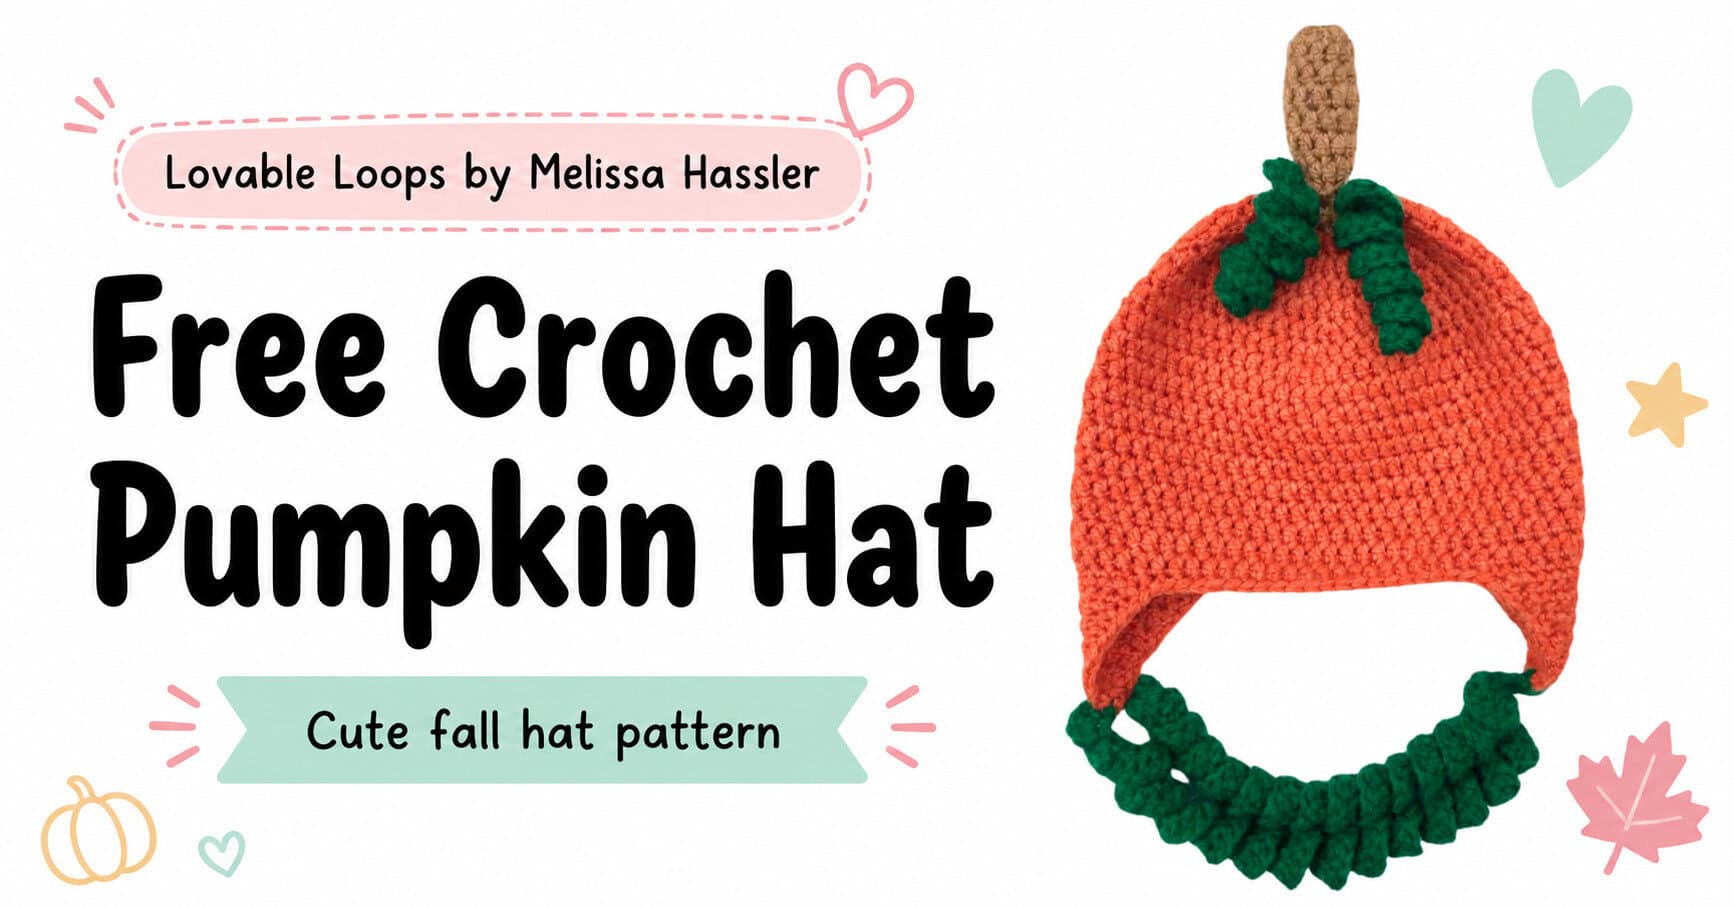
Crochet pumpkin hat pattern with earflaps
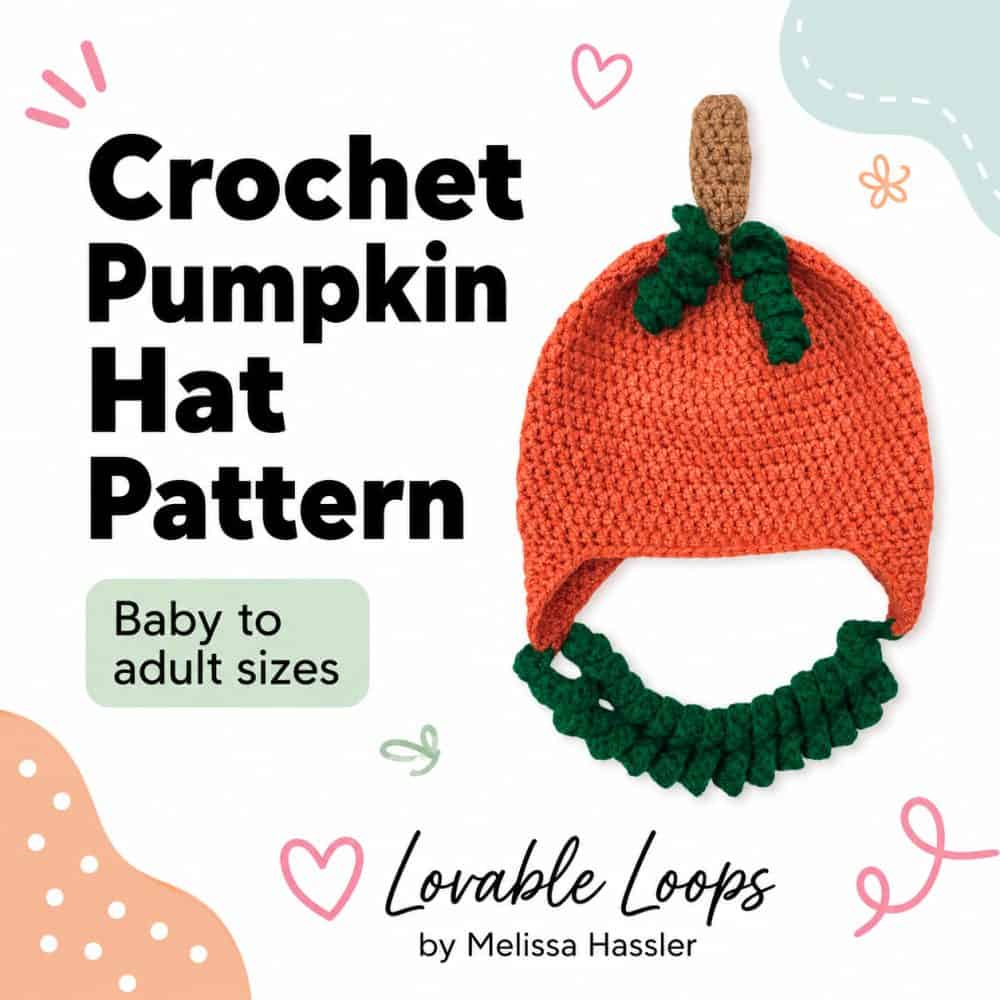
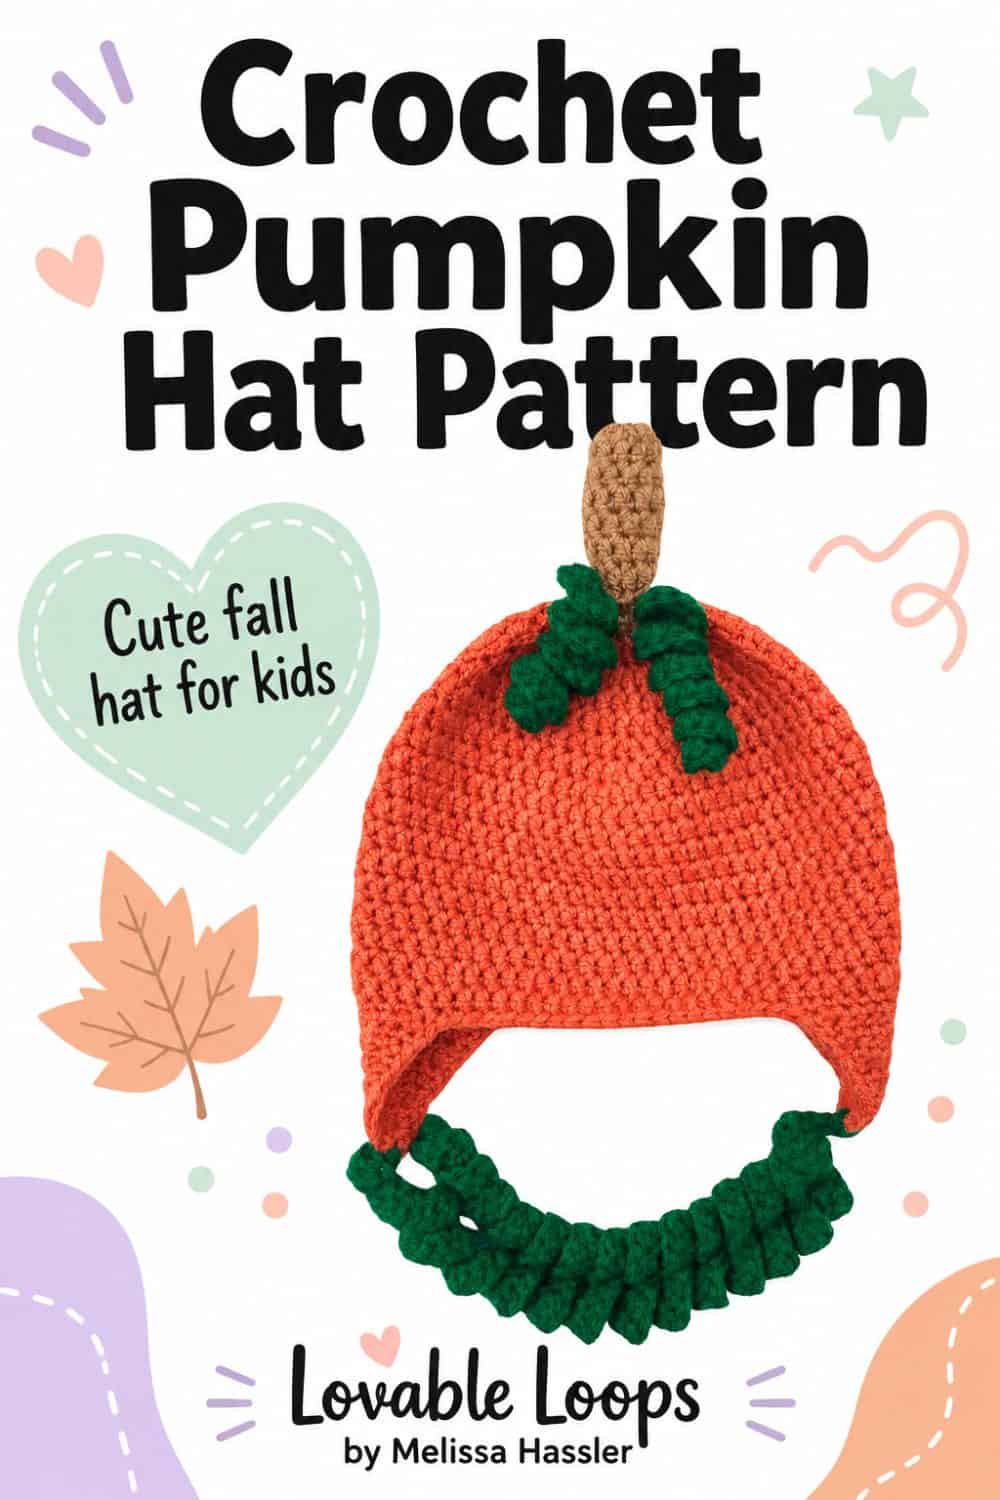
This crochet pumpkin hat pattern with earflaps turns a cozy orange hat into a playful fall pumpkin with a stuffed stem and curly green vines. It’s a fun handmade choice for pumpkin patch photos, Halloween, Thanksgiving, costumes, or chilly autumn days.
Quick answer
This advanced beginner crochet pumpkin hat pattern with earflaps is worked from the top down in joined rounds using worsted weight (#4) yarn and an I-9 (5.5 mm) crochet hook. It includes six sizes from 0–3 months through adult, with shaped earflaps worked directly onto the hat. A stuffed stem and curly green vines are crocheted separately with an H-8 (5 mm) hook and sewn on at the end.
Crochet pumpkin hat pattern with earflaps details
Skill level
Advanced beginner — Uses joined rounds, basic double crochet increases, single crochet decreases, simple shaping, stuffing, and sewing separate pieces to the hat.
Materials needed
- I-9 (5.5 mm) crochet hook for the hat
- H-8 (5 mm) crochet hook for the stem and vines
- Worsted weight yarn (#4) in orange, brown, and green
- Fiberfill to stuff the stem
- Yarn needle
- Scissors
Size guide
Choose a size based on the wearer’s head circumference whenever possible. The head circumference measurements below are intended wearer fit ranges.
| Size | Fits head circumference | Finished hat height |
|---|---|---|
| 0–3 months | 13–14 in (33–35.5 cm) | 5 in (12.7 cm) |
| 3–6 months | 14–15 in (35.5–38 cm) | 5.5 in (14 cm) |
| 6–12 months | 16–17 in (40.5–43 cm) | 6.25 in (15.9 cm) |
| Toddler | 18–19 in (45.5–48 cm) | 6.75 in (17.1 cm) |
| Child | 19–20 in (48–51 cm) | 7 in (17.8 cm) |
| Adult | 20–23 in (51–58.5 cm) | 7.75 in (19.7 cm) |
Gauge
15 dc × 10 rounds = 4 inches (10 cm)
Learn how to check crochet gauge before you begin so you can adjust your hook size if needed.
Crochet abbreviations
- dc = double crochet
- dc2tog = double crochet decrease
- sc = single crochet
- sc2tog = single crochet decrease
- ch/chs = chain/chains
- st/sts = stitch/stitches
- sl st = slip stitch
- rnd/rnds = round/rounds
Pattern notes
- The hat is worked from the top down in joined rounds.
- The beginning ch 1 or ch 2 does not count as a stitch.
- Join each completed round with a sl st to the first stitch made in the round.
- Repeat from the asterisk (*) as indicated.
- The pattern is written in US crochet terms.
Magic circle alternative
If you find the magic circle tricky, try this easier method for round 1.
Round 1: Ch 4, work 11 dc in the 4th ch from the hook. Join with a sl st to the first dc. (11 stitches)
Crochet pumpkin hat pattern with earflaps instructions
Use an I-9 (5.5 mm) crochet hook for the hat and earflaps. Begin with brown yarn for Rnds 1–2, then switch to orange yarn for the remainder of the hat and earflaps.
0–3 months size
Rnd 1: Make a magic circle. Ch 2, work 11 dc into the ring. Join with a sl st to the first dc. (11 sts)
Rnd 2: Ch 2, work 2 dc in each st around. Join. (22 sts)
Switch to orange yarn.
Rnd 3: Ch 2, *2 dc in next st, dc in next st; repeat from * around. Join. (33 sts)
Rnd 4: Ch 2, *2 dc in next st, dc in next 2 sts; repeat from * around. Join. (44 sts)
Rnd 5: Ch 2, *2 dc in next st, dc in next 10 sts; repeat from * around. Join. (48 sts)
Rnds 6–13: Ch 2, dc in each st around. Join. (48 sts)
Do not fasten off. Continue to the earflap instructions.
3–6 months size
Rnd 1: Make a magic circle. Ch 2, work 11 dc into the ring. Join with a sl st to the first dc. (11 sts)
Rnd 2: Ch 2, work 2 dc in each st around. Join. (22 sts)
Switch to orange yarn.
Rnd 3: Ch 2, *2 dc in next st, dc in next st; repeat from * around. Join. (33 sts)
Rnd 4: Ch 2, *2 dc in next st, dc in next 2 sts; repeat from * around. Join. (44 sts)
Rnd 5: Ch 2, *2 dc in next st, dc in next 10 sts; repeat from * around. Join. (48 sts)
Rnd 6: Ch 2, *2 dc in next st, dc in next 11 sts; repeat from * around. Join. (52 sts)
Rnds 7–15: Ch 2, dc in each st around. Join. (52 sts)
Do not fasten off. Continue to the earflap instructions.
6–12 months size
Rnd 1: Make a magic circle. Ch 2, work 11 dc into the ring. Join with a sl st to the first dc. (11 sts)
Rnd 2: Ch 2, work 2 dc in each st around. Join. (22 sts)
Switch to orange yarn.
Rnd 3: Ch 2, *2 dc in next st, dc in next st; repeat from * around. Join. (33 sts)
Rnd 4: Ch 2, *2 dc in next st, dc in next 2 sts; repeat from * around. Join. (44 sts)
Rnd 5: Ch 2, *2 dc in next st, dc in next 10 sts; repeat from * around. Join. (48 sts)
Rnd 6: Ch 2, *2 dc in next st, dc in next 11 sts; repeat from * around. Join. (52 sts)
Rnd 7: Ch 2, *2 dc in next st, dc in next 12 sts; repeat from * around. Join. (56 sts)
Rnds 8–16: Ch 2, dc in each st around. Join. (56 sts)
Do not fasten off. Continue to the earflap instructions.
Toddler size
Rnd 1: Make a magic circle. Ch 2, work 11 dc into the ring. Join with a sl st to the first dc. (11 sts)
Rnd 2: Ch 2, work 2 dc in each st around. Join. (22 sts)
Switch to orange yarn.
Rnd 3: Ch 2, *2 dc in next st, dc in next st; repeat from * around. Join. (33 sts)
Rnd 4: Ch 2, *2 dc in next st, dc in next 2 sts; repeat from * around. Join. (44 sts)
Rnd 5: Ch 2, *2 dc in next st, dc in next 10 sts; repeat from * around. Join. (48 sts)
Rnd 6: Ch 2, *2 dc in next st, dc in next 11 sts; repeat from * around. Join. (52 sts)
Rnd 7: Ch 2, *2 dc in next st, dc in next 12 sts; repeat from * around. Join. (56 sts)
Rnd 8: Ch 2, *2 dc in next st, dc in next 13 sts; repeat from * around. Join. (60 sts)
Rnds 9–18: Ch 2, dc in each st around. Join. (60 sts)
Do not fasten off. Continue to the earflap instructions.
Child size
Rnd 1: Make a magic circle. Ch 2, work 11 dc into the ring. Join with a sl st to the first dc. (11 sts)
Rnd 2: Ch 2, work 2 dc in each st around. Join. (22 sts)
Switch to orange yarn.
Rnd 3: Ch 2, *2 dc in next st, dc in next st; repeat from * around. Join. (33 sts)
Rnd 4: Ch 2, *2 dc in next st, dc in next 2 sts; repeat from * around. Join. (44 sts)
Rnd 5: Ch 2, *2 dc in next st, dc in next 10 sts; repeat from * around. Join. (48 sts)
Rnd 6: Ch 2, *2 dc in next st, dc in next 11 sts; repeat from * around. Join. (52 sts)
Rnd 7: Ch 2, *2 dc in next st, dc in next 12 sts; repeat from * around. Join. (56 sts)
Rnd 8: Ch 2, *2 dc in next st, dc in next 13 sts; repeat from * around. Join. (60 sts)
Rnd 9: Ch 2, *2 dc in next st, dc in next 14 sts; repeat from * around. Join. (64 sts)
Rnds 10–19: Ch 2, dc in each st around. Join. (64 sts)
Do not fasten off. Continue to the earflap instructions.
Adult size
Rnd 1: Make a magic circle. Ch 2, work 11 dc into the ring. Join with a sl st to the first dc. (11 sts)
Rnd 2: Ch 2, work 2 dc in each st around. Join. (22 sts)
Switch to orange yarn.
Rnd 3: Ch 2, *2 dc in next st, dc in next st; repeat from * around. Join. (33 sts)
Rnd 4: Ch 2, *2 dc in next st, dc in next 2 sts; repeat from * around. Join. (44 sts)
Rnd 5: Ch 2, *2 dc in next st, dc in next 10 sts; repeat from * around. Join. (48 sts)
Rnd 6: Ch 2, *2 dc in next st, dc in next 11 sts; repeat from * around. Join. (52 sts)
Rnd 7: Ch 2, *2 dc in next st, dc in next 12 sts; repeat from * around. Join. (56 sts)
Rnd 8: Ch 2, *2 dc in next st, dc in next 13 sts; repeat from * around. Join. (60 sts)
Rnd 9: Ch 2, *2 dc in next st, dc in next 14 sts; repeat from * around. Join. (64 sts)
Rnd 10: Ch 2, *2 dc in next st, dc in next 15 sts; repeat from * around. Join. (68 sts)
Rnds 11–21: Ch 2, dc in each st around. Join. (68 sts)
Do not fasten off. Continue to the earflap instructions. Pasted text (2)(20261018-125635)
Earflap instructions
Begin the first earflap where you ended the final rnd of the hat. Work the earflap instructions for your size, then fasten off.
Skip the number of front sts listed for your size below. Join orange yarn in the next st and work the second earflap using the same instructions. Fasten off. The remaining unworked sts form the back of the hat.
| Size | Leave at front | Leave at back |
|---|---|---|
| 0–3 months | 16 sts | 12 sts |
| 3–6 months | 16 sts | 12 sts |
| 6–12 months | 18 sts | 14 sts |
| Toddler | 18 sts | 14 sts |
| Child | 20 sts | 16 sts |
| Adult | 22 sts | 18 sts |
0–3 months earflaps
Row 1: Ch 1, sc in next 10 sts. Turn. (10 sts)
Row 2: Ch 1, sc2tog, sc in next 6 sts, sc2tog. Turn. (8 sts)
Row 3: Ch 1, sc in each st across. Turn. (8 sts)
Row 4: Ch 1, sc2tog, sc in next 4 sts, sc2tog. Turn. (6 sts)
Row 5: Ch 1, sc in each st across. Turn. (6 sts)
Row 6: Ch 1, sc2tog, sc in next 2 sts, sc2tog. Turn. (4 sts)
Row 7: Ch 1, sc in each st across. Turn. (4 sts)
Row 8: Ch 1, sc2tog twice. Turn. (2 sts)
Row 9: Ch 1, sc2tog. (1 st)
Fasten off.
3–6 and 6–12 months earflaps
Row 1: Ch 1, sc in next 12 sts. Turn. (12 sts)
Row 2: Ch 1, sc2tog, sc in next 8 sts, sc2tog. Turn. (10 sts)
Row 3: Ch 1, sc in each st across. Turn. (10 sts)
Row 4: Ch 1, sc2tog, sc in next 6 sts, sc2tog. Turn. (8 sts)
Row 5: Ch 1, sc in each st across. Turn. (8 sts)
Row 6: Ch 1, sc2tog, sc in next 4 sts, sc2tog. Turn. (6 sts)
Row 7: Ch 1, sc in each st across. Turn. (6 sts)
Row 8: Ch 1, sc2tog, sc in next 2 sts, sc2tog. Turn. (4 sts)
Row 9: Ch 1, sc in each st across. Turn. (4 sts)
Row 10: Ch 1, sc2tog twice. Turn. (2 sts)
Row 11: Ch 1, sc2tog. (1 st)
Fasten off.
Toddler, child, and adult earflaps
Row 1: Ch 1, sc in next 14 sts. Turn. (14 sts)
Row 2: Ch 1, sc2tog, sc in next 10 sts, sc2tog. Turn. (12 sts)
Row 3: Ch 1, sc in each st across. Turn. (12 sts)
Row 4: Ch 1, sc2tog, sc in next 8 sts, sc2tog. Turn. (10 sts)
Row 5: Ch 1, sc in each st across. Turn. (10 sts)
Row 6: Ch 1, sc2tog, sc in next 6 sts, sc2tog. Turn. (8 sts)
Row 7: Ch 1, sc in each st across. Turn. (8 sts)
Row 8: Ch 1, sc2tog, sc in next 4 sts, sc2tog. Turn. (6 sts)
Row 9: Ch 1, sc in each st across. Turn. (6 sts)
Row 10: Ch 1, sc2tog, sc in next 2 sts, sc2tog. Turn. (4 sts)
Row 11: Ch 1, sc in each st across. Turn. (4 sts)
Row 12: Ch 1, sc2tog twice. Turn. (2 sts)
Row 13: Ch 1, sc2tog. (1 st)
Fasten off. Pasted text (2)(20261018-125635)
Edge the hat and earflaps
After both earflaps are complete, join orange yarn with a sl st anywhere along the lower edge of the hat.
Ch 1 and sc evenly around the entire lower edge of the hat and both earflaps.
Join with a sl st to the first sc and fasten off.
Crochet the stem
Use an H-8 (5 mm) crochet hook and brown yarn.
0–3 through 6–12 months sizes
Rnd 1: Make a magic circle and work 11 dc into the ring. Join with a sl st to the first dc. (11 sts)
Rnds 2–3: Ch 2, dc in each st around. Join. (11 sts)
Rnd 4: Ch 2, dc2tog, dc in next 9 sts. Join. (10 sts)
Rnd 5: Ch 2, dc2tog, dc in next 8 sts. Join. (9 sts)
Fasten off, leaving a long yarn tail.
Toddler through adult sizes
Rnd 1: Make a magic circle and work 11 dc into the ring. Join with a sl st to the first dc. (11 sts)
Rnds 2–5: Ch 2, dc in each st around. Join. (11 sts)
Rnd 6: Ch 2, dc2tog, dc in next 9 sts. Join. (10 sts)
Rnd 7: Ch 2, dc2tog, dc in next 8 sts. Join. (9 sts)
Fasten off, leaving a long yarn tail.
Attach the stem
Stuff the stem with fiberfill.
Thread the long yarn tail onto a yarn needle and sew the stem securely to the top of the hat. Pasted text (2)(20261018-125635)
Crochet the stem vines
Make 2 using an H-8 (5 mm) crochet hook and green yarn.
0–3 through 6–12 months sizes
Ch 15. Work 2 dc in the 3rd ch from hook, then work 3 dc in each remaining ch.
Fasten off, leaving a long yarn tail. Use the tail to sew the vine securely to the hat near the stem.
Toddler through adult sizes
Ch 20. Work 2 dc in the 3rd ch from hook, then work 3 dc in each remaining ch.
Fasten off, leaving a long yarn tail. Use the tail to sew the vine securely to the hat near the stem.
Crochet the earflap vines
Make 2 using an H-8 (5 mm) crochet hook and green yarn.
0–3 through 6–12 months sizes
Ch 50. Work 1 dc in the 3rd ch from hook, then work 2 dc in each remaining ch.
Fasten off, leaving a long yarn tail. Use the tail to sew the vine securely to an earflap.
Toddler through adult sizes
Ch 70. Work 1 dc in the 3rd ch from hook, then work 2 dc in each remaining ch.
Fasten off, leaving a long yarn tail. Use the tail to sew the vine securely to an earflap.
Attach one vine to each earflap. Pasted text (2)(20261018-125635)
Finishing
Weave in all remaining yarn ends.
Make sure the stem and all four vines are securely attached.

More free crochet fall hat patterns
Looking for another fun fall hat? Try my crochet turkey hat pattern, featuring six sizes from baby to adult, cozy earflaps, braided ties, and colorful turkey details.
Prefer a classic pumpkin beanie without earflaps? Try my crochet pumpkin hat pattern, featuring raised pumpkin ridges, a green stem, and curly vines.
For more seasonal projects, browse my free crochet pumpkin patterns or explore my full collection of free crochet hat patterns for even more styles and sizes.
Let’s connect!
I’d love to see what you’re making! Share your finished project and follow along for more free crochet patterns and tutorials.
📌 Don’t forget to pin this pattern for later!
Happy crocheting! 🧶
— Melissa