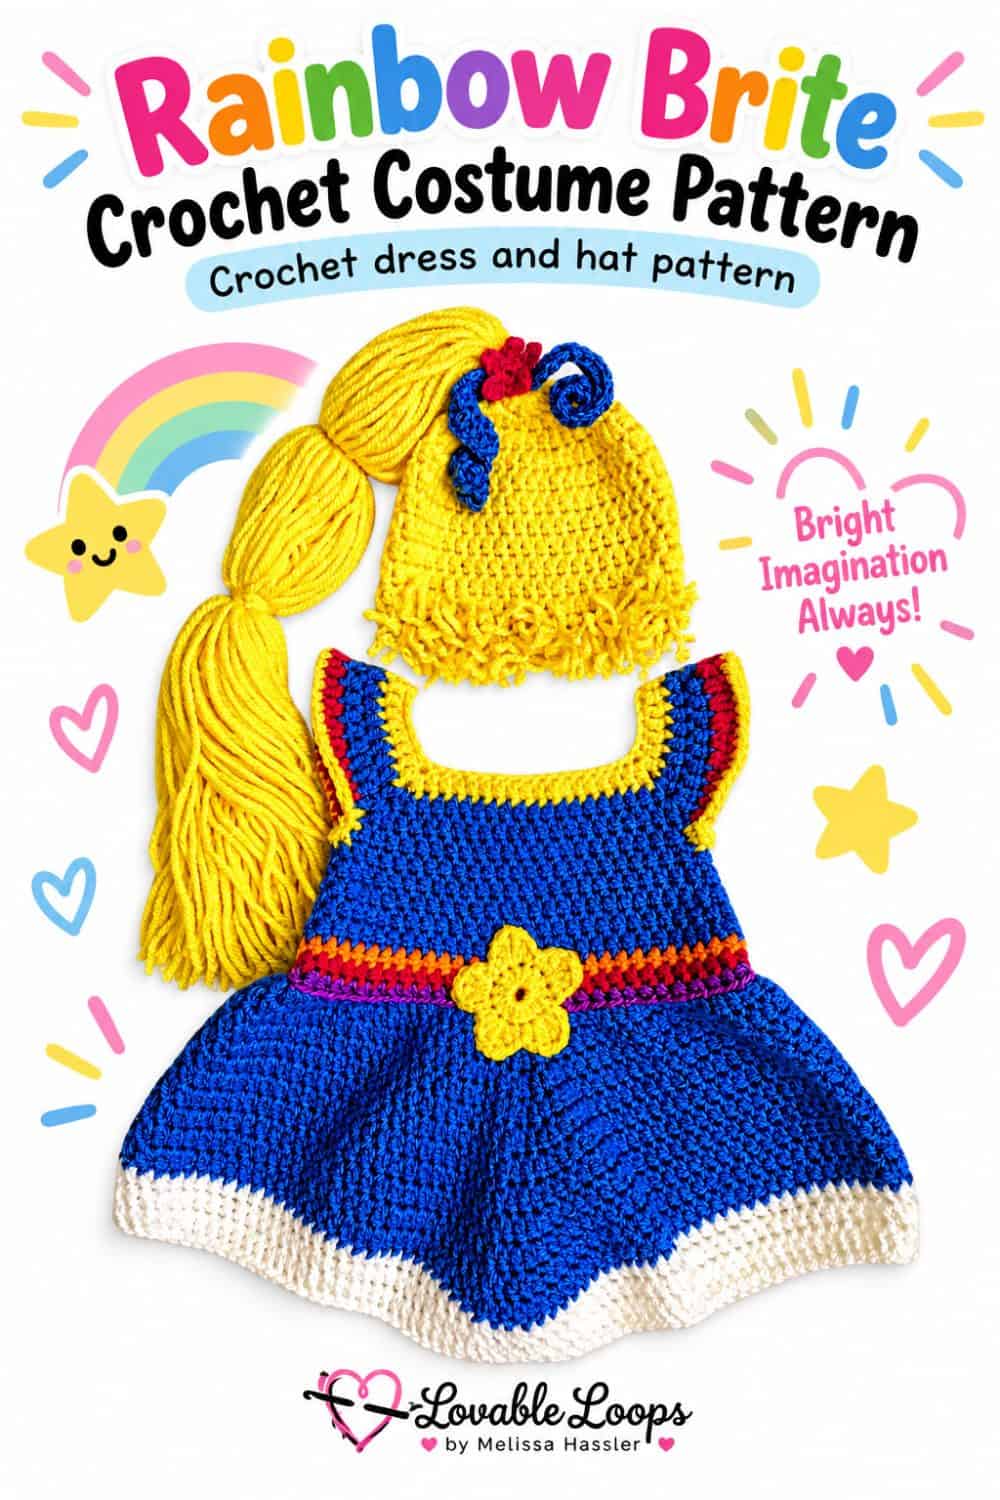
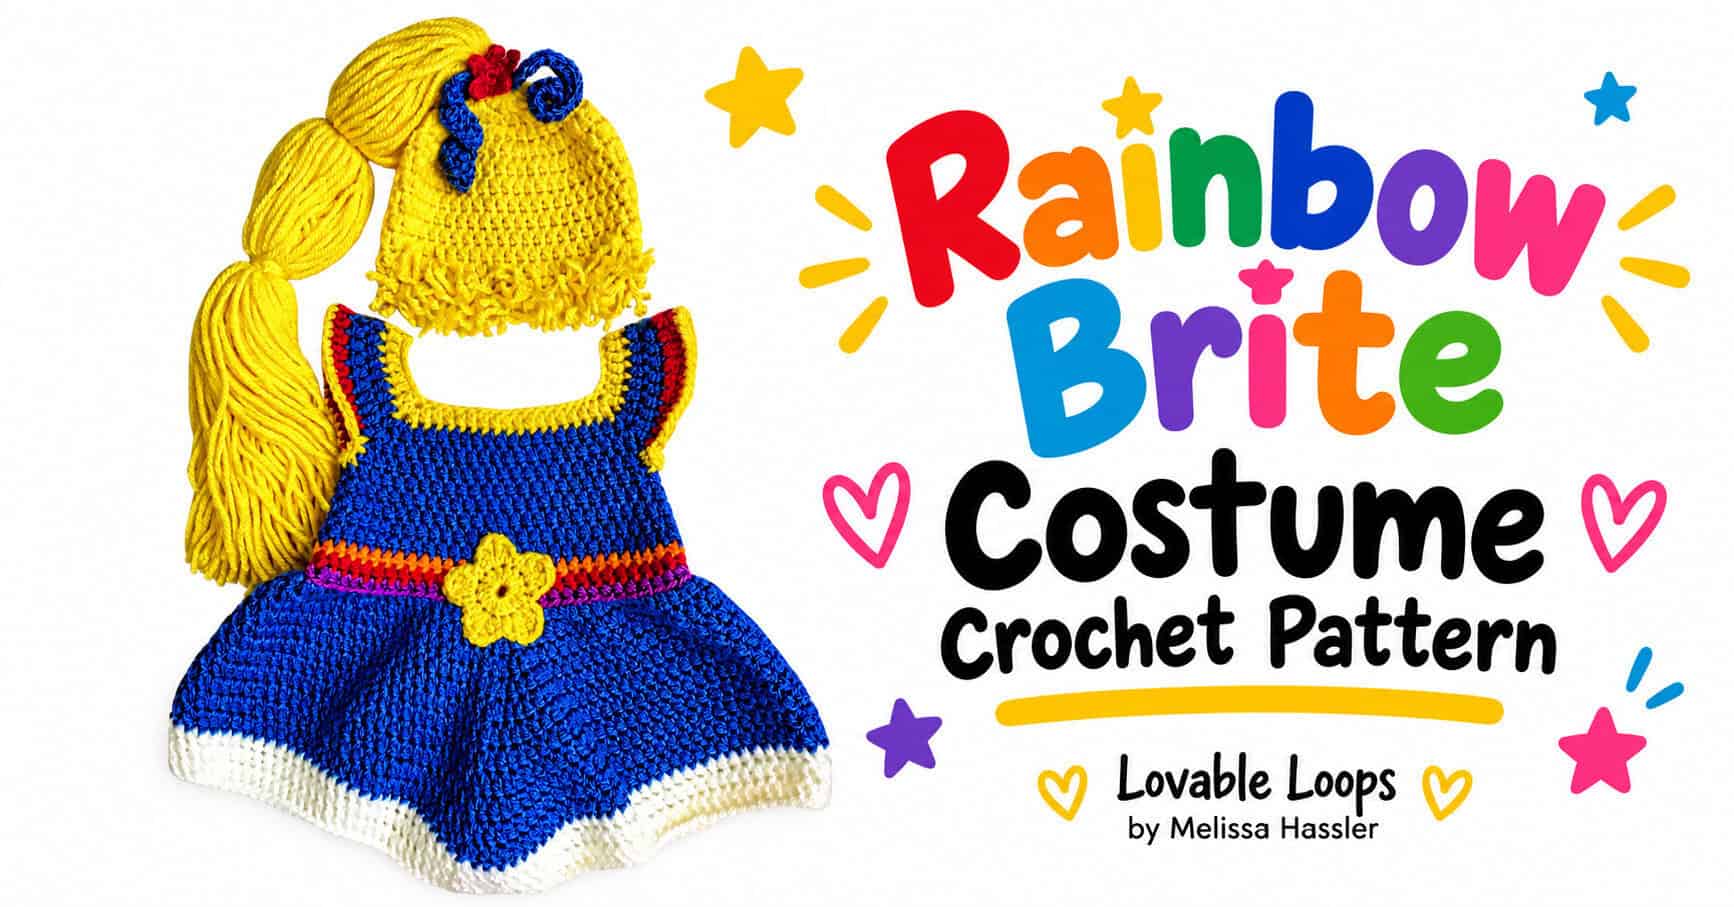
Rainbow Brite costume crochet pattern
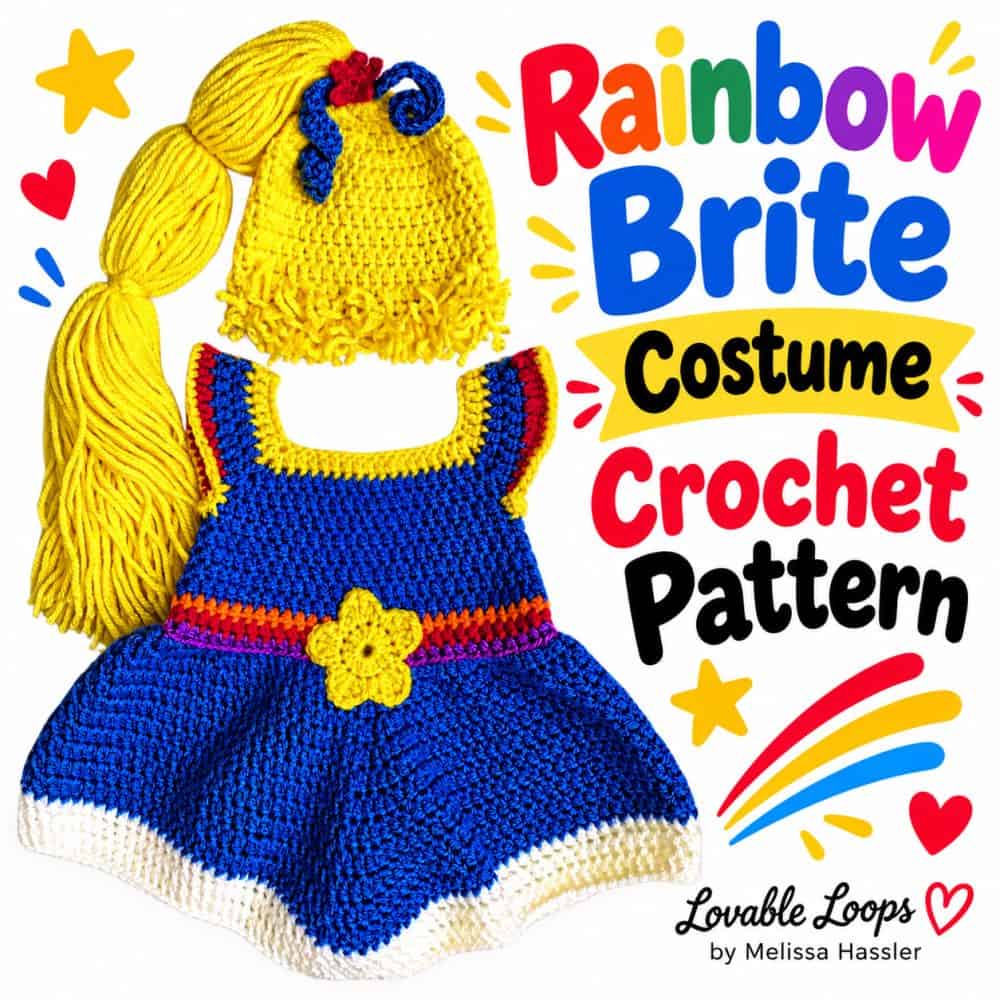
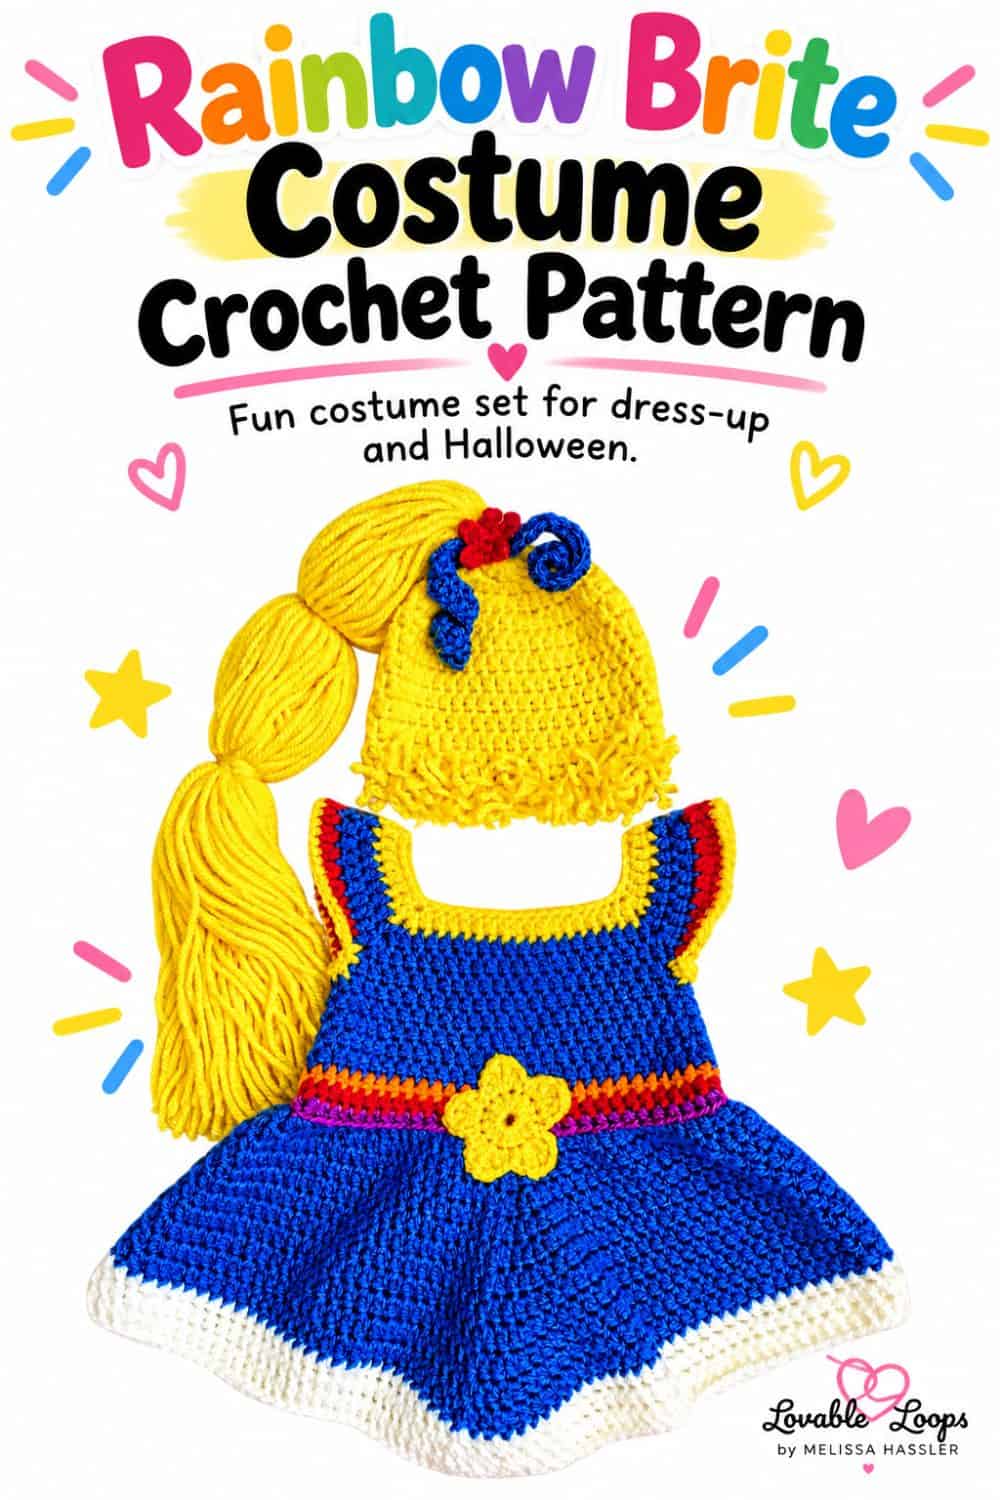
This Rainbow Brite costume crochet pattern is a colorful throwback inspired by the classic 80s character. The bright rainbow dress makes a fun handmade baby costume for Halloween, photos, or dress-up, and you can pair it with my matching Rainbow Brite wig pattern to complete the look.
Quick answer
This intermediate Rainbow Brite baby costume is worked top down in joined rounds using worsted weight (#4) yarn and an I-9 (5.5 mm) crochet hook, with a 4.5 mm hook for the star. The dress includes 0–3 and 3–6 month sizes, color changes, a flared skirt, sleeves, and a sewn-on star. A step-by-step video tutorial is included.
Rainbow Brite costume crochet pattern details
Skill level
Intermediate — This pattern uses joined rounds, color changes, increases, back-loop-only stitches, armhole shaping, added sleeves, and a separate crochet star that is sewn onto the dress.
Materials needed
- I-9 (5.5 mm) crochet hook for the dress
- 4.5 mm crochet hook for the star
- Worsted weight yarn (#4) in white, red, orange, yellow, blue, and purple
- Yarn needle
- Stitch markers
- Scissors
Baby body measurements
Use the measurements below to choose a size. These are baby body measurements, not finished dress measurements.
| Measurement | 0–3 months | 3–6 months |
|---|---|---|
| Chest | 16 in (40.6 cm) | 17 in (43.2 cm) |
| Waist | 18 in (45.7 cm) | 19 in (48.3 cm) |
| Hips | 19 in (48.3 cm) | 20 in (50.8 cm) |
| Back length | 6 in (15.2 cm) | 7 in (17.8 cm) |
| Crossback | 7.25 in (18.4 cm) | 7.75 in (19.7 cm) |
| Armhole depth | 3.25 in (8.3 cm) | 3.5 in (8.9 cm) |
Gauge
15 dc and 11 rows = 4 inches (10 cm)
Learn how to check crochet gauge before you begin so you can adjust your hook size if needed.
Crochet abbreviations
- dc = double crochet stitch
- sc = single crochet stitch
- hdc = half double crochet stitch
- tr = treble crochet
- ch/chs = chain/chains
- st/sts = stitch/stitches
- sp = space
- sl st = slip stitch
- rnd/rnds = round/rounds
Pattern notes
- Rounds 1–9 are the same for both sizes.
- The chain at the beginning of each round does not count as a stitch.
- Join each round with a sl st to the first stitch made in that round.
- Repeat instructions between the asterisks (*) as directed.
- The dress is worked top down in joined rounds.
- The pattern is written in US crochet terms.
Special stitch
V-stitch: Work (dc, ch 1, dc) in the same st or sp.
Video tutorial
Follow along with the video tutorial below to see how I crochet the Rainbow Brite dress step by step.

Rainbow Brite costume crochet pattern instructions
Rounds 1-9
Using yellow yarn, ch 64 and join with a sl st to the first ch to form a ring.
Rnd 1: Ch 2, dc in next 8 chs, V-stitch in next ch, dc in next 14 chs, V-stitch in next ch, dc in next 16 chs, V-stitch in next ch, dc in next 14 chs, V-stitch in next ch, dc in last 8 chs, join. (68 dc + 4 ch-1 sps)
Switch to blue yarn.
Rnd 2: Ch 2, dc in next 9 sts, V-stitch in next ch-1 sp, dc in next 16 sts, V-stitch in next ch-1 sp, dc in next 18 sts, V-stitch in next ch-1 sp, dc in next 16 sts, V-stitch in next ch-1 sp, dc in last 9 sts, join. (76 dc + 4 ch-1 sps)
Rnd 3: Ch 2, dc in next 10 sts, V-stitch in next ch-1 sp, dc in next 18 sts, V-stitch in next ch-1 sp, dc in next 20 sts, V-stitch in next ch-1 sp, dc in next 18 sts, V-stitch in next ch-1 sp, dc in last 10 sts, join. (84 dc + 4 ch-1 sps)
Rnd 4: Ch 2, dc in next 11 sts, dc in next ch-1 sp, ch 1, skip next 20 sts, dc in next ch-1 sp, dc in next 22 sts, dc in next ch-1 sp, ch 1, skip next 20 sts, dc in next ch-1 sp, dc in last 11 sts, join. (48 dc + 2 ch-1 sps)
Rnd 5: Ch 2, dc in next 12 sts, 2 dc in next ch-1 sp, dc in next 24 sts, 2 dc in next ch-1 sp, dc in last 12 sts, join. (52 sts)
Rnd 6: Ch 2, dc in next 13 sts, 2 dc in next st, dc in next 25 sts, 2 dc in next st, dc in last 12 sts, join. (54 sts)
Rnd 7: Ch 2, dc in next 13 sts, 2 dc in next st, dc in next 26 sts, 2 dc in next st, dc in last 13 sts, join. (56 sts)
Rnd 8: Ch 2, dc in next 14 sts, 2 dc in next st, dc in next 27 sts, 2 dc in next st, dc in last 13 sts, join. (58 sts)
Rnd 9: Ch 2, dc in next 14 sts, 2 dc in next st, dc in next 28 sts, 2 dc in next st, dc in last 14 sts, join. (60 sts)
0-3 months size
Switch to orange yarn.
Rnd 10: Ch 2, dc in each st, join (60 stitches)
Switch to red yarn.
Rnd 11: Ch 2, dc in each st, join (60 stitches)
Switch to purple yarn.
Rnd 12: Ch 2, dc in each st, join (60 stitches)
Switch to blue yarn.
Rnd 13: Ch 2, working in the back loops only, *2 dc in next st, dc in next st; repeat from * around, join. (90 sts)
Lay the dress flat with the armholes aligned. Place a stitch marker in the center stitch at the front of the dress and a second marker in the corresponding center stitch at the back, directly opposite the first marker. The two marked stitches should be 45 stitches apart.
Rnds 14–23: With blue yarn, ch 2. Work 1 dc in each st around, except work 2 dc in the st immediately before and immediately after each marked st. Work 1 dc in each marked st, moving the marker up to that stitch as you go. Join. (Increase of 4 sts per round.)
Switch to white yarn.
Rnds 24–26: Continue the same shaping, increasing by 4 sts each round. (142 sts after Rnd 26)
Rnd 27: Ch 1, sc in each st around, join and fasten off. (142 sts)
3-6 months size
Rnd 10: Ch 2, dc in next 15 sts, 2 dc in next st, dc in next 29 sts, 2 dc in next st, dc in last 14 sts, join. (62 sts)
Switch to orange yarn.
Rnd 11: Ch 2, dc in next 15 sts, 2 dc in next st, dc in next 30 sts, 2 dc in next st, dc in last 15 sts, join. (64 sts)
Switch to red yarn.
Rnd 12: Ch 2, dc in each st, join (64 stitches)
Switch to purple yarn.
Rnd 13: Ch 2, dc in each st, join (64 stitches)
Switch to blue yarn.
Rnd 14: Ch 2, working in the back loops only, *2 dc in next st, dc in next st; repeat from * around, join. (96 sts)
Lay the dress flat with the armholes aligned. There are two center stitches at both the front and back. Choose either center stitch at the front and place a marker in it. Place the second marker in the corresponding center stitch at the back, directly opposite the first marker. Use the same side of the center pair at both the front and back. The two marked stitches should be 48 stitches apart.
Rnds 15–27: With blue yarn, ch 2. Work 1 dc in each st around, except work 2 dc in the st immediately before and immediately after each marked st. Work 1 dc in each marked st, moving the marker up to that stitch as you go. Join. (Increase of 4 sts per round.)
Switch to white yarn.
Rnds 28–30: Continue the same shaping, increasing by 4 sts each round. (160 sts after Rnd 30)
Rnd 31: Ch 1, sc in each st around, join and fasten off. (160 sts)
Adding the sleeves
Join red yarn in the first unworked sleeve stitch next to the underarm ch-1 space. Work across the 20 unworked sleeve stitches only. Do not work into the underarm ch-1 space.
Rnd 1: Ch 1, sc in next 4 sts, 2 hdc in each of next 2 sts, 2 dc in each of next 8 sts, 2 hdc in each of next 2 sts, sc in next 4 sts, join. (32 sts)
Switch to yellow yarn.
Rnd 2: Ch 1, sc in each st around, join and fasten off. (32 sts)
Repeat Rounds 1–2 for the second sleeve.
Adding the star
Rnd 1: Make a magic circle, ch 2, work 15 dc in the magic circle, join.
Rnd 2: Ch 2, *in next st work (hdc, dc, tr, ch 1); in next st work (tr, dc, hdc); sl st in next st; repeat from * 5 times total, join and fasten off.
Sew the star to the center front of the dress.
Finishing
Weave in the ends.

More crochet baby costume patterns
Looking for another sweet outfit? Browse my crochet baby dress patterns for more handmade dresses and costumes, including my crochet unicorn dress pattern with pastel rainbow details and a matching horn headband.
You can also explore my full collection of crochet baby patterns for blankets, hats, cardigans, booties, accessories, and gifts.
Looking for another colorful baby outfit? Try my crochet unicorn dress pattern, featuring pastel rainbow details, a spiral tail, and a matching horn headband.
Let’s connect!
I’d love to see what you’re making! Share your finished project and follow along for more free crochet patterns and tutorials.
📌 Don’t forget to pin this pattern for later!
Happy crocheting! 🧶
— Melissa