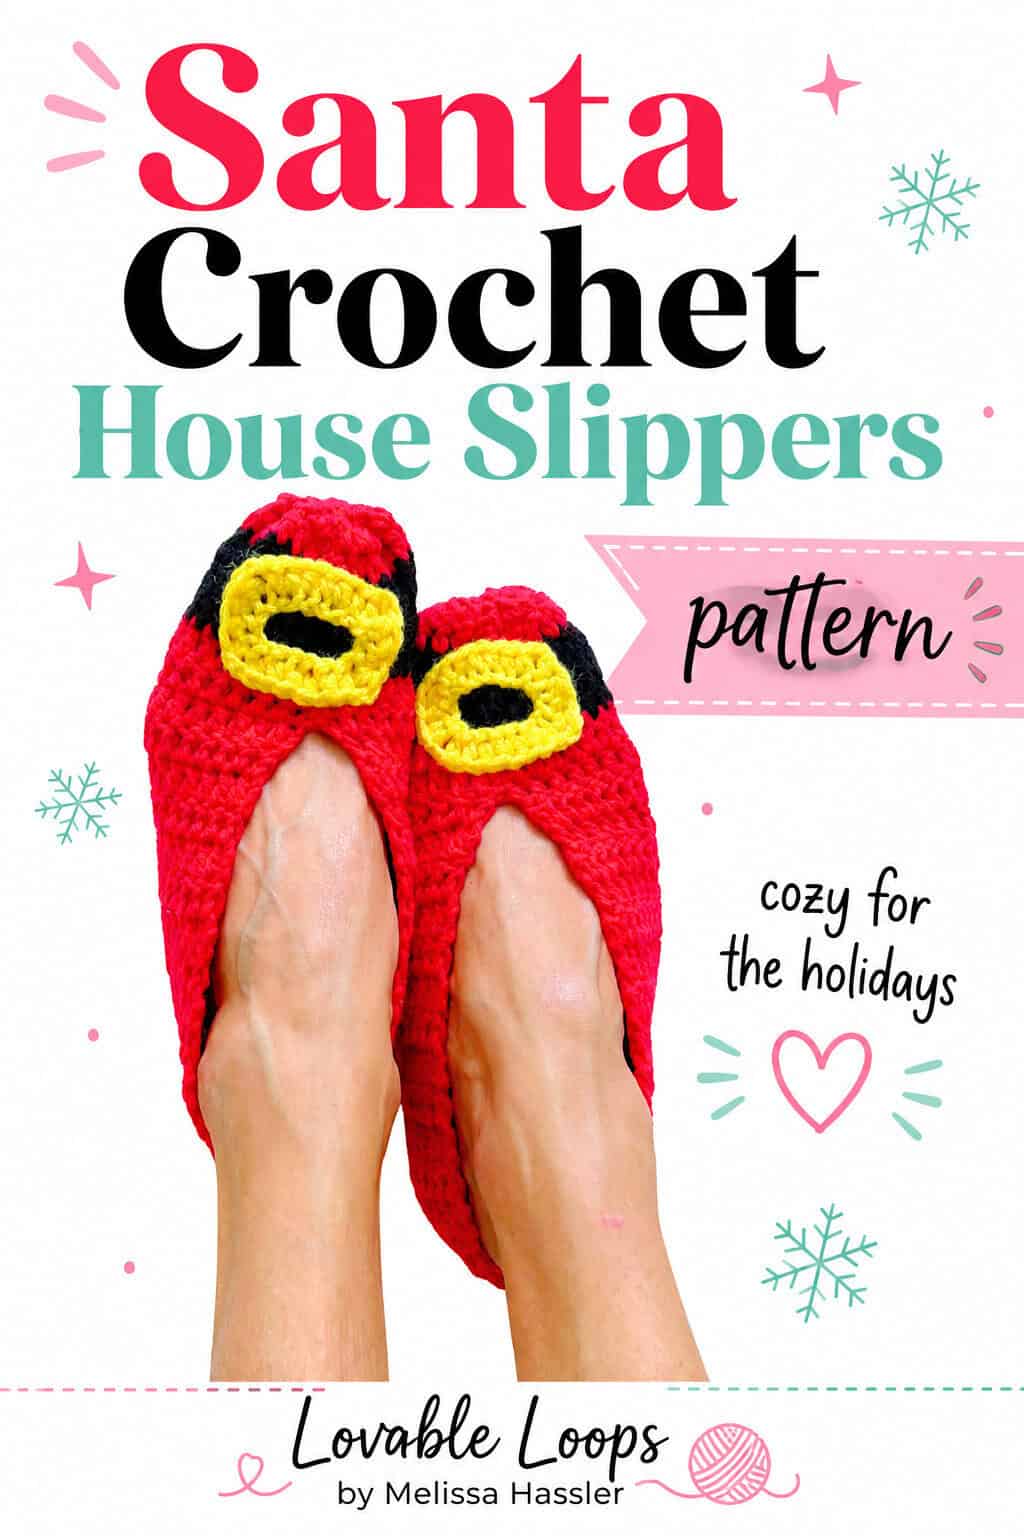
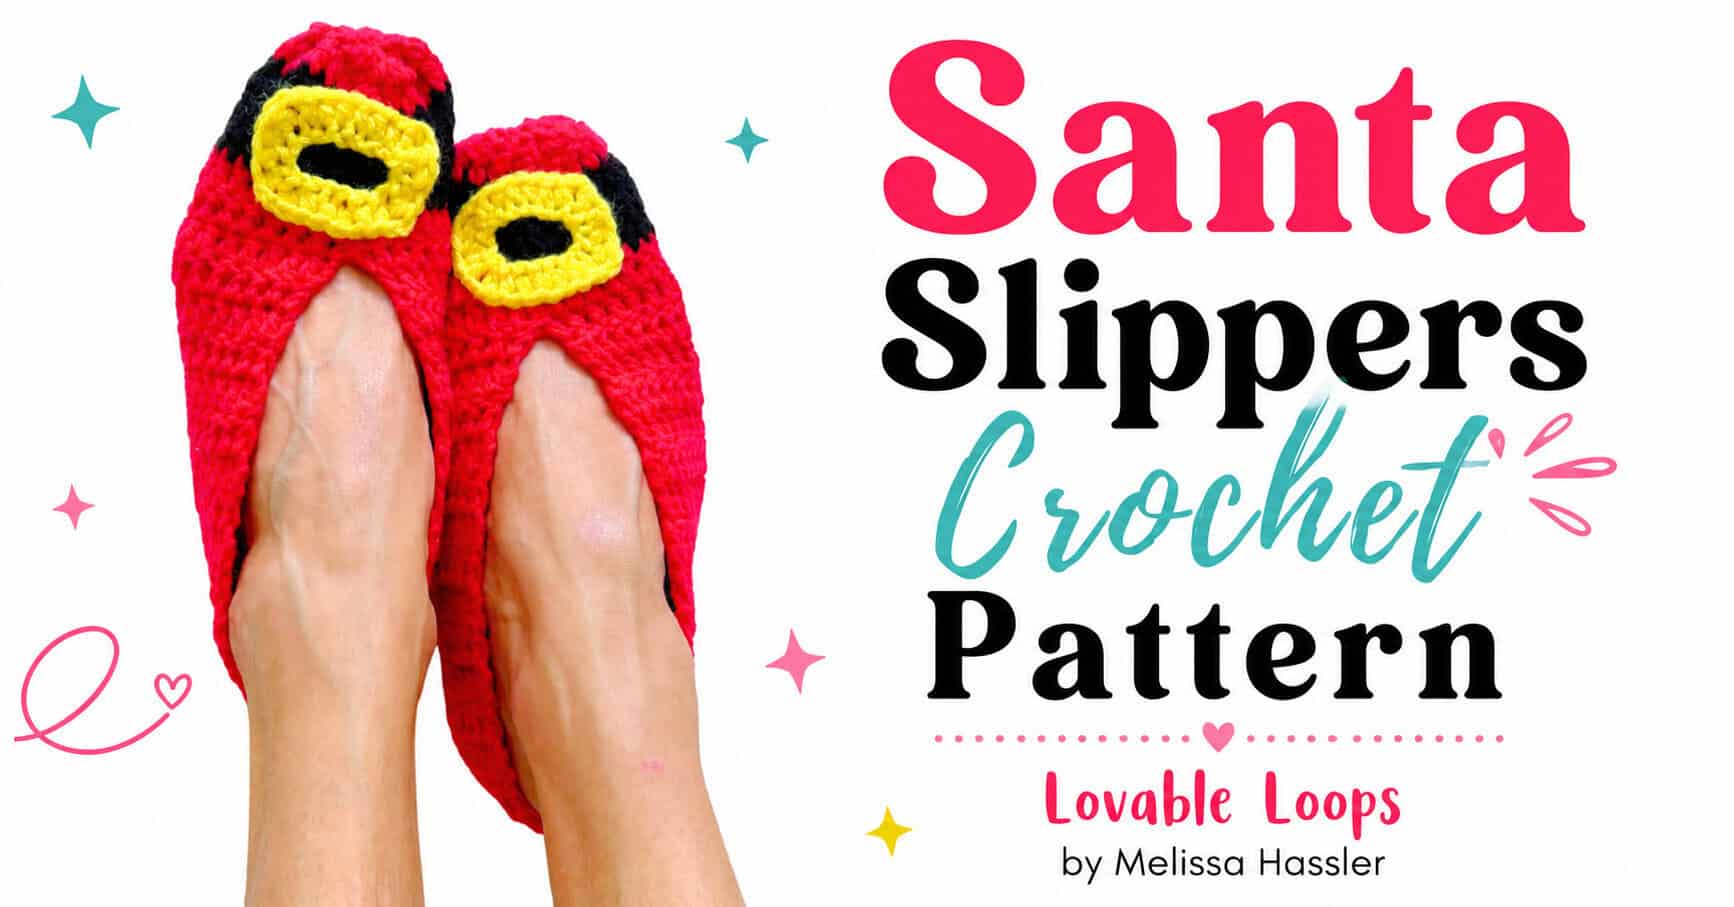
Santa slippers crochet pattern
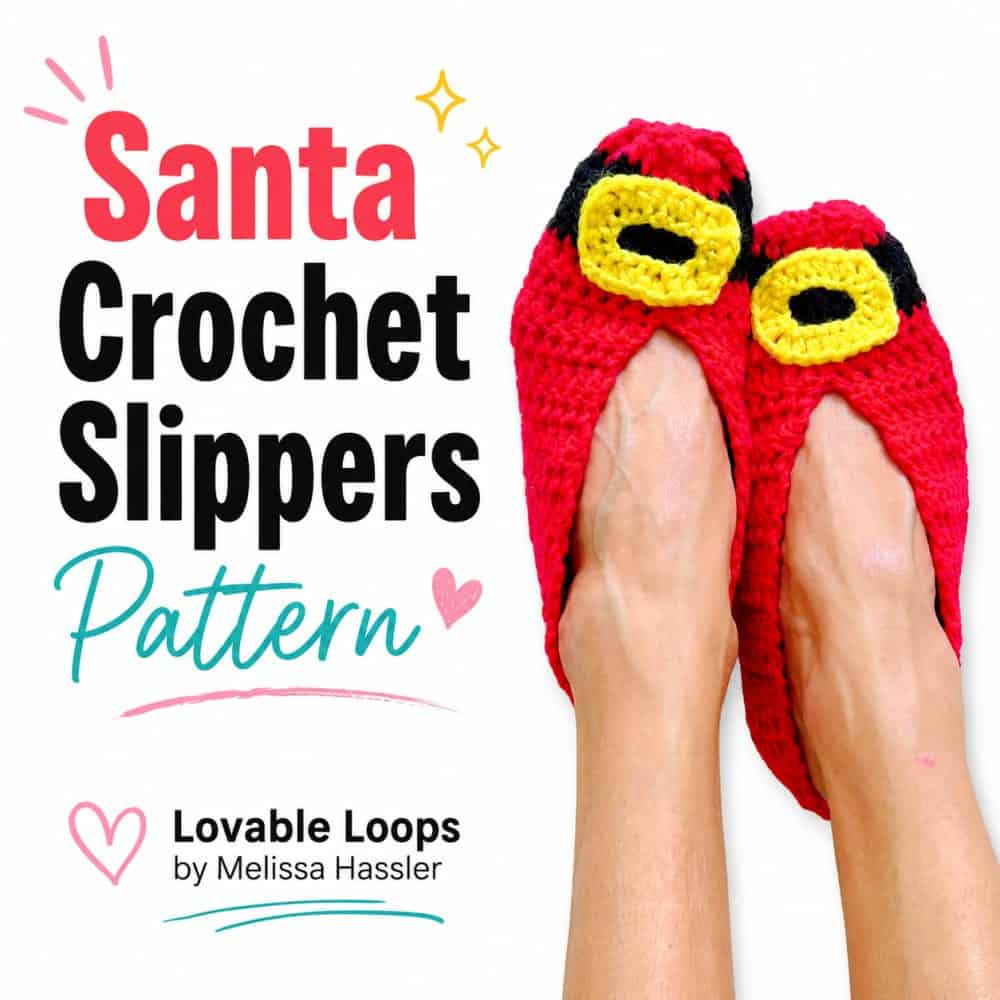
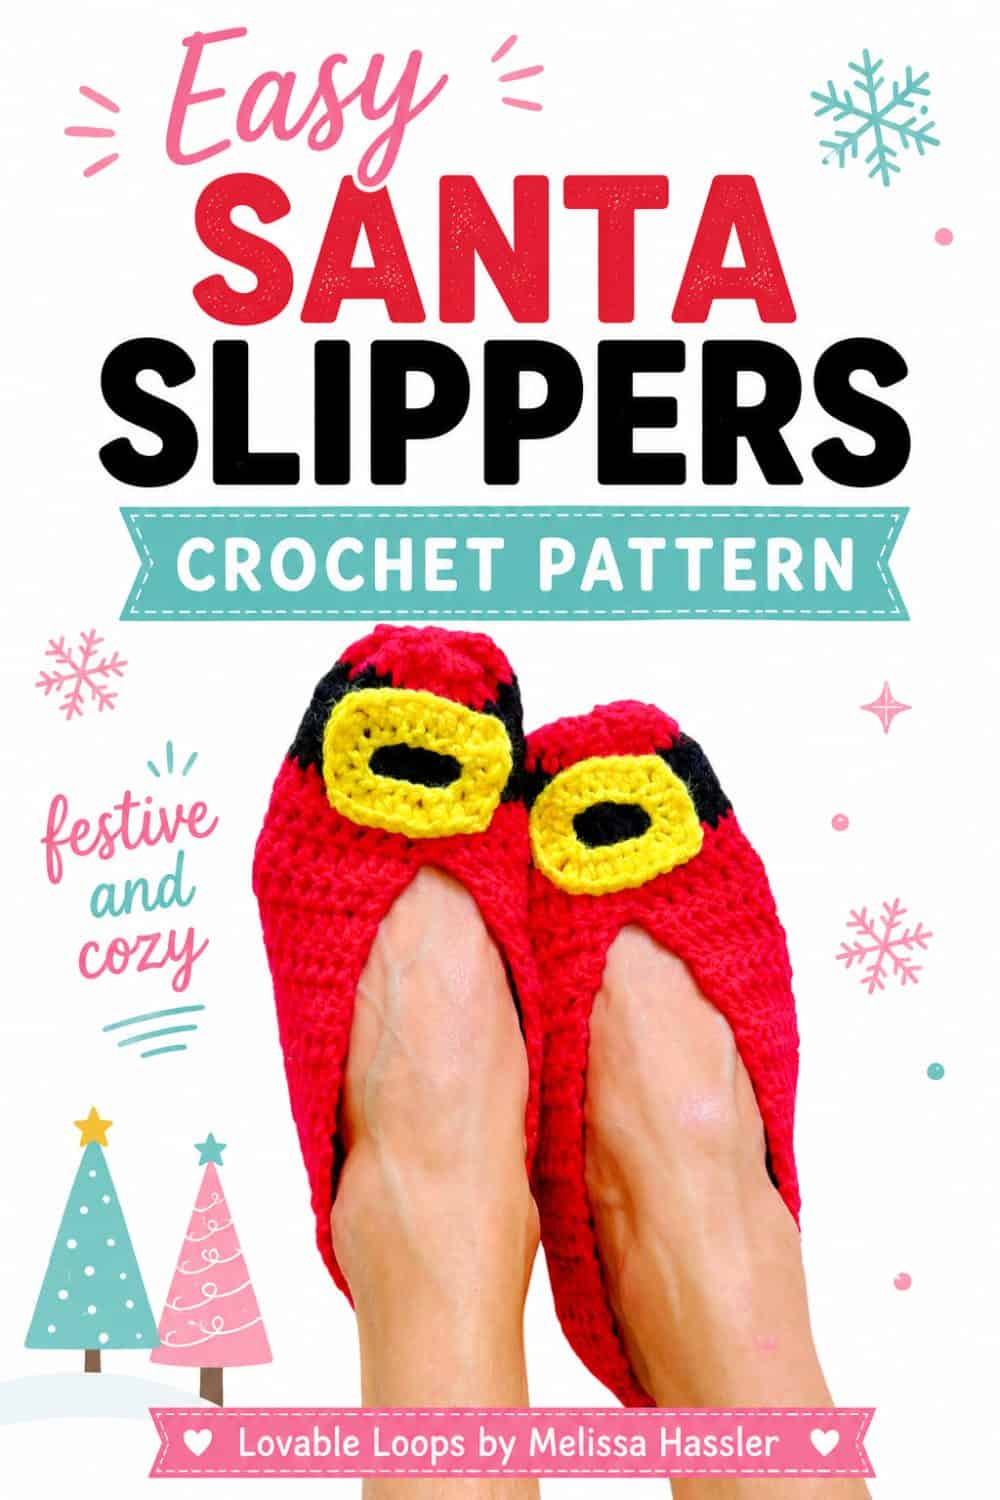
Get ready to slip into holiday cheer with these crochet Santa slippers! Worked in bright red with a black belt stripe and golden buckle, these cozy slippers are as fun to make as they are to wear.
Quick answer
This beginner Santa slippers crochet pattern is worked flat in rows using worsted weight (#4) yarn and an H-8 (5 mm) crochet hook. Each slipper begins as a double crochet rectangle with a black belt stripe, then is seamed and gathered into shape. A yellow buckle is crocheted separately and sewn onto the front. The pattern includes three adult sizes, Small through Large, fitting US women’s shoe sizes 5–10.
Santa crochet house slippers pattern details
Here’s a quick overview of the materials, sizing, gauge, and pattern notes before you begin.
Skill level
Beginner — This pattern uses double crochet rows, simple color changes, basic seaming and gathering, and a separately crocheted half double crochet buckle.
Avoid frustration by learning the most common crochet mistakes beginners make and how to fix them.
Materials you’ll need
- H-8 (5 mm) crochet hook
- Worsted weight yarn (#4) in red, black, and yellow
- Yarn needle
- Scissors
Slippers size chart
This crochet house slippers pattern includes three adult sizes. Each size is based on the foot length it will comfortably fit. To find your size, measure the bottom of your foot from heel to toe and choose the size that matches your measurement.
| Size | US women’s shoe size | Fits foot length | Metric |
|---|---|---|---|
| Small | US 5–6 | 8.5–9 inches | 21.6–22.9 cm |
| Medium | US 7–8 | 9.25–9.5 inches | 23.5–24.1 cm |
| Large | US 9–10 | 9.75–10 inches | 24.8–25.4 cm |
Gauge
15 dc stitches and 9 rows = 4 inches (10 cm)
- If you have too many stitches, use a larger hook.
- If you have too few stitches, use a smaller hook.
My guide to crochet gauge explains how to measure your stitches and adjust your hook size.
Crochet abbreviations
- dc = double crochet
- hdc = half double crochet stitch
- ch / chs = chain / chains
- st / sts = stitch / stitches
- sl st = slip stitch
- rnd / rnds = round / rounds
Pattern notes
- Each slipper is worked flat in rows and then seamed and gathered into shape.
- The ch 2 at the beginning of a slipper row or buckle round does not count as a stitch.
- Work all slipper rows in red except the black belt-stripe rows listed for your size.
- The Santa buckle is crocheted separately and sewn onto the finished slipper.
- The pattern is written in US crochet terms.
Free Santa crochet house slippers pattern instructions
Make 2. Follow Steps 1–6 for each slipper.
Step 1: Crochet the slipper base (rectangle)
Work all rows in red except for the black belt stripe. Change to black for the rows listed below, then change back to red for the remaining rows.
- Small: Rows 16–18
- Medium: Rows 17–19
- Large: Rows 18–20
Row 1: Chain 30, dc in the 3rd ch from the hook and in each remaining ch across. Turn. (28 dc)
Row 2: Ch 2, dc in each st across. Turn. (28 dc)
Rows 3–20 (Small), 3–21 (Medium), or 3–22 (Large): Repeat Row 2. (28 dc)
Step 2: Sew the heel seam
Fold the rectangle in half lengthwise so the long edges line up. Using a yarn needle, sew one short end closed through both layers to form the heel.
Step 3: Shape the toe
To close the front of the slipper:
- Thread a length of yarn onto your yarn needle.
- Weave the yarn in and out along the stitches at the toe end.
- Gently pull both ends of the yarn to cinch the toe closed.
- Tie a secure knot.
Step 4: Sew the top of the slipper
Sew the front seam closed for approximately 3 inches from the toe. Use red yarn through the red rows and switch to black yarn when you reach the black belt stripe. If the seam continues past the black stripe, switch back to red yarn for the remaining red rows.
Matching the sewing yarn to each section keeps the seam from showing through the Santa belt design.
Step 5: Crochet the Santa buckle
- Use yellow yarn.
- The ch-2 spaces will form the corners of the buckle.
Rnd 1: Ch 20 and join with a sl st to form a ring.
Rnd 2: Ch 2, hdc in next 6 chs, ch 2, hdc in next 4 chs, ch 2, hdc in next 6 chs, ch 2, hdc in next 4 chs, ch 2, join with a sl st to the first hdc. (20 hdc + 4 ch-2 spaces)
Fasten off and weave in the ends.
Step 6: Attach the Santa buckle
Position the Santa buckle over the black stripe on the front of the slipper. Use a yarn needle to sew it securely in place.
Finishing
Weave in all remaining yarn ends. Gently stretch the slippers to shape if needed.

Prefer a printable version?
You can purchase the ad-free PDF of this Crochet Santa Slippers Pattern in my Etsy shop. The downloadable pattern is easy to save, print, and keep with your crochet projects.
More free crochet accessories patterns
Looking for more cozy accessories to make? Browse my favorite crochet patterns for feet and legs, including slippers, leg warmers, and other comfy handmade projects.
You can also visit my full collection of crochet accessory patterns for even more small projects to wear, use, and gift.
Let’s connect!
I’d love to see what you’re making! Share your finished project and follow along for more free crochet patterns and tutorials.
📌 Don’t forget to pin this pattern for later!
Happy crocheting! 🧶
— Melissa