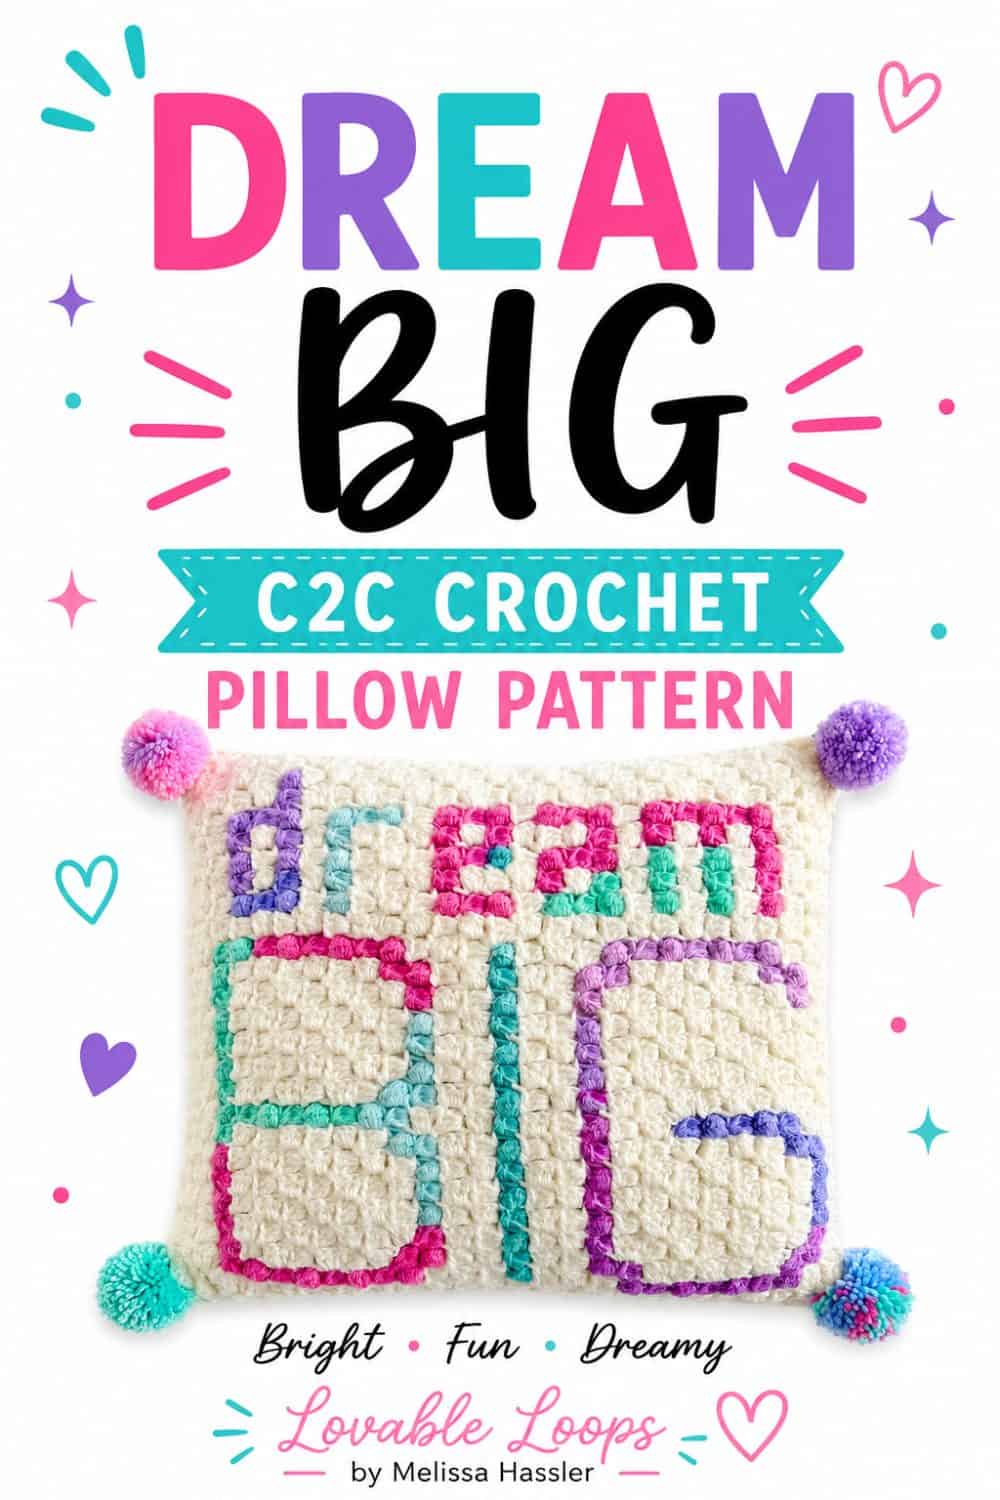
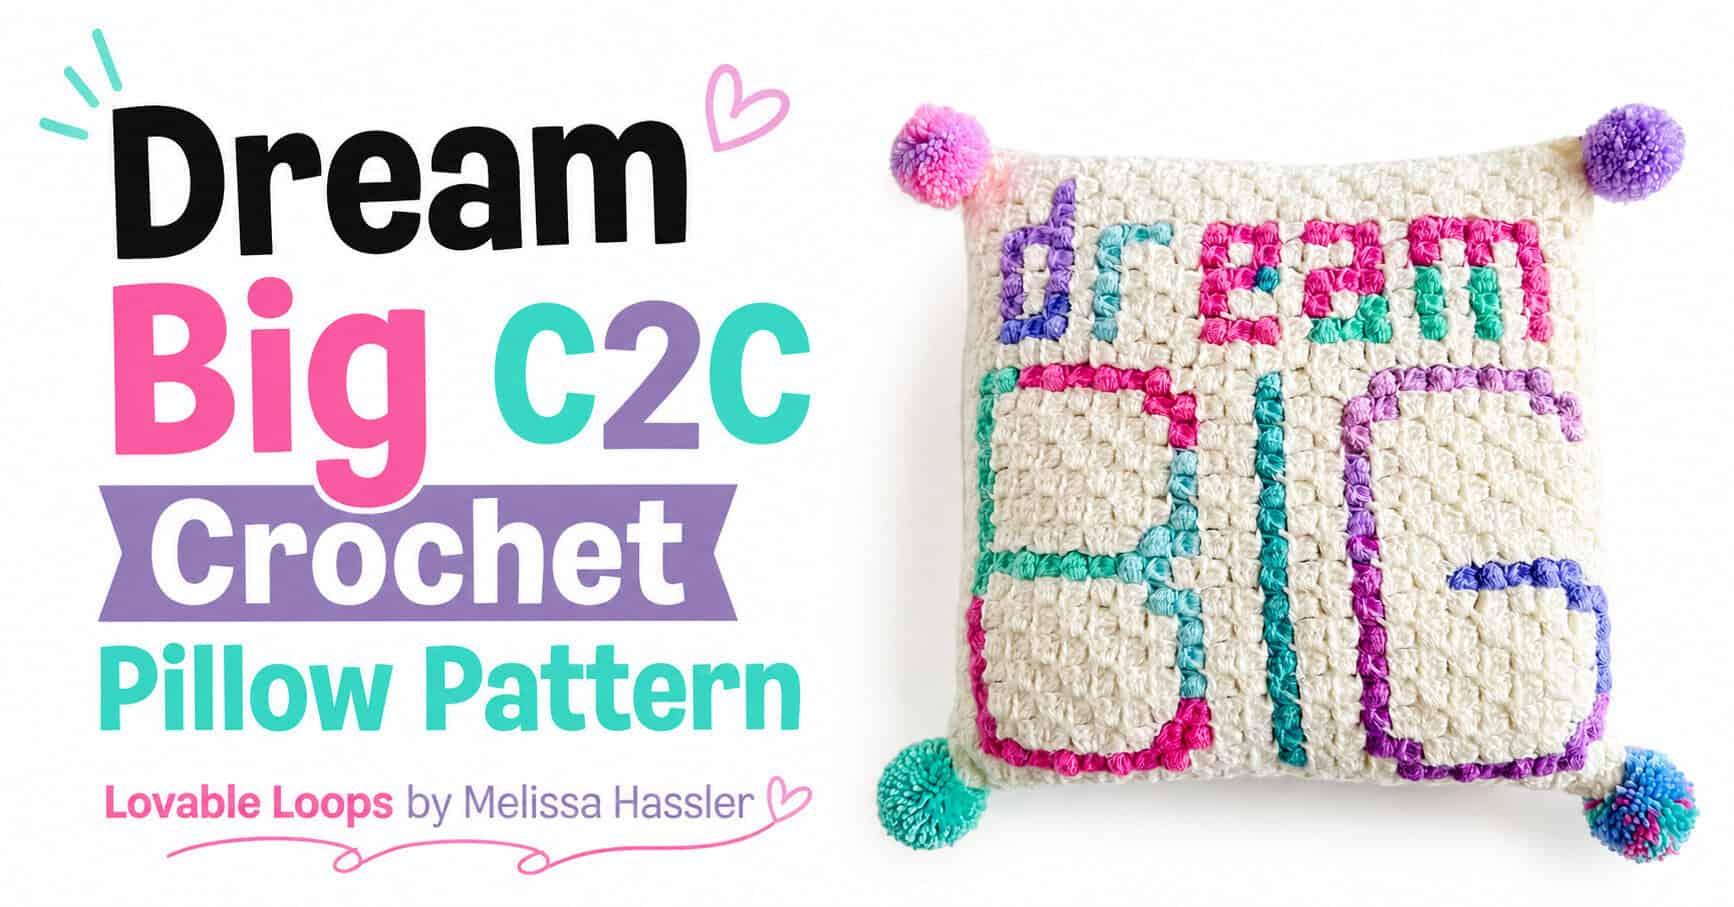
Dream big C2C crochet pillow pattern
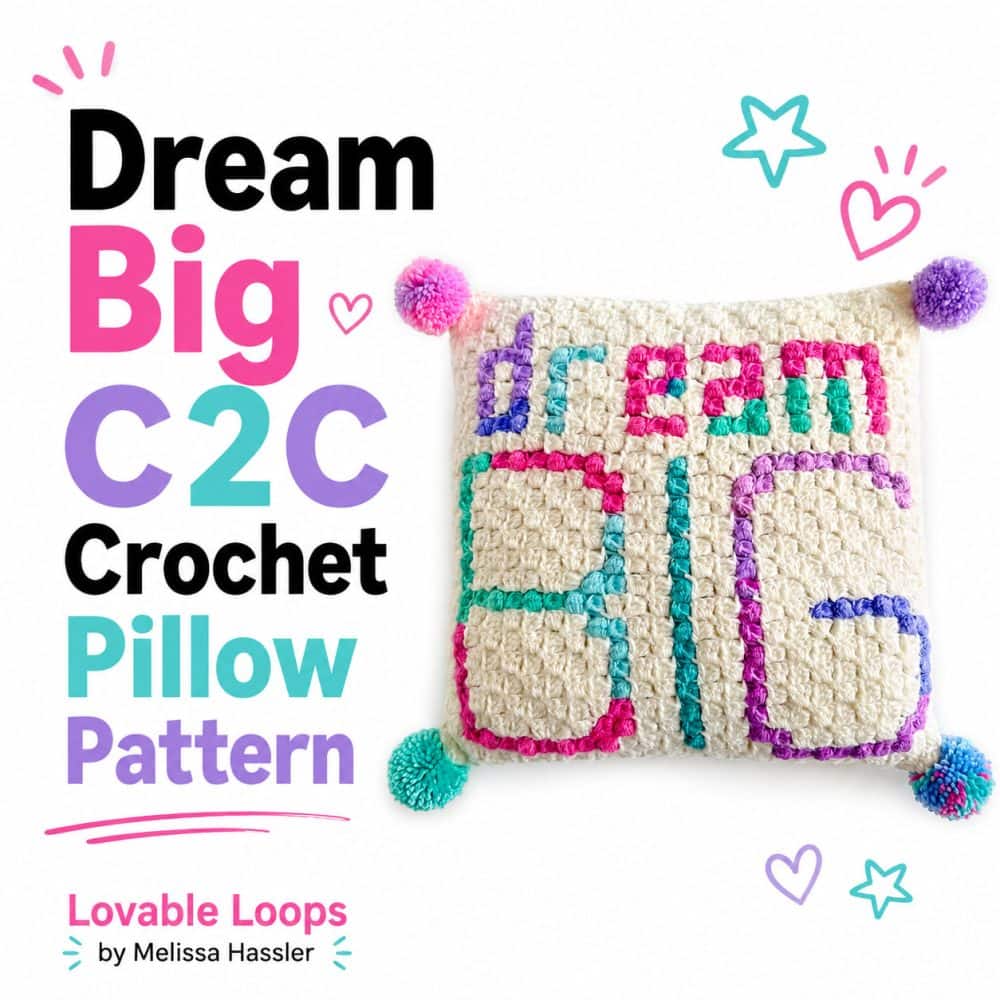
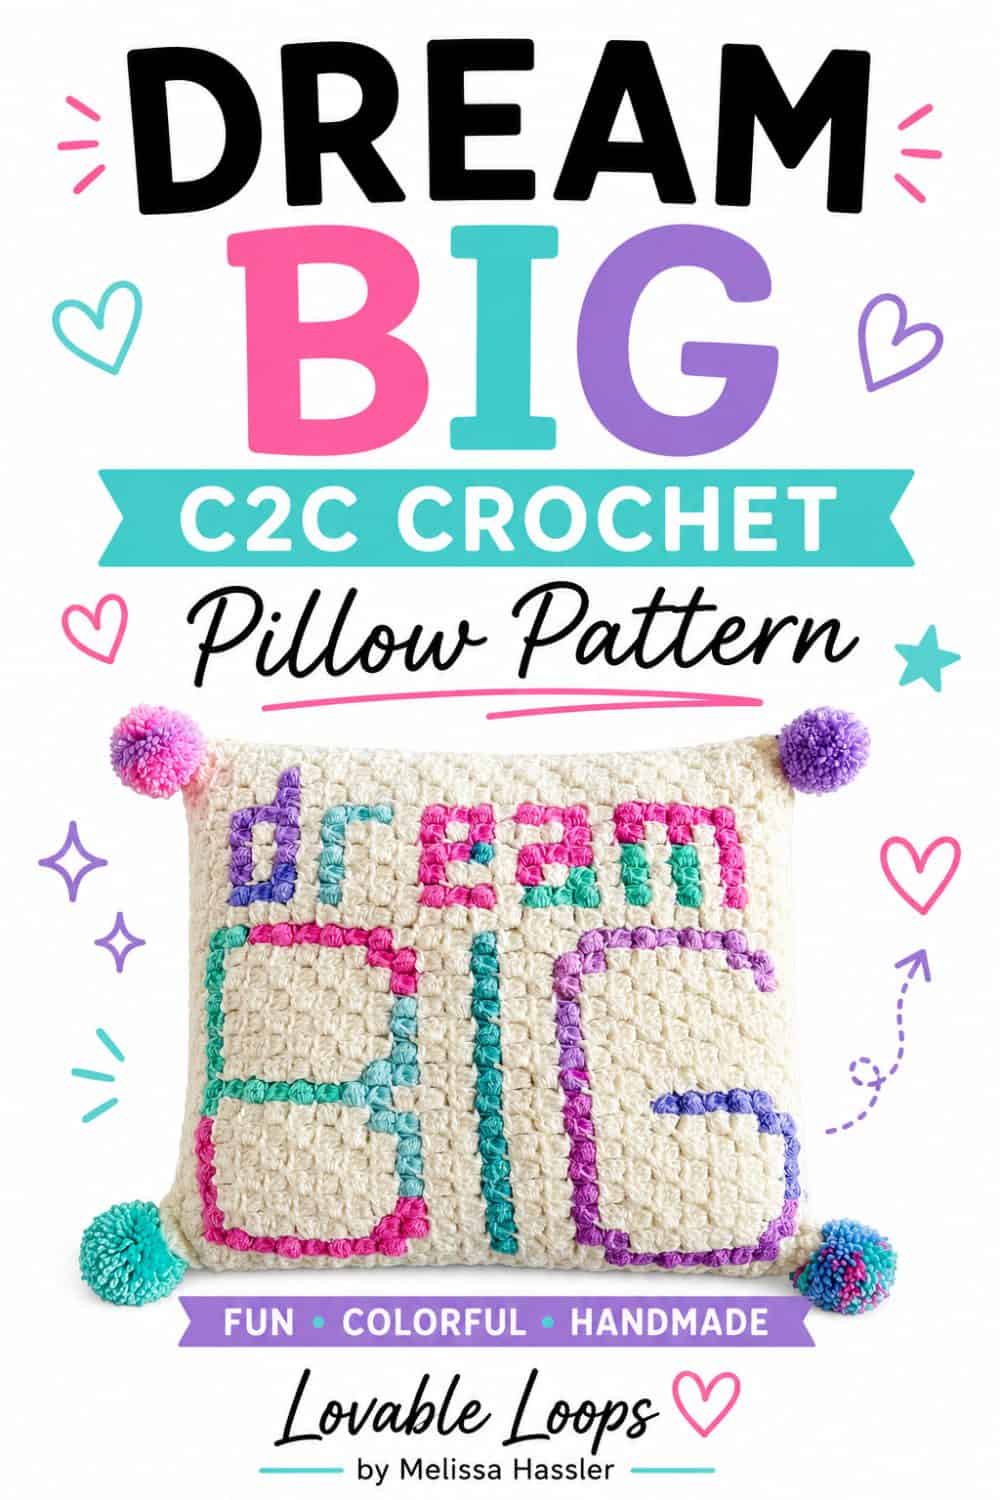
Make an inspirational Dream Big crochet pillow with this corner-to-corner pattern. The colorful words are worked into the front panel using C2C color changes, while a solid white C2C square forms the back.
Four yarn pom poms finish the corners and give the pillow a fun, playful look. This decorative cushion makes a cheerful accent for a bedroom, craft room, office, or reading nook.
Quick answer
This Dream Big pillow is made from two corner-to-corner crochet squares. The front features the words “Dream Big,” and the back is worked in solid white. The panels are bordered, sewn around an 18-inch pillow insert, and finished with four optional yarn pom poms.
Skill level: Advanced beginner
Technique: Corner-to-corner crochet
Main stitch: Half double crochet C2C blocks
Panel size: Approximately 15 × 15 inches before assembly
Pillow insert: 18 × 18 inches
Yarn weight: Worsted weight yarn #4 recommended
Construction: Two C2C panels sewn together
Optional detail: Four yarn pom poms
Why you’ll love this pattern
- Inspirational design: The “Dream Big” message creates a positive handmade accent.
- C2C colorwork: Follow the graph or written color instructions to form the lettering.
- Simple back panel: The back is a solid white 25 × 25 C2C square.
- Colorful and customizable: Choose a solid font color or use a variegated yarn.
- Fun finishing detail: Add four yarn pom poms to the pillow corners.
- Handmade home décor: Display it on a bed, chair, bench, or craft-room sofa.
Dream Big pillow pattern details
Skill level
Advanced beginner. You should be comfortable with corner-to-corner crochet, increasing, decreasing, following written color instructions, and changing yarn colors.
A C2C video tutorial is included below for help with the basic technique.
Materials needed
- H-8 (5 mm) crochet hook
- Worsted weight yarn #4 in white
- Worsted weight yarn #4 for the lettering
- Yarn needle
- Scissors
- 18 × 18-inch pillow insert
- Pom-pom maker, optional
- Hot-melt adhesive, optional
Finished size
Each completed C2C square measures approximately 15 × 15 inches before assembly.
An 18 × 18-inch insert creates a full, firmly stuffed pillow. Because the insert is larger than the crochet cover, insert it carefully and make sure you are happy with the fullness before sewing the final side closed.
Gauge
5 C2C blocks = 3 inches
Each C2C block is made with three half double crochet stitches.
Gauge matters because the front and back panels must finish at approximately the same size and fit around the pillow insert.
My guide to crochet gauge explains how to measure your stitches and adjust your hook size.
Crochet abbreviations and color key
- ch = chain
- hdc = half double crochet
- RS = right side
- WS = wrong side
- W = white
- F = font color
A number after a color indicates how many consecutive C2C blocks to work in that color. For example, W3 means to work three white blocks.
Pattern notes
- The front panel is one 25 × 25 C2C graph.
- Follow the written instructions from the bottom-right corner to the top-left corner.
- The back panel is one solid white 25 × 25 C2C square.
- Make one front panel and one back panel.
Important yarn note
The original sample used lightweight #3 yarn for the lettering and worsted weight #4 yarn for the white background. To compensate for the difference in yarn thickness, I worked the lettering blocks with double crochet instead of half double crochet.
For the most even results, I recommend using worsted weight yarn #4 for both colors and working every C2C block with three half double crochet stitches.
Crochet the Dream Big front panel
Use the Dream Big graph or the written color instructions below to crochet the 25 × 25 C2C front panel.
View or download the Dream Big crochet graph
The written instructions begin at the bottom-right corner and work toward the top-left corner.
Each C2C block is made with three half double crochet stitches. Chain 5 to begin each increasing row and chain 2 to begin each new block.
W = white
F = font color
WS = wrong side
RS = right side
The arrows show the direction in which each row is read:
- ↙ Read the row from right to left on the graph.
- ↗ Read the row from left to right on the graph.
- ↙ Row 1: white x 1 (1 block)
- ↗ Row 2: white x 2 (2 blocks)
- ↙ Row 3: white x 3 (3 blocks)
- ↗ Row 4: white x 1, font x 2, white x 1 (4 blocks)
- ↙ Row 5: white x 1, font x 3, white x 1 (5 blocks)
- ↗ Row 6: white x 1, font x 1, white x 2, font x 1, white x 1 (6 blocks)
- ↙ Row 7: white x 1, font x 1, white x 3, font x 1, white x 1 (7 blocks)
- ↗ Row 8: white x 1, font x 1, white x 4, font x 1, white x 1 (8 blocks)
- ↙ Row 9: white x 1, font x 1, white x 5, font x 1, white x 1 (9 blocks)
- ↗ Row 10: white x 1, font x 1, white x 5, font x 1, white x 2 (10 blocks)
- ↙ Row 11: white x 2, font x 1, white x 5, font x 1, white x 2 (11 blocks)
- ↗ Row 12: white x 2, font x 1, white x 5, font x 1, white x 3 (12 blocks)
- ↙ Row 13: white x 4, font x 1, white x 4, font x 1, white x 3 (13 blocks)
- ↗ Row 14: white x 1, font x 1, white x 2, font x 1, white x 3, font x 1, white x 5 (14 blocks)
- ↙ Row 15: white x 1, font x 1, white x 4, font x 1, white x 2, font x 1, white x 2, font x 1, white x 2 (15 blocks)
- ↗ Row 16: white x 3, font x 1, white x 2, font x 1, white x 7, font x 1, white x 1 (16 blocks)
- ↙ Row 17: white x 2, font x 1, white x 6, font x 1, white x 2, font x 1, white x 4 (17 blocks)
- ↗ Row 18: white x 1, font x 2, white x 2, font x 1, white x 2, font x 1, white x 6, font x 1, white x 2 (18 blocks)
- ↙ Row 19: white x 3, font x 1, white x 5, font x 1, white x 2, font x 1, white x 2, font x 3, white x 1 (19 blocks)
- ↗ Row 20: white x 1, font x 1, white x 2, font x 1, white x 2, font x 1, white x 2, font x 1, white x 4, font x 1, white x 1, font x 1, white x 2 (20 blocks)
- ↙ Row 21: white x 2, font x 1, white x 2, font x 1, white x 3, font x 1, white x 2, font x 1, white x 2, font x 1, white x 3, font x 1, white x 1 (21 blocks)
- ↗ Row 22: white x 1, font x 1, white x 4, font x 1, white x 2, font x 1, white x 2, font x 1, white x 2, font x 1, white x 1, font x 1, white x 1, font x 1, white x 2 (22 blocks)
- ↙ Row 23: white x 2, font x 1, white x 1, font x 1, white x 2, font x 3, white x 2, font x 1, white x 2, font x 1, white x 5, font x 1, white x 1 (23 blocks)
- ↗ Row 24: white x 1, font x 1, white x 5, font x 1, white x 3, font x 1, white x 2, font x 2, white x 1, font x 1, white x 1, font x 1, white x 1, font x 1, white x 2 (24 blocks)
- ↙ Row 25: white x 3, font x 2, white x 1, font x 1, white x 5, font x 1, white x 2, font x 2, white x 6, font x 1, white x 1 (25 blocks)
- Corner: Start decreasing on both ends
- ↗ Row 26: white x 1, font x 1, white x 5, font x 3, white x 2, font x 1, white x 3, font x 1, white x 1, font x 1, white x 1, font x 1, white x 3 (24 blocks)
- ↙ Row 27: white x 3, font x 2, white x 1, font x 2, white x 2, font x 1, white x 2, font x 1, white x 2, font x 1, white x 4, font x 1, white x 1 (23 blocks)
- ↗ Row 28: white x 1, font x 1, white x 3, font x 1, white x 3, font x 1, white x 2, font x 1, white x 1, font x 1, white x 1, font x 1, white x 1, font x 1, white x 3 (22 blocks)
- ↙ Row 29: white x 4, font x 3, white x 4, font x 1, white x 4, font x 1, white x 2, font x 1, white x 1 (21 blocks)
- ↗ Row 30: white x 1, font x 1, white x 1, font x 1, white x 5, font x 1, white x 2, font x 1, white x 1, font x 1, white x 1, font x 1, white x 3 (20 blocks)
- ↙ Row 31: white x 3, font x 1, white x 3, font x 1, white x 2, font x 1, white x 5, font x 2, white x 1 (19 blocks)
- ↗ Row 32: white x 1, font x 1, white x 6, font x 1, white x 1, font x 1, white x 1, font x 1, white x 1, font x 1, white x 3 (18 blocks)
- ↙ Row 33: white x 4, font x 3, white x 2, font x 1, white x 5, font x 1, white x 1 (17 blocks)
- ↗ Row 34: white x 1, font x 1, white x 4, font x 1, white x 3, font x 1, white x 1, font x 1, white x 3 (16 blocks)
- ↙ Row 35: white x 3, font x 2, white x 4, font x 1, white x 3, font x 1, white x 1 (15 blocks)
- ↗ Row 36: white x 1, font x 1, white x 2, font x 1, white x 1, font x 1, white x 3, font x 1, white x 3 (14 blocks)
- ↙ Row 37: white x 6, font x 1, white x 2, font x 1, white x 1, font x 1, white x 1 (13 blocks)
- ↗ Row 38: white x 1, font x 2, white x 1, font x 1, white x 1, font x 1, white x 1, font x 1, white x 3 (12 blocks)
- ↙ Row 39: white x 3, font x 2, white x 1, font x 2, white x 1, font x 1, white x 1 (11 blocks)
- ↗ Row 40: white x 2, font x 1, white x 1, font x 1, white x 1, font x 1, white x 3 (10 blocks)
- ↙ Row 41: white x 4, font x 1, white x 1, font x 1, white x 2 (9 blocks)
- ↗ Row 42: white x 2, font x 1, white x 1, font x 1, white x 3 (8 blocks)
- ↙ Row 43: white x 2, font x 3, white x 2 (7 blocks)
- ↗ Row 44: white x 2, font x 1, white x 1, font x 1, white x 1 (6 blocks)
- ↙ Row 45: white x 5 (5 blocks)
- ↗ Row 46: white x 4 (4 blocks)
- ↙ Row 47: white x 3 (3 blocks)
- ↗ Row 48: white x 2 (2 blocks)
- ↙ Row 49: white x 1 (1 block)
Crochet the back panel
Using white yarn, crochet a solid 25 × 25 C2C square.
Increase until the panel is 25 blocks wide, then begin decreasing at both ends. Continue until one block remains.
The completed back panel should match the size of the front panel. Block the panels before assembly if needed.
Add a border to each panel
Work the following border around both the front and back panels:
Ch 1. Work 2 hdc along the side of each C2C block.
In each corner, work (hdc, ch 2, hdc).
Continue around the panel and join.
Use the same hook, yarn, and border tension for both squares so their edges align during assembly.
Assemble the pillow
Place the front and back panels together with the wrong sides facing each other and the right sides facing out.
Align the border stitches and use white yarn with a yarn needle to sew the panels together.
- Sew across the first three sides, matching corresponding border stitches.
- Insert the pillow form through the open side.
- Adjust the corners and distribute the filling evenly.
- Continue sewing the final side closed.
- Fasten off and weave in the yarn securely.
Because the cover is smaller than the pillow insert, check the fullness and shape carefully before closing the last side.
Make four yarn pom poms
- Open the arms of the pom-pom maker.
- Wrap yarn firmly and evenly around the first set of arms.
- Close those arms and repeat on the opposite side.
- Cut through the wrapped yarn along the outer groove.
- Tie a strong piece of yarn securely around the center.
- Remove the pom pom from the maker.
- Fluff the strands and trim the pom pom into an even shape.
- Repeat until you have four pom poms.
A small amount of hot-melt adhesive in the center is optional, but it is not necessary when the center tie is pulled tightly and securely knotted.
Use the long center ties and a yarn needle to sew one pom pom securely to each corner of the pillow.
New to C2C crochet?
My beginner-friendly C2C video tutorial shows how to increase, decrease, and work a basic corner-to-corner panel. Practice with a small square before beginning the Dream Big front panel.

Frequently asked questions
Is this Dream Big pillow suitable for beginners?
This pattern is best for advanced beginners who already understand basic corner-to-corner crochet. You will need to increase, decrease, change colors, and follow a graph or written color instructions.
What yarn weight should I use?
Use worsted weight yarn #4 for both the white background and the lettering. Using the same yarn weight helps keep all C2C blocks the same size.
What size is the finished pillow?
The crochet panels measure approximately 15 × 15 inches before assembly. An 18 × 18-inch pillow insert creates a firmly stuffed finished cushion.
Do I need to use an 18-inch pillow insert?
That is the insert used for the original sample. A smaller insert will create a softer, less full pillow. Check the finished measurements of your panels before choosing an insert.
Can I change the lettering color?
Yes. Use any worsted weight color that contrasts clearly with the white background.
Are the pom poms required?
No. The pom poms are optional. The pillow can be finished without them for a simpler appearance.
Can I sell finished pillows made from this pattern?
Yes. You may sell finished pillows made from this pattern. Please do not copy, distribute, or sell the written instructions or graph. Credit to Lovable Loops as the designer is appreciated.
More crochet pillow patterns
Browse my collection of crochet pillow patterns for seasonal cushions, decorative pillows, and handmade accents for beds, chairs, sofas, and benches.
You can also explore my complete collection of home decor crochet patterns for more projects to decorate your home.
Let’s connect!
I’d love to see what you’re making! Share your finished project and follow along for more free crochet patterns and tutorials.
📌 Don’t forget to pin this pattern for later!
Happy crocheting! 🧶
— Melissa