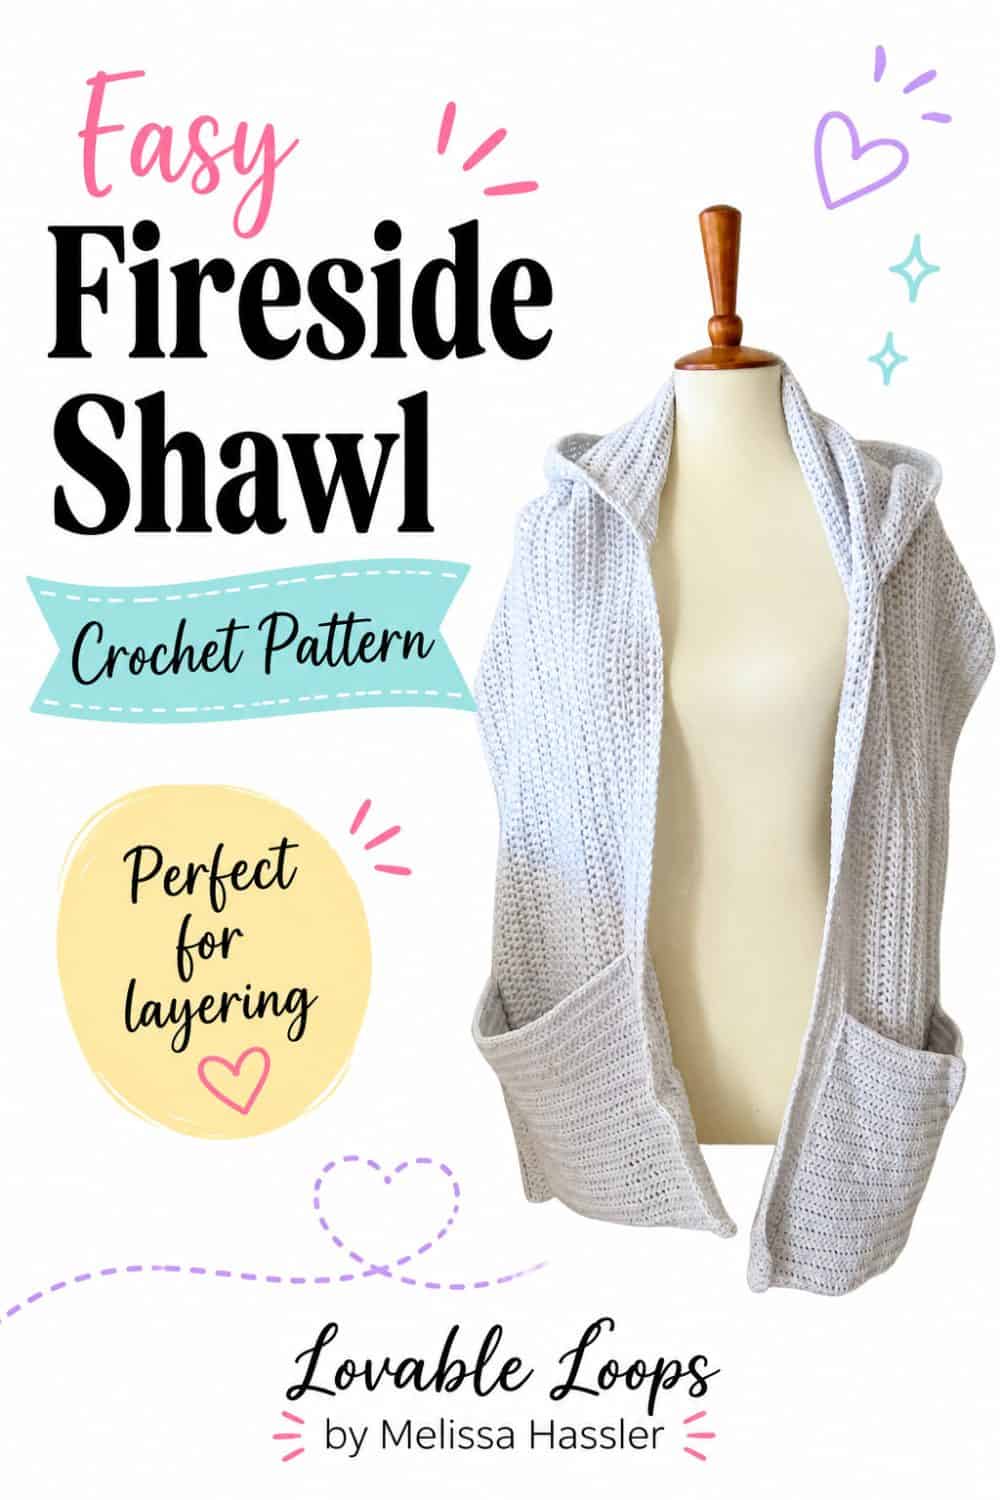

Crochet hooded pocket shawl pattern
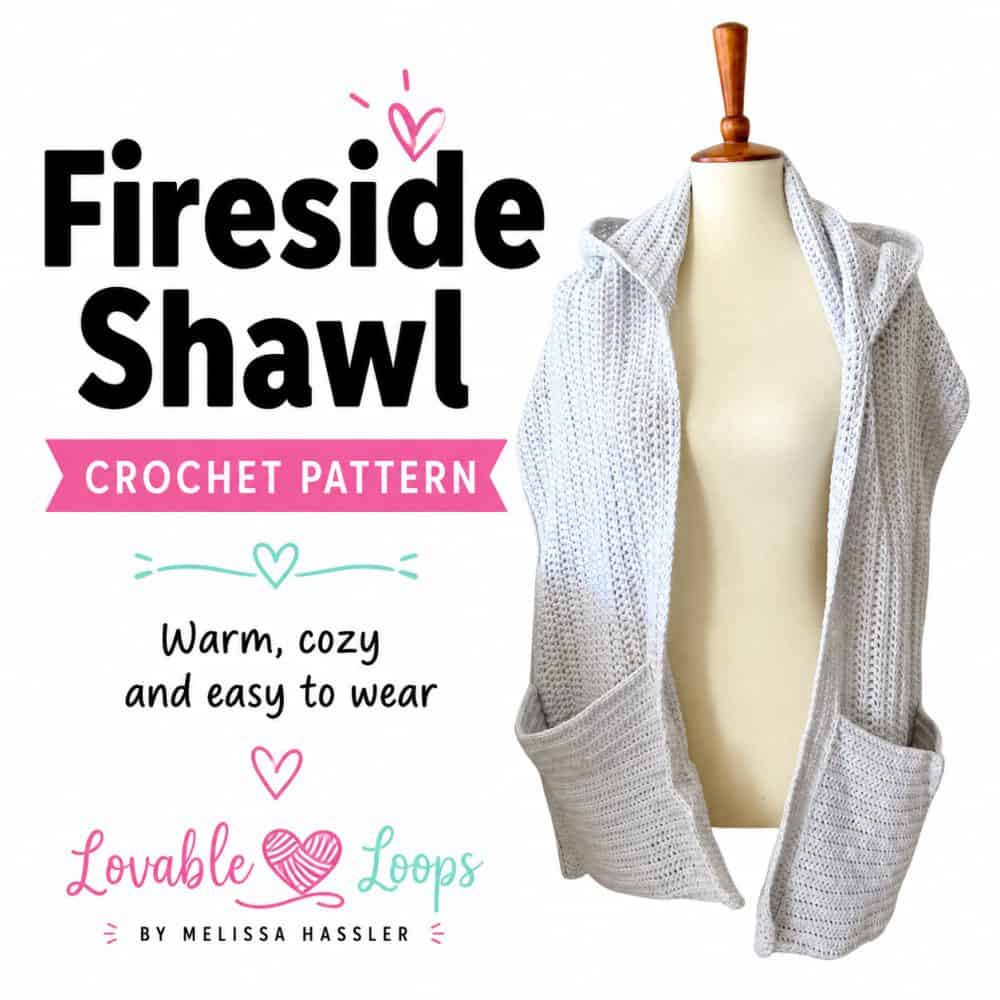
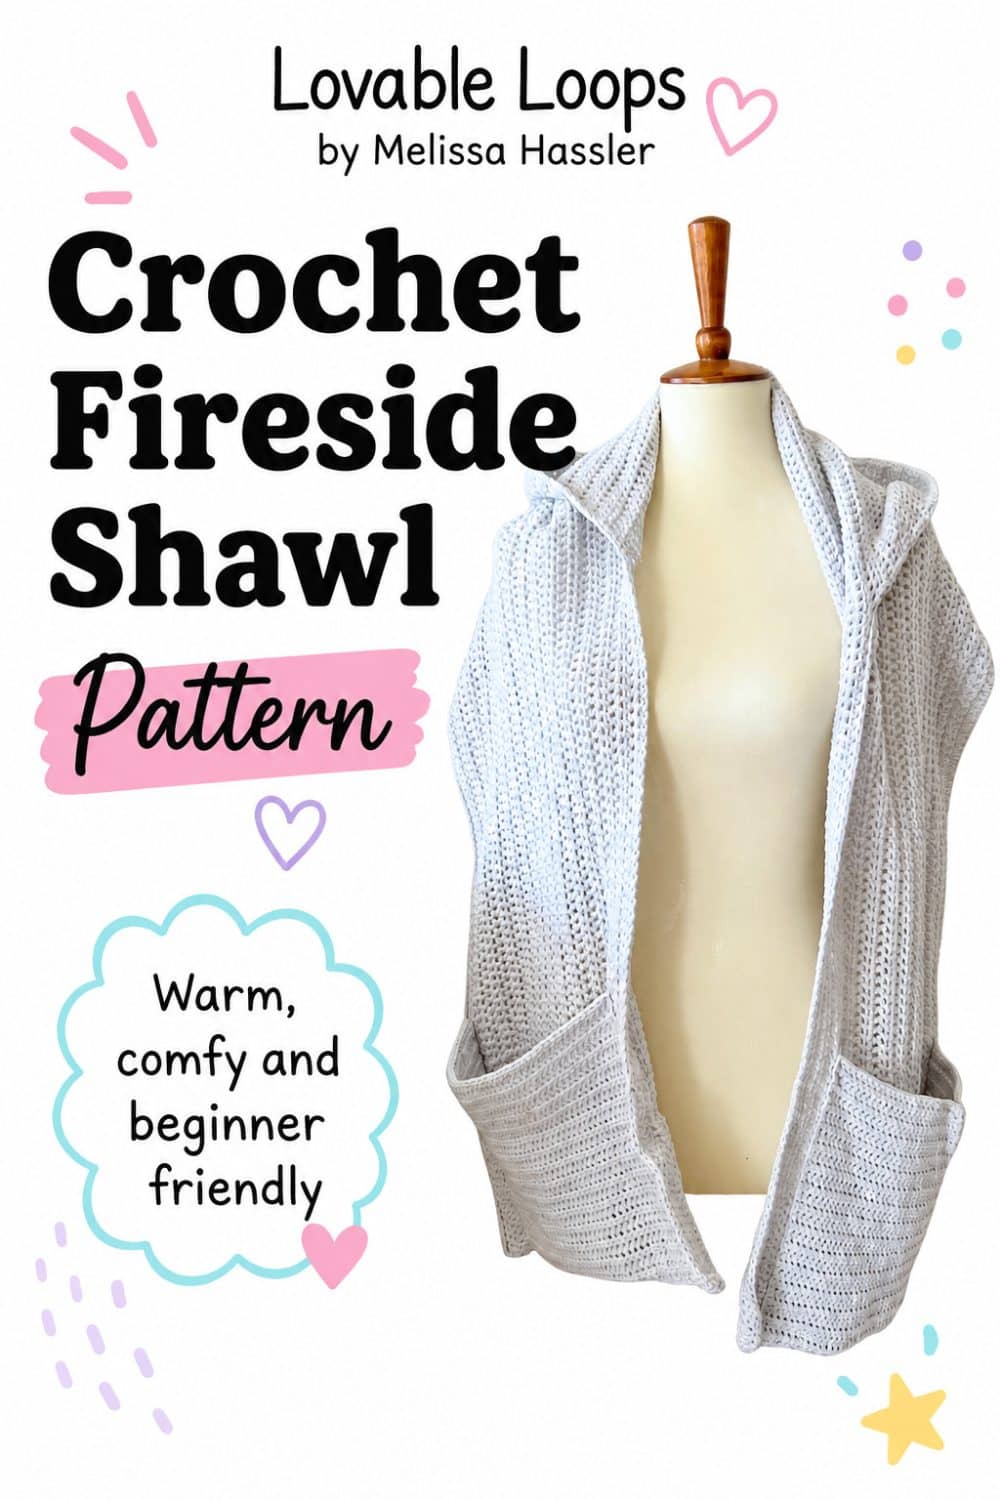
Stay cozy with this crochet hooded pocket shawl pattern, perfect for chilly days, relaxing at home, or layering over your favorite winter clothes. The long wrap, comfortable hood, and roomy pockets make it a practical handmade accessory that’s easy to wear.
Quick answer
This advanced beginner crochet hooded pocket shawl is made with worsted weight (#4) yarn. The one-size adult shawl is worked flat with a J-10 (6 mm) crochet hook and measures approximately 15 × 70 inches (38 × 178 cm). The hood is crocheted directly onto the center of the shawl and seamed at the top, while two pockets are made separately with an H-8 (5 mm) hook and sewn to the ends.
Crochet hooded pocket shawl pattern details
Skill level
Advanced beginner — This pattern uses double crochet, half double crochet, single crochet, simple increases and decreases, working flat in rows, and basic seaming and assembly.
Materials needed
- J-10 (6 mm) crochet hook for shawl and hood
- H-8 (5 mm) crochet hook for pockets
- Worsted weight yarn (#4) — finished project weighs approximately 538 g (19 oz)
- Yarn needle
- Stitch markers
- Scissors
Finished size
Adult, one size. The finished shawl measures approximately 15 inches wide × 70 inches long (38 × 178 cm).
Gauge
Shawl gauge with J-10 (6 mm) hook:
31 dc = 10 inches (25.5 cm)
10 rows = 4 inches (10 cm)
My guide to crochet gauge explains how to measure your stitches and adjust your hook size.
Crochet abbreviations
- dc = double crochet
- sc = single crochet stitch
- hdc = half double crochet stitch
- dc2tog = double crochet decrease
- ch/chs = chain/chains
- st/sts = stitch/stitches
Pattern notes
- The ch 2 at the beginning of each row does not count as a st.
- Move the center stitch marker up as you work the hood so you can identify the middle st for increases and decreases.
- Add more rows to the shawl body if you want a wider wrap.
- The pattern is written in US crochet terms.
Crochet hooded pocket shawl pattern instructions
Shawl
Use a J-10 (6 mm) crochet hook.
Row 1: Ch 220, dc in the third ch from the hook and in each of the remaining ch, turn (218 stitches)
Rows 2–33: Ch 2, dc in each stitch, turn (218 stitches)
Row 34: Ch 2, dc in each stitch, fasten off (218 stitches)
Adding the pockets
Make 2 using an H-8 (5 mm) crochet hook.
Row 1: Ch 50, hdc in the 3rd ch from the hook and in each remaining ch. Turn. (48 stitches)
Rows 2–29: Ch 2, hdc in each st across. Turn. (48 stitches)
Row 30: Ch 2, hdc in each st across. Fasten off. (48 stitches)
Lay the shawl flat with the side you want facing out on top. Use stitch markers to mark the fourth row in from each long edge.
Place one pocket at each short end of the shawl, aligning the bottom edge of each pocket with the end of the shawl. Center each pocket between the stitch markers, with the openings facing toward the center of the shawl.
Use matching yarn and a yarn needle to sew the bottom and both sides of each pocket to the shawl. Leave the top edges open.


Adding the hood
Use a J-10 (6 mm) crochet hook.

Lay the shawl flat and choose one of the long edges for the hood. Starting at one short end, count to the 109th st along that edge and mark it as the working center of the hood. Since the shawl has 218 sts, the 109th and 110th sts are the two middle stitches. Use the 109th st as your working center.
Count 38 sts to the left and 38 sts to the right of the center marker, placing another stitch marker in each of those sts.
Join your yarn in the st immediately inside either outside marker, one st closer to the center. Work across toward the opposite marker. Do not work into the two outside marked sts.
Row 1: ch 2, dc in 36 sts, 2 dc in the next st, dc in the middle st (always replace the middle stitch marker), 2 dc in the next st, dc in the remaining 36 sts, turn (77 stitches)

Row 2: ch 2, dc in each st, turn (77 stitches)
Row 3: ch 2, dc in each st, turn (77 stitches)
Row 4: Ch 2, dc in the next 37 sts, 2 dc in the next st, dc in the middle st, 2 dc in the next st, dc in the remaining 37 sts. Turn. (79 sts)
Row 5: ch 2, dc in each st, turn (79 stitches)
Row 6: ch 2, dc in each st, turn (79 stitches)
Row 7: Ch 2, dc in the next 38 sts, 2 dc in the next st, dc in the middle st, 2 dc in the next st, dc in the remaining 38 sts. Turn. (81 sts)
Row 8: ch 2, dc in each st, turn (81 stitches)
Row 9: ch 2, dc in each st, turn (81 stitches)
Row 10: Ch 2, dc in the next 39 sts, 2 dc in the next st, dc in the middle st, 2 dc in the next st, dc in the remaining 39 sts. Turn. (83 sts)
Row 11: ch 2, dc in each st, turn (83 stitches)
Row 12: ch 2, dc in each st, turn (83 stitches)
Row 13: Ch 2, dc in the next 40 sts, 2 dc in the next st, dc in the middle st, 2 dc in the next st, dc in the remaining 40 sts. Turn. (85 sts)
Rows 14–31: ch 2, dc in each st, turn (85 stitches)
Row 32: Ch 2, dc in the next 40 sts, dc2tog over the next 2 sts, dc in the middle st, dc2tog over the next 2 sts, dc in the remaining 40 sts. Turn. (83 sts)
Row 33: ch 2, dc in each st, turn (83 stitches)
Row 34: Ch 2, dc in the next 39 sts, dc2tog over the next 2 sts, dc in the middle st, dc2tog over the next 2 sts, dc in the remaining 39 sts. Turn. (81 sts)
Row 35: ch 2, dc in each st, turn (81 stitches)
Row 36: Ch 2, dc in the next 38 sts, dc2tog over the next 2 sts, dc in the middle st, dc2tog over the next 2 sts, dc in the remaining 38 sts. (79 sts)
Fasten off. Fold the hood in half with the center stitch at the fold and the wrong side facing out. Use a yarn needle and matching yarn to sew the top seam. Turn the hood right side out.

Join yarn at the front edge of the hood and work sc evenly around the hood opening. Fasten off and weave in the ends.

More free crochet accessory patterns
Looking for a smaller project with pockets? Try my crochet pocket scarf pattern, featuring a ribbed texture and two roomy pockets.
Looking for another cozy project? Browse my collection of free crochet accessory patterns for more shawls, scarves, hats, mittens, and other wearable designs.
Prefer a standalone hood? Try my free crochet hood pattern, available in toddler, child, youth, and adult sizes.
Let’s connect!
I’d love to see what you’re making! Share your finished project and follow along for more free crochet patterns and tutorials.
📌 Don’t forget to pin this pattern for later!
Happy crocheting! 🧶
— Melissa