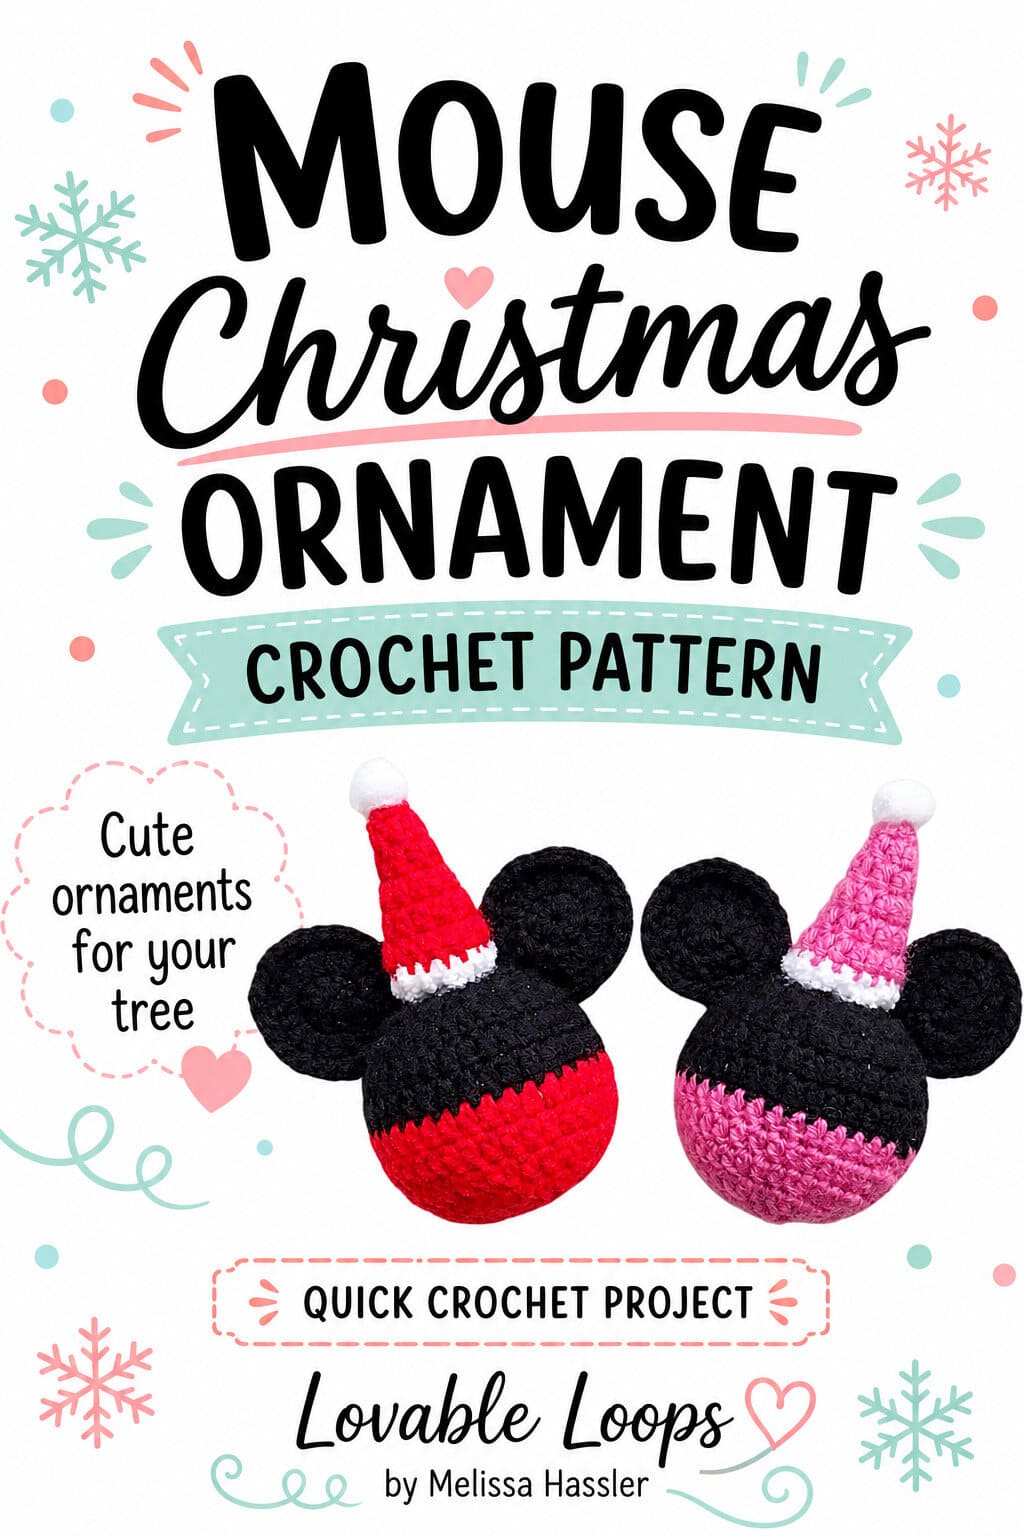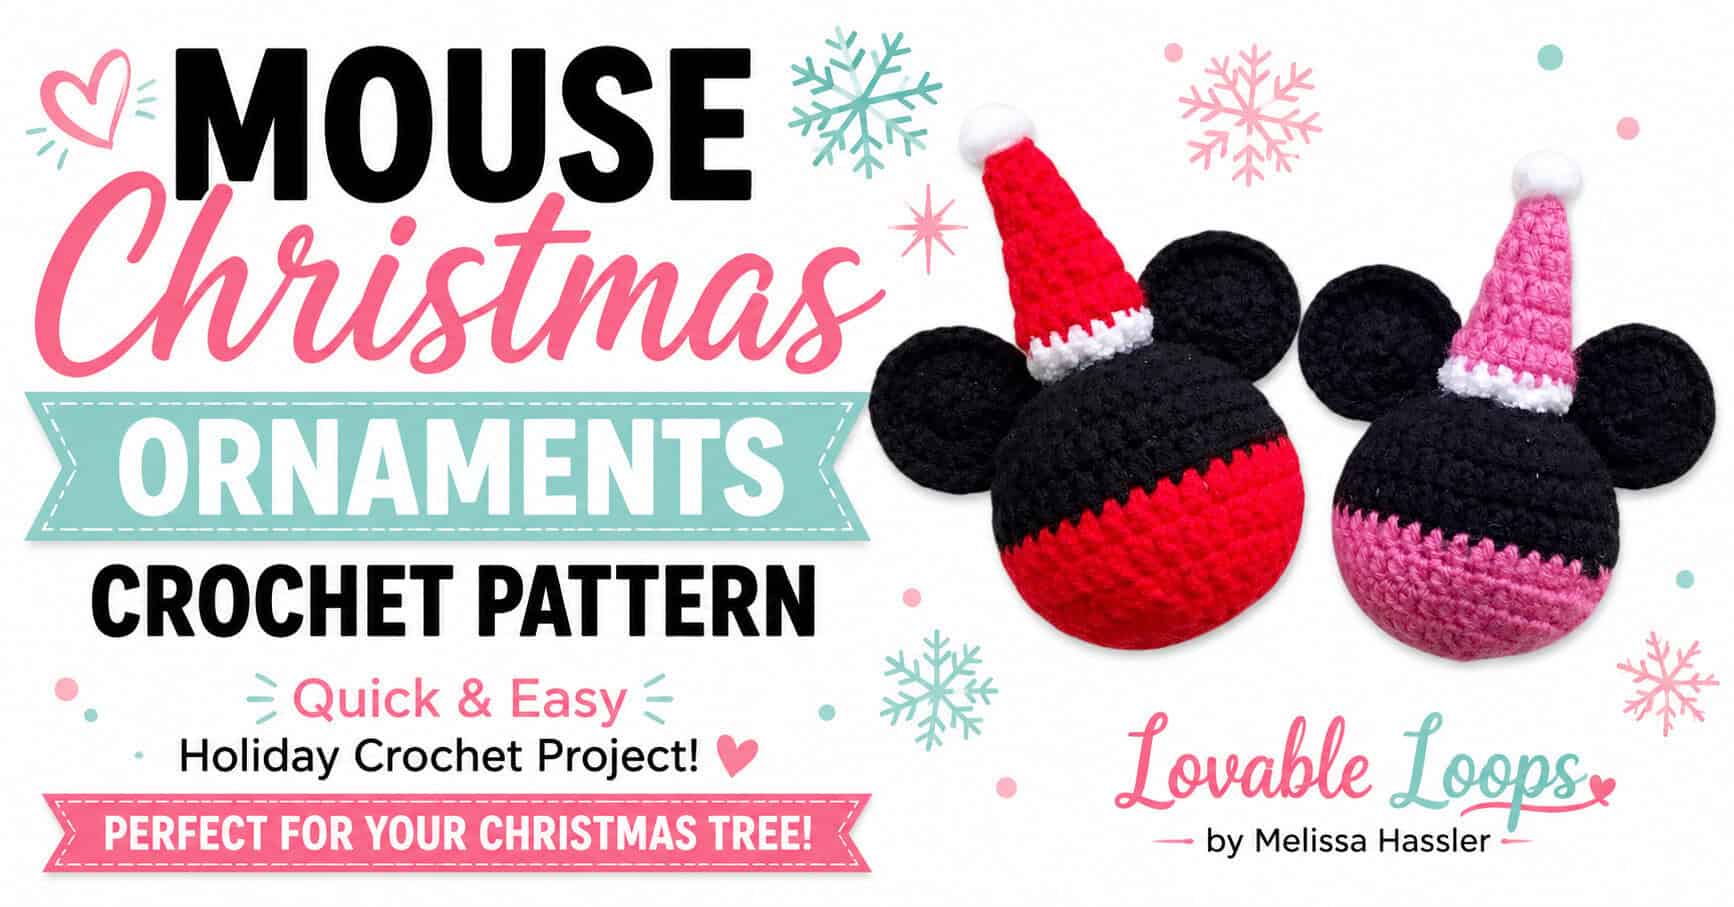
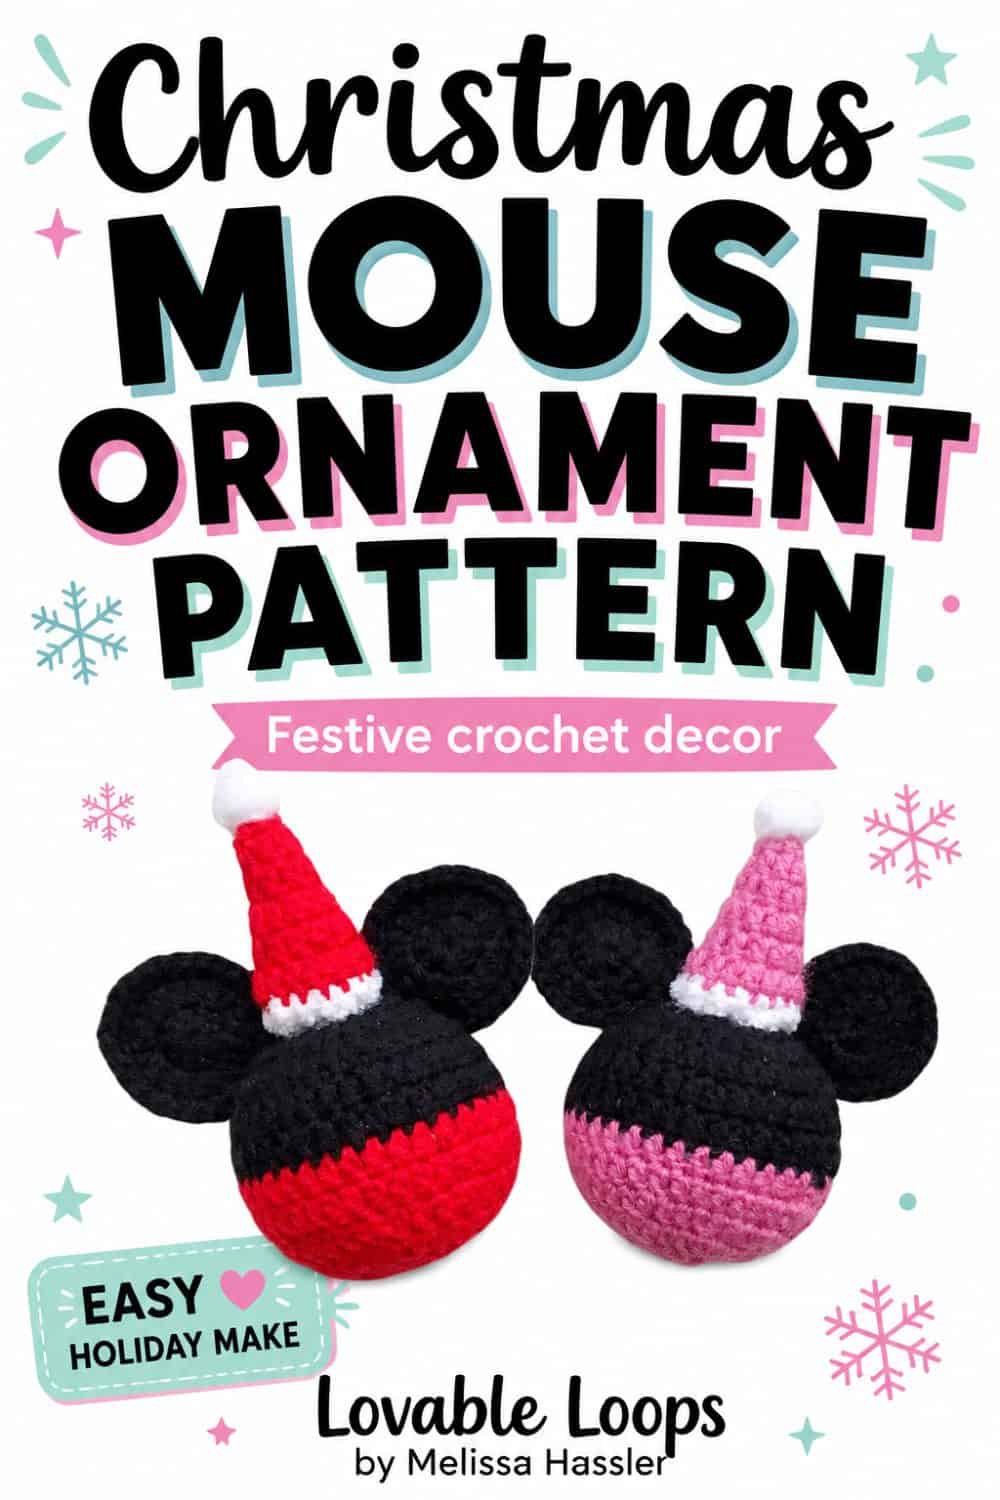
Mouse crochet Christmas ornaments pattern
Looking for the perfect holiday project? This Mickey & Minnie Mouse Crochet Christmas Ornaments Pattern is free, easy, and oh-so-cute! These amigurumi ornaments bring a touch of Disney magic to your xmas decor and are sure to make everyone smile.
Free Crochet Christmas Ornaments Pattern
This simple pattern is perfect for beginners looking to build their crochet skills and practice amigurumi. Each step is laid out with an easy-to-follow tutorial, so you’ll be making these adorable ornaments in no time!
For more experienced crocheters, this is a quick and fun project to create cute holiday decor. Whether you’re a beginner or advanced, these ornaments add festive ideas to your craft list!
Crochet Christmas Ornaments Pattern Information
Handmade Christmas ornaments make great gifts for kids and adults alike. These Mickey & Minnie ornaments are the perfect holiday decor and are always a hit at craft fairs. They’re quick to make, cost-friendly, and loved by Disney fans of all ages. If you’re looking for thoughtful diy gifts or something unique to sell, these ornaments are a fantastic decoration idea!
Skill Level
Beginner. This pattern uses basic crochet stitches in simple rounds with some color changes.
Crochet Project Materials Needed
- Crochet Hook Size: E-4 3.5 mm hook or size needed to obtain gauge.
- Yarn weight: Worsted weight yarn #4 in black, white, and pink or red.
- Fiber fill: Use this to stuff the ornament.
- Hot melt adhesive: Use this to secure the hat to the ornament.
- Mini white Pom Pom: Use this for the top of the Santa hat.
- Yarn needle/tapestry needle: Use this to weave in your ends.
- Scissors: Use scissors to fasten off your yarn.
- Stitch marker(s): Use these to help keep track of your stitches.
Finished Size
The crochet Christmas ornaments measure 5 inches wide and 6 inches long.
Gauge
4 rounds and 6 stitches = 1 inch
Crochet Terms
- dc = double crochet
- sc = single crochet stitch
- dc2tog = double crochet decrease
- st/sts = stitch/stitches
- sl st = slip stitch
- ch/chs = chain/chains
Crochet Christmas Ornaments Pattern Notes
- You are crocheting in the round.
- The chain at the beginning of each round does not count as a stitch.
- Join the rounds with slip stitches to the first stitch made in that round.
- Repeat instructions between the asterisks (*) for the rest of the round.
- The pattern is written in US terms.
Crochet Christmas Ornaments Pattern Instructions
Begin with black yarn.
Rnd 1: ch 3, make 9 dc in the 3rd ch from the hook, join in the round with a sl st (9 stitches)
Rnd 2: ch 2, 2 dc in each st, join (18 stitches)
Rnd 3: ch 2, *2 dc, dc in next st*, join (27 stitches)
Rnd 4: ch 2, *2 dc, dc in next 2 sts*, join (36 stitches)
Rnd 5: ch 2, dc in each st, join (36 stitches)
Rnd 6: ch 2, dc in each st, join (36 stitches)
Switch to red yarn for Mickey or pink yarn for Minnie.
Rnd 7: ch 2, dc in each st, join (36 stitches)
Rnd 8: ch 2, dc in each st, join (36 stitches)
Rnd 9: ch 2, *dc2tog, dc in next 2 sts*, join (27 stitches)
Rnd 10: ch 2, *dc2tog, dc in next st*, join (18 stitches)
Rnd 11: ch 2, *dc2tog*, join (9 stitches)
Stuff the ornament with fiber fill and then sew the opening closed.
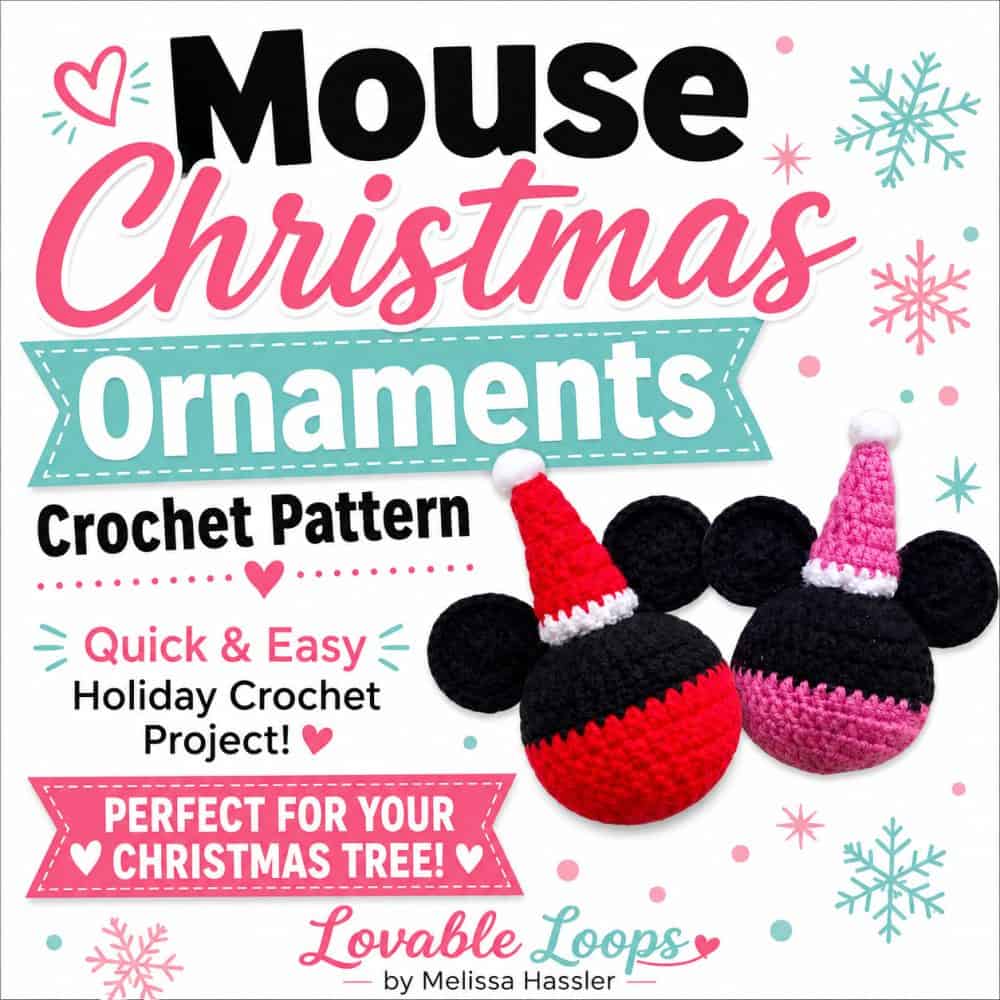
Mouse Ears for the Crochet Christmas Ornaments
Rnd 1: ch 3, make 9 dc in the 3rd ch from the hook, join in the round with a sl st (9 stitches)
Rnd 2: ch 2, 2 dc in each st, join (18 stitches)
Rnd 3: ch 1, *2 sc, sc in next st*, join (27 stitches)
Use a tapestry needle to sew the ears onto the ornament.
Thread a piece of black yarn from one side of one inner ear to the other side.
Tie the yarn, leaving it long enough to hang the ornament on a tree.
Santa Hat for the Crochet Christmas Ornaments
Begin with red or pink yarn.
Rnd 1: ch 3, make 4 dc in the 3rd ch from the hook, join in the rnd with a sl st (4 stitches)
Rnd 2: ch 2, 2 dc in each st, join (8 stitches)
Rnd 3: ch 2, dc in each st, join (8 stitches)
Rnd 4: ch 2, *2 dc, dc in next st*, join (12 stitches)
Rnd 5: ch 2, dc in each st, join (12 stitches)
Rnd 6: ch 2, *2 dc, dc in next 2 sts*, join (16 stitches)
Switch to white yarn.
Rnd 7: ch 1, sc in each st, join and fasten off.
Tuck all loose ends into the hat to help it stand up, and add fiber fill if needed for support. Line the bottom of the hat with hot glue, then carefully attach it to the ornament between the ears. Finish by adding a dab of glue to the top of the hat and placing a small white pom pom on it.
Finishing the Crochet Christmas Ornaments
Weave in any remaining yarn tails.

Christmas crochet decor patterns
Looking for more festive projects to make? Browse my favorite Christmas crochet decor patterns, including ornaments, pillows, garlands, appliques, stockings, and other cozy holiday makes for your home.
You can also visit my full collection of home decor crochet patterns for even more handmade ideas to decorate every season.
Let’s connect!
I’d love to see what you’re making! Share your finished project and follow along for more free crochet patterns and tutorials.
📌 Don’t forget to pin this pattern for later!
Happy crocheting! 🧶
— Melissa