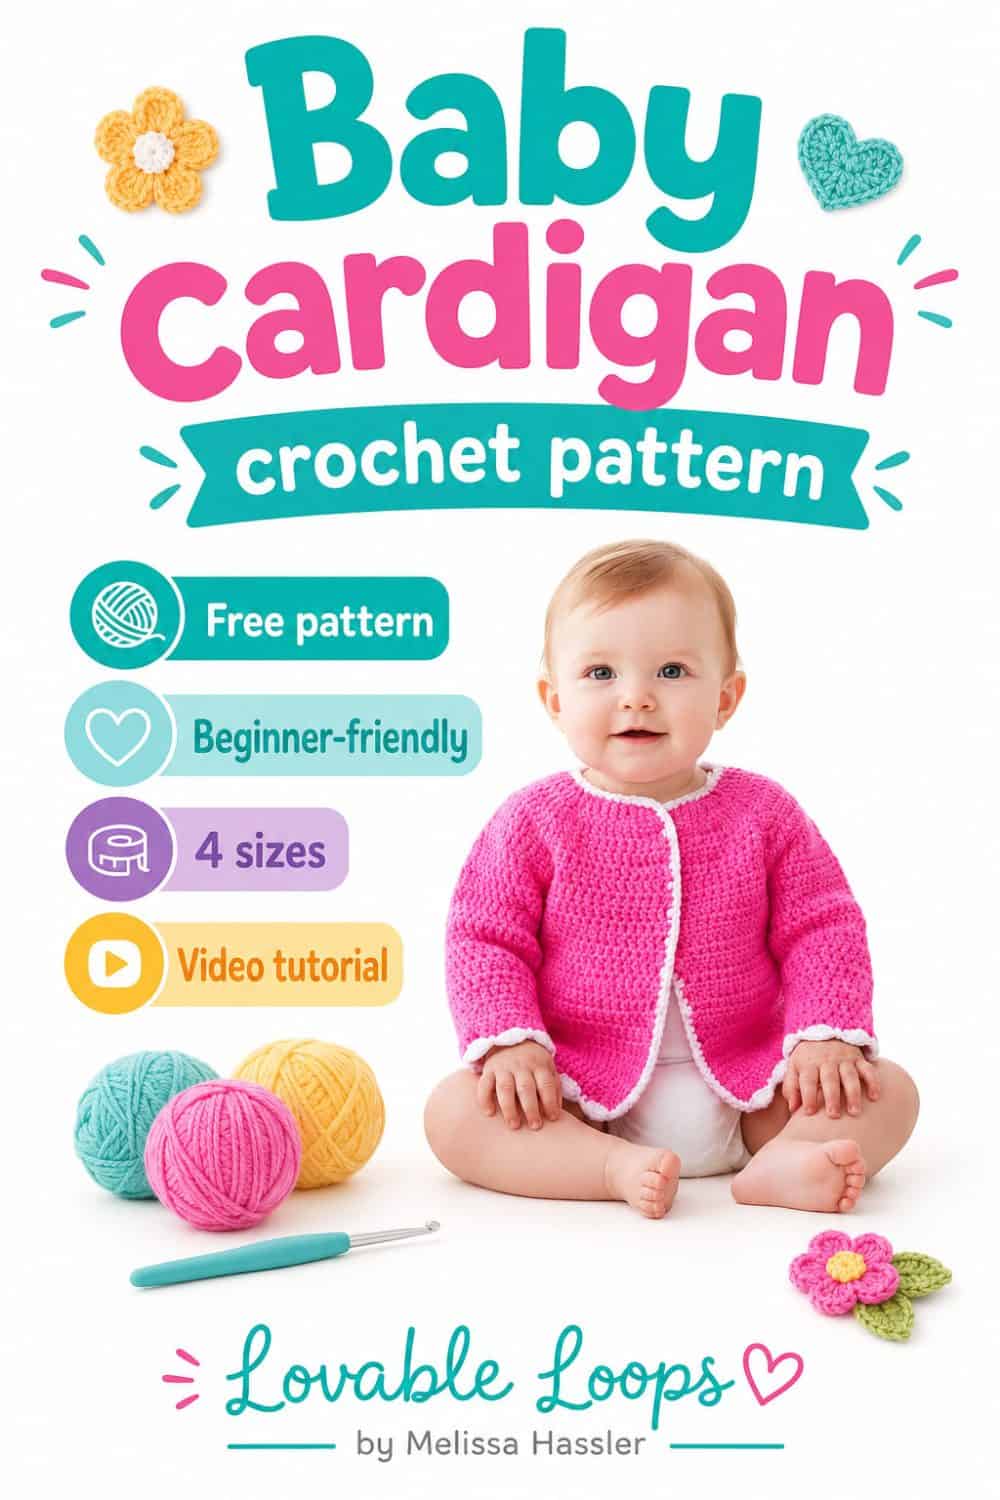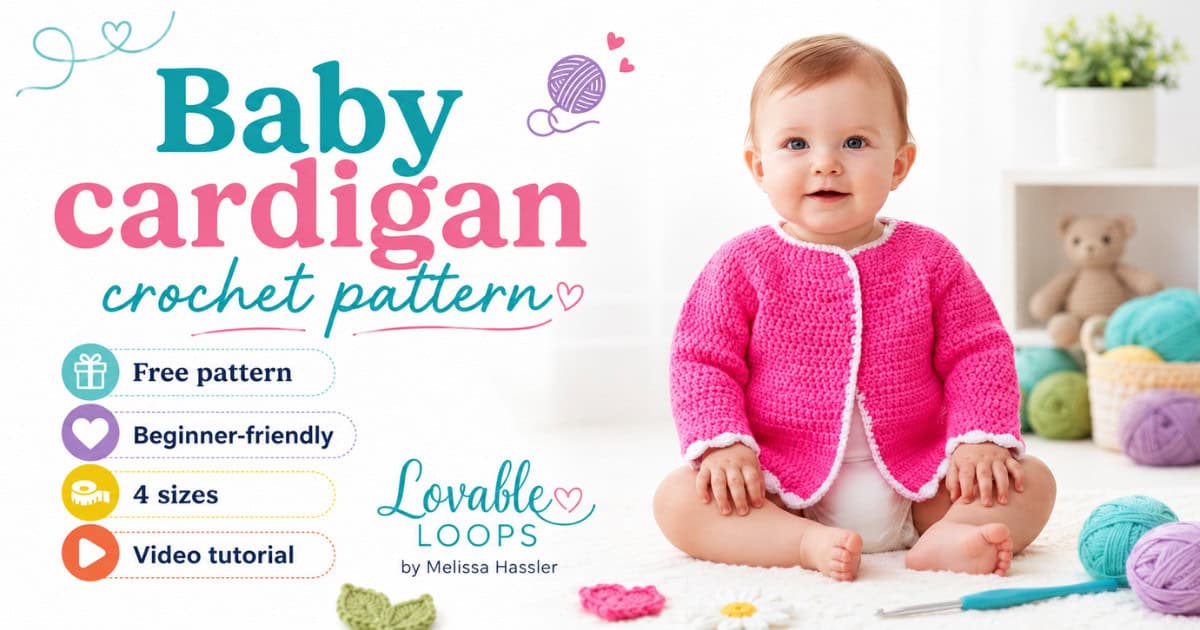
Baby cardigan crochet pattern
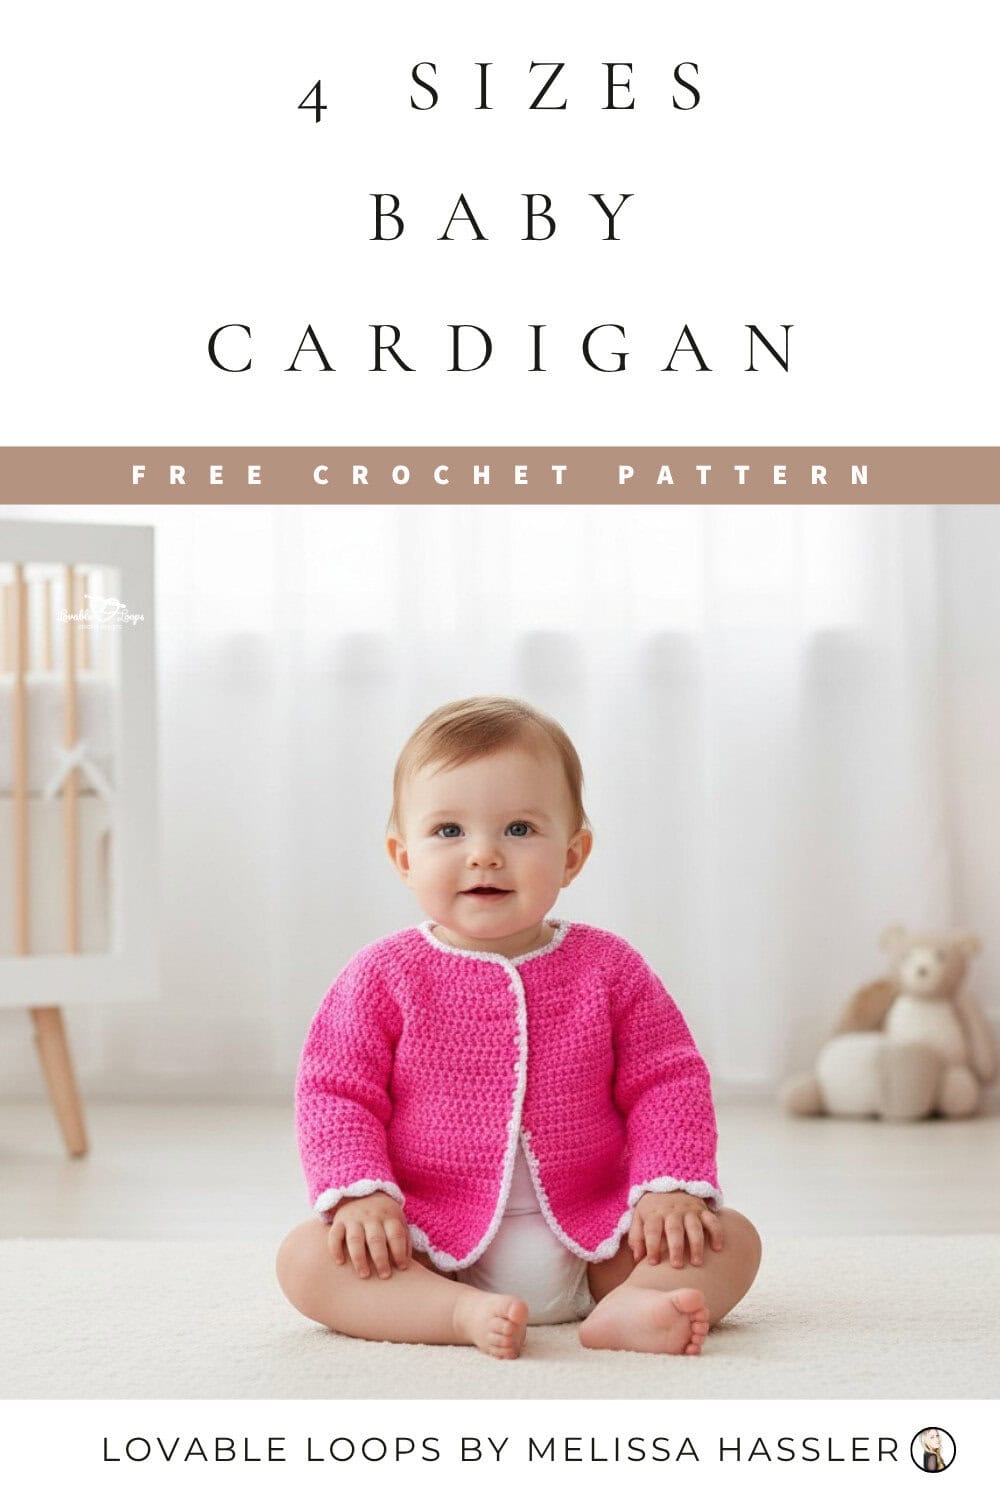
This baby cardigan crochet pattern is a beginner-friendly project made with simple stitches, easy shaping, and a cozy everyday fit. With sizes from newborn to 24 months, it’s a sweet handmade cardigan for baby gifts, special occasions, and everyday wear.
Quick answer:
This baby cardigan crochet pattern is an advanced beginner project made with worsted weight yarn and an H-8 (5 mm) crochet hook. It includes 4 sizes from newborn to 24 months, uses simple stitches and minimal seaming, and features a cozy baby cardigan fit.
Best for: Advanced beginners
Style: Classic baby cardigan
Includes: Size chart, written instructions, gauge, and video tutorial
Why you’ll love this baby cardigan crochet pattern
- Beginner-friendly design using basic stitches and simple repeats
- Includes four sizes from 0–3 months through 12–24 months
- Minimal seaming for easier construction and finishing
- Worked in worsted weight yarn for a cozy, practical fit
- Easy to customize the length and trim
- Includes a step-by-step video tutorial for extra support
Free baby cardigan crochet pattern details
Here’s a quick overview of the materials, sizing, gauge, and pattern notes before you begin.
Skill level
Advanced beginner — You should be comfortable with basic stitches like double crochet, simple increases and decreases, and working in rows and rounds.
Materials needed
- Crochet hook: Size H-8 (5 mm) or the size needed to match gauge
- Yarn: Worsted weight yarn (#4); soft acrylic or cotton works great
- Yarn needle: For weaving in your ends
- Scissors: For cutting your yarn
- Stitch markers: Helpful for keeping track of rounds and V-stitches
Size chart
This free baby cardigan crochet pattern includes four sizes from newborn to 24 months. Use the chart below to help you choose the best fit for your baby or gift recipient.
| Size | Chest | Waist | Back Length | Crossback | Armhole Depth |
| 0-3 Months | 16″ | 18″ | 6″ | 7.25″ | 3.25″ |
| 3-6 Months | 17″ | 19″ | 7″ | 7.75″ | 3.5″ |
| 6-12 Months | 18″ | 20″ | 7.5″ | 8.25″ | 3.75″ |
| 12-24 Months | 20″ | 21″ | 8.5″ | 8.75″ | 4.25″ |
Gauge
17 stitches and 10 rows = 4 inches
If you have more stitches, try a larger hook size
If you have fewer stitches, try a smaller hook size
Crochet abbreviations
- dc = double crochet
- dc2tog = double crochet decrease
- sc = single crochet
- sc2tog = single crochet decrease
- st/sts = stitch/stitches
- sl st = slip stitch
- ch/chs = chain/chains
- rnd/rnds = round/rounds
- rem = remaining
Pattern notes
- Repeat the stitches between asterisks (*) until the end of the row or round
- The sleeves are worked in the round
- Use stitch markers to keep track of v-stitches and sleeve openings
- Customize the length by adding or removing body rows
- The pattern is written in US crochet terms.
Special stitch: V-stitch
V-stitch: In the same stitch, make dc, ch 1, dc.

Baby cardigan crochet pattern instructions (all sizes)
Rows 1 and 2 are the same for every size: 0–3 months, 3–6 months, 6–12 months, and 12–24 months.
Row 1: Make your starting chain (58, 62, 66, 70). Dc in the 3rd ch from the hook and in each remaining chain. Turn.
Stitch counts: 56, 60, 64, 68
Row 2: Ch 2, 2 dc in next st, dc in next st, repeat across. Turn.
Stitch counts: 84, 90, 96, 102
0–3 month size
Row 3: Ch 2, dc in 13, v-stitch, dc in 14, v-stitch, dc in 26, v-stitch, dc in 14, v-stitch, dc in 13, turn (88 sts)
Row 4: Ch 2, dc in 14, v-stitch, dc in 16, v-stitch, dc in 28, v-stitch, dc in 16, v-stitch, dc in 14, turn (96 sts)
Row 5: Ch 2, dc in 15, v-stitch, dc in 18, v-stitch, dc in 30, v-stitch, dc in 18, v-stitch, dc in 15, turn (104 sts)
Row 6: Ch 2, dc in 16, v-stitch, dc in 20, v-stitch, dc in 32, v-stitch, dc in 20, v-stitch, dc in 16, turn (112 sts)
Row 7: Ch 2, dc in 17, v-stitch, dc in 22, v-stitch, dc in 34, v-stitch, dc in 22, v-stitch, dc in 18, turn (120 sts)
Row 8: Ch 2, dc in 18, dc in next st, skip 22 sts, dc in next (first sleeve), dc in 36, dc in next, skip 22 sts, dc in next (second sleeve), dc in 18, turn (76 sts)
Rows 9–22: Ch 2, dc in each st, turn (76 sts)
Row 23: Ch 2, skip a st, 4 dc in next st, skip a st, sl st in next st, repeat across. Fasten off and weave in ends.
Sleeves (0–3 month):
Join yarn at back of armhole.
Rnd 1: Ch 2, dc evenly around sleeve opening, join
Rnds 2–14: Ch 2, dc in each st, join
Rnd 15: Ch 2, skip a st, 4 dc in next st, skip a st, sl st in next st, join. Fasten off and weave in ends.
3–6 month size
Row 3: Ch 2, dc in 14, v-stitch, dc in 15, v-stitch, dc in 28, v-stitch, dc in 15, v-stitch, dc in 14, turn (94 sts)
Row 4: Ch 2, dc in 15, v-stitch, dc in 17, v-stitch, dc in 30, v-stitch, dc in 17, v-stitch, dc in 15, turn (102 sts)
Row 5: Ch 2, dc in 16, v-stitch, dc in 19, v-stitch, dc in 32, v-stitch, dc in 19, v-stitch, dc in 16, turn (110 sts)
Row 6: Ch 2, dc in 17, v-stitch, dc in 21, v-stitch, dc in 34, v-stitch, dc in 21, v-stitch, dc in 17, turn (118 sts)
Row 7: Ch 2, dc in 18, v-stitch, dc in 23, v-stitch, dc in 36, v-stitch, dc in 23, v-stitch, dc in 18, turn (126 sts)
Row 8: Ch 2, dc in 19, dc in next st, skip 23 sts, dc in next (first sleeve), dc in 38, dc in next, skip 23 sts, dc in next (second sleeve), dc in 19, turn (80 sts)
Rows 9–22: Ch 2, dc in each st, turn (80 sts)
Row 23: Ch 2, skip a st, 4 dc in next st, skip a st, sl st in next st, repeat across. Fasten off and weave in ends.
Sleeves (3–6 month):
Join yarn at back of armhole.
Rnd 1: Ch 2, dc evenly around sleeve opening, join
Rnds 2–15: Ch 2, dc in each st, join
Rnd 16: Ch 2, skip a st, 4 dc in next st, skip a st, sl st in next st, join. Fasten off and weave in ends.
6–12 month size
Row 3: Ch 2, dc in 15, v-stitch, dc in 16, v-stitch, dc in 30, v-stitch, dc in 16, v-stitch, dc in 15, turn (100 sts)
Row 4: Ch 2, dc in 16, v-stitch, dc in 18, v-stitch, dc in 32, v-stitch, dc in 18, v-stitch, dc in 16, turn (108 sts)
Row 5: Ch 2, dc in 17, v-stitch, dc in 20, v-stitch, dc in 34, v-stitch, dc in 20, v-stitch, dc in 17, turn (116 sts)
Row 6: Ch 2, dc in 18, v-stitch, dc in 22, v-stitch, dc in 36, v-stitch, dc in 22, v-stitch, dc in 18, turn (124 sts)
Row 7: Ch 2, dc in 19, v-stitch, dc in 24, v-stitch, dc in 38, v-stitch, dc in 24, v-stitch, dc in 19, turn (132 sts)
Row 8: Ch 2, dc in 20, dc in next st, skip 24 sts, dc in next (first sleeve), dc in 40, dc in next, skip 24 sts, dc in next (second sleeve), dc in 20, turn (84 sts)
Rows 9–24: Ch 2, dc in each st, turn (84 sts)
Row 25: Ch 2, skip a st, 4 dc in next st, skip a st, sl st in next st, repeat across. Fasten off and weave in ends.
Sleeves (6–12 month):
Join yarn at back of armhole.
Rnd 1: Ch 2, dc evenly around sleeve opening, join
Rnds 2–17: Ch 2, dc in each st, join
Rnd 18: Ch 2, skip a st, 4 dc in next st, skip a st, sl st in next st, join. Fasten off and weave in ends.
12–24 month size
Row 3: Ch 2, dc in 16, v-stitch, dc in 17, v-stitch, dc in 33, v-stitch, dc in 17, v-stitch, dc in 16, turn (106 sts)
Row 4: Ch 2, dc in 17, v-stitch, dc in 19, v-stitch, dc in 34, v-stitch, dc in 19, v-stitch, dc in 17, turn (114 sts)
Row 5: Ch 2, dc in 18, v-stitch, dc in 21, v-stitch, dc in 36, v-stitch, dc in 21, v-stitch, dc in 18, turn (122 sts)
Row 6: Ch 2, dc in 19, v-stitch, dc in 23, v-stitch, dc in 38, v-stitch, dc in 23, v-stitch, dc in 19, turn (130 sts)
Row 7: Ch 2, dc in 20, v-stitch, dc in 25, v-stitch, dc in 40, v-stitch, dc in 25, v-stitch, dc in 20, turn (138 sts)
Row 8: Ch 2, dc in 21, dc in next st, skip 25 sts, dc in next (first sleeve), dc in 42, dc in next, skip 25 sts, dc in next (second sleeve), dc in 21, turn (88 sts)
Rows 9–26: Ch 2, dc in each st, turn (88 sts)
Row 27: Ch 2, skip a st, 4 dc in next st, skip a st, sl st in next st, repeat across. Fasten off and weave in ends.
Sleeves (12–24 month):
Join yarn at back of armhole.
Rnd 1: Ch 2, dc evenly around sleeve opening, join
Rnds 2–19: Ch 2, dc in each st, join
Rnd 20: Ch 2, skip a st, 4 dc in next st, skip a st, sl st in next st, join. Fasten off and weave in ends.
Adding the collar
With the cardigan facing you, attach your yarn to the left edge of the neckline. Ch 2, dc2tog, dc in next st, repeat across to the other edge. Fasten off and weave in ends.
Adding trim to the cardigan
Attach yarn at the bottom of the left front. Single crochet up the edge, around the neckline, and down the right front. Finish off and weave in the ends.
Finishing
Double-check that all ends are woven in securely. Block your cardigan if desired for a polished final look.
Frequently asked questions
Is this a beginner-friendly baby cardigan crochet pattern?
This baby cardigan crochet pattern is best for advanced beginners who are comfortable with basic stitches, simple increases and decreases, and following stitch counts.
What sizes does this baby cardigan crochet pattern include?
This free baby cardigan crochet pattern includes four sizes: 0–3 months, 3–6 months, 6–12 months, and 12–24 months.
What yarn should I use for this baby cardigan crochet pattern?
This pattern uses worsted weight (#4) yarn. Soft acrylic or cotton yarn works well for baby garments.
Is this baby cardigan crochet pattern free?
Yes, this is a free baby cardigan crochet pattern available on the blog with written instructions for all sizes and a video tutorial.
Can I adjust the length of the baby cardigan?
Yes, you can customize the length by adding or removing rows in the body section before finishing the trim.
How is this baby cardigan crochet pattern constructed?
The cardigan body is worked flat, and the sleeves are worked in the round with minimal seaming.
Video tutorial
A step-by-step video tutorial is included to walk you through the construction of the cardigan. The tutorial shows the 0–3 month size, and the same steps apply to all sizes in the pattern.

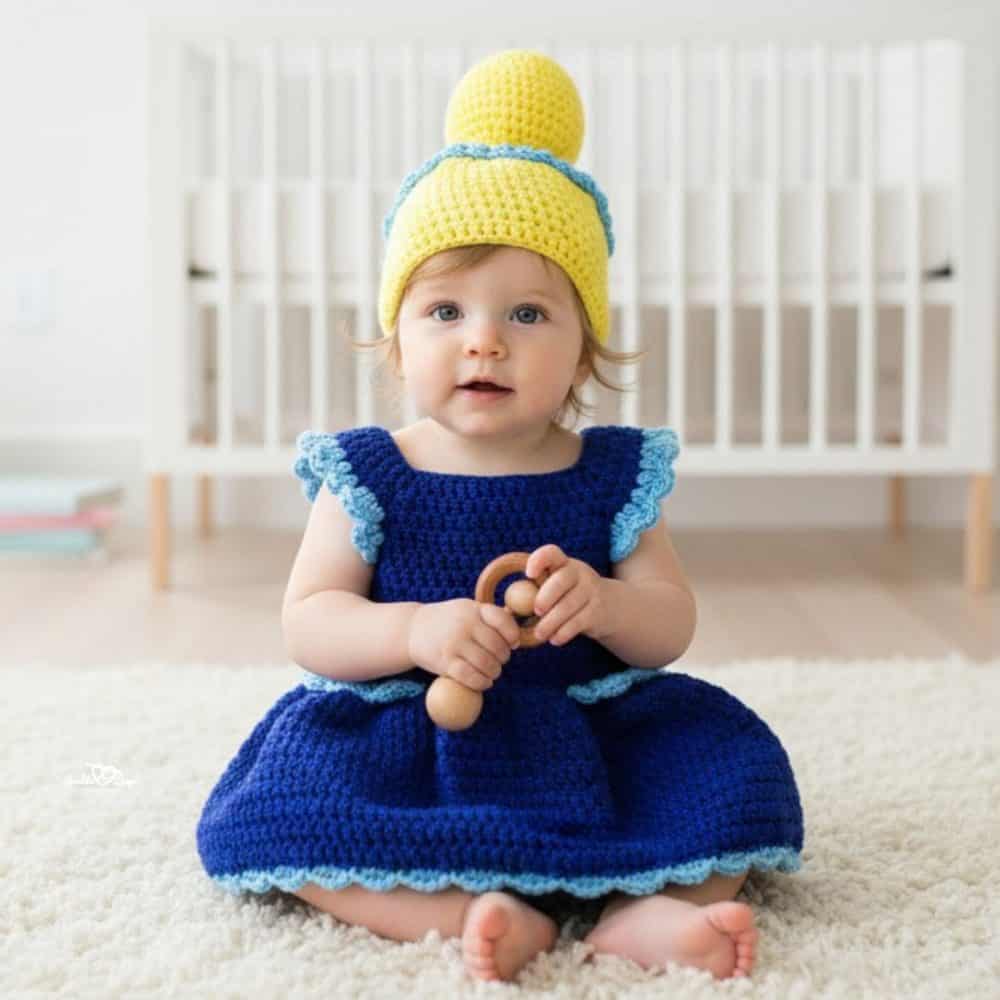
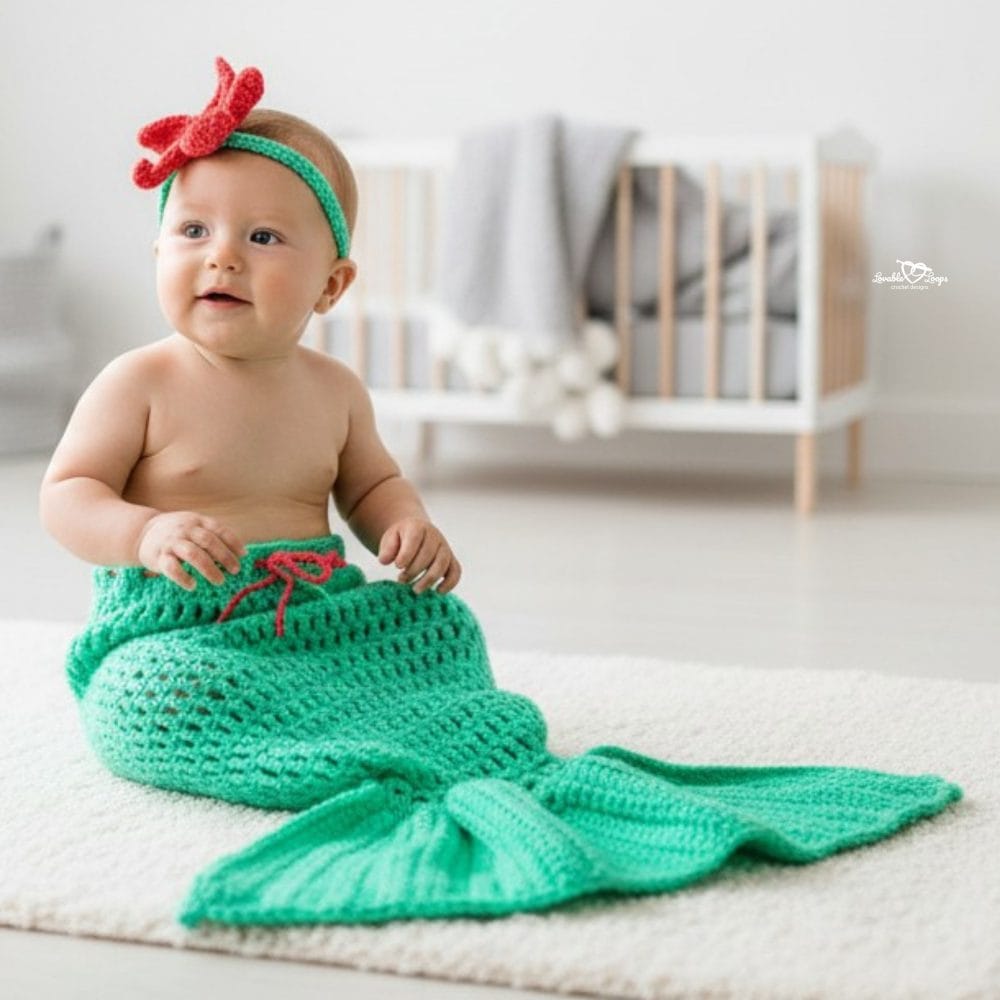
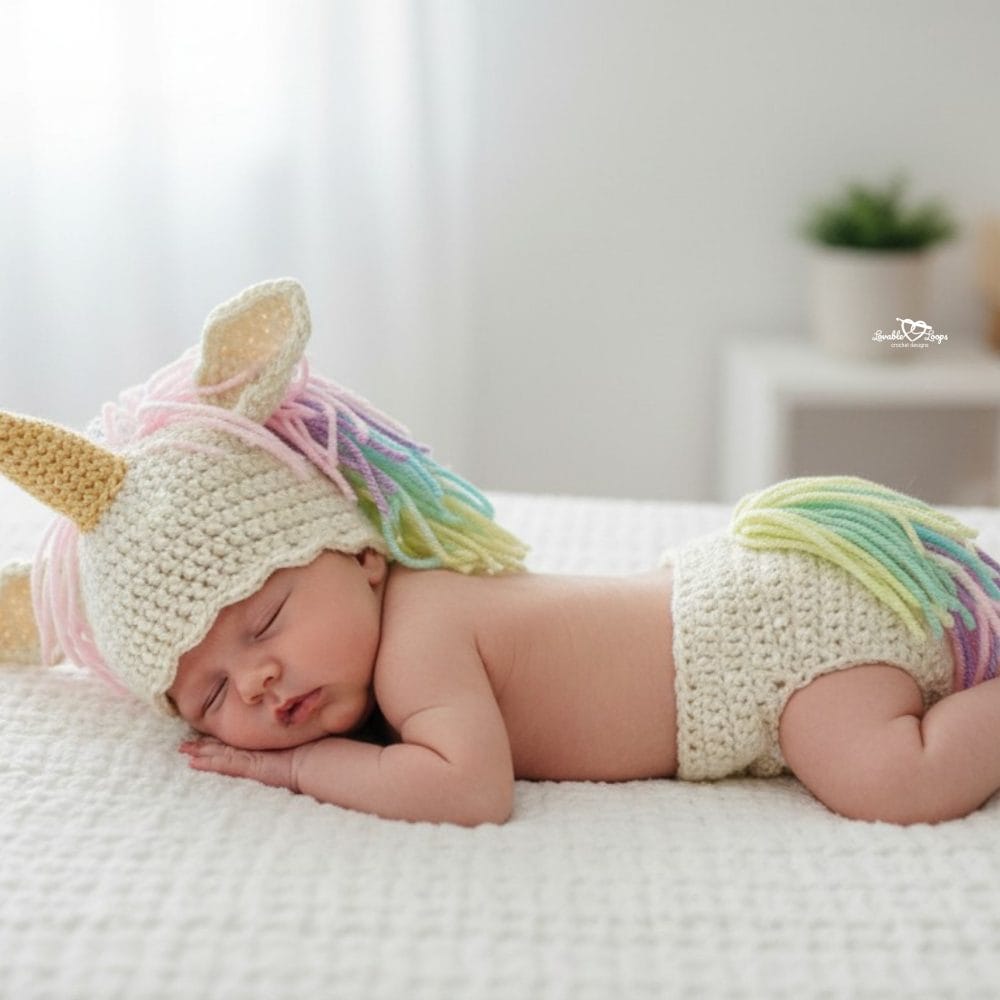
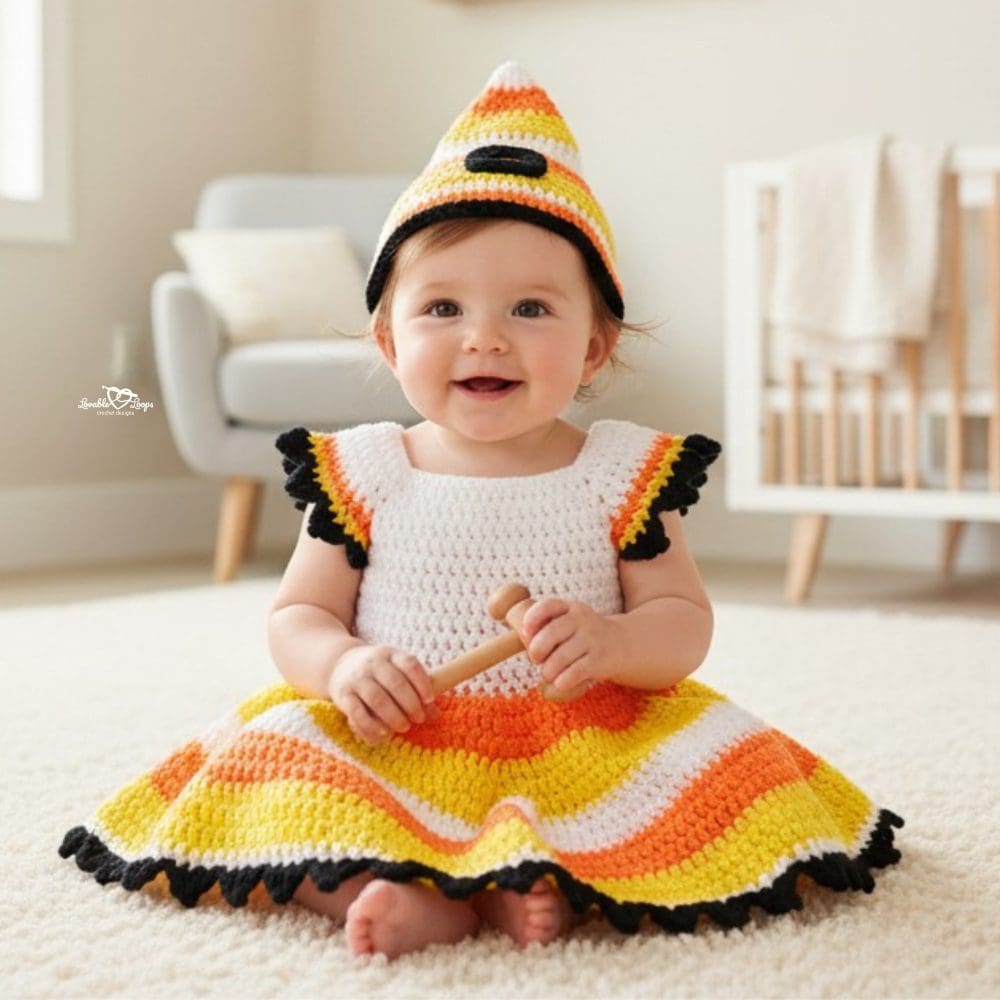
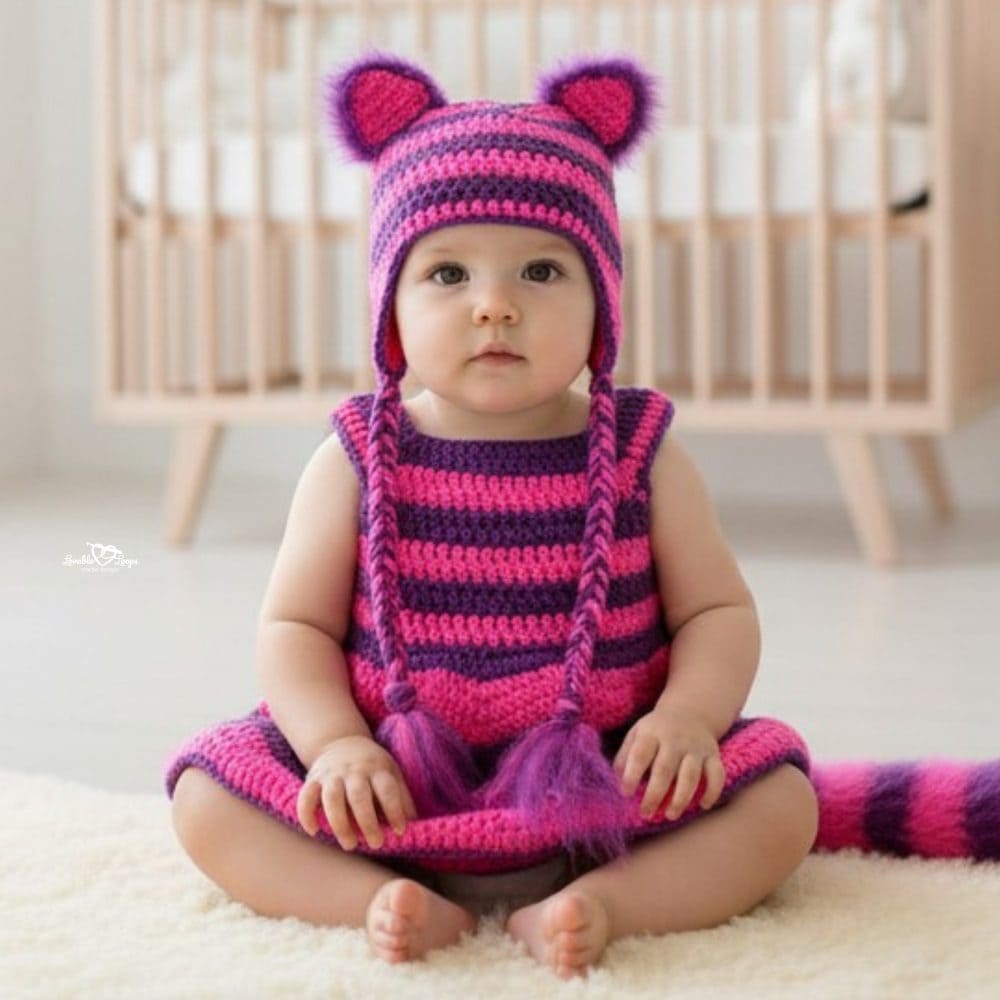
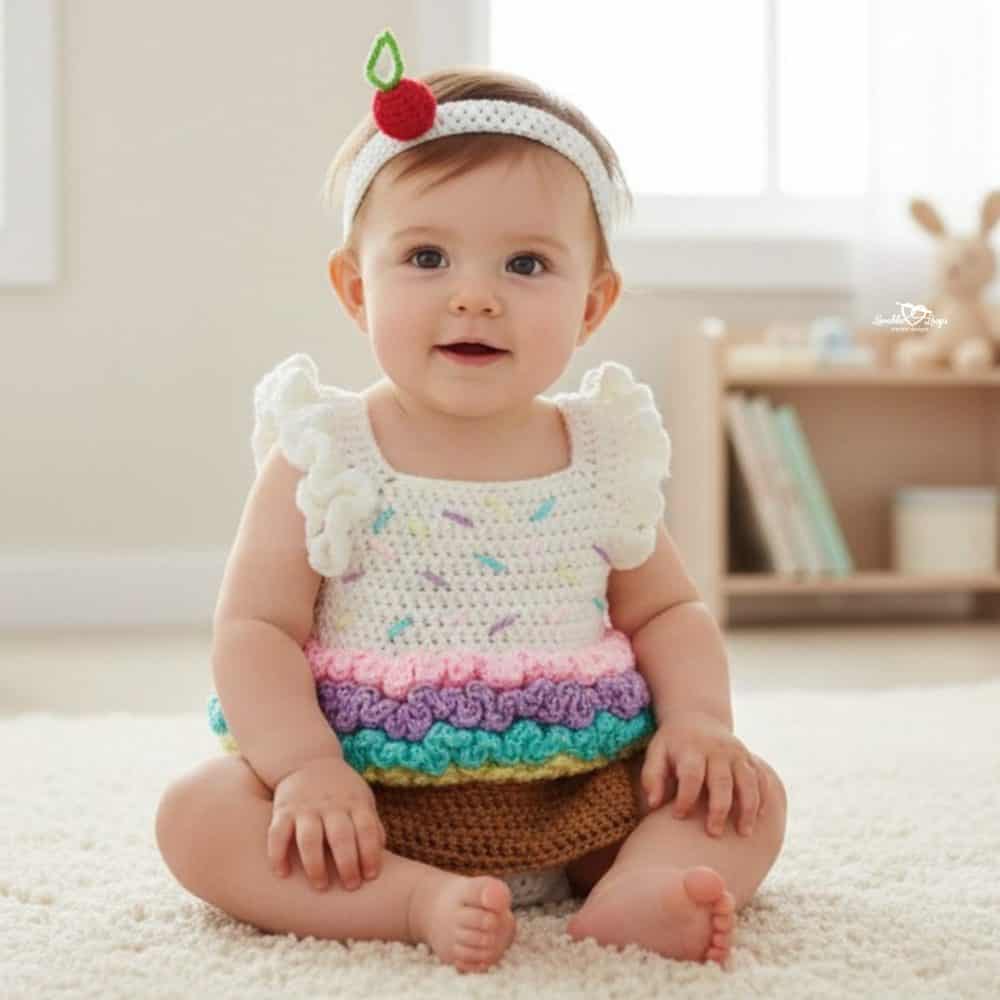
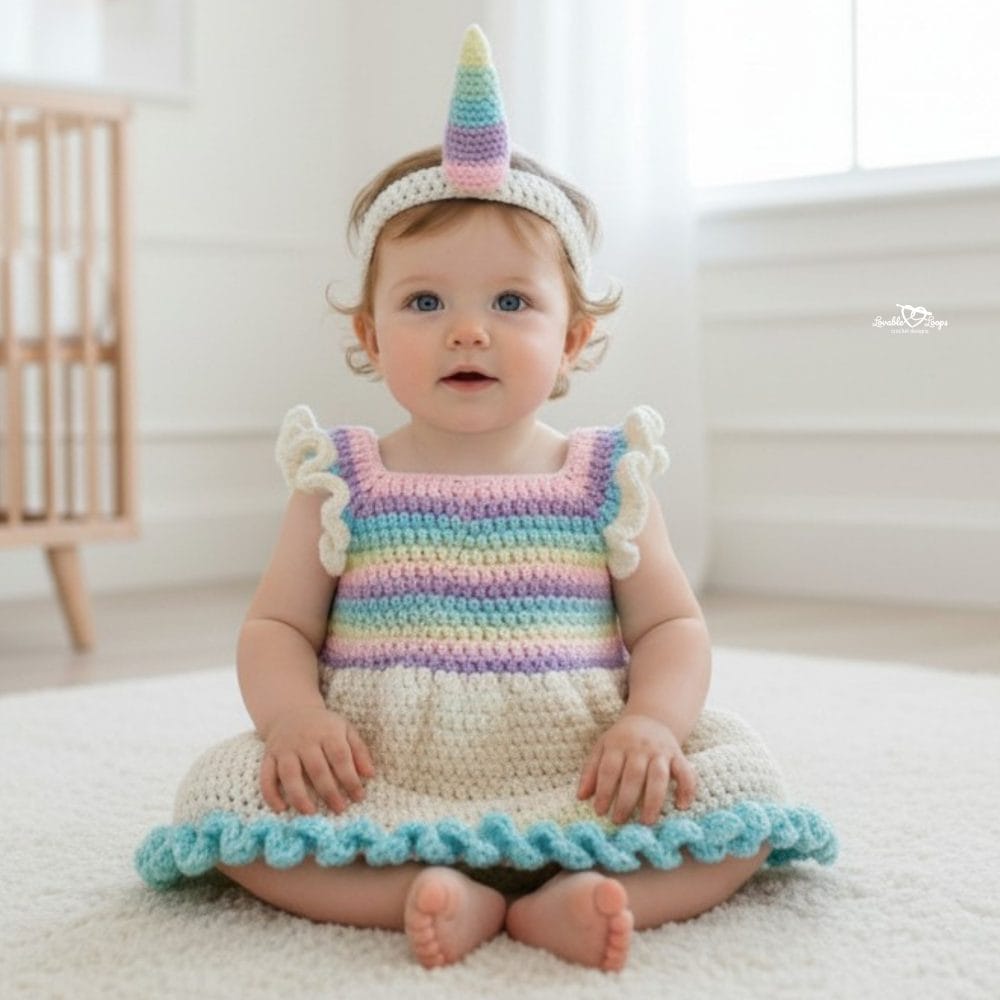
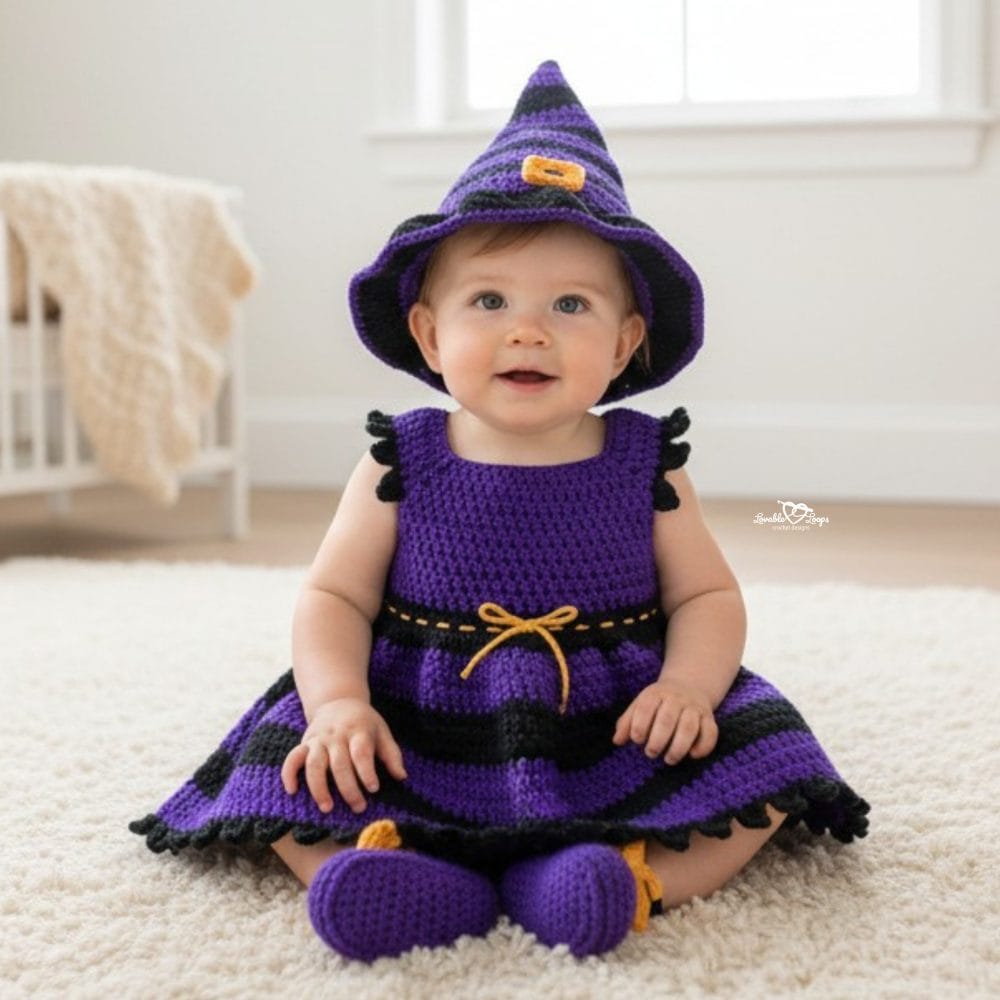
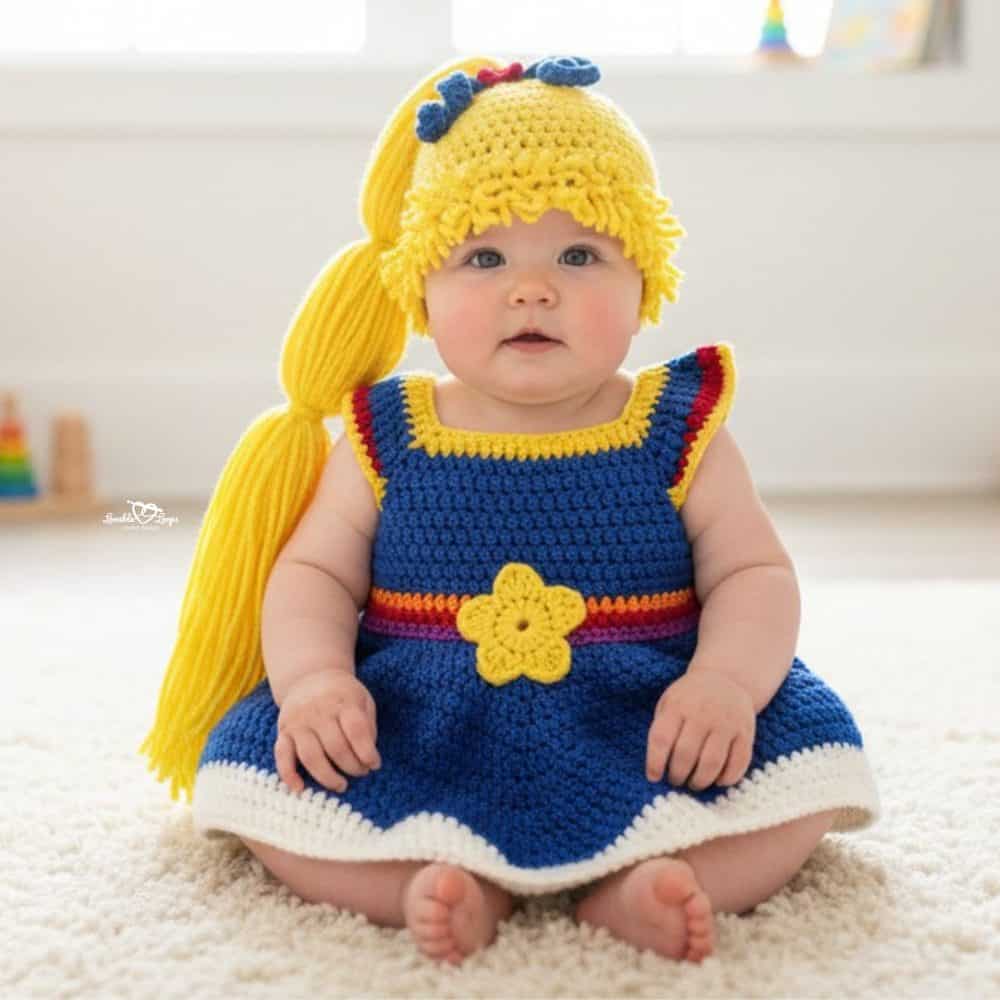
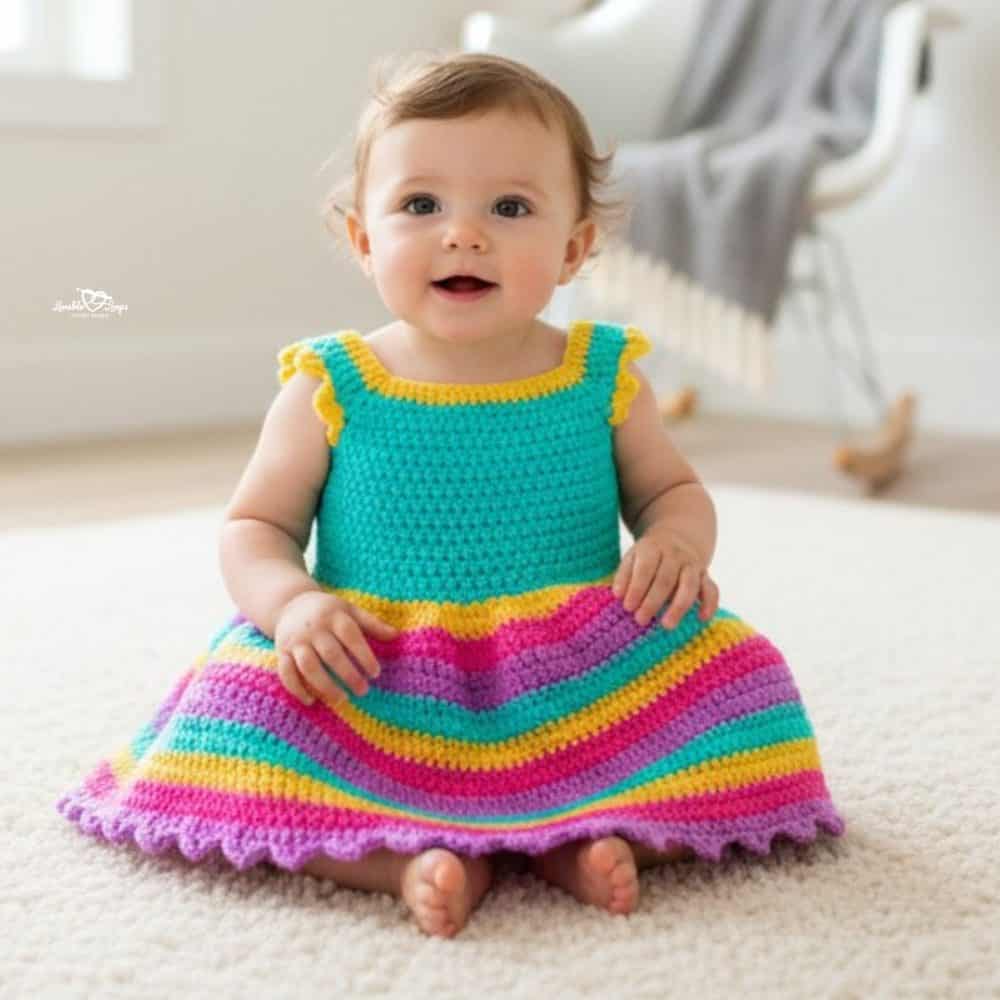
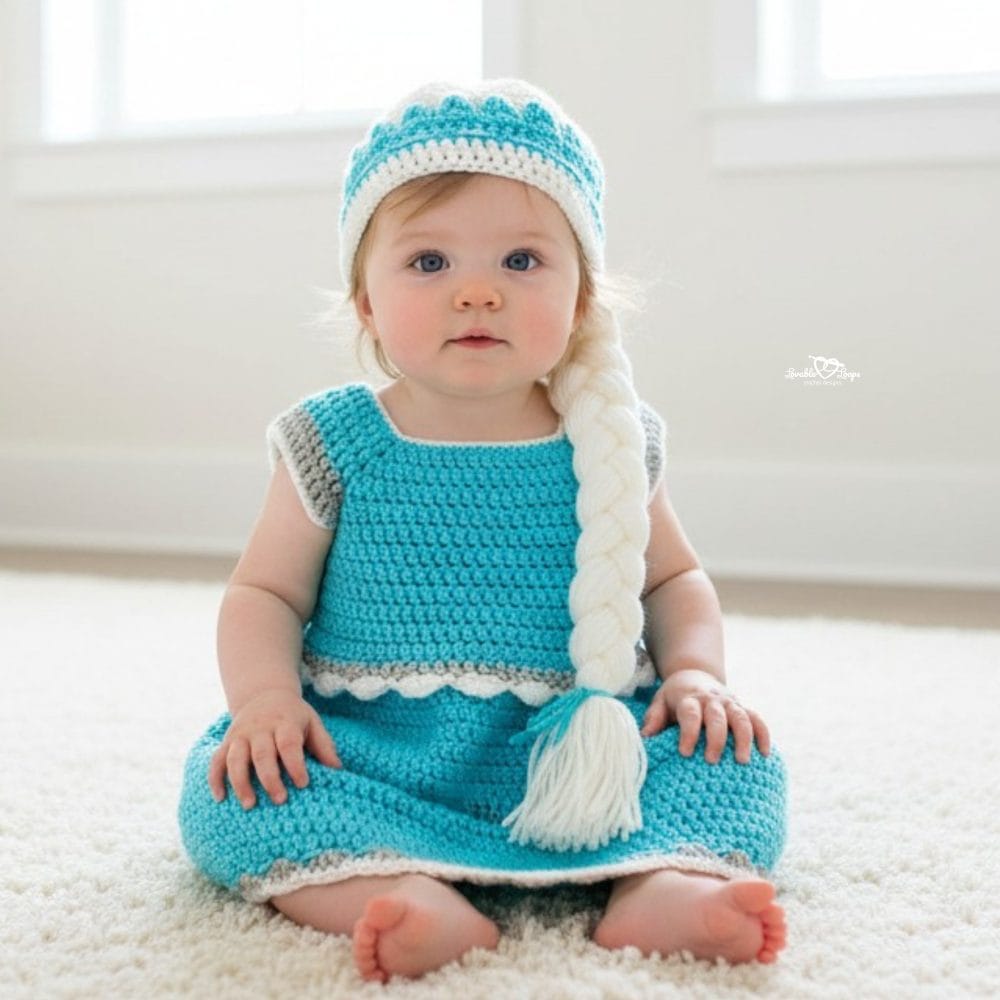
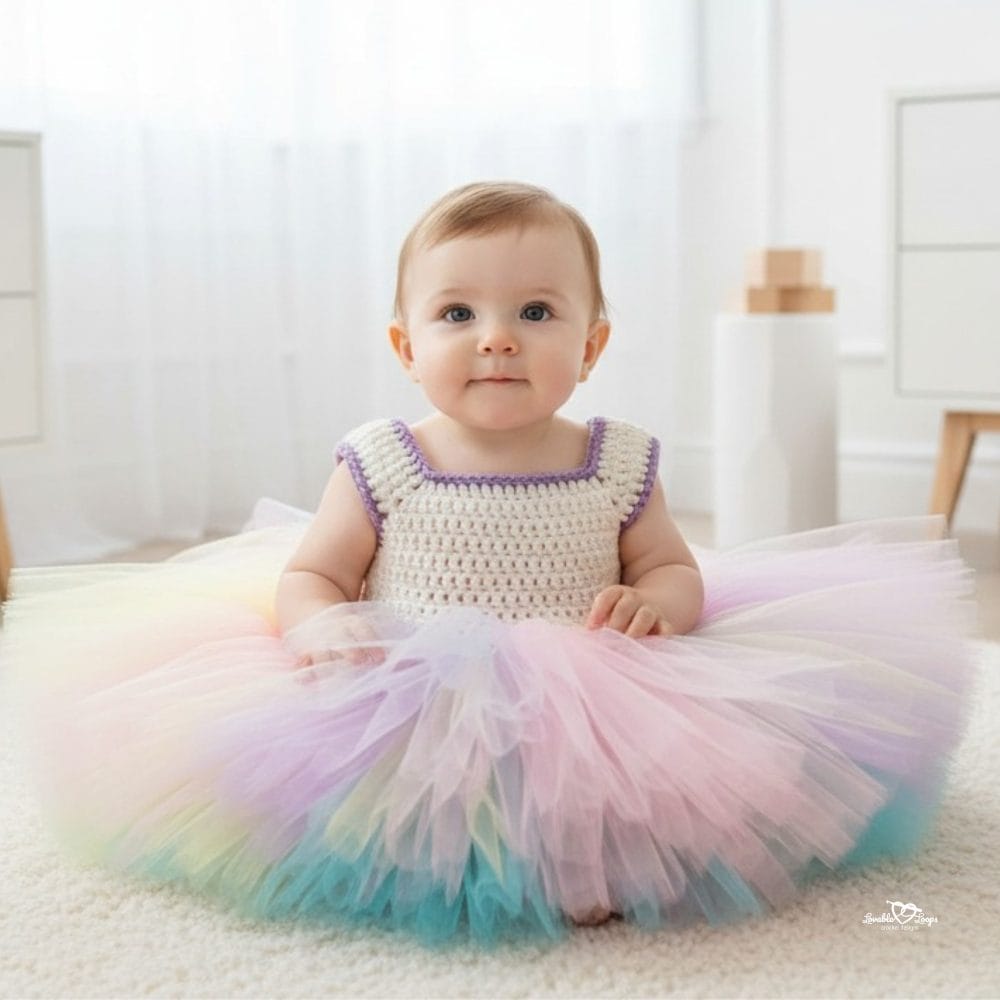
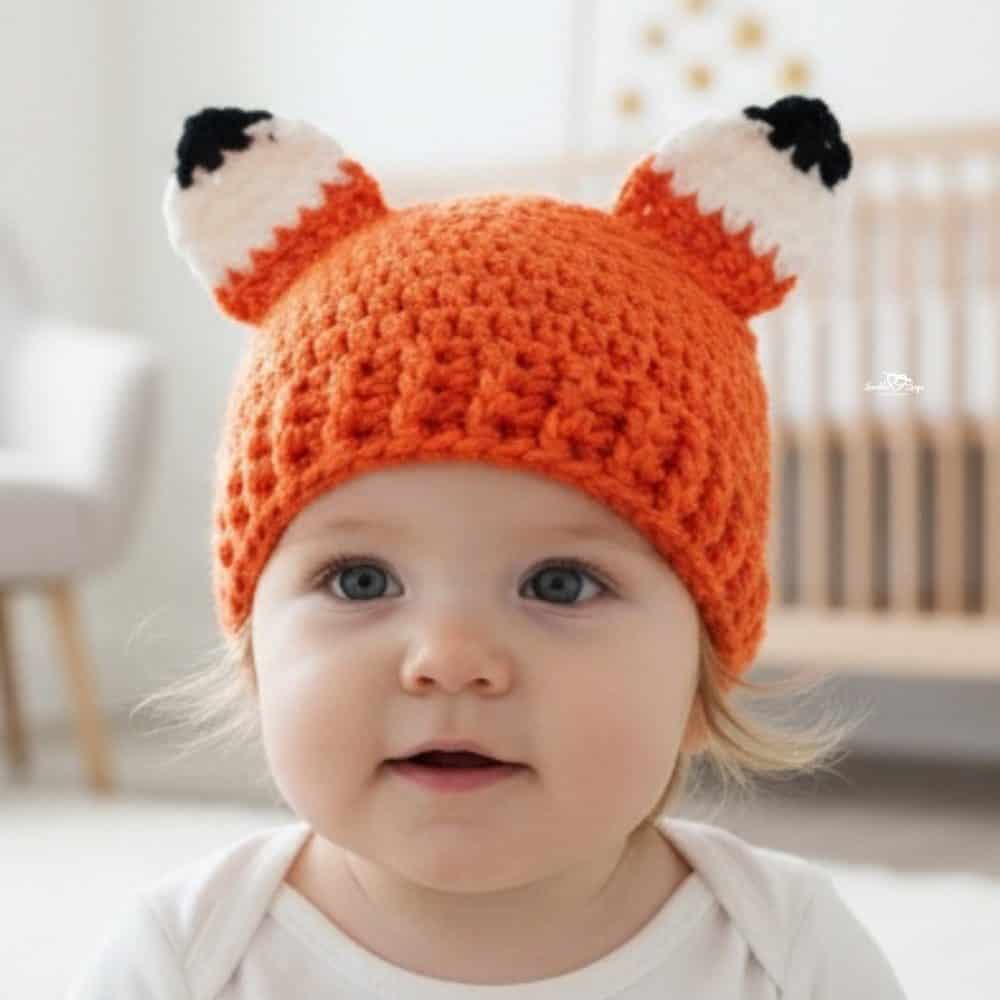
Free crochet baby costume patterns
Looking for more cute costume ideas for babies? These free crochet baby costume patterns are perfect for Halloween, dress-up, themed photos, and sweet handmade memories. You’ll find fun and creative outfits that are great for babies and toddlers, whether you want something playful for a party or extra special for pictures.
Browse the gallery below to find adorable crochet baby costumes you can make for little ones. For even more handmade ideas, visit my full collection of free crochet baby patterns.

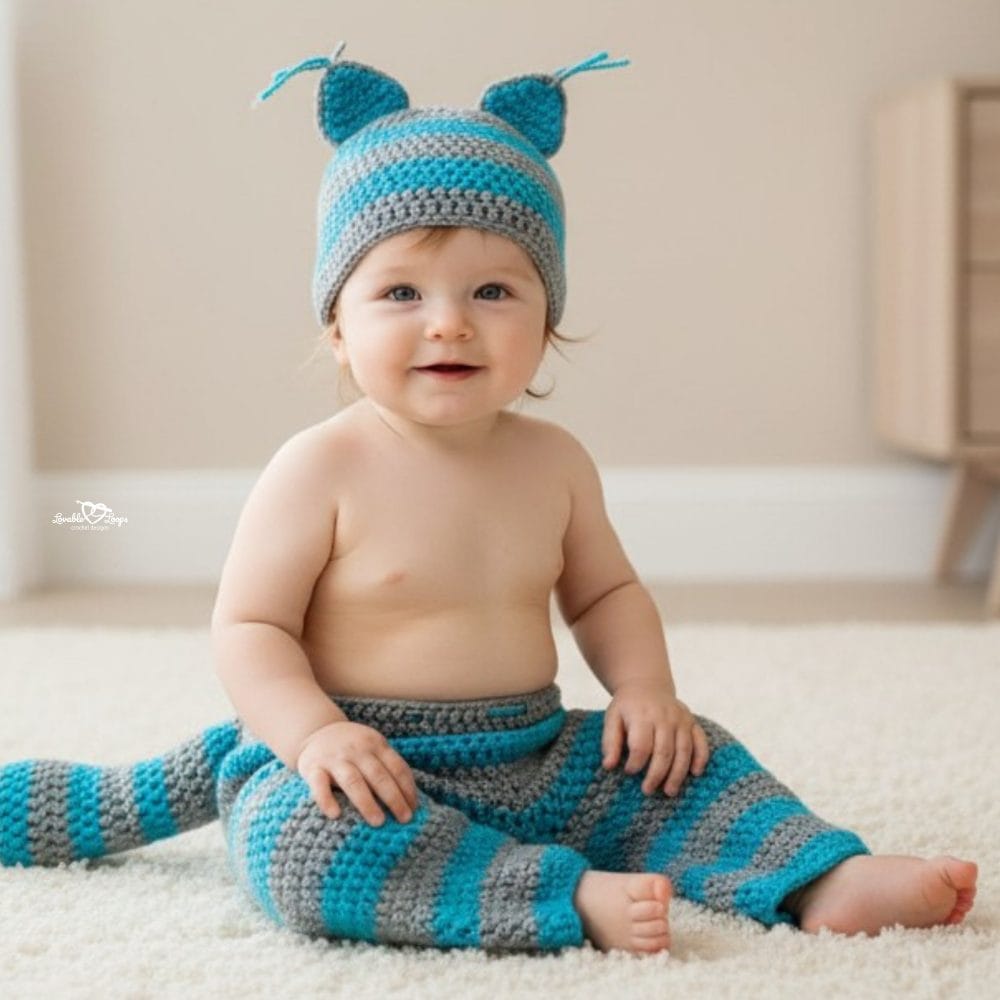

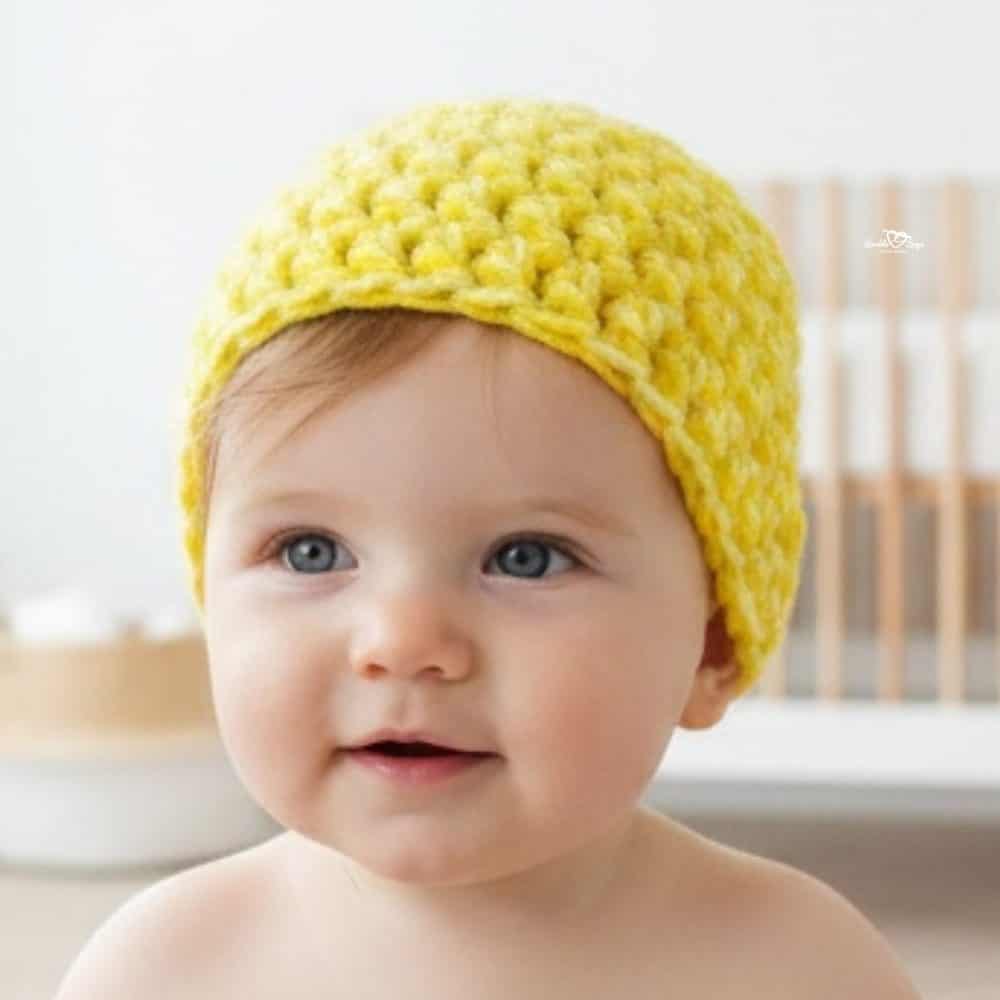
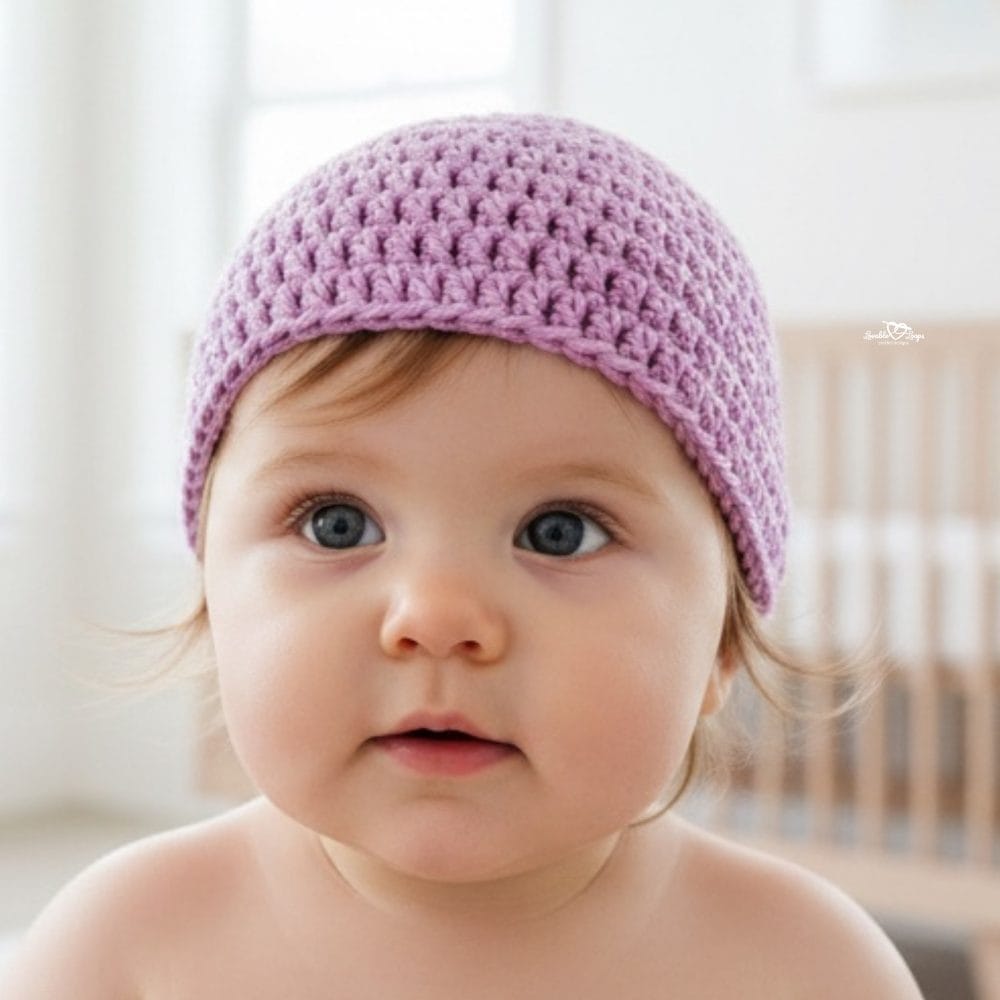
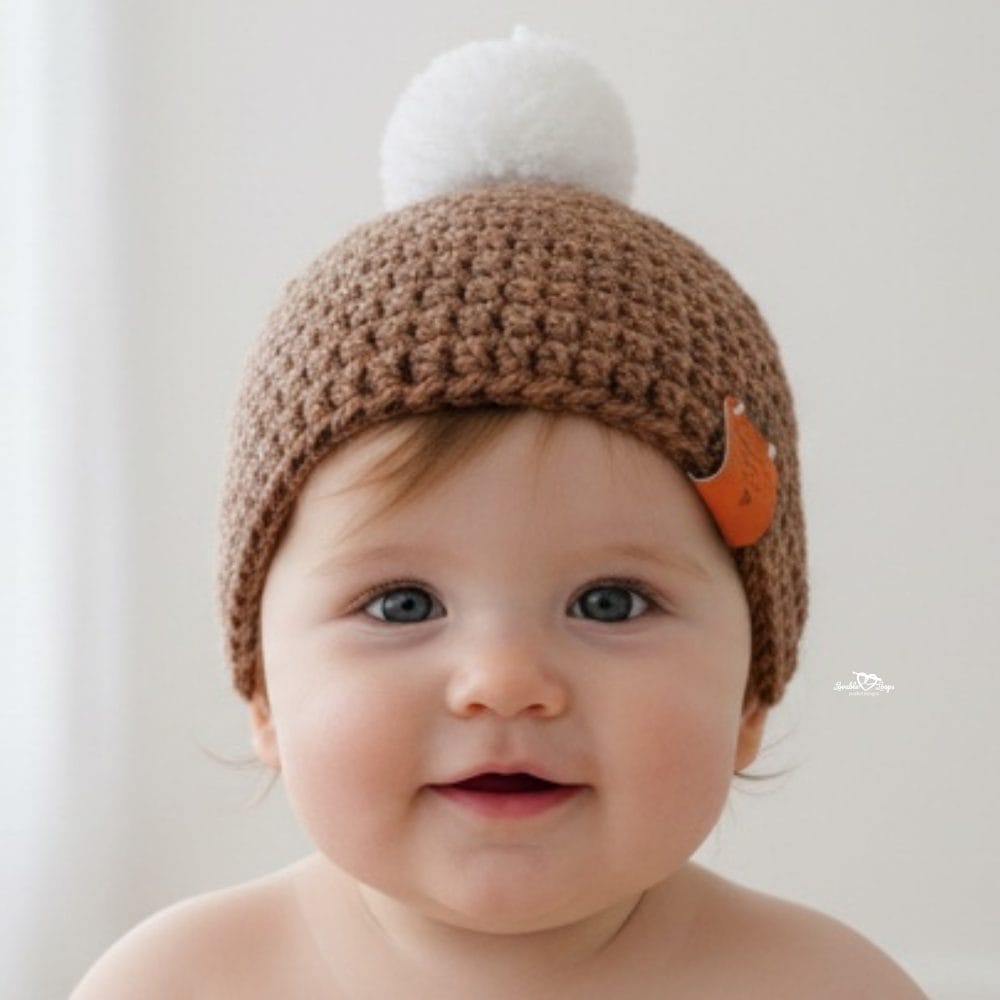
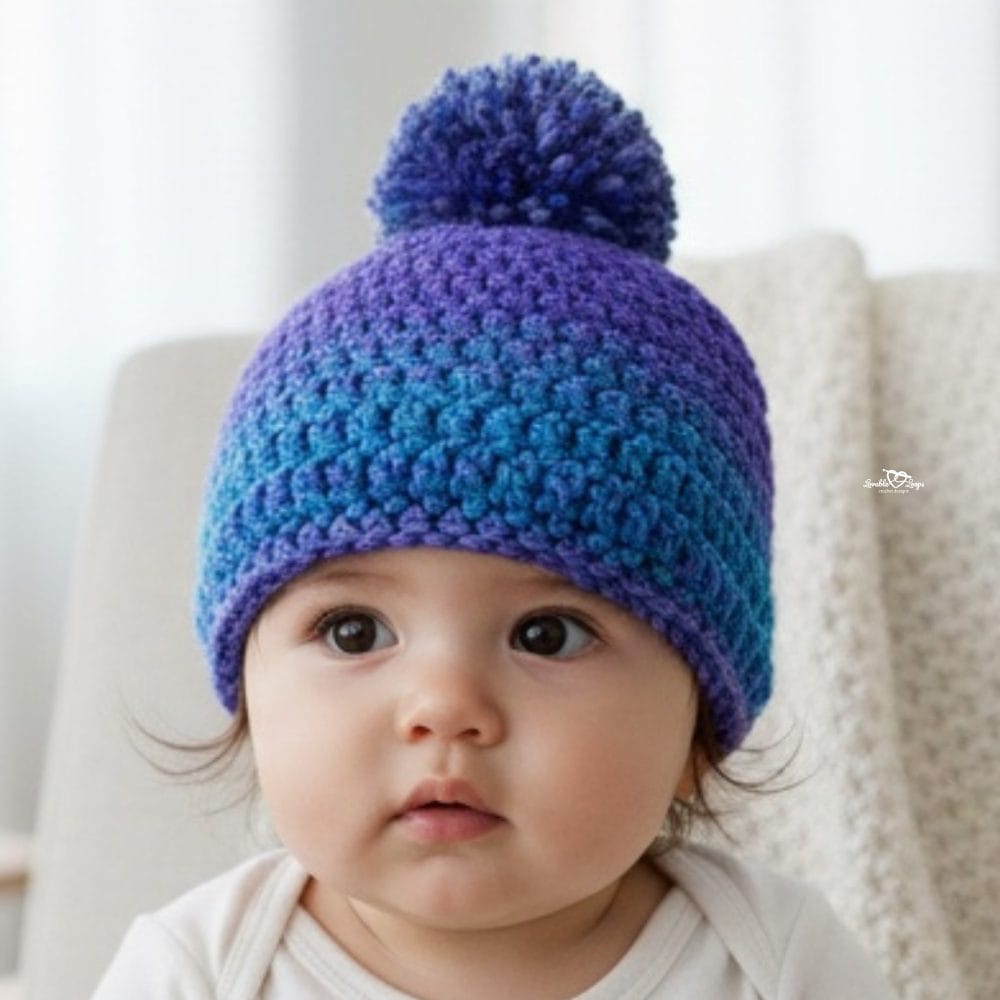
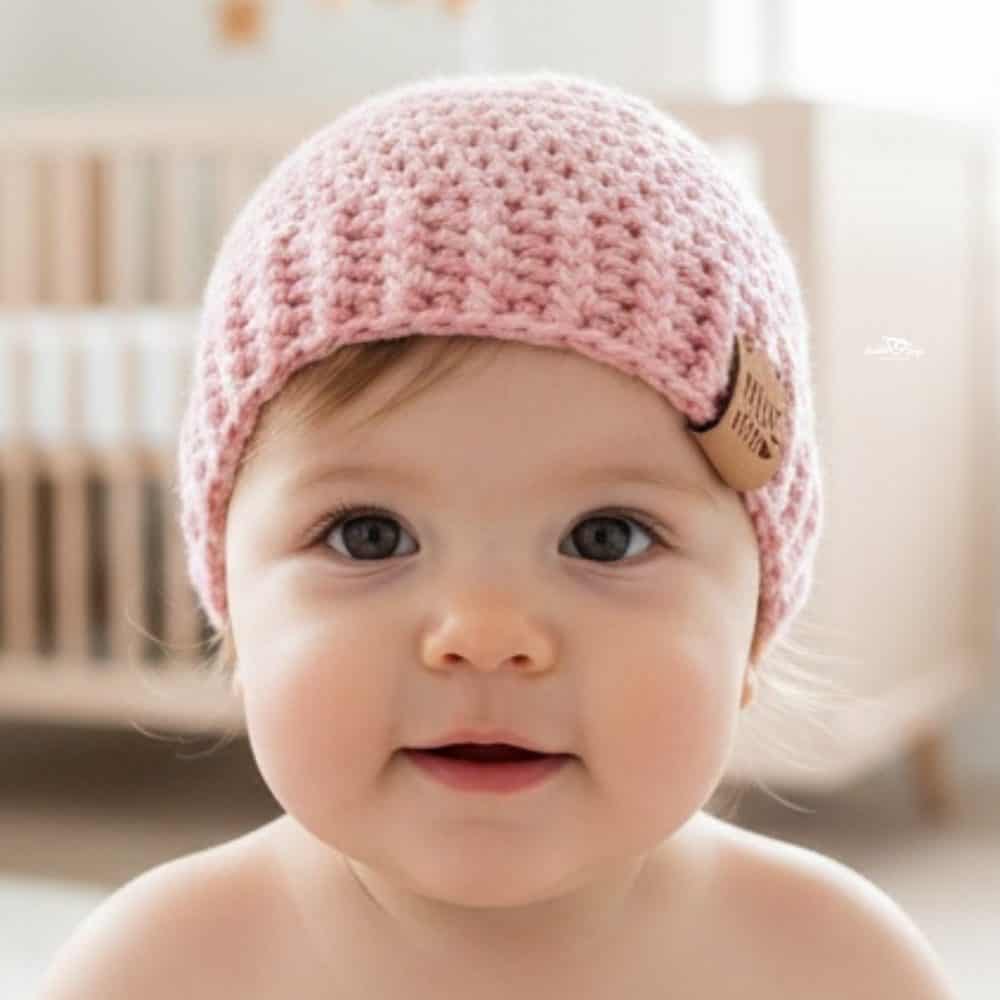
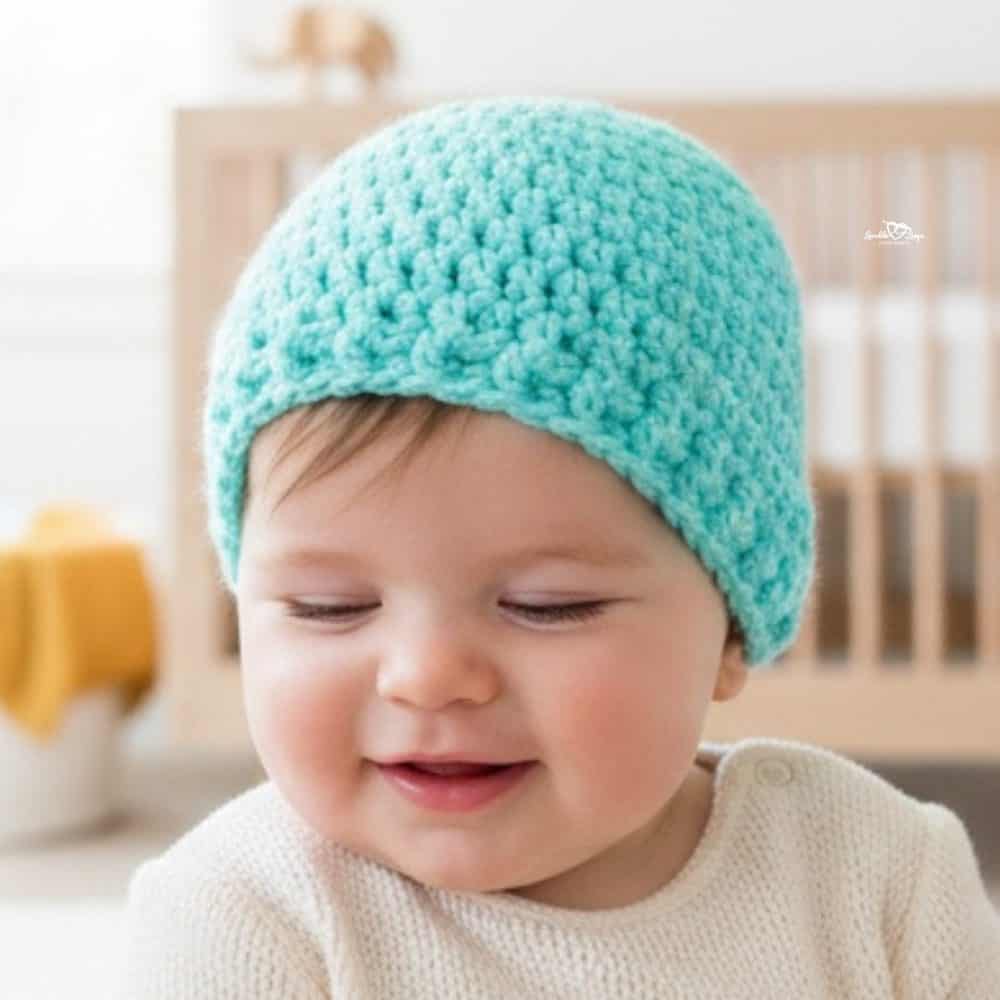
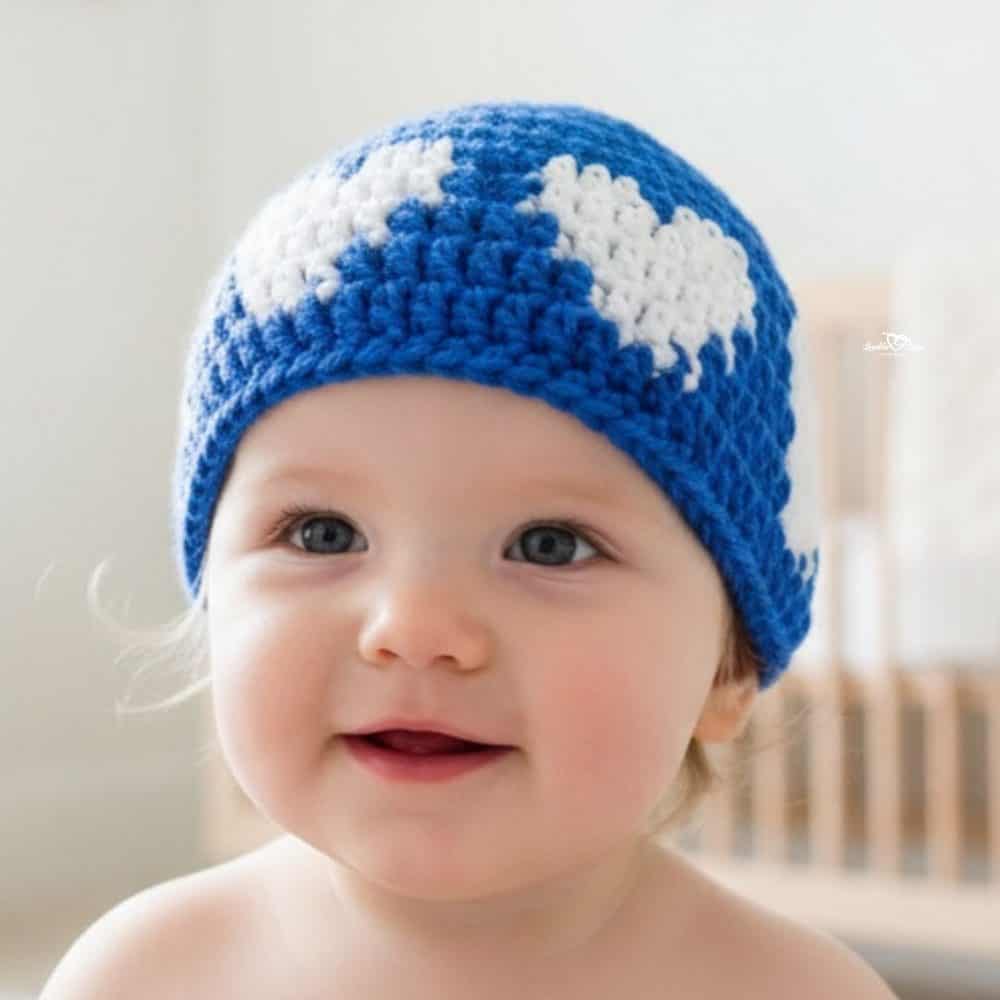
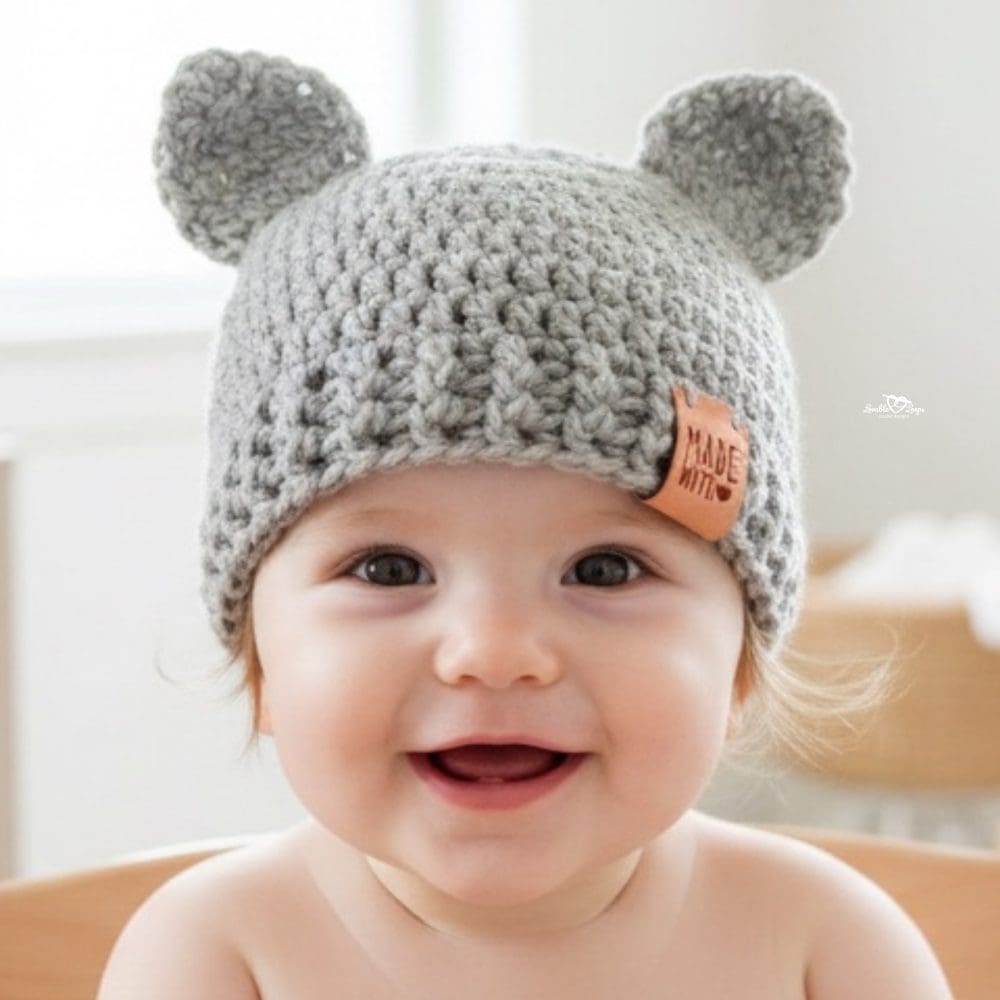
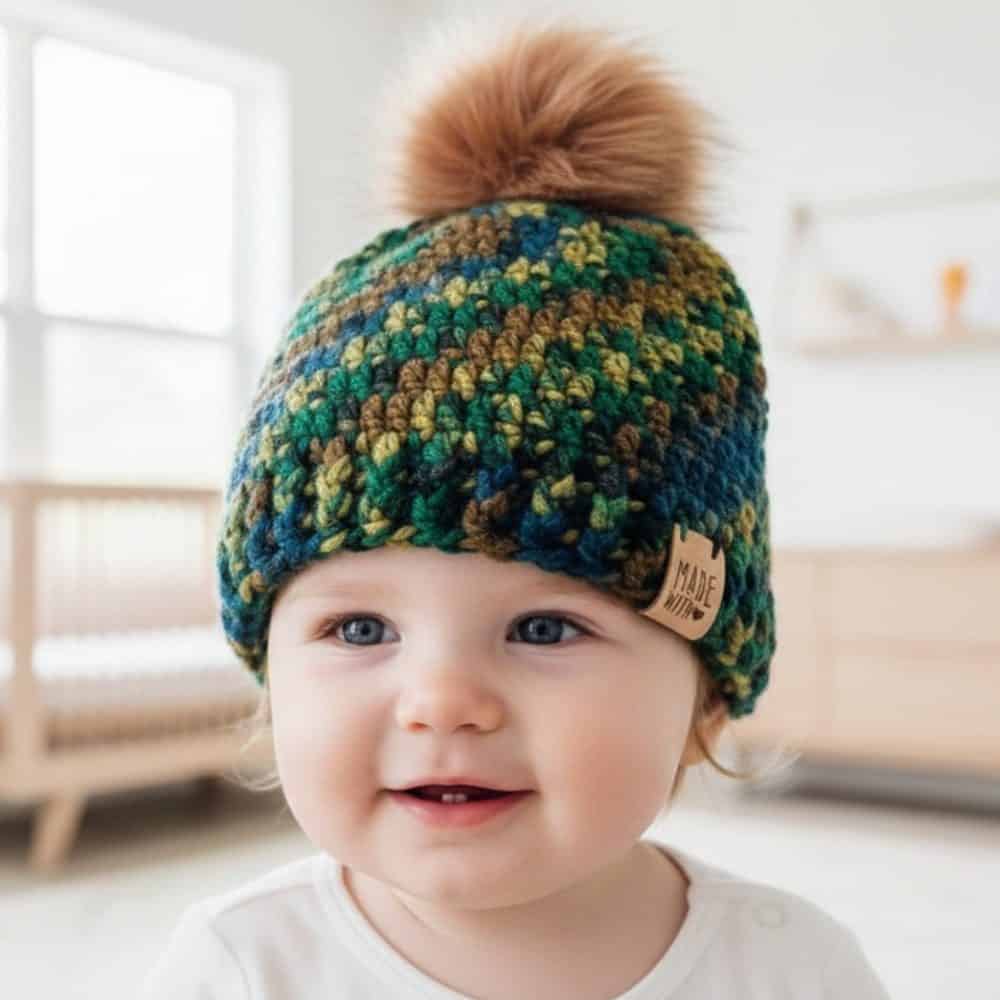
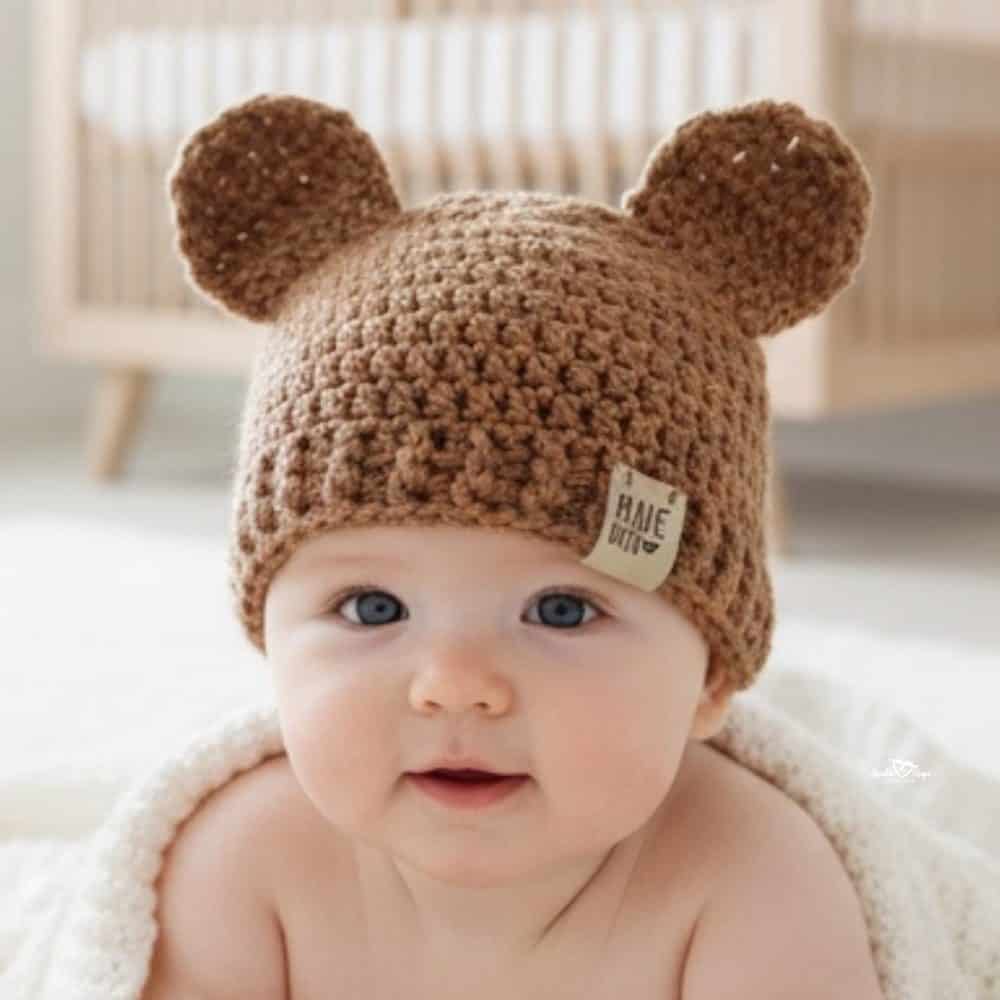
Crochet baby hat patterns
Scroll the gallery below to explore more free crochet baby hat patterns and find your next quick, giftable project.
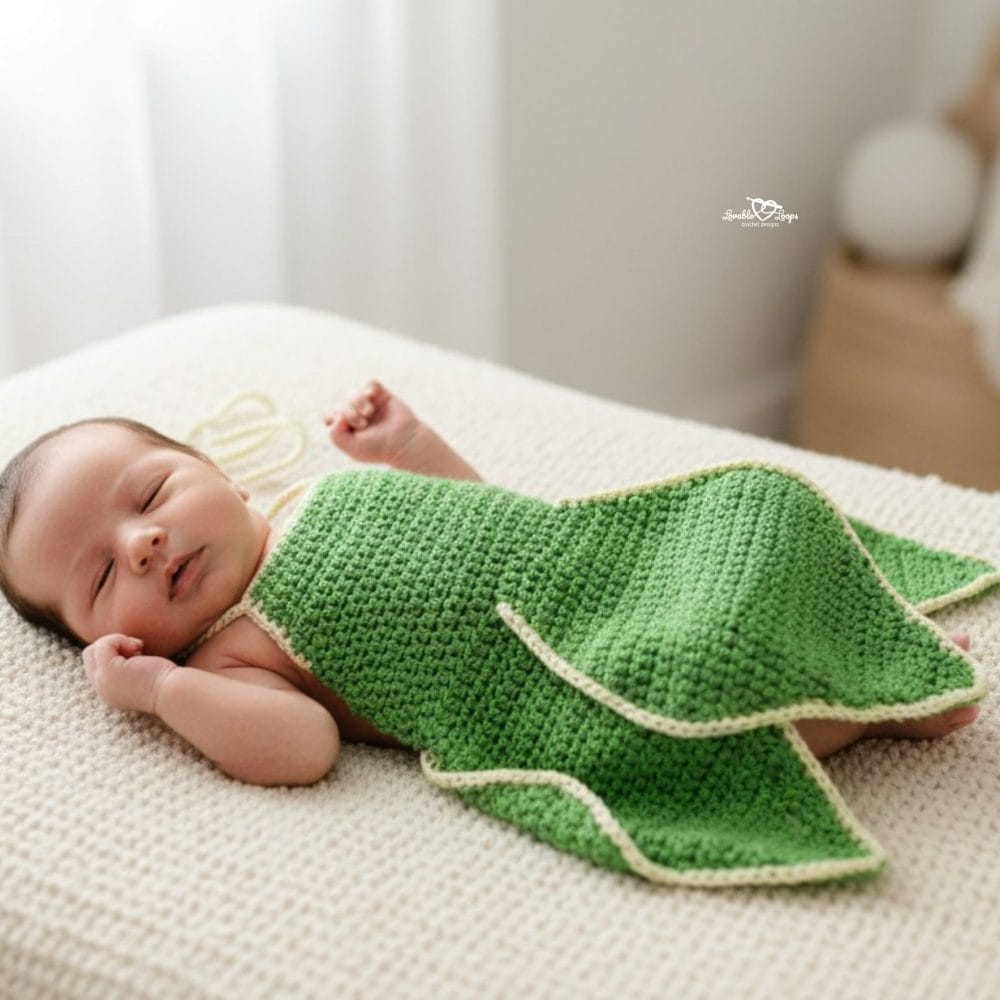
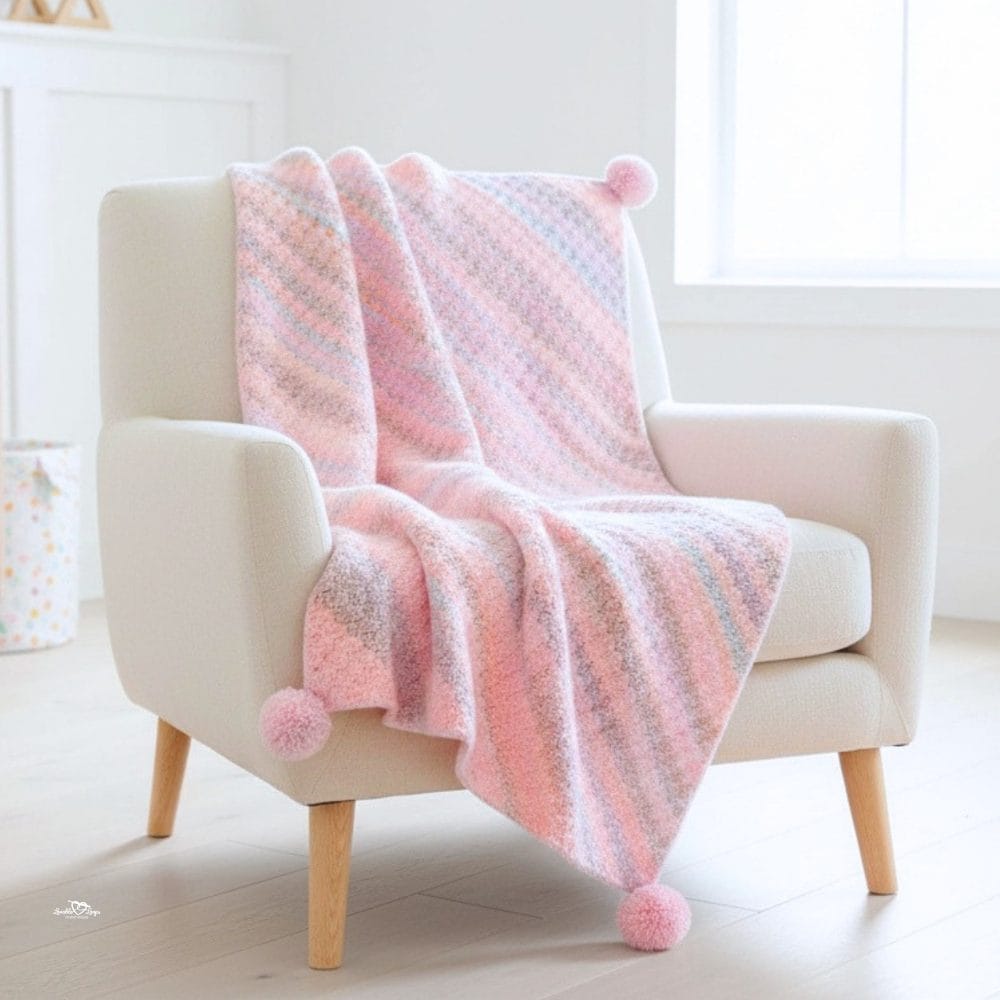
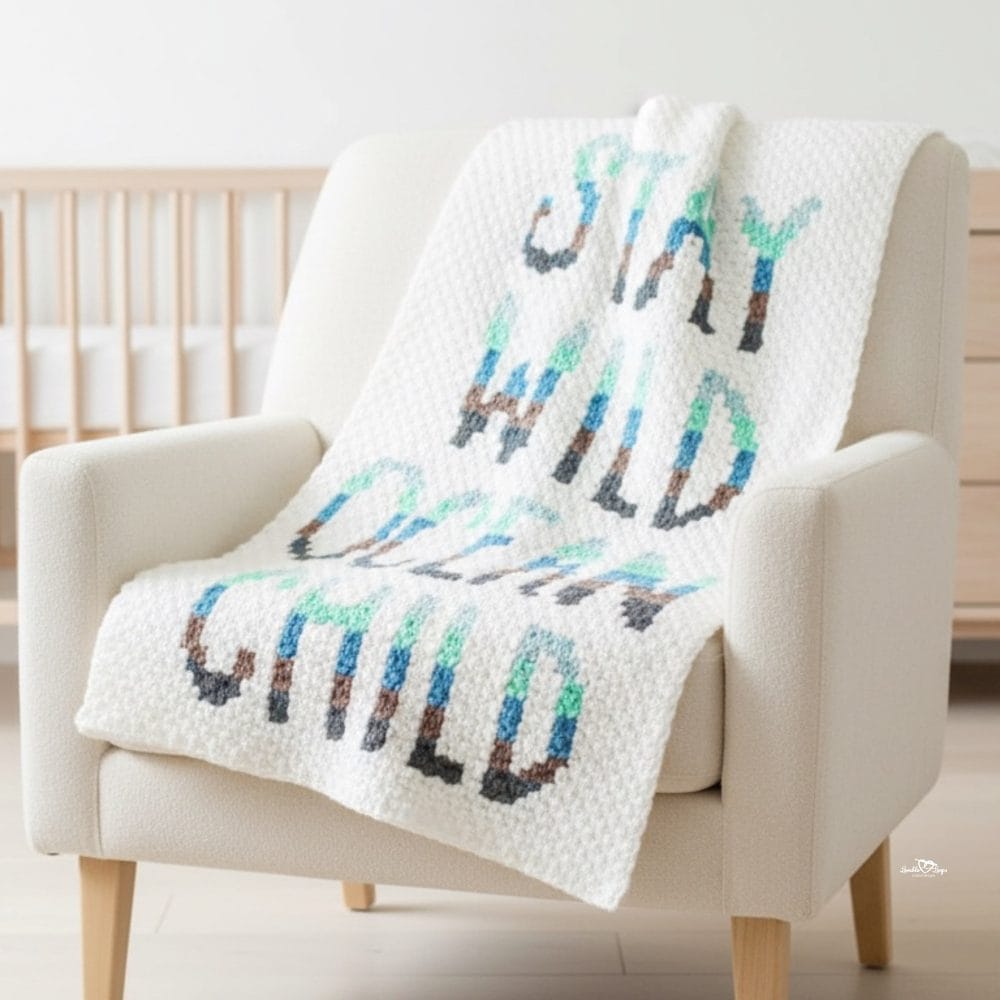
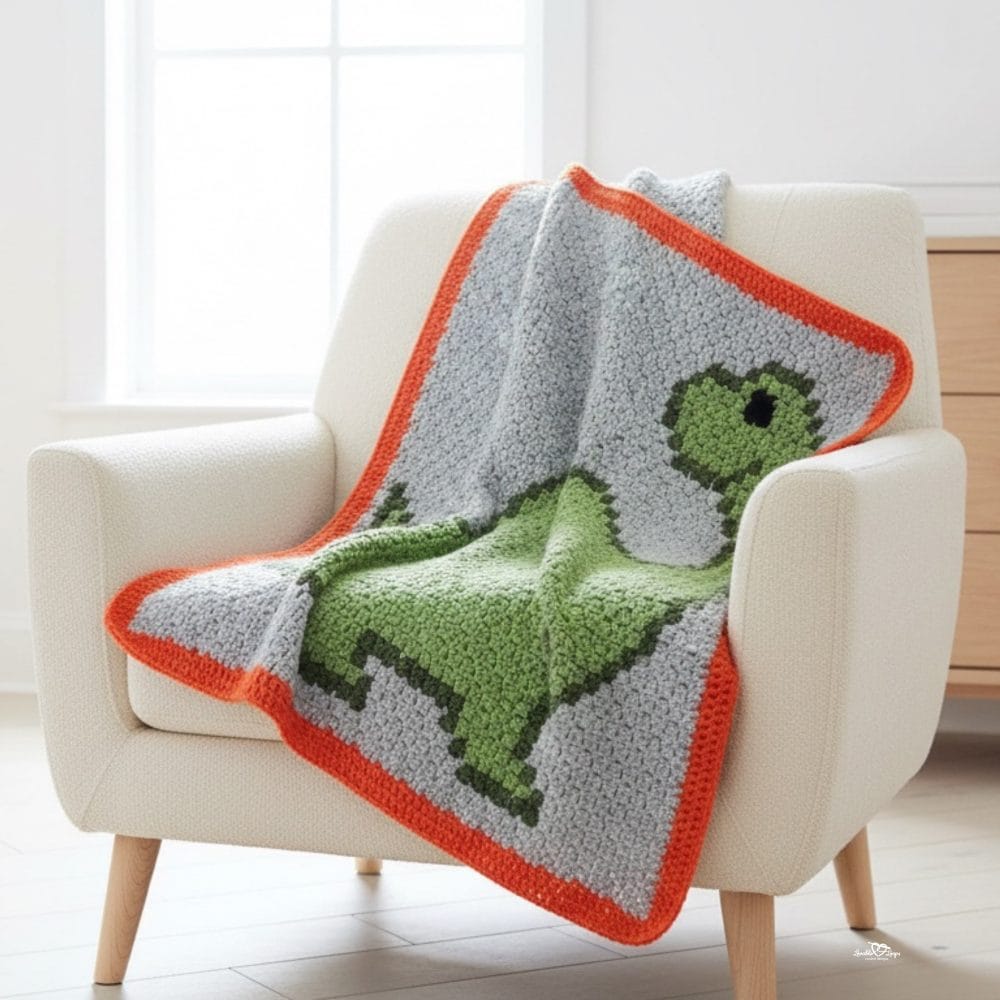
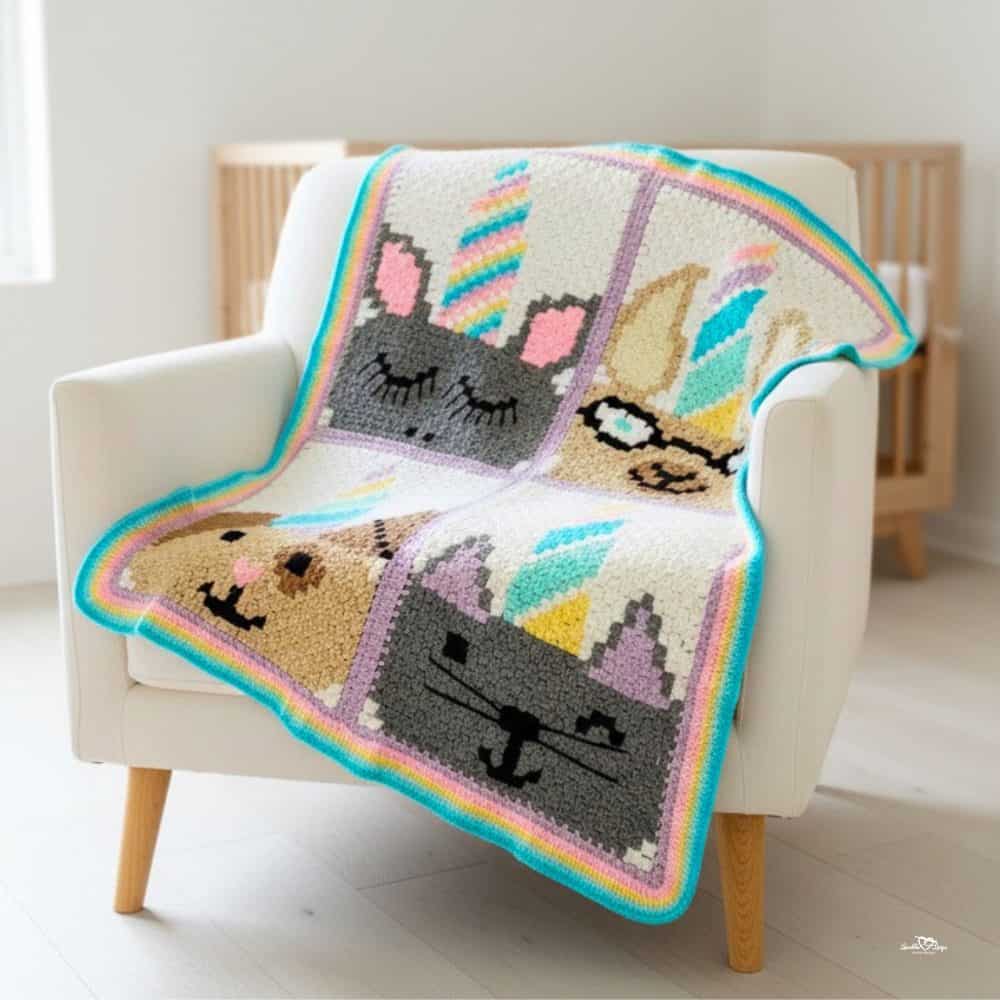
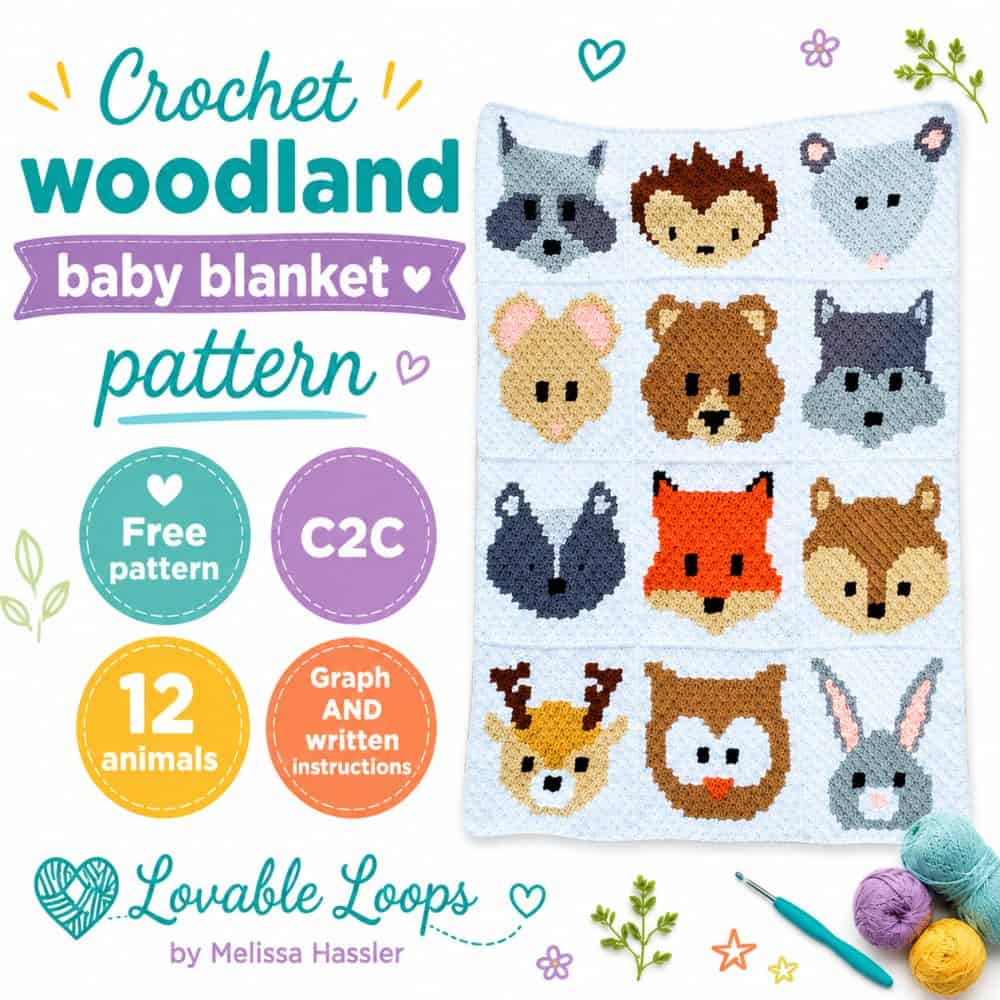
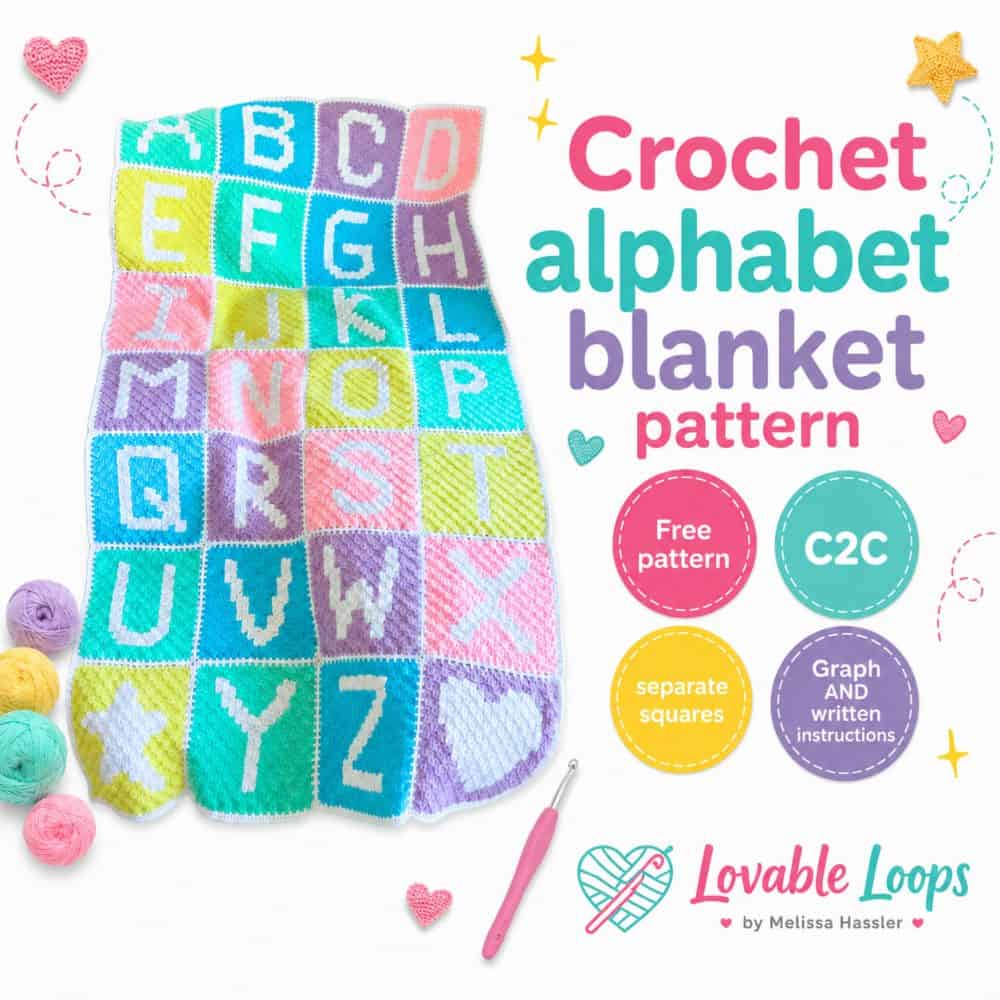
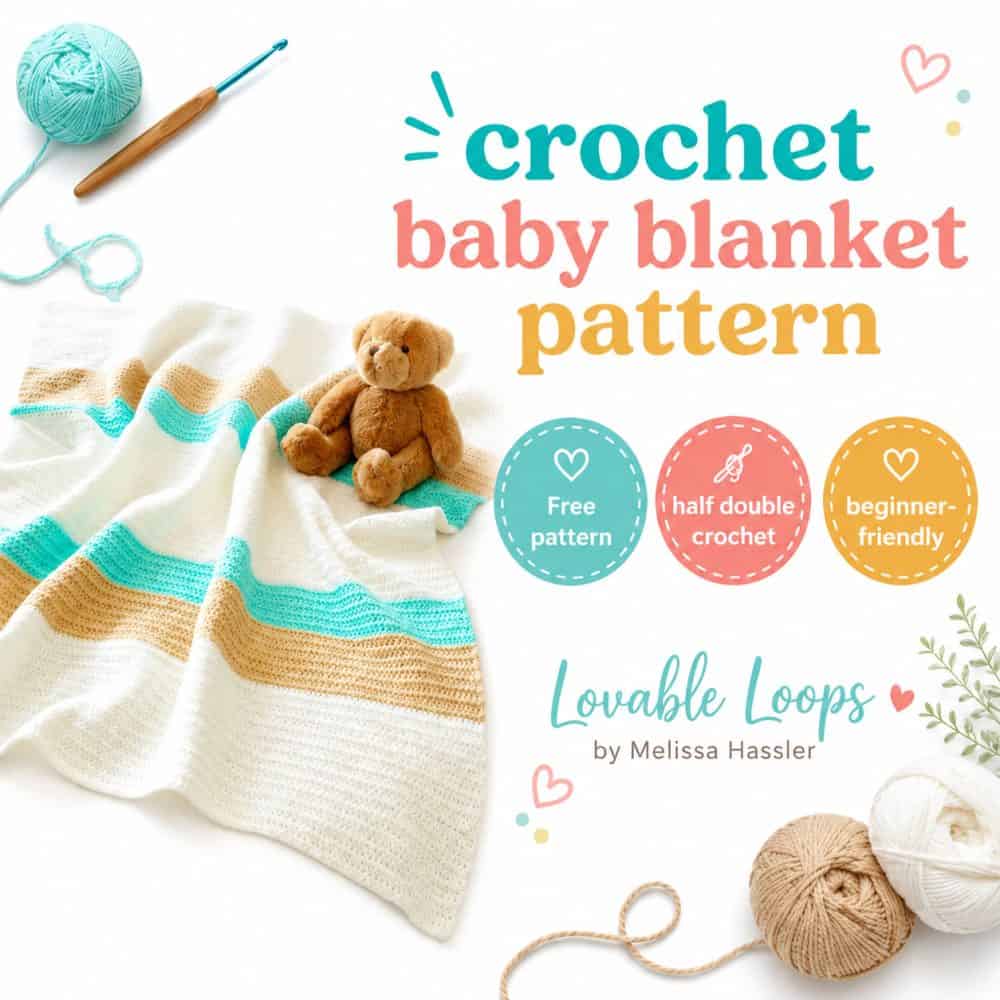
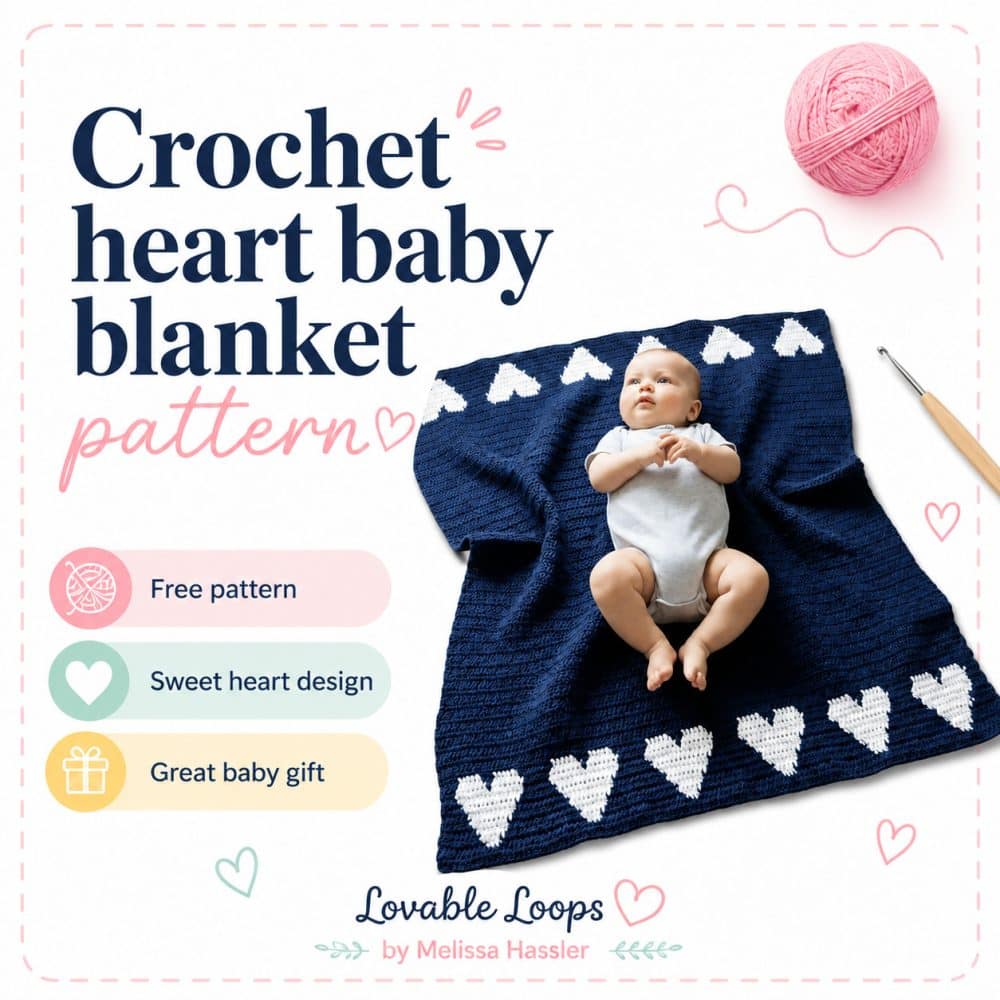
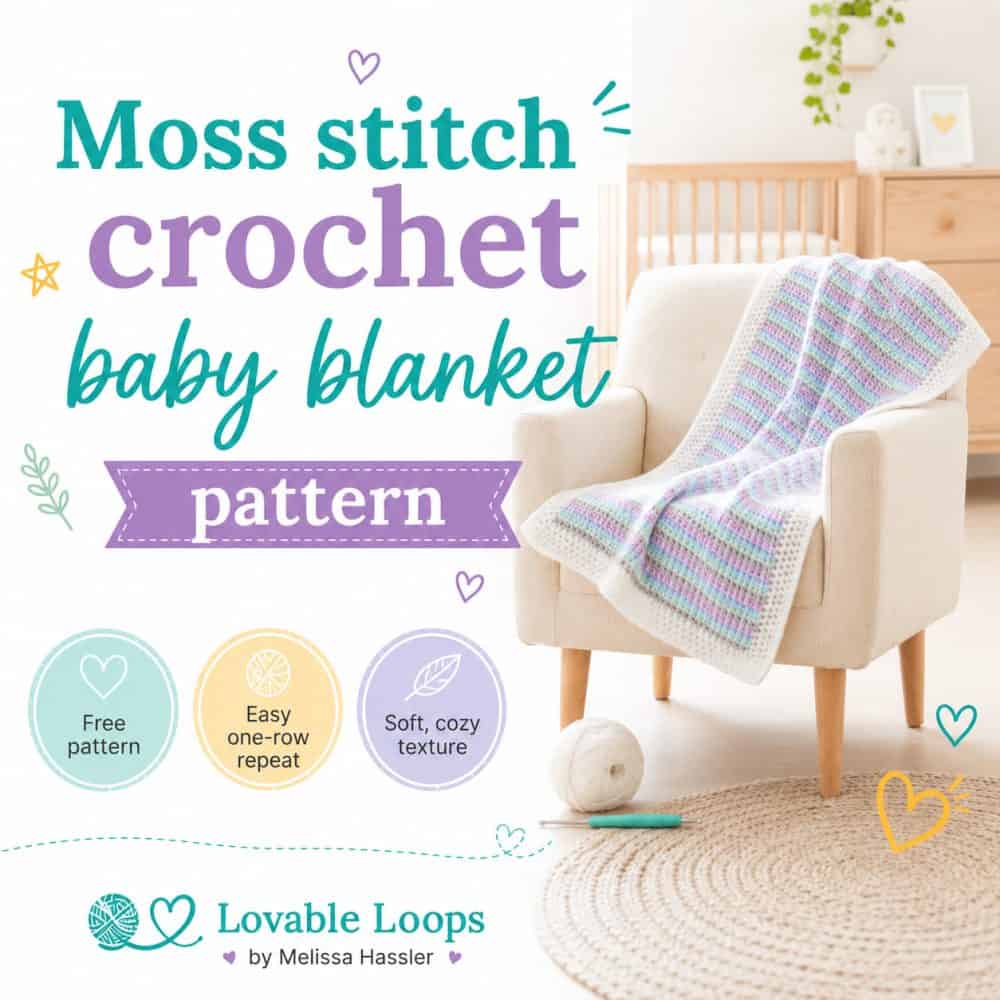
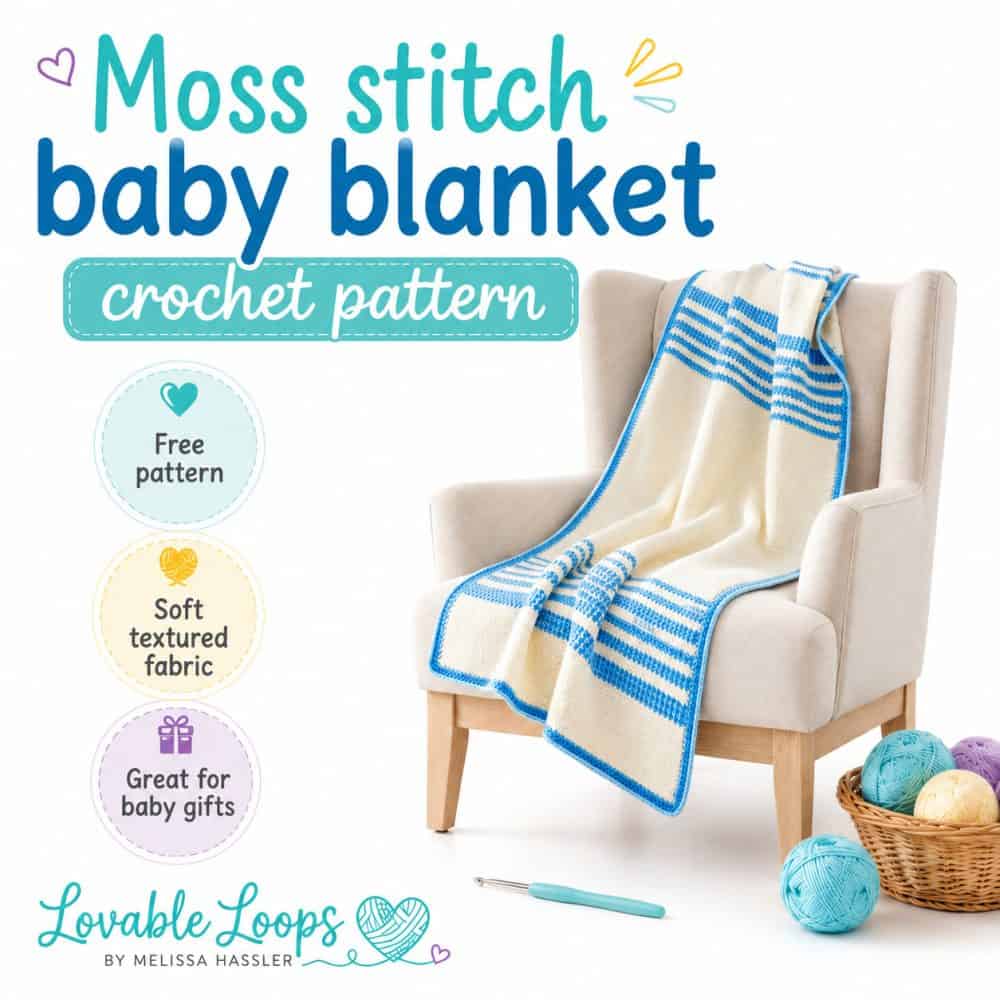
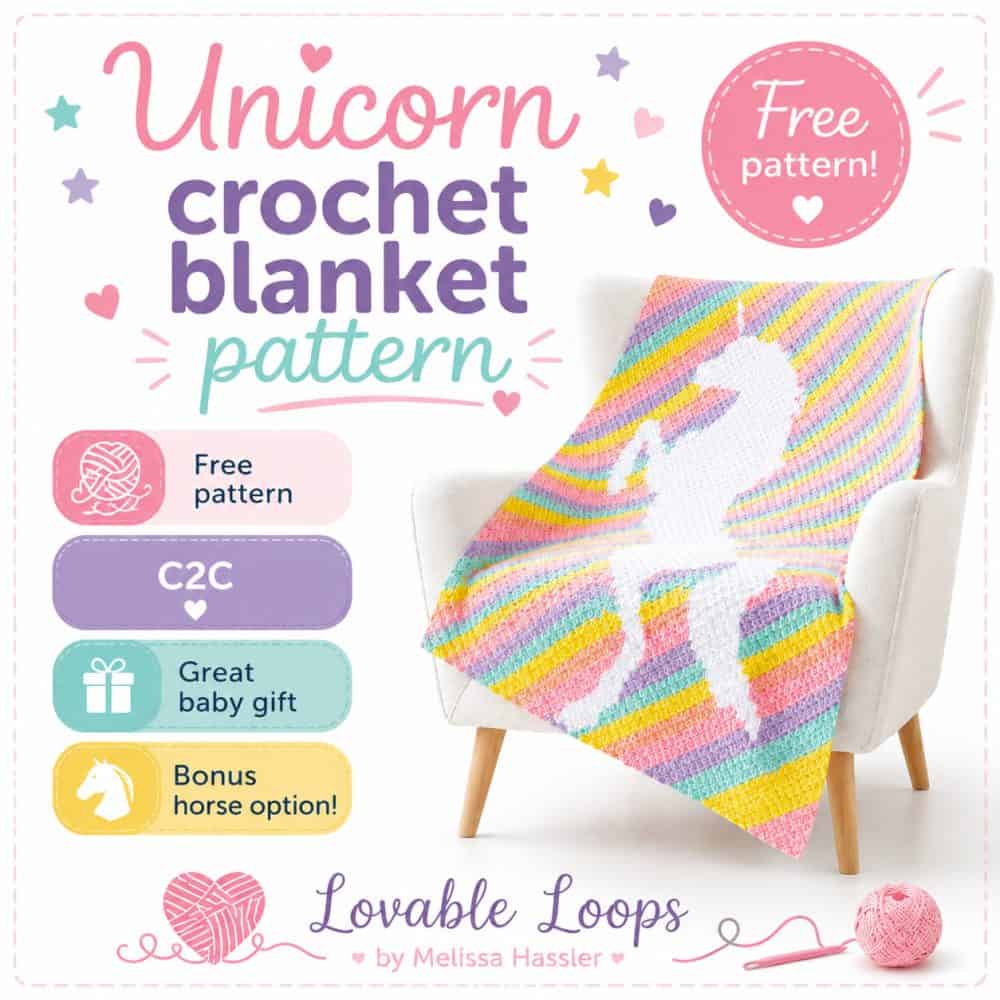
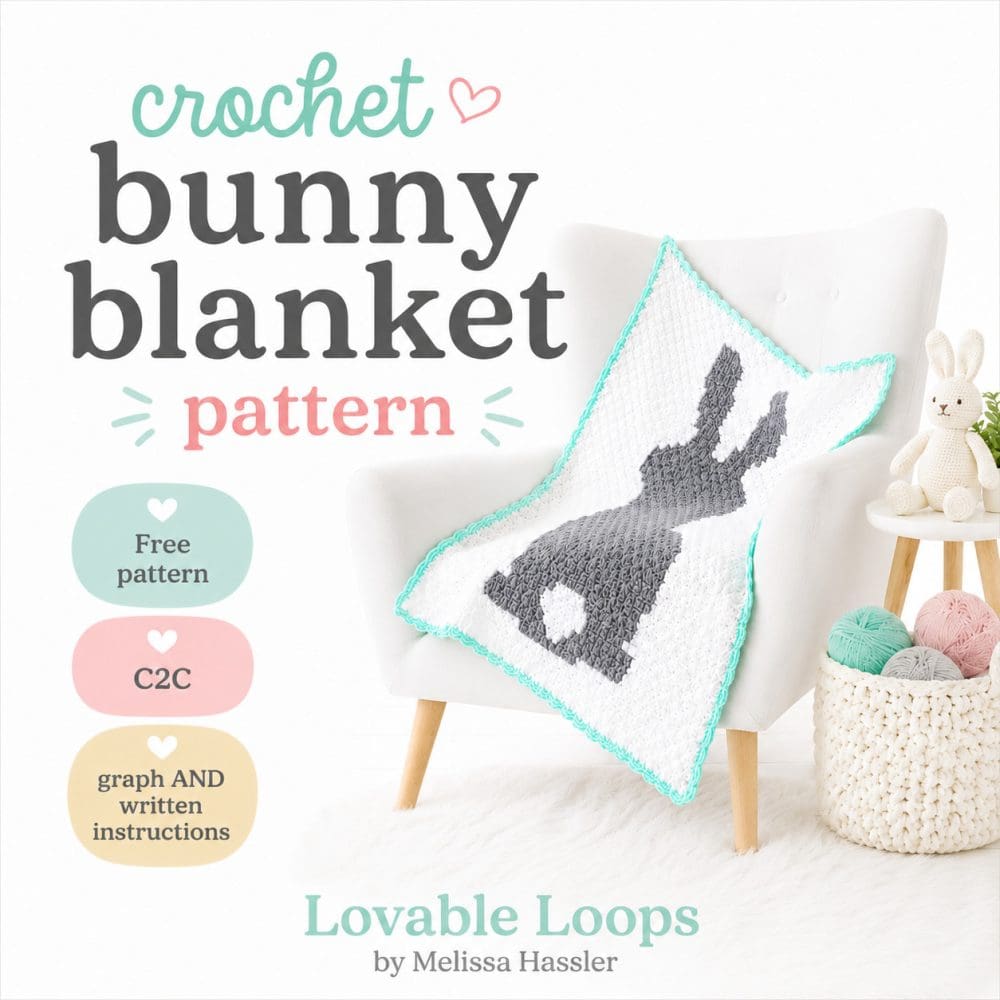
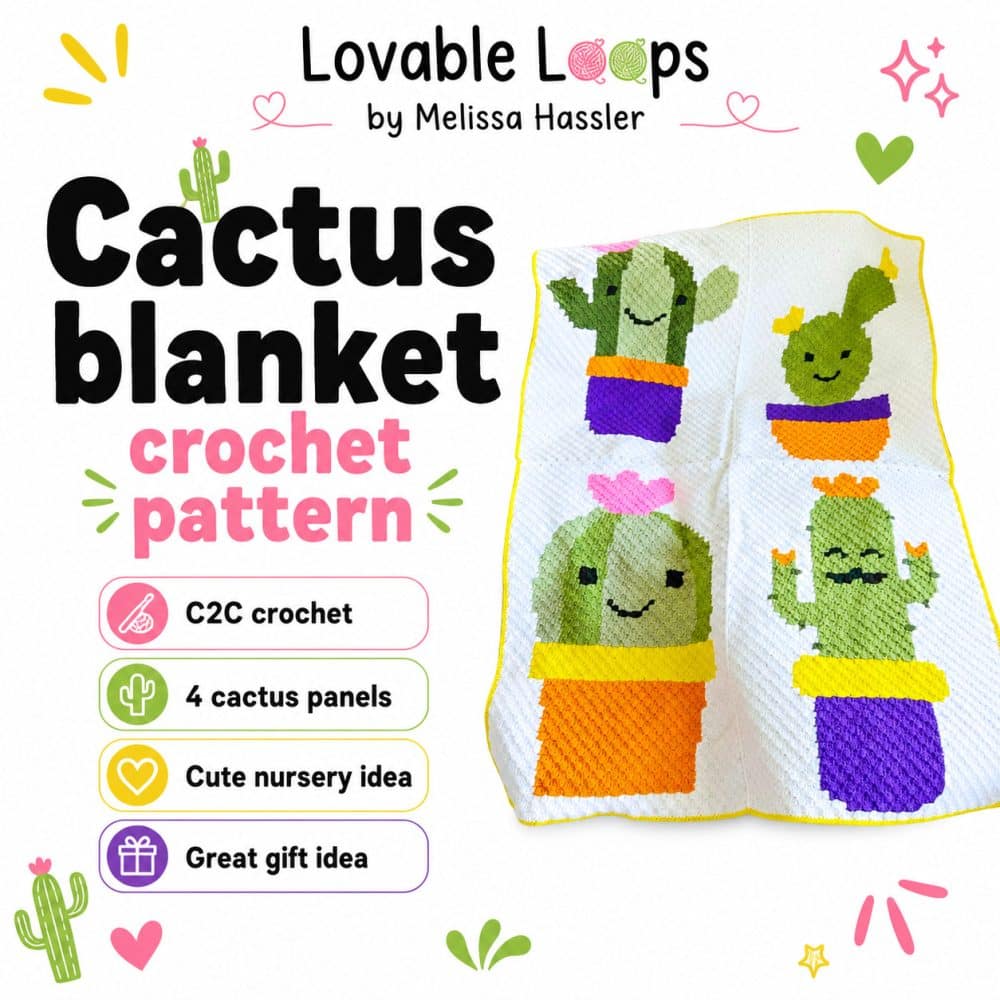
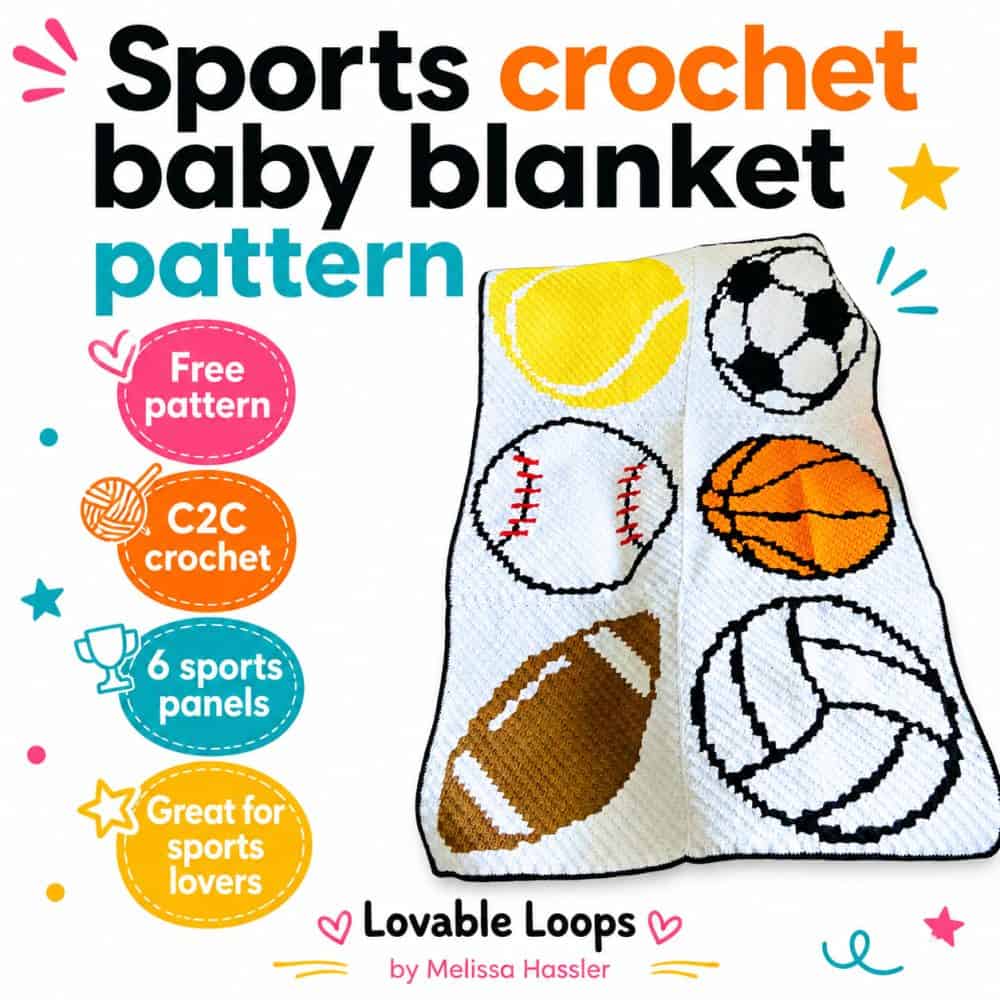
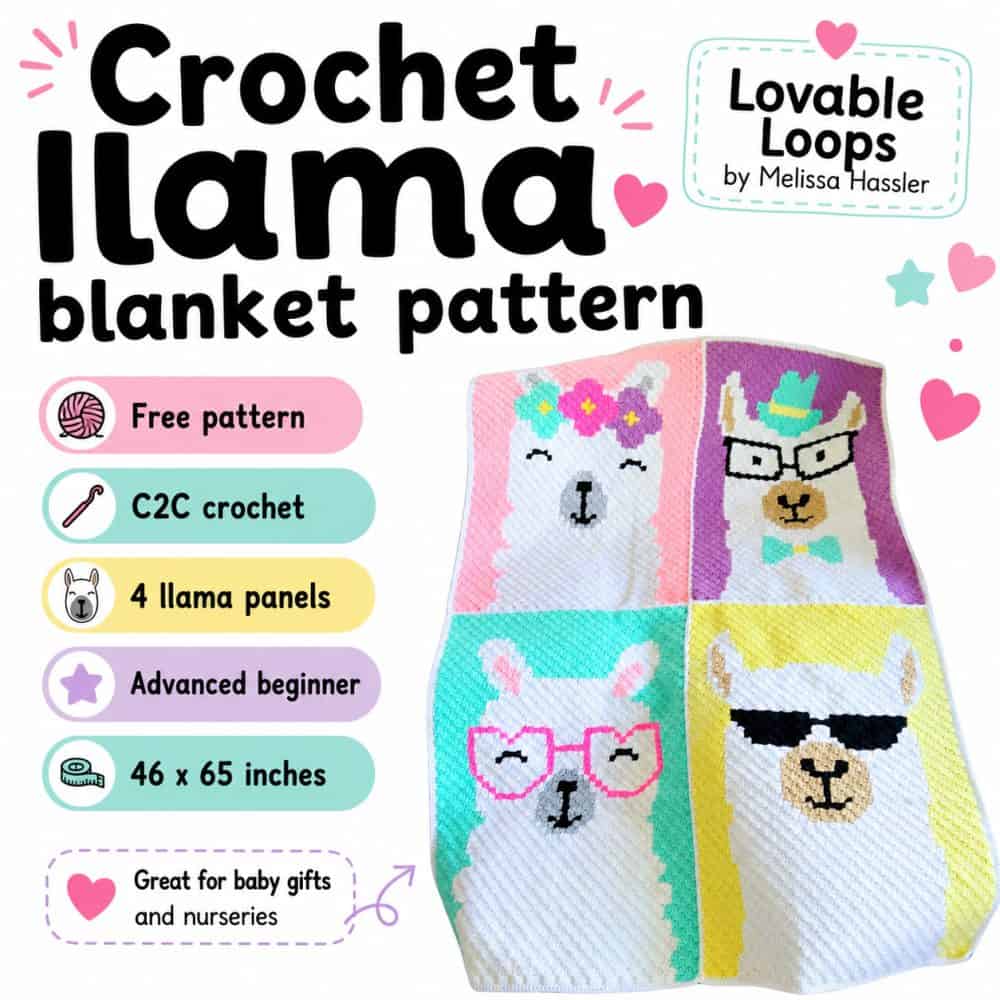
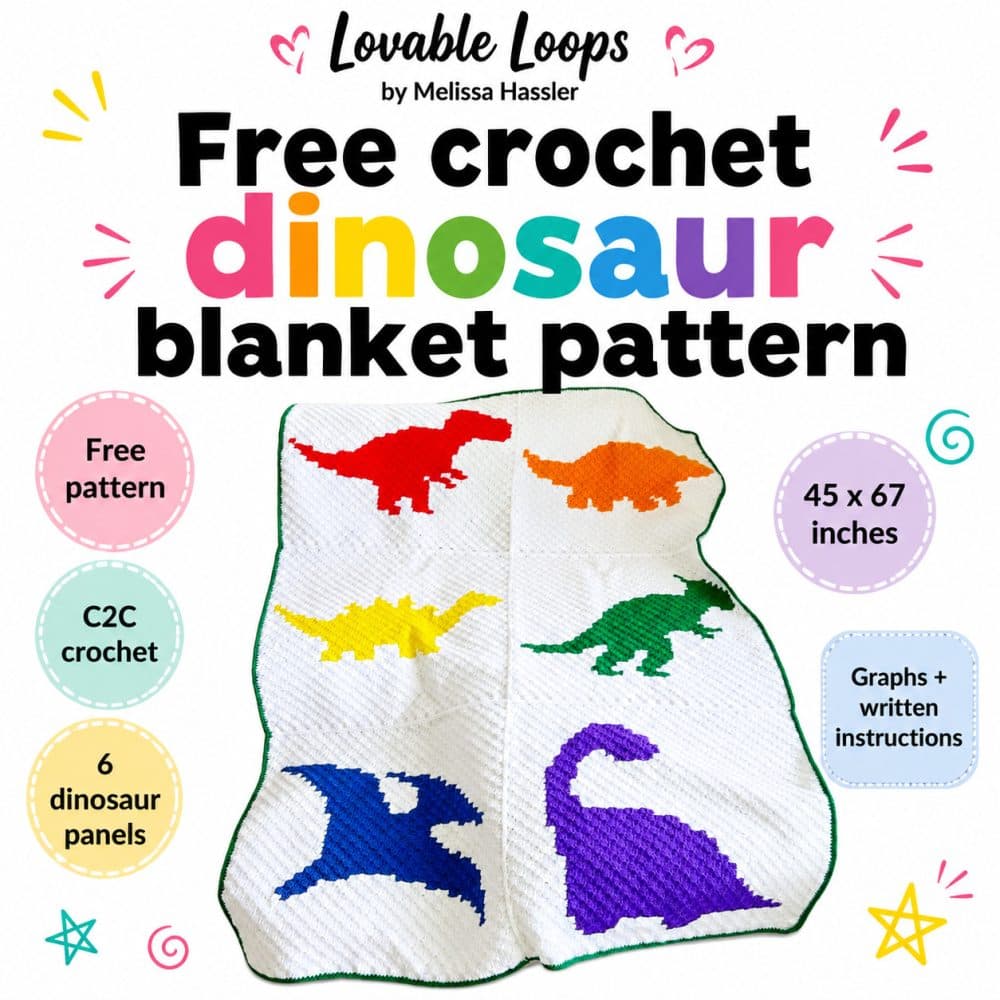
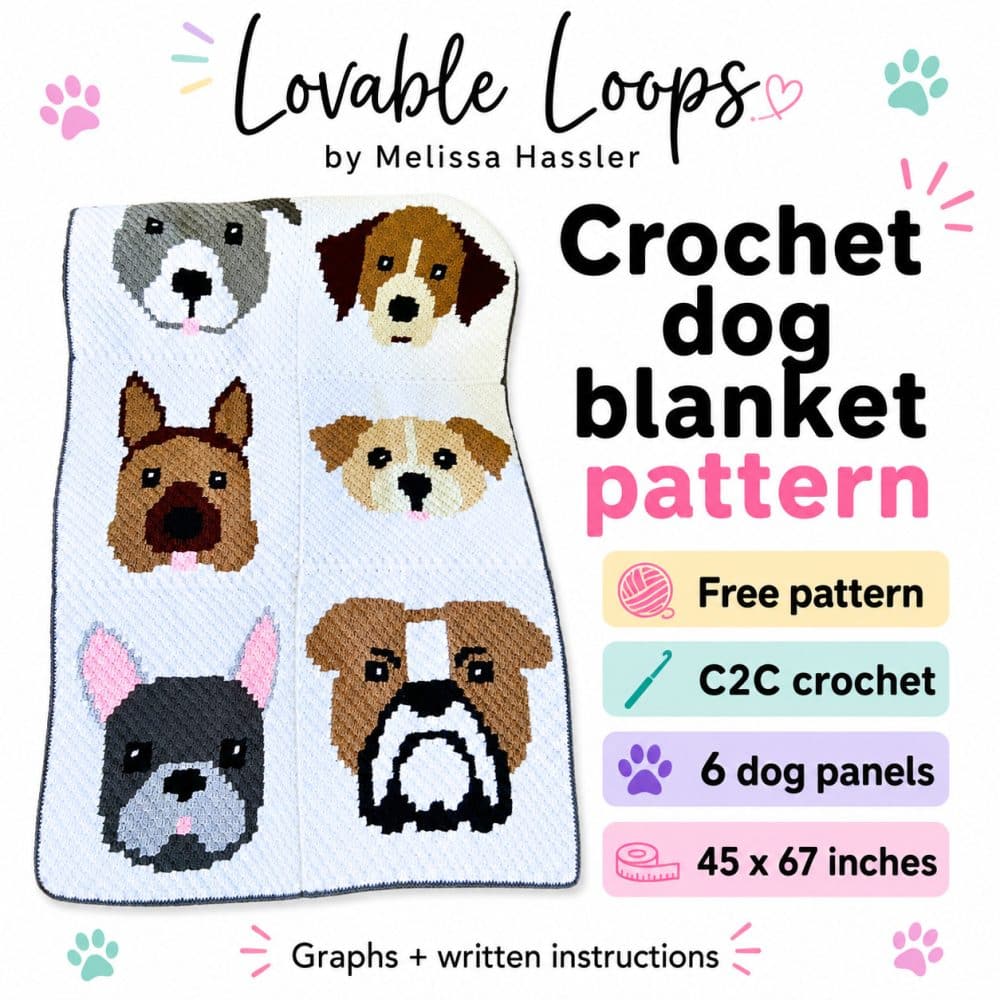
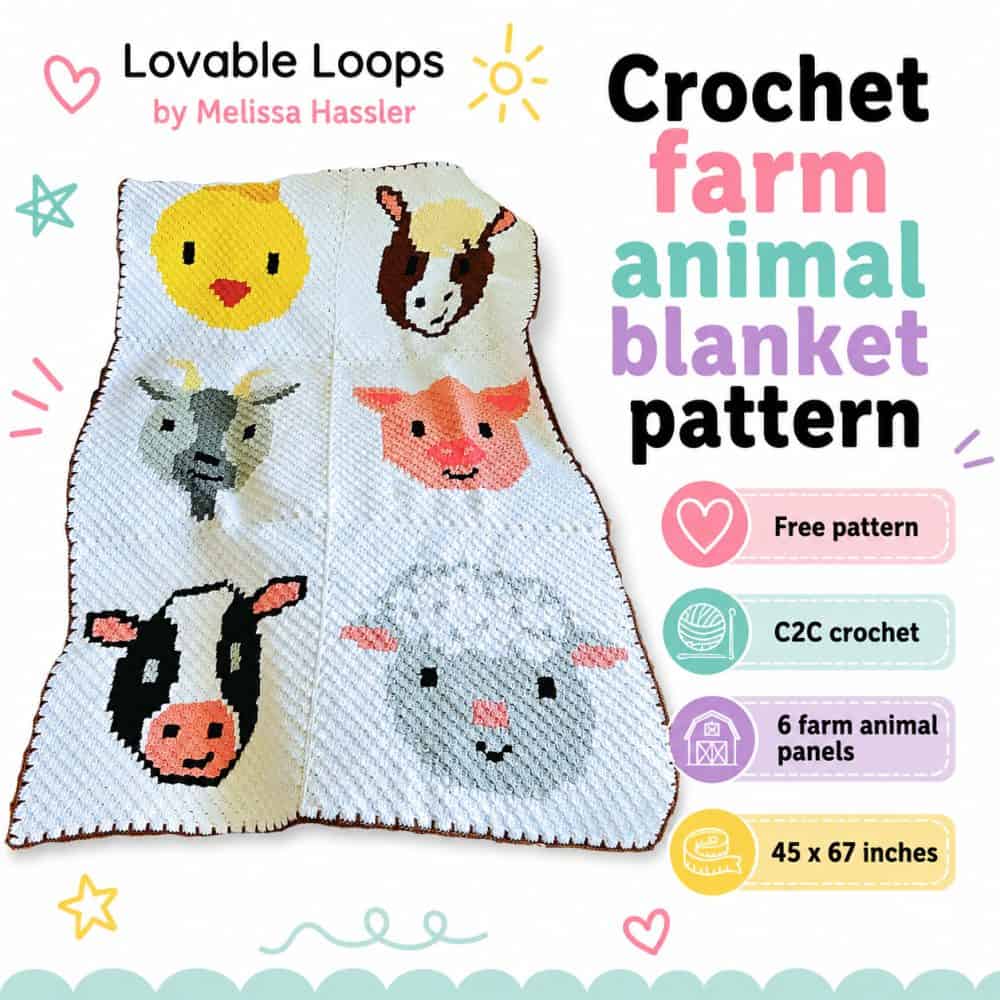
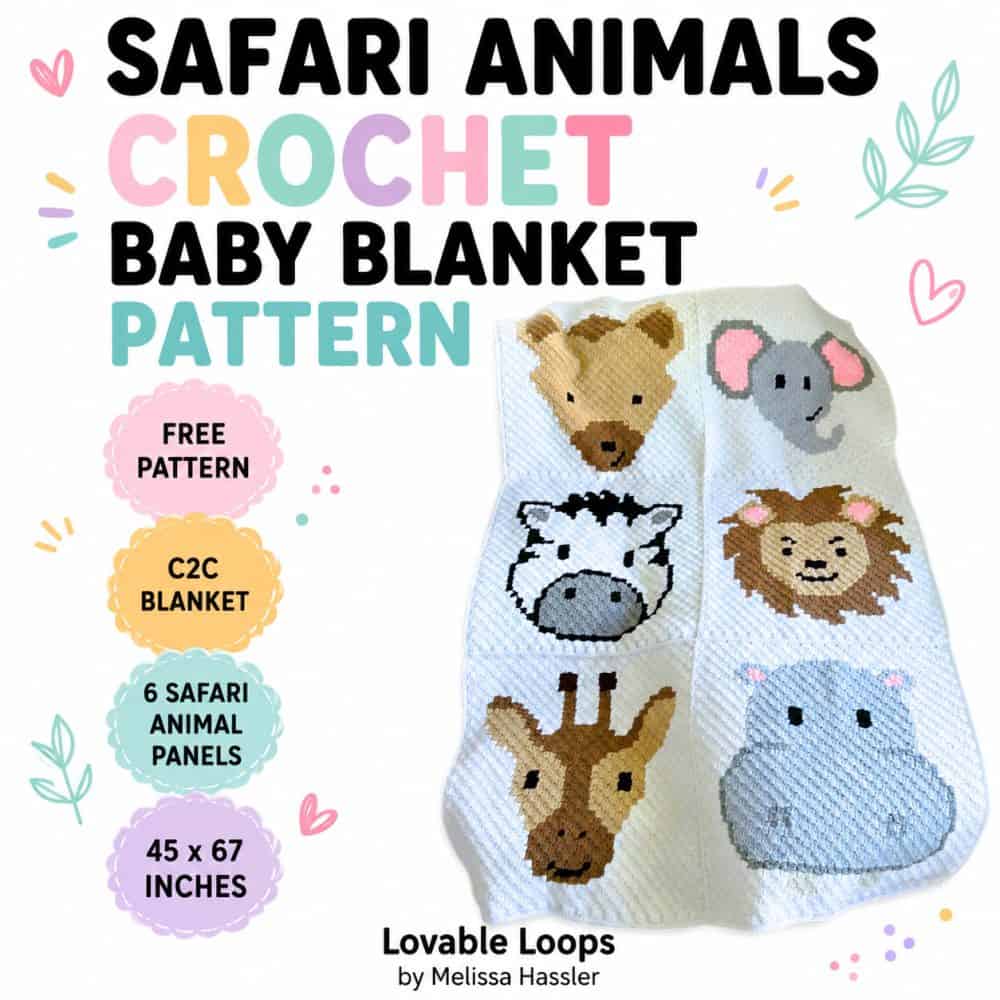
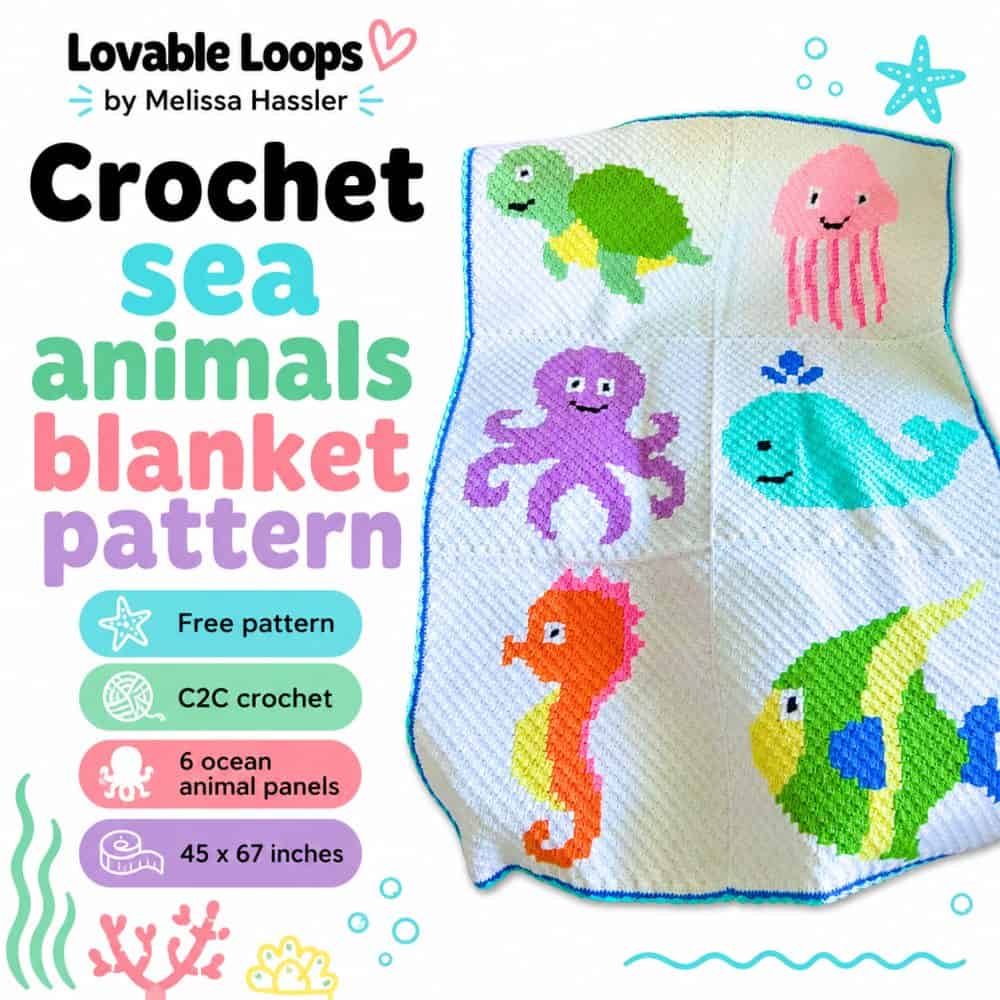
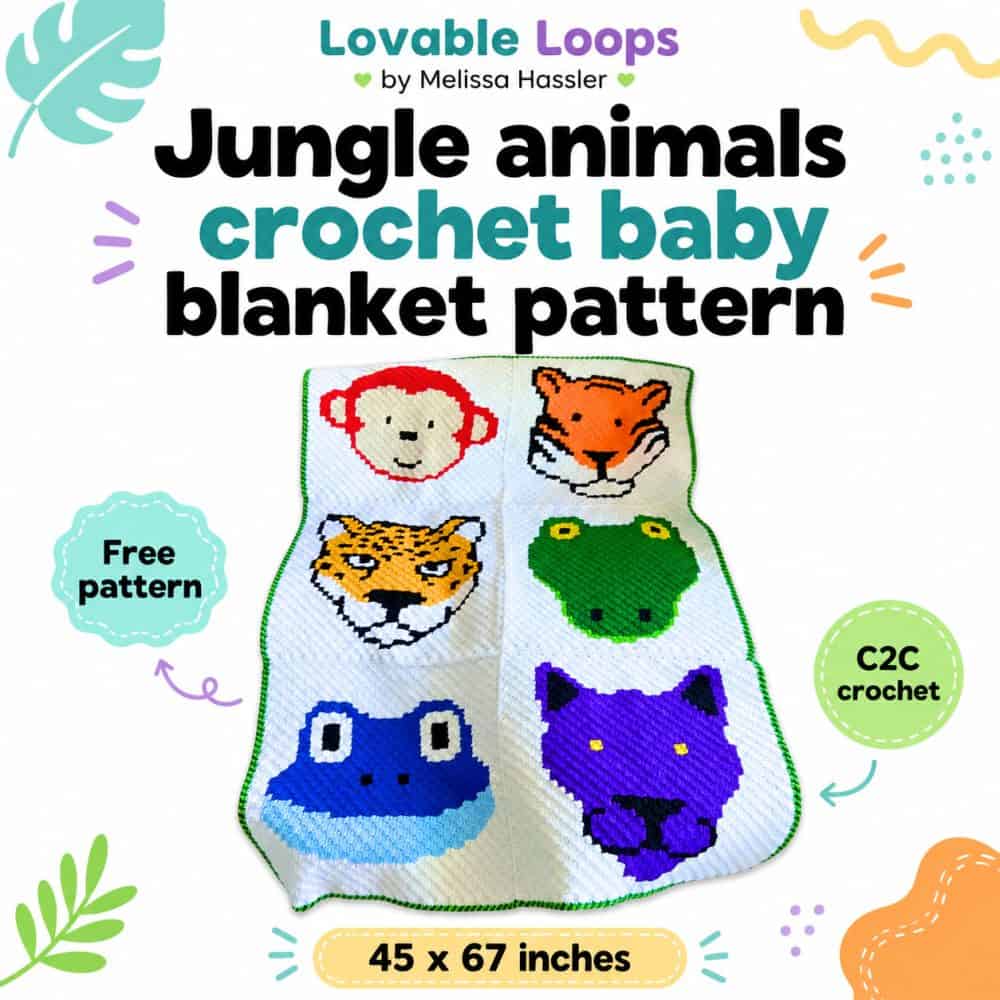
Crochet baby blanket patterns
Discover more free crochet baby blanket patterns in the gallery below and get inspired for your next cozy baby project.
Let’s connect!
I’d love to see what you’re making! Share your finished project and follow along for more free crochet patterns and tutorials.
📌 Don’t forget to pin this pattern for later!
Happy crocheting! 🧶
— Melissa