
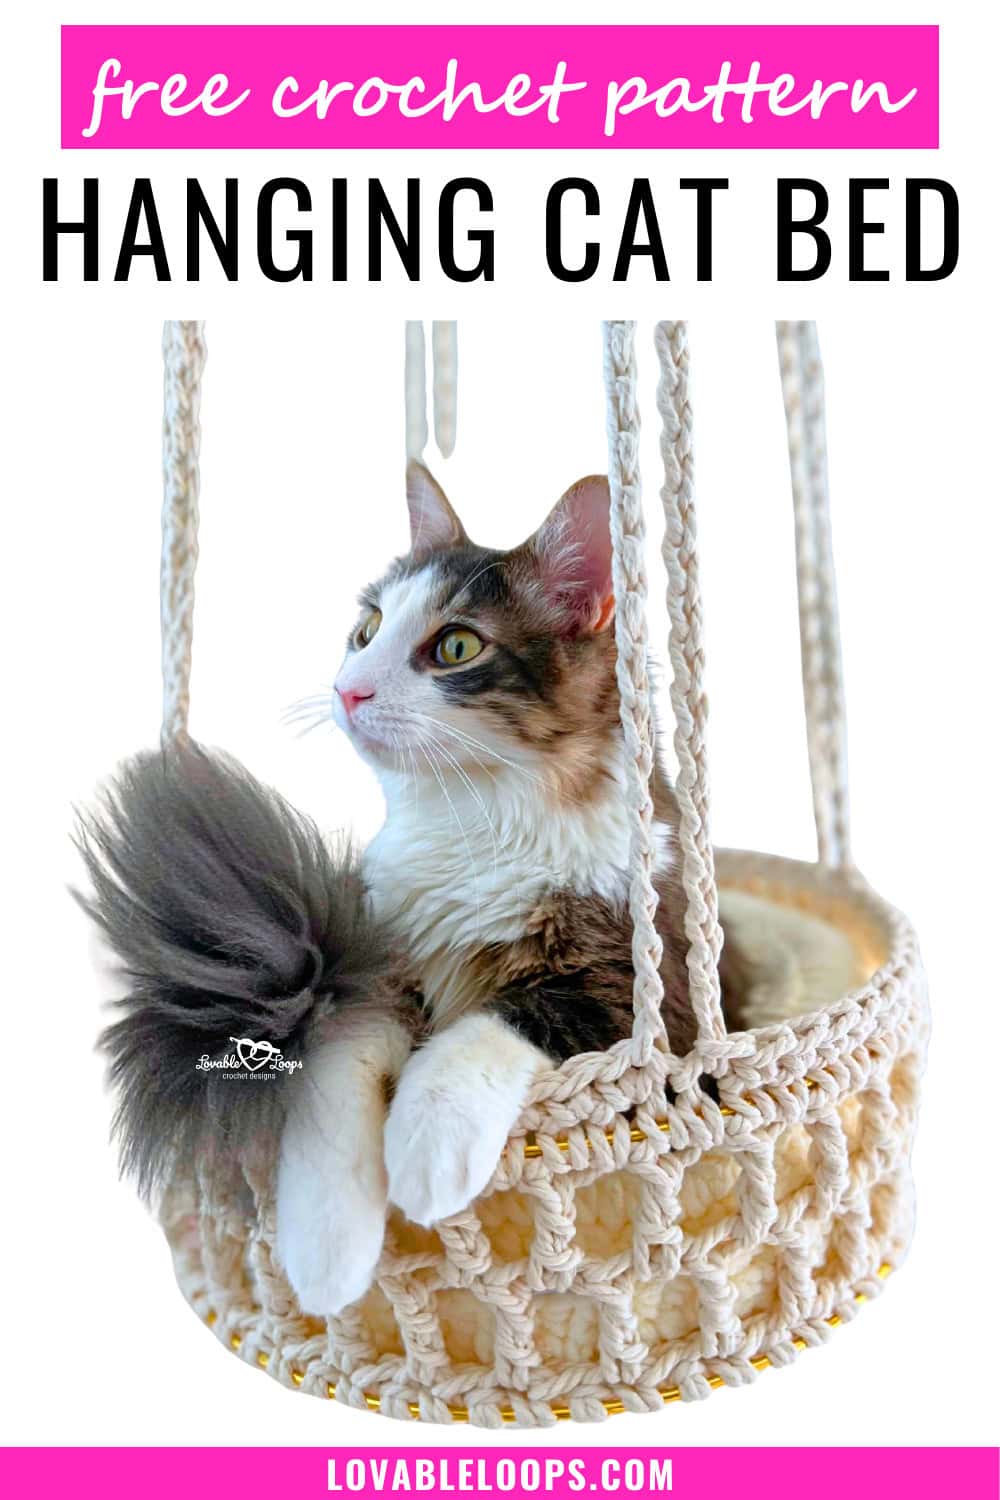
Hanging crochet cat bed pattern
Looking for a stylish way to give your cat their own cozy space? This hanging crochet cat bed pattern blends modern design with practical function, creating a piece that looks beautiful in your home and feels safe for your cat.
Made with super bulky rope yarn and sturdy hoops, this neutral, boho-inspired crochet cat bed creates a snug, elevated retreat that keeps your cat secure. It’s functional, space-saving, and a true statement piece. Perfect for modern pet owners who love functional, handmade home decor.
This DIY hanging cat bed is sturdy and structured—more supportive than a traditional crochet cat hammock—making it ideal for cats who love elevated, secure spaces.
Quick answer
This hanging crochet cat bed pattern is an intermediate-level project made with super bulky rope yarn, two 14-inch (36 cm) hoops, and a 12 mm hook. The bed measures 14 inches (36 cm) in diameter, 4.5 inches (11 cm) deep, and hangs approximately 68 inches (173 cm) from the top of the straps to the bottom of the bed. It is constructed in four main steps: sides, straps, base, and cushion insert.
Why you’ll love this pattern
- Modern neutral style — Clean lines and soft tones blend beautifully with modern home decor.
- Space-saving design — Hanging construction frees up valuable floor space.
- Strong and sturdy structure — Super bulky rope yarn and metal hoops provide support.
- Cozy cushion insert — A removable pillow adds comfort and structure.
- Statement piece — Functional pet furniture that doubles as decor.
Modern hanging cat bed for any room
This hanging crochet cat bed pattern is designed to blend seamlessly into modern, neutral home decor. The round shape and rope texture give it a soft boho feel that works beautifully in a bedroom, living room, office, or sunny window nook.
Because the bed hangs from the ceiling, it frees up valuable floor space while giving your cat a cozy, elevated retreat. It functions as both stylish pet furniture and a comfortable hiding spot — perfect for cats who love secure, tucked-away spaces.

Hanging crochet cat bed pattern details
Below you’ll find everything you need to know before you start this hanging crochet cat bed pattern, including finished size, skill level, materials, gauge, and construction notes. This quick overview will help you gather supplies and understand how the project comes together before diving into the instructions.
Skill level
Intermediate — This pattern uses basic crochet stitches but includes working around hoops, creating long hanging straps, and assembling multiple structured components.
Materials and tools
- 12 mm crochet hook — Used for the rope yarn and cushion construction
- Super bulky rope yarn — Forms the structured bed and straps
- Super bulky weight #6 yarn — Used for the cushion insert
- Two 14-inch (36 cm) hoops — Create the round frame of the bed
- Two 1.5-inch (4 cm) rings — Used to attach the hanging straps
- Fiber fill — Stuffing for the cushion insert
- 7-inch (18 cm) zipper (optional) — For a removable cushion cover
- Yarn needle — For sewing seams and weaving in ends
- Stitch markers (optional) — Helpful for tracking stitches
Yarn yardage
- Super bulky rope yarn — Approximately 3 skeins of Bernat Macrame (color: Neutral) were used to create the sides, straps, and base of the bed.
- Super bulky weight #6 yarn — Approximately 1 skein of Bernat Blanket (color: Vintage White) was used for the cushion insert.
Yardage may vary slightly depending on individual tension and any strap length adjustments.
Finished size
One size:
- 14 inches (36 cm) in diameter
- 4.5 inches (11 cm) deep
- 68 inches (173 cm) total hanging length from the top of the straps to the bottom of the bed
Gauge
Bed gauge — 6 stitches = 4 inches (10 cm)
Cushion gauge — 10 stitches and 6 rounds = 4 inches (10 cm)
Crochet abbreviations
- sc = single crochet
- dc = double crochet
- tr = treble crochet
- hdc = half double crochet
- ch/chs = chain/chains
- ch sp = chain space
- st/sts = stitch/stitches
- sl st = slip stitch
- blo = back loop only
- flo = front loop only
Pattern notes
- The stitch count is listed at the end of every round.
- Join each round with a slip stitch to the top of the first stitch made in that round.
- Repeat instructions between the asterisks (*) for the rest of the round.
- The chain at the beginning of each round does not count as a stitch.
- The pattern is written in US crochet terms.
How the bed is constructed
This hanging crochet cat bed pattern is made in four clear steps:
- Crochet the sides — Work around two 14-inch (36 cm) hoops using super bulky rope yarn to create the structured outer frame.
- Add the hanging straps — Create four evenly spaced strap sections and attach them to two 1.5-inch (4 cm) rings to form the suspension system.
- Make the base — Crochet a circular base with rope yarn and sew it securely to the bottom edge around the lower hoop.
- Create the cushion insert — Crochet two round panels using super bulky weight #6 yarn, join them, and fill with fiber fill. Add an optional zipper if desired.
The result is a sturdy, modern hanging bed that keeps your cat cozy while freeing up floor space.
How to safely hang your crochet cat bed
Because this is a suspended design, proper installation matters.
- Always anchor the ceiling hook into a ceiling joist.
- Use hardware rated to support the weight of the bed and your cat.
- Check straps and attachment points regularly for wear.
- Adjust strap length if needed before final hanging.
This ensures your finished hanging crochet cat bed is both stylish and secure.
Printable PDF pattern
If you prefer an easy, print-friendly version of this hanging crochet cat bed pattern, a printable PDF is available in my Etsy shop. The PDF includes the full pattern instructions in a clean, ad-free format, making it perfect for printing or saving on your device.
Quick links
Sides of the cat bed
Adding the hanging straps
Base of the cat bed
Cushion insert
Finishing
FAQs
Hanging crochet cat bed pattern instructions
This pattern is worked in four sections: sides, straps, base, and cushion insert.
How to crochet around a ring
Start by making a slip knot as usual. Remove the loop from your hook and pass it through the center of the ring. Insert your hook back into the loop and tighten gently to secure it around the ring.
You’re now ready to begin crocheting stitches directly over the ring, working your stitches around it as instructed.
Sides of the cat bed
Use super bulky rope yarn and a 12 mm hook.
Round 1: 60 sc evenly around the 14-inch (36 cm) hoop, join (60 sts)
Round 2: Ch 3, *tr, ch 1, skip next st*, join (30 tr, 30 ch-sp)
Round 3: Ch 4, *tr in ch-sp, ch 1, skip next st*, join (30 tr, 30 ch-sp)
Round 4: Ch 1, sc in each st and each ch-sp, working around the second 14-inch (36 cm) hoop, join. Do not fasten off.
Adding the hanging straps
You will create 4 strap sections with 13 stitches between each section. Two straps attach to one 1.5-inch (4 cm) ring, and the remaining two attach to the second ring.
Ch 1,
[sc in 13 sts, sl st in next st, ch 100, sl st to hanging ring, sl st again in ring, ch 100, sl st to next st on bed]
Repeat 4 times total.
Fasten off.

Base of the cat bed
Note: I revised the base of the bed after photographing this project. The written pattern below is correct and includes 4 rounds for the base. Some photos may show an earlier 5-round version.
Use rope yarn. Ch 16 and join to work in the round.
Round 1: Ch 2, *2 dc, dc in next ch*, join (24 sts)
Round 2: Ch 2, *2 dc, dc in next 2 sts*, join (32 sts)
Round 3: Ch 2, *2 dc, dc in next 3 sts*, join (40 sts)
Round 4: Ch 2, *2 dc, dc in next 4 sts*, join (48 sts)
Sew the base securely to the bottom of the side section, stitching around the lower hoop for stability. Use a yarn needle or crochet hook to weave through the thick rope yarn.

Cushion insert
Make 2 panels using super bulky weight #6 yarn.
Round 1: Ch 3, 10 hdc in 3rd ch from hook, join (10 sts)
Round 2: Ch 2, 2 hdc in each st, join (20 sts)
Round 3: Ch 2, *2 hdc, hdc in next st*, join (30 sts)
Round 4: Ch 2, *2 hdc, hdc in next 2 sts*, join (40 sts)
Round 5: Ch 2, *2 hdc, hdc in next 3 sts*, join (50 sts)
Round 6: Ch 2, *2 hdc, hdc in next 4 sts*, join (60 sts)
Round 7: Ch 2, *2 hdc, hdc in next 5 sts*, join (70 sts)
Round 8: Ch 2, *2 hdc, hdc in next 6 sts*, join (80 sts)
Round 9: Ch 2, *2 hdc, hdc in next 7 sts*, join (90 sts)
Round 10: Ch 2, hdc blo in each st, join (90 sts)
Rounds 11–12: Ch 2, hdc in each st, join (90 sts)
Place the two panels with wrong sides together. Begin sewing them together using a yarn needle, leaving an opening for stuffing. Add fiber fill until the cushion is full and firm, then finish sewing closed.
If you would like a removable cushion, sew a 7-inch (18 cm) zipper between the two panels instead of fully closing the seam. Stitch through both the crochet fabric and the zipper tape. Be sure to open the zipper before stuffing, then fill with fiber and close.
Once complete, place the cushion inside the hanging bed.

Finishing
Securely weave in all ends and check that the base is firmly stitched around the lower hoop. Inspect the strap attachment points to ensure everything is secure before hanging.
Insert the cushion into the bed and adjust as needed for an even, full shape.
Your hanging crochet cat bed is now ready to install and enjoy.
Frequently asked questions
Is this hanging crochet cat bed pattern beginner-friendly?
No. This is an intermediate pattern due to structural assembly, hoop work, and strap construction.
How strong is the finished bed?
The structure is reinforced with metal hoops and super bulky rope yarn. Proper installation into a ceiling joist is essential for safety.
Can I use a different yarn weight?
Using a lighter yarn may reduce structure and durability. Super bulky rope yarn is recommended for stability.
Can the cushion be removed?
Yes. You can sew the cushion closed or add an optional zipper for removability.
How do I adjust the hanging length?
You can shorten or lengthen the chain straps before attaching them to the hanging rings.
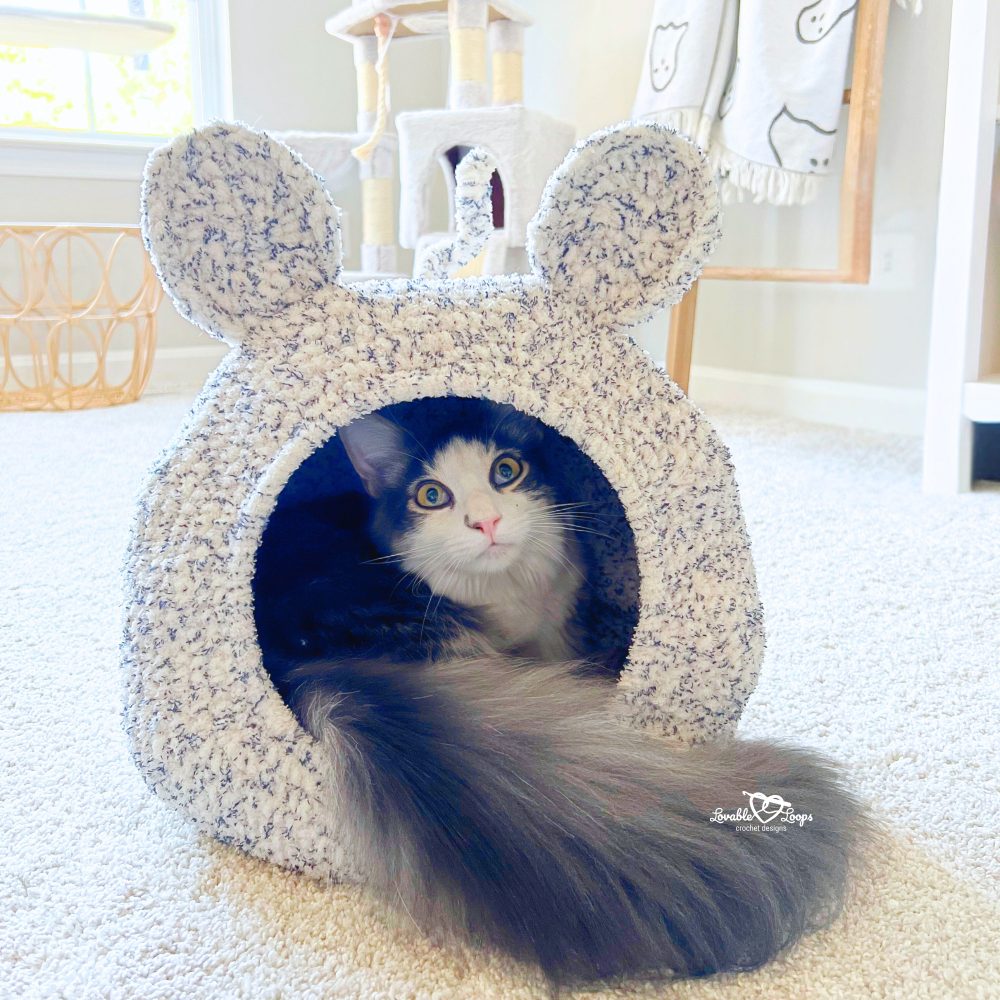
More crochet patterns for cats
Looking for crochet for cats ideas? These fun and comfy designs are perfect for spoiled kitties, handmade pet gifts, and cozy beds that double as cute home décor. Explore more free crochet cat patterns—from cat pods and caves to toys and blankets—and start your next kitty-approved project today!


Let’s connect!
I’d love to see what you’re making! Share your finished project and follow along for more free crochet patterns and tutorials.
📌 Don’t forget to pin this pattern for later!
Happy crocheting! 🧶
— Melissa