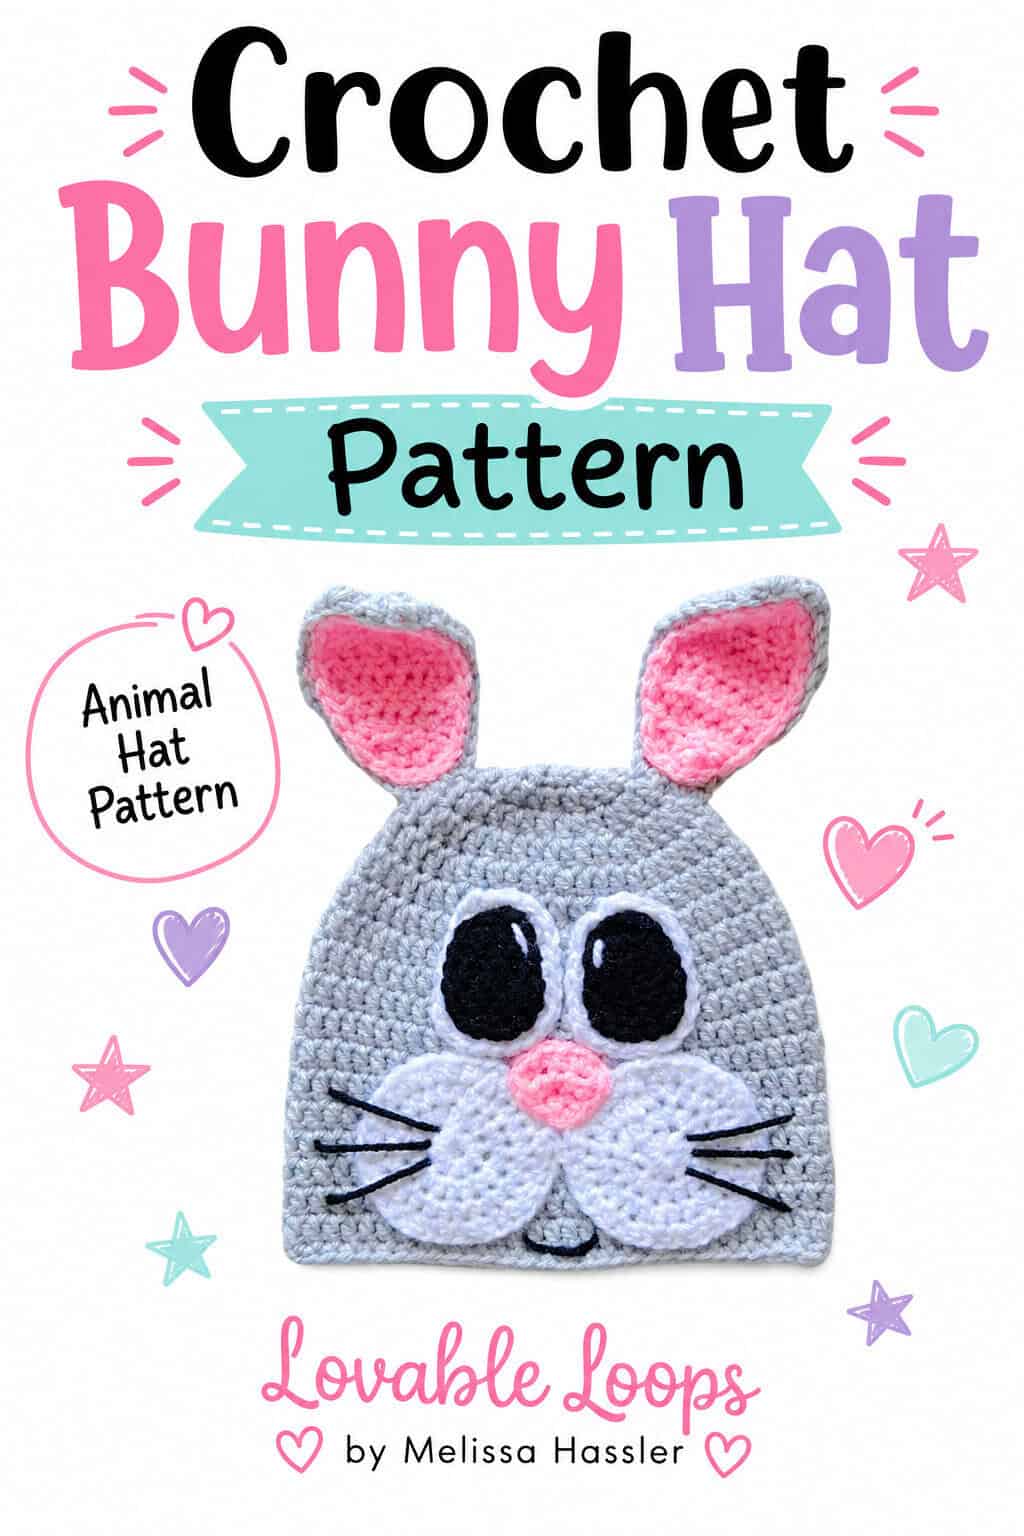
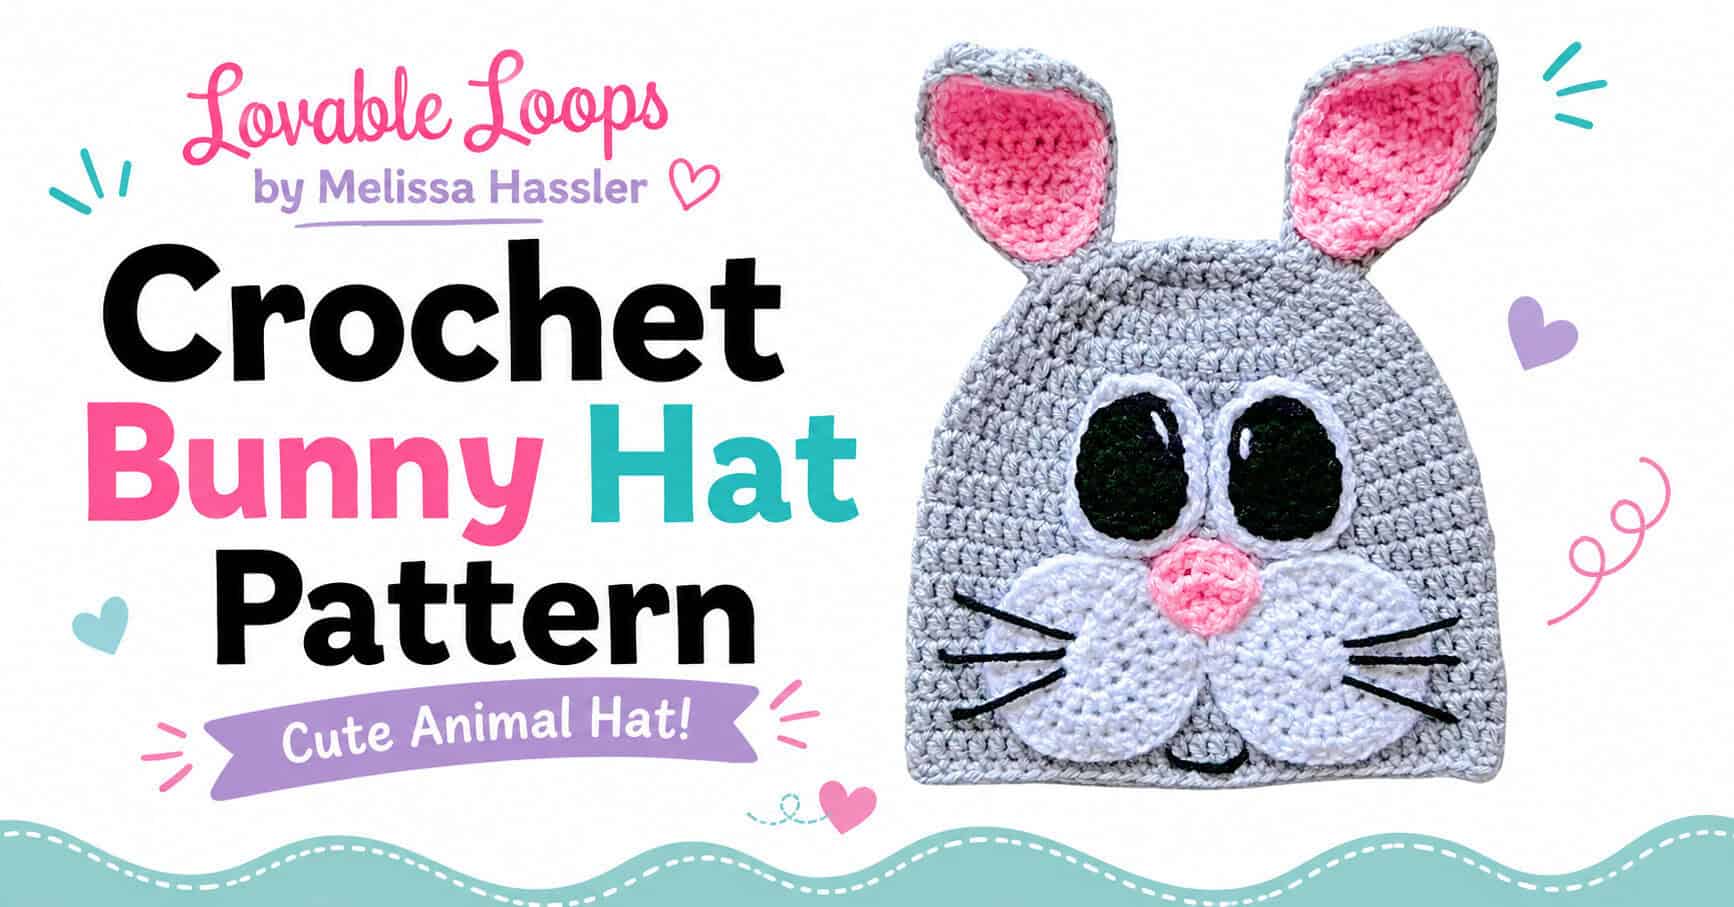
Crochet bunny hat pattern
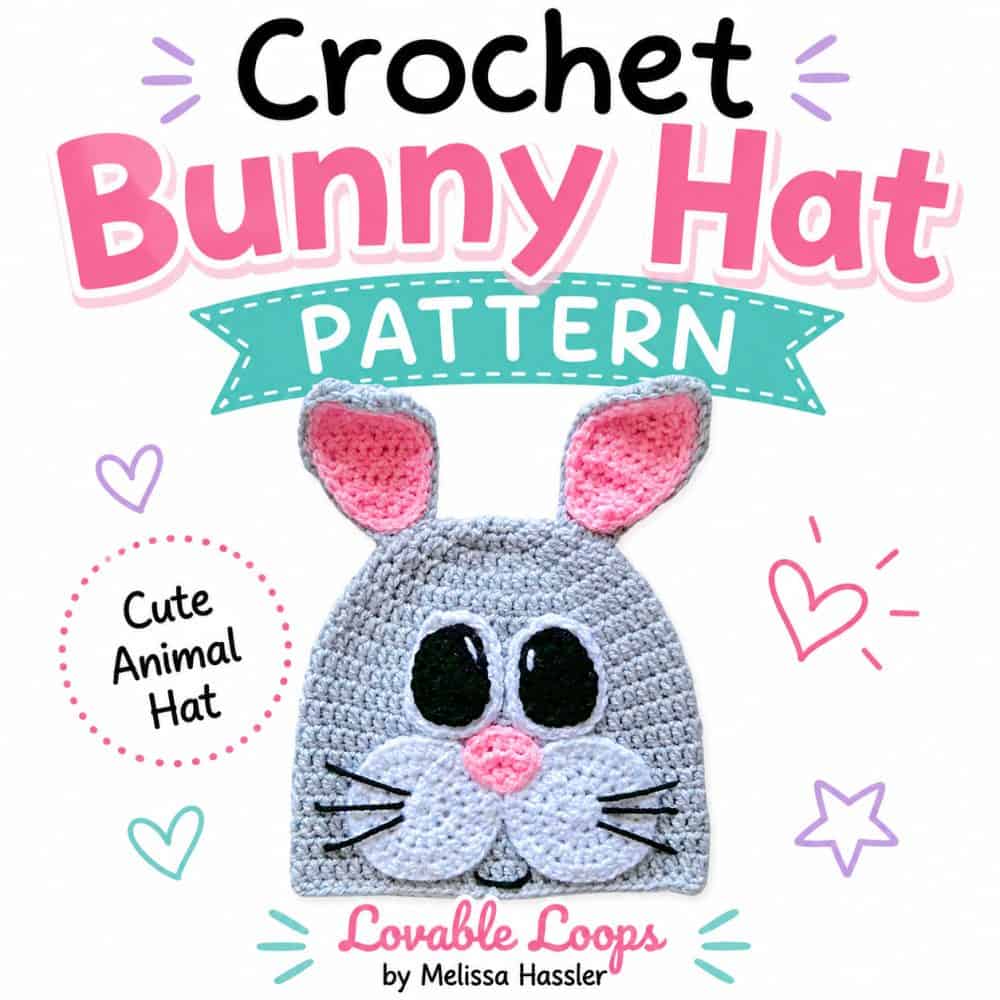
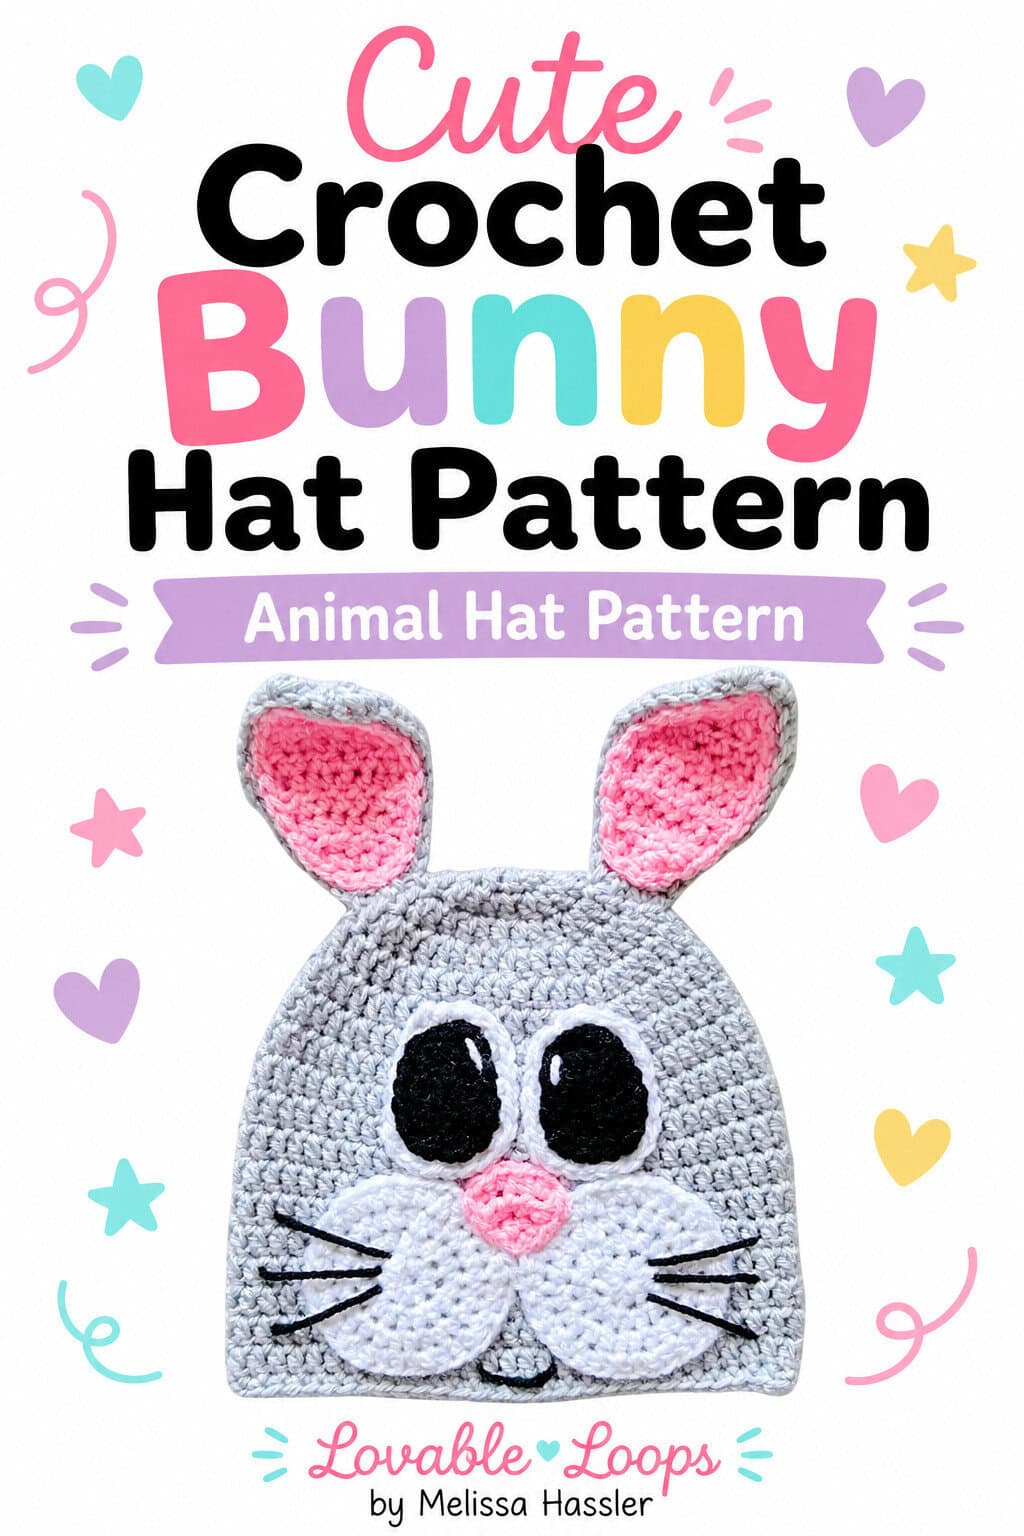
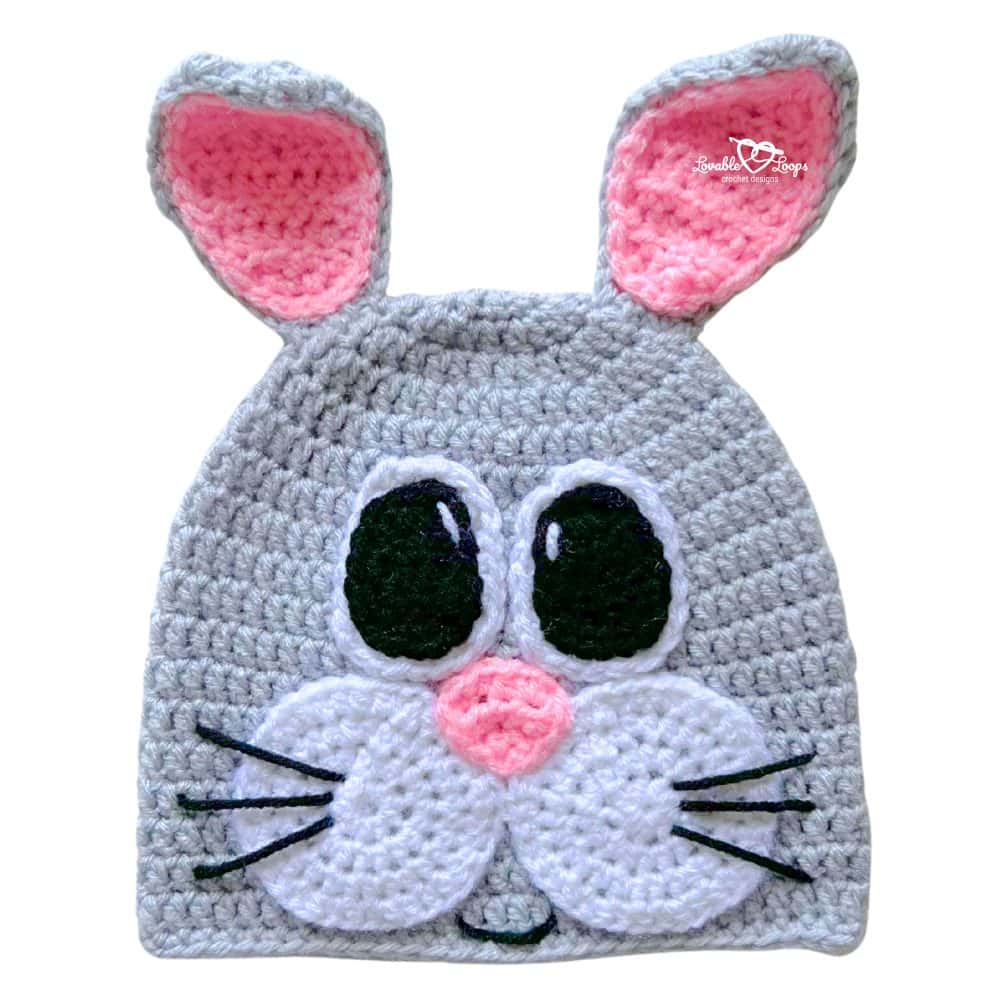
Looking for a sweet spring hat with timeless charm? This crochet bunny hat pattern is an adorable project with classic bunny ears, a cute face, and sizes from baby to adult. It’s a fun choice for Easter outfits, spring photos, gifts, or everyday dress-up.
Quick answer
This advanced beginner crochet bunny hat pattern uses worsted weight (#4) yarn and includes baby, toddler, child, and adult sizes. The hat is worked from the top down in joined rounds with an I-9 (5.5 mm) crochet hook. The Baby bunny details are made with a G-6 (4 mm) hook, while the Toddler, Child, and Adult details use an H-8 (5 mm) hook. The cheeks, eye patches, eyes, nose, and layered ears are crocheted separately and sewn onto the finished hat.
Free crochet bunny hat pattern details
Skill level
Advanced beginner — This pattern is best for crocheters who are comfortable working in the round, following stitch counts, and sewing pieces together.
Materials needed
- I-9 (5.5 mm) crochet hook — for the hat
- G-6 (4 mm) crochet hook — for Baby bunny details
- H-8 (5 mm) crochet hook — for Toddler, Child, and Adult bunny details
- Worsted weight yarn (#4) — gray for the hat and outer ears; white for the cheeks, eye patches, and eye highlights; pink for the nose and inner ears; and black for the eyes, smile, and whiskers
- Yarn needle
- Scissors
Finished size
This crochet bunny hat pattern includes baby, toddler, child, and adult sizes. A size chart is provided below to help you choose the best fit before you begin, making it easy to crochet a comfortable hat for any age.
| Hat Size | Head circumference | Finished hat height |
|---|---|---|
| Baby | 14–15 inches (36–38 cm) | 6 inches (15 cm) |
| Toddler | 18–19 inches (46–48 cm) | 7 inches (18 cm) |
| Child | 19–20 inches (48–51 cm) | 7.5 inches (19 cm) |
| Adult | 20–23 inches (51–58 cm) | 8 inches (20 cm) |
Need help with sizing? Check out my crochet hat sizing guide to measure head circumference, use negative ease, and adjust crown diameter and hat height for the best fit.
Gauge
15 dc stitches and 9 rounds = 4 inches (10 cm)
Learn how to check crochet gauge before you begin so you can adjust your hook size if needed.
Crochet abbreviations
- dc = double crochet stitch
- sc = single crochet stitch
- hdc = half double crochet stitch
- hdc2tog = half double crochet 2 together (decrease)
- hdc3tog = half double crochet 3 together (decrease)
- ch/chs = chain/chains
- st/sts = stitch/stitches
- sl st = slip stitch
Pattern notes
- The hat is worked from the top down in joined rounds.
- The beginning ch 1 or ch 2 does not count as a stitch.
- Join each round with a sl st to the first stitch made in that round.
- Repeat from the asterisk (*) as indicated.
- Rounds 1–5 of the hat are the same for all four sizes.
- The smile and whiskers are stitched on with black yarn.
- The pattern is written in US crochet terms.
Crochet bunny hat pattern instructions
Use the I-9 (5.5 mm) crochet hook and gray yarn for the hat.
Rounds 1–5
These rounds are the same for all four sizes.
Round 1: Make a magic circle. Ch 2, work 11 dc into the ring. Join with a sl st to the first dc. (11 sts)
Round 2: Ch 2, work 2 dc in each st around. Join. (22 sts)
Round 3: Ch 2, *2 dc in next st, dc in next st; repeat from * around. Join. (33 sts)
Round 4: Ch 2, *2 dc in next st, dc in next 2 sts; repeat from * around. Join. (44 sts)
Round 5: Ch 2, *2 dc in next st, dc in next 10 sts; repeat from * around. Join. (48 sts)
Baby
Rounds 6–14: Ch 2, dc in each st around. Join. (48 sts)
Fasten off and weave in the ends.
Toddler
Round 6: Ch 2, *2 dc in next st, dc in next 11 sts; repeat from * around. Join. (52 sts)
Round 7: Ch 2, *2 dc in next st, dc in next 12 sts; repeat from * around. Join. (56 sts)
Rounds 8–17: Ch 2, dc in each st around. Join. (56 sts)
Fasten off and weave in the ends.
Child
Round 6: Ch 2, *2 dc in next st, dc in next 11 sts; repeat from * around. Join. (52 sts)
Round 7: Ch 2, *2 dc in next st, dc in next 12 sts; repeat from * around. Join. (56 sts)
Round 8: Ch 2, *2 dc in next st, dc in next 13 sts; repeat from * around. Join. (60 sts)
Rounds 9–18: Ch 2, dc in each st around. Join. (60 sts)
Fasten off and weave in the ends.
Adult
Round 6: Ch 2, *2 dc in next st, dc in next 11 sts; repeat from * around. Join. (52 sts)
Round 7: Ch 2, *2 dc in next st, dc in next 12 sts; repeat from * around. Join. (56 sts)
Round 8: Ch 2, *2 dc in next st, dc in next 13 sts; repeat from * around. Join. (60 sts)
Round 9: Ch 2, *2 dc in next st, dc in next 14 sts; repeat from * around. Join. (64 sts)
Rounds 10–19: Ch 2, dc in each st around. Join. (64 sts)
Fasten off and weave in the ends.
Crocheting the bunny face and ears
For the Baby size, use the G-6 (4 mm) crochet hook for all bunny details.
For the Toddler, Child, and Adult sizes, use the H-8 (5 mm) crochet hook.
Bunny cheeks
Make 2 using white yarn.
Round 1: Make a magic circle. Ch 2, work 9 hdc into the ring. Join with a sl st to the first hdc. (9 sts)
Round 2: Ch 2, work 2 hdc in each st around. Join. (18 sts)
Round 3: Ch 2, *2 hdc in next st, hdc in next st; repeat from * around. Join. (27 sts)
Round 4: Ch 2, *2 hdc in next st, hdc in next 2 sts; repeat from * around. Join. (36 sts)
Fasten off, leaving a long tail for sewing.
Position the cheeks side by side on the lower front of the hat and sew them securely in place using the long white yarn tails.
Bunny eye patches
Make 2 using white yarn.
Row 1: Ch 7, hdc in 3rd ch from hook and in each remaining ch. Turn. (5 sts)
Rows 2–5: Ch 2, hdc in each st across. Turn. (5 sts)
Row 6: Ch 2, hdc2tog, hdc in next st, hdc2tog. (3 sts)
Ch 1 and sc evenly around the entire eye patch. Join with a sl st to the first sc.
Fasten off, leaving a long tail for sewing.
Position the eye patches above the cheeks and sew them securely to the hat using the long white yarn tails.
Bunny eyes
Make 2 using black yarn.
Row 1: Ch 5, hdc in 3rd ch from hook and in each remaining ch. Turn. (3 sts)
Rows 2–3: Ch 2, hdc in each st across. Turn. (3 sts)
Row 4: Ch 2, hdc3tog. (1 st)
Ch 1 and sc evenly around the entire eye. Join with a sl st to the first sc.
Fasten off, leaving a long tail for sewing.
Using a small piece of white yarn and a yarn needle, stitch a small highlight onto each eye. Secure the white yarn on the back and weave in the ends.
Position one black eye on each white eye patch and sew it securely in place using the long black yarn tails.
Bunny nose
Use pink yarn.
Row 1: Ch 3, work 2 hdc in the 3rd ch from the hook. Turn. (2 sts)
Row 2: Ch 2, work 2 hdc in each st across. Turn. (4 sts)
Row 3: Ch 2, *2 hdc in next st, hdc in next st; repeat from * across. (6 sts)
Ch 1 and sc evenly around the entire nose. Join with a sl st to the first sc.
Fasten off, leaving a long tail for sewing.
Position the nose in the center of the face between the cheeks and below the eyes. Sew it securely in place using the long pink yarn tail.
Bunny ears
Make 2 outer ears using gray yarn and 2 inner ears using pink yarn.
Rows 1–6 are the same for both pieces.
Rows 1–6
Row 1: Ch 5, hdc in 3rd ch from hook and in each remaining ch. Turn. (3 sts)
Row 2: Ch 2, hdc in first st, 2 hdc in next st, hdc in last st. Turn. (4 sts)
Row 3: Ch 2, *2 hdc in next st, hdc in next st; repeat from * across. Turn. (6 sts)
Row 4: Ch 2, hdc in each st across. Turn. (6 sts)
Row 5: Ch 2, *2 hdc in next st, hdc in next 2 sts; repeat from * across. Turn. (8 sts)
Row 6: Ch 2, hdc in each st across. Turn. (8 sts)
Outer ears
Continue with gray yarn.
Row 7: Ch 2, *2 hdc in next st, hdc in next 3 sts; repeat from * across. Turn. (10 sts)
Row 8: Ch 2, hdc in each st across. Turn. (10 sts)
Row 9: Ch 2, hdc2tog, hdc in next 2 sts, hdc2tog, hdc in next 2 sts, hdc2tog. Turn. (7 sts)
Row 10: Ch 2, hdc in each st across. Turn. (7 sts)
Row 11: Ch 2, hdc2tog, hdc in next 3 sts, hdc2tog. Turn. (5 sts)
Row 12: Ch 2, hdc2tog, hdc in next st, hdc2tog. Turn. (3 sts)
Row 13: Ch 2, hdc3tog. (1 st)
Ch 1 and sc evenly around the entire outer ear. Join with a sl st to the first sc.
Fasten off, leaving a long gray yarn tail for sewing the finished ear to the hat.
Inner ears
Continue with pink yarn after Row 6.
Row 7: Ch 2, *hdc2tog, hdc in next 2 sts; repeat from * across. Turn. (6 sts)
Row 8: Ch 2, hdc in each st across. Turn. (6 sts)
Row 9: Ch 2, hdc2tog, hdc in next 2 sts, hdc2tog. Turn. (4 sts)
Row 10: Ch 2, hdc2tog twice. Turn. (2 sts)
Row 11: Ch 2, hdc2tog. (1 st)
Ch 1 and sc evenly around the entire inner ear. Join with a sl st to the first sc.
Fasten off, leaving a long pink yarn tail for sewing.
Position one pink inner ear on the front of each gray outer ear. Using the long pink yarn tail, sew the inner ear securely to the outer ear.
Position the finished ears near the top sides of the hat, angling them slightly outward as shown. Using the long gray yarn tails, sew the ears securely to the hat.
Add the smile and whiskers
Using black yarn and a yarn needle, stitch a small curved smile below the nose.
Add 3 whiskers on each side of the face, extending outward across the cheeks.
Fasten off securely on the inside of the hat and weave in the ends.
Finishing
Make sure the cheeks, eye patches, eyes, nose, and ears are securely attached.
Weave in all remaining yarn ends and trim any excess yarn.
More free crochet animal hats
Looking for another spring animal design? Try my crochet chick hat pattern, featuring a bright yellow beanie, oversized eyes, and an orange beak.
Prefer long floppy ears and a ribbed brim? Try my crochet bunny hat pattern with floppy ears, available in four sizes from baby through adult.
Looking for another cute animal design with oversized ears? Try my crochet mouse hat pattern, available in four sizes from baby through adult.
For even more ideas, explore my full collection of crochet animal hat patterns or browse all of my crochet hat patterns for babies, kids, and adults.
Let’s connect!
I’d love to see what you’re making! Share your finished project and follow along for more free crochet patterns and tutorials.
📌 Don’t forget to pin this pattern for later!
Happy crocheting! 🧶
— Melissa