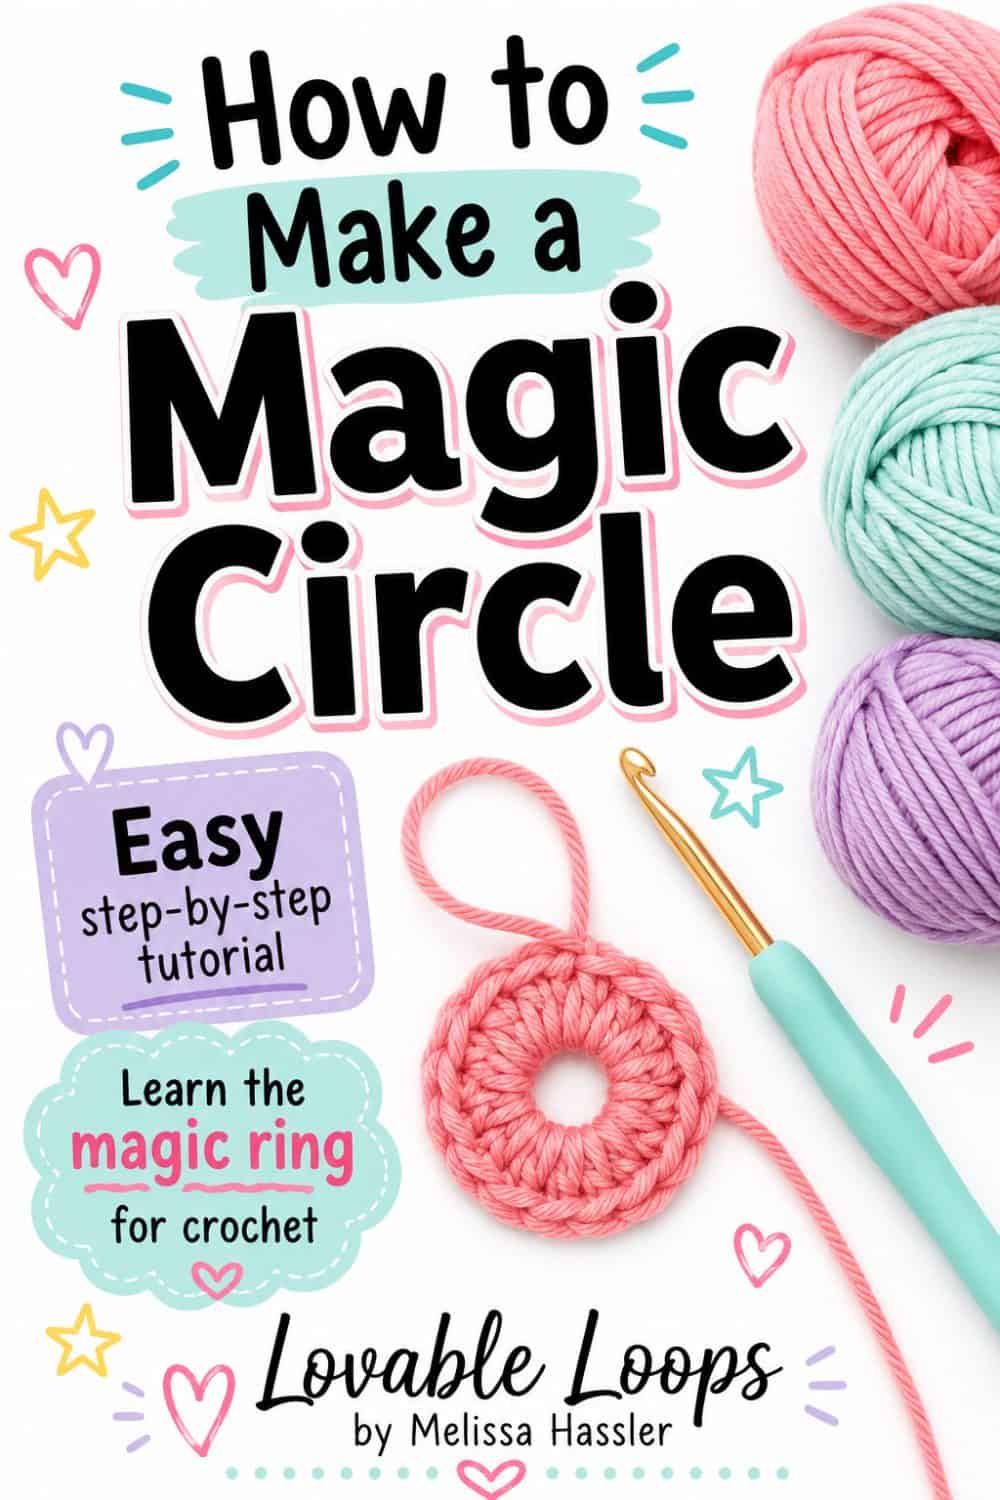
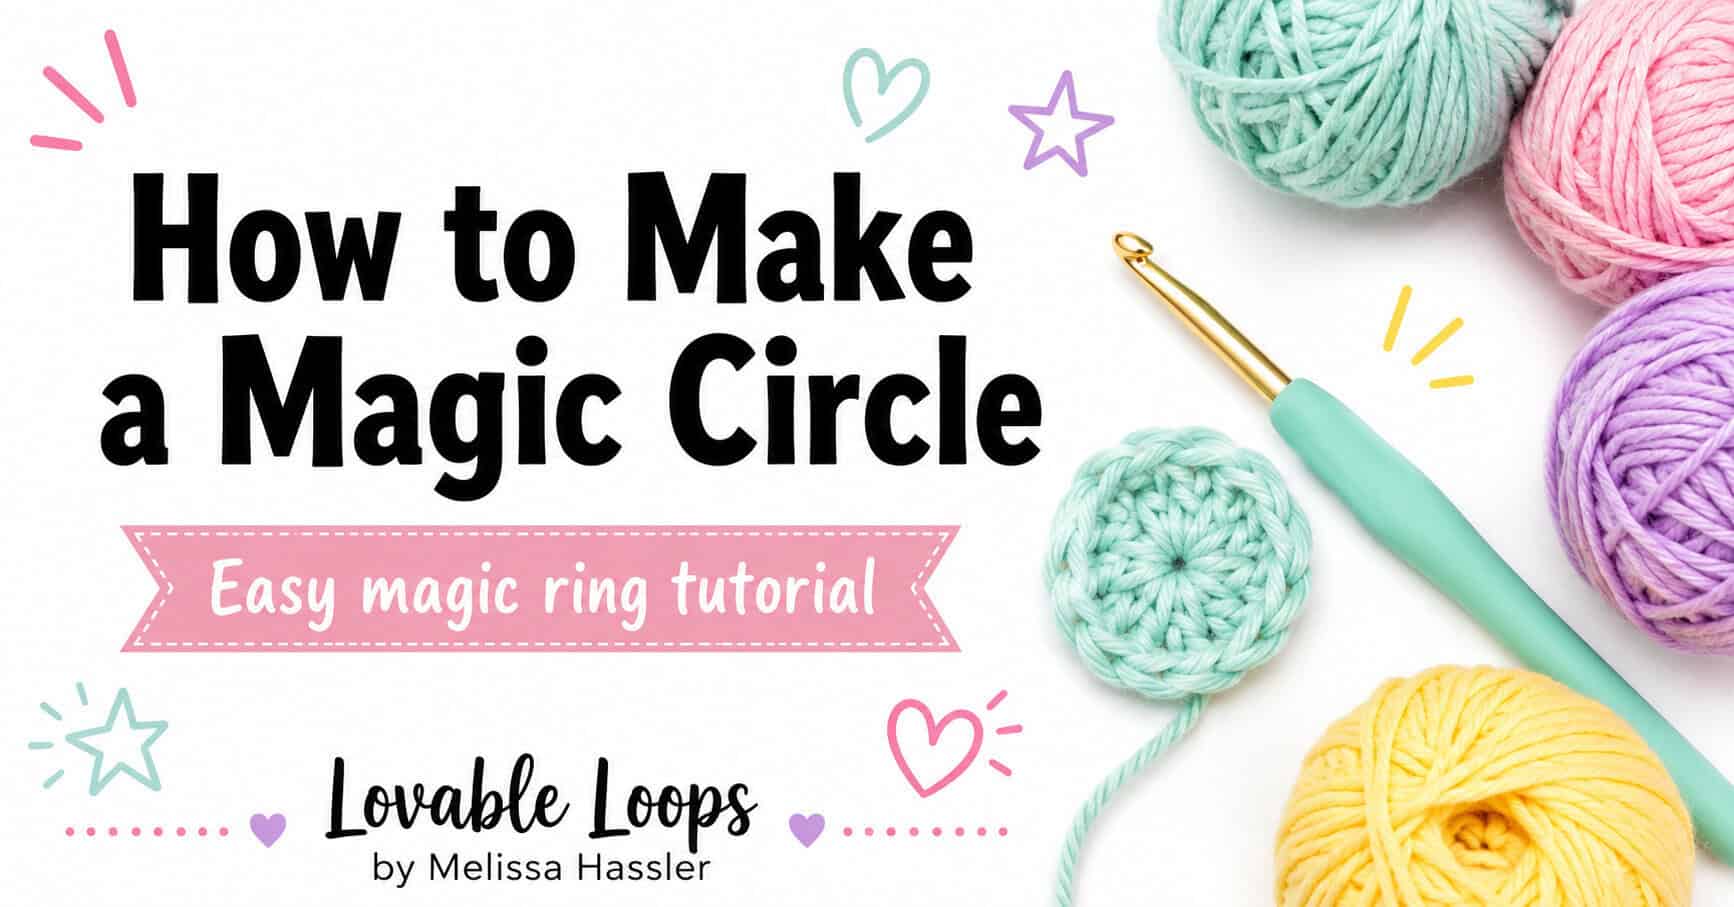
How to make a magic circle
The magic circle is one of those crochet techniques that can feel tricky at first, but once it clicks, you’ll use it all the time. It creates a neat, adjustable center for projects worked in the round, like amigurumi, hats, flowers, granny squares, and more. In this tutorial, I’ll show you how to make a crochet magic circle step by step so you can start your round projects with confidence.
I promise, you’ll be ready to make your first crochet hat pattern in no time!
Magic Circle Tutorial Notes
- Practice with an H/5 mm crochet hook.
- Use a light colored worsted weight yarn. Darker colors make it more difficult to see your stitches.
- The end of the yarn attached to the skein is the working end of the yarn (working yarn).
- The end of the yarn not attached to the skein is the yarn tail.
- This magic circle tutorial is meant for crocheters who are right-handed.
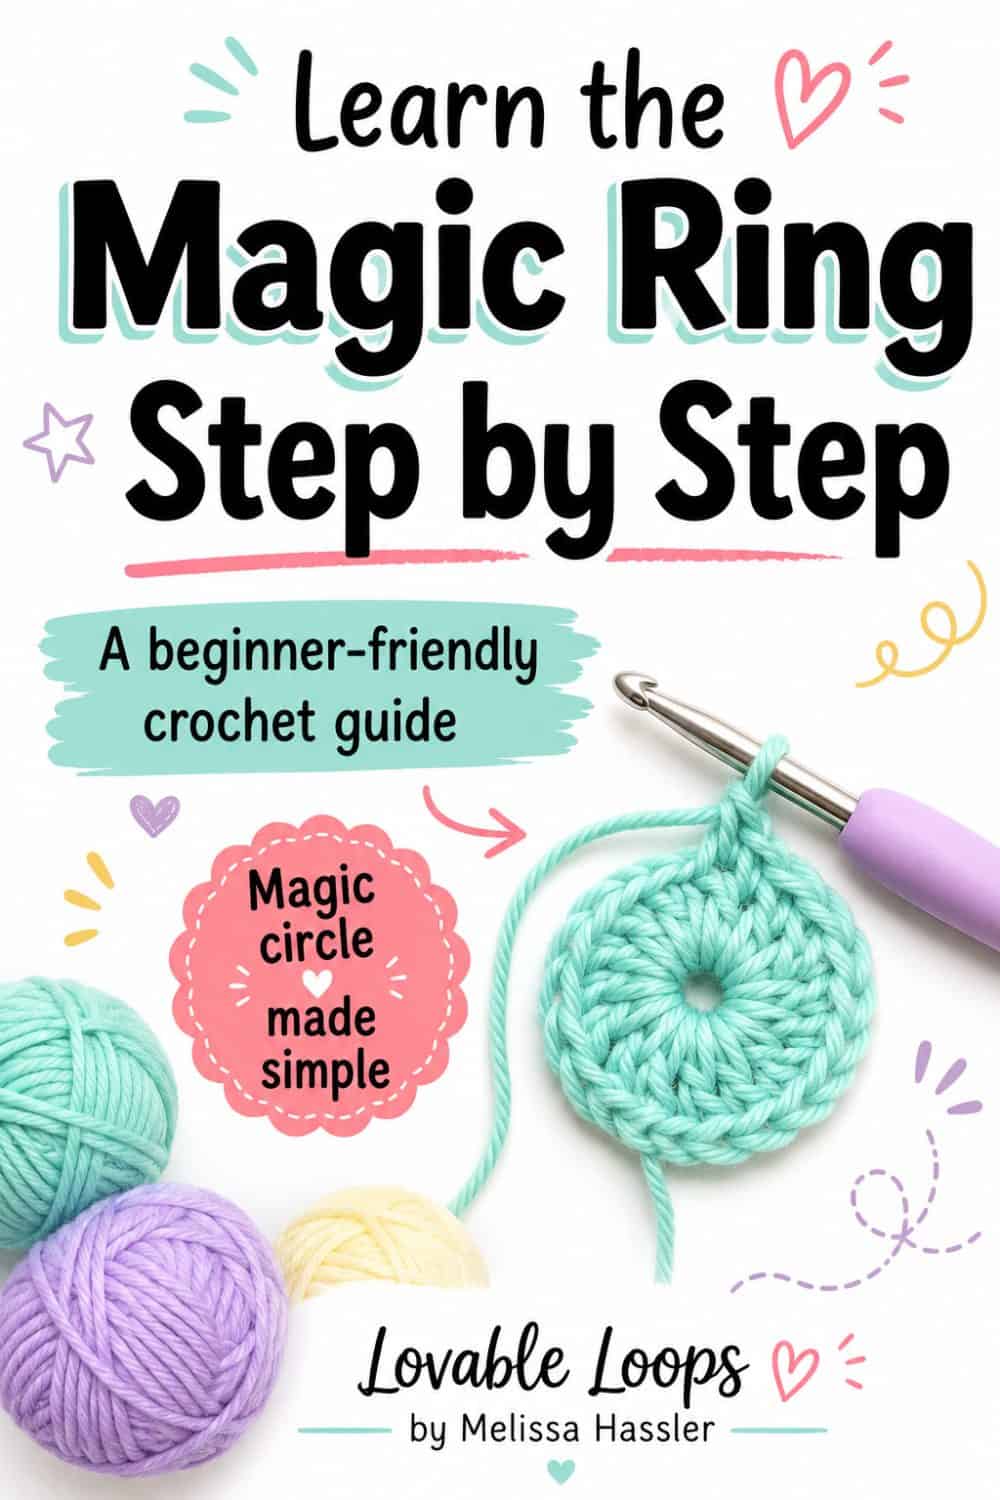
Video tutorial
Prefer YouTube? Watch the magic circle tutorial on YouTube.
Magic Circle Tutorial
Step 1
First, leave a four inch yarn tail. Drape the yarn over your left hand and away from you. This is the bottom yarn.

Step 2
Next, bring the yarn back towards you. Wrap the working yarn around your middle and index fingers and cross it over the bottom yarn, forming an “x”. This is the top yarn.

Step 3
Then, hold the top yarn in place with your pinky finger.


Step 4
Now, insert your crochet hook under the bottom yarn and over the top yarn.

Step 5
Use your crochet hook to grab the top yarn and pull it under the bottom yarn. You will have a loop of yarn on your hook.

Step 6
Lastly, yarn over and pull the yarn through the loop on your hook.


You have made a magic ring (magic circle)! You can now crochet your first round of stitches.
Close the magic circle by pulling on the yarn tail until there is no longer a visible hole in the center.
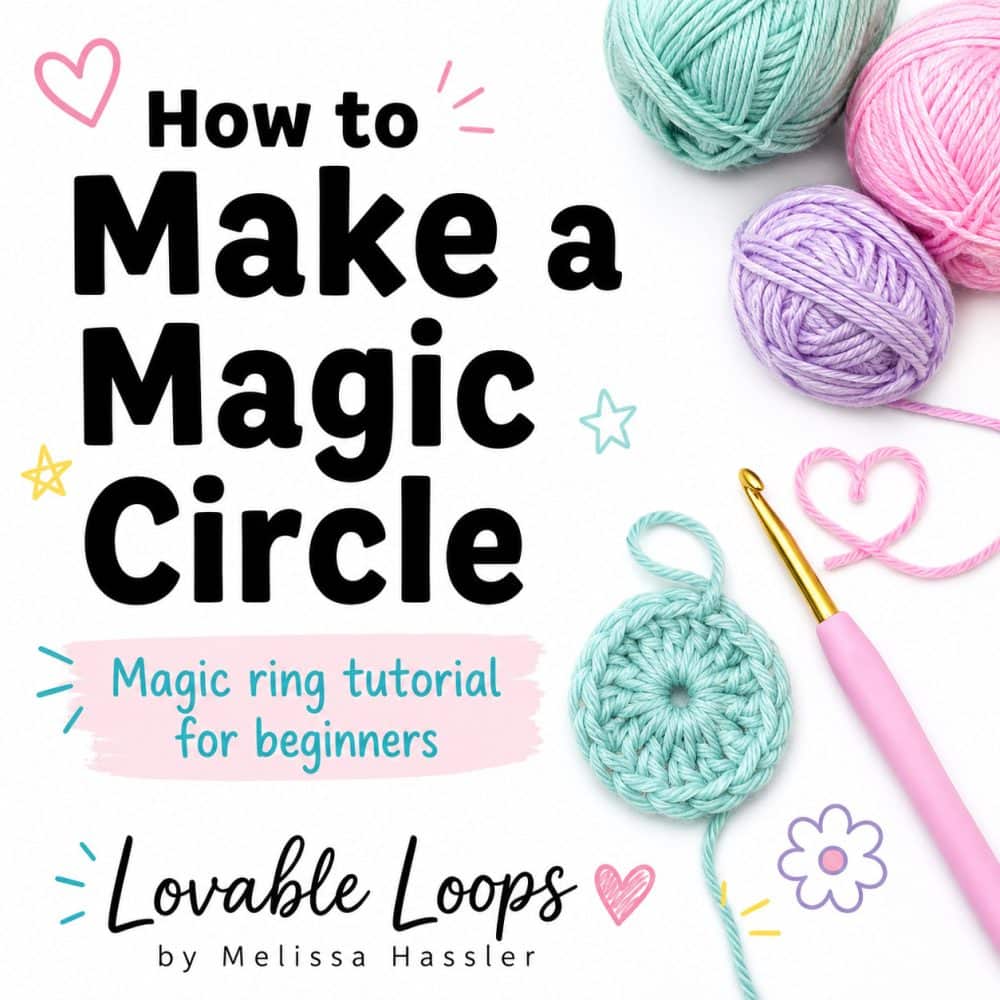
How to Single Crochet into a Magic Circle
- Chain 1
- Insert hook into the center of the ring from front to back.
- Yarn over pull a loop back through the center of the ring from back to front. You will have 2 loops on your hook.
- Yarn over and pull through both loops.
- Repeat steps 1-4 to work more single crochet stitches into the ring.
How to Double Crochet into a Magic Circle
- Chain 3
- Yarn over & insert hook into the center of the ring from front to back.
- Yarn over and pull a loop back through the center of the ring from back to front. You will have 3 loops on your hook.
- Yarn over and pull through 2 loops. You will have 2 loops on your hook.
- Yarn over and pull through remaining 2 loops on your hook.
- Repeat steps 1-5 to work more double crochet stitches into the ring.
How to Half Double Crochet into a Magic Circle
- Chain 2
- Yarn over & insert hook into the center of the ring from front to back.
- Yarn over pull a loop back through the center of the ring from back to front. You will have 3 loops on your hook.
- Yarn over and pull through all 3 loops on your hook.
- Repeat steps 1-4 to work more half double crochet stitches into the ring.

What is a magic circle?
A magic circle is a crochet technique used for creating a tight center for projects worked in the round.
You make a loop and then you crochet the first rounds of stitches into the loop. Then you pull the yarn tail to close the center of the loop.
This will result in a closed center with no visible hole.
Why use a magic circle?
Magic circles are really handy for crochet patterns that involve going in circles.
Once you create a magic circle, you can keep it somewhat loose. This gives you lots of space to crochet the first round of stitches.
Then, simply tug the yarn to tighten the circle until the center closes up.
Can you use a regular chain to start instead of a magic circle?
Yes, you can use a regular chain to start instead of a magic circle in crochet.
Chain 3 and join with a slip stitch in the round to the chain that is furthest from the hook. This will form a loop.
You can now crochet your first round of stitches into the center of the loop.
How do you close a magic circle?
After you crochet the first round of stitches, gently pull the yarn end until the hole in the center goes away.
Use a yarn needle to firmly weave in the yarn end to secure it.
Learn crochet basics
Looking for more crochet help? Visit my learn crochet page to browse all of my beginner-friendly crochet tutorials in one place. You’ll find helpful guides for basic stitches, crochet terms, pattern reading, gauge, sizing, common mistakes, and more.




Let’s connect!
I’d love to see what you’re making! Share your finished project and follow along for more free crochet patterns and tutorials.
📌 Don’t forget to pin this pattern for later!
Happy crocheting! 🧶
— Melissa