
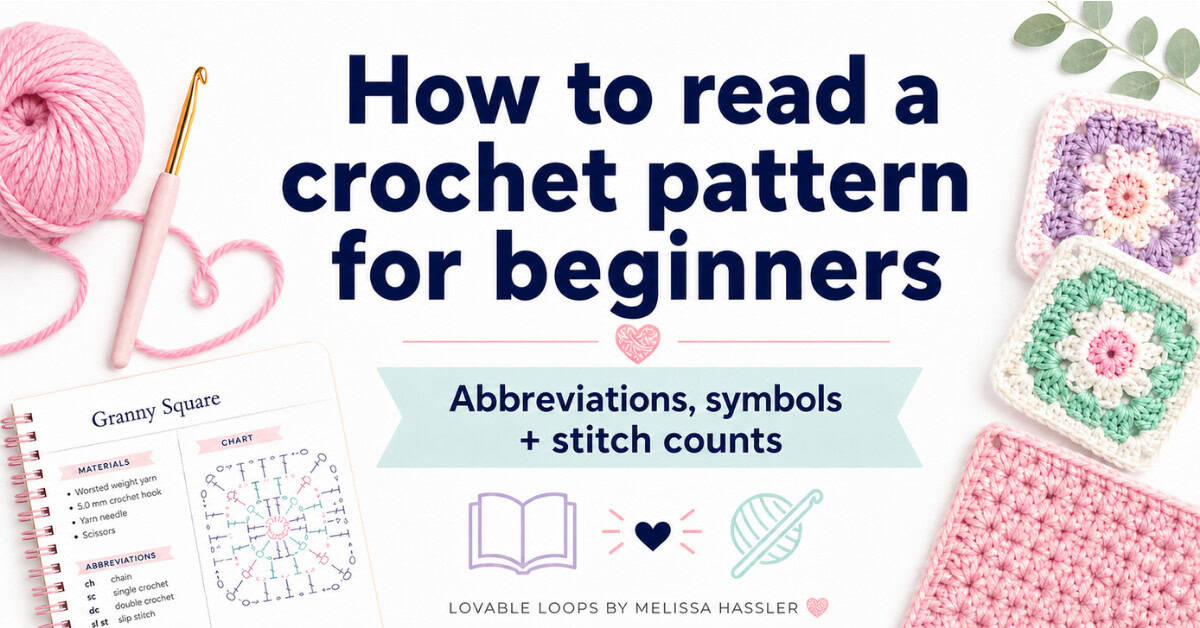
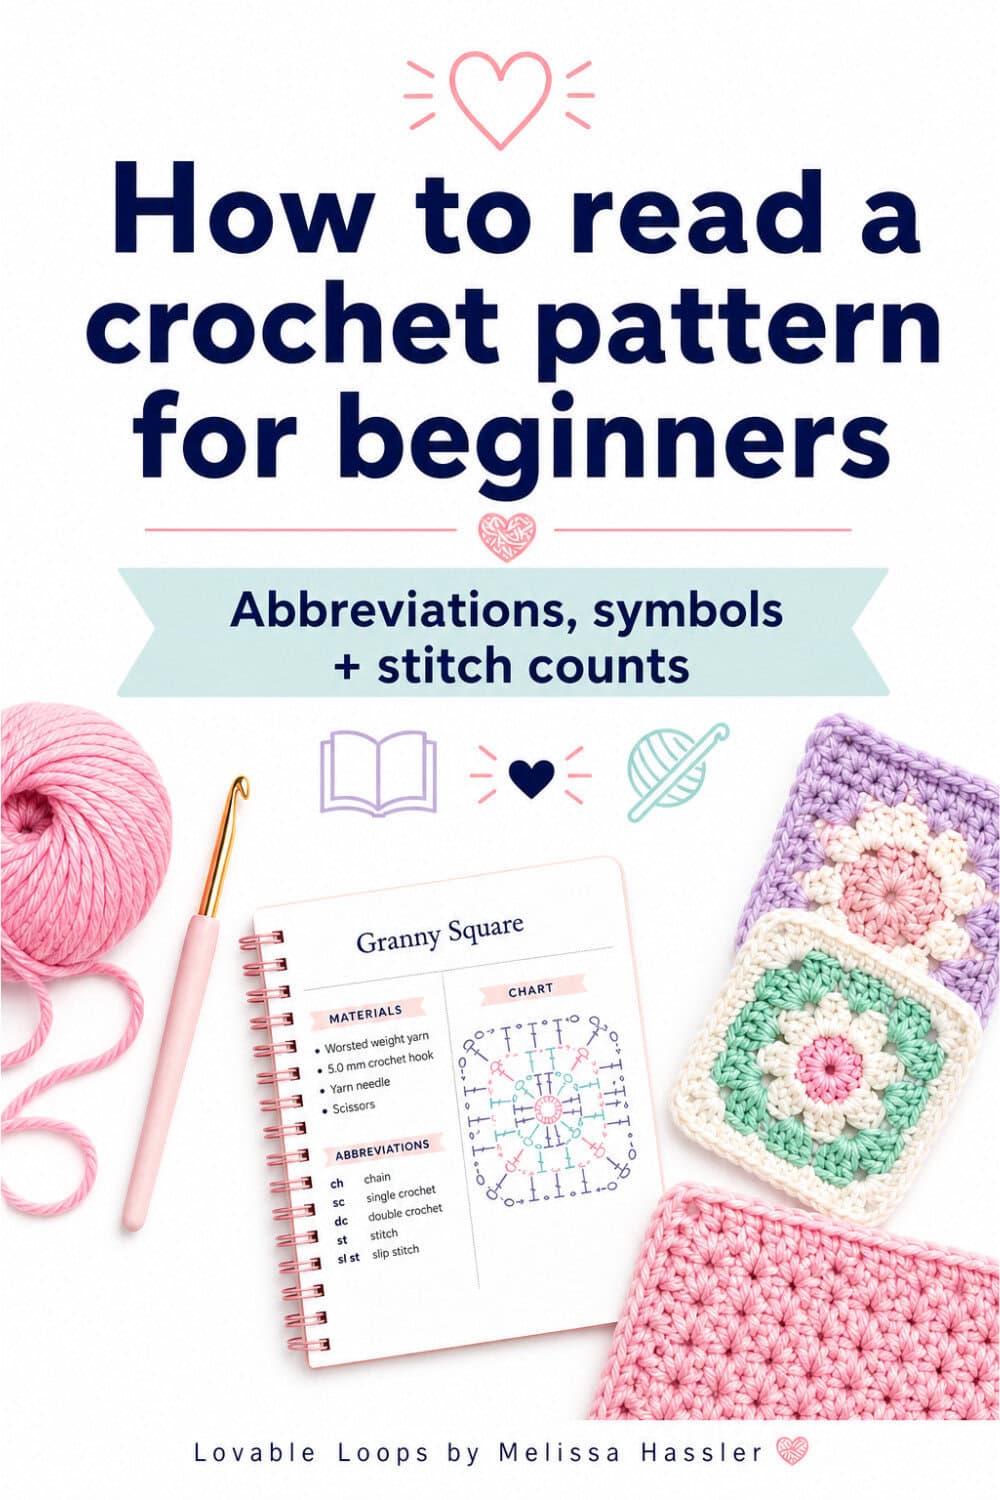
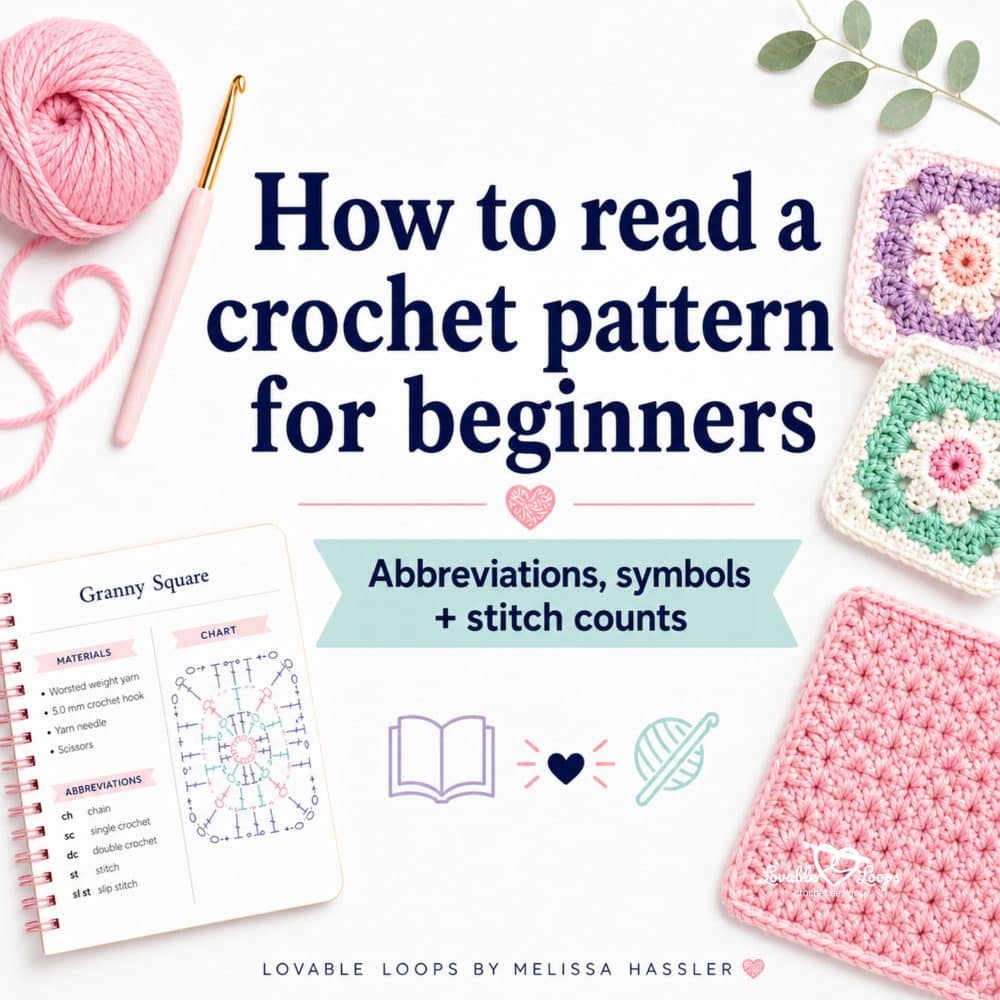
How to read a crochet pattern for beginners
Learning how to read a crochet pattern can feel a little confusing at first. All the abbreviations, symbols, and stitch counts can make a pattern look harder than it really is. In this guide, I’ll walk you through what it all means so you can read patterns with more confidence and enjoy crocheting more.
Quick answer
To read a crochet pattern, start with the notes and check whether the pattern uses US or UK terms. Then look over the materials, stitches, and any abbreviations before reading each row or round one step at a time. Watch for repeats, stitch counts, and symbols like parentheses, brackets, and asterisks.
What to read before you start
What to read before you start
At the top of my patterns, I include the key details you need before you begin, like the skill level, materials, hook size, gauge, finished size, pattern notes, special stitches, and abbreviations. I always recommend reading this part first so you know what to expect before you start the instructions.
The hook size listed in a pattern is your starting point, but you may need to adjust it depending on your yarn, gauge, and tension. If crochet hook sizes feel confusing, my crochet hook sizes guide explains US, UK, and metric hook sizes and how to choose the right hook for your project.
Common crochet abbreviations beginners should know
Most crochet patterns use standard abbreviations to keep the instructions clear and consistent. If you are new to reading patterns, abbreviations are often the first thing that makes them look confusing. The good news is that once you learn the most common crochet abbreviations for beginners, patterns start to make a lot more sense.
These crochet pattern abbreviations are the standard shortened terms you will see again and again. You do not need to memorize them all right away. Just start with the most common crochet terms for beginners first.
- ch = chain
- sl st = slip stitch
- sc = single crochet
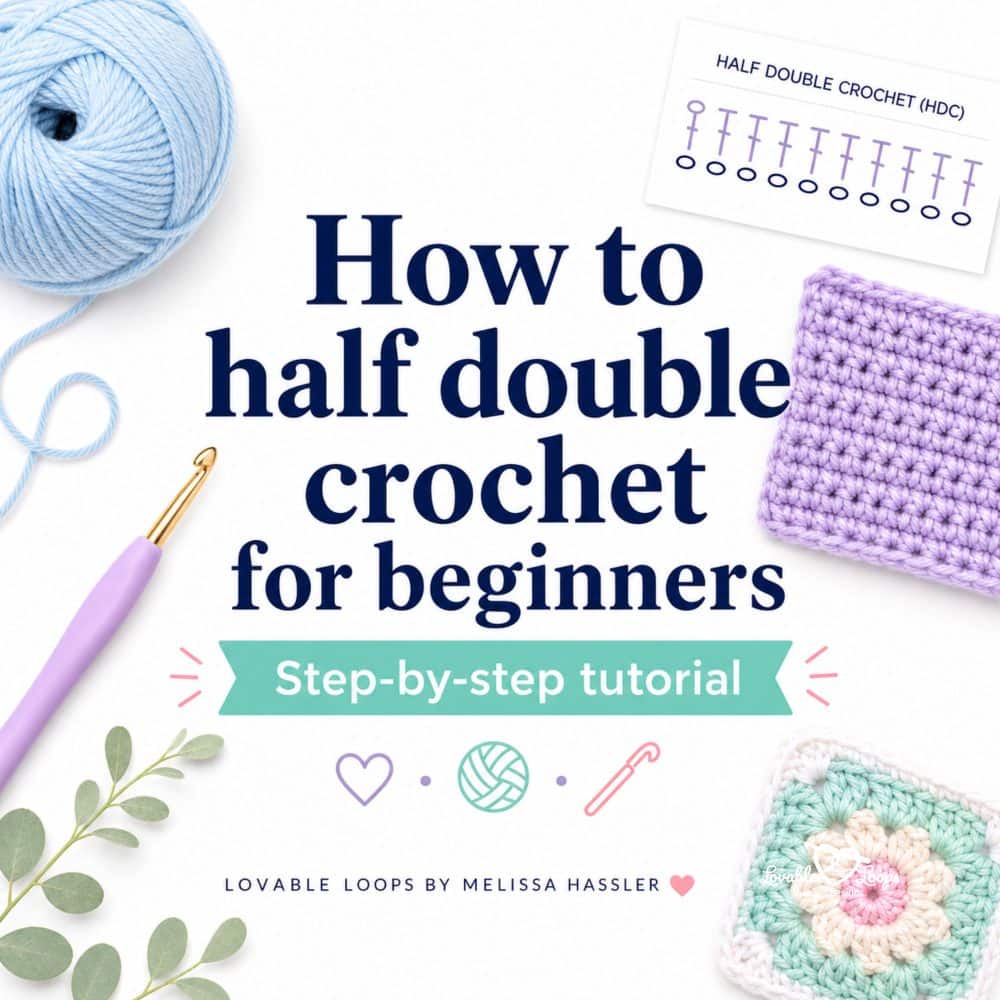
- hdc = half double crochet
- dc = double crochet
- tr = treble crochet
- st = stitch
- sts = stitches
- sp = space
- sk = skip
- rep = repeat
- inc = increase
- dec = decrease
- RS = right side
- WS = wrong side
One important thing to know is that crochet terms are not always the same in every pattern. All of my patterns use US terms, but some designers use UK terms instead. I’ll explain that next, because it can completely change how a pattern reads.
Check for US or UK terms first
One thing that catches a lot of beginners off guard is that US vs UK crochet terms are not the same. Even if the abbreviations look familiar, the stitches may mean something different depending on where the pattern came from.
For example:
- US single crochet = UK double crochet
- US double crochet = UK treble
That is why I always recommend checking the pattern notes or source before you start. Most designers will tell you whether they use US or UK terms, so that is one of the first things I recommend checking.
How to read symbols and stitch counts
Symbols like parentheses, brackets, and asterisks can look a little confusing at first. The good news is that they are there to make the instructions shorter and easier to follow.
Here is a quick breakdown of the most common ones.
Parentheses
Parentheses can be used in a few different ways. Most often, they show stitch counts at the end of a row or round. They can also group stitches together or show different numbers for different sizes.
Here are a few examples:
- Stitch count:
Row 2: sc in next 2 sts, *dc in next st, sc in next st; rep from * across (18)
The (18) means you should have 18 stitches total at the end of the row. - Grouped instructions:
Row 3: (sc, dc, sc) in next st
The stitches inside the parentheses are worked all in the same stitch. - Different sizes:
Ch 41 (51, 61)
This means you would chain a different number depending on the size you are making.
Brackets
Brackets are used to group stitches that belong together. You will often see them when a set of stitches needs to be worked in the same stitch or repeated as a group.
Here are two common examples:
- Worked in the same stitch:
[sc, dc, sc] in next st
This means you work all three stitches into the same stitch. - Repeated as a group:
[sc in next st, dc in next st] 4 times
This means you repeat that whole group of stitches four times.
Asterisks
An asterisk shows the part of the pattern you need to repeat.
For example:
Row 2: sc in next 2 sts, *dc in next st, sc in next st; rep from * across (18)
In this row, everything after the asterisk is the part you repeat. So after you single crochet in the next 2 stitches, you keep repeating dc in next st, sc in next st across the row.
This is a very common way patterns show repeats.
Numbers at the end
Numbers at the end of a row or round usually show your total stitch count. This helps you check your work as you go.
For example, if a row ends with (18), you should have 18 stitches when you finish that row. If your count is off, go back and check for a missed stitch, an extra stitch, or a skipped repeat.
If you are still learning how stitch counts work, my guide on how to count crochet stitches can help you count rows, rounds, chains, and chain spaces with more confidence.
How to read rows, rounds, and repeats
When you are learning how to follow a crochet pattern, it helps to know whether the pattern is worked in rows or rounds. A row means you work across and then turn your work. A round means you keep working in a circle.
Repeats also get much easier to follow when you slow down and read one instruction at a time instead of the whole line at once.
A few simple things can help:
- count after each row or round
- use a stitch marker
- highlight or mark your place as you go
When you know whether the pattern is worked in rows or rounds, it becomes much easier to follow the instructions and keep your place.
How to read a crochet chart
A crochet chart uses symbols instead of full written instructions. If you are a visual learner, this can make a pattern easier to follow.
The first thing to look for is the chart key or legend. That tells you what each symbol means. Even though many symbols are standard, it is still important to check the key first for any special symbols or extra notes.
Then look for where the chart starts. Most charts will show you the starting point and the direction to follow. From there, work through one symbol at a time.
Charts are often used for lace, motifs, and other designs where it helps to see the stitches laid out visually. If a chart feels confusing at first, start with the key, find the starting point, and follow the path step by step.
How to read one line of a crochet pattern
If you are learning how to read a crochet pattern, sometimes the easiest thing to do is slow down and translate one line into plain English.
Here is a simple example:
Row 3: ch 1, sc in first 2 sts, 2 sc in next st, *sc in next 3 sts, 2 sc in next st; rep from * across (30)
Here is what that means:
- ch 1 = make 1 chain
- sc in first 2 sts = make 1 single crochet in each of the next 2 stitches
- 2 sc in next st = put 2 single crochets in the next stitch
- *sc in next 3 sts, 2 sc in next st = this is the part you repeat
- rep from * across = keep repeating that section until you reach the end of the row
- (30) = you should have 30 stitches at the end of the row
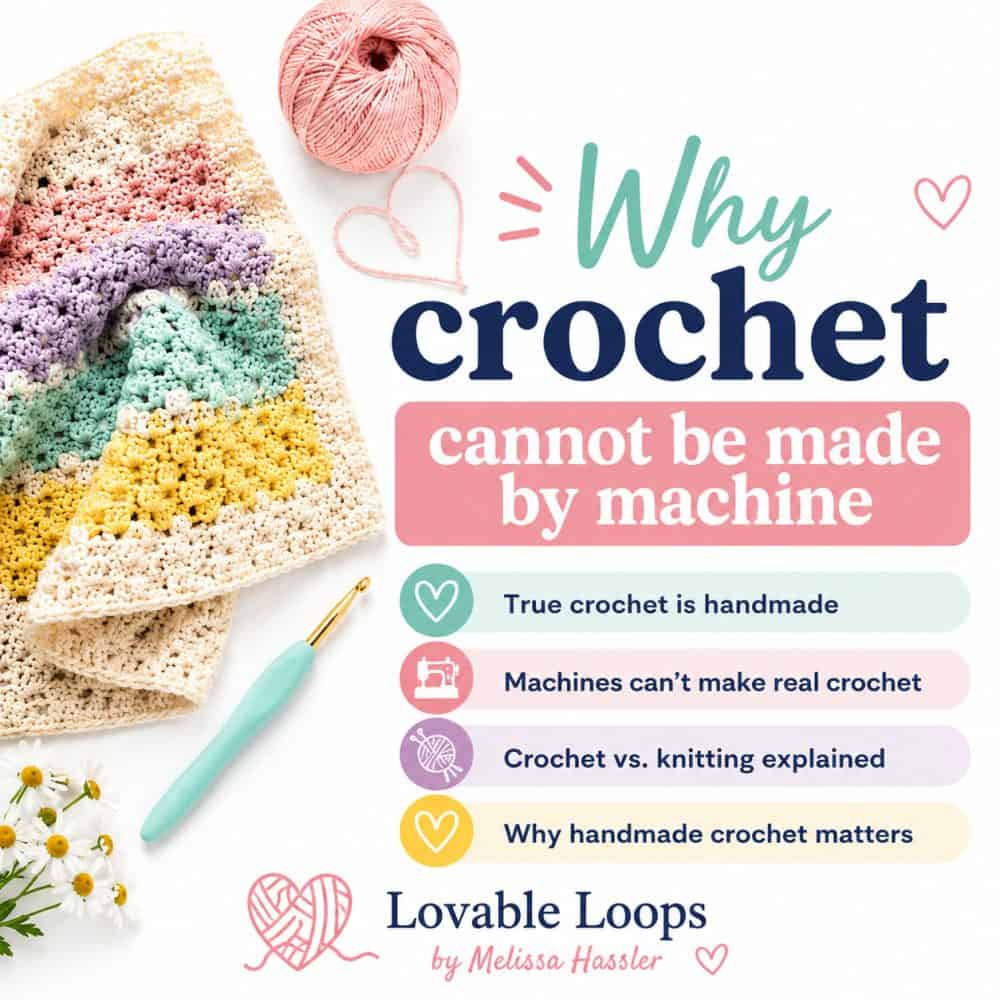
Crochet is a hands-on craft, and understanding how stitches are made can also help explain why crochet cannot be made by machine.
What to do when a pattern does not make sense
If a pattern does not make sense, I recommend trying a few simple things:
- go back to the top and read the notes again
- check the abbreviations
- make sure you did not miss anything before the instructions
- focus on just one line at a time
- rewrite one row in plain English
- check if the pattern has a photo or video tutorial
- check whether the pattern uses US or UK terms
- ask yourself whether the whole pattern is confusing or if it is really just one line
If a pattern still feels confusing, do not assume you are doing something wrong. Sometimes the instructions are just hard to follow.
Beginner tips that make patterns easier to follow
If you are new to reading patterns, a few small habits can make a big difference. Here are some simple tips that can help:
- keep a crochet cheat sheet nearby for quick reference
- use stitch markers to help keep your place
- highlight your size if the pattern includes more than one
- cross off each completed row or round
- print the pattern if that makes it easier to follow
- count often so you catch mistakes early
- read through the whole pattern before you start
It can also help to keep a crochet stitch key and any crochet abbreviations for beginners close by while you work. The more familiar those terms become, the easier patterns are to follow.
If you’re new to crochet, you may also enjoy learning about the health benefits of crochet and why this calming hobby can be so rewarding.
Frequently asked questions about reading crochet patterns
Here are a few common questions beginners have when learning how to read a crochet pattern.
How do I know if a crochet pattern is beginner friendly?
Look for a clear skill level, simple stitches, helpful notes, and easy-to-follow instructions. A beginner-friendly pattern should tell you what you need to know before you start.
What do the brackets mean in a crochet pattern?
Brackets usually group stitches together. That group may be worked in the same stitch or repeated a certain number of times.
What do parentheses mean in crochet?
Parentheses are often used for stitch counts, grouped stitches, or different sizes. The meaning depends on how they are used in the pattern.
How do I know if a pattern uses US or UK crochet terms?
Check the pattern notes or the original source before you start. Most designers will tell you which terms they use.
What does “repeat from *” mean in crochet?
It means go back to the asterisk (*) and repeat that part of the instructions again.
Are crochet charts easier than written patterns?
For some people, yes. If you are a visual learner, a chart may be easier to follow because it shows the stitches instead of writing everything out.
Can I learn to read crochet patterns as a beginner?
Yes. Start with simple patterns, learn the most common abbreviations, and take it one line at a time. It gets easier with practice.
Learn crochet basics
Ready to build your crochet skills? These beginner-friendly guides cover helpful crochet tutorials, sizing tips, and answers to common crochet questions, from learning basic stitches to reading patterns, choosing the right hat size, and understanding why crochet is so special. Use this section whenever you want a quick lesson, a refresher, or a little crochet confidence boost.


Here are some of my favorite beginner-friendly patterns for you to try next:
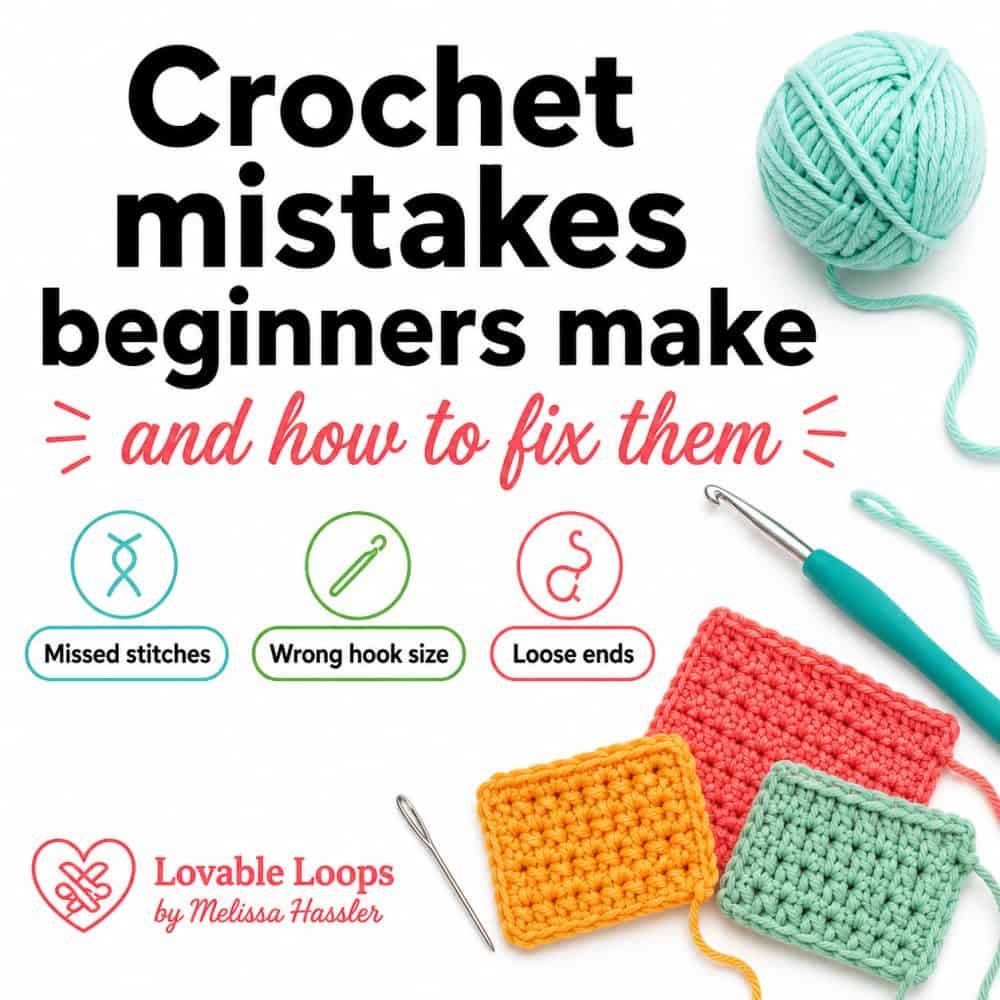
Before you start your next project, it can also help to review these common crochet mistakes beginners make so you know what to watch for as you follow the pattern.
Let’s connect!
I’d love to see what you’re making! Share your finished project and follow along for more free crochet patterns and tutorials.
📌 Don’t forget to pin this pattern for later!
Happy crocheting! 🧶
— Melissa