
Crochet Christmas tree hat pattern
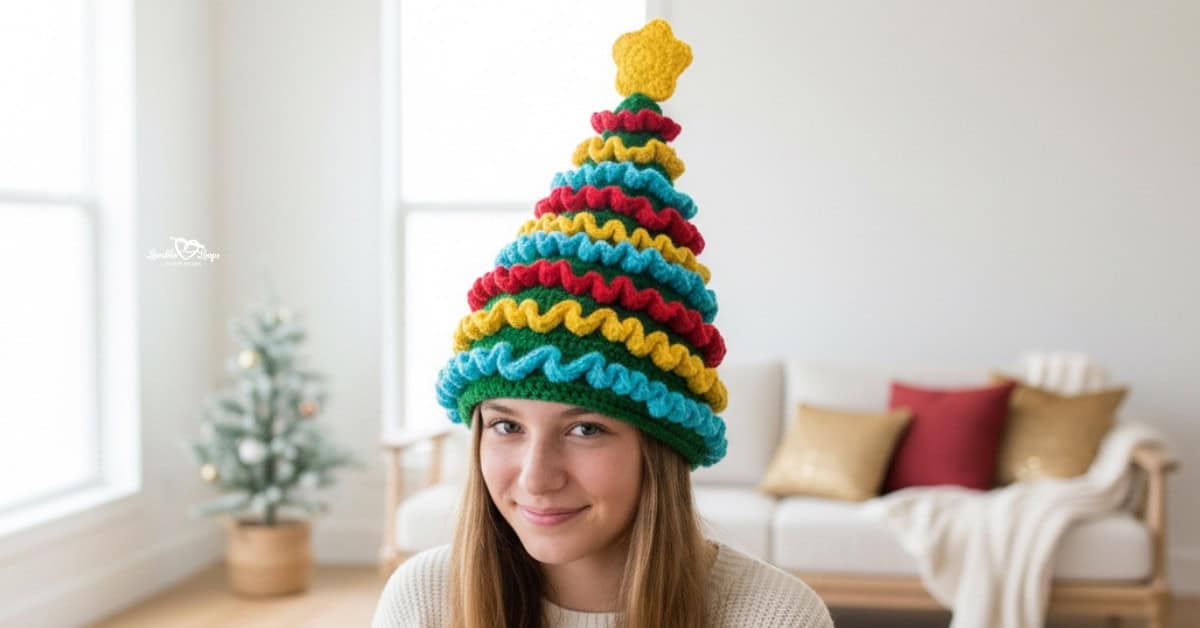
I’m so excited to share my crochet Christmas tree hat pattern with you! This festive hat features rounds of garland and a star on top, making it perfect for spreading holiday cheer.
One size fits most teens and adults, so it’s great for family gatherings or holiday parties. Get ready to deck the halls and your head with this fun and easy project! The free crochet pattern is below.
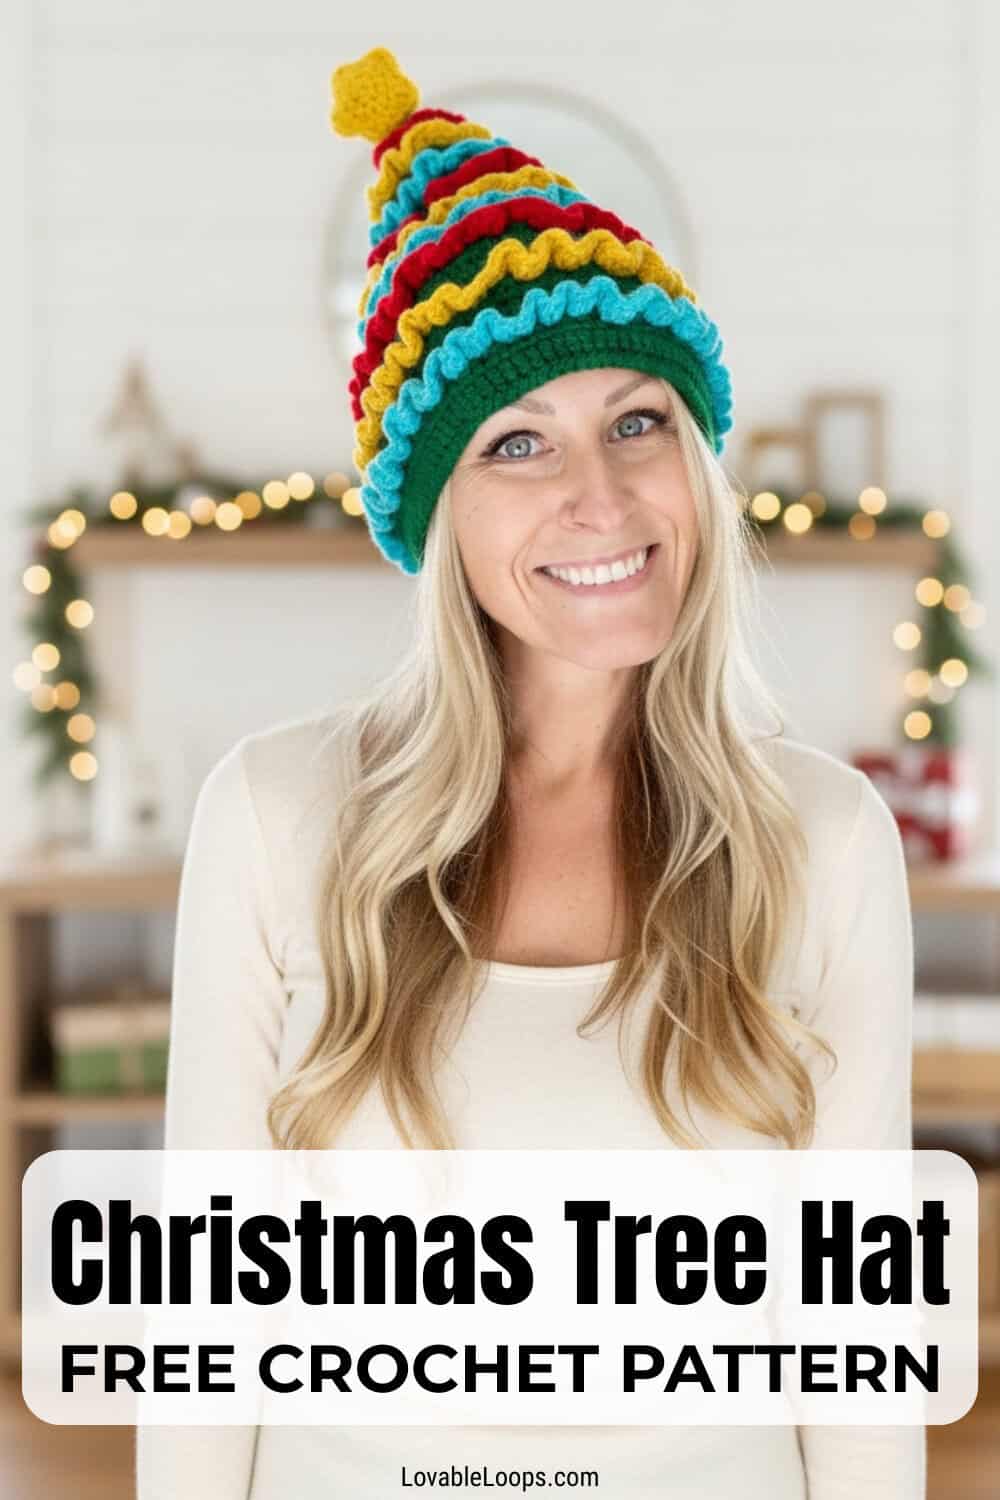
Free Crochet Christmas Tree Hat Pattern
This easy Christmas tree hat pattern is perfect for beginners. It’s a great project for practicing your crochet skills.
Crochet Project Materials Needed
- Crochet Hook Sizes:
H-8 5 mm crochet hook (hat)
G-6 4 mm crochet hook (garland & star topper) - Yarn: worsted weight yarn in green, red, blue, and gold.
- Yarn needle: Use this to weave in your ends.
- Scissors: Use scissors to fasten off your yarn.
- Stitch markers: Use these to help keep track of your stitches.
- Tape measure: Use a measuring tape to find your head circumference.
- Fiber fill: To fill the star topper.
Printable PDF Version
View this crochet pattern in my Etsy Shop: crochet Christmas tree hat pattern
Crochet Christmas Tree Hat Pattern Information
Skill Level
Beginner. This crochet hat pattern uses basic stitches in basic form and in simple repeats in rounds.
Finished Size
One size fits most teens and adults.
Gauge
18 stitches & 9 rows = 4 inches
Crochet Terms
- dc = double crochet stitches
- sc = single crochet stitches
- hdc = half double crochet stitches
- blo = back loop only
- ch/chs = chain/chains
- st/sts = stitch/stitches
- sl st = slip stitch
- rnd/rnds = round/rounds
- ch sp = chain space
- rem = remaining
Crochet Pattern Notes
- This crochet hat is worked in the round from the top down.
- The beginning of each round starts with a chain which does not count as your first st.
- After each round, join your yarn to the first stitch with a slip stitch.
- Repeat instructions between the asterisks (*) for the rest of the round.
- You are crocheting the hat in the back loops only (blo).
- The garland is added after you finish making the hat.
- You can make a small pom pom instead of the star topper.
- You could also attach small jingle bells for an even more adorable crochet hat.
Magic Circle Alternative
If you find the magic circle tricky, try this easier method for round 1: Chain 4, make 8 dc in the 4th ch from the hook, join (8 stitches)
Crochet Christmas Tree Hat Pattern Instructions
Rnd 1: Magic circle, 8 dc, join. (8 stitches)
Make the stitches in the back loops only (blo) for rounds 2-29.
Rnd 2: Ch 2, 2 dc blo in each st, join. (16 stitches)
Rnd 3: Ch 2, dc blo in each st, join. (16 stitches)
Rnd 4: Ch 2, *2 dc blo, dc blo in next st, repeat from * around, join. (24 stitches)
Rnd 5: Ch 2, dc blo in each st, join. (24 stitches)
Rnd 6: Ch 2, *2 dc blo, dc blo in next 2 sts, repeat from * around, join. (32 stitches)
Rnd 7: Ch 2, dc blo in each st, join. (32 stitches)
Rnd 8: Ch 2, *2 dc blo, dc blo in next 3 sts, repeat from * around, join. (40 stitches)
Rnd 9: Ch 2, dc blo in each st, join. (40 stitches)
Rnd 10: Ch 2, *2 dc blo, dc blo in next 4 sts, repeat from * around, join. (48 stitches)
Rnd 11: Ch 2, dc blo in each st, join. (48 stitches)
Rnd 12: Ch 2, *2 dc blo, dc blo in next 5 sts, repeat from * around, join. (56 stitches)
Rnd 13: Ch 2, dc blo in each st, join. (56 stitches)
Rnd 14: Ch 2, *2 dc blo, dc blo in next 6 sts, repeat from * around, join. (64 stitches)
Rnd 15: Ch 2, dc blo in each st, join. (64 stitches)
Rnd 16: Ch 2, *2 dc blo, dc blo in next 7 sts, repeat from * around, join. (72 stitches)
Rnd 17: Ch 2, dc blo in each st, join. (72 stitches)
Rnd 18: Ch 2, *2 dc blo, dc blo in next 8 sts, repeat from * around, join. (80 stitches)
Rnd 19: Ch 2, dc blo in each st, join. (80 stitches)
Rnd 20: Ch 2, *2 dc blo, dc blo in next 9 sts, repeat from * around, join. (88 stitches)
Rnd 21: Ch 2, dc blo in each st, join. (88 stitches)
Rnd 22: Ch 2, *2 dc blo, dc blo in next 10 sts, repeat from * around, join. (96 stitches)
Rnds 23-29: Ch 2, dc blo in each st, join. (96 stitches)
Rnd 30: Ch 1, sc in each st, join. (96 stitches)
Add Garland to the Crochet Christmas Tree Hat Pattern
I added garland to every third row on my hat.
Step 1: Decide which round you want to add garland to and join your yarn to the first unworked front loop.
Step 2: Ch 2 and make 3 dc in each front loop around.
Step 3: At the end of the round, join your yarn to the first st, fasten off and weave in your ends.
Step 4: Repeat steps 1-3 for each round of garland.
Star Topper for the Crochet Christmas Tree Hat Pattern
Make 2 (front & back)
Rnd 1: Magic circle, 10 hdc, join. (10 stitches)
Rnd 2: Ch 2, 2 hdc in each st, join. (20 stitches)
Rnd 3: Ch 1, *sc, in next st work (hdc, dc), in next st work (tc, ch 1, tc), in next st work (dc, hdc), repeat from * around. Join and fasten off.
Sew the two stars together with the right sides facing out. Lightly stuff with fiber fill as you sew. Attach the star to the top of the hat.
Finishing the Crochet Christmas Tree Hat
Weave in your ends.

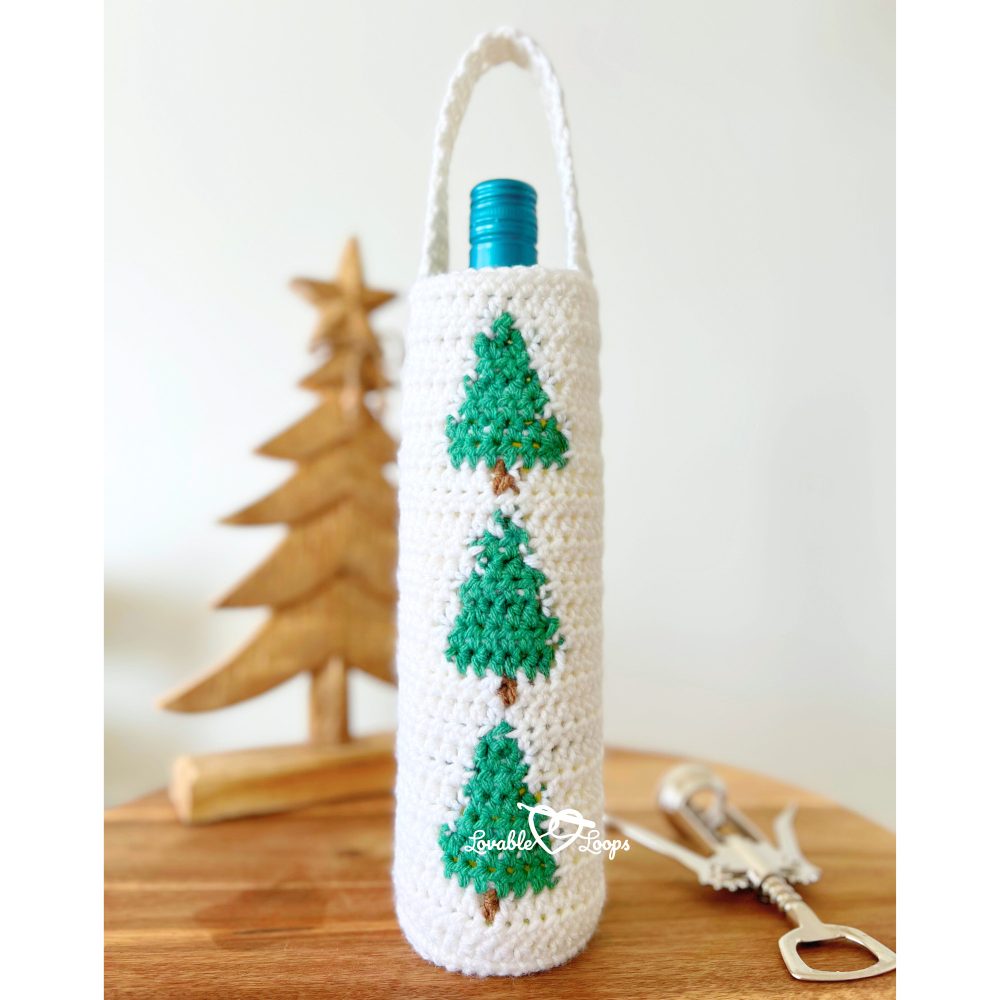
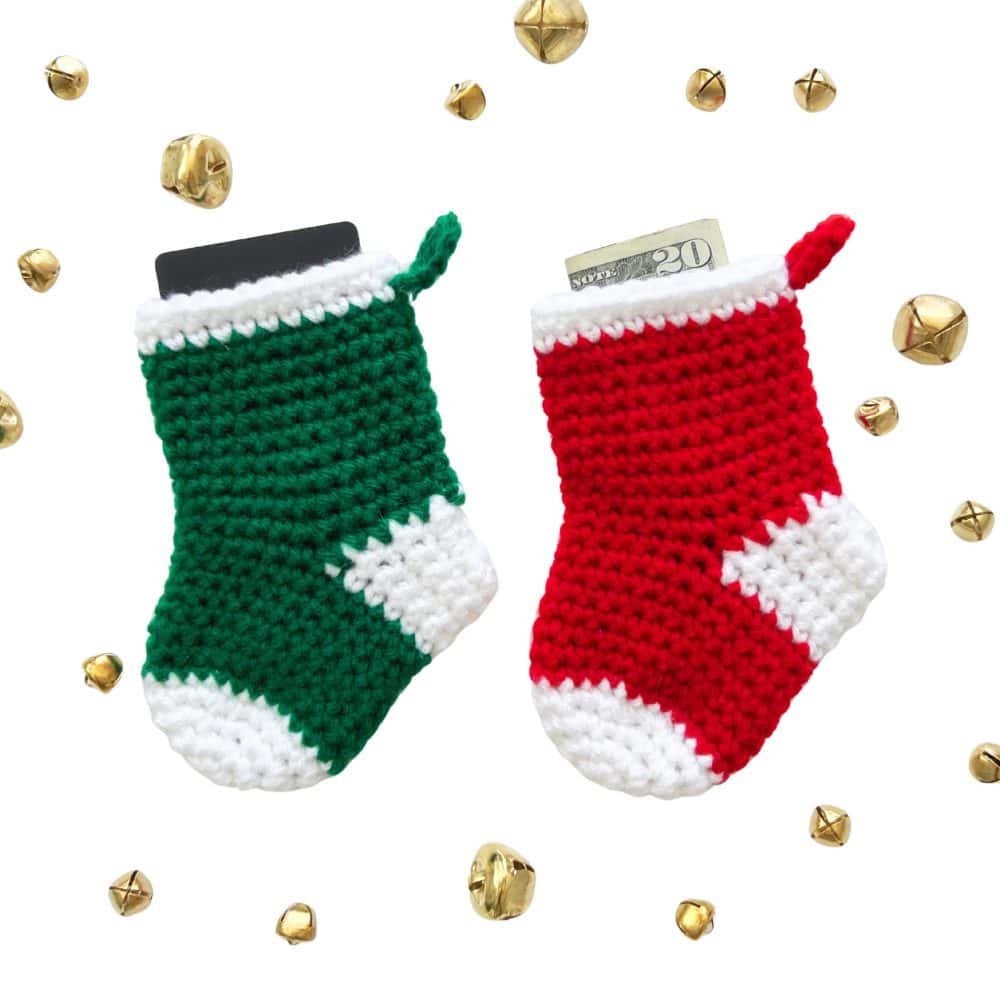
Free Christmas crochet patterns
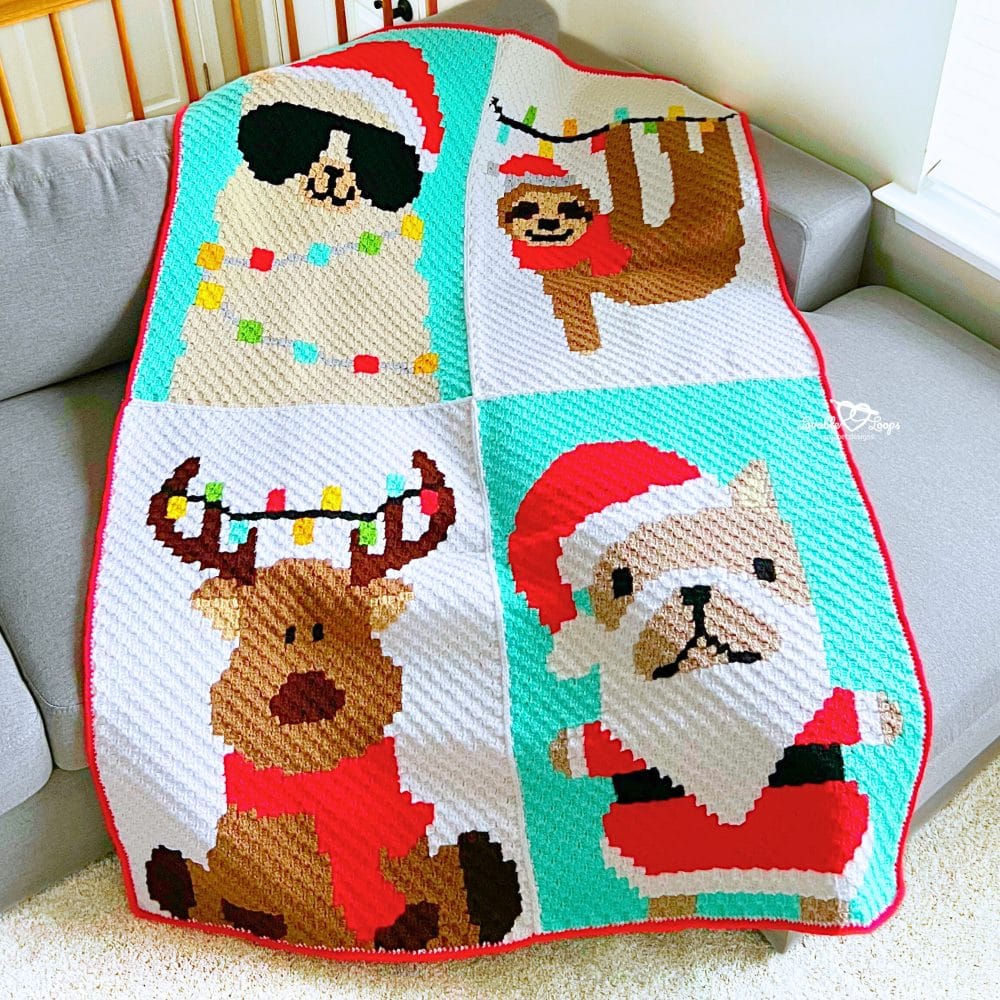
Looking for more free Christmas crochet patterns? 🎅 These festive designs are perfect for holiday decorating, handmade gifts, and winter craft fairs. Start your Christmas crochet projects early and enjoy a handmade holiday season!


Free Fall crochet patterns
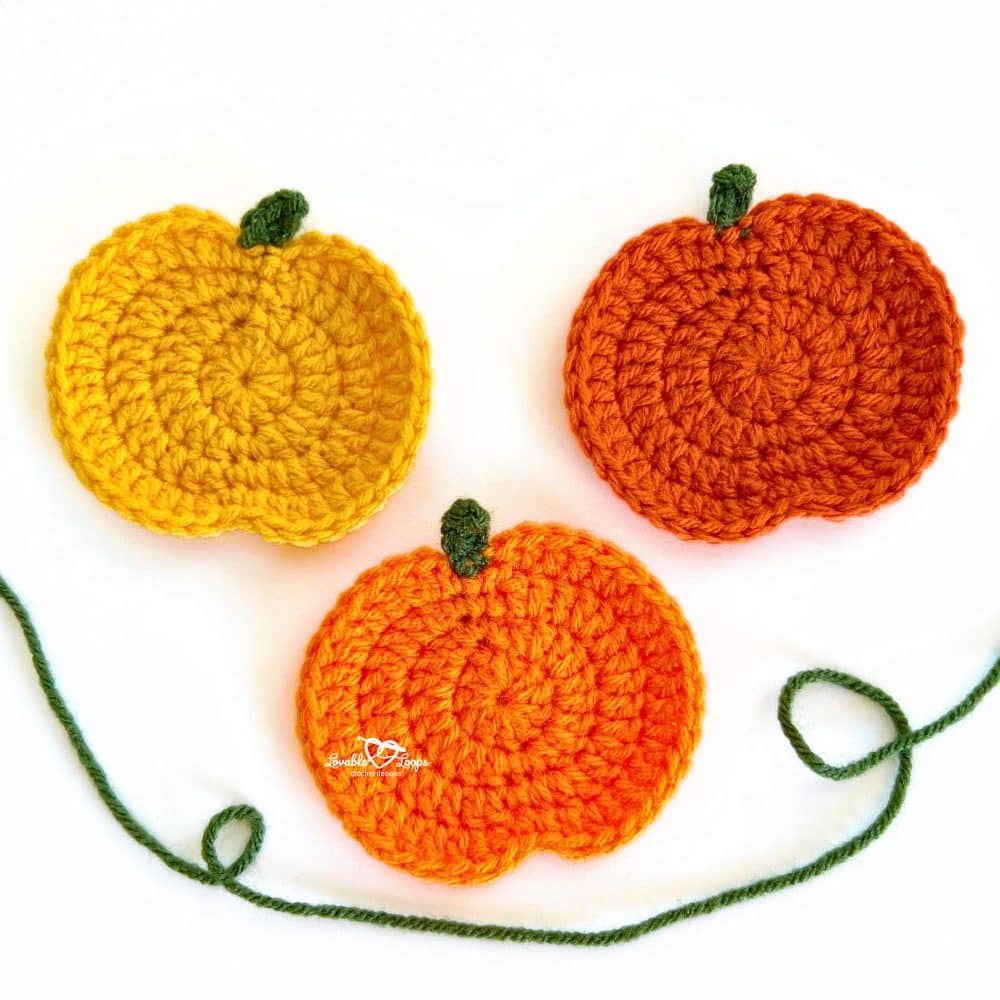
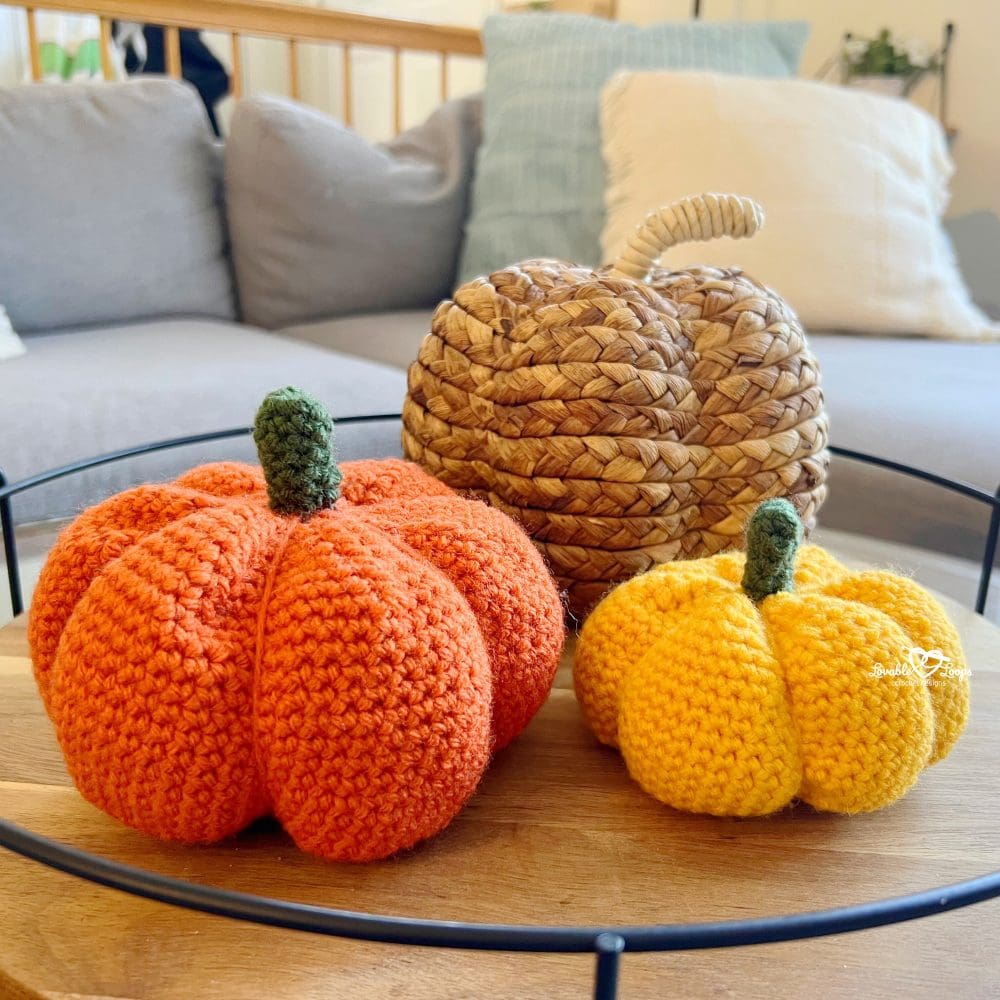
Looking for free fall crochet patterns? 🍁 These cozy and creative designs are perfect for autumn decorating, handmade gifts, and craft fairs. Start your fall crochet projects now and add a touch of handmade warmth to the season.


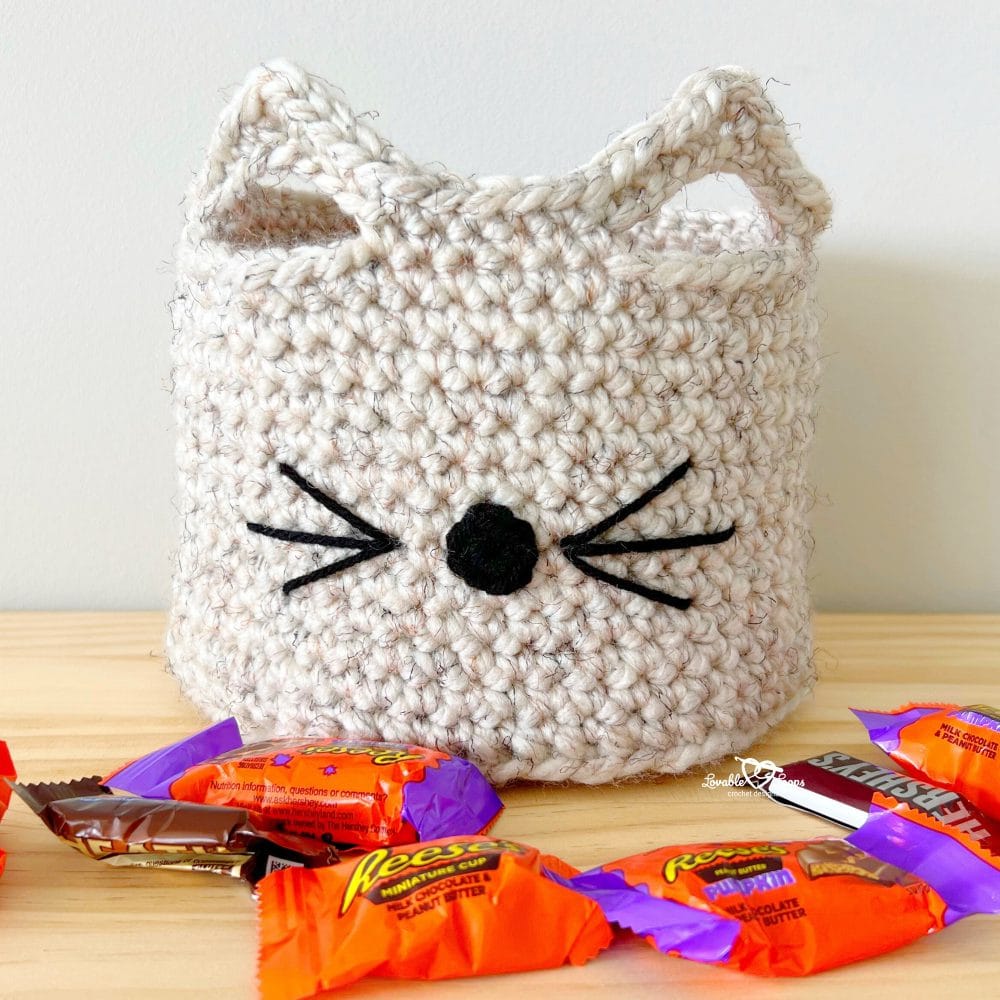
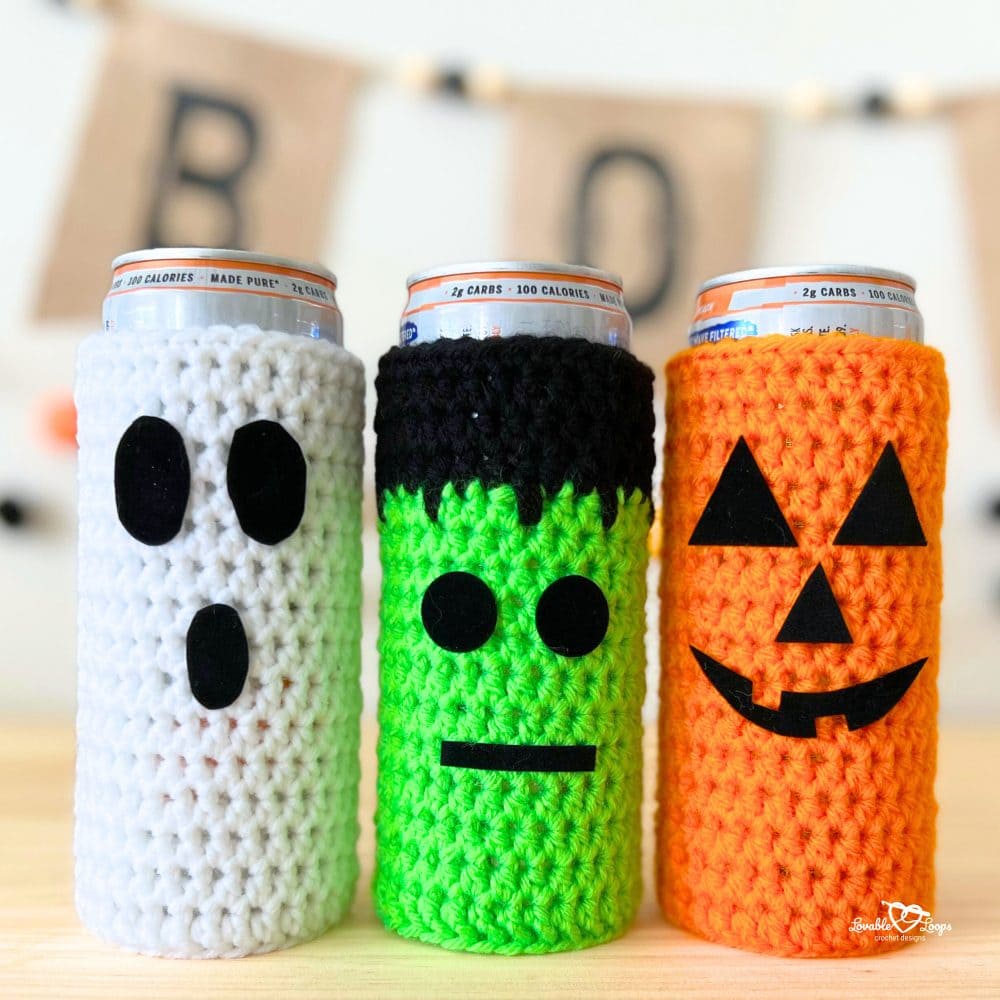
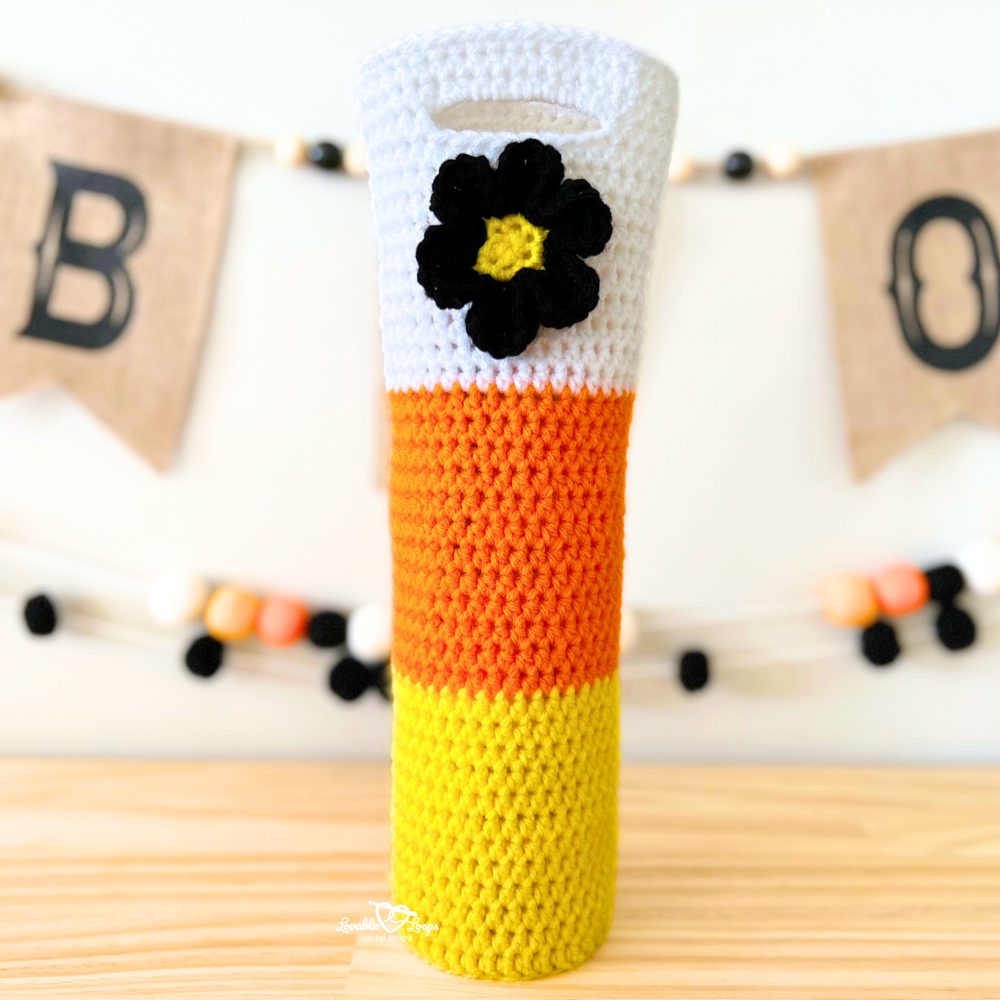
Free Halloween crochet patterns
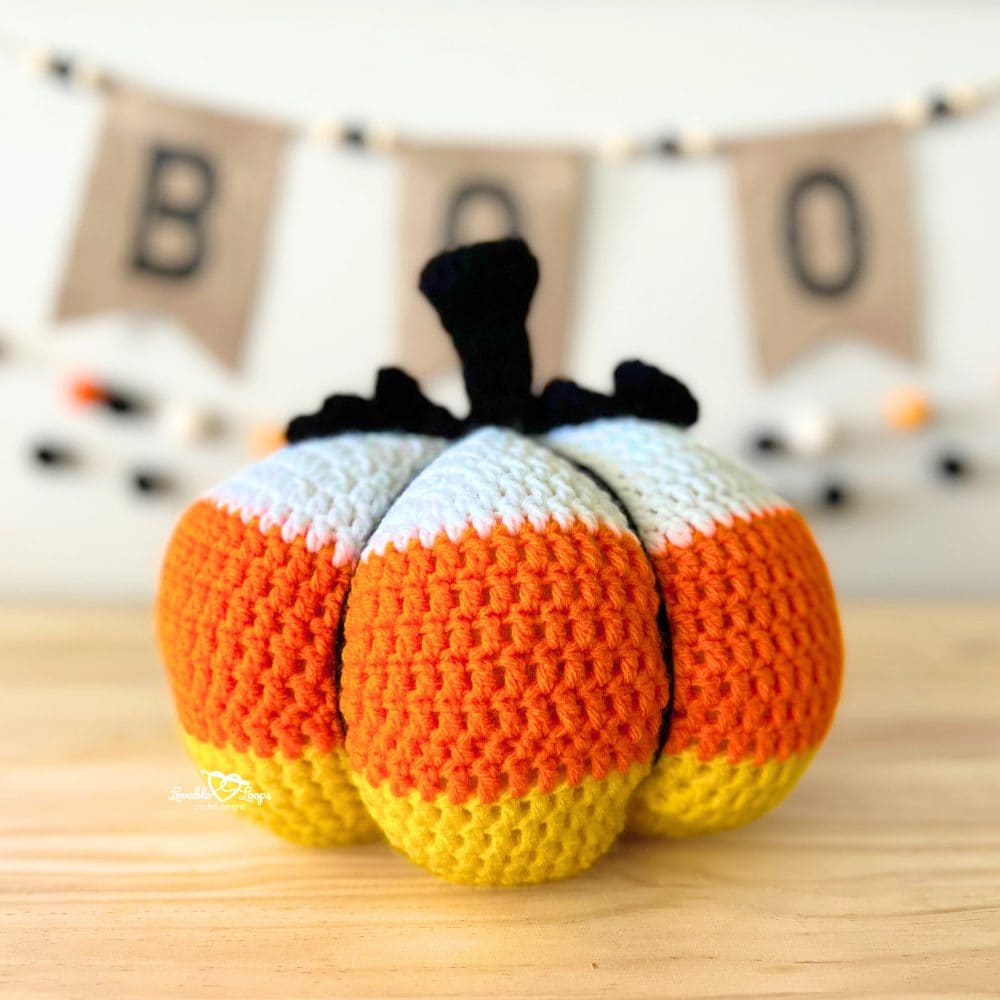
Looking for free Halloween crochet patterns? 🕸️ These spooky and fun designs are great for fall decorating, handmade gifts, or craft fair makes. Start your Halloween crochet projects early and get ready for a festive spooky season!


Let’s connect!
I’d love to see what you’re making! Share your makes and follow along here:
📸 Instagram
📌 Pinterest
📘 Facebook
▶️ YouTube
🛍️ Etsy Shop
🧶 Ravelry
Happy crocheting! 🧶 Don’t forget to Pin this pattern so you can come back to it later!
— Melissa