C2C crochet watermelon pattern
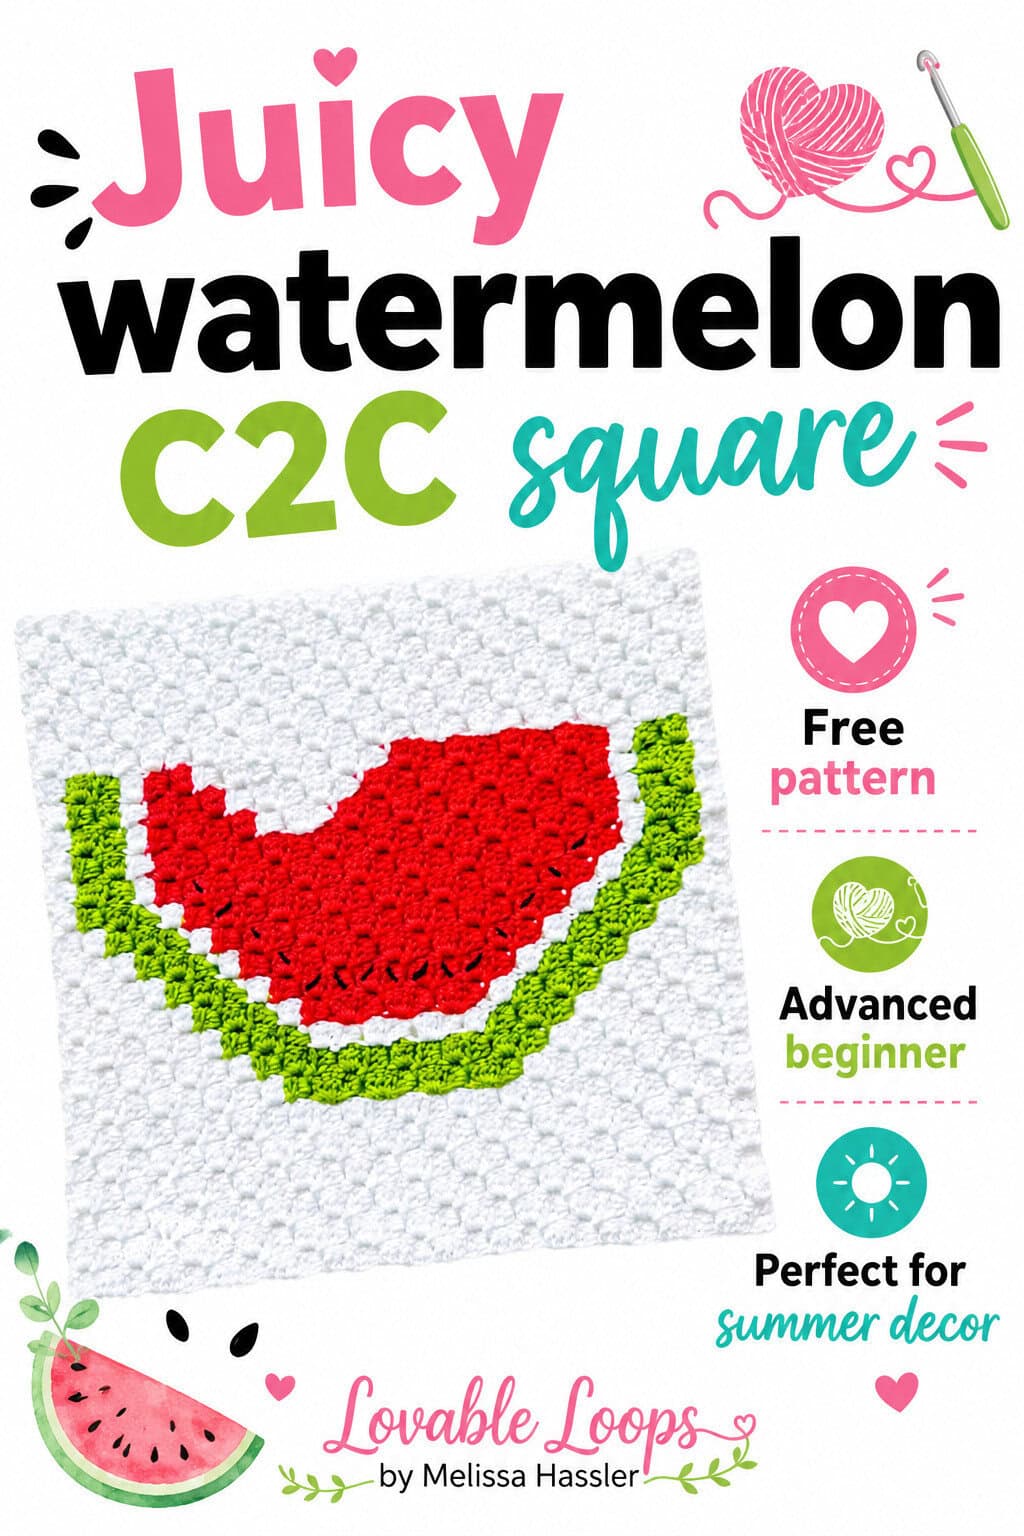
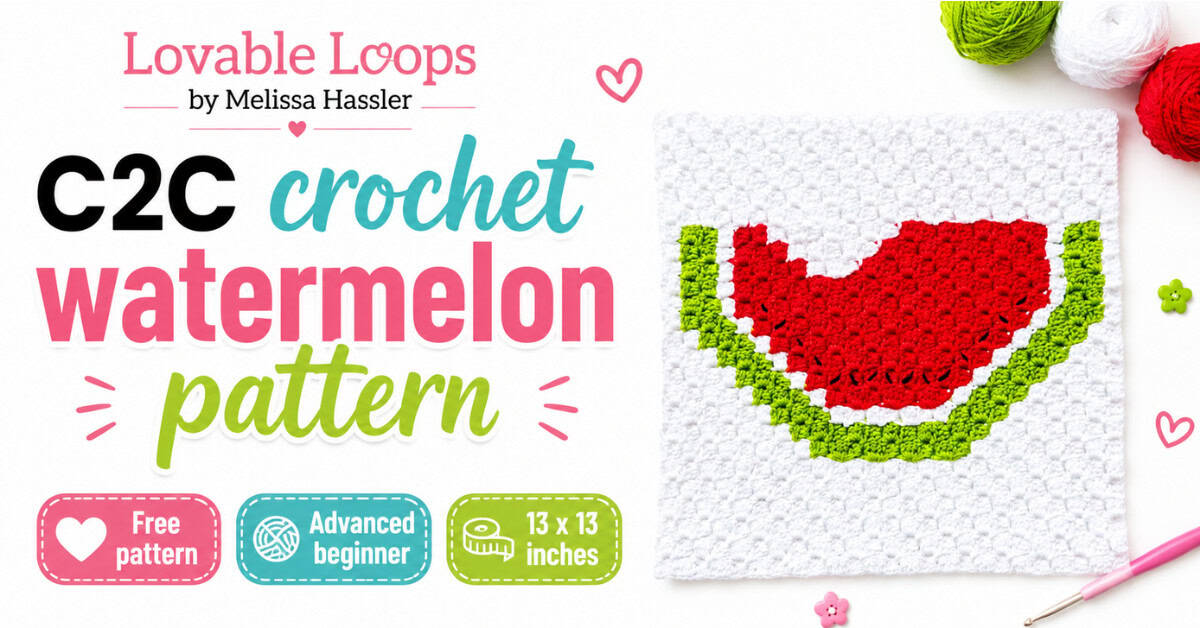
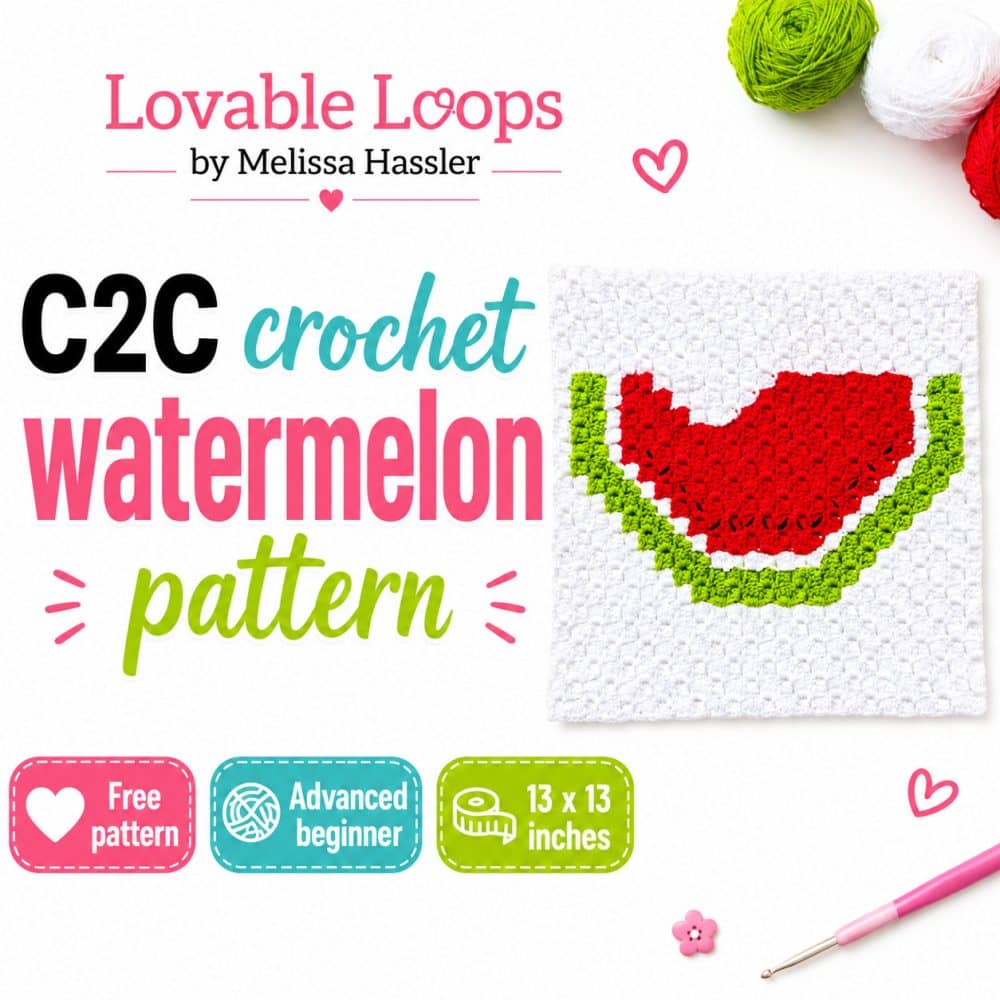
Add a splash of summer to your crochet projects with my C2C Watermelon Slice Crochet Square Pattern! This vibrant design captures the juicy, refreshing look of a watermelon slice, making it perfect for bringing a bit of sunshine to your creations.
C2C crochet watermelon pattern details
Here’s a quick overview of the materials, sizing, gauge, and pattern notes before you begin.
Skill level
Advanced beginners. This crochet square is made using the corner to corner C2C crochet method. It involves color changes.
Materials needed
- Crochet Hook Size: G-6 4 mm
- Yarn: Worsted weight yarn in white, red, green, and scraps of black. I used Lion Brand Yarns 24/7 Cotton in white, red, grass, and black. My square weighs 127 grams/4.5 ounces.
- Yarn needle: Use this to weave in your ends.
- Scissors: Use scissors to fasten off your yarn.
- Stitch marker(s): Optional. Use these to help keep track of your stitches.
Finished size
My watermelon square measures just over 13 inches by 13 inches.
Gauge
8 squares (ch 3 + 3 dc) = 4 inches (10 cm)
Crochet abbreviations
- dc = double crochet
- sc = single crochet
- ch/chs = chain/chains
- st/sts = stitch/stitches
- sl st = slip stitch
C2C crochet technique
- The pattern is made using the C2C technique of making “squares” in diagonal rows starting in the bottom right corner and ending in the top left corner.
- Each square is made of a chain 3 + 3 double crochet.
- Chain 6 to start a new row and chain 3 to start a new square.
- You can follow the picture graph or the written pattern.
- The written pattern tells you how many squares to make of each color and in what order.
Pattern notes
- The pattern is written in US terms.
- ↙ You are working on the “right side”.
- ↗ You are working on the “wrong side”.
Free C2C crochet watermelon pattern instructions
Download the watermelon graph.
↙ Row 1: white x 1 (1 square)
↗ Row 2: white x 2 (2 squares)
↙ Row 3: white x 3 (3 squares)
↗ Row 4: white x 4 (4 squares)
↙ Row 5: white x 5 (5 squares)
↗ Row 6: white x 6 (6 squares)
↙ Row 7: white x 7 (7 squares)
↗ Row 8: white x 8 (8 squares)
↙ Row 9: white x 9 (9 squares)
↗ Row 10: white x 10 (10 squares)
↙ Row 11: white x 11 (11 squares)
↗ Row 12: white x 12 (12 squares)
↙ Row 13: white x 13 (13 squares)
↗ Row 14: white x 14 (14 squares)
↙ Row 15: white x 1, green x 8, white x 6 (15 squares)
↗ Row 16: white x 6, green x 9, white x 1 (16 squares)
↙ Row 17: white x 1, green x 10, white x 6 (17 squares)
↗ Row 18: white x 6, green x 2, white x 7, green x 2, white x 1 (18 squares)
↙ Row 19: white x 1, green x 2, white x 1, red x 6, white x 1, green x 2, white x 6 (19 squares)
↗ Row 20: white x 6, green x 2, white x 1, red x 7, white x 1, green x 2, white x 1 (20 squares)
↙ Row 21: white x 2, green x 1, white x 1, red x 8, white x 1, green x 2, white x 6 (21 squares)
↗ Row 22: white x 6, green x 2, white x 1, red x 9, white x 4 (22 squares)
↙ Row 23: white x 4, red x 10, white x 1, green x 2, white x 6 (23 squares)
↗ Row 24: white x 7, green x 1, white x 1, red x 10, white x 5 (24 squares)
↙ Row 25: white x 6, red x 10, green x 2, white x 7 (25 squares)
Corner: Start decreasing on both ends
↗ Row 26: white x 7, green x 1, white x 1, red x 9, white x 6 (24 squares)
↙ Row 27: white x 6, red x 9, green x 2, white x 6 (23 squares)
↗ Row 28: white x 6, green x 1, white x 1, red x 8, white x 6 (22 squares)
↙ Row 29: white x 6, red x 8, green x 2, white x 5 (21 squares)
↗ Row 30: white x 5, green x 1, white x 1, red x 7, white x 6 (20 squares)
↙ Row 31: white x 9, red x 4, green x 2, white x 4 (19 squares)
↗ Row 32: white x 4, green x 1, white x 1, red x 3, white x 9 (18 squares)
↙ Row 33: white x 9, red x 3, green x 2, white x 3 (17 squares)
↗ Row 34: white x 3, green x 1, white x 1, red x 3, white x 8 (16 squares)
↙ Row 35: white x 8, red x 3, green x 2, white x 2 (15 squares)
↗ Row 36: white x 2, green x 1, white x 1, red x 3, white x 7 (14 squares)
↙ Row 37: white x 7, red x 2, white x 1, green x 2, white x 1 (13 squares)
↗ Row 38: white x 1, green x 2, white x 1, red x 2, white x 6 (12 squares)
↙ Row 39: white x 6, red x 1, white x 1, green x 2, white x 1 (11 squares)
↗ Row 40: white x 1, green x 2, white x 7 (10 squares)
↙ Row 41: white x 6, green x 2, white x 1 (9 squares)
↗ Row 42: white x 1, green x 1, white x 6 (8 squares)
↙ Row 43: white x 7 (7 squares)
↗ Row 44: white x 6 (6 squares)
↙ Row 45: white x 5 (5 squares)
↗ Row 46: white x 4 (4 squares)
↙ Row 47: white x 3 (3 squares)
↗ Row 48: white x 2 (2 squares)
↙ Row 49: white x 1 (1 square)
Adding a border
Make 2 sc in each square along the sides and in each corner square make (2 sc, ch 2, 2 sc).
Addind the seeds
Use black yarn and a tapestry needle to stitch seeds onto the watermelon.
Finishing
Fasten off and then weave in all of your ends. Block if desired.

C2C video tutorial
Need C2C help? I have a step by step C2C tutorial for my mini heart square on my YouTube channel.

Printable version
View this crochet pattern in my Etsy Shop: crochet watermelon pattern
More free C2C crochet patterns
You can use this mini panel on its own or combine it with other designs from my collection of free C2C crochet patterns. For help with abbreviations, notes, and repeat symbols, check out my beginner guide on how to read a crochet pattern.
Let’s connect!
I’d love to see what you’re making! Share your finished project and follow along for more free crochet patterns and tutorials.
📌 Don’t forget to pin this pattern for later!
Happy crocheting! 🧶
— Melissa