
Crochet bee pattern for beginners
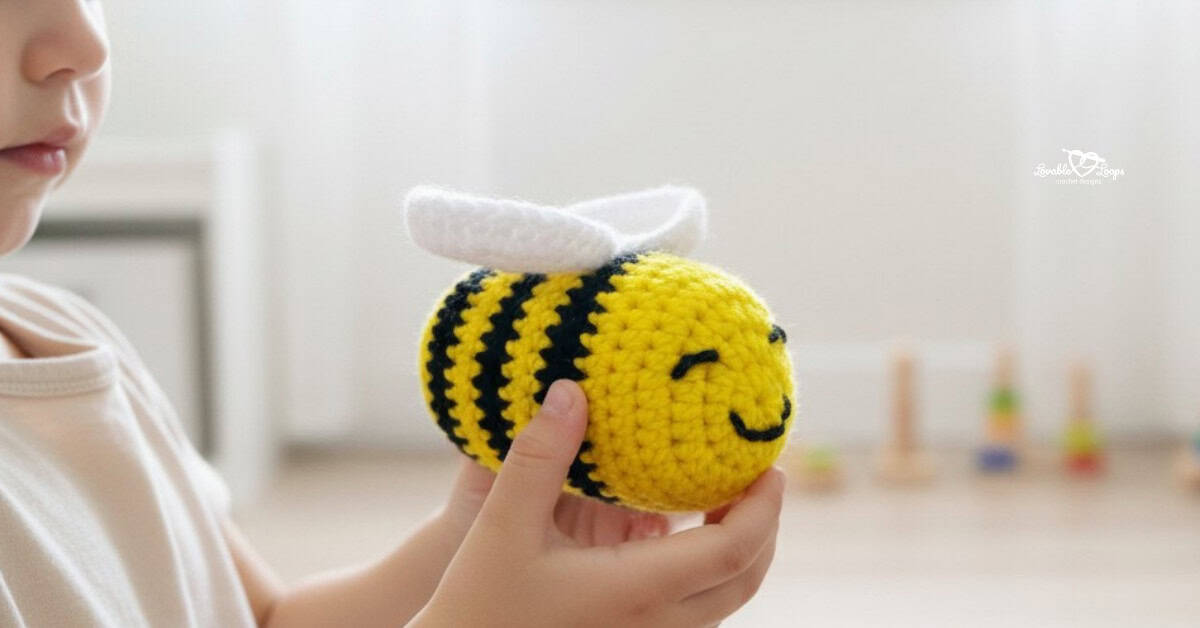
I’m thrilled to introduce my adorable crochet bee pattern! This amigurumi project is perfect for beginners and is a fun way to practice your crochet skills. The pattern is easy to follow and results in the cutest little bee you can imagine.
Whether you’re making it for yourself or as a gift, this sweet bee is sure to bring joy to anyone who sees it. Let’s get buzzing and crochet this delightful bee together! The free crochet pattern is below.

Free Crochet Bee Pattern
This free and easy pattern is a great way to dive into the world of amigurumi and craft your very own cute little bee. With its tiny size and fun bumblebee design, this little guy is one sweet bee!
Materials Needed
- Crochet Hook Size: G-6 (4 mm)
- Yarn: Worsted weight yarn #4 in black, yellow, and white.
- Tapestry needle: You will use this to weave in your ends.
- Scissors: You will need scissors to fasten off your yarn.
- Stitch marker(s): These help to keep track of stitches.
- Fiber Fill: You will need a small amount of toy stuffing to fill your bee.
PDF Version
View this pattern in my Etsy Shop: Crochet Bee Pattern
Crochet Bee Pattern
Skill Level
Advanced Beginner. This small crochet bee pattern uses basic crochet stitches.
Finished Measurements
My finished bee measures 5 inches long.
Gauge
5 stitches = 1 inch and 4 rounds = 1 inch
Crochet Terms
- dc = double crochet
- sc = single crochet stitch
- hdc = half double crochet stitch
- hdc2tog = hdc decrease
- st/sts = stitch/stitches
- sl st = slip stitch
- ch/chs = chain/chains
- rnd/rnds = round/rounds
Pattern Notes
- Repeat instructions between the asterisks (*) for the rest of the round.
- Join each round with a slip stitch to the first stitch made in that round.
- Color changes are made when you join in the round.
- This pattern is written in US terms.
Crochet Bee Pattern Instructions
Bee Face Pattern
Begin with yellow yarn.
Round 1: Magic circle, ch 2, 9 hdc, join (9 stitches)
Round 2: Ch 2, 2 hdc in each st, join (18 stitches)
Round 3: Ch 2, *2 hdc, dc in next st*, join (27 stitches)
Round 4: Ch 2, *2 hdc, dc in next 2 sts*, join (36 stitches)
Rounds 5 & 6: Ch 2, hdc in each st, join with black yarn (36 stitches)
Use a tapestry needle and black yarn to add the facial features. You can also safety eyes. Weave in your beginning yarn tail.
Bee Body Pattern
Rounds 7 & 8: Ch 2, hdc in each st, join with yellow yarn (36 stitches)
Rounds 9 & 10: Ch 2, hdc in each st, join with black yarn (36 stitches)
Rounds 11 & 12: Ch 2, hdc in each st, join with yellow yarn (36 stitches)
Rounds 13 & 14: Ch 2, hdc in each st, join with black yarn (36 stitches)
Rounds 15 & 16: Ch 2, hdc in each st, join with yellow yarn (36 stitches)
Round 17: Ch 2, hdc in each st, join (36 stitches)
Begin stuffing your Bee with fiber fill.
Round 18: Ch 2, *hdc2tog, dc in next st*, join (24 stitches)
Round 19: Ch 2, *hdc2tog*, join (12 stitches)
Round 20: Ch 2, *hdc2tog*, join with black yarn (6 stitches)
Bee Stinger Pattern
Round 21: Ch 1, sc in each st, join (6 stitches)
Round 22: Ch 1, sc in each st, join (6 stitches)
Use a tapestry needle to sew the tip of the stinger shut, fasten off and then weave in your ends.
Bee Wings Pattern
Make 2.
Use white yarn.
Round 1: Magic circle, ch 2, 9 dc, join (9 stitches)
Round 2: Ch 2, 2 dc in each st, join (18 stitches)
Round 3: Ch 2, *2 dc, dc in next st*, join (27 stitches)
Finishing your Crochet Bee Pattern
Use a tapestry needle to sew the wings onto the back of your Bee.

More small crochet decor patterns
Looking for more quick handmade accents for your home? Browse my favorite small crochet decor patterns, including cute seasonal pieces, mini projects, appliques, garlands, and small decorations that add charm without taking a lot of time.
You can also visit my full collection of home decor crochet patterns for even more handmade ideas to decorate every season.
More crochet baby accessories and decor patterns
Looking for more sweet handmade extras for little ones? Browse my favorite crochet baby accessories and decor patterns, including cute nursery decor, baby accessories, and giftable projects.
You can also visit my full collection of crochet baby patterns for more baby blankets, hats, cardigans, booties, outfits, and gifts.
Let’s connect!
I’d love to see what you’re making! Share your finished project and follow along for more free crochet patterns and tutorials.
📌 Don’t forget to pin this pattern for later!
Happy crocheting! 🧶
— Melissa