
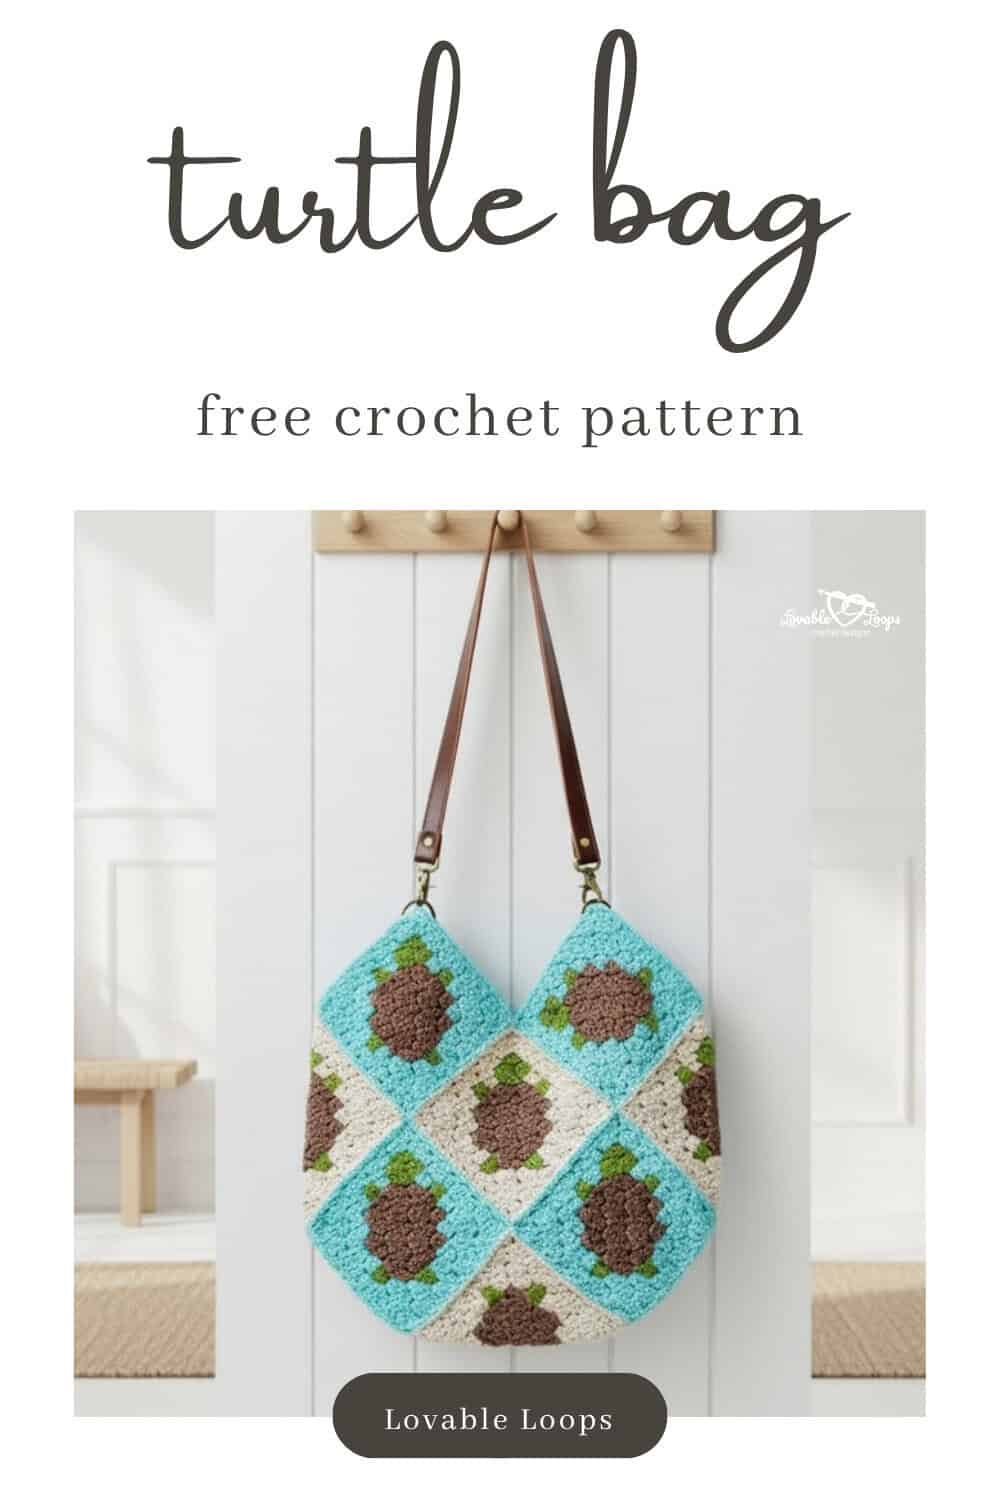
Crochet turtle bag pattern
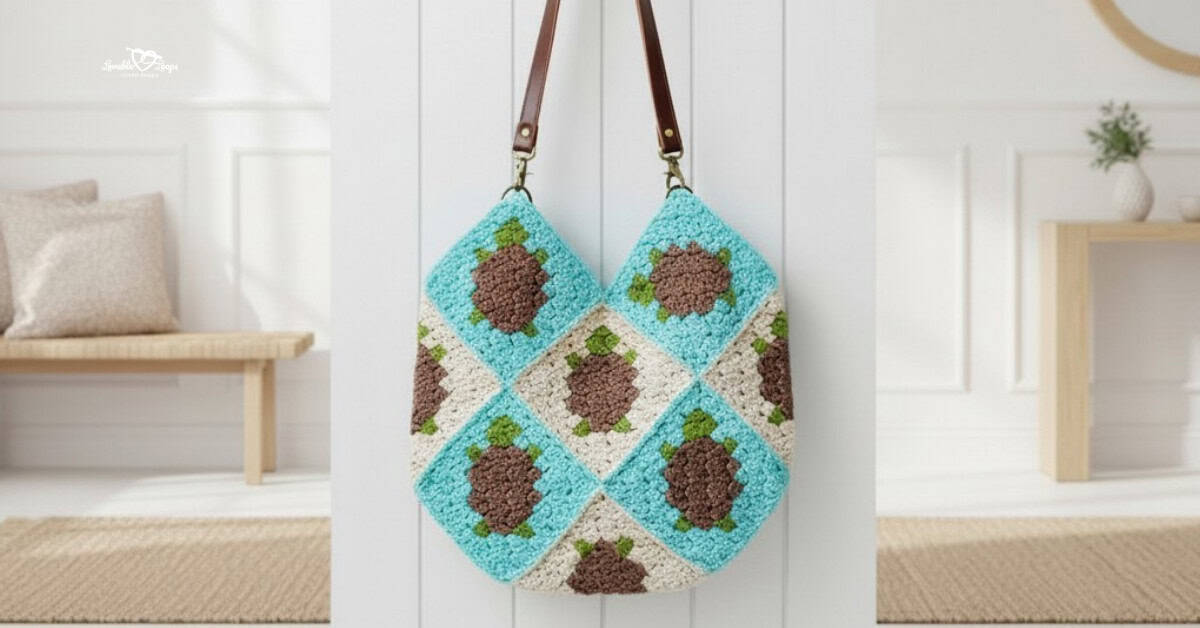
I’m excited to share my new design with you— my Land and Sea Turtles c2c crochet bag pattern! This cool pattern involves making 13 squares using the c2c crochet method, each featuring a cute turtle. You’ll crochet sea turtles with a lovely blue background and land turtles on a tan background, bringing a bit of nature’s beauty right into your crochet work.
Once you’ve made all 13 squares, you’ll sew them together to form the bag and then attach the straps. It’s a fun project that ends up as a super cute and practical bag. Let’s grab our yarn and start this turtle-themed adventure together! The free crochet pattern is below.
Free Crochet Bag Pattern
Complete your look with my matching Land & Sea Turtle Bucket Hat pattern! Pair it with the turtle bag for an extra stylish and fun ensemble. Dive into this exciting project and show off your crochet skills!
Materials Needed
- Crochet Hook Size: G-6 4 mm
- Yarn: Worsted weight yarn. I used Lion Brand Yarns 24/7 Cotton in grass, cafe au lait, ecru (land turtle), and aqua (sea turtle).
- Yarn needle: Use this to weave in your ends.
- Scissors: Use scissors to fasten off your yarn.
- Stitch marker(s): Use these to help keep track of your stitches.
- Purse straps: I used two 24″ purse straps with lobster clasps.
- D hook rings (4): I used these D rings.
PDF Version
View this pattern in my Etsy Shop: Land & Sea Turtle Crochet Bag Pattern
Crochet Bag Pattern
Skill Level
Advanced beginners. This crochet tote bag pattern is made using the corner to corner (c2c) stitch pattern method. It involves color changes.
Crochet Bag Pattern Finished Measurements
My crocheted bag measured 13.5 inches wide and 13 inches long from the top of the sides to the bottom of the bag.
Yardage
I do not have the exact yardage needed for this pattern, however, my bag weighs 261g/9.2 ounces (not including straps). Each skein of LBY 24/7 Cotton is 100g/3.5oz.
Gauge
8 squares (ch 3 + 3 dc) = 4 inches
Crochet Terms
- dc = double crochet stitch
- sc = single crochet stitch
- sc2tog = single crochet decrease
- ch/chs = chain/chains
- st/sts = stitch/stitches
- sl st = slip stitch
Corner to Corner (c2c) Technique
- The pattern is made using the c2c technique of making “squares” back and forth in diagonal rows starting in the bottom right corner and ending in the top left corner.
- Each square is made of a chain 3 + 3 double crochet.
- Chain 6 to start a new row and chain 3 to start a new square.
- You can follow the picture graph or the written pattern.
- The written pattern tells you how many squares to make of each color and in what order.
C2C Video Tutorial
Need C2C help? I have a step by step C2C tutorial for my mini heart square on my YouTube channel.
Pattern Notes
- You will need 13 squares total.
- I used blue and tan for my “background” colors.
- I made 8 turtles with a blue/aqua background (sea turtle)
- I made 5 turtles with a tan/ecru background (land turtle)
- The pattern is written in US terms.
- ↙ You are working on the “right side”.
- ↗ You are working on the “wrong side”.
Crochet Bag Pattern Instructions
Crochet 13 squares following the picture graph or the written pattern.
↙ Row 1: background x 1 (1 square)
↗ Row 2: background x 2 (2 squares)
↙ Row 3: background x 3 (3 squares)
↗ Row 4: background x 4 (4 squares)
↙ Row 5: background x 1, green x 1, brown, green x 1, background x 1 (5 squares)
↗ Row 6: background x 2, brown x 2, background x 2 (6 squares)
↙ Row 7: background x 2, brown x 3, background x 2 (7 squares)
↗ Row 8: background x 2, brown x 4, background x 2 (8 squares)
↙ Row 9: background x 3, brown x 3, background x 3 (9 squares)
Corner: Start decreasing on both ends
↗ Row 10: background x 2, brown x 4, background x 2 (8 squares)
↙ Row 11: background x 2, brown x 3, background x 2 (7 squares)
↗ Row 12: background x 1, green x 1, brown x 2, green x 1, background x 1 (6 squares)
↙ Row 13: background x 2, green x 1, background x 2 (5 squares)
↗ Row 14: background x 1, green x 2, background x 1 (4 squares)
↙ Row 15: background x 1, green x 1, background x 1 (3 squares)
↗ Row 16: background x 2 (2 squares)
↙ Row 17: background x 1 (1 square)
Border
Add a border to each turtle square. Make 2 sc in each square along the sides and in each corner square make (2 sc, ch 2, 2 sc).
Crochet Bag Pattern Assembly
Arrange your squares like the picture shows. The turtles below the red line should be upside down. Then, use a tapestry needle to sew all the squares together.

With the inside of the bag facing you, fold the bottom up where the red dots show. Next, fold in the sides where the black dots are, and use a tapestry needle to sew the seams.
Add the D Rings to your Crochet Bag Pattern
If you want to add crochet straps, you do not need to add the D rings. Scroll down for instructions.
You will sew the D rings to the inside of the bag. Sew one to the top of each corner around the flat part of the D ring. Make sure it is very secure.
Adding Purse Straps
Attach the bag straps by clipping the lobster clasps to the D rings.
Adding Crochet Straps
The picture below is from my cherry bag.

Round 1: Join yarn on the right side of the top square (purple arrow) and sc along that side (green line). Chain 90 (yellow dot) and join to the other side (red dot). Sc along that side (orange line). You are doing to repeat these instructions on the other side of the bag. Sc2tog where the bottom of the squares on each side meet (arrows).
Round 2: Sc in each stitch and in each chain. Sc2tog where the bottom of the squares on each side meet (arrows).
Rounds 3 & 4: Sc in each stitch. Sc2tog where the bottom of the squares on each side meet (arrows).
Finishing
Fasten off and then weave in all of your ends.

More crochet bag and tote patterns
Looking for more useful accessories to make? Browse my favorite crochet bag and tote patterns, including market bags, totes, pouches, and other practical handmade projects for everyday use.
You can also visit my full collection of crochet accessory patterns for even more small projects to wear, use, and gift.
Let’s connect!
I’d love to see what you’re making! Share your finished project and follow along for more free crochet patterns and tutorials.
📌 Don’t forget to pin this pattern for later!
Happy crocheting! 🧶
— Melissa