
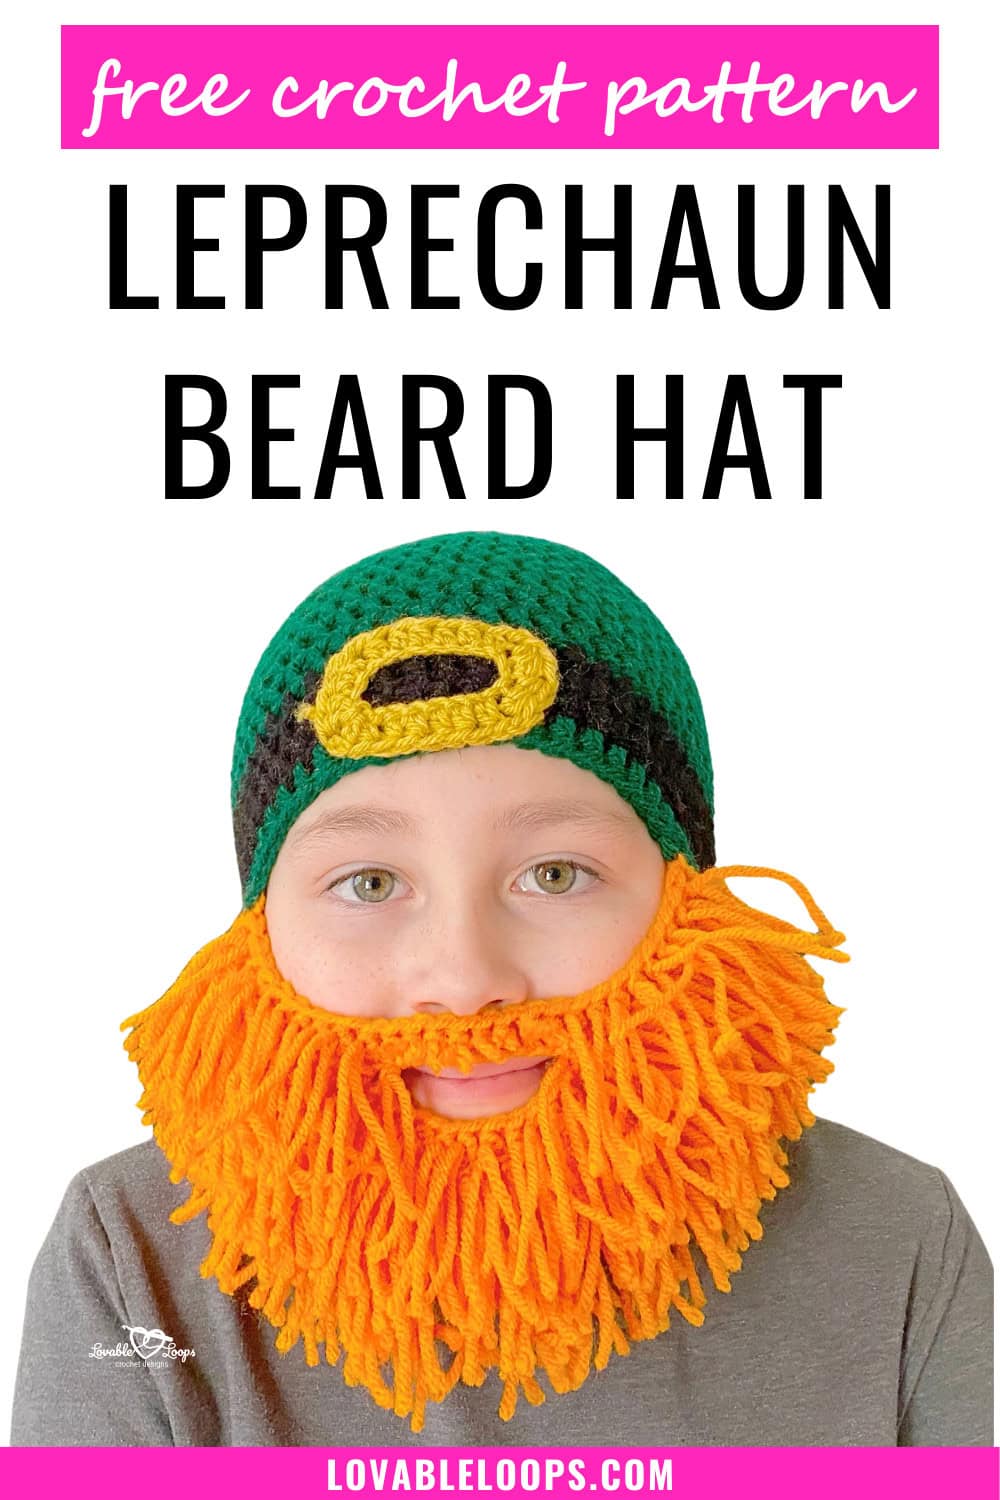
Crochet leprechaun beard hat pattern
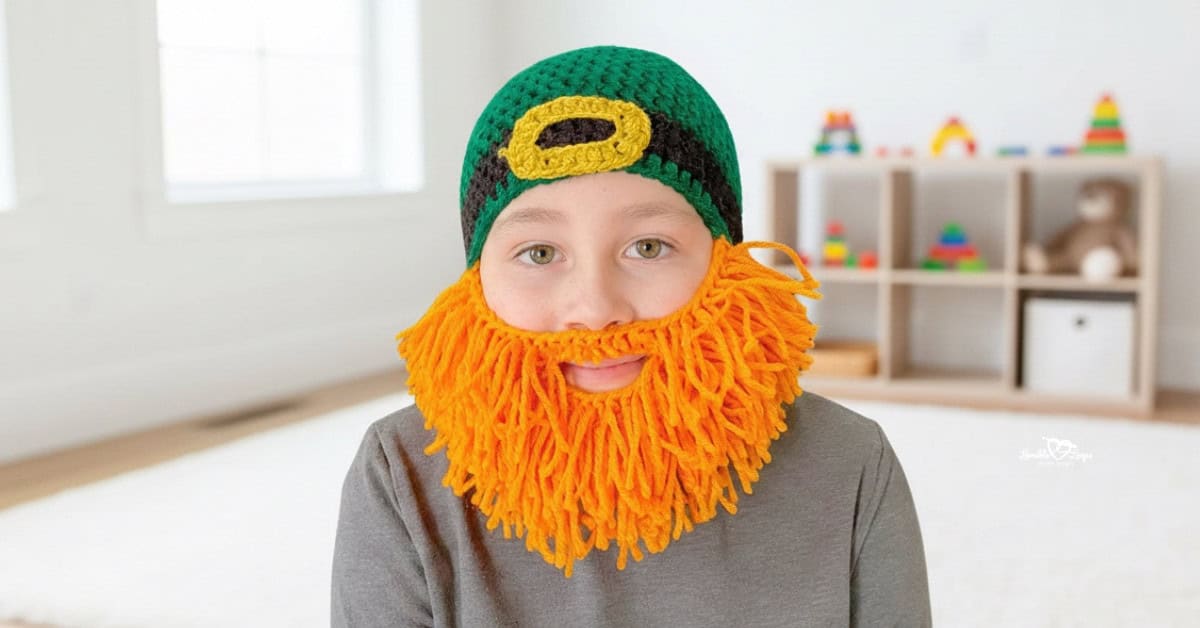
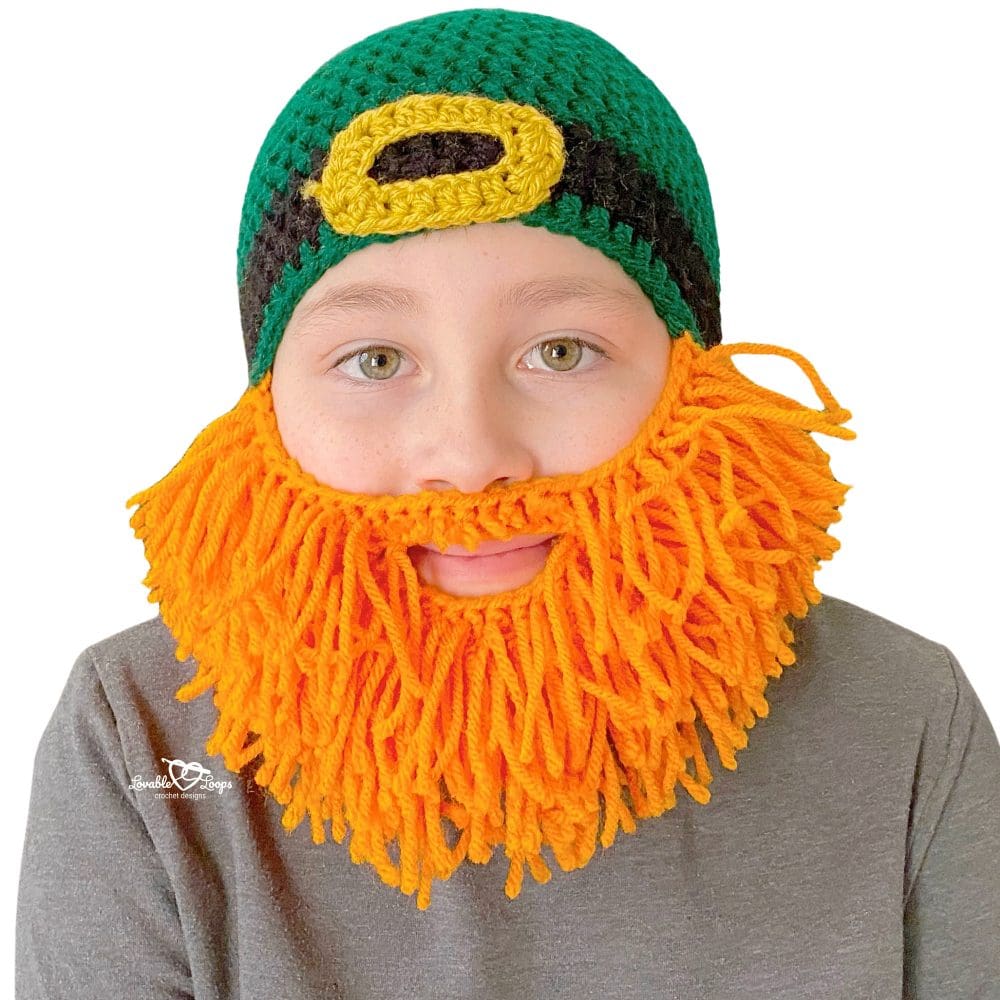
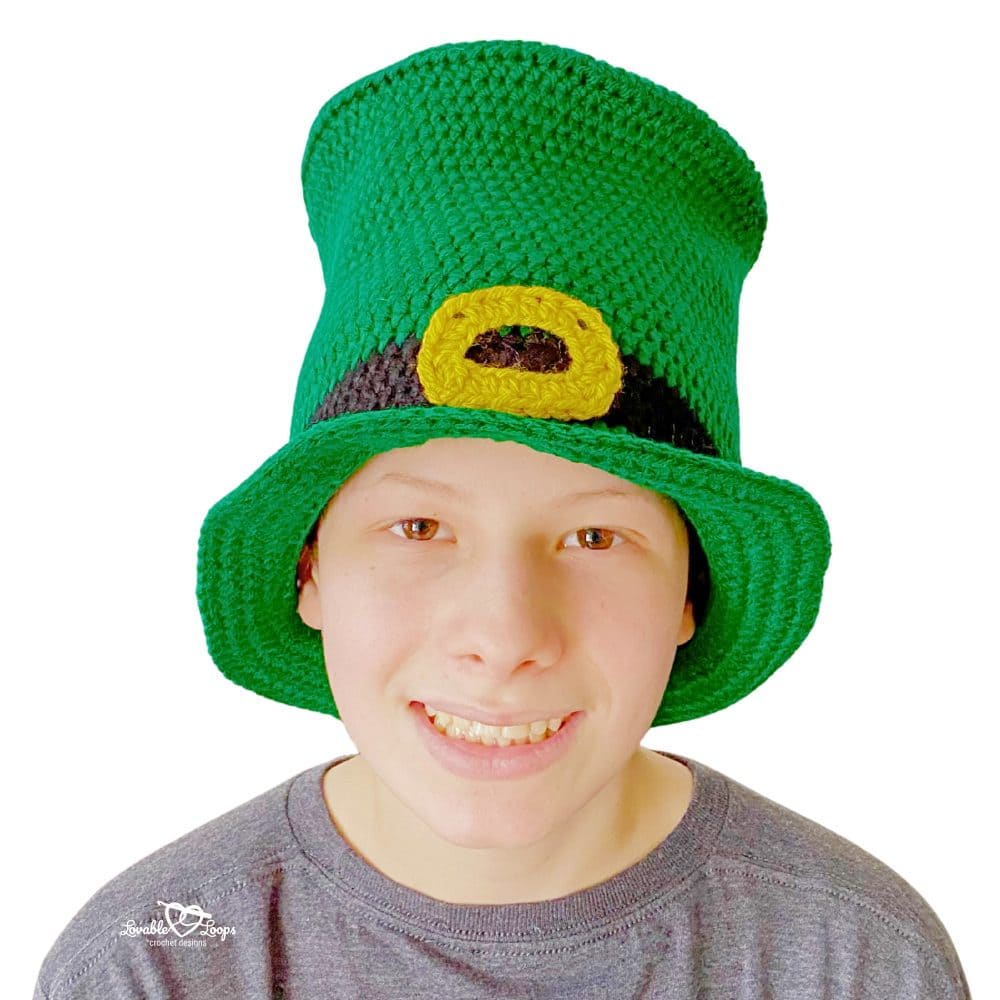
Ready to turn heads at your next parade? This crochet leprechaun beard hat pattern is a fun and festive way to celebrate St. Patrick’s Day.
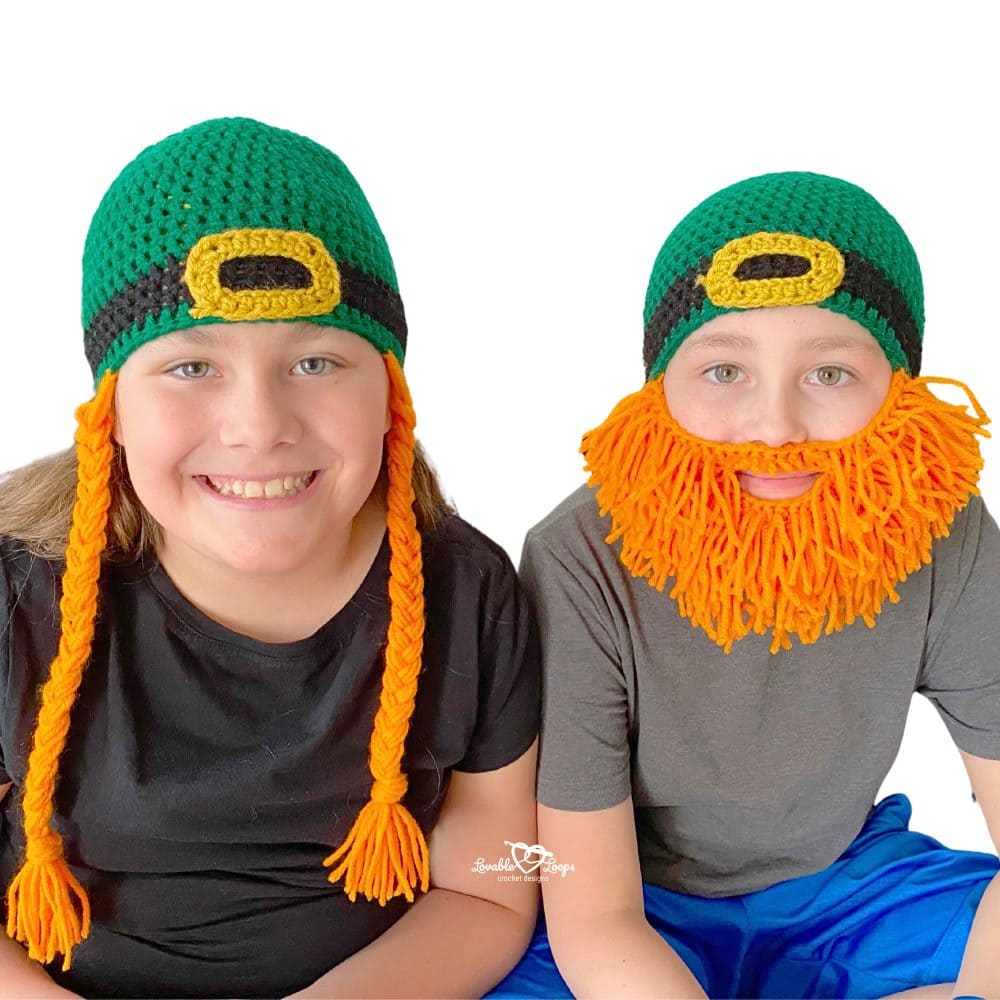
Available in toddler, child, and adult sizes, the hat is worked in the round from the top down for a structured, comfortable fit. Choose the playful beard for a classic leprechaun look or add braids for a festive lass style—a fun choice for parades, classroom events, and festive gatherings.
Quick answer
This crochet leprechaun beard hat pattern is worked in the round from the top down using worsted weight yarn and an I-9 (5.5 mm) hook. Available in toddler, child, and adult sizes, the hat features a separately crocheted beard panel that is sewn on after the hat is completed. It’s a fun, advanced beginner project for St. Patrick’s Day celebrations and parades.
Why you’ll love this pattern
- Parade-ready design — bold, festive, and eye-catching
- Beginner-friendly construction — simple top-down shaping
- Three sizes included — toddler, child, and adult
- Customizable style — make the beard version or the braided lass version
- Great photo prop — perfect for school events and St. Patrick’s Day pictures
Choose your style
The base hat is the same for both versions and is worked in the round from the top down. After completing the hat in your chosen size, you’ll customize it with either the beard or the braids.
• Lad version — a separately crocheted beard is sewn onto the finished hat.
• Lass version — yarn braids are attached to create a playful look.
• Buckle detail — sewn onto the front to complete the design.
Once the beard or braids are attached, your leprechaun costume hat is ready to wear. Each version creates a bold, festive look that’s perfect for St. Patrick’s Day parades and celebrations.
How the hat is constructed
This leprechaun costume hat is worked in the round from the top down using double crochet stitches to create a smooth, structured fit. Increases are made evenly to shape the crown, followed by straight rounds for the body.
The beard is crocheted separately in rows and sewn onto the hat. Braids are attached using strands of yarn and then braided into place.
The buckle is worked separately and sewn onto the finished hat for added detail.
Perfect for St. Patrick’s Day parades and parties
This crochet leprechaun beard hat pattern is designed for festive events. Whether you’re attending a St. Patrick’s Day parade, dressing up for school, or creating fun family photos, this hat adds personality and charm to any celebration.
Crochet leprechaun beard hat pattern details
Here are the key details for this crochet leprechaun beard hat pattern, including sizes, materials, gauge, and construction notes.
Skill level
Advanced beginner — This pattern is ideal for crocheters comfortable working in the round and sewing pieces together. Basic increases and simple shaping are used for the hat and beard.
Materials needed
- Crochet hook I-9 (5.5 mm) — for the hat
- Crochet hook H-8 (5 mm) — for the beard and buckle
- Worsted weight yarn (#4 medium) — black, green, orange, and yellow
- Yarn needle — for sewing the beard and weaving in ends
- Stitch markers — optional, helpful for tracking rounds
- Scissors — for trimming yarn
Finished size
- Toddler — 18–19 inches (46–48 cm) head circumference, 6.75 inches (17 cm) tall
- Child — 19–20 inches (48–51 cm) head circumference, 7 inches (18 cm) tall
- Adult — 20–23 inches (51–58 cm) head circumference, 7.75 inches (20 cm) tall
Need help with crochet hat sizing?
Getting the right fit is one of the most important parts of making a crochet hat.
If you’re unsure about head circumference, negative ease, crown diameter, or hat height, I’ve created a complete Crochet Hat Sizing Guide that walks you through everything step by step.
You’ll learn:
• How to measure head circumference correctly
• How much negative ease to use
• How to calculate crown diameter
• Standard baby, child, and adult size charts
• How to adjust any crochet hat pattern for a better fit
Gauge
14 stitches and 9 rounds = 4 inches (10 cm)
Crochet abbreviations
- dc = double crochet
- hdc = half double crochet
- hdc2tog = half double crochet decrease
- ch/chs = chain/chains
- st/sts = stitch/stitches
- sl st = slip stitch
- rnd/rnds = round/rounds
- rem = remaining
Pattern notes
- Use an I-9 (5.5 mm) crochet hook for the hat (or the size needed to match gauge).
- Use an H-8 (5 mm) crochet hook for the beard and buckles.
- The base hat pattern is the same for both the Lass and Lad versions. After completing the hat, add either the beard or the braids.
- The chain at the beginning of each round does not count as a stitch.
- Join each round with a slip stitch to the first stitch made in that round.
- Repeat instructions between the asterisks (*) around the round.
- The hat is worked in the round from the top down.
- This pattern is written in US crochet terms.
Quick links
Toddler size
Child size
Adult size
Adding the buckle
Lass style — adding the braids
Lad style — adding the beard
Finishing the hat
FAQs
Free crochet leprechaun beard hat pattern instructions
Start by crocheting the base hat in your chosen size using the instructions below. The hat is worked in the round from the top down before adding the beard or braids to complete your leprechaun style.
Hat instructions
Choose your size and follow the rounds below to shape the crown and body of the hat.
Toddler size
Round 1: Magic circle, ch 2, 11 dc, join with sl st to the top of the first dc (11 stitches)
Round 2: Ch 2, 2 dc in each st, join (22 stitches)
Round 3: Ch 2, *2 dc, dc in next st*, join (33 stitches)
Round 4: Ch 2, *2 dc, dc in next 2 sts*, join (44 stitches)
Round 5: Ch 2, *2 dc, dc in next 10 sts*, join (48 stitches)
Round 6: Ch 2, *2 dc, dc in next 11 sts*, join (52 stitches)
Round 7: Ch 2, *2 dc, dc in next 12 sts*, join (56 stitches)
Rounds 8– 12: Ch 2, dc in each st, join (56 stitches)
Switch to black yarn for rounds 13–15, then switch back to green for round 16.
Rounds 13–16: Ch 2, dc in each st, join (56 stitches)
Child size
Round 1: Magic circle, ch 2, 11 dc, join with sl st to the top of the first dc (11 stitches)
Round 2: Ch 2, 2 dc in each st, join (22 stitches)
Round 3: Ch 2, *2 dc, dc in next st*, join (33 stitches)
Round 4: Ch 2, *2 dc, dc in next 2 sts*, join (44 stitches)
Round 5: Ch 2, *2 dc, dc in next 10 sts*, join (48 stitches)
Round 6: Ch 2, *2 dc, dc in next 11 sts*, join (52 stitches)
Round 7: Ch 2, *2 dc, dc in next 12 sts*, join (56 stitches)
Round 8: Ch 2, *2 dc, dc in next 13 sts*, join (60 stitches)
Switch to black yarn for rounds 14–16, then switch back to green for round 17.
Rounds 9–17: Ch 2, dc in each st, join (60 stitches)
Adult size
Round 1: Magic circle, ch 2, 11 dc, join with sl st to the top of the first dc (11 stitches)
Round 2: Ch 2, 2 dc in each st, join (22 stitches)
Round 3: Ch 2, *2 dc, dc in next st*, join (33 stitches)
Round 4: Ch 2, *2 dc, dc in next 2 sts*, join (44 stitches)
Round 5: Ch 2, *2 dc, dc in next 10 sts*, join (48 stitches)
Round 6: Ch 2, *2 dc, dc in next 11 sts*, join (52 stitches)
Round 7: Ch 2, *2 dc, dc in next 12 sts*, join (56 stitches)
Round 8: Ch 2, *2 dc, dc in next 13 sts*, join (60 stitches)
Round 9: Ch 2, *2 dc, dc in next 14 sts*, join (64 stitches)
Switch to black yarn for rounds 16–18, then switch back to green for round 19.
Rounds 10–19: Ch 2, dc in each st, join (64 stitches)
Adding the buckle
Chain 20 and join in the round. The ch 2 spaces will create the corners of your buckle.
Round 1: ch 2, hdc in 6 chs, ch 2, hdc in 4 chs, ch 2, hdc in 6 chs, ch 2, hdc in 4 chs, ch 2, join and fasten off.
Lass style — adding the braids
Cut strips of orange yarn, each measuring 36 inches long.
• Toddler — cut 24 strips
• Child — cut 28 strips
• Adult — cut 28 strips
Attach the yarn strands evenly along both sides of the hat to create the “hair,” leaving the front and back sections open.
• Toddler — attach to 12 stitches on each side. Leave 18 stitches at the front and 14 at the back.
• Child — attach to 14 stitches on each side. Leave 18 stitches at the front and 14 at the back.
• Adult — attach to 14 stitches on each side. Leave 20 stitches at the front and 16 at the back.
Braid each section of yarn securely, then sew the buckle to the front of the hat to complete the look.

Lad style — adding the beard
Crochet the beard separately following the size instructions below, then sew it onto the finished hat.
Rows 1–4 (all sizes)
Row 1: Hdc in the 3rd ch from hook and in each remaining ch. Turn.
• Toddler — 36 stitches
• Child — 40 stitches
• Adult — 50 stitches
Row 2: Ch 2, hdc2tog, hdc across to the last 2 stitches, hdc2tog. Turn.
• Toddler — 34 stitches
• Child — 38 stitches
• Adult — 48 stitches
Row 3: Ch 2, hdc2tog, hdc across to the last 2 stitches, hdc2tog. Turn.
• Toddler — 32 stitches
• Child — 36 stitches
• Adult — 46 stitches
Row 4: Ch 2, hdc2tog, hdc across to the last 2 stitches, hdc2tog. Turn.
• Toddler — 30 stitches
• Child — 34 stitches
• Adult — 44 stitches
Toddler beard continued
Row 5: Ch 2, hdc2tog, hdc 9, ch 8 and skip 8 stitches, hdc 9, hdc2tog. Turn. (20 stitches, 8 chains)
Row 6: Ch 2, hdc2tog, hdc 8, hdc in each ch, hdc 8, hdc2tog. Turn. (26 stitches)
Child beard continued
Row 5: Ch 2, hdc2tog, hdc 30, hdc2tog. Turn. (32 stitches)
Row 6: Ch 2, hdc2tog, hdc 10, ch 8 and skip 8 stitches, hdc 10, hdc2tog. Turn. (22 stitches, 8 chains)
Row 7: Ch 2, hdc2tog, hdc 9, hdc in each ch, hdc 9, hdc2tog. Turn. (28 stitches)
Adult beard continued
Row 5: Ch 2, hdc2tog, hdc 40, hdc2tog. Turn. (42 stitches)
Row 6: Ch 2, hdc2tog, hdc 38, hdc2tog. Turn. (40 stitches)
Row 7: Ch 2, hdc2tog, hdc 12, ch 12 and skip 12 stitches, hdc 12, hdc2tog. Turn. (26 stitches, 12 chains)
Row 8: Ch 2, hdc2tog, hdc 11, hdc in each ch, hdc 11, hdc2tog. Turn. (36 stitches)
Finishing the beard
• Use a yarn needle to sew the beard to each side of the hat where the ears would be.
• Cut 5-inch pieces of orange yarn and tie one strand around each stitch in each row to create the beard “hair.”
• Trim the mustache hairs as needed.
• Sew the buckle to the front of the hat, centered over the beard.
Finishing the hat
After attaching the beard or braids and sewing the buckle in place, weave in all remaining ends with a yarn needle.
Gently shape the hat and smooth the stitches as needed. Your crochet leprechaun beard hat is ready for St. Patrick’s Day parades, parties, and festive celebrations.
Frequently asked questions
Is the beard worked as part of the hat?
No. The beard is crocheted separately in rows and then sewn onto the finished crochet leprechaun beard hat.
Can I make just the hat without the beard or braids?
Yes. The base hat works perfectly on its own if you prefer a simple green St. Patrick’s Day hat.
Is this hat worked in rows or in the round?
The hat is worked in the round from the top down. The beard is worked flat in rows before being attached.
What yarn weight should I use?
This pattern uses worsted weight yarn (#4 medium) to create a structured, comfortable leprechaun costume hat.
Can I adjust the length of the beard?
Yes. You can modify the beard rows or trim the attached yarn strands to customize the length and fullness.
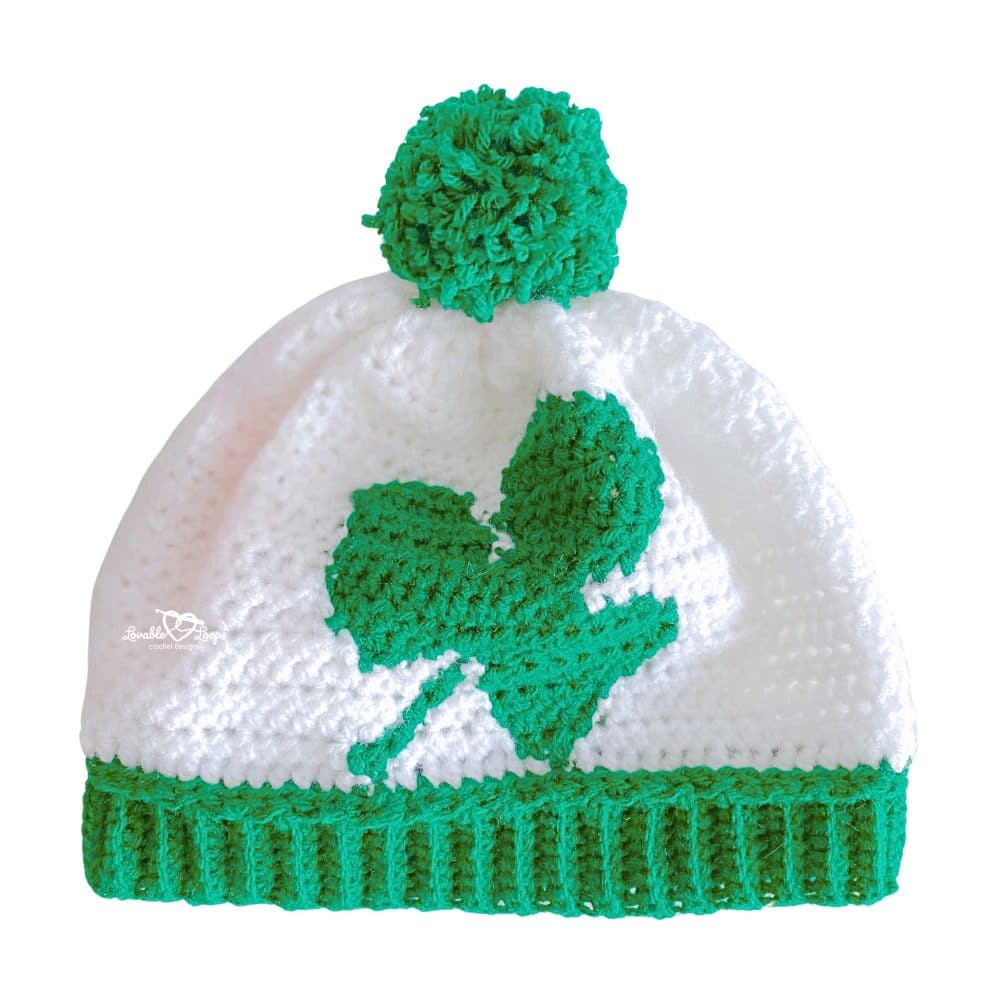
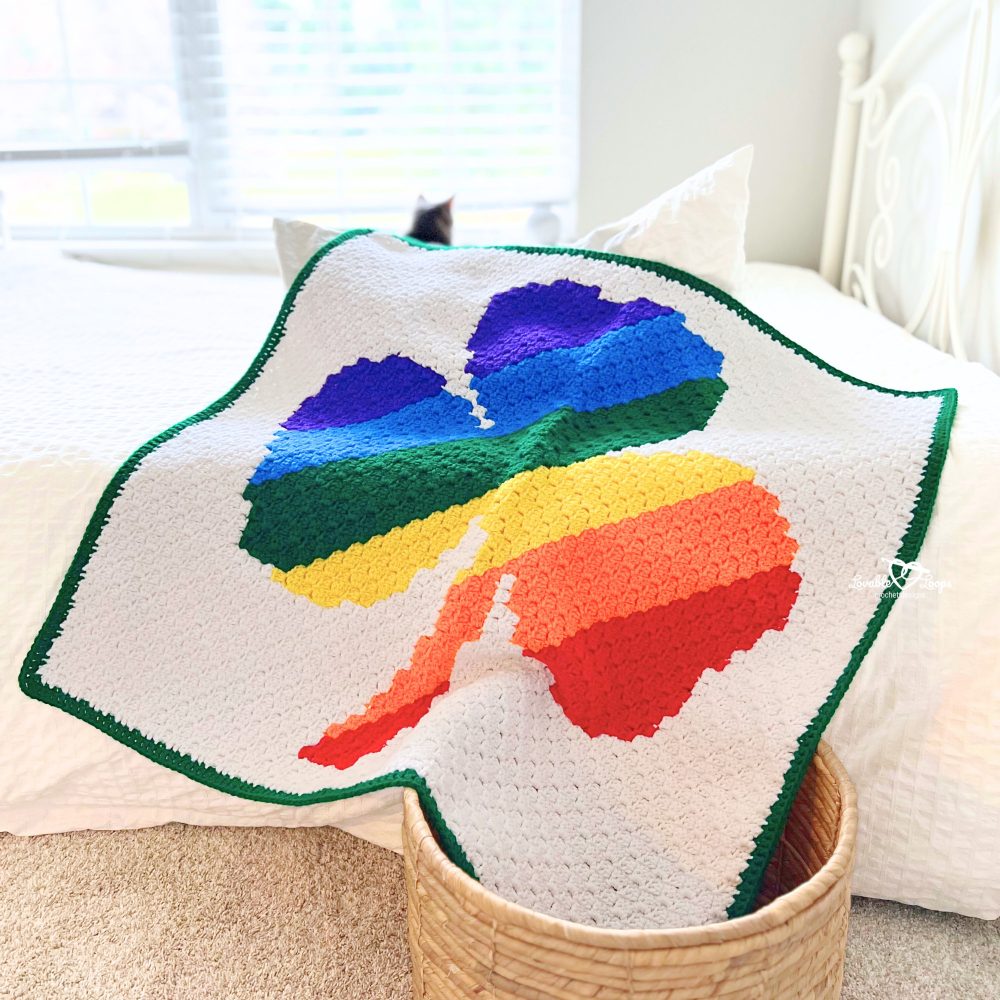
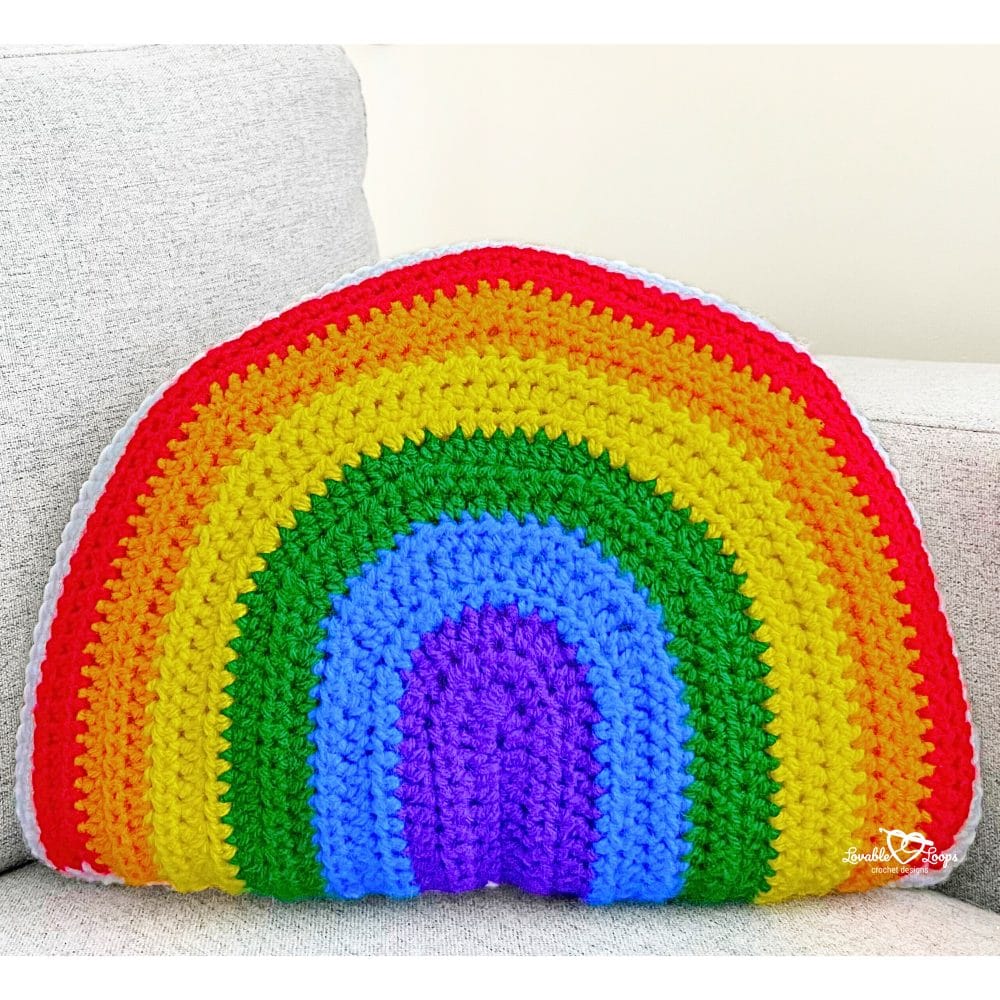
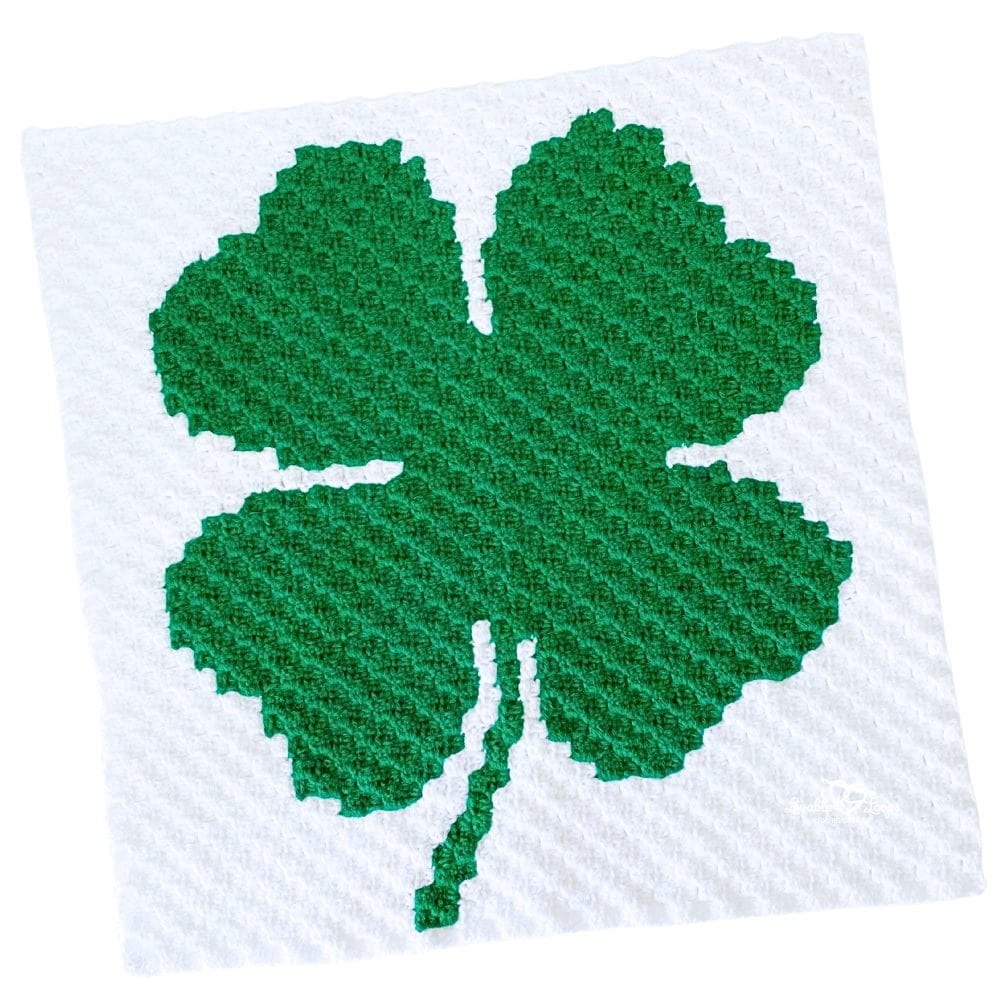
More St. Patrick’s Day crochet patterns
If you love decorating with rainbows and lucky greens, you’ll also enjoy these festive St. Patrick’s Day crochet patterns. From shamrocks to seasonal home décor, these projects are perfect for adding a handmade touch to your spring decorating.
Scroll through the gallery below to find your next lucky crochet project.

Let’s connect!
I’d love to see what you’re making! Share your finished project and follow along for more free crochet patterns and tutorials.
📌 Don’t forget to pin this pattern for later!
Happy crocheting! 🧶
— Melissa