
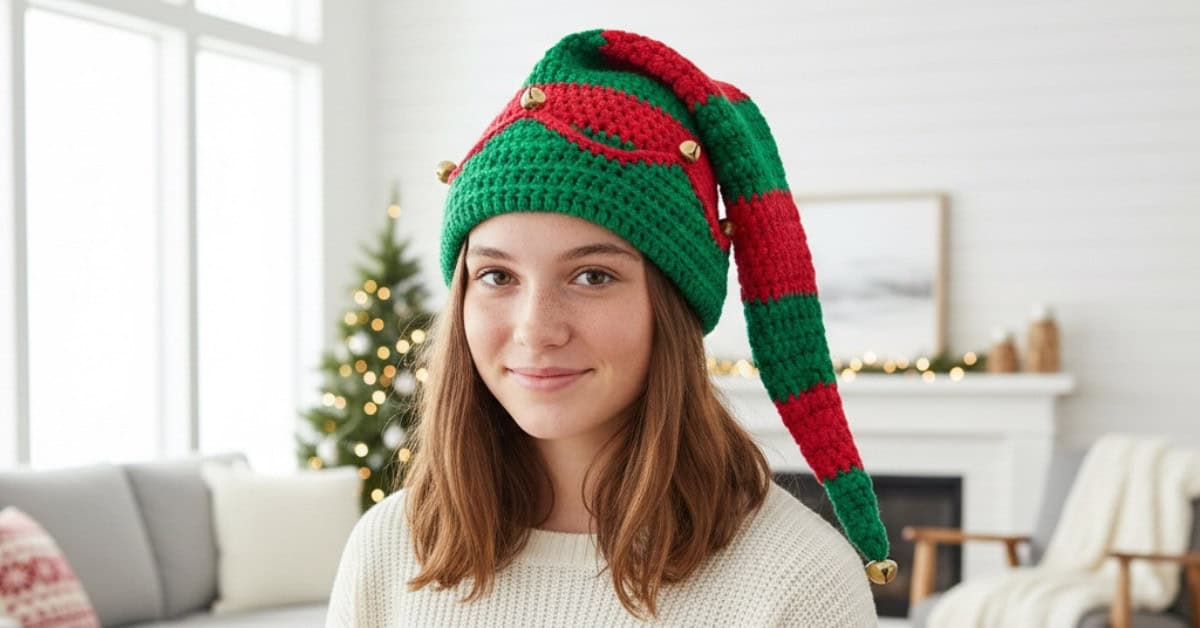
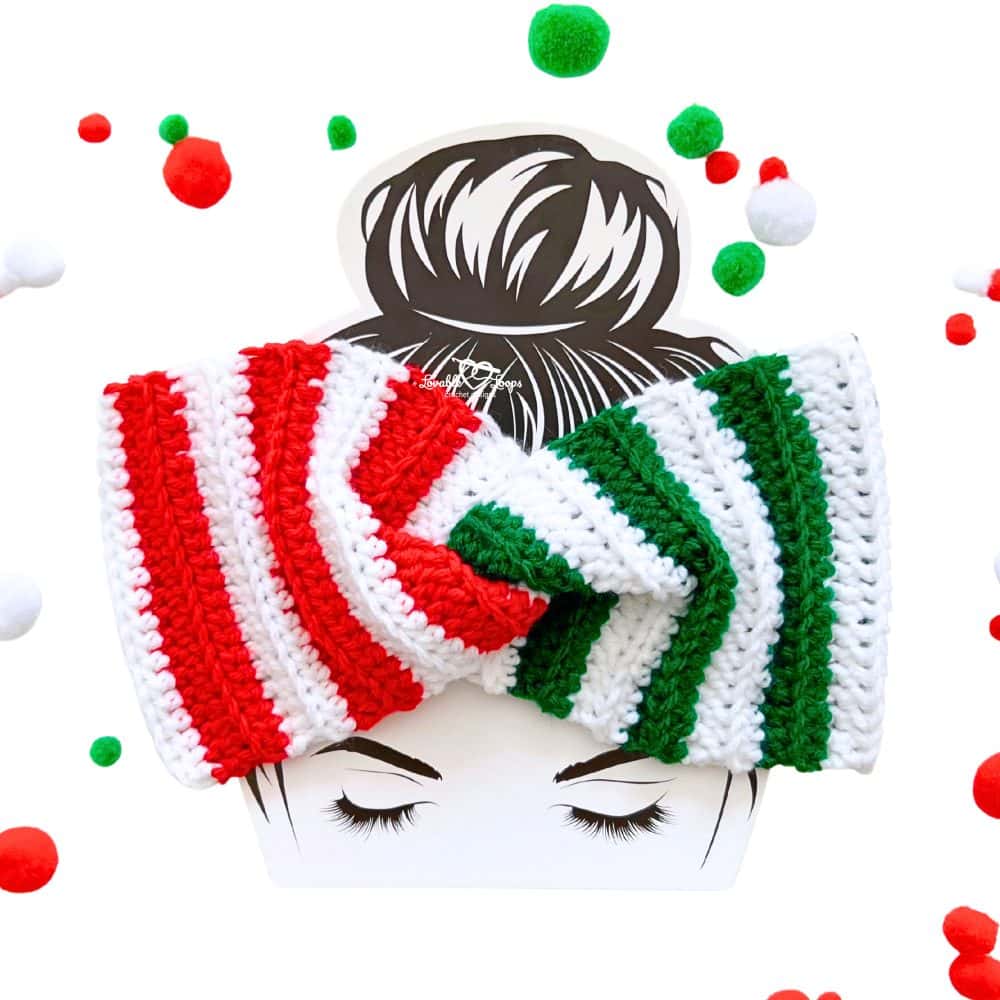
Crochet elf hat pattern
I’m super excited to share my crochet elf hat pattern with you! This festive hat is perfect for the Christmas season and the holidays. Whether you’re dressing up for a holiday party or just want to add some fun to your winter wardrobe, this hat is perfect.
I’ve designed the pattern for three sizes: toddler, child, and adult, so everyone in the family can join in on the holiday cheer. Imagine the joy of wearing your own festive crochet elf hat while celebrating the most wonderful time of the year. Let’s grab our yarn and hooks, and make some cute crochet elf hats together. The free crochet pattern is below.

Crochet elf hat pattern video tutorial
In this crochet elf hat pattern video tutorial, I walk you through the child size step by step. Follow along with the video and the elf hat crochet pattern below to make this fun Christmas hat.
Free Crochet Elf Hat Pattern
These crochet elf hats make wonderful gifts for friends and family during the holiday season. They’re also perfect for selling at craft fairs, adding a festive and handmade touch that everyone will love.
Crochet Project Materials Needed
- Crochet Hook Size: I-9 5.5 mm crochet hook or hook needed to obtain gauge
- Yarn: Worsted weight yarn. I used red & green and yellow & light green.
- Yarn needle: Use this to weave in your ends.
- Scissors: Use scissors to fasten off your yarn.
- Stitch markers: Use these to help keep track of your stitches.
- Tape measure: Use a measuring tape to find your head circumference.
- Craft bells: You will attach these to the brim.
PDF Version
View this cute crochet elf hat pattern in my Etsy shop: Crochet Elf Hat Pattern
Crochet Elf Hat Pattern Information
Skill Level
Beginner. This free pattern uses basic stitches and very simple increases in rounds.
Different Sizes
This elf beanie pattern is designed for toddler, child, and adult sizes.
| Size | Head Circumference |
| Toddler | 18-19 inches |
| Child | 19-20 inches |
| Adult | 20-23 inches |
Gauge
15 stitches = 4″ and 10 rows= 4″
Crochet Terms
- dc = double crochet stitch
- flo = front loop only
- sc = single crochet
- sc2tog = single crochet decrease
- ch/chs = chain/chains
- st/sts = stitch/stitches
- sl st = slip stitch
- rnd/rnds = round/rounds
Pattern Notes
- The pattern starts with a magic ring.
- The hat is worked in dc rounds from the top of the hat down.
- Repeat the instructions between the asterisks (*) for the rest of the round.
- The pattern is written in US terms.
Magic Circle Alternative
If you’re not comfortable with using a magic circle, you can use an alternative method to make round 1 of the beanie. This method is just as effective and might be easier for beginners.
Round 1: Chain 4, make 4 dc in the 4th ch from the hook, join (4 stitches)
Crochet Elf Hat Pattern Instructions
Rounds 1-51 are the same for all sizes.
Rnd 1: Magic circle, make 4 dc, join in the round [4]
Rnd 2: ch 2, *2 dc, dc in next st*, join [6]
Rnd 3: ch 2, dc in each st, join [6]
Rnd 4: ch 2, *2 dc, dc in next 2 sts*, join [8]
Rnd 5: ch 2, dc in each st, join [8]
Switch yarn color.
Rnd 6: ch 2, *2 dc, dc in next 3 sts*, join [10]
Rnd 7: ch 2, dc in each st, join [10]
Rnd 8: ch 2, *2 dc, dc in next 4 sts*, join [12]
Rnd 9: ch 2, dc in each st, join [12]
Rnd 10: ch 2, *2 dc, dc in next 5 sts*, join [14]
Switch yarn color.
Rnd 11: ch 2, dc in each st, join [14]
Rnd 12: ch 2, *2 dc, dc in next 6 sts*, join [16]
Rnd 13: ch 2, dc in each st, join [16]
Rnd 14: ch 2, *2 dc, dc in next 7 sts*, join [18]
Rnd 15: ch 2, dc in each st, join [18]
Switch yarn color.
Rnd 16: ch 2, *2 dc, dc in next 8 sts*, join [20]
Rnd 17: ch 2, dc in each st, join [20]
Rnd 18: ch 2, *2 dc, dc in next 9 sts*, join [22]
Rnd 19: ch 2, dc in each st, join [22]
Rnd 20: ch 2, *2 dc, dc in next 10 sts*, join [24]
Switch yarn color.
Rnd 21: ch 2, dc in each st, join [24]
Rnd 22: ch 2, *2 dc, dc in next 11 sts*, join [26]
Rnd 23: ch 2, dc in each st, join [26]
Rnd 24: ch 2, *2 dc, dc in next 12 sts*, join [28]
Rnd 25: ch 2, dc in each st, join [28]
Switch yarn color.
Rnd 26: ch 2, *2 dc, dc in next 13 sts*, join [30]
Rnd 27: ch 2, dc in each st, join [30]
Rnd 28: ch 2, *2 dc, dc in next 14 sts*, join [32]
Rnd 29: ch 2, dc in each st, join [32]
Rnd 30: ch 2, *2 dc, dc in next 15 sts*, join [34]
Switch yarn color.
Rnd 31: ch 2, dc in each st, join [34]
Rnd 32: ch 2, *2 dc, dc in next 16 sts*, join [36]
Rnd 33: ch 2, dc in each st, join [36]
Rnd 34: ch 2, *2 dc, dc in next 17 sts*, join [38]
Rnd 35: ch 2, dc in each st, join [38]
Switch yarn color.
Rnd 36: ch 2, *2 dc, dc in next 18 sts*, join [40]
Rnd 37: ch 2, dc in each st, join [40]
Rnd 38: ch 2, *2 dc, dc in next 19 sts*, join [42]
Rnd 39: ch 2, dc in each st, join [42]
Rnd 40: ch 2, *2 dc, dc in next 13 sts*, join [45]
Switch yarn color.
Rnd 41: ch 2, dc in each st, join [45]
Rnd 42: ch 2, *2 dc, dc in next 14 sts*, join [48]
Rnd 43: ch 2, dc in each st, join [48]
Rnd 44: ch 2, *2 dc, dc in next 15 sts*, join [51]
Rnd 45: ch 2, dc in each st, join [51]
Switch yarn color.
Rnd 46: ch 2, *2 dc, dc in next 16 sts*, join [54]
Rnd 47: ch 2, dc in each st, join [54]
Rnd 48: ch 2, *2 dc, dc in next 17 sts*, join [57]
Rnd 49: ch 2, dc in each st, join [57]
Rnd 50: ch 2, *2 dc, dc in next 18 sts*, join [60]
Switch yarn color.
Rnd 51: ch 2, dc in each st, join [60]
Toddler Crochet Elf Hat Pattern
Rnd 52: ch 2, dc in each st, join [60]
Rnd 53: ch 2, dc in each st, join [60]
Rnd 54: ch 2, dc in each st in the front loop only, join [60]
This is the round that will be folded up.
Rnd 55: ch 2, dc in each st, join [60]
Rnd 56: ch 2, dc in each st, join [60]
Brim:
You will make six triangle peaks. Each peak is 10 stitches. 6 peaks x 10 stitches= 60 stitches
Begin the first peak where you left off for round 56.
Row 1: ch 1, sc in 10 sts, turn [10]
Row 2: ch 1, sc2tog, sc in 6 sts, sc2tog, turn [8]
Row 3: ch 1, sc2tog, sc in 4 sts, sc2tog, turn [6]
Row 4: ch 1, sc2tog, sc in 2 sts, sc2tog, turn [4]
Row 5: ch 1, sc2tog, sc2tog, turn [2]
Row 6: ch 1, sc2tog and fasten off
Next, fold the hat brim up and sc around the entire brim and peaks.
Then, join your yarn to the next stitch. Repeat the peak pattern 5 times.
Lastly, use a tapestry needle to attach a bell or pom pom to each of the peaks.
Child Crochet Elf Hat Pattern
Rnd 52: ch 2, *2 dc, dc in next 19 sts*, join [63]
Rnd 53: ch 2, dc in each st, join [63]
Rnd 54: ch 2, dc in each st, join [63]
Rnd 55: ch 2, dc in each st, join [63]
Rnd 56: ch 2, dc in each st in the front loop only, join [63]
This is the round that will be folded up.
Rnd 57: ch 2, dc in each st, join [63]
Rnd 58: ch 2, dc in each st, join [63]
Brim:
You will make six triangle peaks. Each peak is 10 stitches. 6 peaks x 10 stitches= 60 stitches
Begin the first peak where you left off for round 58.
Row 1: ch 1, sc in 10 sts, turn [10]
Row 2: ch 1, sc2tog, sc in 6 sts, sc2tog, turn [8]
Row 3: ch 1, sc2tog, sc in 4 sts, sc2tog, turn [6]
Row 4: ch 1, sc2tog, sc in 2 sts, sc2tog, turn [4]
Row 5: ch 1, sc2tog, sc2tog, turn [2]
Row 6: ch 1, sc2tog and fasten off
Now, join your yarn to the next stitch. Repeat the peak pattern 5 times. You will have three unworked stitches when you are done.
Then, fold the brim up and sc around the entire brim and peaks.
Lastly, use a tapestry needle to attach a bell or pom pom to each of the peaks.
Adult Crochet Elf Hat Pattern
Rnd 52: ch 2, *2 dc, dc in next 19 sts*, join [63]
Rnd 53: ch 2, dc in each st, join [63]
Rnd 54: ch 2, *2 dc, dc in next 20 sts*, join [66]
Rnd 55: ch 2, dc in each st, join [66]
Rnd 56: ch 2, dc in each st in the front loop only, join [66]
This is the round that will be folded up.
Rnd 57: ch 2, dc in each st, join [66]
Rnd 58: ch 2, dc in each st, join [66]
Brim:
You will make six triangle peaks. Each peak is 10 stitches. 6 peaks x 10 stitches= 60 stitches
Begin the first peak where you left off for round 58.
Row 1: ch 1, sc in 10 sts, turn [10]
Row 2: ch 1, sc2tog, sc in 6 sts, sc2tog, turn [8]
Row 3: ch 1, sc2tog, sc in 4 sts, sc2tog, turn [6]
Row 4: ch 1, sc2tog, sc in 2 sts, sc2tog, turn [4]
Row 5: ch 1, sc2tog, sc2tog, turn [2]
Row 6: ch 1, sc2tog and fasten off
Now, skip a stitch and join your yarn to the next stitch. Repeat the peak pattern 5 times, leaving one stitch between each peak.
Then, fold the brim up and sc around the entire brim and peaks.
Lastly, use a tapestry needle to attach a bell or pom pom to each of the peaks.
Finishing the Crochet Elf Hat Pattern
Weave in your ends.

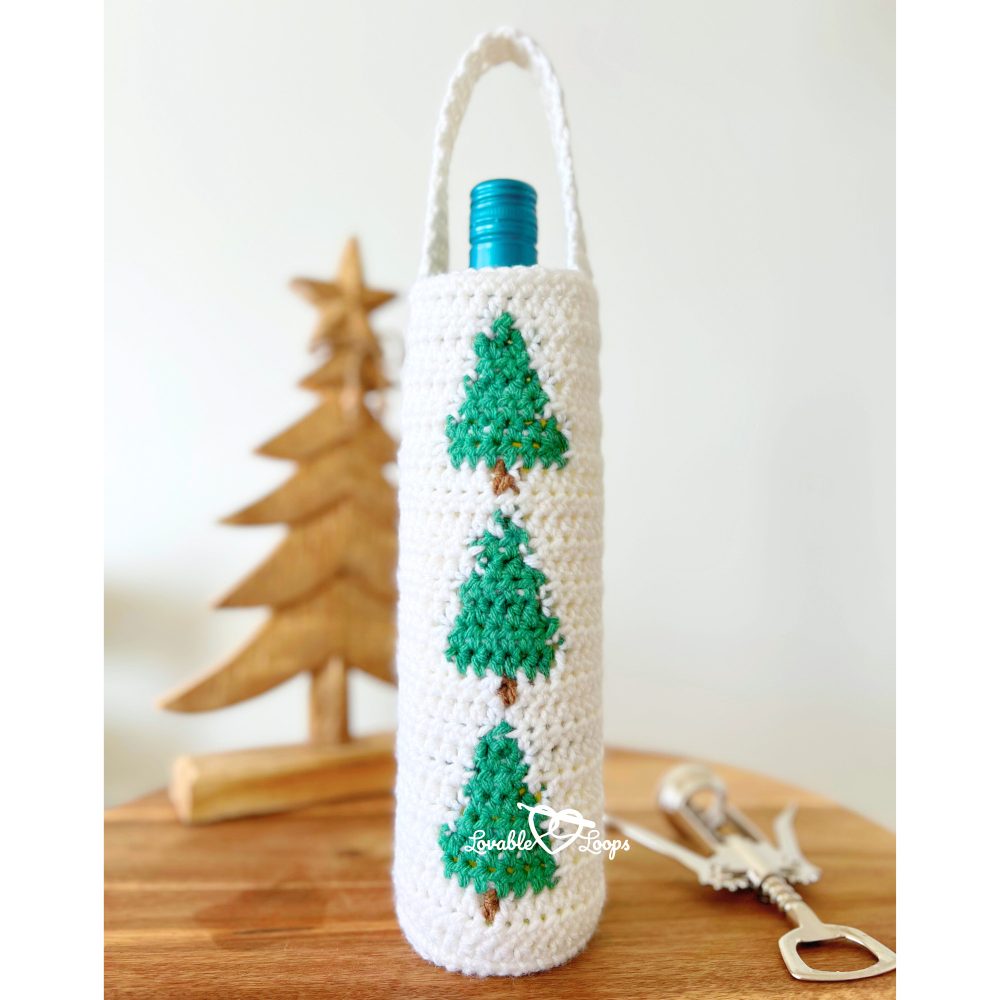
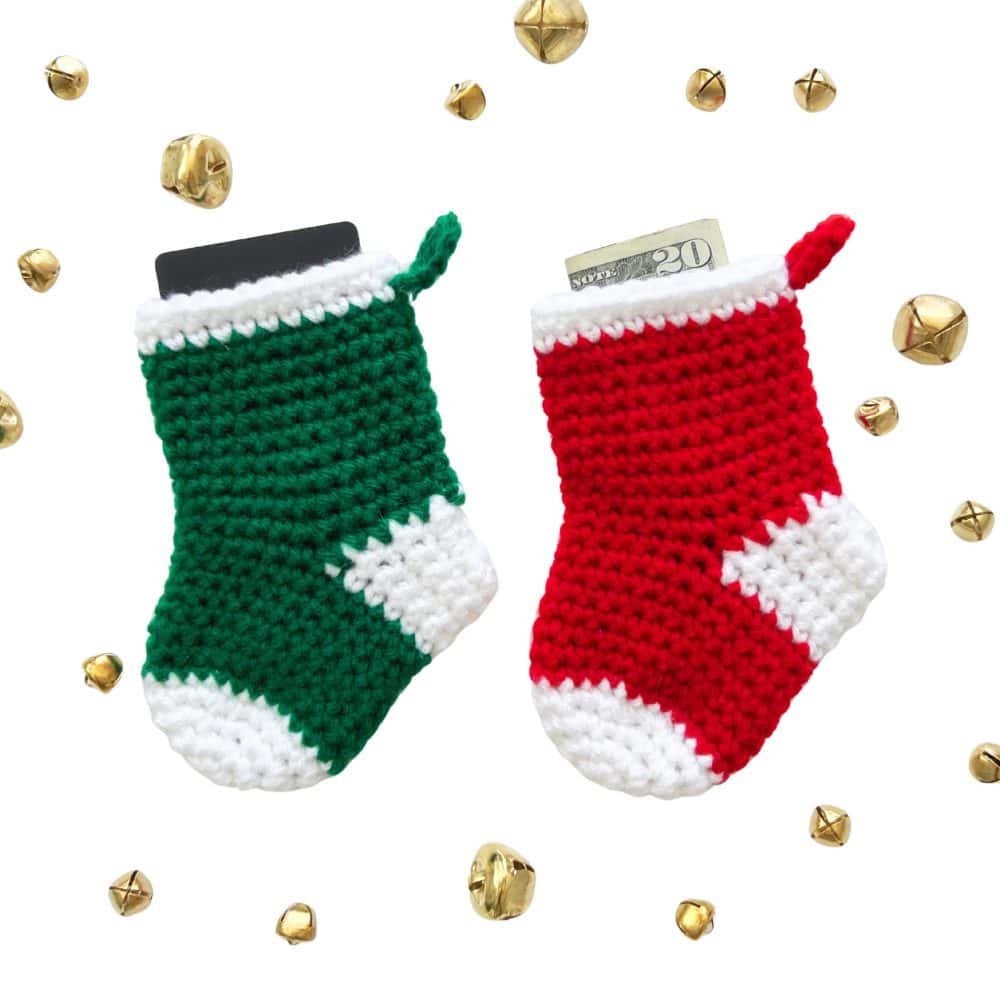
Free Christmas crochet patterns
Looking for more free Christmas crochet patterns? These festive designs are perfect for holiday decorating, handmade gifts, and winter craft fairs. Start your Christmas crochet projects early and enjoy a handmade holiday season!


Free crochet hat patterns
Love making cozy hats? Explore even more free crochet hat and beanie patterns that are perfect for every season and style. From classic beanies and warm winter hats to playful designs for kids and trendy accessories for adults, you’ll find inspiration for your next project here.
Let’s connect!
I’d love to see what you’re making! Share your makes and follow along here:
📸 Instagram
📌 Pinterest
📘 Facebook
▶️ YouTube
🛍️ Etsy Shop
🧶 Ravelry
Happy crocheting! 🧶 Don’t forget to Pin this pattern so you can come back to it later!
— Melissa