
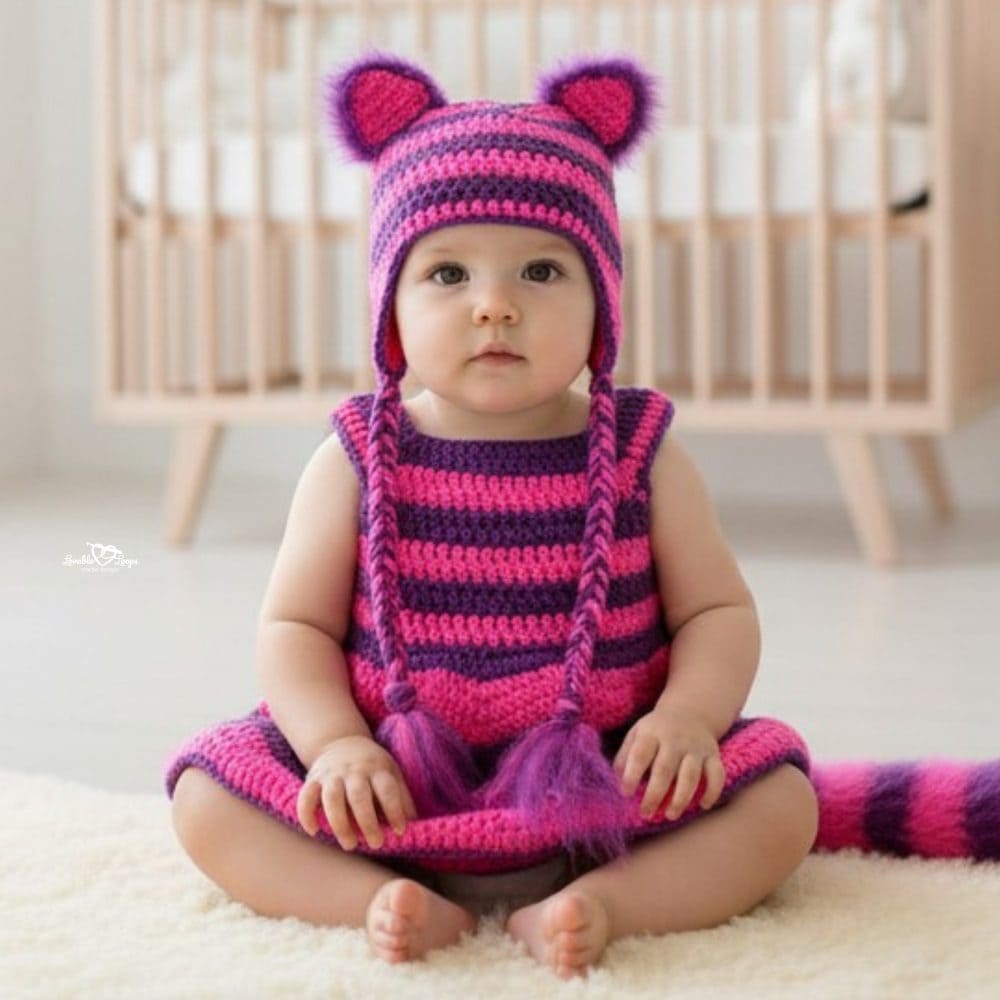
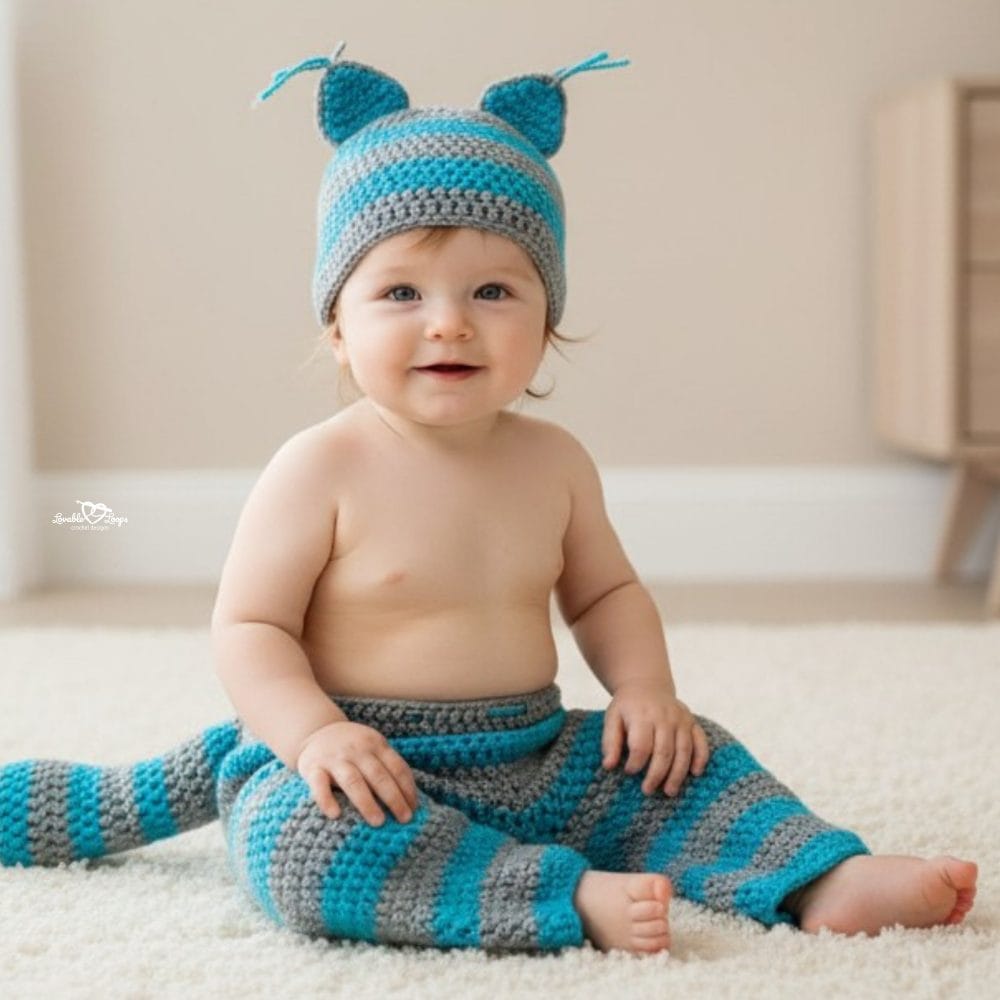
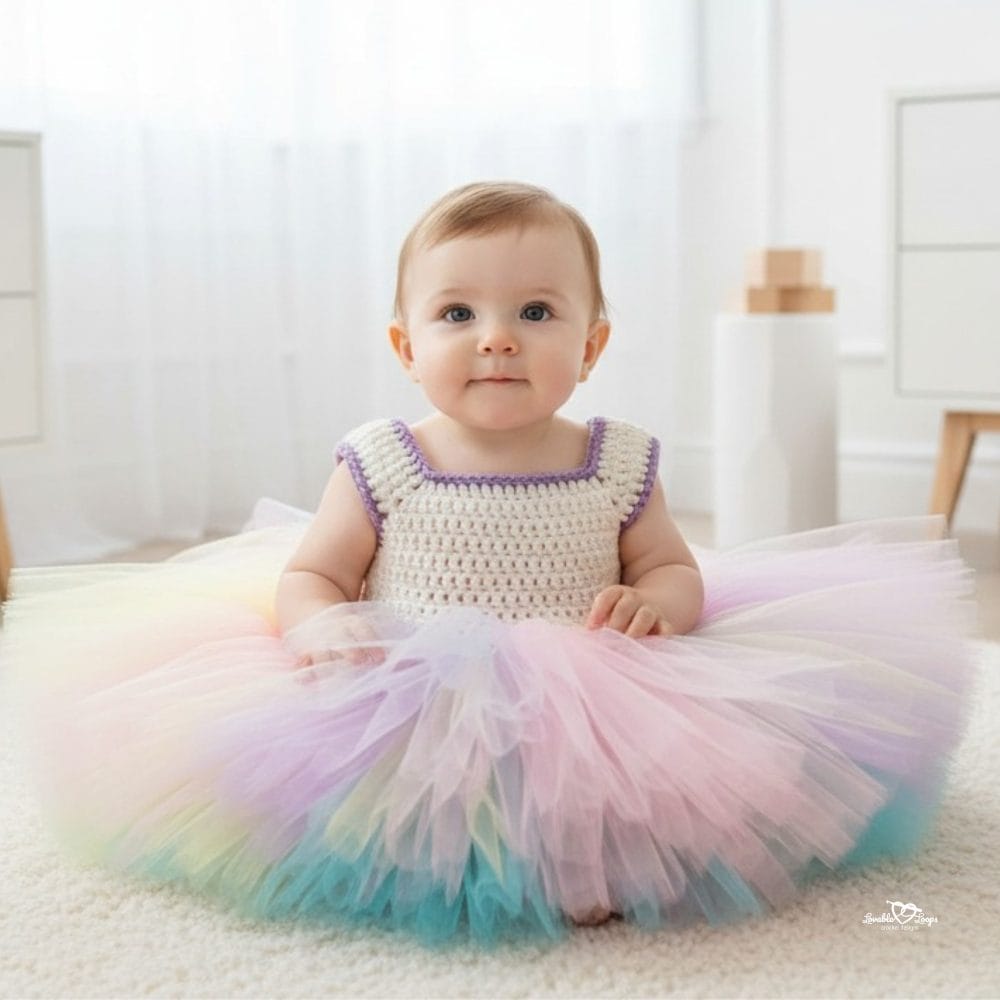
Cheshire Cat Crochet Baby Costume Pattern Free + Video Tutorial
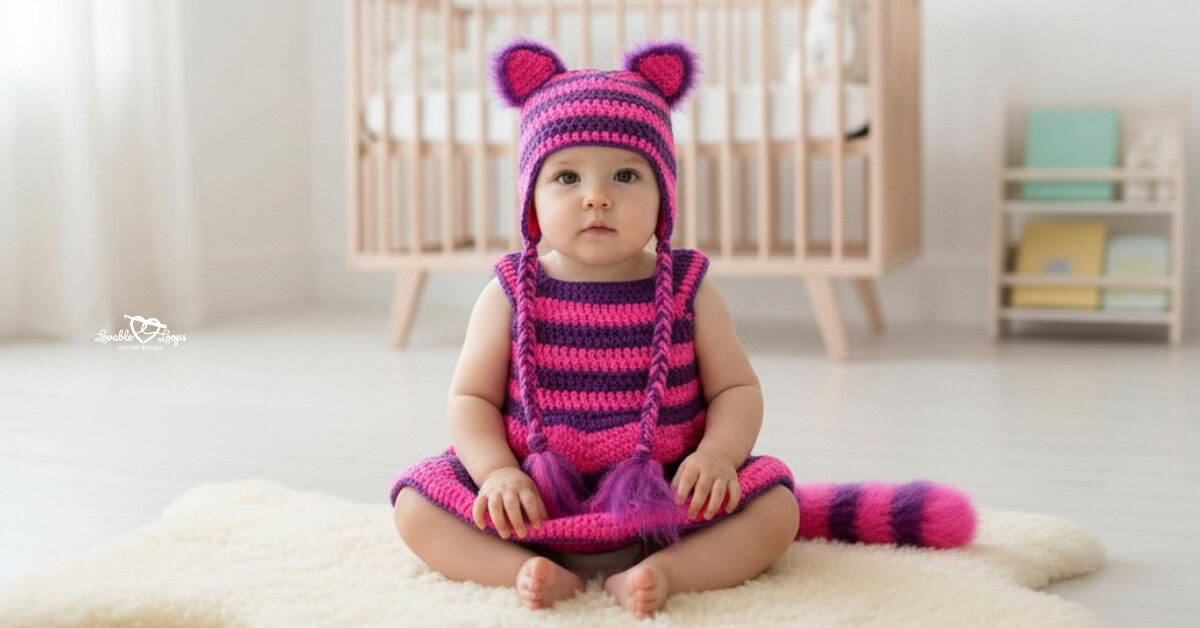
Ready to make an adorable costume for your little one? Let me introduce my Cheshire Cat Crochet Baby Costume Pattern! This cute costume includes a dress with a cat tail and a hat with earflaps, braids, and cat ears. It’s designed for baby sizes 0-3 and 3-6 months.
To make it even easier, I’ve included a video tutorial that shows you how to make the cat tail and ears fuzzy. Your baby will look absolutely charming dressed as the Cheshire Cat. Perfect for special occasions or just for fun, this costume is sure to bring smiles to everyone. Let’s get started and create this delightful outfit together! The free crochet pattern is below.
Cheshire Cat Crochet Baby Costume Pattern Details
Here’s a quick overview of the materials, sizing, gauge, and pattern notes before you begin.
Skill Level
Dress skill level: Intermediate
Hat skill level: Advanced Beginner
Materials Needed
- Crochet hook size: I-9 5.5 mm or size needed for gauge
- Yarn: Worsted weight yarn #4 in pink and purple.
- Fiber fill: Use this to stuff the tail.
- Slicker brush: Use this to make the tail and ears fuzzy.
- Yarn needle: Use this to weave in your ends.
- Scissors: Use scissors to fasten off your yarn.
- Stitch marker(s): Optional. Use these to help keep track of your stitches.
Dress Size Chart
| Size | Chest | Waist | Hips | Back Length | Crossback | Armhole Depth |
| 0-3 Months | 16″ | 18″ | 19″ | 6″ | 7.25″ | 3.25″ |
| 3-6 Months | 17″ | 19″ | 20″ | 7″ | 7.75″ | 3.5″ |
Baby Hat Size Chart
| Hat Size | Crown | Circumference | Height |
| 0-3 Months | 4.5 inches | 13-14 inches | 5 inches |
| 3-6 Months | 5 inches | 14-15 inches | 5.5 inches |
Gauge
Dress Gauge: 15 stitches and 11 rows = 4 inches
Hat Gauge: 15 stitches and 10 rounds = 4 inches
Crochet Terms
- dc = double crochet
- sc = single crochet
- hdc = half double crochet
- sc2tog = single crochet decrease
- hdc2tog = half double crochet decrease
- ch/chs = chain/chains
- ch-sp = chain space
- st/sts = stitch/stitches
- sl st = slip stitch
- rnd/rnds = round/rounds
- rem = remaining
Dress Pattern Notes
- Rounds 1-9 of the dress are the same for the 0-3 and 3-6 months sizes.
- The chain at the beginning of each round does not count as your first stitch.
- Join rounds 1-13 (0-3 months) and rounds 1-14 (3-6 months) with a slip stitch to the first stitch made in that round.
- Repeat instructions between the asterisks (*) for the rest of the round.
- You are crocheting in the round from the top of the dress down.
- The pattern is written in US terms.
Hat Pattern Notes
- The chain at the beginning of each round does not count as your first stitch.
- Join each round with a slip stitch to the first stitch made in that round.
- Repeat instructions between the asterisks (*) for the rest of the round.
- You are crocheting in the round from the top of the hat down.
- The pattern is written in US terms.
Special Stitches
v-stitch: in the same chain/stitch make (dc, ch 1, dc)
Cheshire Cat Crochet Baby Costume Pattern Instructions
Using purple yarn, chain 64 and join in the round.
0-3 & 3-6 Month Crochet Baby Costume Pattern
Rounds 1-9 are the same for the 0-3 and 3-6 months sizes.
Rnd 1: Ch 2, dc 8, v-stitch, dc 14, v-stitch, dc 16, v-stitch, dc 14, v-stitch, dc 8, join
Rnd 2: Ch 2, dc 9, v-stitch, dc 16, v-stitch, dc 18, v-stitch, dc 16, v-stitch, dc 9, join
Switch to pink yarn.
Rnd 3: Ch 2, dc 10, v-stitch, dc 18, v-stitch, dc 20, v-stitch, dc 18, v-stitch, dc 10, join
Rnd 4: Ch 2, dc 11, dc in v-stitch sp, ch 1 and dc in next v-stitch sp, dc 22, dc in v-stitch sp, ch 1 and dc in next v-stitch sp, dc 11, join (48 stitches)
Switch to purple yarn.
Rnd 5: Ch 2, dc 12, 2 dc in ch-sp, dc 24, 2 dc in ch-sp, dc 12, join (52 stitches)
Rnd 6: Ch 2, dc 13, 2 dc in next st, dc 25, 2 dc in next st, dc 12, join (54 stitches)
Switch to pink yarn.
Rnd 7: Ch 2, dc 13, 2 dc in next st, dc 26, 2 dc in next st, dc 13, join (56 stitches)
Rnd 8: Ch 2, dc 14, 2 dc in next st, dc 27, 2 dc in next st, dc 13, join (58 stitches)
Switch to purple yarn
Rnd 9: Ch 2, dc 14, 2 dc in next st, dc 28, 2 dc in next st, dc 14, join (60 stitches)
0-3 Month Crochet Baby Costume Pattern
Rnd 10: Ch 2, dc in each st, join (60 stitches)
Switch to pink yarn.
Rnd 11: Ch 2, dc in each st, join (60 stitches)
Rnd 12: Ch 2, dc in each st, join (60 stitches)
Switch to purple yarn.
Rnd 13: Ch 2, *2 dc, dc in next st*, join (90 stitches)
You will now work in continuous rounds. The last stitch of each round will go into the first stitch of that round. The next round will start with the first 3 dc cluster going into the 2nd stitch from the previous round.
Rnd 14: Ch 2, *3 dc, dc in 3 sts, dc3tog, dc in 3 sts*
Rnds 15- 26: Repeat round 14 following these color changes:
Pink rounds: (15, 16, 17) (21, 22, 23)
Purple rounds: (18, 19, 20) (24, 25, 26, 27)
Rnd 27: Ch 1, sc in each st, join and fasten off
3-6 Month Crochet Baby Costume Pattern
Rnd 10: Ch 2, dc 15, 2 dc in next st, dc 29, 2 dc in next st, dc 14, join (62 stitches)
Switch to pink yarn.
Rnd 11: Ch 2, dc 15, 2 dc in next st, dc 30, 2 dc in next st, dc 15, join (64 stitches)
Rnd 12: Ch 2, dc in each st, join (64 stitches)
Switch to purple yarn.
Rnd 13: Ch 2, dc in each st, join (64 stitches)
Rnd 14: Ch 2, *2 dc, dc in next st*, join (96 stitches)
Switch to pink yarn.
You will now work in continuous rounds. The last stitch of each round will go into the first stitch of that round. The next round will start with the first 3 dc cluster going into the 2nd stitch from the previous round.
Rnd 15: Ch 2, *3 dc, dc in 3 sts, dc3tog, dc in 3 sts*
Rnds 16- 30: Repeat round 15 following these color changes:
Pink rounds: (15, 16, 17) (21, 22, 23) (27, 28, 29)
Purple rounds: (18, 19, 20) (24, 25, 26) (30, 31)
Rnd 31: Ch 1, sc in each st, join and fasten off
Sleeves for the Crochet Baby Costume Pattern
Use purple yarn to single crochet around the arm opening, then join and fasten off.

Cheshire Cat Tail for the Crochet Baby Costume Pattern
Start with pink yarn.
Rnd 1: Magic circle, ch 2, 6 dc, join (6 stitches)
Rnd 2: Ch 2, 2 dc in each st, join (12 stitches)
Rnd 3: Ch 2, *2 dc, dc in next st*, join (18 stitches)
Rnd 4: Ch 2, *2 dc, dc in next 2 sts*, join (24 stitches)
Switch to purple yarn.
Rnds 5 & 6: Ch 2, dc in each st, join (24 stitches)
Switch to pink yarn.
Rnds 7-9: Ch 2, dc in each st, join (24 stitches)
Switch to purple yarn.
Rnd 10: Ch 2, *dc2tog, dc in 4 sts*, join (20 stitches)
Rnd 11: Ch 2, dc in each st, join (20 stitches)
Switch to pink yarn.
Rnd 12: Ch 2, *dc2tog, dc in 3 sts*, join (16 stitches)
Rnds 13 & 14: Ch 2, dc in each st, join (16 stitches)
Switch to purple yarn.
Rnds 15 & 16: Ch 2, dc in each st, join (16 stitches)
Switch to pink yarn.
Rnds 17-19: Ch 2, dc in each st, join (16 stitches)
Switch to purple yarn.
Rnds 20 & 21: Ch 2, dc in each st, join (16 stitches)
Switch to pink yarn.
Rnds 22-24: Ch 2, dc in each st, join (16 stitches)
Make your tail look furry by lightly brushing the yarn. Then, stuff the tail with fiber fill and sew it to the back of the dress.
Crochet Cheshire Cat Hat Pattern Instructions
0-3 Month Baby Crochet Cheshire Cat Hat Pattern
Start with purple yarn and alternate between pink and purple every two rounds.
Rnd 1: Magic circle, ch 2, 11 dc, join (11 stitches)
Rnd 2: Ch 2, 2 dc in each st, join (22 stitches)
Rnd 3: Ch 2, *2 dc, dc in next st*, join (33 stitches)
Rnd 4: Ch 2, *2 dc, dc in next 2 sts*, join (44 stitches)
Rnd 5: Ch 2, *2 dc, dc in next 10 sts*, join (48 stitches)
Rnd 6: Ch 2, dc in each st, join (48 stitches)
Rnds 7– 13: Repeat round 6 (48 stitches)
0-3 Months Earflaps
Begin where you ended round 13. Repeat for the second earflap. Then, single crochet around the entire hat and both earflaps.
Space between earflaps: 16 stitches in front, 12 stitches in back
Row 1: Ch 1, sc in 10 sts, turn (10 stitches)
Row 2: Ch 1, sc2tog, sc in 6 sts, sc2tog, turn (8 stitches)
Row 3: Ch 1, sc in each st, turn (8 stitches)
Row 4: Ch 1, sc2tog, sc in 4 sts, sc2tog, turn (6 stitches)
Row 5: Ch 1, sc in each st, turn (6 stitches)
Row 6: Ch 1, sc2tog, sc in 2 sts, sc2tog, turn (4 stitches)
Row 7: Ch 1, sc in each st, turn (4 stitches)
Row 8: Ch 1, sc2tog, sc2tog, turn (2 stitches)
Row 9: Ch 1, sc2tog (1 stitch)
3-6 Month Baby Crochet Cheshire Cat Hat Pattern
Start with purple yarn and alternate between pink and purple every two rounds.
Rnd 1: Magic circle, ch 2, 11 dc, join (11 stitches)
Rnd 2: Ch 2, 2 dc in each st, join (22 stitches)
Rnd 3: Ch 2, *2 dc, dc in next st*, join (33 stitches)
Rnd 4: Ch 2, *2 dc, dc in next 2 sts*, join (44 stitches)
Rnd 5: Ch 2, *2 dc, dc in next 10 sts*, join (48 stitches)
Rnd 6: Ch 2, *2 dc, dc in next 11 sts*, join (52 stitches)
Rnd 7: Ch 2, dc in each st, join (52 stitches)
Rnds 8– 15: Repeat round 7 (52 stitches)
3-6 Months Earflaps
Begin where you ended round 13. Repeat for the second earflap. Then, single crochet around the entire hat and both earflaps.
Space between earflaps: 16 stitches in front, 12 stitches in back
Row 1: Ch 1, sc in 12 sts, turn (12 stitches)
Row 2: Ch 1, sc2tog, sc in 8 sts, sc2tog, turn (10 stitches)
Row 3: Ch 1, sc in each st, turn (10 stitches)
Row 4: Ch 1, sc2tog, sc in 6 sts, sc2tog, turn (8 stitches)
Row 5: Ch 1, sc in each st, turn (8 stitches)
Row 6: Ch 1, sc2tog, sc in 4 sts, sc2tog, turn (6 stitches)
Row 7: Ch 1, sc in each st, turn (6 stitches)
Row 8: Ch 1, sc2tog, sc in 2 sts, sc2tog, turn (4 stitches)
Row 9: Ch 1, sc in each st, turn (4 stitches)
Row 10: Ch 1, sc2tog, sc2tog, turn (2 stitches)
Row 11: Ch 1, sc2tog (1 stitch)
Braids for the Crochet Cheshire Cat Hat Pattern
Cut twelve 30” strands of yarn for each braid.
- Fold the strands in half and pass the folded loop through the bottom of the ear flap.
- Pass the strand ends through the loop and pull tight to form a knot.
- Divide into three sections and braid.
Cat Ears Pattern
Make two in each color.
Row 1: Ch 10, hdc in 3rd ch from the hook and in each rem ch, turn (8 stitches)
Row 2: Ch 2, hdc in each st, turn (8 stitches)
Row 3: Ch 2, hdc2tog, hdc in 4 sts, hdc2tog, turn (6 stitches)
Row 4: Ch 2, hdc2tog, hdc in 2 sts, hdc2tog, turn (4 stitches)
Row 5: Ch 2, hdc2tog, hdc2tog, turn (2 stitches)
Row 6: Ch 2, hdc2tog, turn (1 stitch)
Single crochet around the entire shape and then fasten off. Sew the pink ear to the purple ear and then make the purple ear furry by lightly brushing the yarn.
Finishing
Weave in the ends.
Video tutorial
In this tutorial I show you how to make your Cheshire Cat tail look furry.

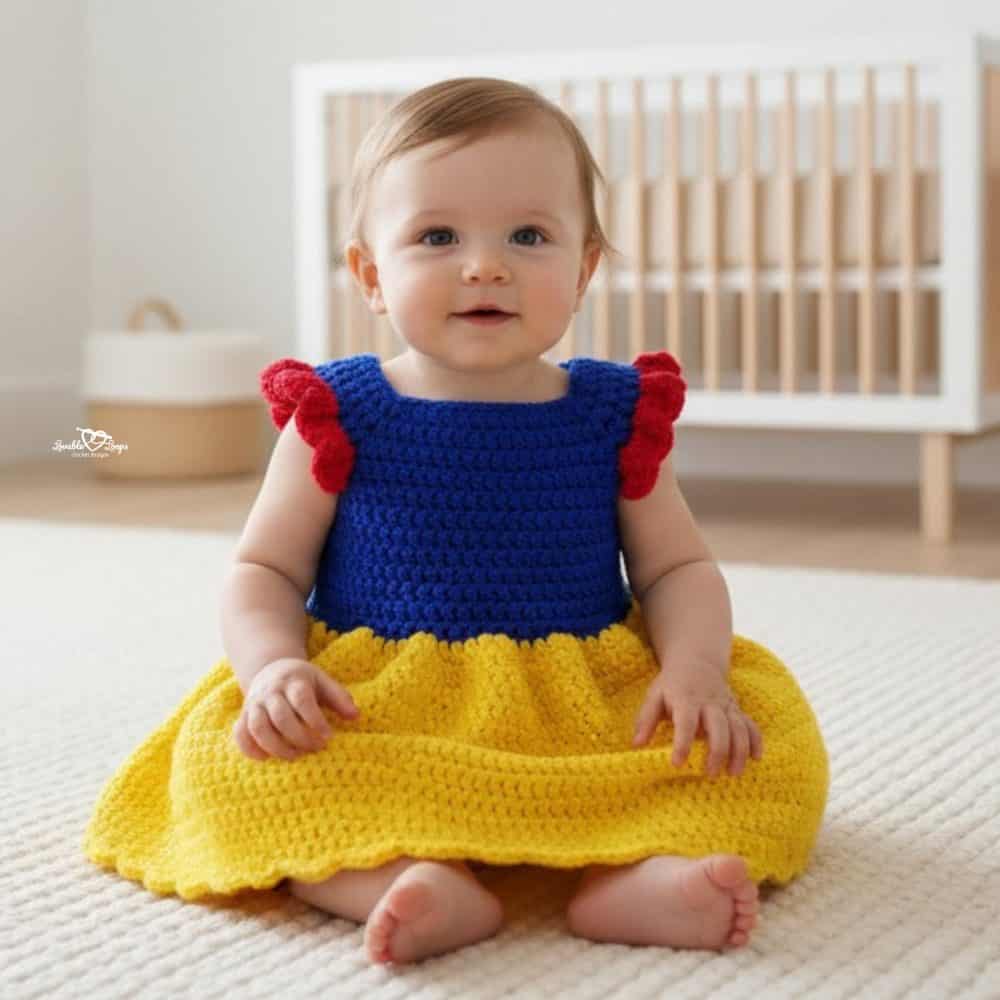
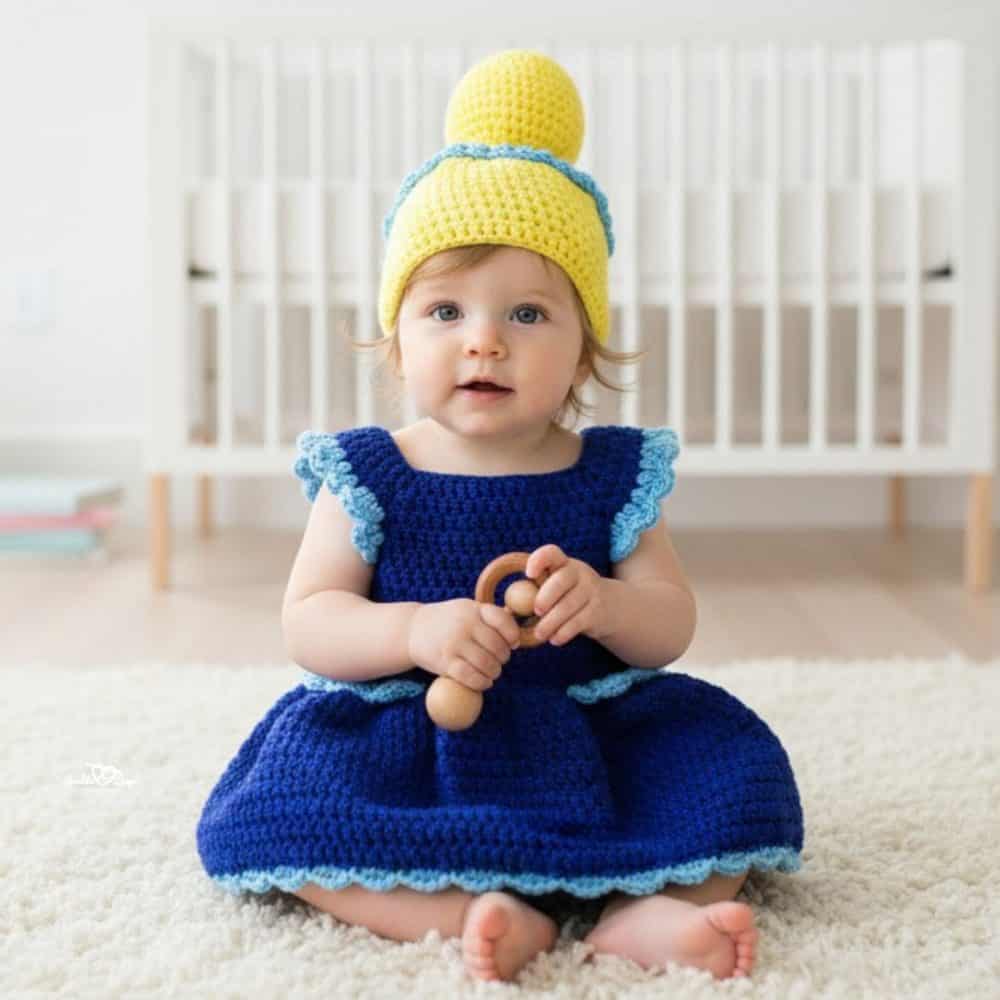
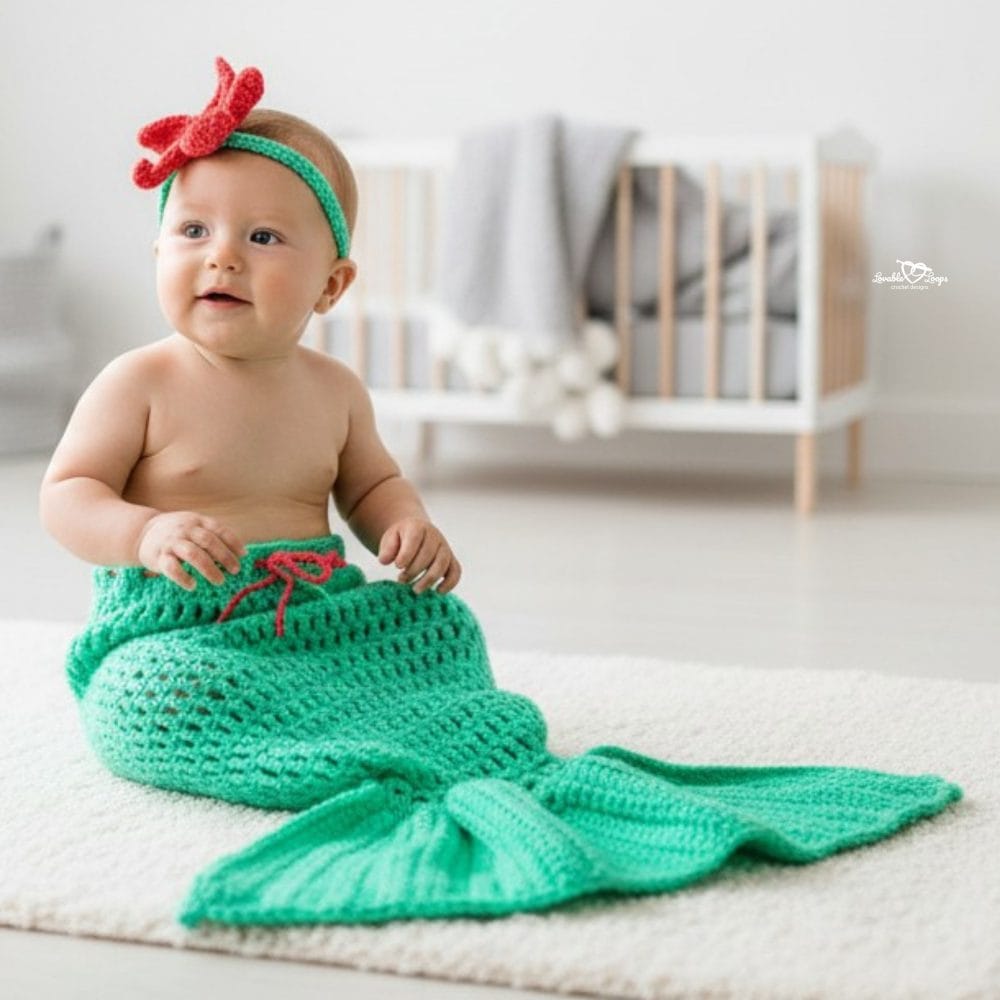
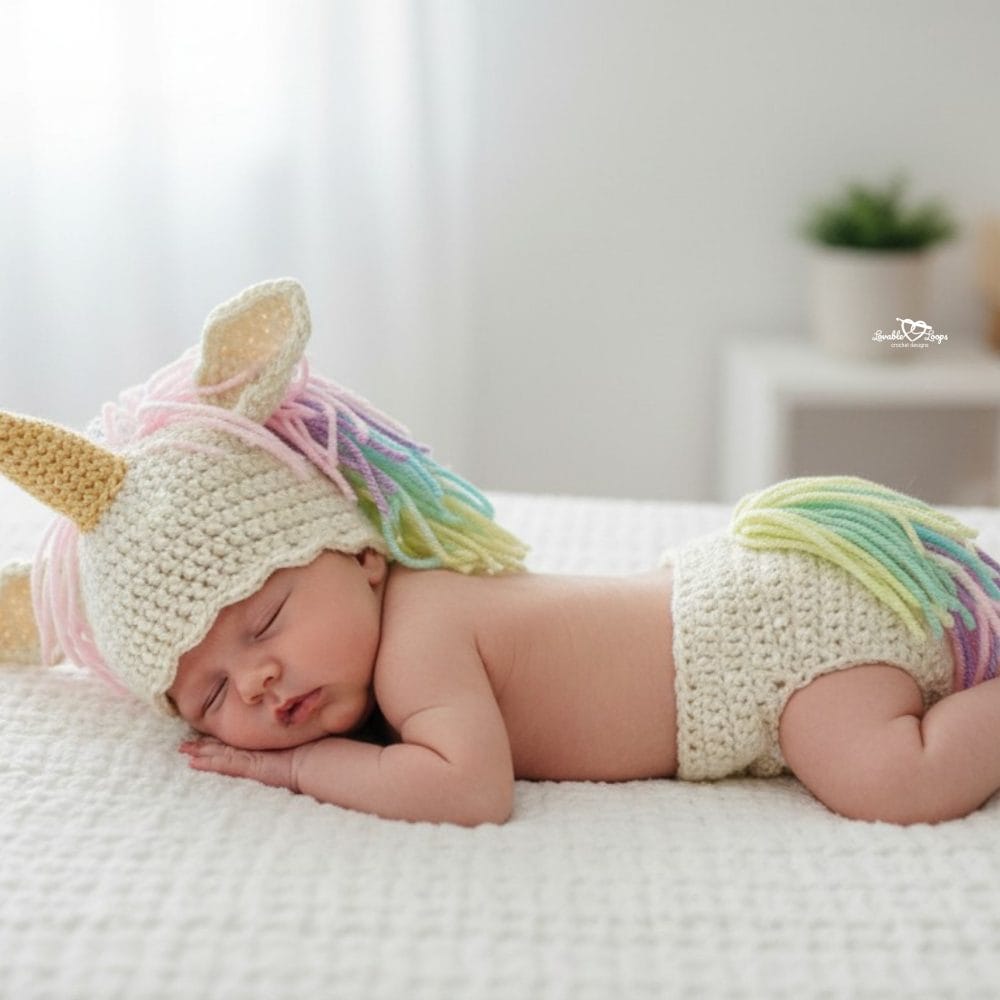
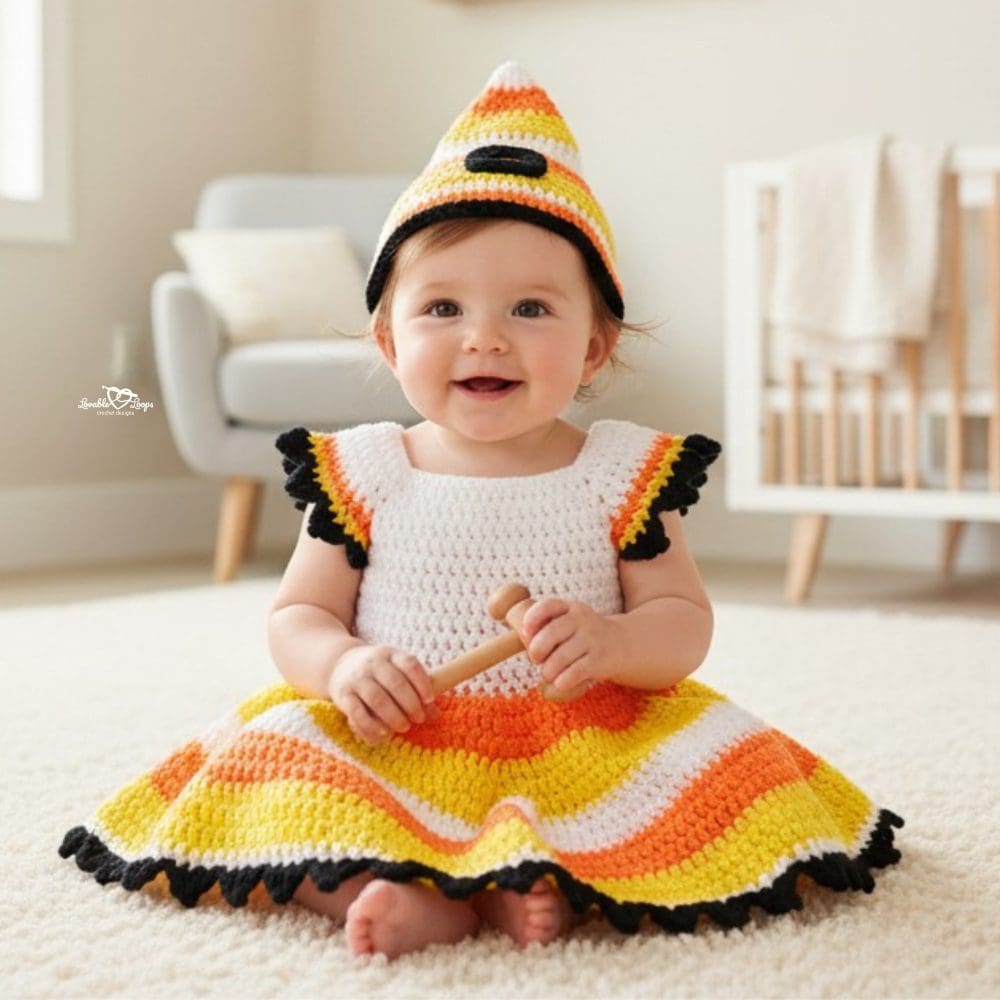
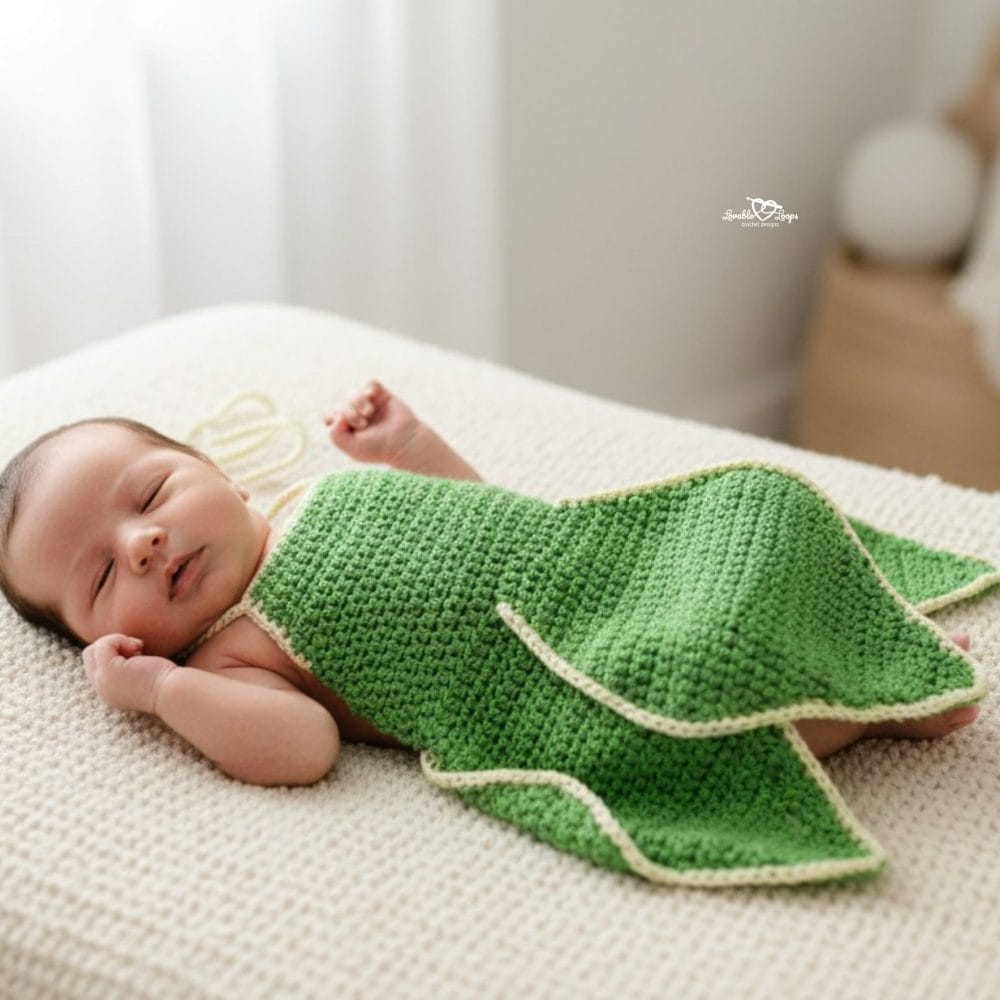
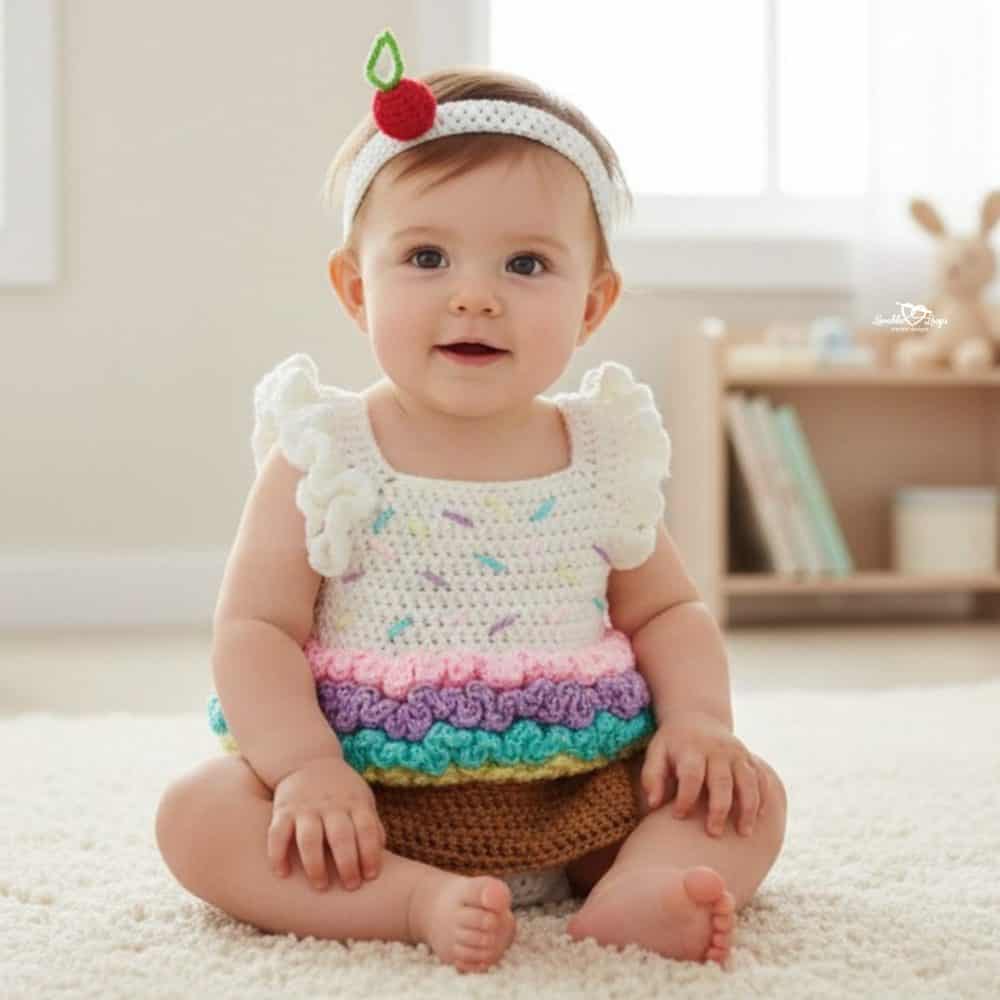
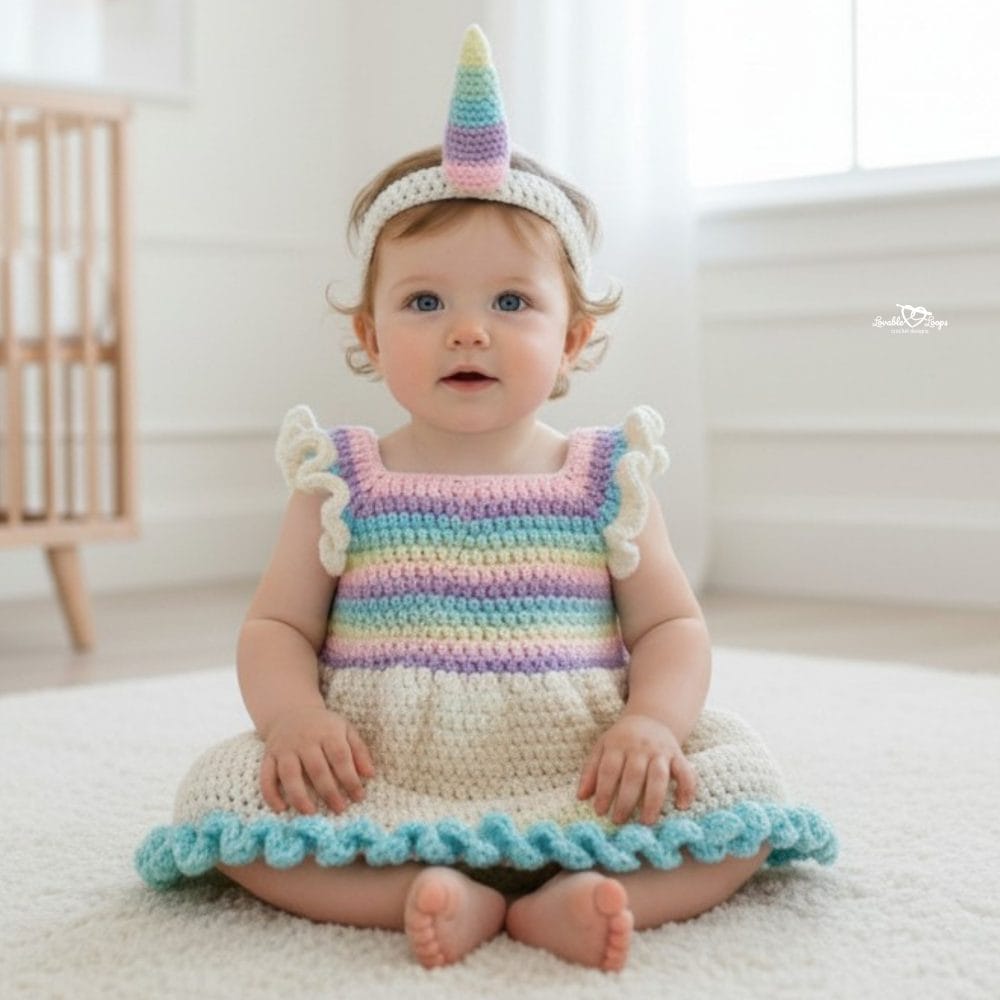
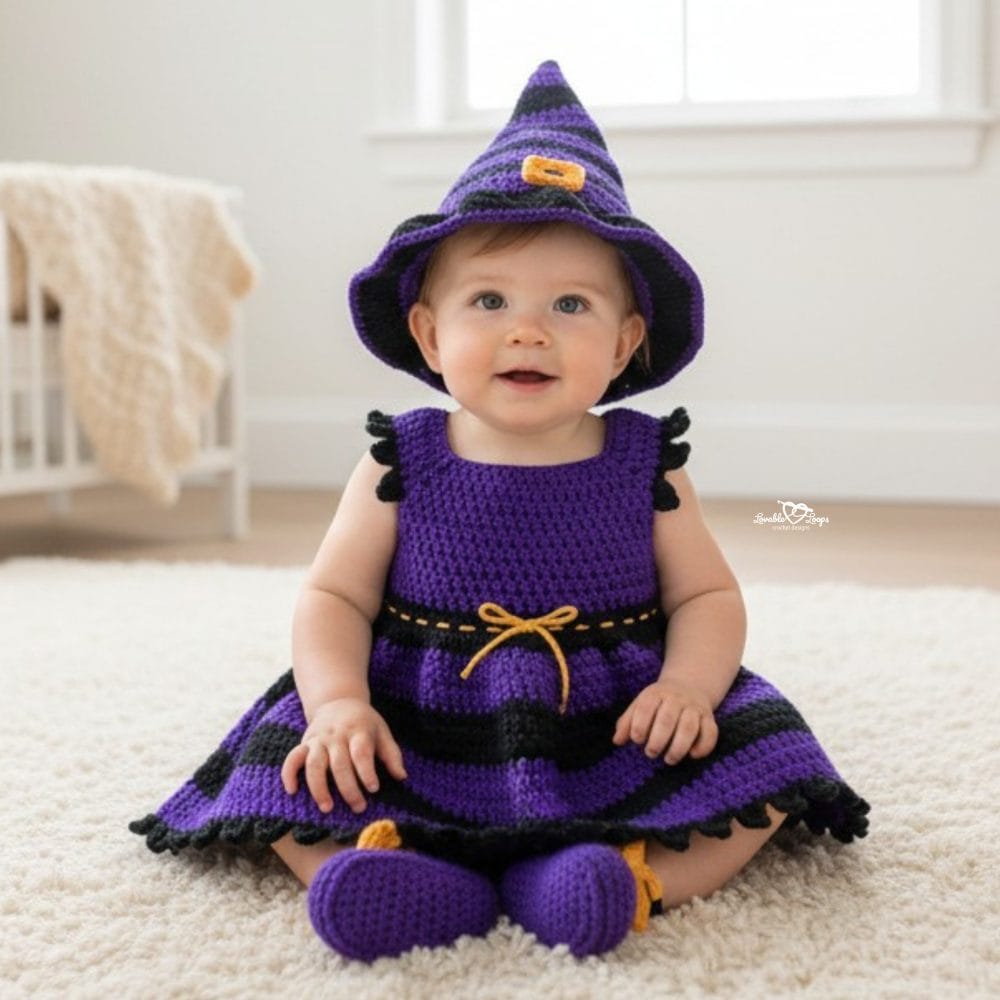
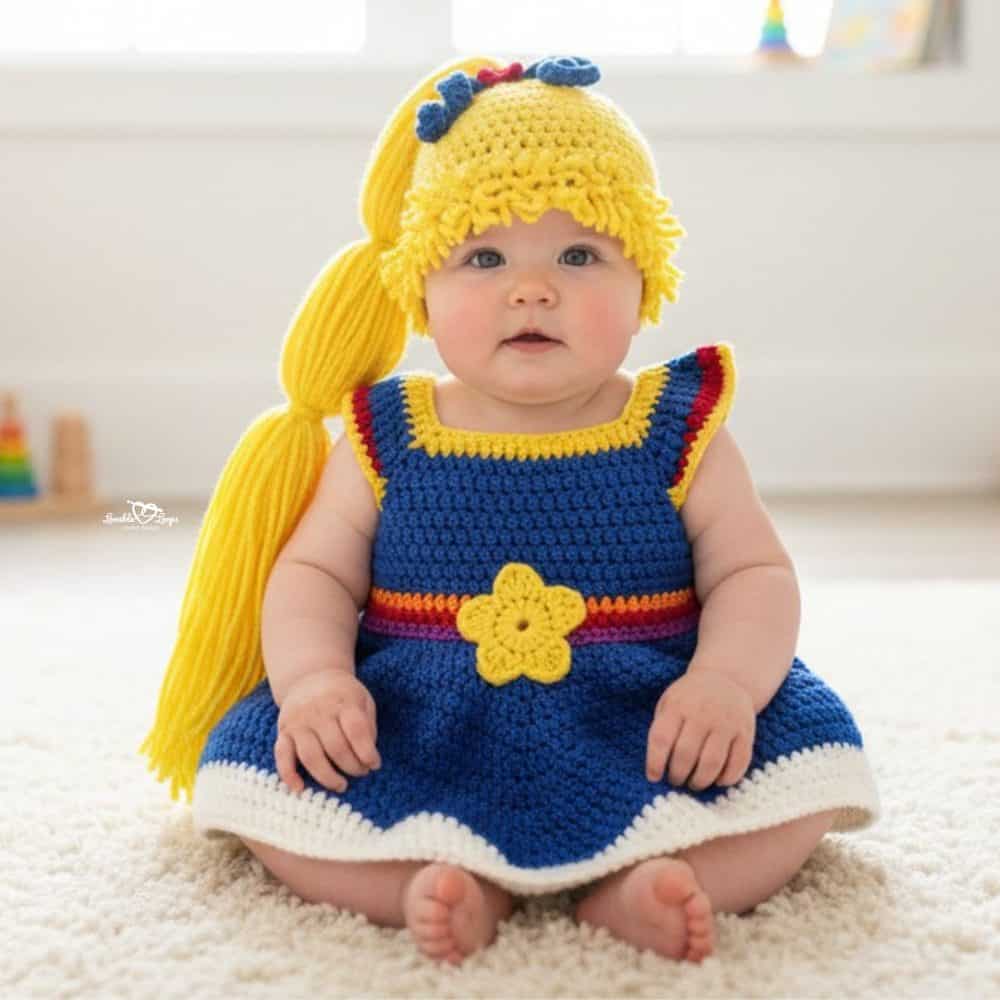
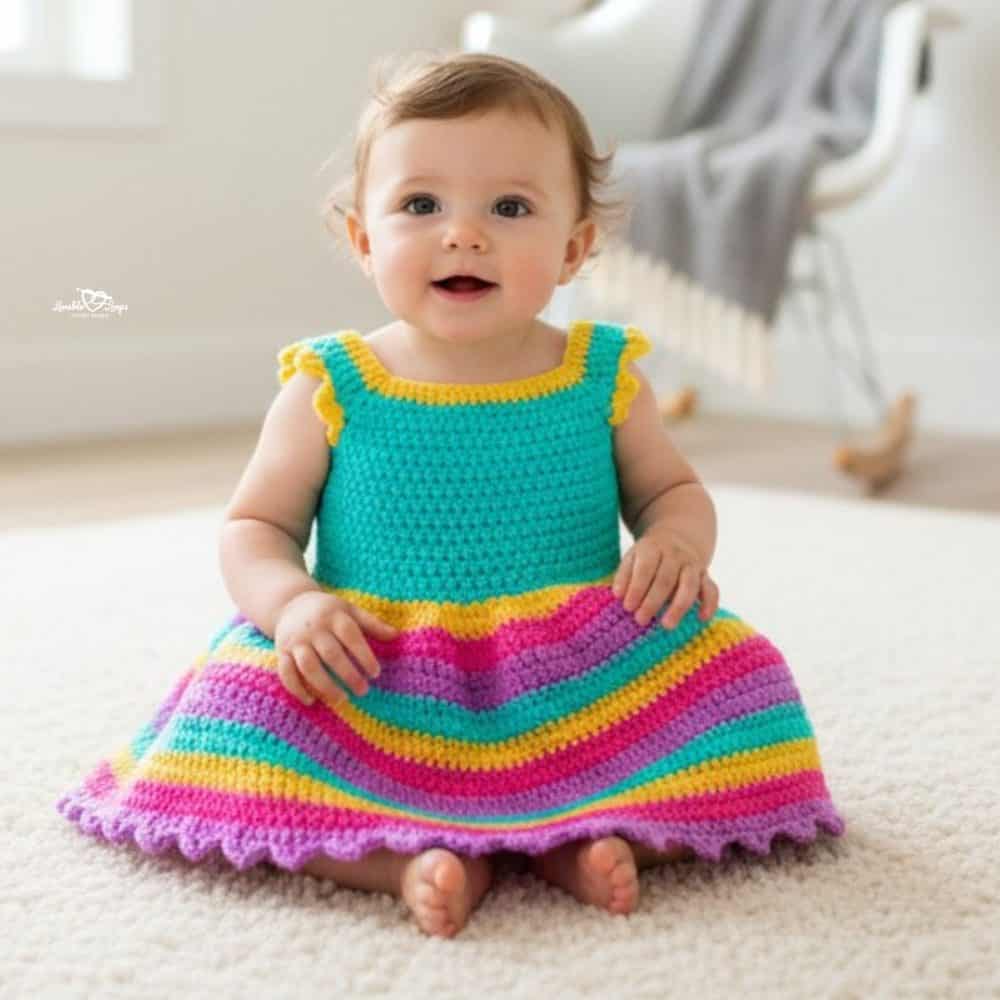
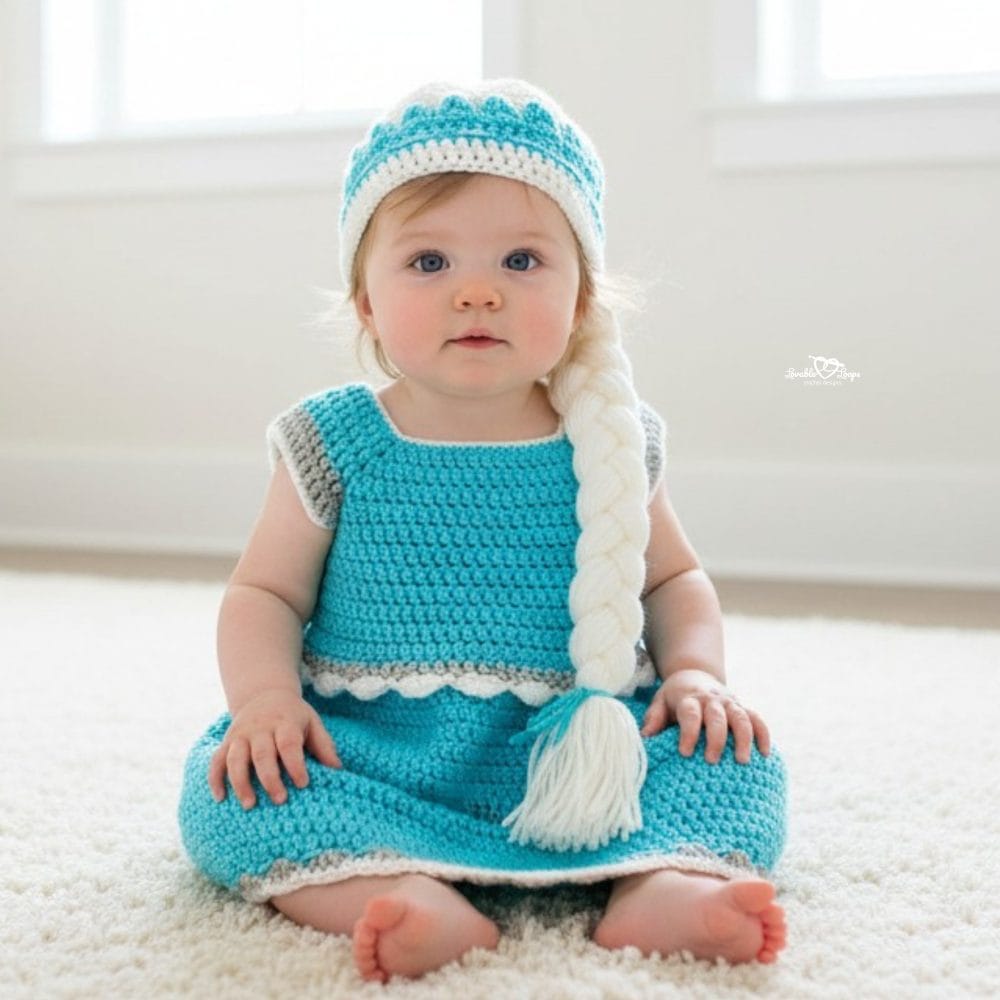
Free crochet baby costume patterns
Looking for more cute costume ideas for babies? These free crochet baby costume patterns are perfect for Halloween, dress-up, themed photos, and sweet handmade memories. You’ll find fun and creative outfits that are great for babies and toddlers, whether you want something playful for a party or extra special for pictures.
Browse the gallery below to find adorable crochet baby costumes you can make for little ones. For even more handmade ideas, visit my full collection of free crochet baby patterns.


Let’s connect!
I’d love to see what you’re making! Share your finished project and follow along for more free crochet patterns and tutorials.
📌 Don’t forget to pin this pattern for later!
Happy crocheting! 🧶
— Melissa