
Easy crochet hood pattern free + video tutorial
Want a hood that’s quick to make and fun to wear? This free and easy crochet hood pattern includes step-by-step instructions and a video tutorial, making it a great project for beginners.
This cozy hood works for toddlers, children, youth, and adults, and features a very pointy hood for a whimsical, storybook look. It’s perfect for everyday warmth, costumes, or seasonal wear—think pixie, elf, or Robin Hood–style vibes.
Whether you’re crocheting for winter, Halloween, or just for fun, you’ll love how simple and versatile this hood is to make.
Quick answer: Easy crochet hood pattern
This free crochet hood pattern is a beginner-friendly project made with bulky yarn and basic stitches. It includes toddler through adult sizes, a pointed hood design, and a full video tutorial. The hood is worked flat, seamed at the back, and finished with optional braided ties.

This is a beginner crochet hood pattern
If you’re a beginner, this pattern is a great place to start. It’s an easy, quick crochet project that uses simple stitches and bulky or chunky yarn, so it works up fast.
Acrylic yarn works especially well for this hood because it’s warm, durable, and easy to care for. Even experienced crocheters will enjoy this satisfying project thanks to its straightforward construction and playful design.
Easy crochet hood pattern information
This hood isn’t just for staying warm during cold weather—it’s also perfect for costumes and dress-up. Popular uses include Little Red Riding Hood, woodland elf, fairy, nomad, or even themed costumes inspired by Robin Hood.
The pointed hood adds personality while still being practical, making it a fun accessory for both everyday wear and special occasions.
Skill level
Beginner. This free pattern uses basic stitches and simple repeats in rows.
Crochet project materials needed
- Hook size: K (6.5 mm) crochet hook, or size needed to meet gauge
- Yarn: Bulky weight yarn (I used Premier Puzzle yarn in “Hangman”)
- Yarn needle: For weaving in ends
- Scissors: To fasten off yarn
- Stitch markers: Helpful for tracking rows and seaming
Printable PDF version
Prefer an ad-free version? View this as a printable pattern in my Etsy shop: Hood PDF Crochet Pattern
Sizes included
Toddler, Child, Youth, and Adult
Gauge
13 stitches = 4 inches
9 rows = 4 inches
Make a gauge swatch before starting. If you have more than 13 stitches in 4 inches, try a larger hook. If you have fewer stitches, try a smaller hook.
Care directions
Follow the care instructions listed on the yarn label you choose.
Crochet abbreviations
- dc = double crochet
- sc = single crochet
- hdc = half double crochet
- st/sts = stitch/stitches
- ch/chs = chain/chains
- sl st = slip stitch
Pattern notes
- This hood is worked flat
- Adjust the starting chain for smaller or larger sizes
- Stitch counts are listed at the end of each row
- Pattern is written in US crochet terms
Video tutorial
Prefer to learn by watching? This step-by-step crochet hood video tutorial walks you through the entire pattern from start to finish. Scroll down to follow along with the written instructions for each size.

Easy crochet hood pattern instructions
Leave a long tail for weaving in when you make the starting chain.
Toddler size crochet hood pattern
Row 1: Ch 72, dc in 2nd ch from hook and in each rem ch, turn (70 sts)
Row 2: Ch 2, dc in each st, turn (70 sts)
Rows 3- 18: Repeat Row 2 (70 sts)
Child size crochet hood pattern
Row 1: Ch 82, dc in 2nd ch from hook and in each rem ch, turn (80 sts)
Row 2: Ch 2, dc in each st, turn (80 sts)
Rows 3- 20: Ch 2, dc in each st, turn (80 sts)
Youth size crochet hood pattern
Row 1: Ch 92, dc in 2nd ch from hook and in each rem ch, turn (90 sts)
Row 2: Ch 2, dc in each st, turn (90 sts)
Rows 3- 21: Ch 2, dc in each st, turn (90 sts)
Adult size crochet hood pattern
Row 1: Ch 102, dc in 2nd ch from hook and in each rem ch, turn (100 sts)
Row 2: Ch 2, dc in each st, turn (100 sts)
Rows 3- 22: Ch 2, dc in each st, turn (100 sts)
Back seam of the hood
Fold the rectangle in half, line up stitches, and single crochet through both layers to create the back seam.
Edging the crochet hood
Join yarn at the left side of the hood. Chain 2, then half double crochet evenly around both sides and the top opening.
Adding braids to the crochet hood
- Cut twelve 30” strands of yarn for each braid. (24 total)
- Fold the strands in half and pass the folded loop through the corner.
- Pass the other end of the strands through the loop and pull tight to form a knot.
- Divide the strands into three sections and braid.
- Repeat for 2nd braid.
Finishing
Fasten off and weave in all ends securely.

These hoods are great for selling or donating
This crochet hood is a great option for craft fairs, handmade gifts, or donations. It’s quick to make, works for multiple sizes, and has a whimsical design that stands out.
Because it’s a fast project using bulky yarn, you can easily make several in a short amount of time—perfect for selling or donating during colder months.
FAQ – easy crochet hood pattern
Is this easy crochet hood pattern beginner friendly?
Yes! This is a beginner-friendly pattern that uses basic stitches and simple repeats. The hood is worked flat, then seamed at the back.
What yarn should I use for this crochet hood?
Bulky (#5) yarn works best for a warm, cozy hood. Acrylic is a great choice because it’s soft, durable, and easy to wash.
What sizes does this hood pattern include?
This pattern includes four sizes: toddler, child, youth, and adult.
How do I make the hood bigger or smaller?
You can adjust the fit by making the starting chain shorter or longer, then crocheting more or fewer rows to change the height.
How do I keep the edging from looking wavy?
Try to place your hdc evenly as you go, and avoid adding extra stitches around the corners. If it still waves, go down one hook size for the edging.
Do I have to add the braided ties?
Nope! The braids are optional. You can leave them off for a simple hood or add them for extra warmth and a cute finish.
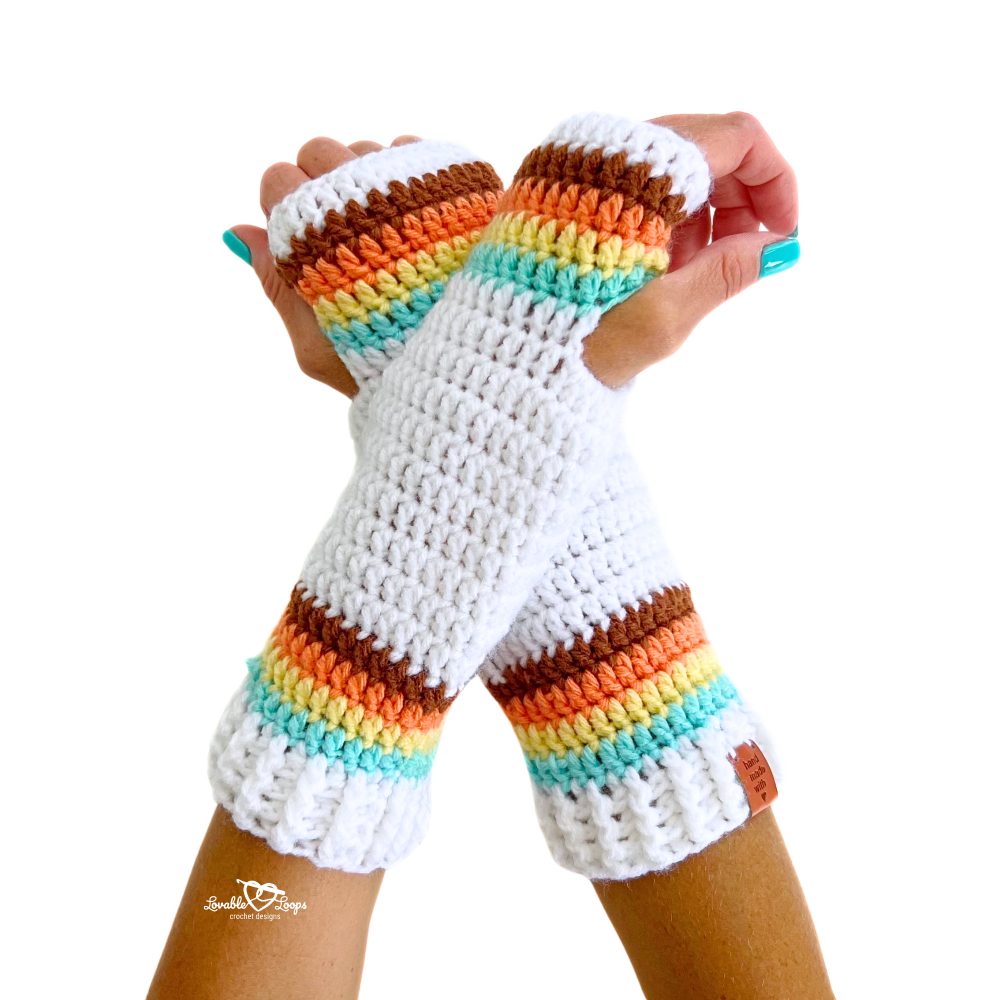
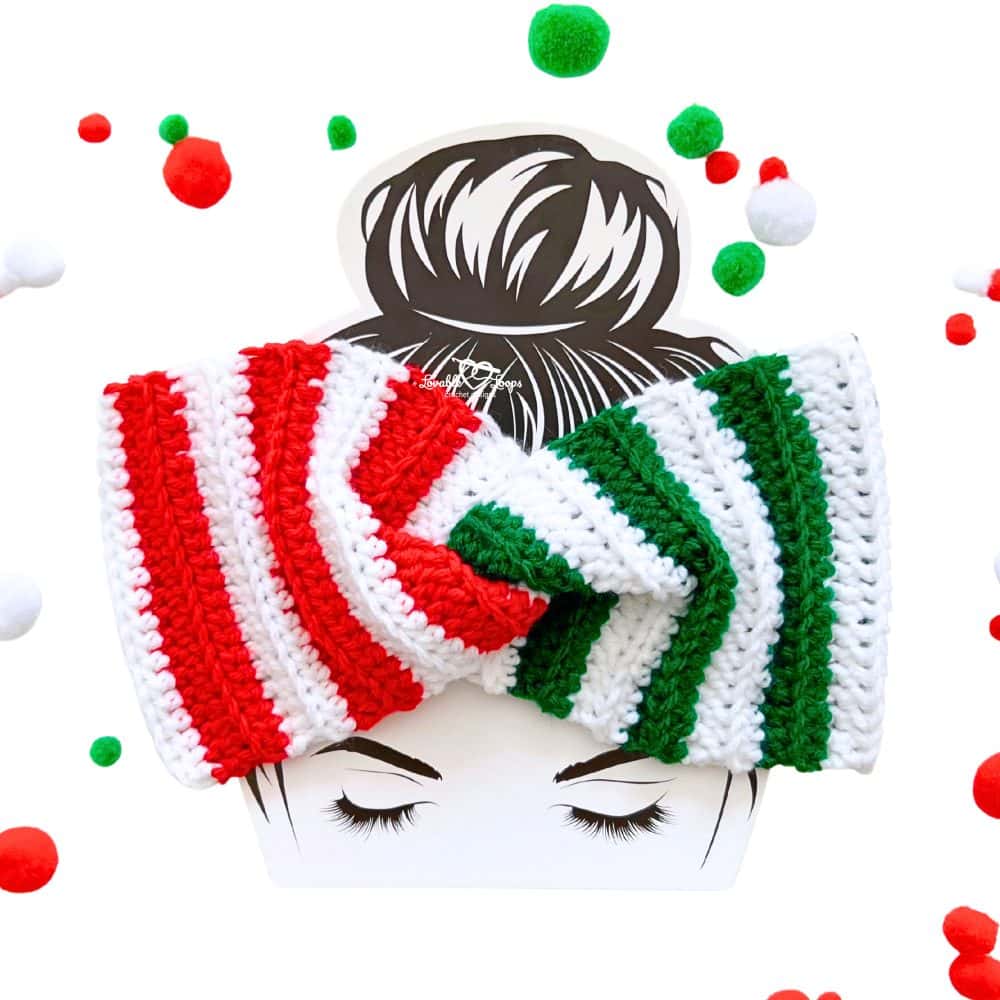
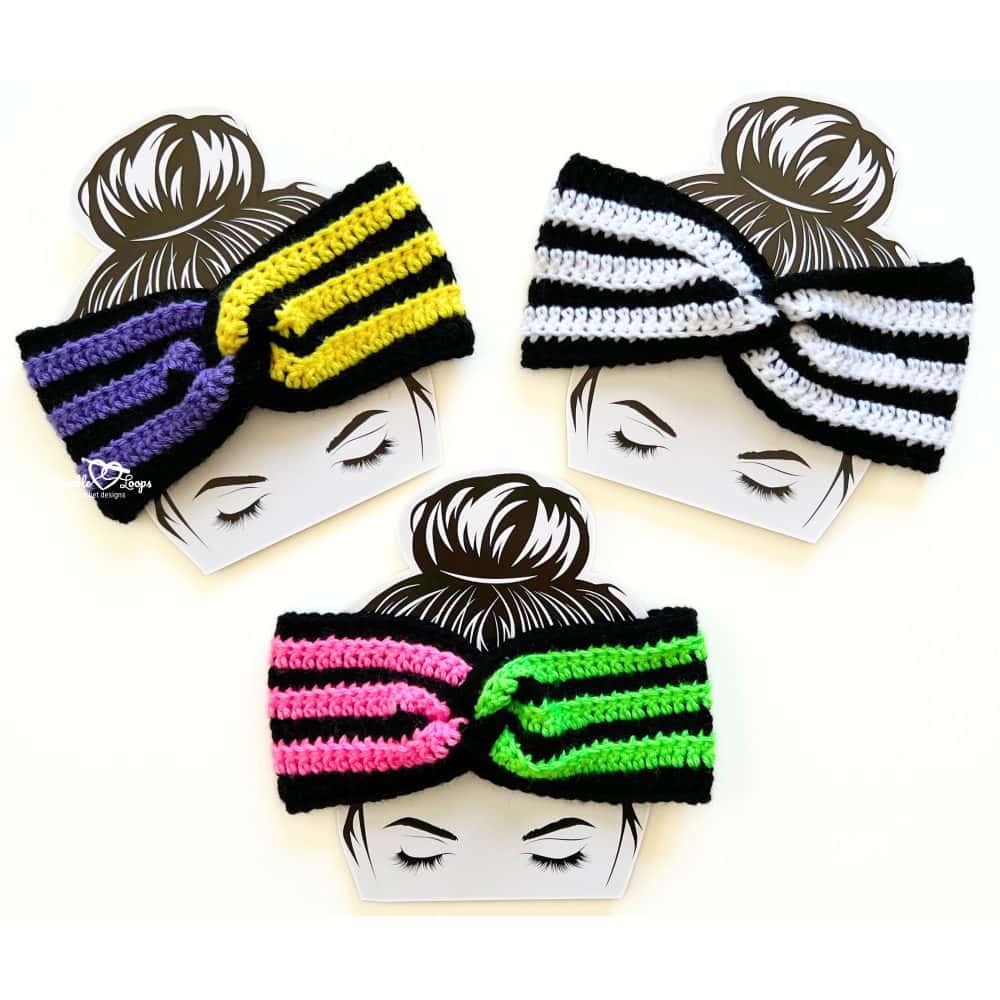
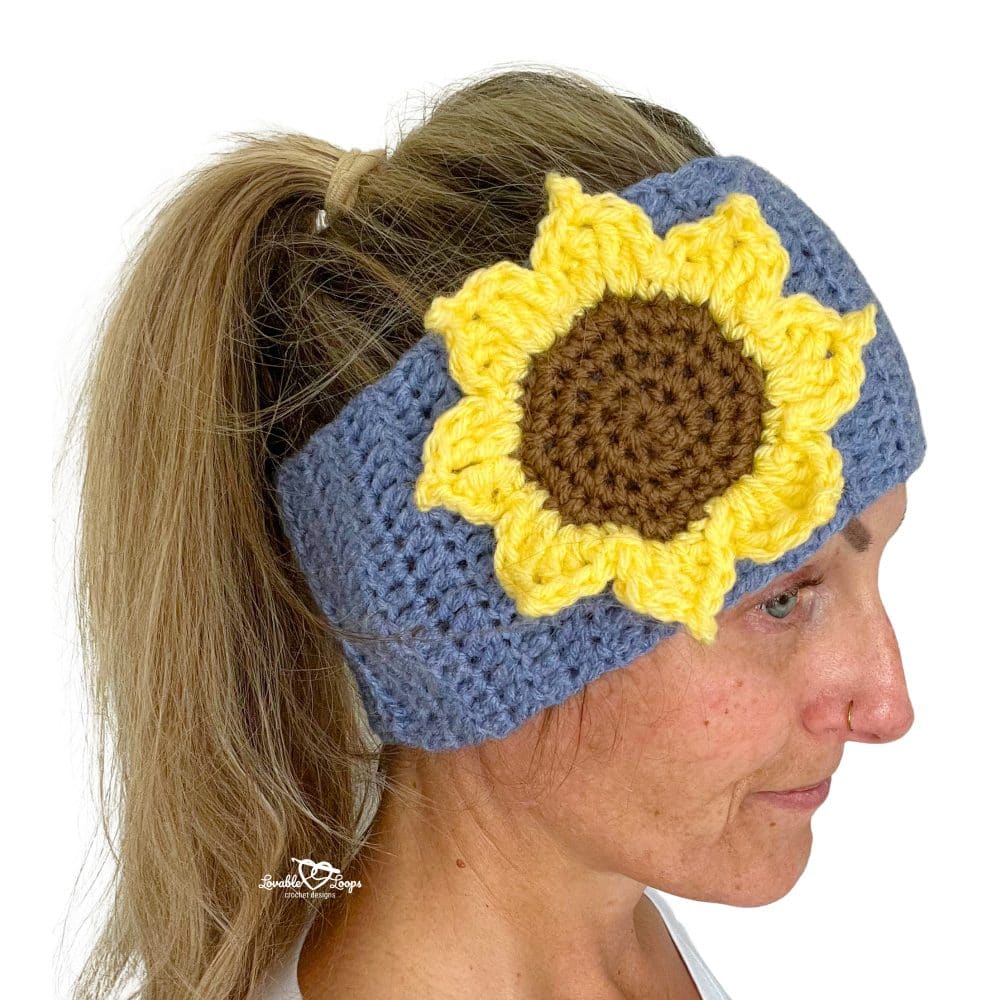
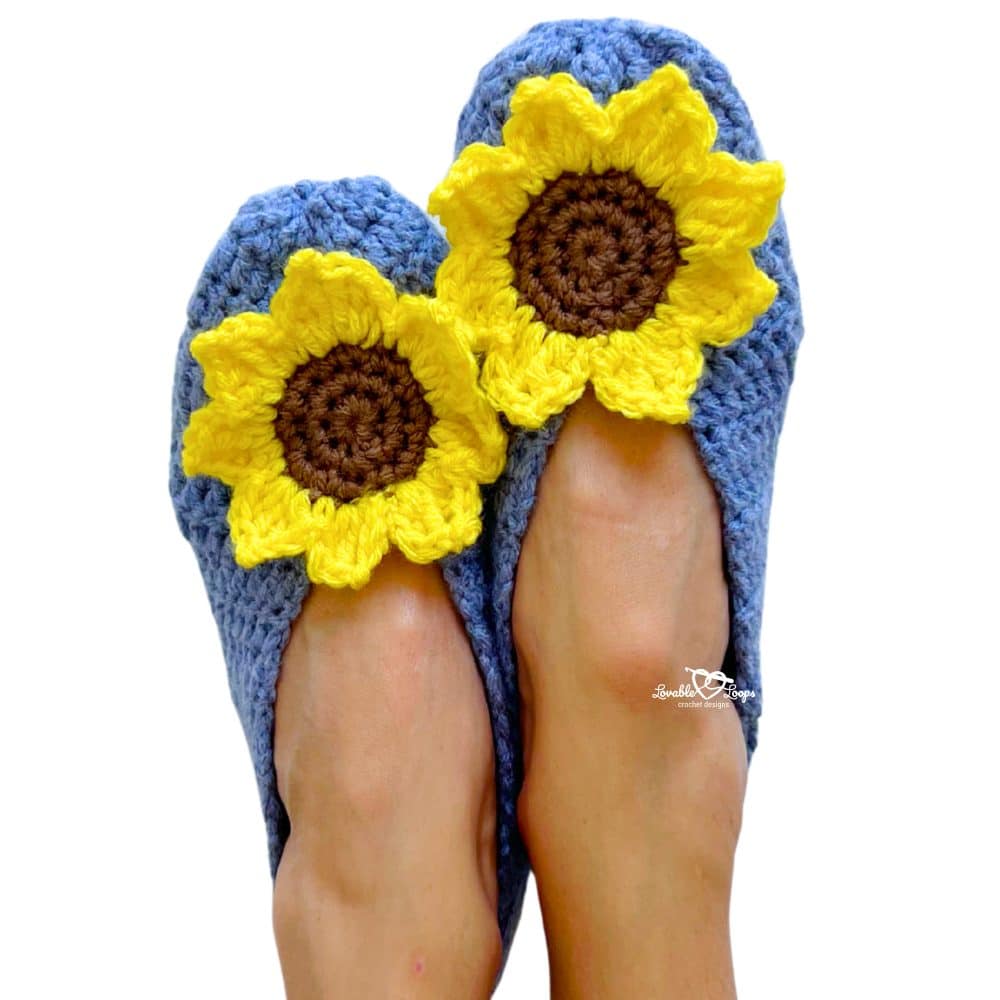
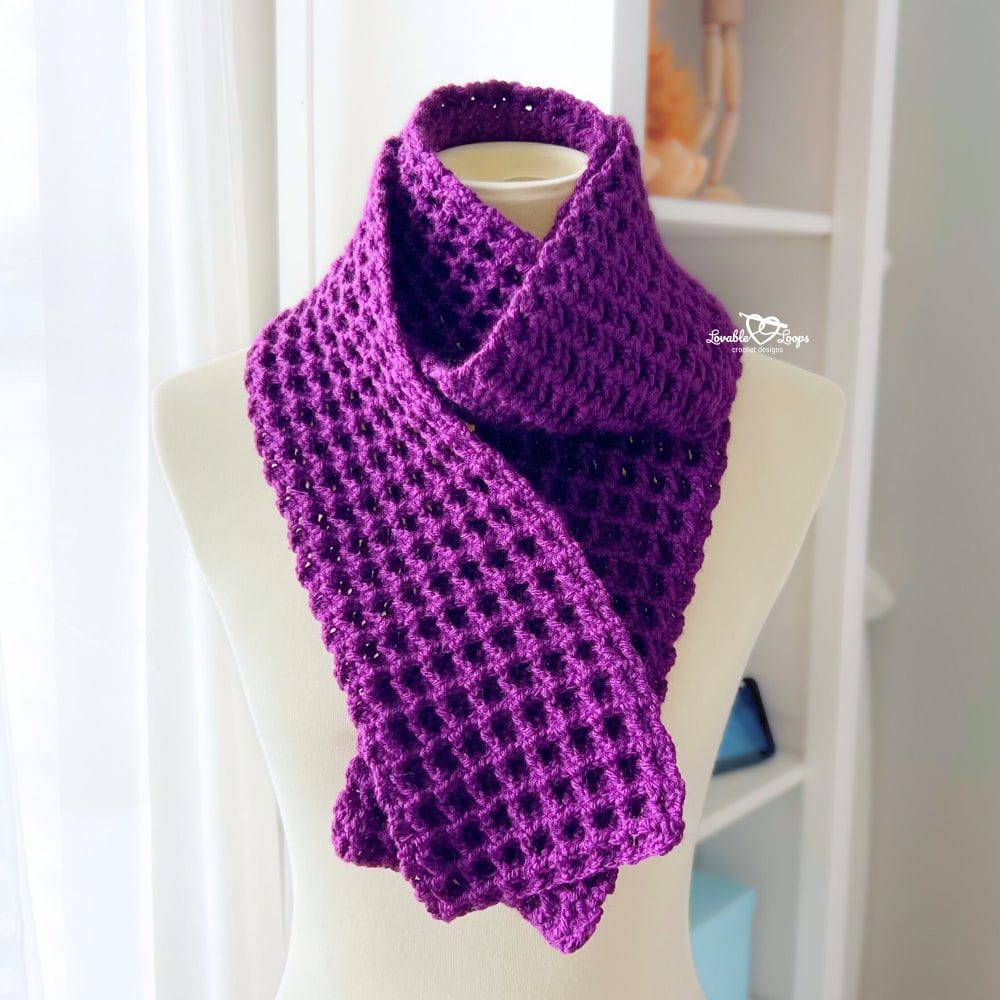
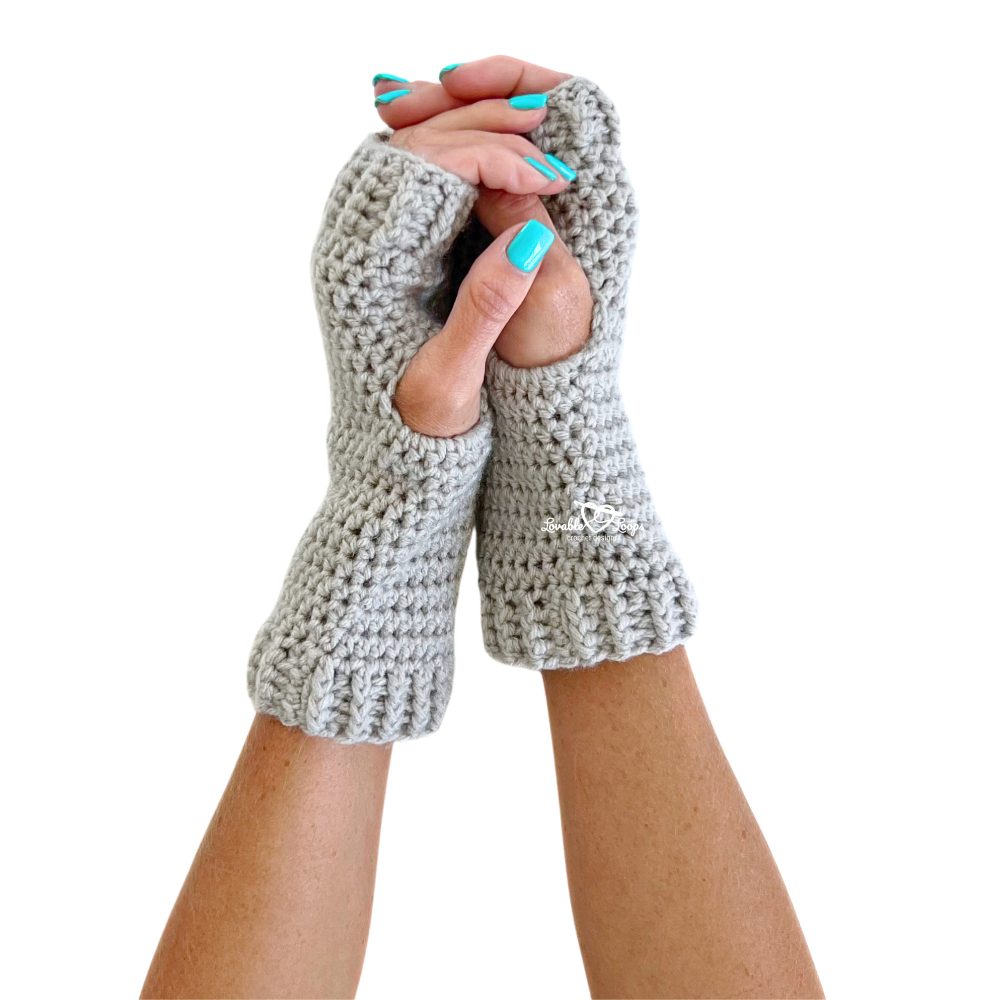
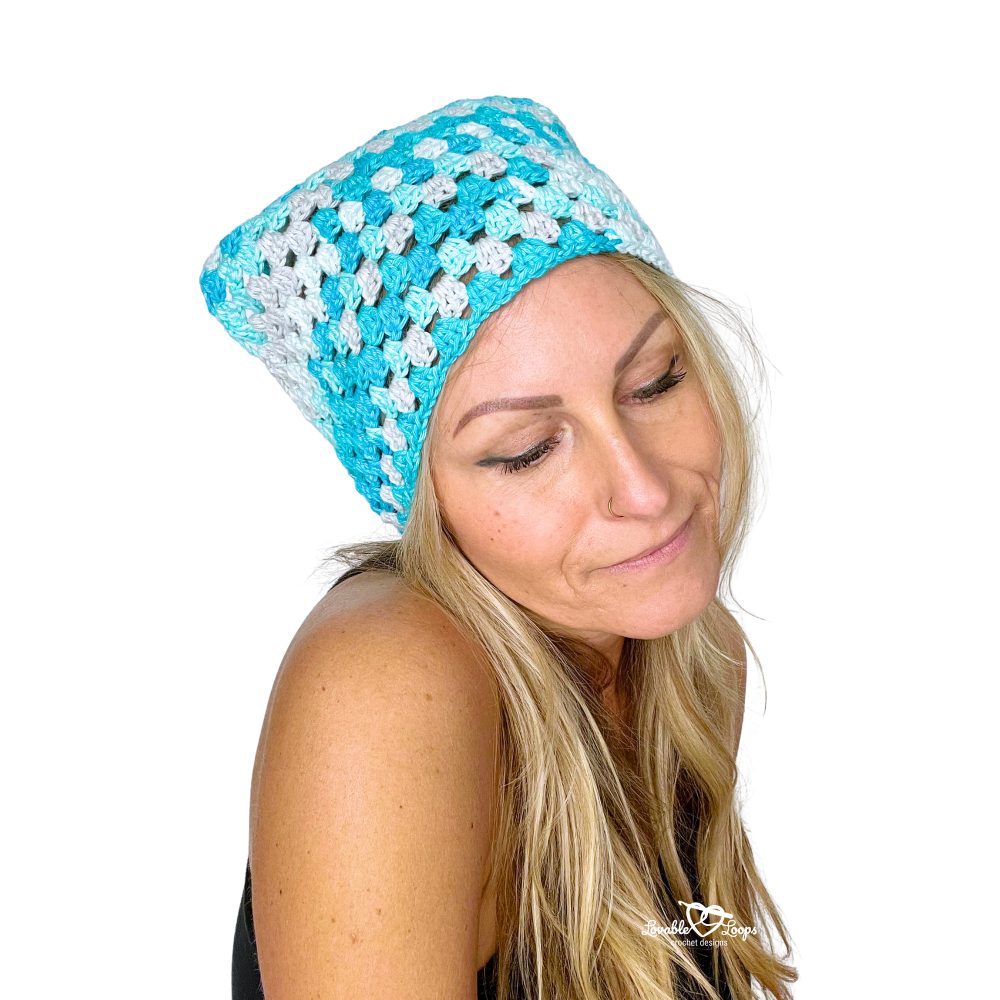
Free crochet accessories patterns
Looking for free crochet accessories patterns? These stylish and practical designs are perfect for everyday wear, thoughtful gifts, and craft fair favorites. From cozy mittens and scarves to cute headbands and home accents, you’ll find something fun to make for any season!


Let’s connect!
I’d love to see what you’re making! Share your finished project and follow along for more free crochet patterns and tutorials.
📌 Don’t forget to pin this pattern for later!
Happy crocheting! 🧶
— Melissa