Crochet elf on the shelf pattern
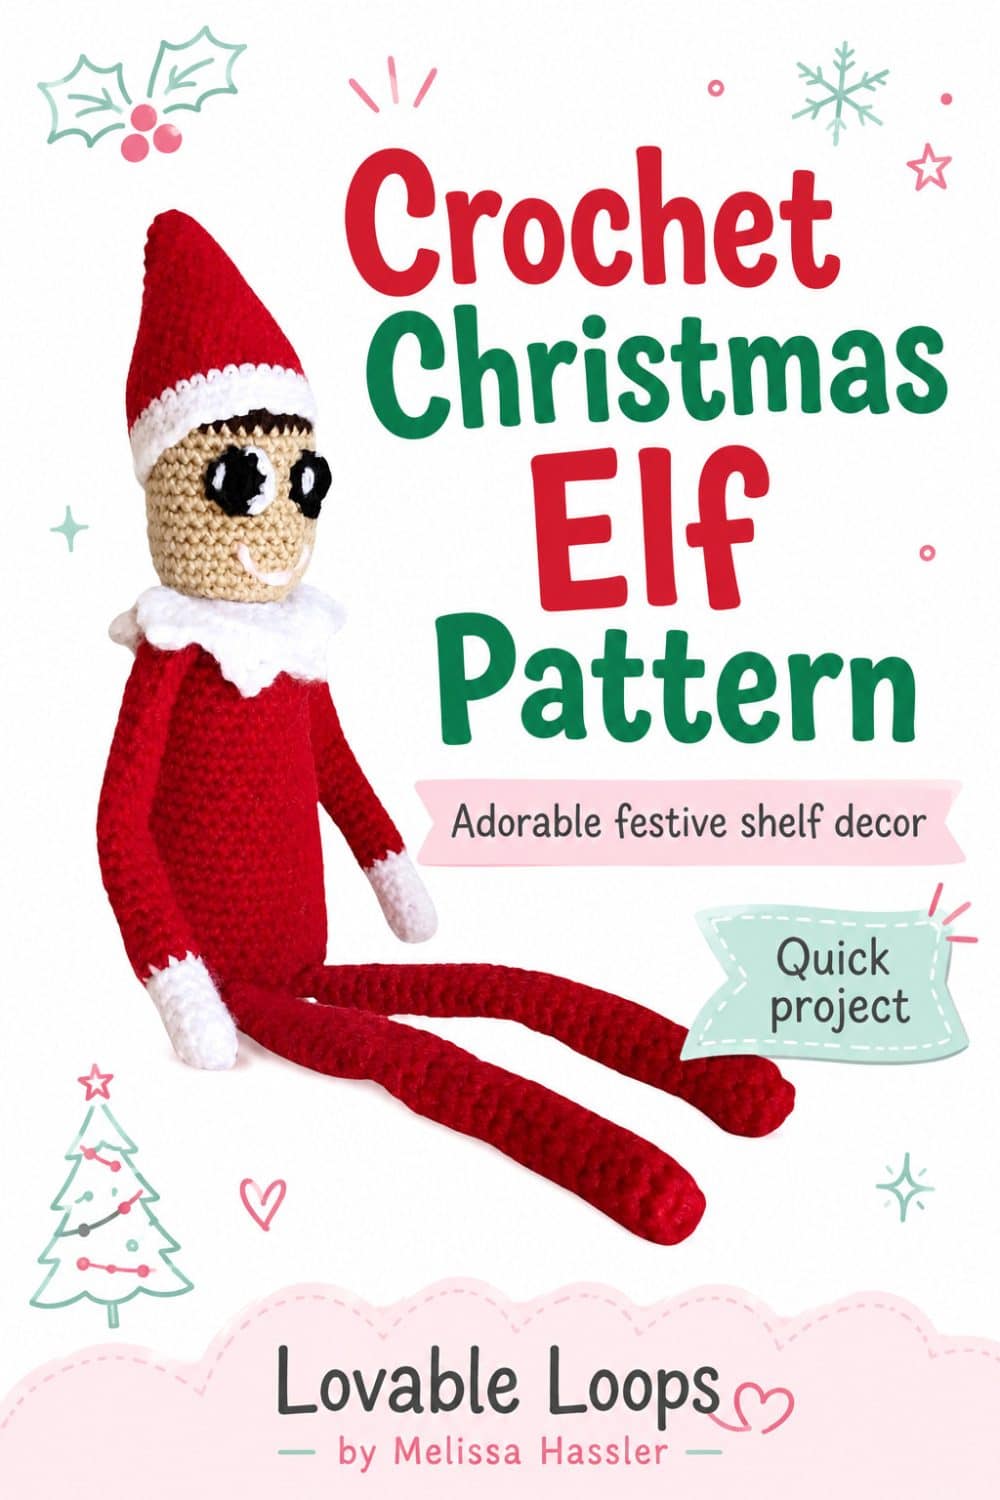
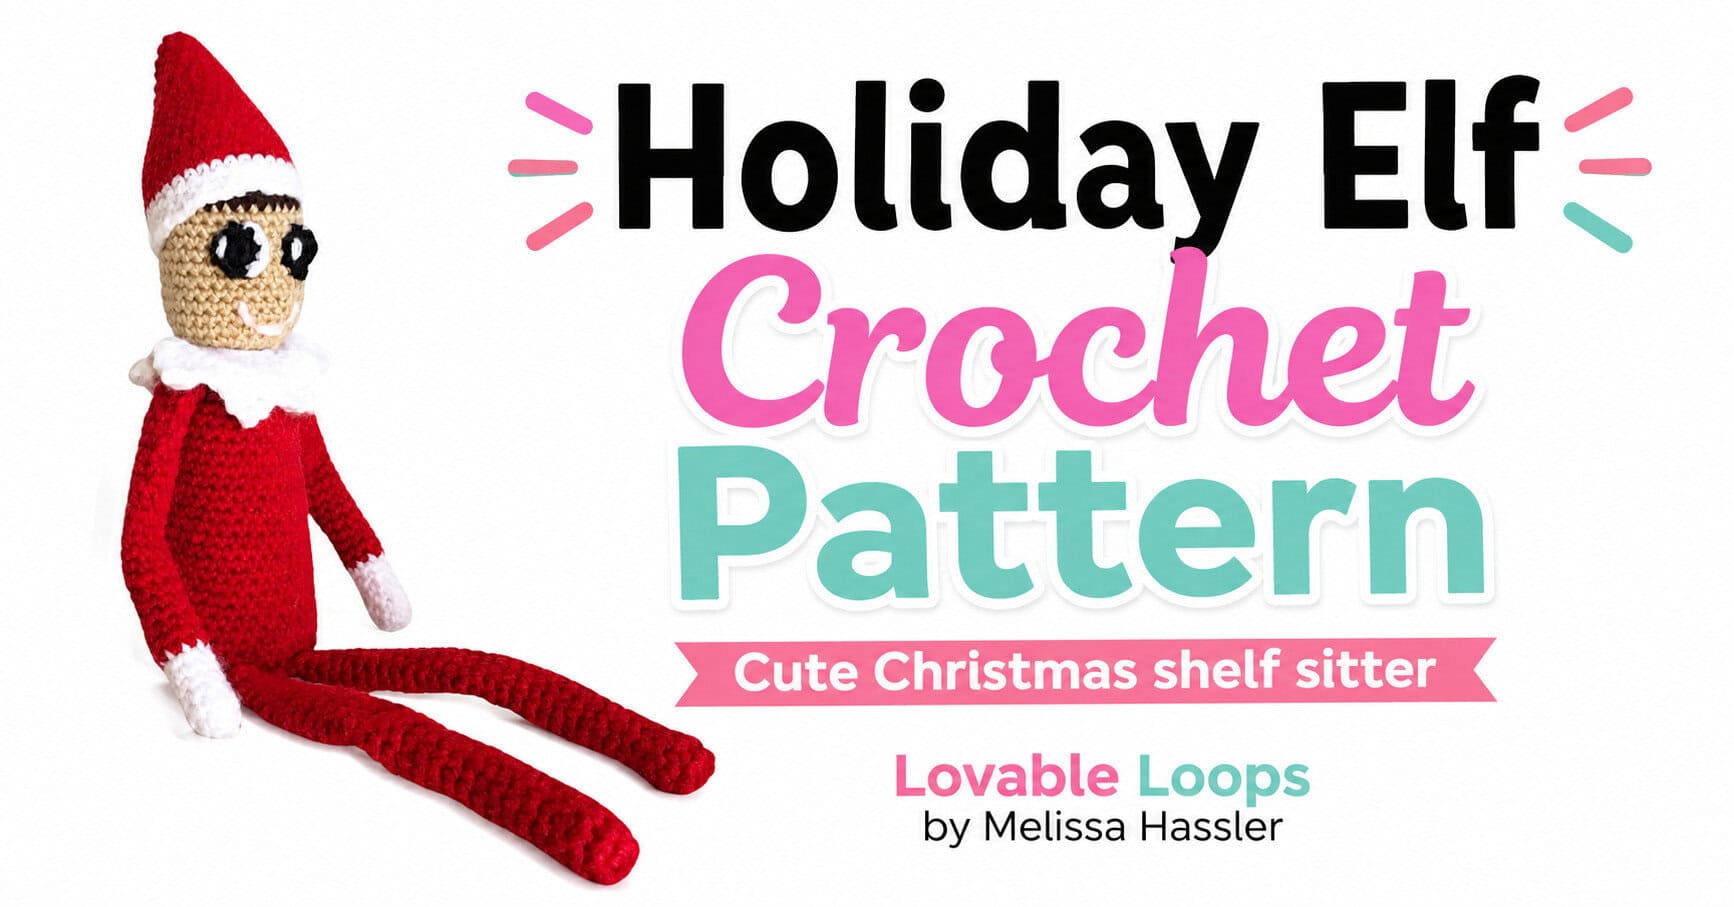
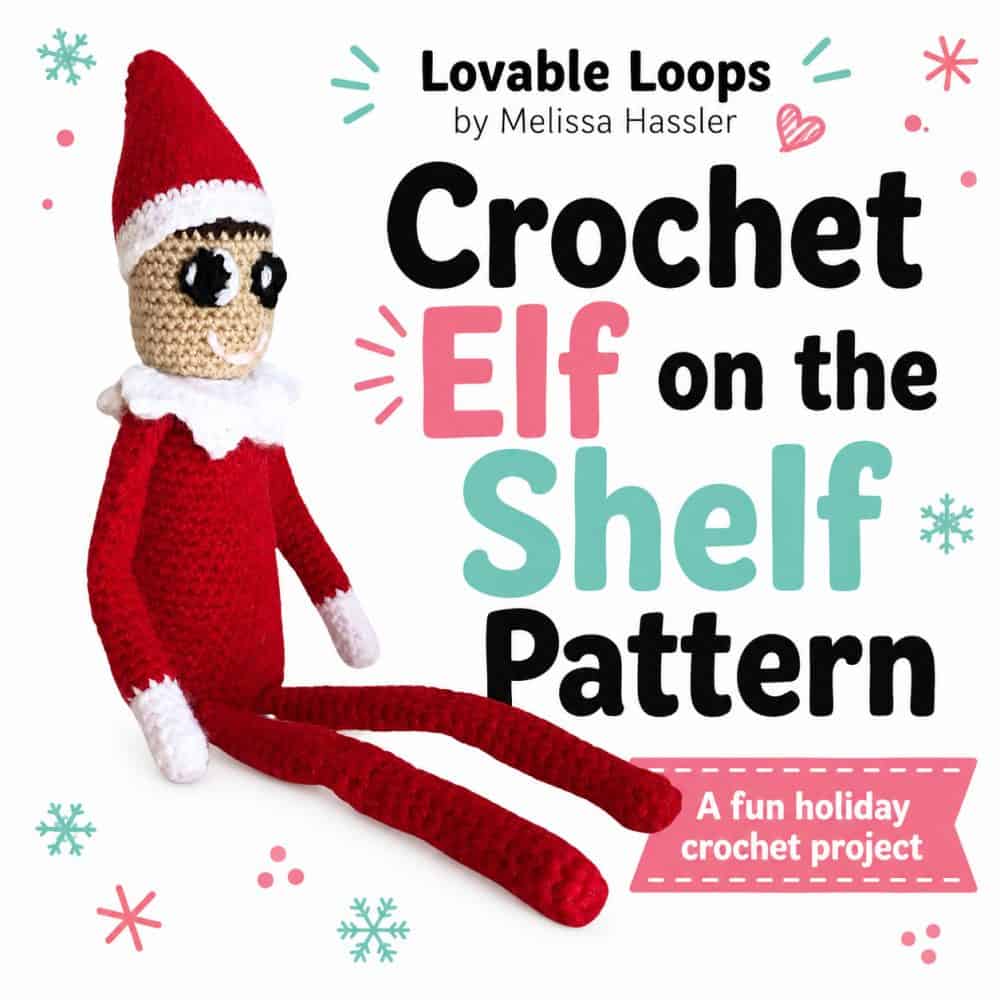
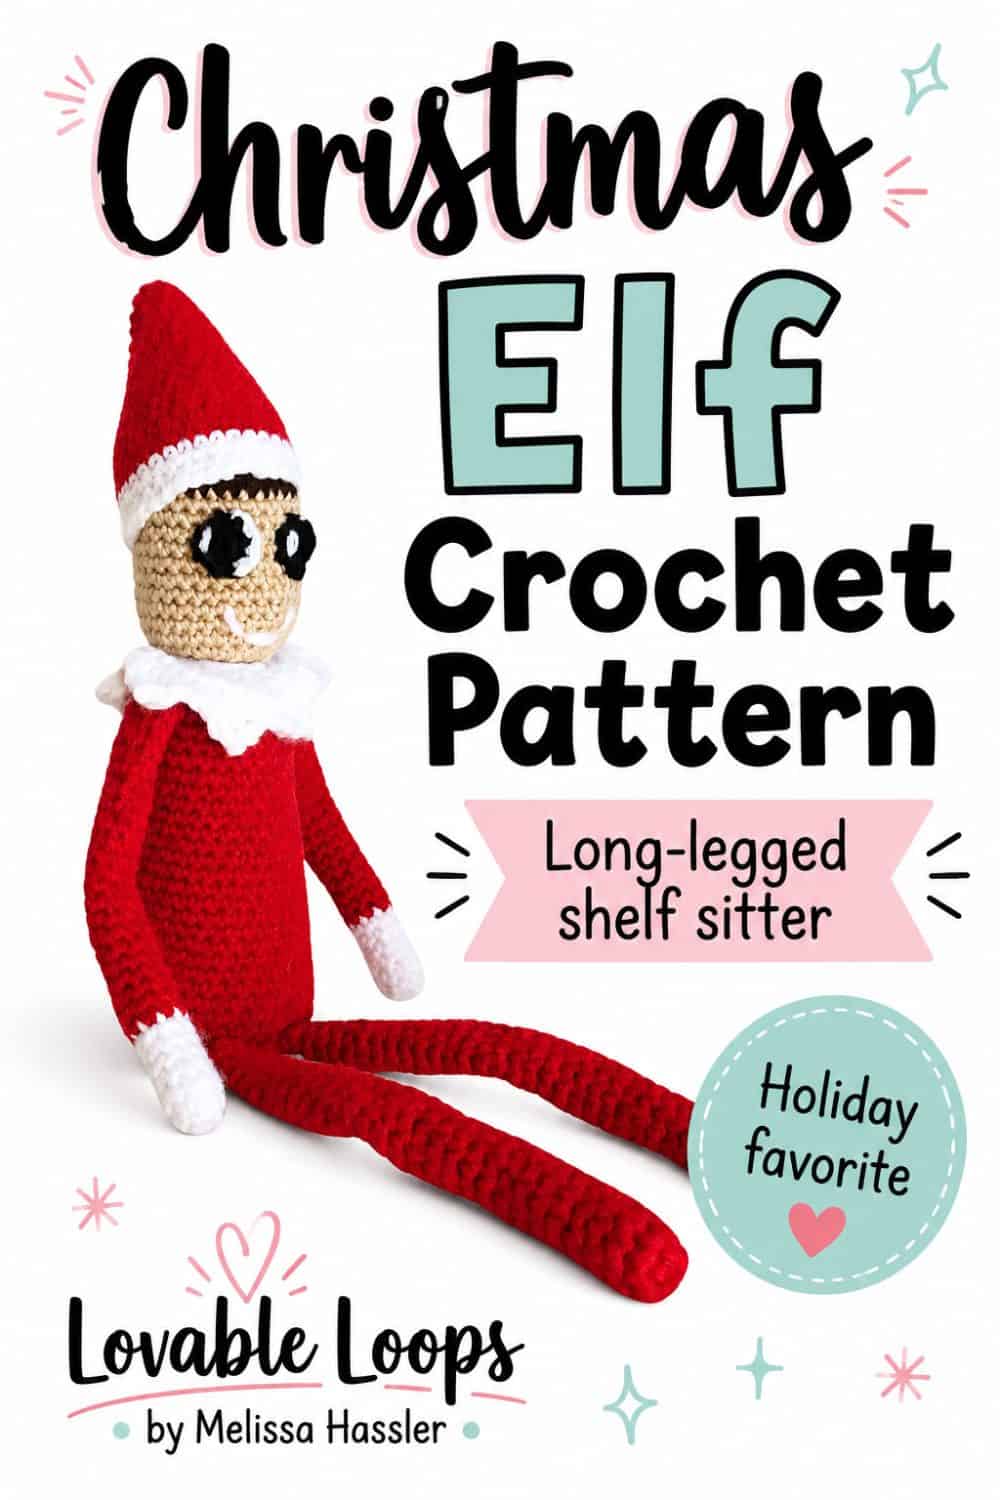
This crochet Elf on the Shelf pattern adds a cheerful handmade elf to your Christmas décor with long legs, a pointed hat, and a playful shelf-sitter look. It’s a festive project for displaying on a shelf, mantel, or other holiday spot.
Quick answer
This intermediate crochet elf doll uses worsted weight (#4) yarn and an E-4 (3.5 mm) crochet hook. The body, head, arms, legs, hat, eyes, and collar are made separately, primarily in joined rounds, and assembled with a yarn needle. Poly pellets add weight to help the elf sit upright. The finished doll measures approximately 14.5 inches (36.8 cm) tall and 11.5 inches (29.2 cm) wide.
Crochet elf on the shelf pattern details
Skill level
Intermediate — This pattern uses basic crochet stitches along with increases, decreases, shaping, color changes, stuffing, weighted sections, and sewing multiple pieces together.
Materials needed
- E-4 (3.5 mm) crochet hook
- Worsted weight yarn (#4) in a skin color, hair color, black, white, red, and pink
- Fiberfill
- Poly pellets
- Sewing pins
- Yarn needle
- Stitch marker
- Scissors
- Tightly woven fabric or nylon for the weighted pellet pouches
Finished size
The finished crochet elf measures approximately 14.5 inches (36.8 cm) tall and 11.5 inches (29.2 cm) wide.
Gauge
6 sc and 7 rows = 1 inch (2.5 cm)
Learn how to check crochet gauge before you begin so you can adjust your hook size if needed.
Crochet abbreviations
- sc = single crochet stitch
- hdc = half double crochet
- tr = treble crochet
- sc2tog = single crochet decrease
- ch/chs = chain/chains
- st/sts = stitch/stitches
- sl st = slip stitch
- rnd/rnds = round/rounds
Pattern notes
- The beginning ch 1 does not count as a stitch.
- Join each round with a sl st to the first stitch made.
- Repeat the instructions between asterisks (*) as directed.
- Use a stitch marker to mark the first stitch of each round if needed.
- The pattern is written in US crochet terms.
Crochet elf on the shelf pattern instructions
Elf body

Make 1 using red yarn.
Rnd 1: Make a magic circle. Ch 1, work 6 sc into the ring. Join. (6 sts)
Rnd 2: Ch 1, 2 sc in each st around. Join. (12 sts)
Rnd 3: Ch 1, *2 sc in next st, sc in next st; repeat from * around. Join. (18 sts)
Rnd 4: Ch 1, *2 sc in next st, sc in next 2 sts; repeat from * around. Join. (24 sts)
Rnd 5: Ch 1, *2 sc in next st, sc in next 3 sts; repeat from * around. Join. (30 sts)
Rnd 6: Ch 1, *2 sc in next st, sc in next 4 sts; repeat from * around. Join. (36 sts)
Rnds 7–15: Ch 1, sc in each st around. Join. (36 sts)
Rnd 16: Ch 1, *sc2tog, sc in next 16 sts; repeat from * around. Join. (34 sts)
Rnds 17–18: Ch 1, sc in each st around. Join. (34 sts)
Rnd 19: Ch 1, *sc2tog, sc in next 15 sts; repeat from * around. Join. (32 sts)
Rnds 20–21: Ch 1, sc in each st around. Join. (32 sts)
Rnd 22: Ch 1, *sc2tog, sc in next 14 sts; repeat from * around. Join. (30 sts)
Rnds 23–24: Ch 1, sc in each st around. Join. (30 sts)
Rnd 25: Ch 1, *sc2tog, sc in next 13 sts; repeat from * around. Join. (28 sts)
Rnds 26–27: Ch 1, sc in each st around. Join. (28 sts)
Rnd 28: Ch 1, *sc2tog, sc in next 12 sts; repeat from * around. Join. (26 sts)
Rnds 29–30: Ch 1, sc in each st around. Join. (26 sts)
Place a securely closed fabric pouch containing poly pellets in the bottom third of the body to add weight. Fill the remaining space around and above the pouch with fiberfill.
Rnd 31: Ch 1, *sc2tog, sc in next 11 sts; repeat from * around. Join. (24 sts)
Rnd 32: Ch 1, *sc2tog, sc in next 2 sts; repeat from * around. Join. (18 sts)
Rnd 33: Ch 1, *sc2tog, sc in next st; repeat from * around. Join. (12 sts)
Rnd 34: Ch 1, sc2tog around. Join and fasten off, leaving a long tail for sewing. (6 sts)
Add more fiberfill if needed. Using the long yarn tail and a yarn needle, sew the opening closed.
Elf legs

Make 2 using red yarn.
Rnd 1: Make a magic circle. Ch 1, work 4 sc into the ring. Join. (4 sts)
Rnd 2: Ch 1, 2 sc in each st around. Join. (8 sts)
Rnds 3–18: Ch 1, sc in each st around. Join. (8 sts)
Place a small, securely closed fabric pouch containing poly pellets in the lower portion of the leg, through Round 17. Using a yarn needle and red yarn, sew straight across the leg at Round 17 to separate the weighted section from the upper portion. Be careful not to pierce the pouch.
Rnds 19–30: Ch 1, sc in each st around. Join. (8 sts)
Rnd 31: Ch 1, sc in each st around. Join and fasten off, leaving a long tail for sewing. (8 sts)
Lightly stuff the upper portion of the leg, from Rounds 18–31, with fiberfill.
Using the long yarn tail, sew the top of the leg closed. Make this seam parallel to the seam at Round 17.
Position the legs on the bottom front of the body and sew them securely in place.
Elf head

Make 1.
Start with your chosen skin-color yarn.
Rnd 1: Make a magic circle. Ch 1, work 6 sc into the ring. Join. (6 sts)
Rnd 2: Ch 1, 2 sc in each st around. Join. (12 sts)
Rnd 3: Ch 1, *2 sc in next st, sc in next st; repeat from * around. Join. (18 sts)
Rnd 4: Ch 1, *2 sc in next st, sc in next 2 sts; repeat from * around. Join. (24 sts)
Rnd 5: Ch 1, *2 sc in next st, sc in next 3 sts; repeat from * around. Join. (30 sts)
Rnds 6–14: Ch 1, sc in each st around. Join. (30 sts)
Switch to your chosen hair-color yarn.
Rnd 15: Ch 1, sc in each st around. Join. (30 sts)
Rnd 16: Ch 1, *sc2tog, sc in next 3 sts; repeat from * around. Join. (24 sts)
Rnd 17: Ch 1, *sc2tog, sc in next 2 sts; repeat from * around. Join. (18 sts)
Rnd 18: Ch 1, *sc2tog, sc in next st; repeat from * around. Join. (12 sts)
Stuff the head firmly with fiberfill.
Rnd 19: Ch 1, sc2tog around. Join and fasten off, leaving a long tail for sewing. (6 sts)
Add more fiberfill if needed and sew the opening closed.
Use sewing pins to position the head on top of the body. Using the long yarn tail and a yarn needle, sew the head securely to the body.
Elf collar
Make 1 using white yarn.
Row 1: Ch 22, hdc in the 3rd ch from the hook and in each remaining ch across. Turn. (20 sts)
Row 2: Ch 2, 2 hdc in each st across. Turn. (40 sts)
Row 3: Ch 1, *sc in next st, hdc in next st, (tr, ch 2, sl st in 2nd ch from hook, tr) in next st, hdc in next st, sc in next st; repeat from * across. (8 points)
Fasten off, leaving a long tail for sewing.
Use sewing pins to position the collar around the neck where the head and body meet. Using the long yarn tail and a yarn needle, sew the collar securely in place.
Elf arms

Make 2.
Start with white yarn.
Rnd 1: Make a magic circle. Ch 1, work 4 sc into the ring. Join. (4 sts)
Rnd 2: Ch 1, 2 sc in each st around. Join. (8 sts)
Rnds 3–7: Ch 1, sc in each st around. Join. (8 sts)
Switch to red yarn.
Rnds 8–18: Ch 1, sc in each st around. Join. (8 sts)
Place a small, securely closed fabric pouch containing poly pellets in the lower portion of the arm, through Round 17. Using a yarn needle and scrap red yarn, sew straight across the arm at Round 17 to separate the weighted section from the upper portion. Be careful not to pierce the pouch.
Rnds 19–27: Ch 1, sc in each st around. Join. (8 sts)
Rnd 28: Ch 1, sc in next st, sc2tog, sc in next 5 sts. Join. (7 sts)
Rnds 29–30: Ch 1, sc in each st around. Join. (7 sts)
Lightly stuff the upper portion of the arm, from Rounds 18–30, with fiberfill.
Fasten off, leaving a long tail for sewing. Using the yarn tail, sew the top of the arm closed. Make this seam perpendicular to the seam at Round 17.
Position the arms on the sides of the body just below the collar. Using the remaining long yarn tails and a yarn needle, sew the arms securely to the body. Fasten off and weave in the remaining ends.
Elf hat
Make 1.
Start with red yarn.
Rnd 1: Make a magic circle. Ch 1, work 4 sc into the ring. Join. (4 sts)
Rnd 2: Ch 1, 2 sc in each st around. Join. (8 sts)
Rnd 3: Ch 1, sc in each st around. Join. (8 sts)
Rnd 4: Ch 1, *2 sc in next st, sc in next st; repeat from * around. Join. (12 sts)
Rnd 5: Ch 1, sc in each st around. Join. (12 sts)
Rnd 6: Ch 1, *2 sc in next st, sc in next 2 sts; repeat from * around. Join. (16 sts)
Rnd 7: Ch 1, sc in each st around. Join. (16 sts)
Rnd 8: Ch 1, *2 sc in next st, sc in next 3 sts; repeat from * around. Join. (20 sts)
Rnd 9: Ch 1, sc in each st around. Join. (20 sts)
Rnd 10: Ch 1, *2 sc in next st, sc in next 4 sts; repeat from * around. Join. (24 sts)
Rnd 11: Ch 1, sc in each st around. Join. (24 sts)
Rnd 12: Ch 1, *2 sc in next st, sc in next 5 sts; repeat from * around. Join. (28 sts)
Rnd 13: Ch 1, sc in each st around. Join. (28 sts)
Rnd 14: Ch 1, *2 sc in next st, sc in next 6 sts; repeat from * around. Join. (32 sts)
Rnds 15–17: Ch 1, sc in each st around. Join. (32 sts)
Switch to white yarn.
Rnds 18–20: Ch 1, sc in each st around. Join. (32 sts)
Fasten off, leaving a very long tail for sewing.
Use sewing pins to position the hat on the elf’s head. Using the long yarn tail and a yarn needle, sew the hat securely to the head.
Elf eyes
Make 2.
Start with black yarn.
Rnd 1: Make a magic circle. Ch 1, work 6 sc into the ring. Join. (6 sts)
Fasten off the black yarn, leaving a long tail for sewing.
Join white yarn in the next stitch.
Rnd 2: Ch 1, 2 sc in each of the next 2 sts, sl st in the next st. Leave the remaining 3 sts unworked. Fasten off, leaving a long white yarn tail. (4 sc)
Use sewing pins to position the eyes on the face. Using the black yarn tails, sew each eye securely to the head.
Using the white yarn tails, stitch a small highlight on each eye.
Adding the smile
Using pink yarn and a yarn needle, stitch a small smile onto the elf’s face.
Secure the yarn by weaving the ends beneath nearby crochet stitches, keeping them hidden as neatly as possible.
Finishing
Make sure all pieces are securely attached and the facial details are finished. Weave in all remaining yarn ends and trim any loose ends.

More crochet Christmas decor patterns
Looking for more festive projects to make? Browse my favorite Christmas crochet decor patterns, including ornaments, pillows, garlands, appliques, stockings, and other cozy holiday makes for your home.
For another festive elf project, try my Elf C2C crochet square pattern, featuring a cheerful Christmas elf that you can use for blankets, pillows, and other holiday projects.
Let’s connect!
I’d love to see what you’re making! Share your finished project and follow along for more free crochet patterns and tutorials.
📌 Don’t forget to pin this pattern for later!
Happy crocheting! 🧶
— Melissa