
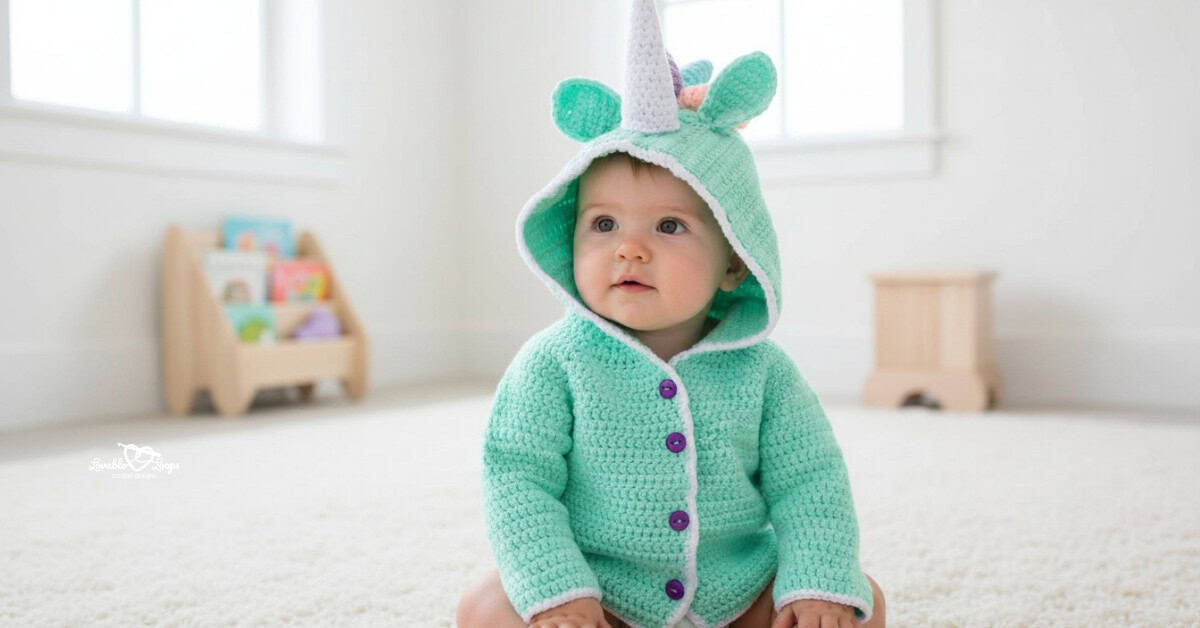
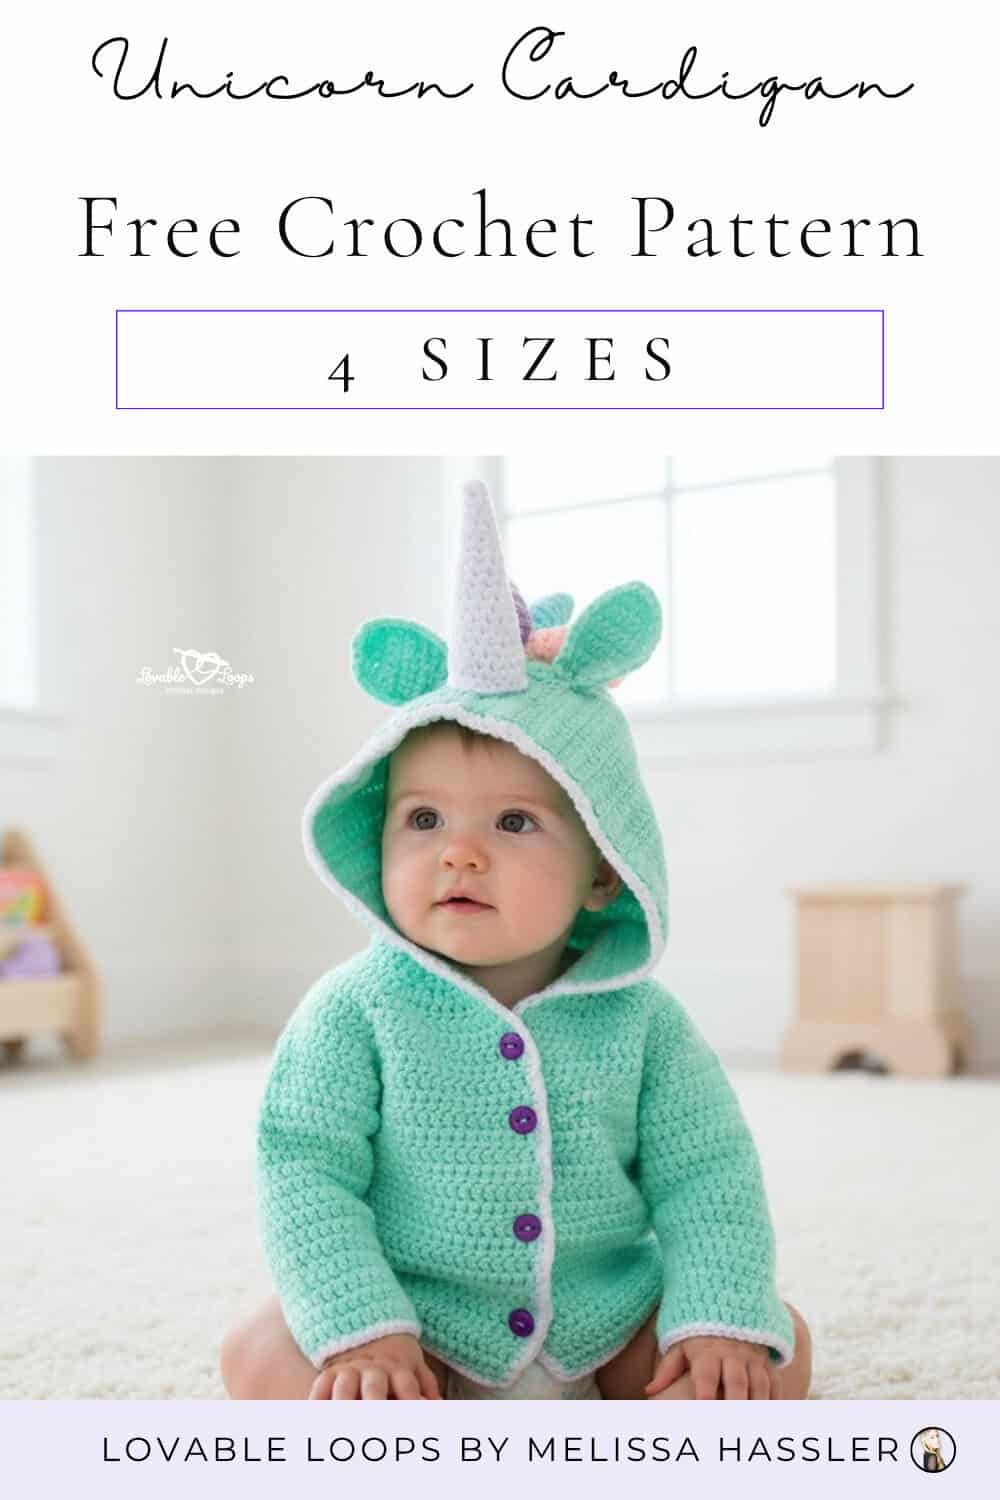
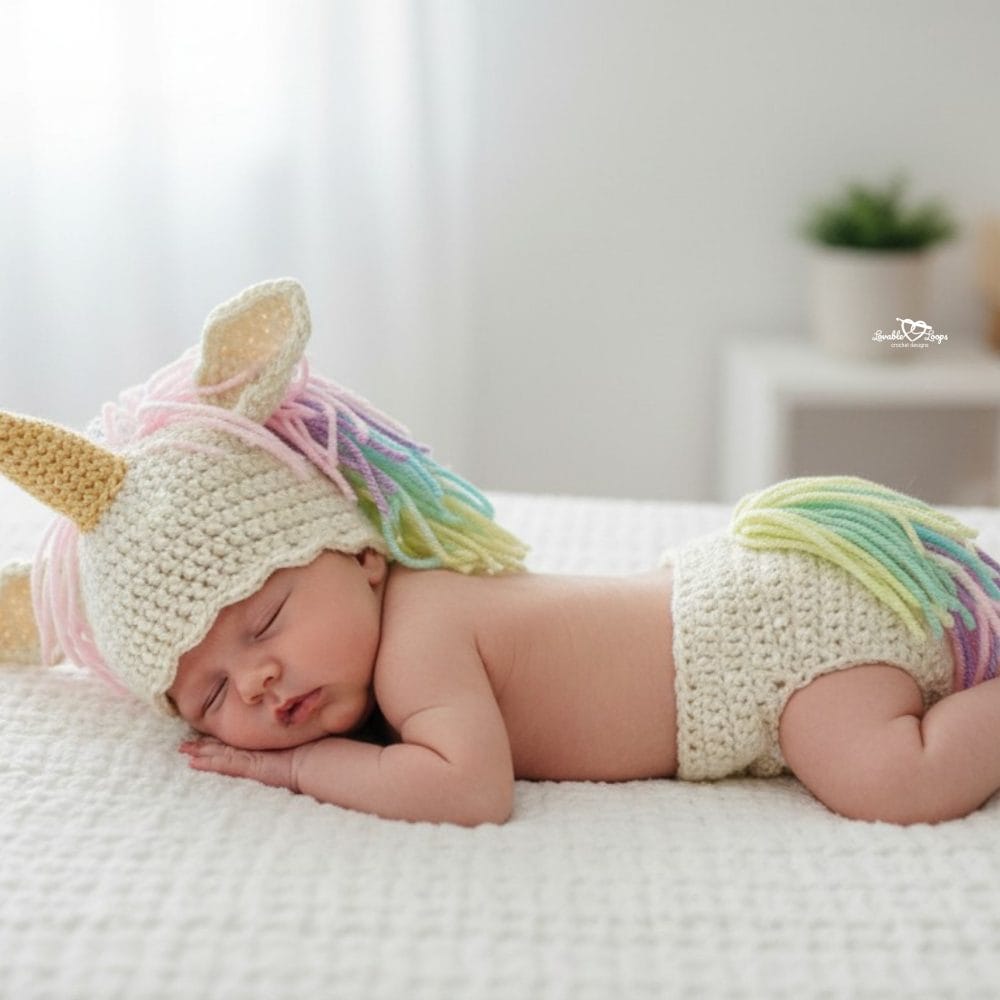
Unicorn crochet baby cardigan pattern
Looking for a cute and cozy baby sweater with a fun twist? This unicorn crochet baby cardigan pattern features a hood with a horn and ears, making it a playful option for babies and toddlers. It includes 4 sizes from 0–3 months to 12–24 months and is a sweet choice for baby gifts, birthdays, or everyday wear.
Quick answer
This unicorn crochet baby cardigan pattern is an intermediate project made with worsted weight yarn and an H-8 (5 mm) crochet hook. It includes sizes from 0–3 months to 12–24 months and features a hood with unicorn horn and ear details, button closure, and a cozy baby cardigan fit.
Best for: Intermediate crocheters
Style: Hooded unicorn baby cardigan
Includes: Sizing details, written instructions, special stitches, and finishing details
Unicorn crochet baby cardigan pattern details
Skill level
Intermediate — This pattern uses shaping, color changes, and special details like the hood, horn, and ears, making it a good fit for crocheters comfortable with garment construction.
Materials Needed
- Crochet hook size: H-8 (5 mm), or hook needed to obtain gauge
- Worsted weight yarn (#4): white, pink, light purple, mint green, blue, and yellow
- Fiber fill: for stuffing the unicorn horn
- Buttons: 4 buttons, 1/2 inch each
- Yarn needle: for weaving in ends
- Scissors: to cut the yarn
- Stitch markers: optional, but helpful for keeping track of stitches
Finished size
| Size | Chest | Waist | Back Length | Crossback | Armhole Depth |
| 0-3 Months | 16″ | 18″ | 6″ | 7.25″ | 3.25″ |
| 3-6 Months | 17″ | 19″ | 7″ | 7.75″ | 3.5″ |
| 6-12 Months | 18″ | 20″ | 7.5″ | 8.25″ | 3.75″ |
| 12-24 Months | 20″ | 21″ | 8.5″ | 8.75″ | 4.25″ |
Gauge
17 stitches and 10 rows = 4 inches (10 cm)
Crochet abbreviations
- dc = double crochet
- dc2tog = double crochet decrease
- sc = single crochet
- sc2tog = single crochet decrease
- st/sts = stitch/stitches
- sl st = slip stitch
- ch/chs = chain/chains
- rnd/rnds = round/rounds
- rem = remaining
Pattern notes
- Repeat instructions between the two asterisks (*) for the rest of the row/round.
- Use stitch markers to mark the v-stitches.
- The sleeves are worked in the round.
- The pattern is written in US crochet terms.
Special stitches
V-stitch: In the same stitch, make dc, ch 1, dc.
Unicorn crochet baby cardigan pattern instructions
For rows 1 & 2, the starting chain & stitch count are listed for all sizes (0-3, 3-6, 6-12, 12-24).
Row 1: Make your starting chain (58, 62, 66, 70) and dc in the 3rd ch from the hook and in each rem ch, turn (stitch count: 56, 60, 64, 68)
Row 2: Ch 2, *2 dc, dc in next st*, turn (stitch count: 84, 90, 96, 102)
0-3 months size cardigan
Row 3: ch 2, dc in 13, v-stitch, dc in 14, v-stitch, dc in 26, v-stitch, dc in 14, v-stitch, dc in 13, turn [88]
You will now make your v-stitches in the ch-1space from the previous row.
Row 4: ch 2, dc in 14, v-stitch, dc in 16, v-stitch, dc in 28, v-stitch, dc in 16, v-stitch, dc in 14, turn [96]
Row 5: ch 2, dc in 15, v-stitch, dc in 18, v-stitch, dc in 30, v-stitch, dc in 18, v-stitch, dc in 15, turn [104]
Row 6: ch 2, dc in 16, v-stitch, dc in 20, v-stitch, dc in 32, v-stitch, dc in 20, v-stitch, dc in 16, turn [112]
Row 7: ch 2, dc in 17, v-stitch, dc in 22, v-stitch, dc in 34, v-stitch, dc in 22, v-stitch, dc in 18, turn [120]
Row 8: ch 2, dc in 18, dc in next st – skip 22 sts – dc in the next st (1st sleeve made), dc in 36, dc in next st- skip 22 sts – dc in next st (2nd sleeve made), dc in 18, turn [76]
Rows 9-22: ch 2, dc in each st, turn [76]
Switch to white yarn.
Row 23: ch 1, sc in each st, join, fasten off and weave in ends. [76]
Adding the sleeves (0-3 months)
Join yarn in the back so that the join seam isn’t visible in the front.
Rnd 1: Join yarn, ch 2, dc around entire arm opening, join to first dc
Rnds 2- 14: ch 2, dc once in each st, join
Switch to white yarn.
Rnd 15: ch 1, sc in each st, join, fasten off and weave in ends.
3-6 months size
Row 3: ch 2, dc in 14, v-stitch, dc in 15, v-stitch, dc in 28, v-stitch, dc in 15, v-stitch, dc in 14, turn [94]
You will now make your v-stitches in the ch-1space from the previous row.
Row 4: ch 2, dc in 15, v-stitch, dc in 17, v-stitch, dc in 30, v-stitch, dc in 17, v-stitch, dc in 15, turn [102]
Row 5: ch 2, dc in 16, v-stitch, dc in 19, v-stitch, dc in 32, v-stitch, dc in 19, v-stitch, dc in 16, turn [110]
Row 6: ch 2, dc in 17, v-stitch, dc in 21, v-stitch, dc in 34, v-stitch, dc in 21, v-stitch, dc in 17, turn [118]
Row 7: ch 2, dc in 18, v-stitch, dc in 23, v-stitch, dc in 36, v-stitch, dc in 23, v-stitch, dc in 18, turn [126]
Row 8: ch 2, dc in 19, dc in next st – skip 23 sts – dc in the next st (1st sleeve made), dc in 38, dc in next st- skip 23 sts – dc in next st (2nd sleeve made), dc in 19, turn [80]
Rows 9-22: ch 2, dc in each st, turn [80]
Switch to white yarn.
Row 23: ch 1, sc in each st, join, fasten off and weave in ends. [80]
Adding the sleeves (3-6 months)
Join yarn in the back so that the join seam isn’t visible in the front.
Rnd 1: Join yarn, ch 2, dc around entire arm opening, join to first dc
Rnds 2- 15: ch 2, dc once in each st, join
Switch to white yarn.
Rnd 16: ch 1, sc in each st, join, fasten off and weave in ends.
6-12 months size
Row 3: ch 2, dc in 15, v-stitch, dc in 16, v-stitch, dc in 30, v-stitch, dc in 16, v-stitch, dc in 15, turn [100]
You will now make your v-stitches in the ch-1space from the previous row.
Row 4: ch 2, dc in 16, v-stitch, dc in 18, v-stitch, dc in 32, v-stitch, dc in 18, v-stitch, dc in 16, turn [108]
Row 5: ch 2, dc in 17, v-stitch, dc in 20, v-stitch, dc in 34, v-stitch, dc in 20, v-stitch, dc in 17, turn [116]
Row 6: ch 2, dc in 18, v-stitch, dc in 22, v-stitch, dc in 36, v-stitch, dc in 22, v-stitch, dc in 18, turn [124]
Row 7: ch 2, dc in 19, v-stitch, dc in 24, v-stitch, dc in 38, v-stitch, dc in 24, v-stitch, dc in 19, turn [132]
Row 8: ch 2, dc in 20, dc in next st – skip 24 sts – dc in the next st (1st sleeve made), dc in 40, dc in next st- skip 24 sts – dc in next st (2nd sleeve made), dc in 20, turn [84]
Rows 9-24: ch 2, dc in each st, turn [84]
Switch to white yarn.
Row 25: ch 1, sc in each st, join, fasten off and weave in ends. [84]
Adding the sleeves (6-12 months)
Join yarn in the back so that the join seam isn’t visible in the front.
Rnd 1: Join yarn, ch 2, dc around entire arm opening, join to first dc
Rnds 2- 17: ch 2, dc once in each st, join
Switch to white yarn.
Rnd 18: ch 1, sc in each st, join, fasten off and weave in ends.
12-24 months size
Row 3: ch 2, dc in 16, v-stitch, dc in 17, v-stitch, dc in 33, v-stitch, dc in 17, v-stitch, dc in 16, turn [106]
You will now make your v-stitches in the ch-1space from the previous row.
Row 4: ch 2, dc in 17, v-stitch, dc in 19, v-stitch, dc in 34, v-stitch, dc in 19, v-stitch, dc in 17, turn [114]
Row 5: ch 2, dc in 18, v-stitch, dc in 21, v-stitch, dc in 36, v-stitch, dc in 21, v-stitch, dc in 18, turn [122]
Row 6: ch 2, dc in 19, v-stitch, dc in 23, v-stitch, dc in 38, v-stitch, dc in 23, v-stitch, dc in 19, turn [130]
Row 7: ch 2, dc in 20, v-stitch, dc in 25, v-stitch, dc in 40, v-stitch, dc in 25, v-stitch, dc in 20, turn [138]
Row 8: ch 2, dc in 21, dc in next st – skip 25 sts – dc in the next st (1st sleeve made), dc in 42, dc in next st- skip 25 sts – dc in next st (2nd sleeve made), dc in 21, turn [88]
Rows 9-26: ch 2, dc in each st, turn [88]
Switch to white yarn.
Row 27: ch 1, sc in each st, join, fasten off and weave in ends. [88]
Adding the sleeves (12-24 months)
Join yarn in the back so that the join seam isn’t visible in the front.
Rnd 1: Join yarn, ch 2, dc around entire arm opening, join to first dc
Rnds 2- 19: ch 2, dc once in each st, join
Switch to white yarn.
Rnd 20: ch 1, sc in each st, join, fasten off and weave in ends.
Adding the hood to the 0-3 and 3-6 months sizes
Join yarn on the left side of the collar.

Row 1: Ch 2, *dc2tog, dc in the next st*, continue pattern until you reach the other end of the collar, turn
Row 2: ch 2, dc in each st, turn
Count the total number of stitches. If you have an odd number, place a stitch marker on the middle stitch. If you have an even number, place stitch markers on the two middle stitches (as seen in my example).
Rows 3- 12 (increase rows): ch 2, dc in each st BUT, you will make 2 dc in the stitch that comes right before and the stitch that comes right after the stitch(es) with the stitch marker(s). Each row will be increased by two stitches. Only one dc is made in the middle stitch(es) with the stitch marker(s). Be sure to place the stitch markers back on the middle stitch(es).
Rows 13- 22 (decrease rows): ch 2, dc in each st BUT, dc2tog the two stitches that come right before and the two stitches that come right after the stitch(es) with the stitch marker(s). Each row will be decreased by two stitches. Only one dc is made in the middle stitch(es) with the stitch marker(s). Be sure to place the stitch markers back on the middle stitch(es).
Fold top of hood in half and sew the top together to form the hood.
Adding the hood to the 6-12 months size
Join yarn on the left side of the collar.
Row 1: Ch 2, *dc2tog, dc in the next st*, continue pattern until you reach the other end of the collar, turn
Row 2: ch 2, dc in each st, turn
Count the total number of stitches. If you have an odd number, place a stitch marker on the middle stitch. If you have an even number, place stitch markers on the two middle stitches (as seen in my example).
Rows 3- 13 (increase rows): ch 2, dc in each st BUT, you will make 2 dc in the stitch that comes right before and the stitch that comes right after the stitch(es) with the stitch marker(s). Each row will be increased by two stitches. Only one dc is made in the middle stitch(es) with the stitch marker(s). Be sure to place the stitch markers back on the middle stitch(es).
Rows 14- 24 (decrease rows): ch 2, dc in each st BUT, dc2tog the two stitches that come right before and the two stitches that come right after the stitch(es) with the stitch marker(s). Each row will be decreased by two stitches. Only one dc is made in the middle stitch(es) with the stitch marker(s). Be sure to place the stitch markers back on the middle stitch(es).
Fold top of hood in half and sew the top together to form the hood.
Adding the hood to the 12-24 months size
Join yarn on the left side of the collar.
Row 1: Ch 2, *dc2tog, dc in the next st*, continue pattern until you reach the other end of the collar, turn
Row 2: ch 2, dc in each st, turn
Count the total number of stitches. If you have an odd number, place a stitch marker on the middle stitch. If you have an even number, place stitch markers on the two middle stitches (as seen in my example).
Rows 3- 14 (increase rows): ch 2, dc in each st BUT, you will make 2 dc in the stitch that comes right before and the stitch that comes right after the stitch(es) with the stitch marker(s). Each row will be increased by two stitches. Only one dc is made in the middle stitch(es) with the stitch marker(s). Be sure to place the stitch markers back on the middle stitch(es).
Rows 15- 26 (decrease rows): ch 2, dc in each st BUT, dc2tog the two stitches that come right before and the two stitches that come right after the stitch(es) with the stitch marker(s). Each row will be decreased by two stitches. Only one dc is made in the middle stitch(es) with the stitch marker(s). Be sure to place the stitch markers back on the middle stitch(es).
Fold top of hood in half and sew the top together to form the hood.
Adding the trim (all sizes)
Use white yarn.
Join yarn to bottom left side of the cardigan. Sc up the side, around the hood, and back down on the right side of the cardigan. Fasten off and weave in ends.
Unicorn horn (all sizes)
Use white yarn.
Rnd 1: magic ring, 4 sc, join [4]
Rnd 2: ch 1, sc in each st, join [4]
Rnd 3: ch 1, *2 sc, sc in next st*, join [6]
Rnd 4: ch 1, sc in each st, join [6]
Rnd 5: ch 1, *2 sc, sc in next 2 sts*, join [8]
Rnd 6: ch 1, sc in each st, join [8]
Rnd 7: ch 1, *2 sc, sc in next 3 sts*, join [10]
Rnd 8: ch 1, sc in each st, join [10]
Rnd 9: ch 1, *2 sc, sc in next 4 sts*, join [12]
Rnd 10: ch 1, sc in each st, join [12]
Rnd 11: ch 1, *2 sc, sc in next 5 sts*, join [14]
Rnd 12: ch 1, sc in each st, join [14]
Rnd 13: ch 1, *2 sc, sc in next 6 sts*, join [16]
Rnd 14: ch 1, sc in each st, join [16]
Rnd 15: ch 1, *2 sc, sc in next 7 sts*, join [18]
Rnd 16: ch 1, sc in each st, join [18]
Rnd 17: ch 1, *2 sc, sc in next 8 sts*, join [20]
Rnd 18: ch 1, sc in each st, join [20]
Stop here for 0-3 and 3-6 months sizes.
Rnd 19: ch 1, *2 sc, sc in next 9 sts*, join [22]
Rnd 20: ch 1, sc in each st, join [22]
Stuff with fiber fill and sew onto the front of hood. Make sure it is centered.
Unicorn ears (all sizes)
Use mint green yarn.
Row 1: chain 6, sc in 2nd ch from hook, sc in next 4 chs, ch 1 turn [5]
Row 2: sc in each st, ch 1, turn [5]
Row 3: 2 sc in first st, sc in 3 sts, 2 sc in last st, ch 1, turn [7]
Row 4: sc in each st, ch 1, turn [7]
Row 5: 2 sc in first st, sc in 5 sts, 2 sc in last st, ch 1, turn [9]
Row 6: sc in each st, ch 1, turn [9]
Row 7: sc in each st, ch 1, turn [9]
Row 8: sc2tog, sc in 5 sts, sc2tog, ch 1, turn [7]
Row 9: sc in each st, ch 1, turn [7]
Row 10: sc2tog, sc in 3 sts, sc2tog, ch 1, turn [5]
Row 11: sc in each st, ch 1, turn [5]
Row 12: sc2tog, sc in 1 st, sc2tog, ch 1, turn [3]
Row 13: sc3tog and continue to sc around ear, join & finish off leaving a long tail for sewing onto hat
Sew the ears to the hood.
Adding the mane (all sizes)
Make one in each color: pink, light purple, blue, & yellow.
Ch 30, dc in 2nd ch from hook, 2 dc in each remaining chain.
Sew the spirals to the hood.
Adding the buttons
Use your tapestry needle and mint green yarn to sew the buttons around the second stitches from the edge. I used half inch size buttons and they fit perfectly in the spaces between the double crochet stitches.
Finishing
Weave in all of your ends.

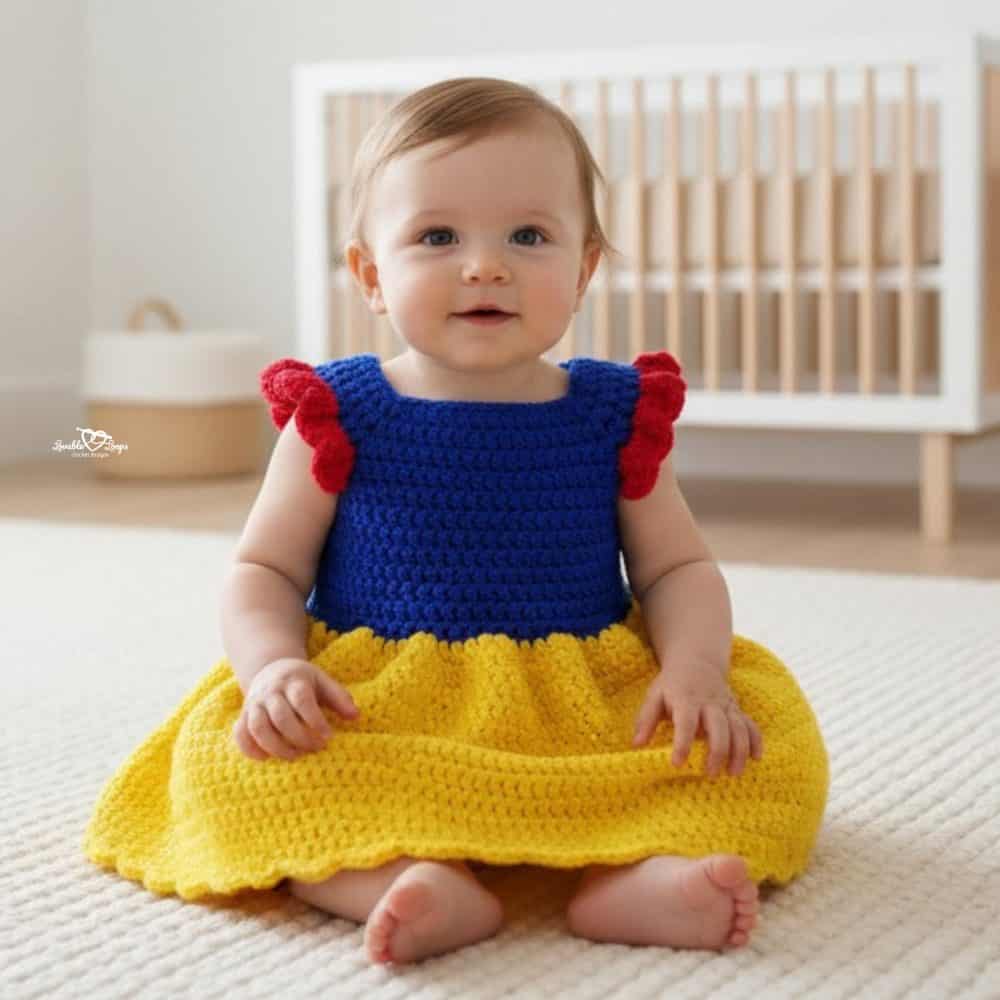
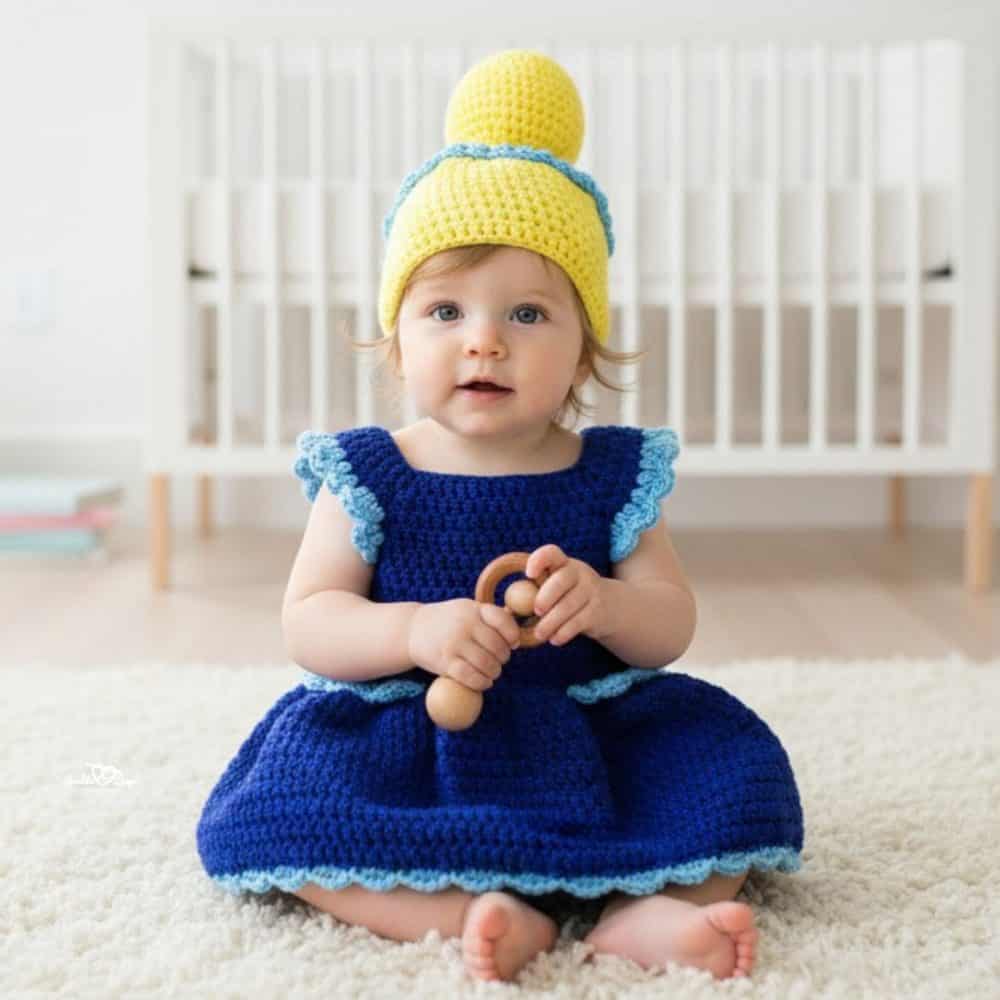
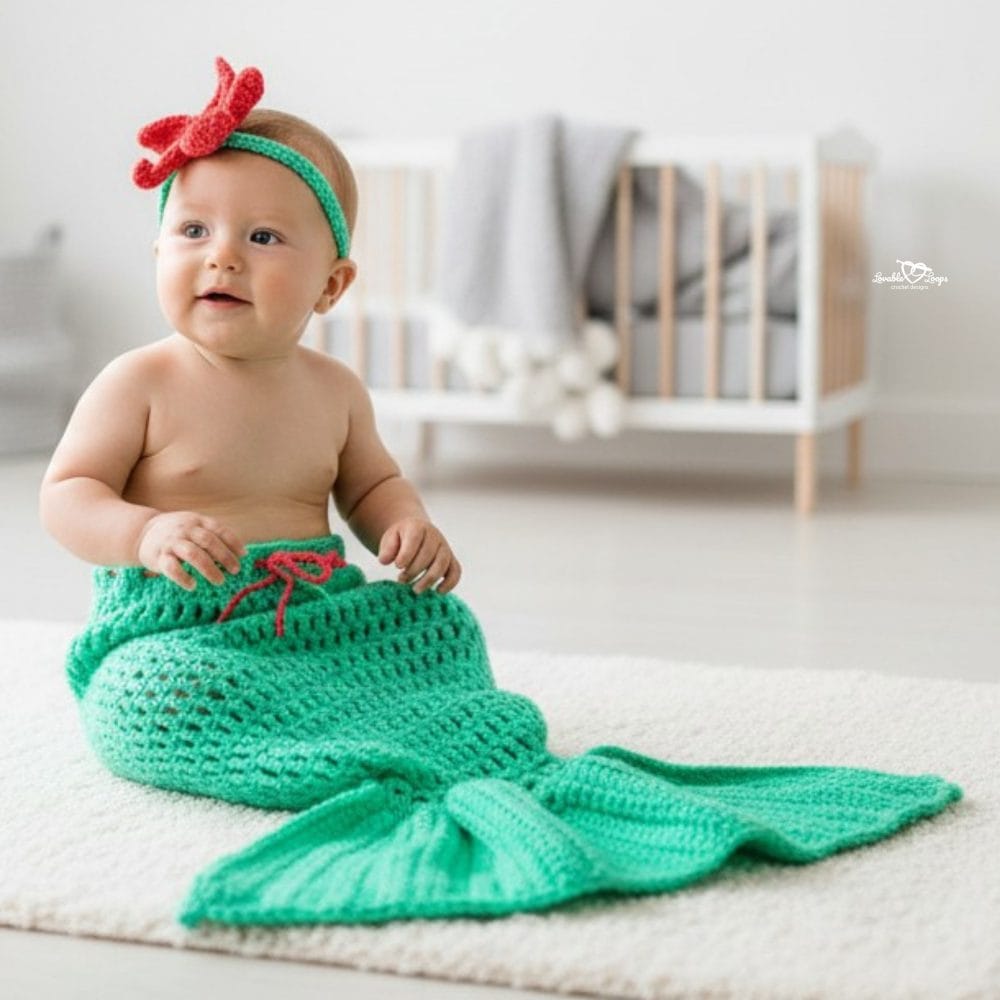
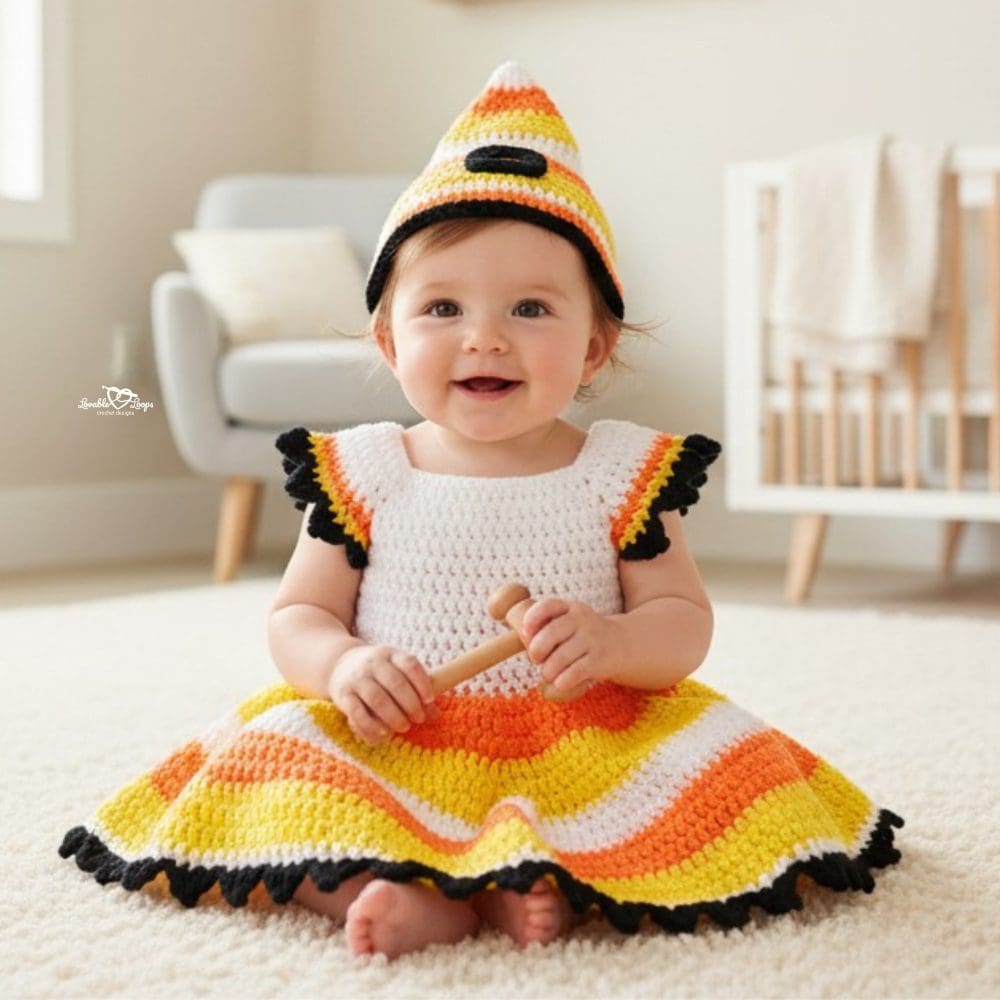
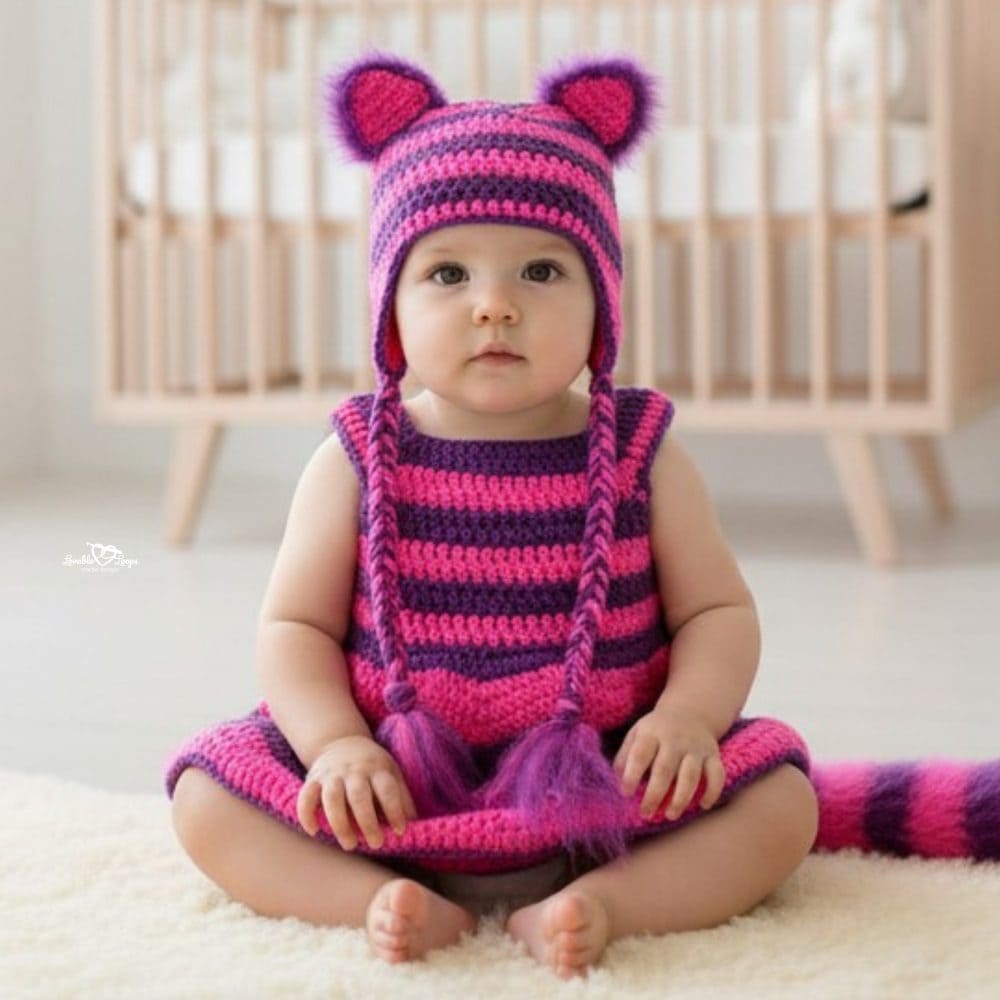
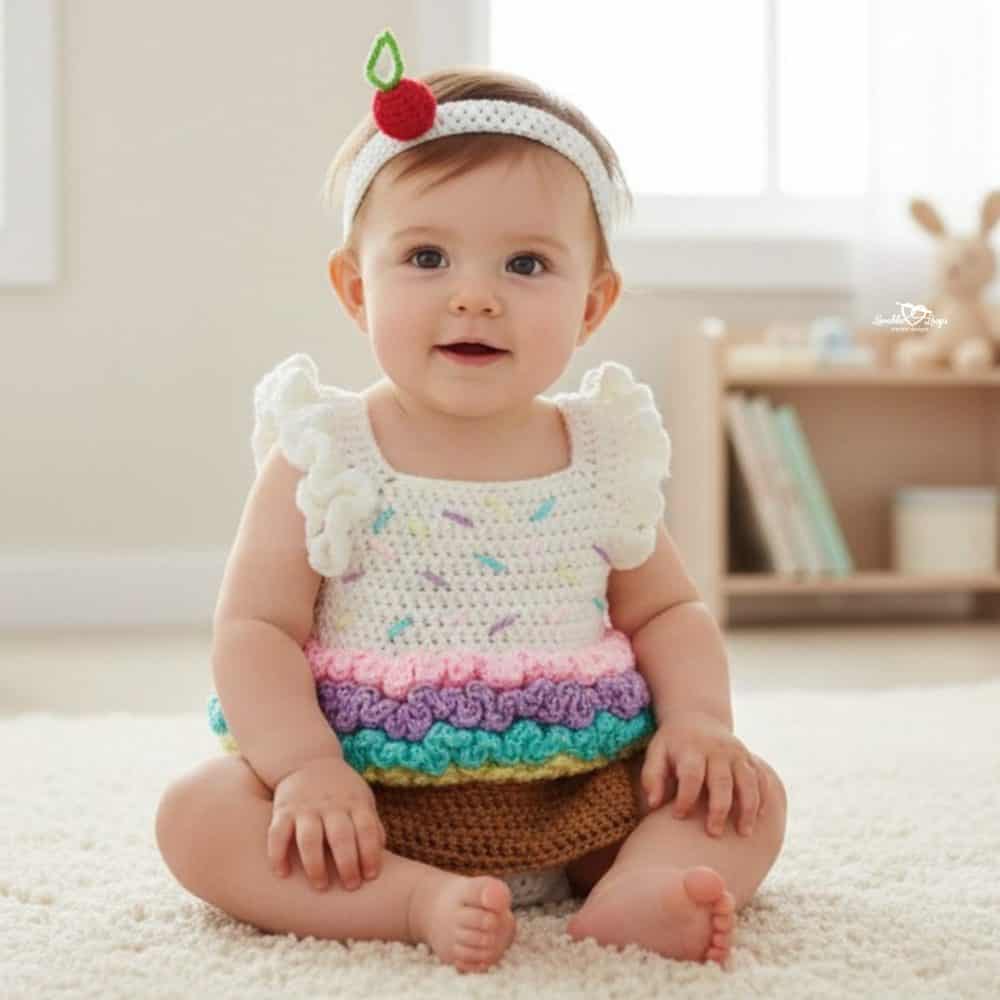
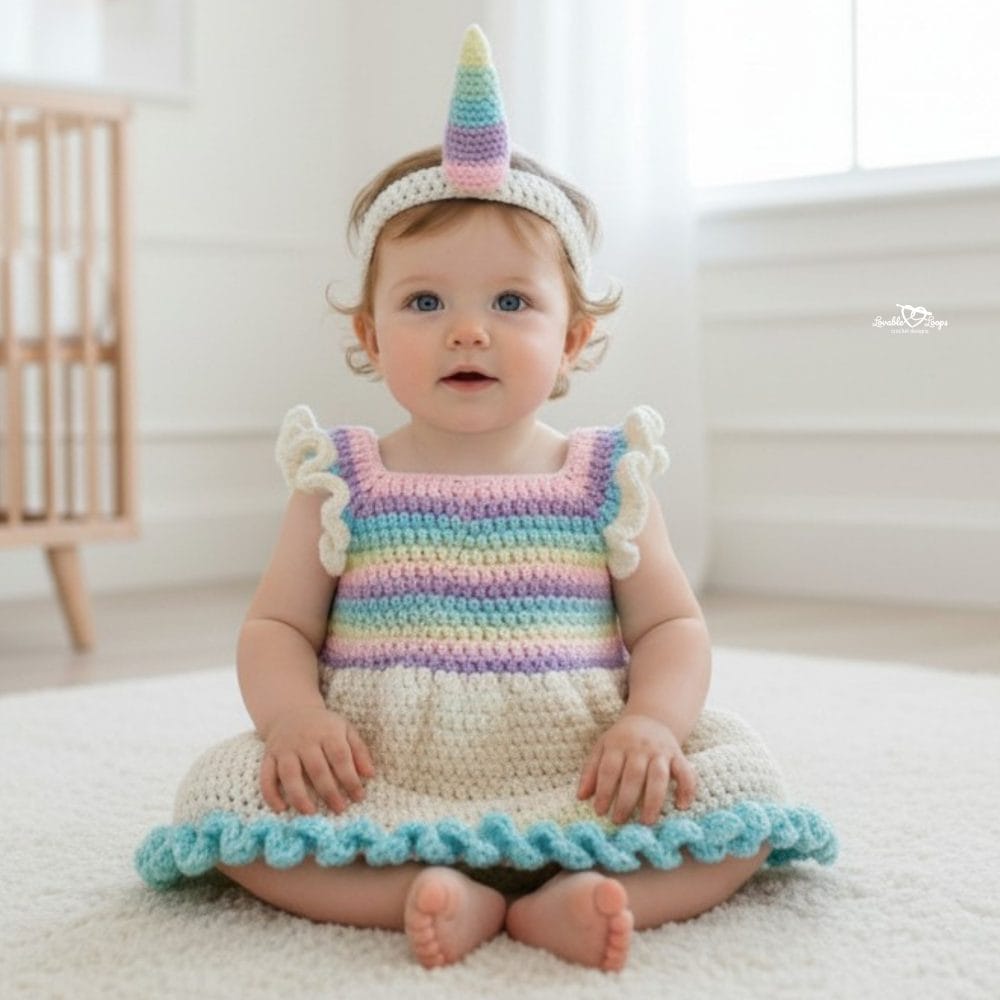
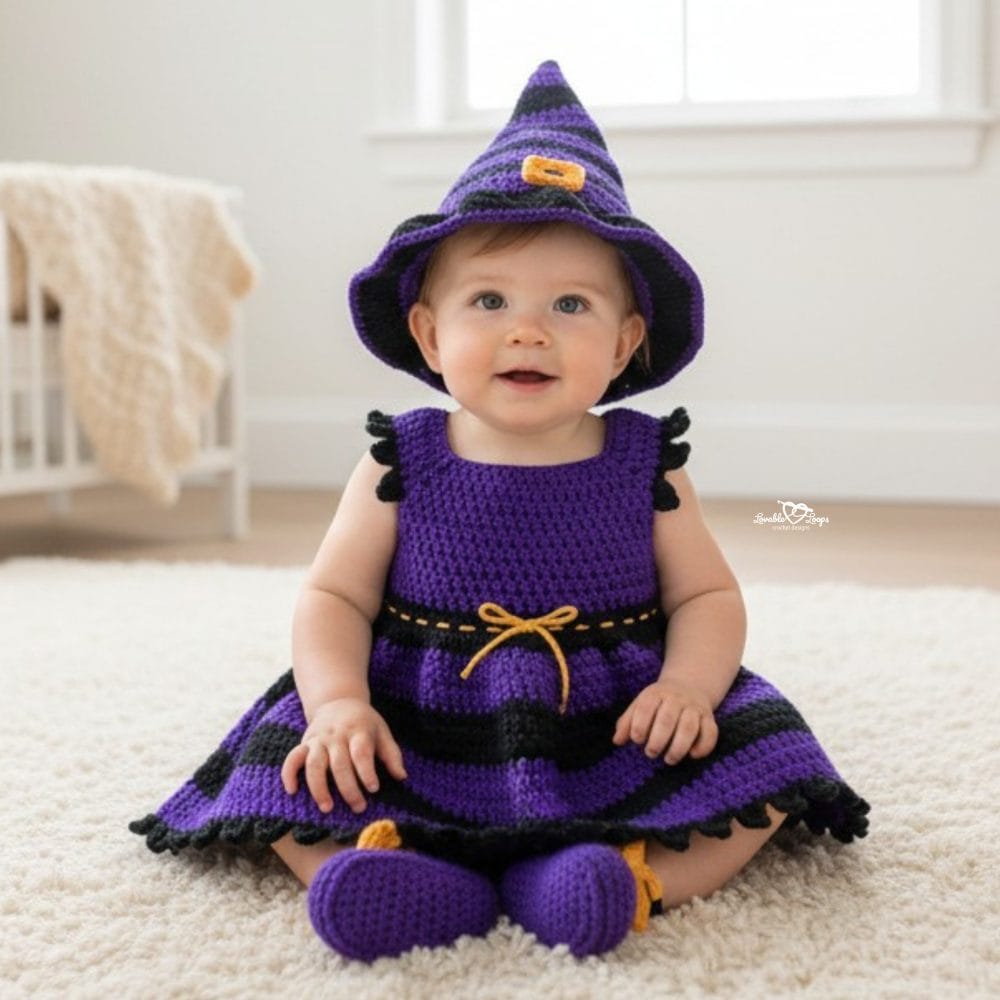
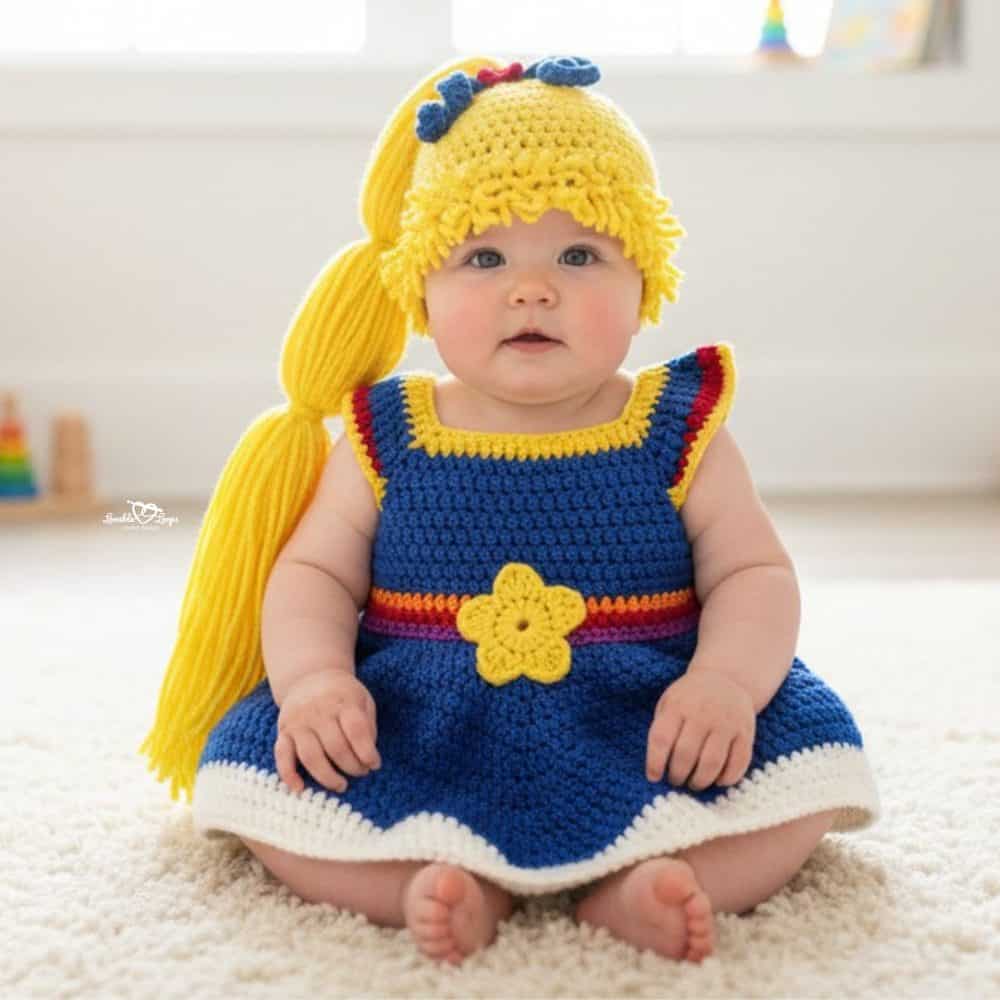
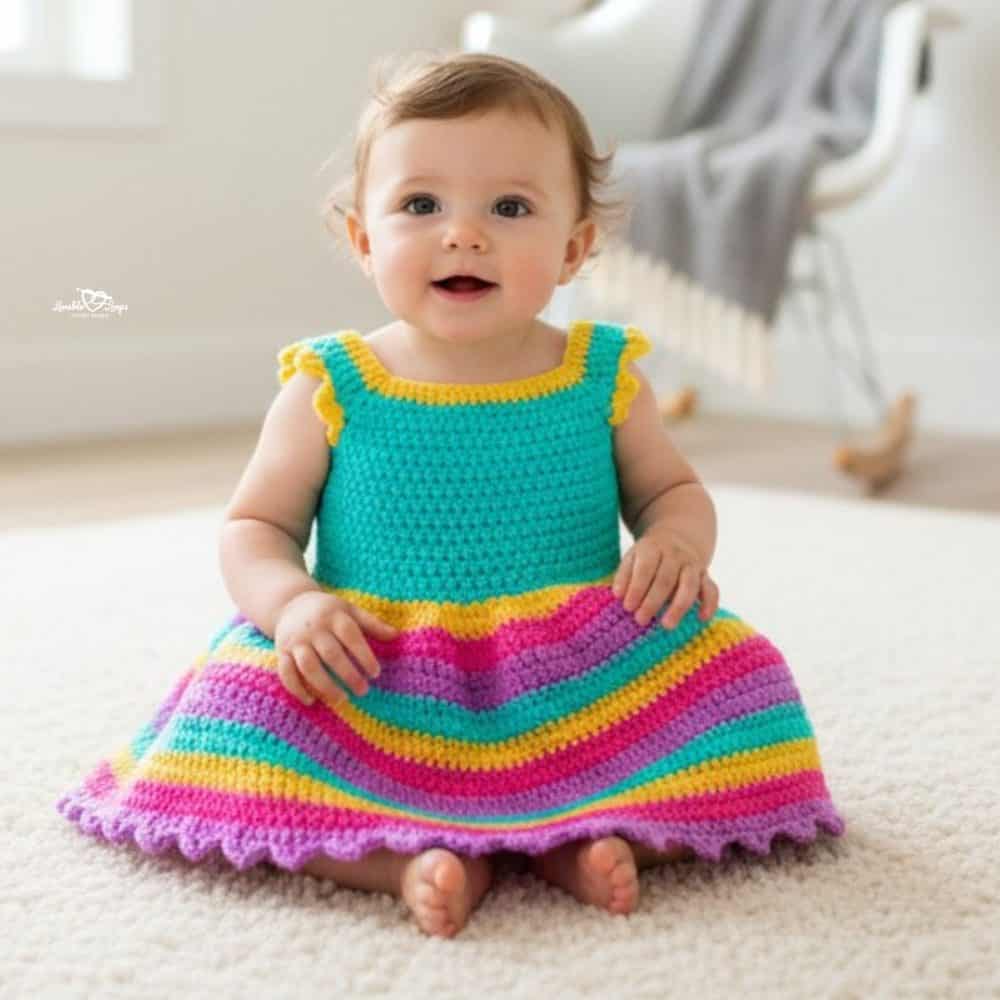
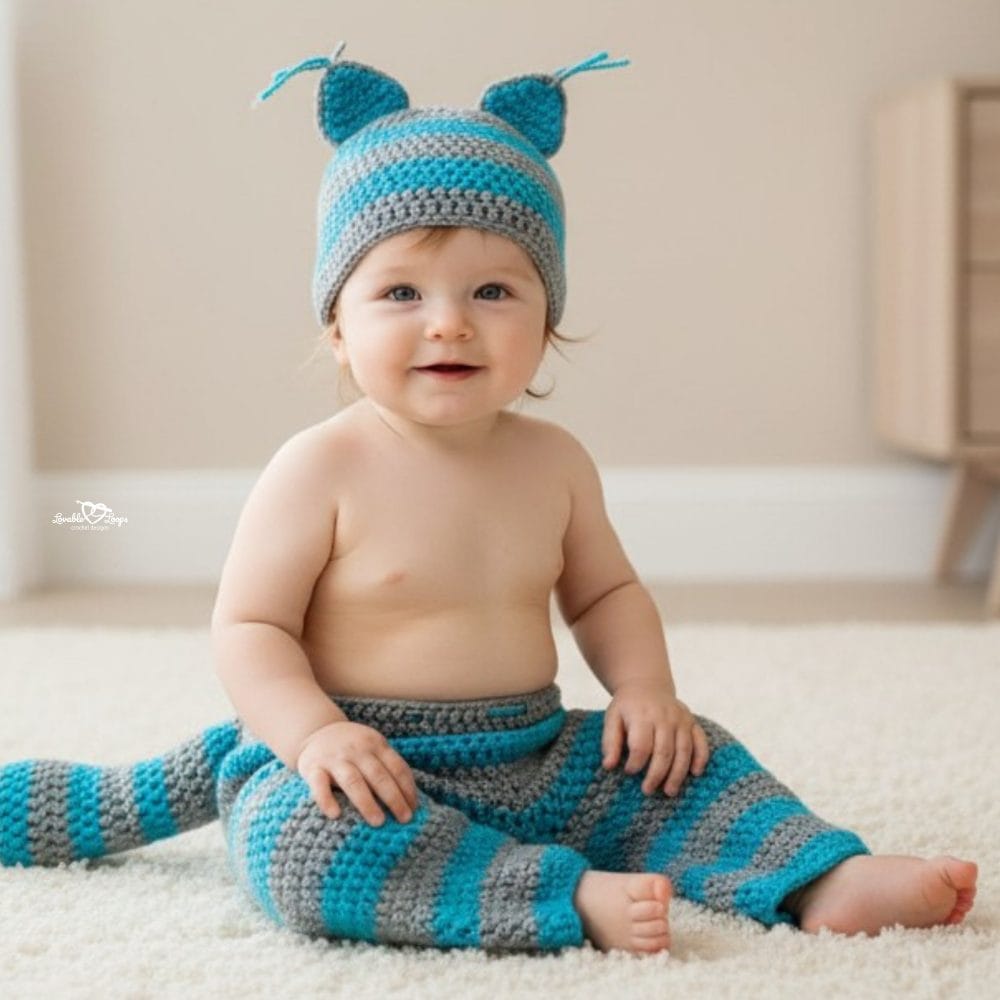
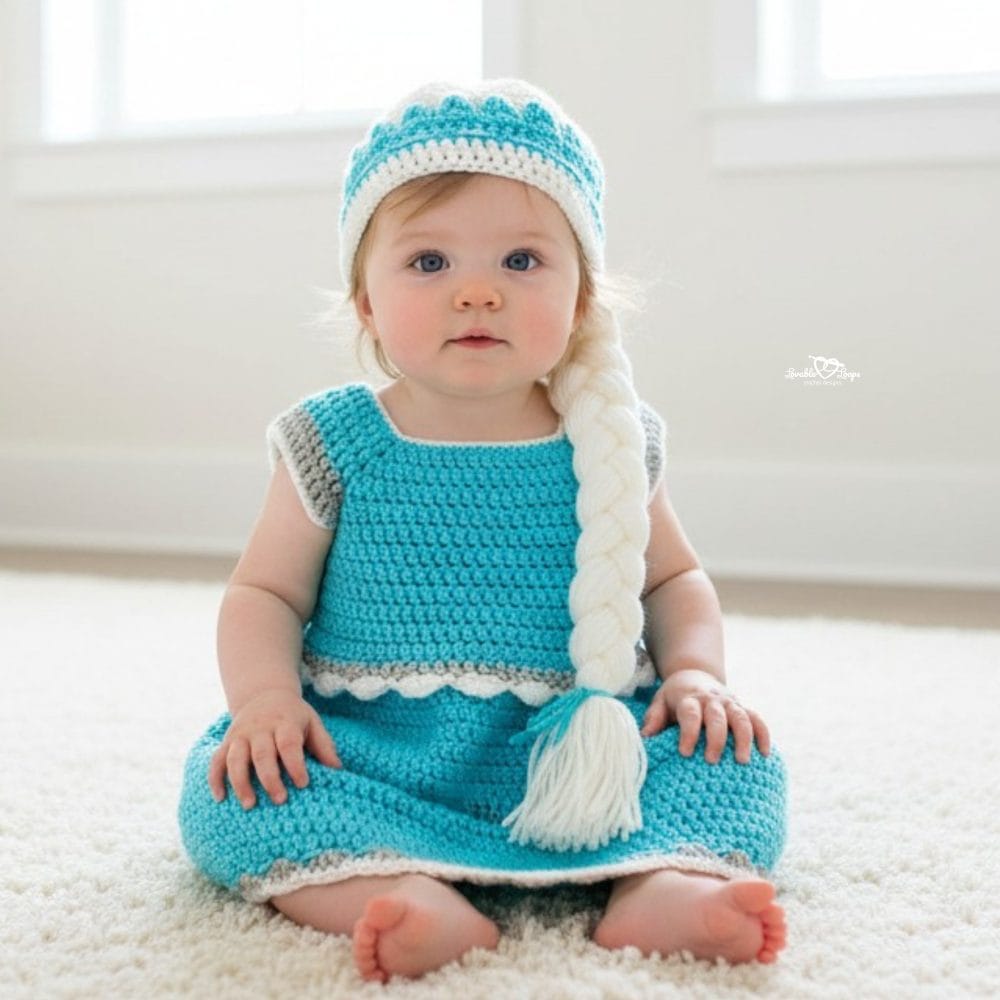
Free crochet baby costume patterns
Looking for more cute costume ideas for babies? These free crochet baby costume patterns are perfect for Halloween, dress-up, themed photos, and sweet handmade memories. You’ll find fun and creative outfits that are great for babies and toddlers, whether you want something playful for a party or extra special for pictures.
Browse the gallery below to find adorable crochet baby costumes you can make for little ones. For even more handmade ideas, visit my full collection of free crochet baby patterns.


Let’s connect!
I’d love to see what you’re making! Share your finished project and follow along for more free crochet patterns and tutorials.
📌 Don’t forget to pin this pattern for later!
Happy crocheting! 🧶
— Melissa