
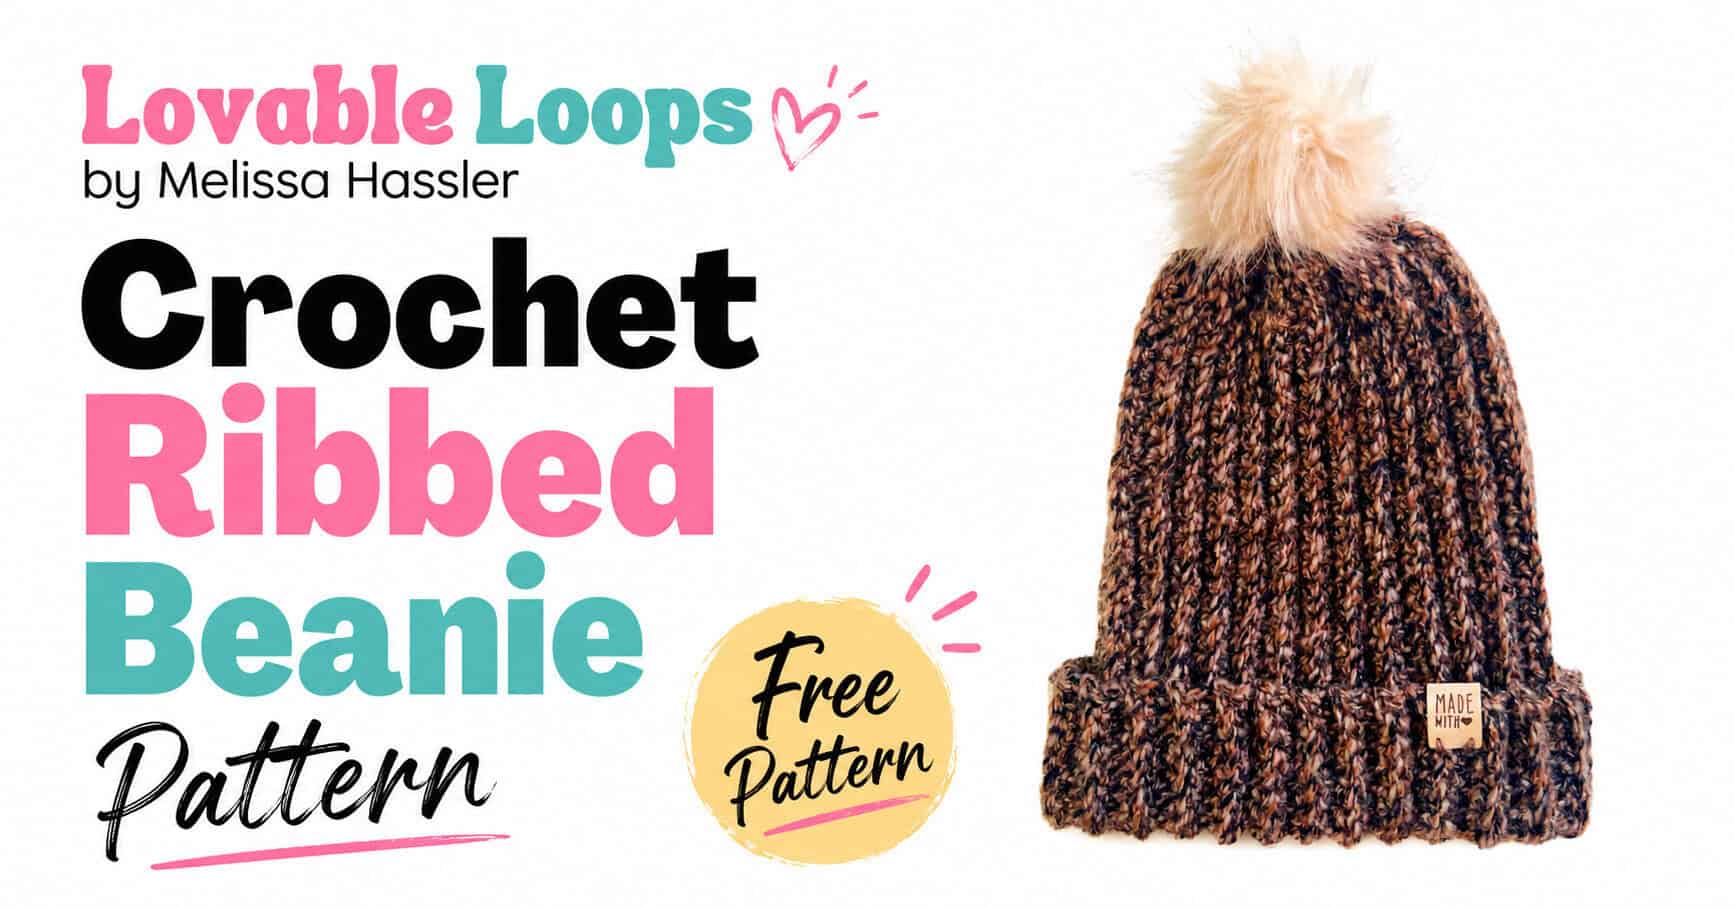
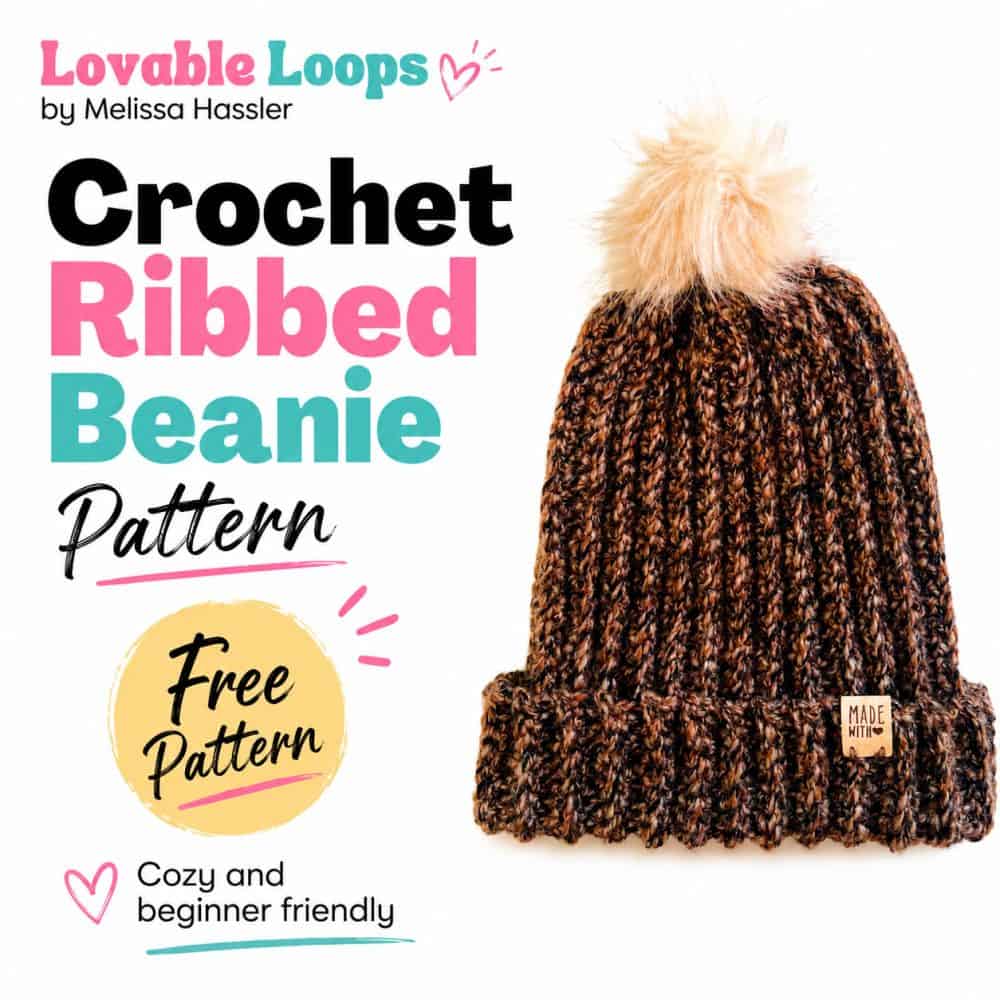
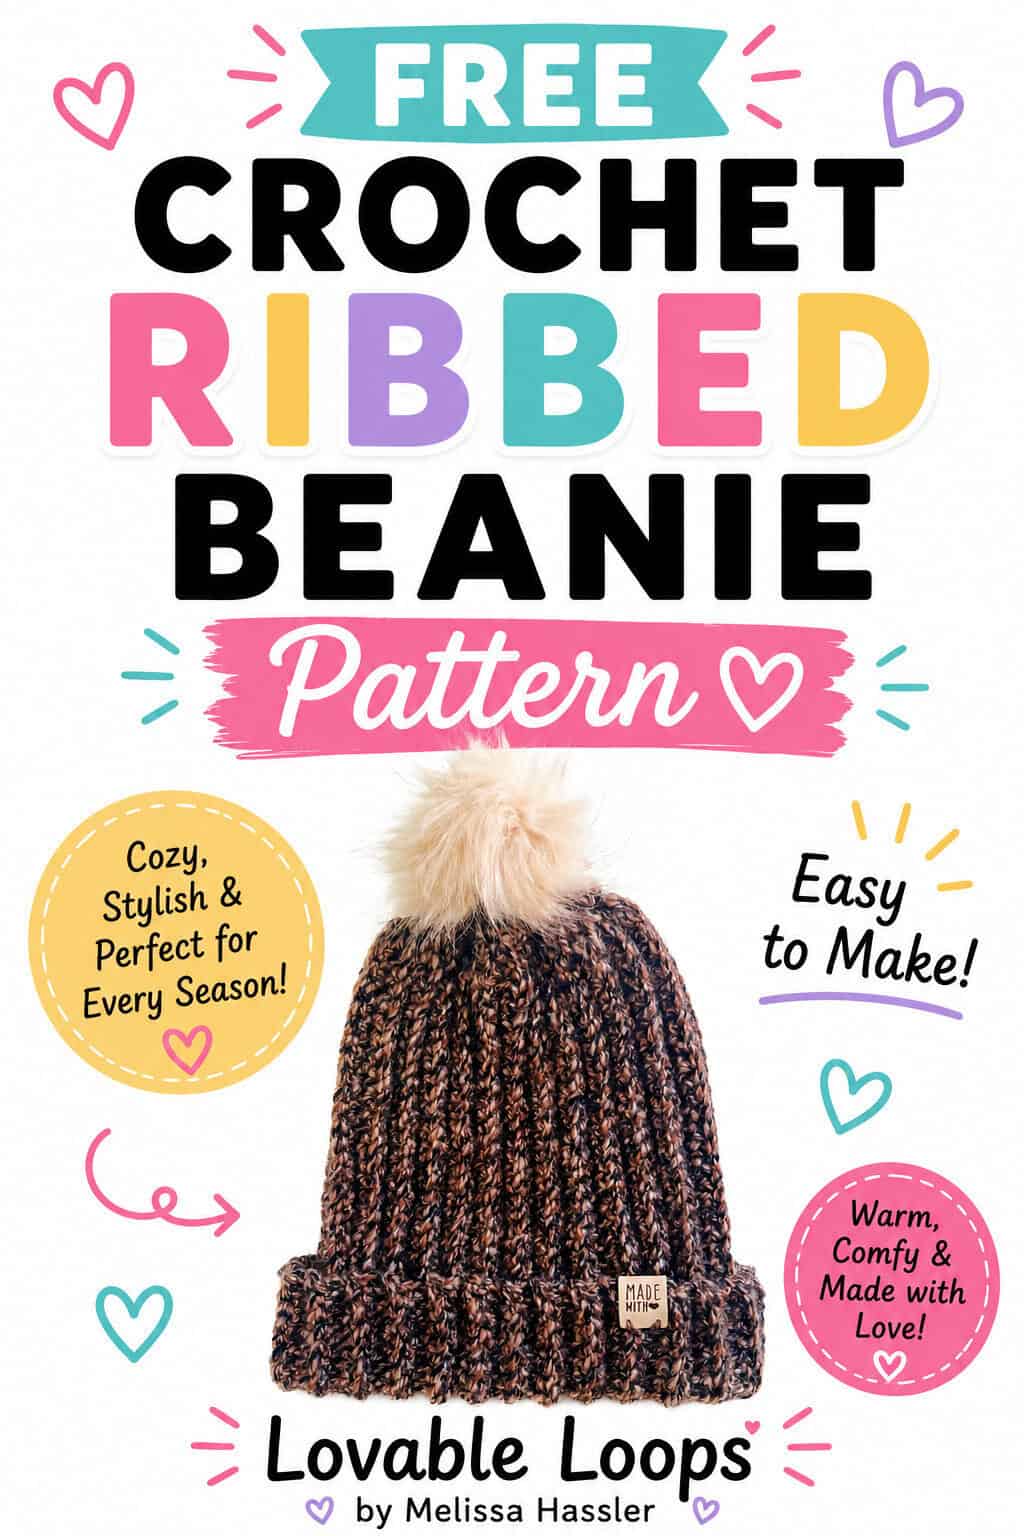
Crochet ribbed beanie pattern
This crochet ribbed beanie pattern is a beginner-friendly hat worked flat in rows using bulky weight yarn, then sewn together to create a cozy ribbed beanie. With child and adult sizes, it’s a quick, classic hat pattern that’s great for everyday wear, gifts, or cold-weather crochet.
Quick answer
This crochet ribbed beanie pattern is a beginner-friendly hat worked flat in rows using bulky weight yarn (#5), then sewn together and finished at the top to create a classic ribbed beanie. It includes child and adult sizes and can be finished with a yarn or faux fur pom pom.
Best for: Beginners
Style: Flat ribbed beanie sewn into shape
Includes: 2 sizes, written instructions, gauge, and finishing options
Why you’ll love this pattern
- Beginner-friendly construction — Worked flat in rows with simple stitches
- Classic ribbed texture — Stretchy, cozy, and easy to style
- Two sizes included — Child and adult sizing
- Bulky yarn = fast results — A great project when you want something quick
- Great for gifts or everyday wear — Practical, warm, and timeless
How this crochet ribbed beanie is made
This beanie is worked flat from side to side using single crochet stitches in the back loop only to create the ribbed texture. Once the body is complete, the short ends are sewn together, the top is closed, and the bottom edge folds up to create the brim.
Crochet ribbed beanie pattern details
Here’s a quick overview of the materials, sizing, gauge, and pattern notes before you begin.
Skill level
Beginner — This crochet ribbed beanie pattern uses basic stitches worked in simple rows, with shaping finished in the round.
Avoid frustration by learning the most common crochet mistakes beginners make and how to fix them.
Materials needed
- Crochet hook size L-11 (5 mm) — Or the size needed to match the gauge.
- Bulky weight yarn (#5) — A soft, cozy yarn works best for this ribbed beanie to give it warmth and structure.
- Yarn needle — For weaving in ends neatly.
- Scissors — To cut your yarn.
- Pom pom maker — Use this to make a yarn pom pom for your hat.
- Faux fur pom pom — I used a premade faux fur pom pom for my hat
- Stitch markers — Optional, to help mark stitches or keep track of rows.
Finished size
This crochet ribbed beanie fits child and adult sizes.
- Child — 19–20 inches (48–51 cm) head circumference, 7.5 inches (19 cm) tall
- Adult — 20–23 inches (51–58 cm) head circumference, 8.25 inches (21 cm) tall
Check out my crochet hat sizing guide for full size charts and adjustment tips.
Gauge
13 stitches and 13 rows = 4 inches (10 cm)
If you have more than 13 stitches in 4 inches, try a larger hook. If you have fewer stitches, try a smaller hook.
Learn how to check crochet gauge before you begin so you can adjust your hook size if needed.
Crochet abbreviations
- sc = single crochet stitch
- sc2tog = single crochet decrease
- blo = back loop only
- ch/chs = chain/chains
- st/sts = stitch/stitches
- sl st = slip stitches
Pattern notes
- The pattern is worked flat in rows, then sewn together to finish the hat in the round.
- You will crochet in the back loops only for the body of the hat. This creates the ribbed look.
- The top of the hat is worked in the round.
- The pattern is written in US crochet terms.
Free crochet ribbed beanie pattern instructions
Below you’ll find the step-by-step instructions to crochet the ribbed beanie in child and adult sizes. The hat is worked flat in rows to create the ribbed texture, then sewn together and shaped at the top for a cozy, finished look.
Child size
Body of the hat (worked flat)
Row 1: Ch 31, sc in 2nd ch from hook, sc in each remaining ch, turn (30 stitches)
Row 2: Ch 1, sc blo of each st, turn (30 stitches)
Rows 3–48: Repeat Row 2
Fasten off, leaving a long tail.
Use a yarn needle to sew the two short ends together to form a tube.
Top of the hat (worked in the round)
Join yarn to the first row of the hat body.
Round 1: Ch 1, sc2tog around, join (15 stitches)
Round 2: Ch 1, sc2tog around, sc in last stitch, join (8 stitches)
Round 3: Ch 1, sc2tog around, join (4 stitches)
Cut yarn, leaving a long tail, and sew the top of the hat closed.
Adult size
Body of the hat (worked flat)
Row 1: Ch 37, sc in 2nd ch from hook, sc in each remaining ch, turn (36 stitches)
Row 2: Ch 1, sc blo of each st, turn (36 stitches)
Rows 3–50: Repeat Row 2
Fasten off, leaving a long tail.
Use a yarn needle to sew the two short ends together to form a tube.
Top of the hat (worked in the round)
Join yarn to the first row of the hat body.
Round 1: Ch 1, sc2tog around, join (18 stitches)
Round 2: Ch 1, sc2tog around, sc in last stitch, join (9 stitches)
Round 3: Ch 1, sc2tog around, sc in last stitch, join (5 stitches)
Cut yarn, leaving a long tail, and sew the top of the hat closed.
Adding a pom pom
Follow these instructions for making a pom pom for your hat.
- Wind the yarn around both arches.
- Cut the yarn along the middle gap.
- Tie with a piece of scrap yarn.
- Open the arches and remove the pom pom.
- Trim any loose ends.
Attach the pom pom (or faux fur pom pom like mine) to the top of the hat.
Finishing
Fold up the bottom edge to create the ribbed brim. Weave in all ends.

Frequently asked questions
Is this crochet ribbed beanie pattern beginner-friendly?
Yes. The pattern is beginner-friendly and uses basic stitches worked in simple rows.
What yarn works best for this pattern?
Bulky weight yarn (#5) works best and helps the hat crochet up quickly while staying warm and cozy.
Is the hat worked in the round?
No. The body of the hat is worked flat in rows, then sewn together. The top is finished after seaming.
Does this pattern include multiple sizes?
Yes. The pattern includes both child and adult sizes.
Can I sell finished hats made from this pattern?
Yes. You may sell finished hats made from this pattern. Please do not sell or redistribute the pattern itself.
More free crochet hat patterns
Looking for more crochet hat ideas? Browse my full collection of free crochet hat patterns for babies, kids, and adults. You’ll find everything from classic crochet beanies and cozy winter hats to playful animal hats and seasonal designs — all written with clear instructions and helpful sizing details.


Let’s connect!
I’d love to see what you’re making! Share your finished project and follow along for more free crochet patterns and tutorials.
📌 Don’t forget to pin this pattern for later!
Happy crocheting! 🧶
— Melissa
