Crochet cat beanie pattern with cat ears
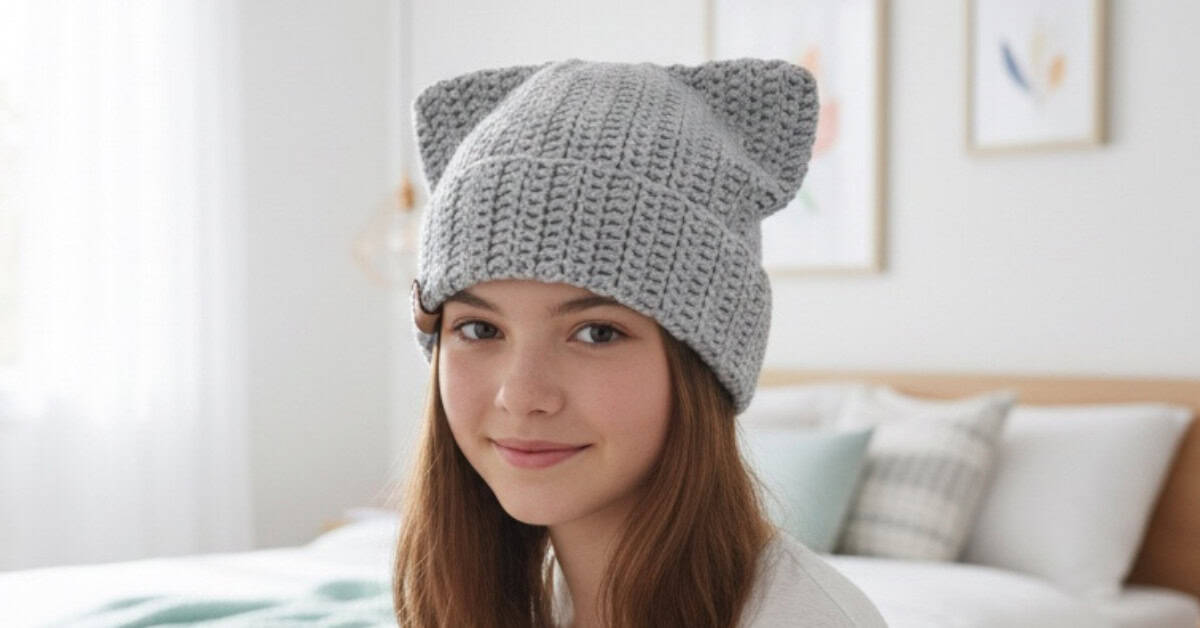
Looking for a fun crochet project that’s quick and beginner-friendly? This free crochet cat beanie pattern is just what you need! Made from a simple rectangle and finished with playful cat ear details, this beanie works up fast and is easy to make.
Whether you want a cozy cat hat for fall outings, a handmade accessory for photo shoots, or a last-minute Halloween costume idea, this pattern has you covered. Scroll down for the full free pattern.
Quick answer
This free crochet cat beanie pattern with cat ears is made from a simple rectangle using basic double crochet stitches, making it perfect for beginners. Designed to fit teens and adults, it uses worsted weight (#4) yarn and works up quickly with no complicated shaping. Finished with easy sewn seams that create playful cat ears, this cozy cat hat is great for fall wear, Halloween costumes, photo shoots, or quick handmade gifts.

Easy crochet cat beanie pattern for beginners
This crochet cat beanie pattern is quick and beginner-friendly. You’ll start by making a simple rectangle—no fancy shaping required.
Sew the short sides together to form a tube, then stitch the top closed. Flip it right side out, fold up the brim, and add two quick seams to create the cute cat ear points.
That’s it! In just a short time, you’ll have an adorable handmade cat hat that’s perfect for fall, Halloween, or cozy everyday wear.
Why you’ll love this crochet cat beanie pattern
- Beginner-friendly design – Uses simple stitches and easy construction, making it a perfect first crochet hat project.
- Quick to make – You can finish this cat hat in no time, which makes it great for last-minute gifts, craft fairs, or when you just want a fast, fun project.
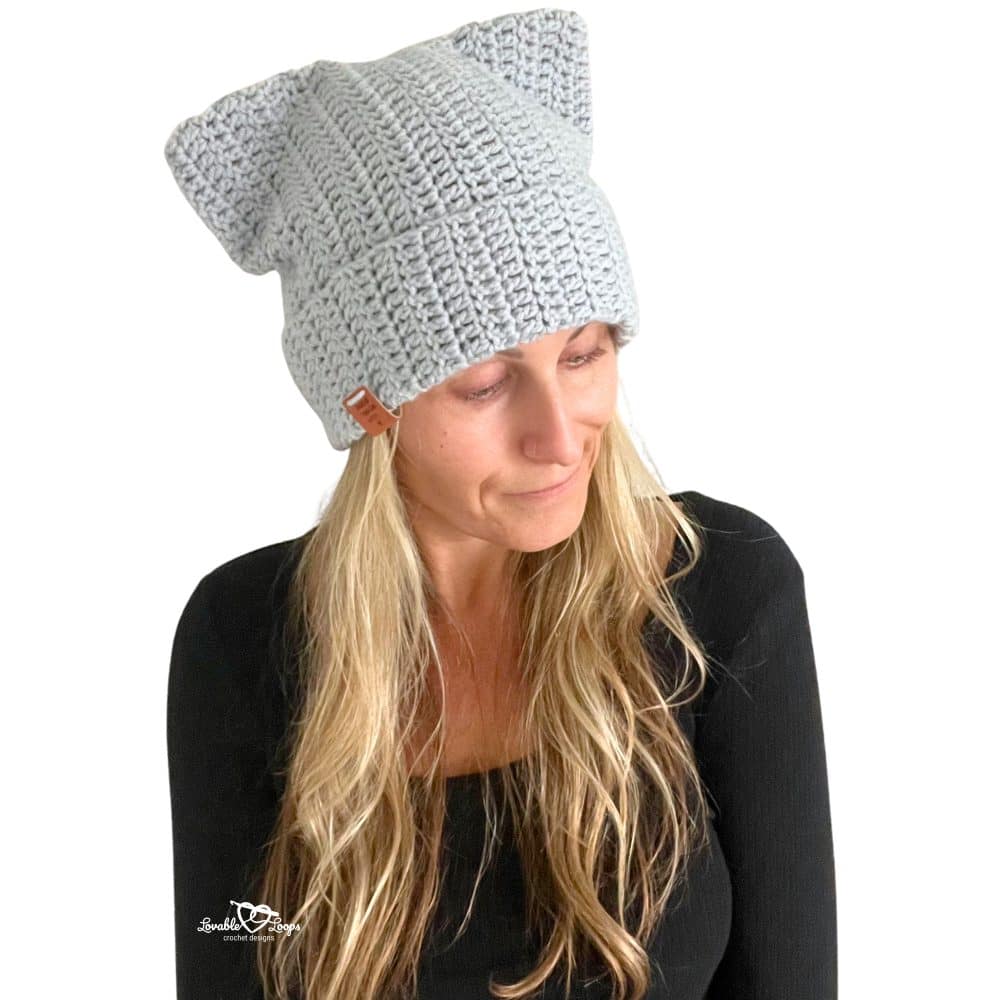
- Cozy for fall – The snug fit and fold-up brim make this cat ear beanie the perfect accessory for crisp fall outings or pumpkin patch visits.
- Perfect for photo shoots – Whether for kids or adults, this playful cat ear hat adds a cute touch to fall or Halloween photos.
- Fun for Halloween – Wear it as a costume piece or as a festive fall accessory; this crochet cat hat pattern is both practical and playful.
- Great gift idea – Handmade gifts are always special, and this quick, easy cat beanie is sure to be loved by anyone who receives it.
Pattern details: crochet cat beanie
Skill level
Beginner – This cat hat pattern uses only basic double crochet stitches worked in rows.
Materials needed
- Crochet hook size I-9 (5.5 mm) – or the size needed to match the gauge
- Worsted weight yarn (#4) – in gray
- Yarn needle – for weaving in yarn ends
- Scissors – for cutting your yarn
- Stitch markers – optional, but helpful for keeping track of rounds and stitch counts
Finished size
One size fits most teens and adults with a head circumference of 20–23 inches (51–58 cm).
Need help with crochet hat sizing?
Getting the right fit is one of the most important parts of making a crochet hat.
If you’re unsure about head circumference, negative ease, crown diameter, or hat height, I’ve created a complete Crochet Hat Sizing Guide that walks you through everything step by step.
You’ll learn:
• How to measure head circumference correctly
• How much negative ease to use
• How to calculate crown diameter
• Standard baby, child, and adult size charts
• How to adjust any crochet hat pattern for a better fit
Gauge
9 rows and 14 stitches = 4 inches (10 cm)
- If you have too many stitches, use a larger hook.
- If you have too few stitches, use a smaller hook.
Crochet abbreviations
- dc = double crochet
- ch / chs = chain / chains
- st / sts = stitch / stitches
Pattern notes
- This pattern is worked flat in rows and then sewn into shape.
- The starting chain does not count as a stitch.
- Chain 2 at the beginning of each row.
- Pattern is written in US terms.

Quick links
Step 1: Make a rectangle
Step 2: Sew the seams
Step 3: Fold up the brim
Step 4: Create the cat ears
Finishing
FAQs
Crochet cat beanie pattern: step-by-step instructions
Follow these simple steps to make your own cozy cat ear beanie. This pattern is quick, beginner-friendly, and works up in just a few steps.
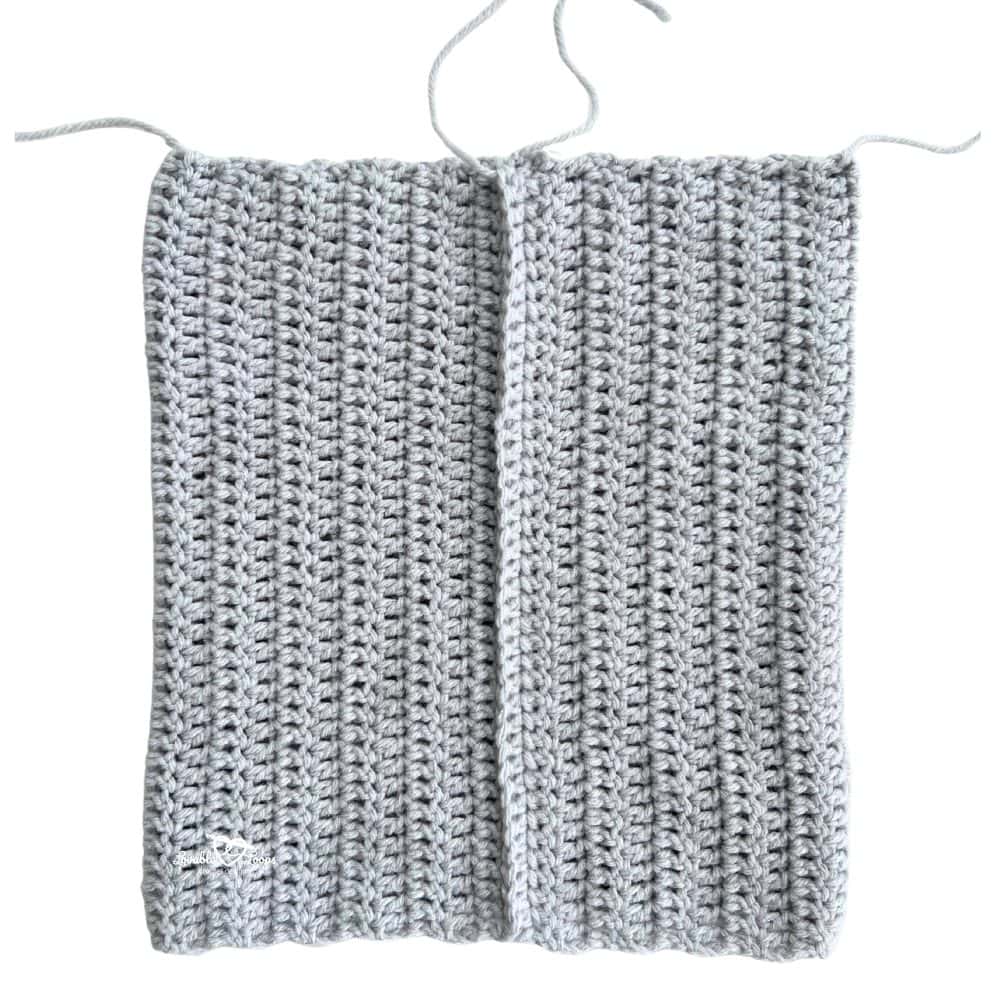
Step 1: Make a rectangle
Row 1: Ch 40, dc in the 3rd ch from the hook and in each ch across, turn. (38 stitches)
Rows 2-44: Ch 2, dc in each st, turn. (38 stitches)
Step 2: Sew the seams and turn it right side out
After finishing your rectangle, fold it in half so the short sides meet. Use your yarn needle to sew along that edge, joining the sides together to make a tube.
Next, stitch across the top of the tube to close it up completely. Once the top seam is secure, flip the hat right side out so all of your seams are hidden inside.
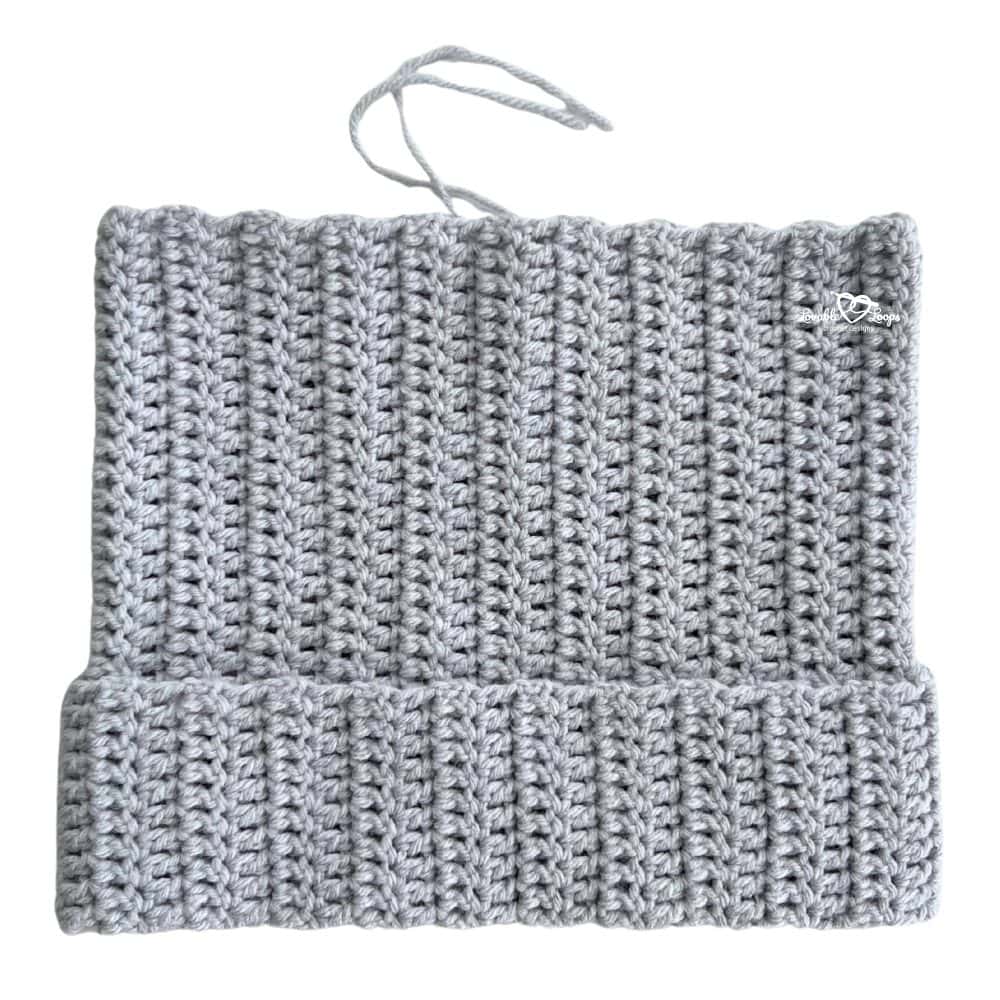
Step 3: Fold up the brim
With the tube turned right side out, fold the bottom edge upward to create a cozy brim. This gives your cat hat a snug fit and adds extra warmth around the ears. You can adjust the fold to make the brim wide or narrow depending on your style.
Step 4: Create the cat ears
To form the playful cat ear points, use your yarn needle and yarn to sew two diagonal seams at the top corners of the hat. Pinching the corners slightly as you stitch will give the ears a more defined shape. Once both seams are sewn, your crochet cat beanie is complete and ready to wear!
Finishing
Now you have a cozy handmade cat hat that’s ready for fall outings, Halloween fun, or to give as a thoughtful gift. This quick and easy project is one you’ll want to make again and again.
Frequently asked questions
Can I adjust this crochet cat beanie pattern for kids?
This pattern is written for teens and adults (20–23 inches). If you want to experiment with smaller sizes, try chaining fewer stitches and working fewer rows to reduce the rectangle dimensions. Keep in mind this will require adjustments and isn’t included in the pattern.
How long does it take to make this beanie?
Because this crochet cat beanie pattern is worked from a simple rectangle, most crocheters can finish it in just a few hours. It’s a quick weekend project or even a fun last-minute make for Halloween.
What yarn works best for this cat ear beanie?
Worsted weight (#4) yarn works best for this project. A medium-weight yarn creates the right balance of structure and stretch, helping the cat ear points stand up nicely while still keeping the cat hat soft and comfortable.
Can I make the cat ears bigger or smaller?
Yes! To change the look of your cat ear beanie, adjust where you sew the diagonal seams at the top corners. Sew further in for larger ears or closer to the edge for smaller, subtle ears.
Do I need to block this crochet cat hat pattern?
Blocking is optional. If you’d like a smoother finish, lightly steam block your beanie or lay it flat to dry after washing. The hat looks great right off the hook, so blocking is only needed if you want to neaten your stitches.
Free crochet hat patterns
Looking for more crochet hat ideas? Browse my full collection of free crochet hat patterns for babies, kids, and adults. You’ll find everything from classic crochet beanies and cozy winter hats to playful animal hats and seasonal designs — all written with clear instructions and helpful sizing details.


Let’s connect!
I’d love to see what you’re making! Share your finished project and follow along for more free crochet patterns and tutorials.
📌 Don’t forget to pin this pattern for later!
Happy crocheting! 🧶
— Melissa