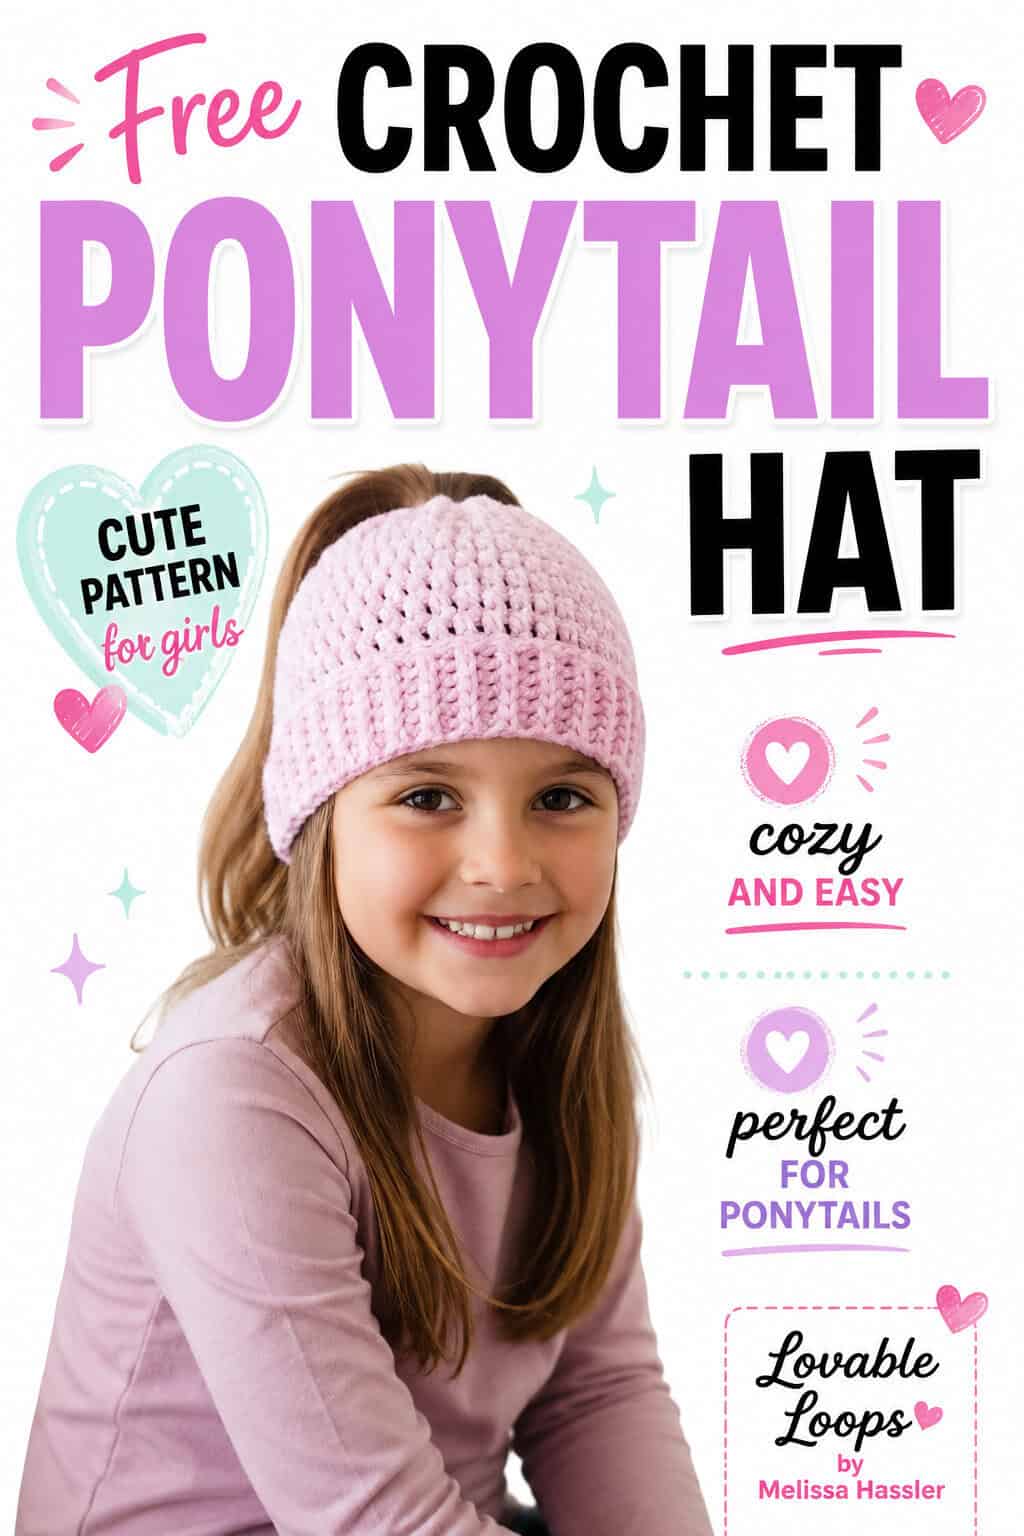
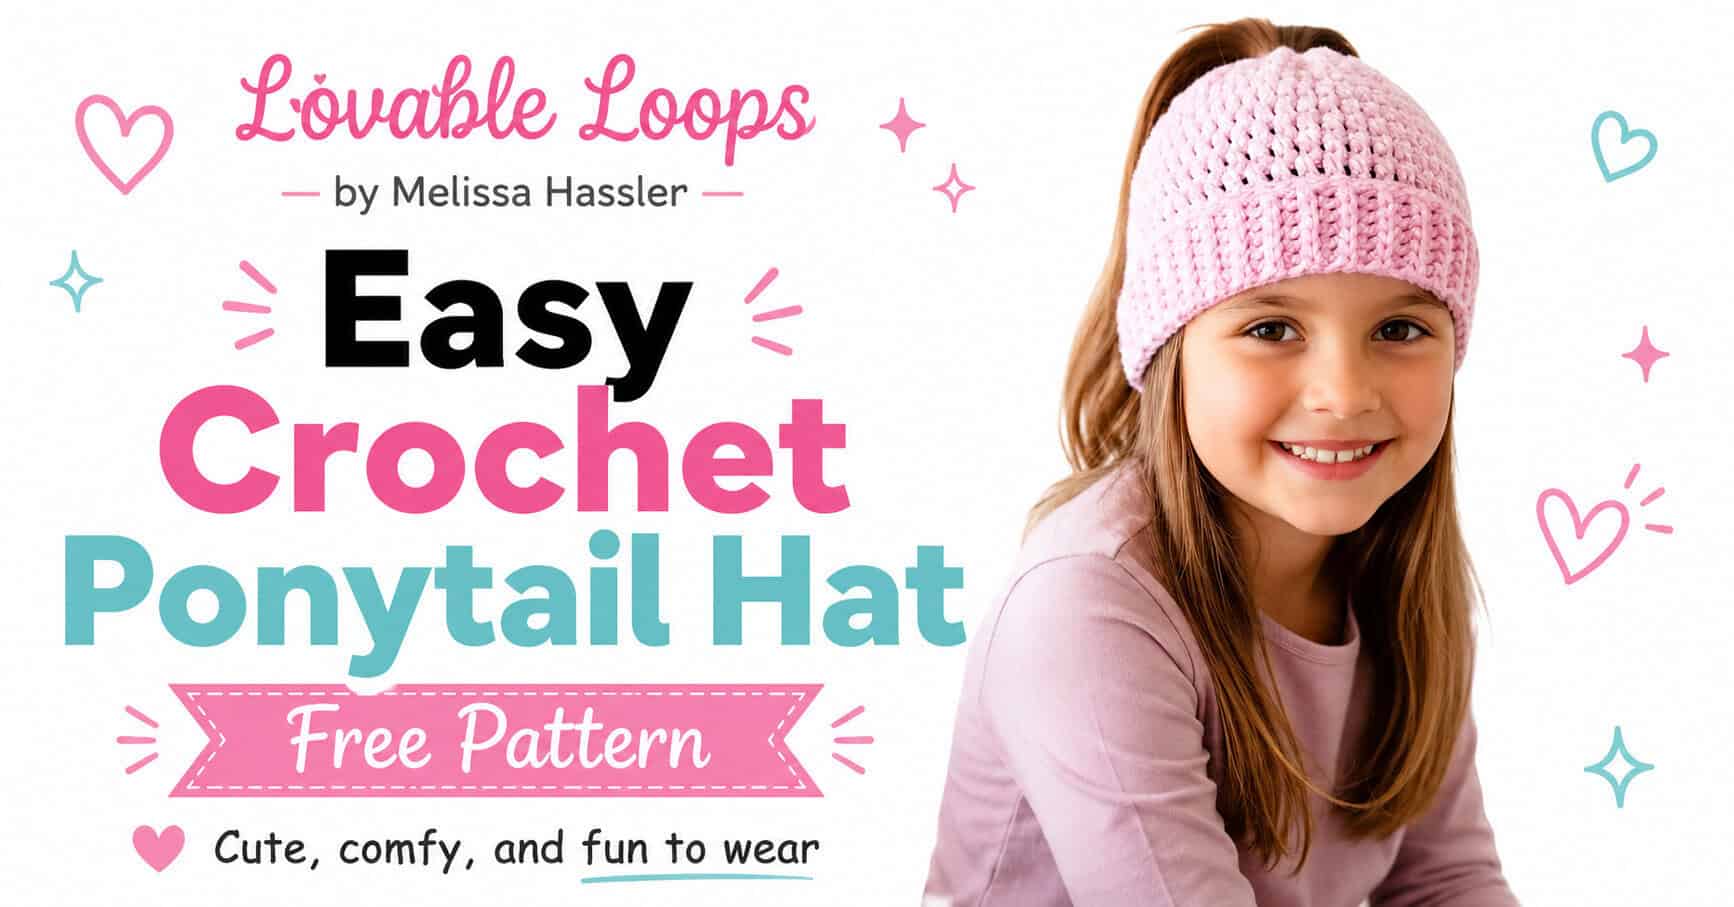
Crochet ponytail hat pattern
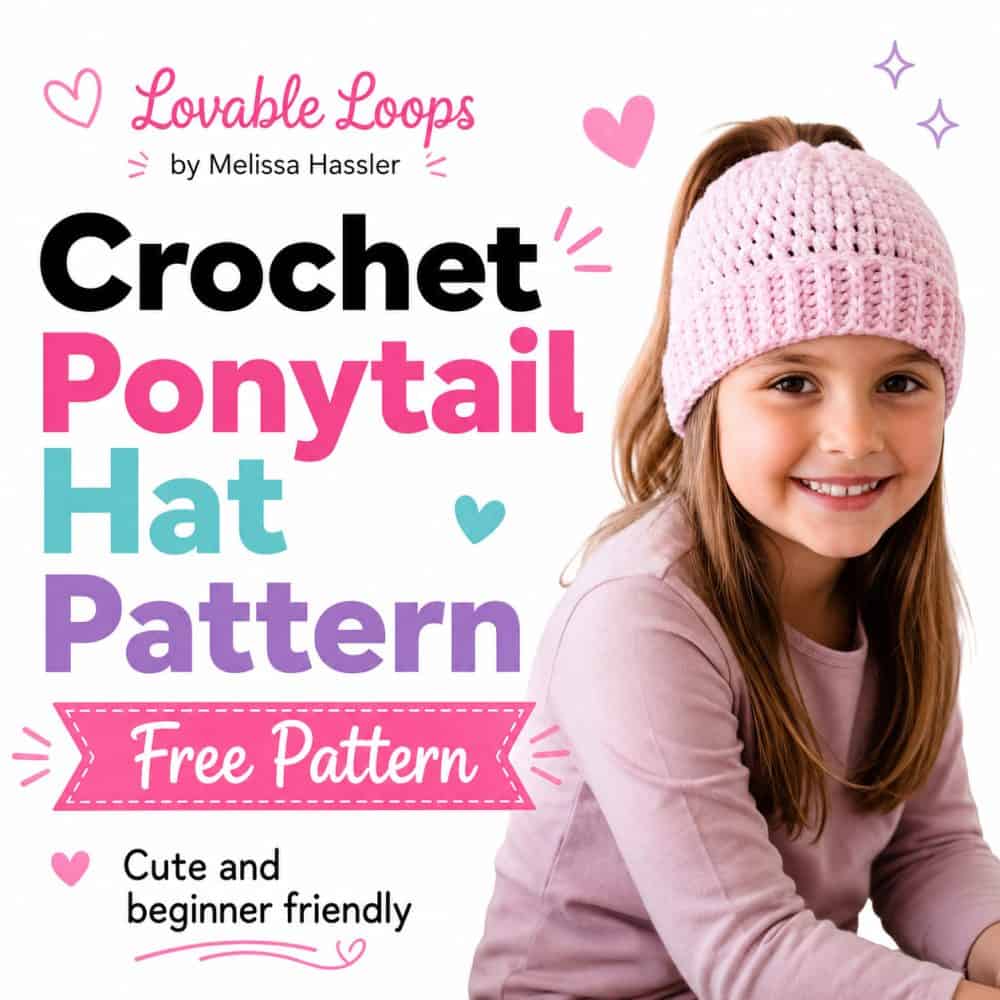
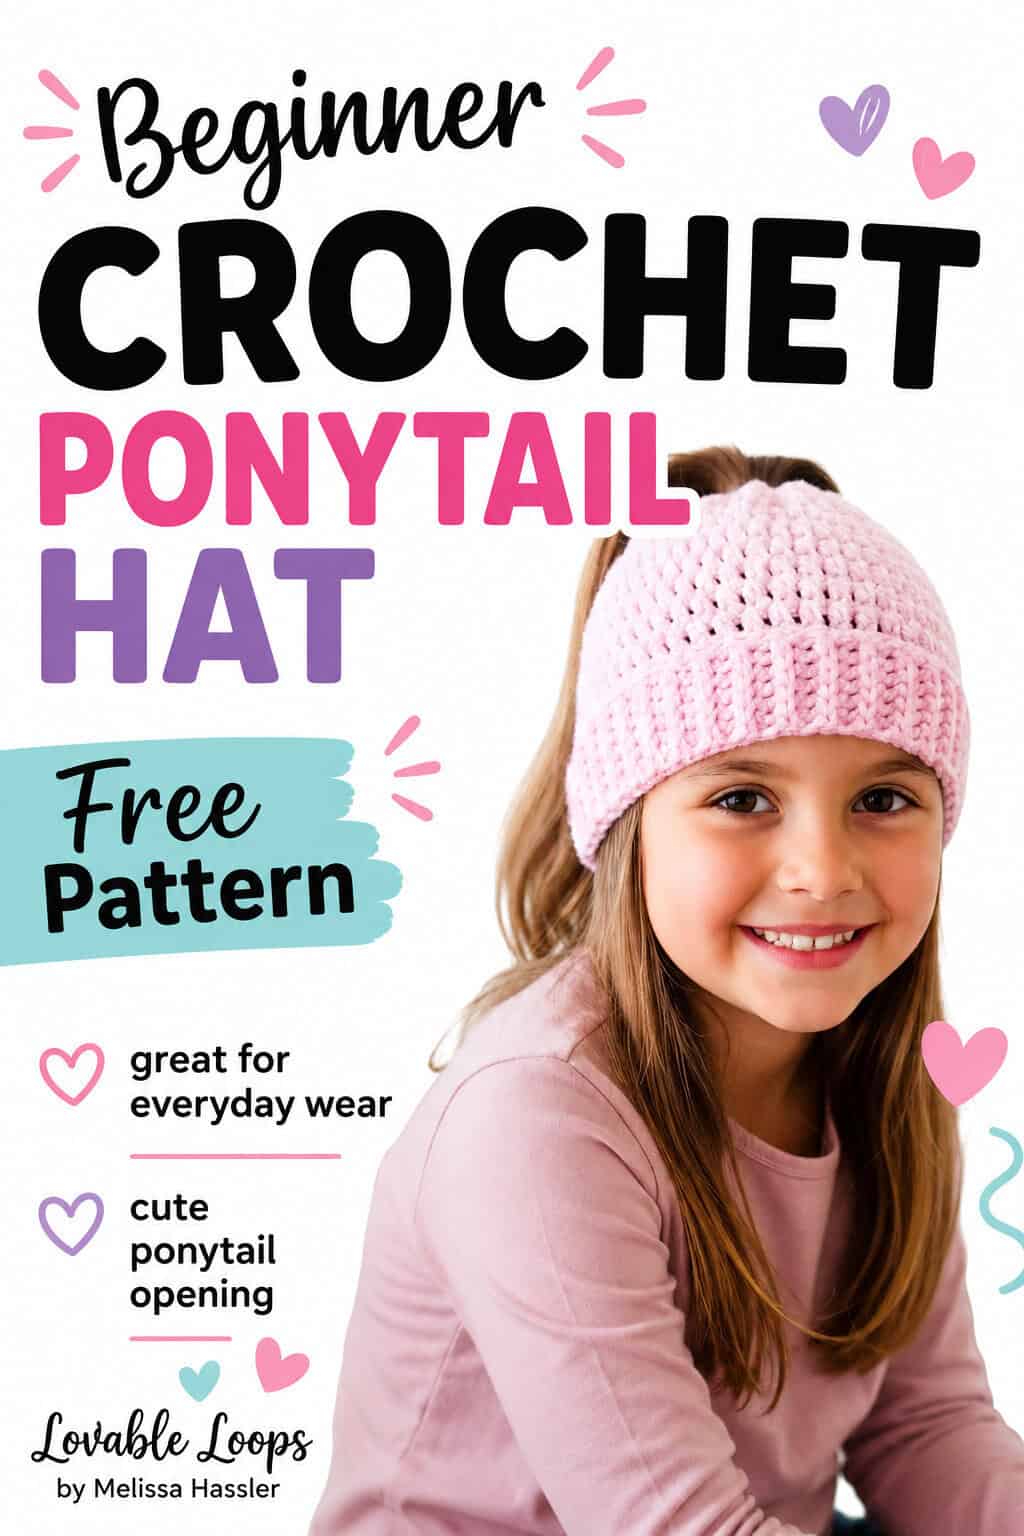
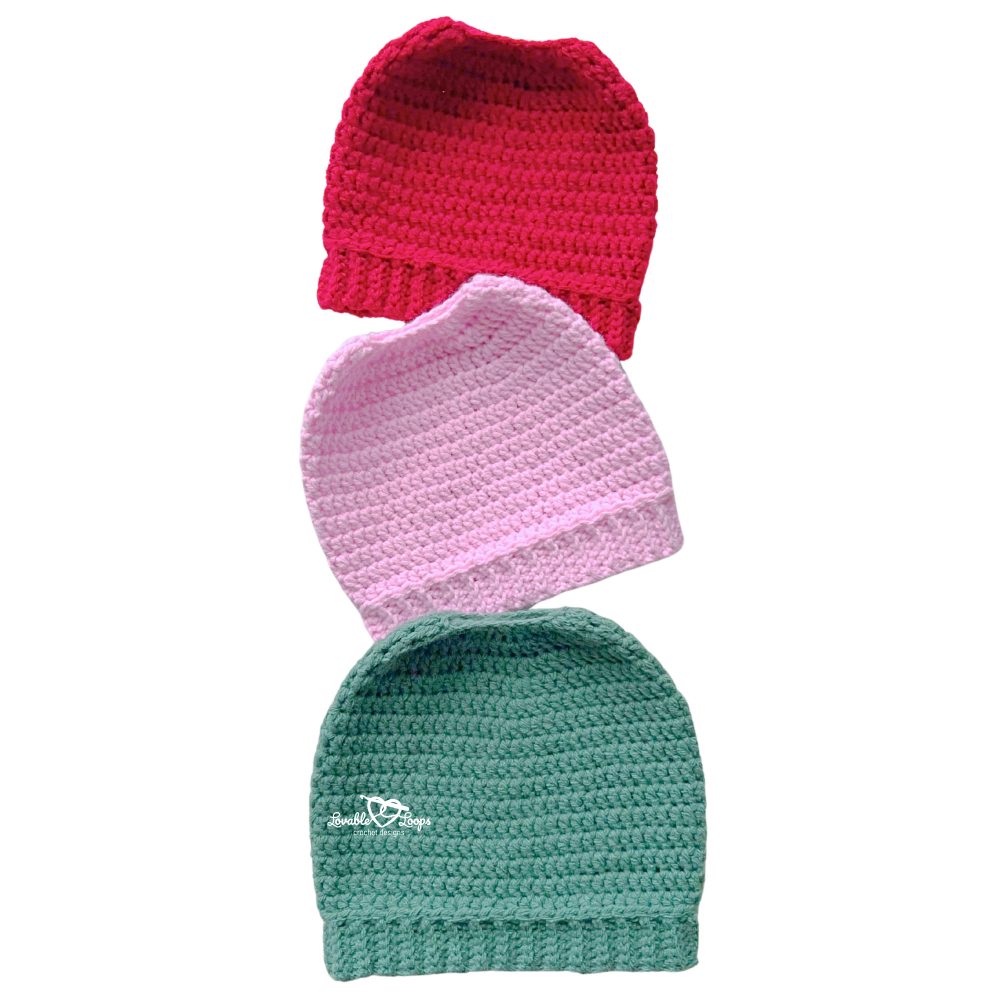
This crochet ponytail hat pattern keeps your hair up while adding warmth on cold days. The opening at the top leaves room for a ponytail or bun, while the attached ribbed brim gives the hat a classic beanie look. It’s a practical cold-weather accessory for anyone who prefers wearing their hair up.
Quick answer
This beginner crochet ponytail hat is worked from the top down in joined rounds using worsted weight (#4) yarn and an I-9 (5.5 mm) crochet hook. The starting chain forms the ponytail opening, double crochet rounds shape the hat, and a single crochet back-loop-only ribbed brim finishes the bottom edge. The pattern includes toddler, child, and adult sizes.
Crochet ponytail hat pattern details
Skill level
Beginner — This pattern uses double crochet, single crochet, simple increases, joined rounds, and back-loop-only ribbing.
Materials needed
- Crochet hook size I-9 (5.5 mm)
- Worsted weight yarn (#4)
- Yarn needle
- Scissors
- Tape measure
Size chart
Use the head circumference ranges below to choose the best size.
- Toddler — fits 18–19 inch (46–48 cm) head circumference; finished hat height 7 inches (18 cm)
- Child — fits 19–20 inch (48–51 cm) head circumference; finished hat height 7.5 inches (19 cm)
- Adult — fits 20–23 inch (51–58 cm) head circumference; finished hat height 8 inches (20 cm)
Need help with sizing? Check out my crochet hat sizing guide to measure head circumference, use negative ease, and adjust crown diameter and hat height for the best fit.
Gauge
15 dc stitches and 10 dc rounds = 4 inches (10 cm)
Learn how to check crochet gauge before you begin so you can adjust your hook size if needed.
Crochet abbreviations
- dc = double crochet stitch
- sc = single crochet stitch
- blo = back loop only
- ch/chs = chain/chains
- st/sts = stitch/stitches
- sl st = slip stitch
Pattern notes
- The hat is worked from the top down in joined rounds.
- The starting chain is joined to form the ponytail opening.
- The beginning ch 2 does not count as a stitch.
- Join each round with a sl st to the first stitch made in that round.
- Repeat instructions between the asterisks (*) as indicated.
- Add or remove double crochet rounds before beginning the brim to adjust the finished hat height.
- The ribbed brim is worked sideways in back-loop-only single crochet and attached to the hat as you crochet.
- The pattern is written in US crochet terms.
Crochet ponytail hat pattern instructions
All sizes
Round 1: Ch 22. Join with a sl st to the first ch to form a ring, being careful not to twist the chain. Ch 2 and work 2 dc in each ch around. Join. (44 sts)
Round 2: Ch 2, *2 dc in next st, dc in next 10 sts; repeat from * around. Join. (48 sts)
Round 3: Ch 2, *2 dc in next st, dc in next 11 sts; repeat from * around. Join. (52 sts)
Round 4: Ch 2, *2 dc in next st, dc in next 12 sts; repeat from * around. Join. (56 sts)
Toddler
Rounds 5–12: Ch 2, dc in each st around. Join. (56 sts)
Continue to Add the ribbed brim.
Child
Round 5: Ch 2, *2 dc in next st, dc in next 13 sts; repeat from * around. Join. (60 sts)
Rounds 6–13: Ch 2, dc in each st around. Join. (60 sts)
Continue to Add the ribbed brim.
Adult
Round 5: Ch 2, *2 dc in next st, dc in next 13 sts; repeat from * around. Join. (60 sts)
Round 6: Ch 2, *2 dc in next st, dc in next 14 sts; repeat from * around. Join. (64 sts)
Rounds 7–14: Ch 2, dc in each st around. Join. (64 sts)
Continue to Add the ribbed brim.
Add the ribbed brim
Begin the brim where you finished the last hat round.
The photos below are from my toddler hat pattern, but the same attached ribbing method is used for this ponytail hat.

Step 1: Ch 7. Sc in the 2nd ch from hook and in each remaining ch across. (6 sts)
Step 2: Sl st in the next 2 sts of the hat.
Step 3: Turn your work clockwise.
Step 4: Do not chain. Sc in the blo of each st across. (6 sts)
Step 5: Ch 1 and turn. Sc in the blo of each st across. (6 sts)
Repeat Steps 2–5 around the entire bottom edge of the hat until the first and last ribbed rows meet.
Fasten off, leaving a long tail for sewing.
Use the yarn tail and a yarn needle to sew the first and last ribbed rows together.
Finishing
Weave in all remaining yarn ends.
More free crochet hat patterns
Looking for another style that works with your hair up? Try my messy bun hat crochet pattern for another open-top beanie option.
You can also browse my full collection of free crochet hat patterns for beanies, winter hats, animal hats, and seasonal designs for babies, kids, and adults.
Let’s connect!
I’d love to see what you’re making! Share your finished project and follow along for more free crochet patterns and tutorials.
📌 Don’t forget to pin this pattern for later!
Happy crocheting! 🧶
— Melissa