

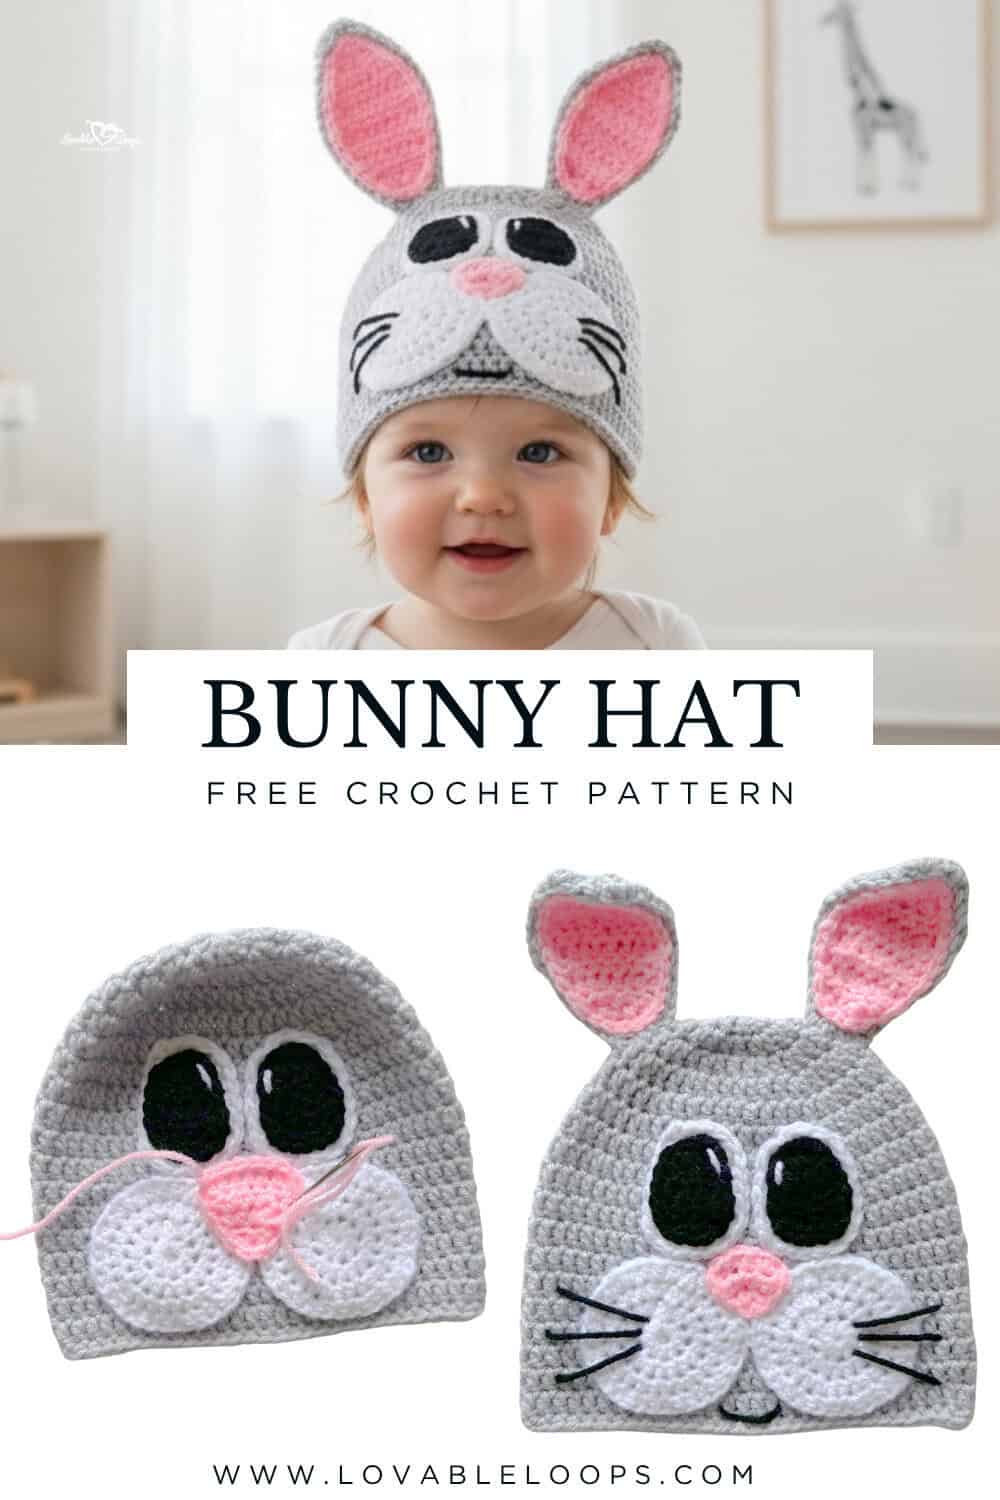
Crochet bunny hat pattern
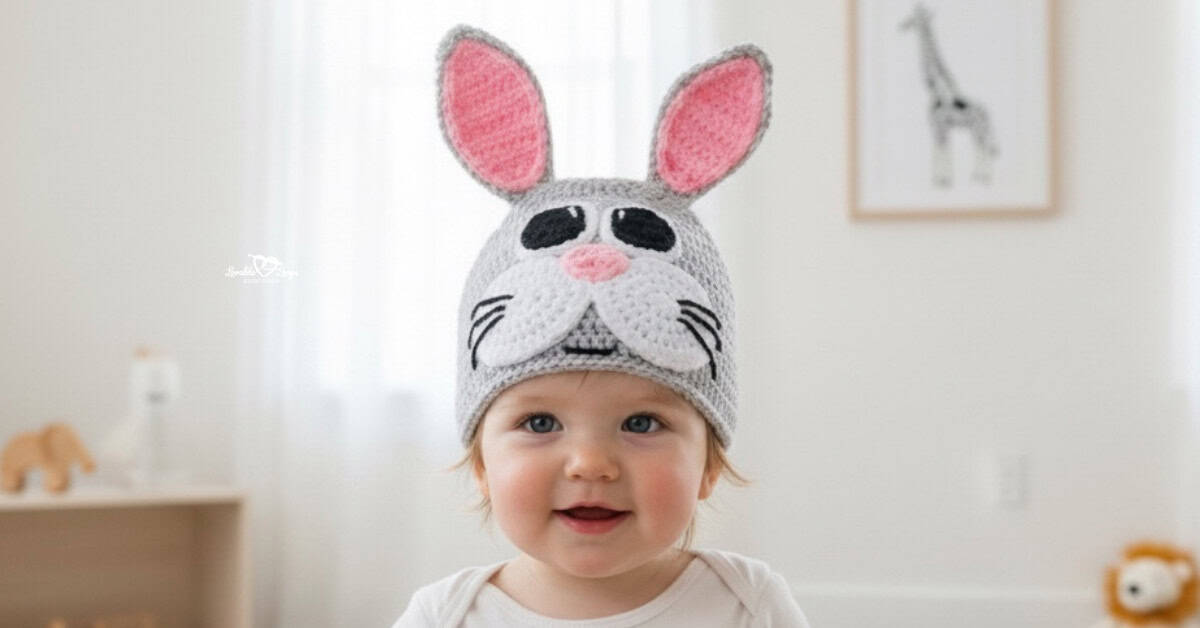
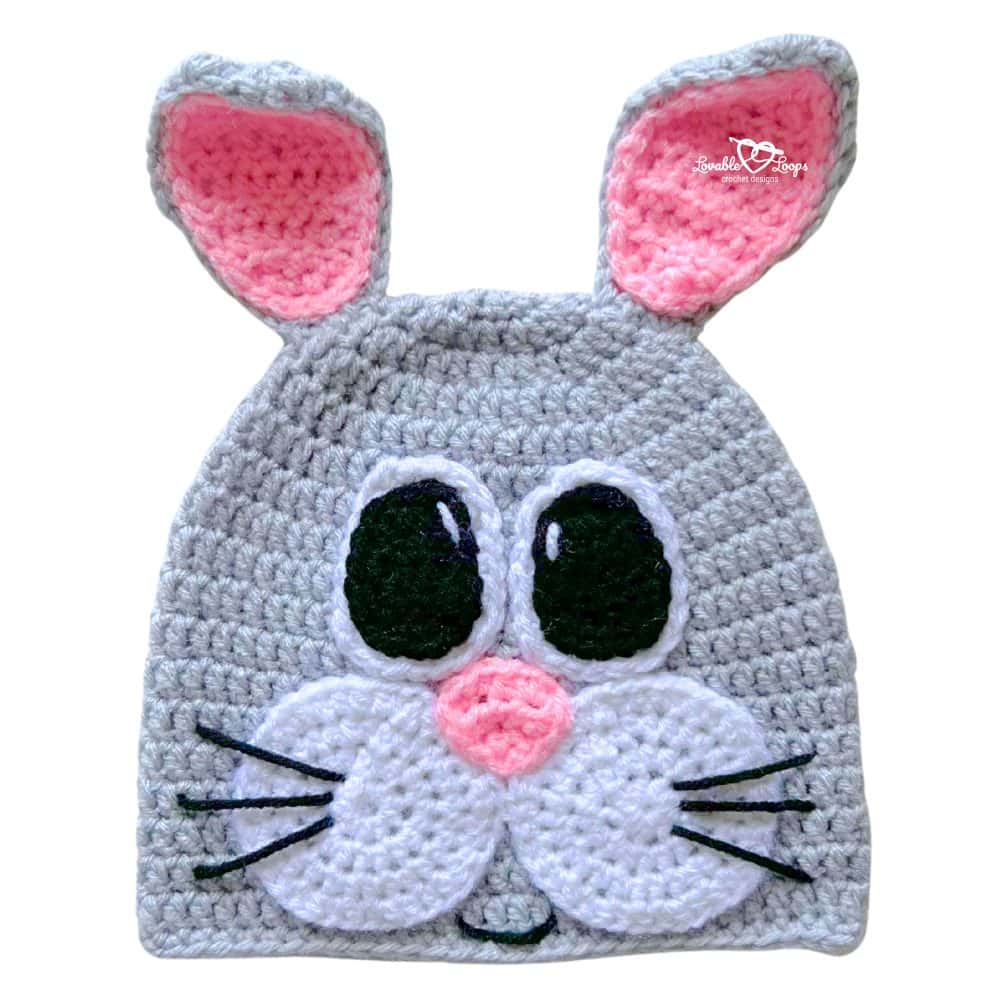
Looking for a sweet spring hat with a playful, handmade feel? This crochet bunny hat pattern features classic upright bunny ears and an adorable character-style face for a timeless look that works for all ages.
The hat is worked from the top down in the round using worsted weight yarn, with the bunny face pieces made separately and sewn on at the end. Designed for advanced beginners, this pattern includes baby, toddler, child, and adult sizes—making it perfect for matching family hats, Easter outfits, and spring photo shoots.
Looking for more cute designs? Explore my full collection of crochet animal hat patterns.
Quick answer
This crochet bunny hat pattern is an advanced beginner design worked in the round from the top down using worsted weight yarn and an I-9 (5.5 mm) hook. The bunny ears and face details are made separately and sewn on for a polished finish, with sizes included from baby through adult.
Why you’ll love this pattern
- Classic bunny look: Upright ears and a sweet face give this hat a timeless, recognizable bunny style.
- Multiple sizes included: Instructions are written for baby, toddler, child, and adult sizes.
- Spring-ready design: Perfect for Easter outfits, spring events, and seasonal photos.
- Clear construction: The hat is worked first, with facial details added at the end for easy shaping.
- Great gift option: A fun handmade hat that’s cute, practical, and memorable.
How this crochet bunny hat is made
This crochet bunny hat pattern is worked in the round from the top down, creating a smooth, well-fitting hat shape. Once the hat is complete, the bunny ears and face pieces are crocheted separately and sewn on using a yarn needle.
This construction keeps the main hat simple while allowing the bunny details to stand out, making it easier to adjust placement and achieve a clean, finished look.
Free crochet bunny hat pattern details
Before you begin, take a moment to review the pattern details below. This section covers the finished size, skill level, and materials so you can feel prepared and confident before starting your crochet bunny hat.
Skill level
Advanced beginner — This pattern is best for crocheters who are comfortable working in the round, following stitch counts, and sewing pieces together.
Materials needed
- Crochet hook sizes —
I-9 (5.5 mm) — hat
H-8 (5 mm) — face parts (toddler–adult sizes)
G-6 (4 mm) — face parts (baby size) - Yarn weight — Worsted weight yarn (#4). You will need gray, white, pink, and black yarn.
- Yarn needle — Used to weave in the ends.
- Stitch markers — Optional. Helpful for keeping track of stitches.
Finished size
This crochet bunny hat pattern includes baby, toddler, child, and adult sizes. A size chart is provided below to help you choose the best fit before you begin, making it easy to crochet a comfortable hat for any age.
| Hat Size | Crown | Circumference | Height |
| Baby | 5 inches (13 cm) | 14-15 inches (36-38 cm) | 6 inches (15 cm) |
| Toddler | 6 inches (15 cm) | 18-19 inches (46-48 cm) | 7 inches (18 cm) |
| Child | 6.5 inches (17 cm) | 19-20 inches (48-51 cm) | 7.5 inches (19 cm) |
| Adult | 7 inches (18 cm) | 20-23 inches (51-58 cm) | 8 inches (20 cm) |
Gauge
15 stitches and 9 rows = 4 inches (10 cm)
Crochet abbreviations
- dc = double crochet stitch
- hdc = half double crochet stitch
- hdc2tog = half double crochet 2 stitches together
- hdc3tog = half double crochet 3 stitches together
- ch/chs = chain/chains
- st/sts = stitch/stitches
- sl st = slip stitch
Pattern notes
- Join each round with a slip stitch to the first stitch made.
- Repeat instructions between the asterisks (*) for the rest of the round.
- The pattern is worked in the round from the top of the hat down.
- You can adjust the hat length by working more or fewer rounds.
- The written pattern is in US crochet terms.
- Rounds 1–5 are the same for all sizes.
Crochet bunny hat pattern instructions
The instructions below walk you through crocheting the bunny hat step by step. The hat is worked in the round from the top down, starting with the same rounds for all sizes before breaking off into separate instructions for baby, toddler, child, and adult sizes.
Rounds 1–5
Use gray yarn.
Round 1: Magic circle, ch 2, 11 dc, join with sl st to the top of the first dc (11 stitches)
Round 2: Ch 2, 2 dc in each st, join (22 stitches)
Round 3: Ch 2, *2 dc, dc in next st*, join (33 stitches)
Round 4: Ch 2, *2 dc, dc in next 2 sts*, join (44 stitches)
Round 5: Ch 2, *2 dc, dc in next 10 sts*, join (48 stitches)
Baby size
Rounds 6-14: Ch 2, dc in each st, join (48 stitches)
Fasten off and weave in your ends.
Toddler size
Round 6: Ch 2, *2 dc, dc in next 11 sts*, join (52 stitches)
Round 7: Ch 2, *2 dc, dc in next 12 sts*, join (56 stitches)
Rounds 8-17: Ch 2, dc in each st, join (56 stitches)
Fasten off and weave in your ends.
Child size
Round 6: Ch 2, *2 dc, dc in next 11 sts*, join (52 stitches)
Round 7: Ch 2, *2 dc, dc in next 12 sts*, join (56 stitches)
Round 8: Ch 2, *2 dc, dc in next 13 sts*, join (60 stitches)
Rounds 9-18: Ch 2, dc in each st, join (60 stitches)
Fasten off and weave in your ends.
Adult size
Round 6: Ch 2, *2 dc, dc in next 11 sts*, join (52 stitches)
Round 7: Ch 2, *2 dc, dc in next 12 sts*, join (56 stitches)
Round 8: Ch 2, *2 dc, dc in next 13 sts*, join (60 stitches)
Round 9: Ch 2, *2 dc, dc in next 14 sts*, join (64 stitches)
Rounds 10-19: Ch 2, dc in each st, join (64 stitches)
Fasten off and weave in your ends.
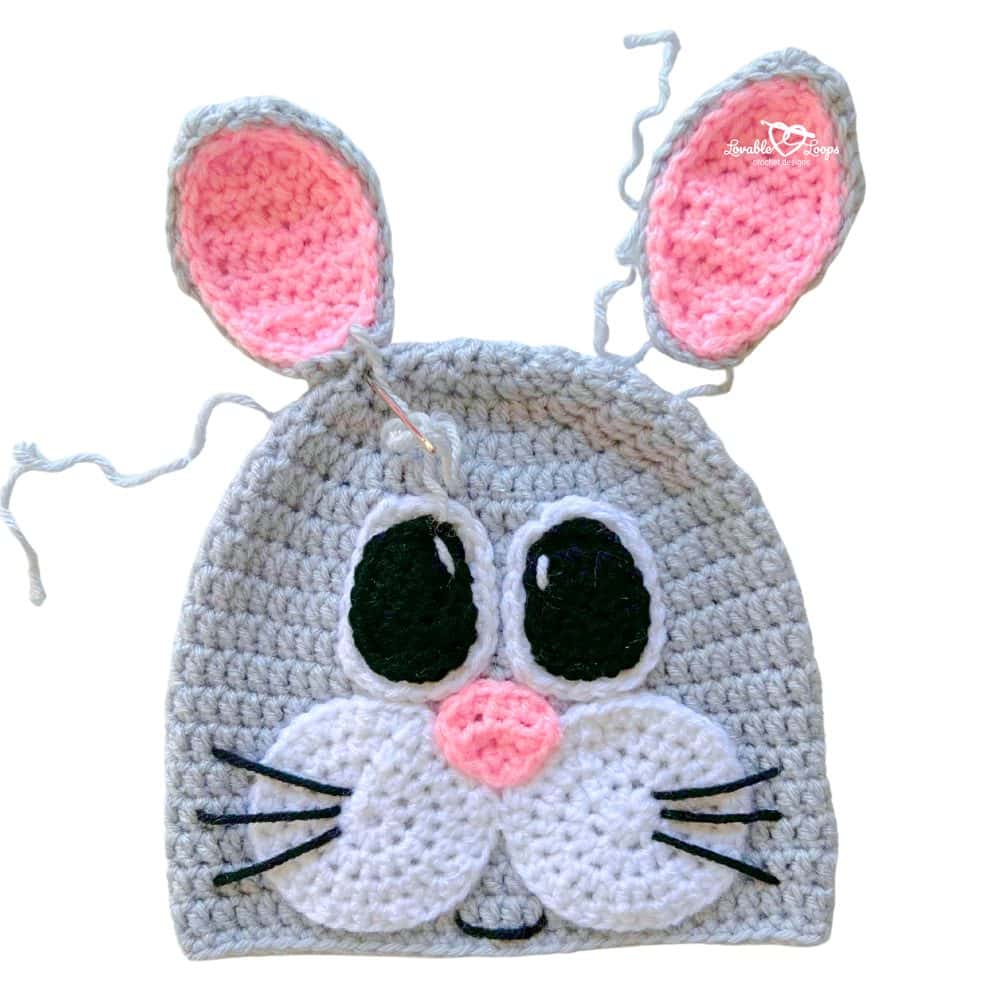
Crocheting the bunny face and ears
In this section, you’ll crochet all of the bunny’s face and ear details. Be sure to use the correct hook size listed in the materials section for each piece—this helps the facial features stay neat and proportional to the hat. Once finished, these pieces will be sewn onto the hat for a polished, finished look.
Cheeks
Use white yarn.
Round 1: Magic ring, ch 2, 9 hdc, join with sl st to the top of the first hdc (9 stitches)
Round 2: Ch 2, 2 hdc in each st, join (18 stitches)
Round 3: Ch 2, *2 hdc, hdc in next st*, join (27 stitches)
Round 4: Ch 2, *2 hdc, hdc in next 2 sts*, join (36 stitches)
Fasten off leaving a long tail for sewing. Sew the cheeks onto the bottom part of the hat. Make sure they are centered.
Eye patches
Use white yarn.
Row 1: Ch 7, hdc in the 3rd ch from the hook and in each rem ch, turn (5 stitches)
Row 2: Ch 2, hdc in each st, turn (5 stitches)
Rows 3-5: repeat row 2
Row 6: Ch 2, hdc2tog, hdc in next st, hdc2tog (3 stitches)
Single crochet around the entire shape and fasten off. Leave a long tail for sewing. Sew the eye patches onto the hat above the cheeks.
Eye details
Use black yarn.
Row 1: Ch 5, hdc in the 3rd ch from the hook and in each rem ch, turn (3 stitches)
Row 2: Ch 2, hdc in each st, turn (3 stitches)
Row 3: Ch 2, hdc in each st, turn (3 stitches)
Row 4: Ch 2, hdc3tog (1 stitch)
Single crochet around the entire shape and fasten off. Leave a long tail for sewing. Use scrap pieces of white yarn to add the eye sparkle. Sew the eyes onto the eye patches.
Nose
Use pink yarn.
Row 1: Ch 3, 2 hdc in 3rd ch from the hook, turn (2 stitches)
Row 2: Ch 2, 2 hdc in each st, turn (4 stitches)
Row 3: Ch 2, *2 hdc, hdc in next st* (6 stitches)
Single crochet around the entire shape and fasten off. Leave a long tail for sewing. Sew the nose onto the hat.

Ears
- Use gray yarn for the outer ear
- Use pink yarn for the inner ear
- Rows 1-6 are the same for both
Row 1: Ch 5, hdc in the 3rd ch from the hook and in each rem ch, turn (3 stitches)
Row 2: Ch 2, hdc, 2 hdc, hdc, turn (4 stitches)
Row 3: Ch 2, *2 hdc, hdc in next st*, turn (6 stitches)
Row 4: Ch 2, hdc in each st, turn (6 stitches)
Row 5: Ch 2, *2 hdc, hdc in next 2 sts*, turn (8 stitches)
Row 6: Ch 2, hdc in each st, turn (8 stitches)
Outer ear:
Row 7: Ch 2, *2 hdc, hdc in next 3 sts*, turn (10 stitches)
Row 8: Ch 2, hdc in each st, turn (10 stitches)
Row 9: Ch 2, hdc2tog, hdc in 2 sts, hdc2tog, hdc in 2 sts, hdc2tog (7 stitches)
Row 10: Ch 2, hdc in each st, turn (7 stitches)
Row 11: Ch 2, hdc2tog, hdc in 3 sts, hdc2tog, turn (5 stitches)
Row 12: Ch 2, hdc2tog, hdc, hdc2tog, turn (3 stitches)
Row 13: Ch 2, hdc3tog (1 stitch)
Single crochet around the entire shape and fasten off. Leave a long tail for sewing.
Inner ear:
Row 7: Ch 2, *hdc2tog, hdc in next 2 sts,* turn (6 stitches)
Row 8: Ch 2, hdc in each st, turn (6 stitches)
Row 9: Ch 2, hdc2tog, hdc in 2 sts, hdc2tog, turn (4 stitches)
Row 10: Ch 2, hdc2tog, hdc2tog, turn (2 stitches)
Row 11: Ch 2, hdc2tog (1 stitch)
Single crochet around the entire shape and fasten off. Leave a long tail for sewing. Sew the inner and outer ears together. Sew the ears to each top side of the hat.
Facial details (smile and whiskers)
Use black yarn to sew whiskers and a smile onto the hat.
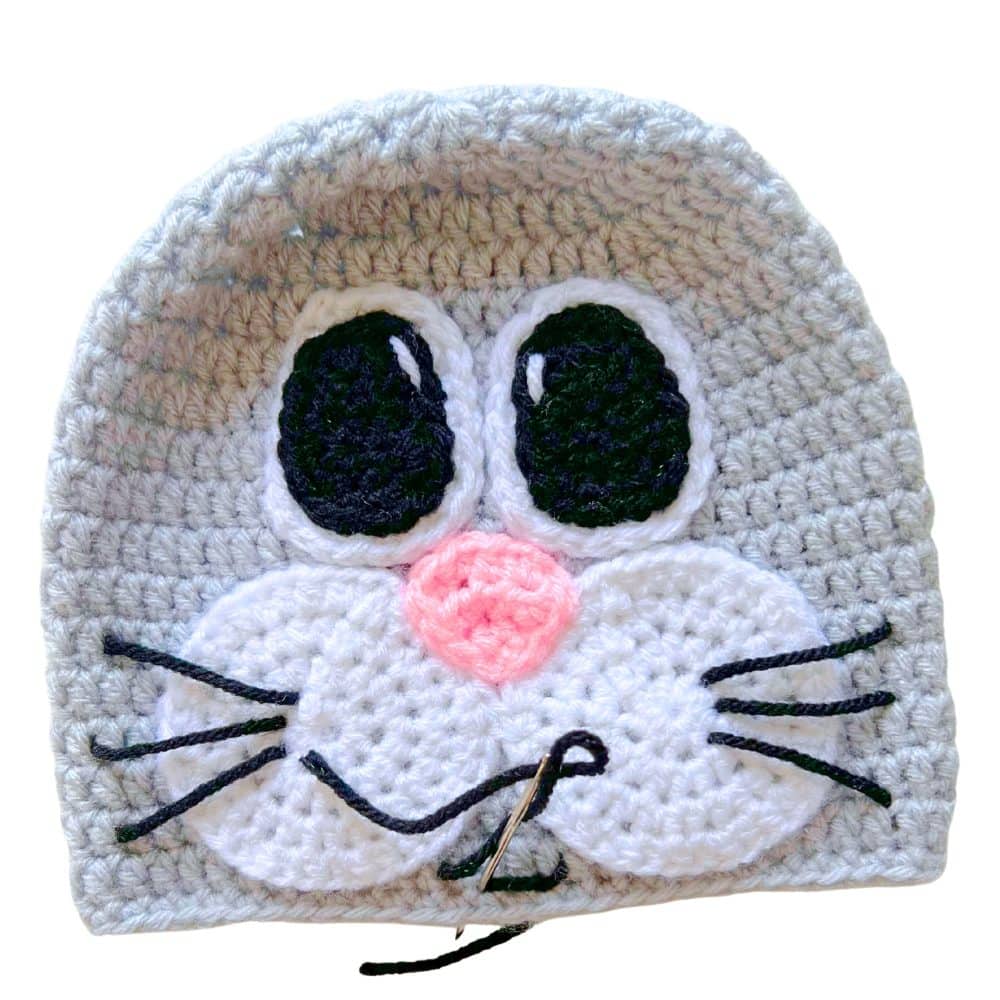
Finishing
Weave in all of your ends.
Common questions about this bunny hat pattern
Is this crochet bunny hat pattern beginner-friendly?
This pattern is best suited for advanced beginners. You should be comfortable crocheting in the round and sewing pieces together.
Are the bunny ears worked directly onto the hat?
No. The ears and face details are crocheted separately and sewn on after the hat is finished.
Can I make this hat for Easter?
Yes. This bunny hat is perfect for Easter outfits, spring photos, and seasonal events.
Can I change the colors?
Absolutely. You can customize the bunny and accent colors to match your style or theme.
Does the pattern include multiple sizes?
Yes. Instructions are included for baby, toddler, child, and adult sizes.
More free crochet hat patterns


Let’s connect!
I’d love to see what you’re making! Share your finished project and follow along for more free crochet patterns and tutorials.
📌 Don’t forget to pin this pattern for later!
Happy crocheting! 🧶
— Melissa