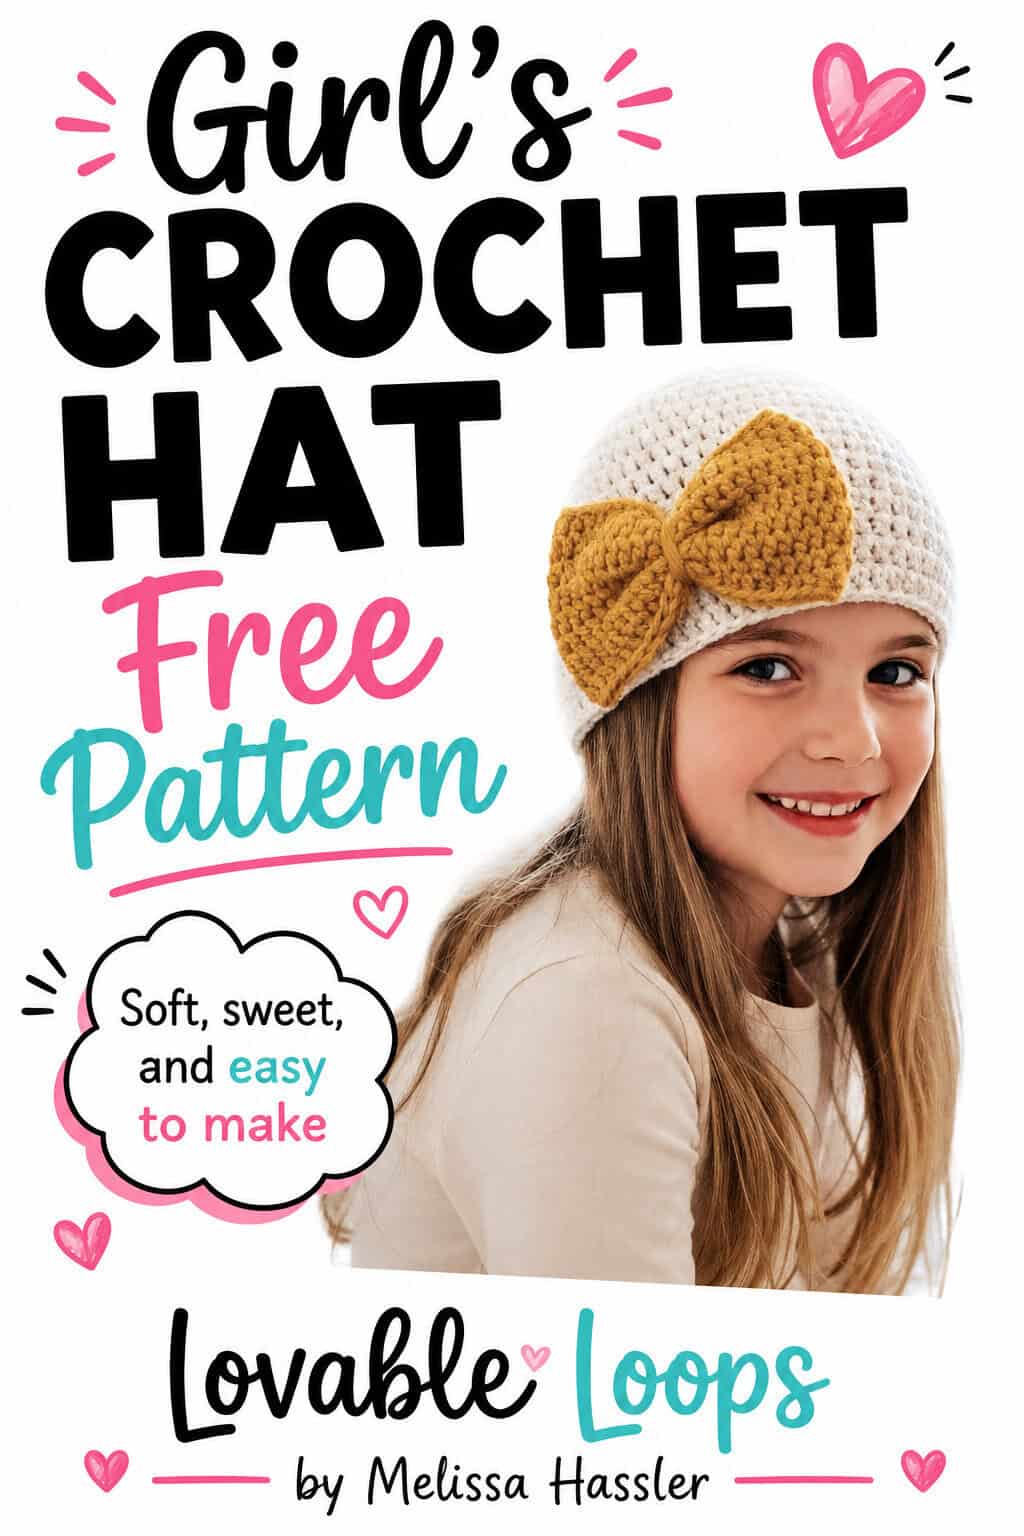
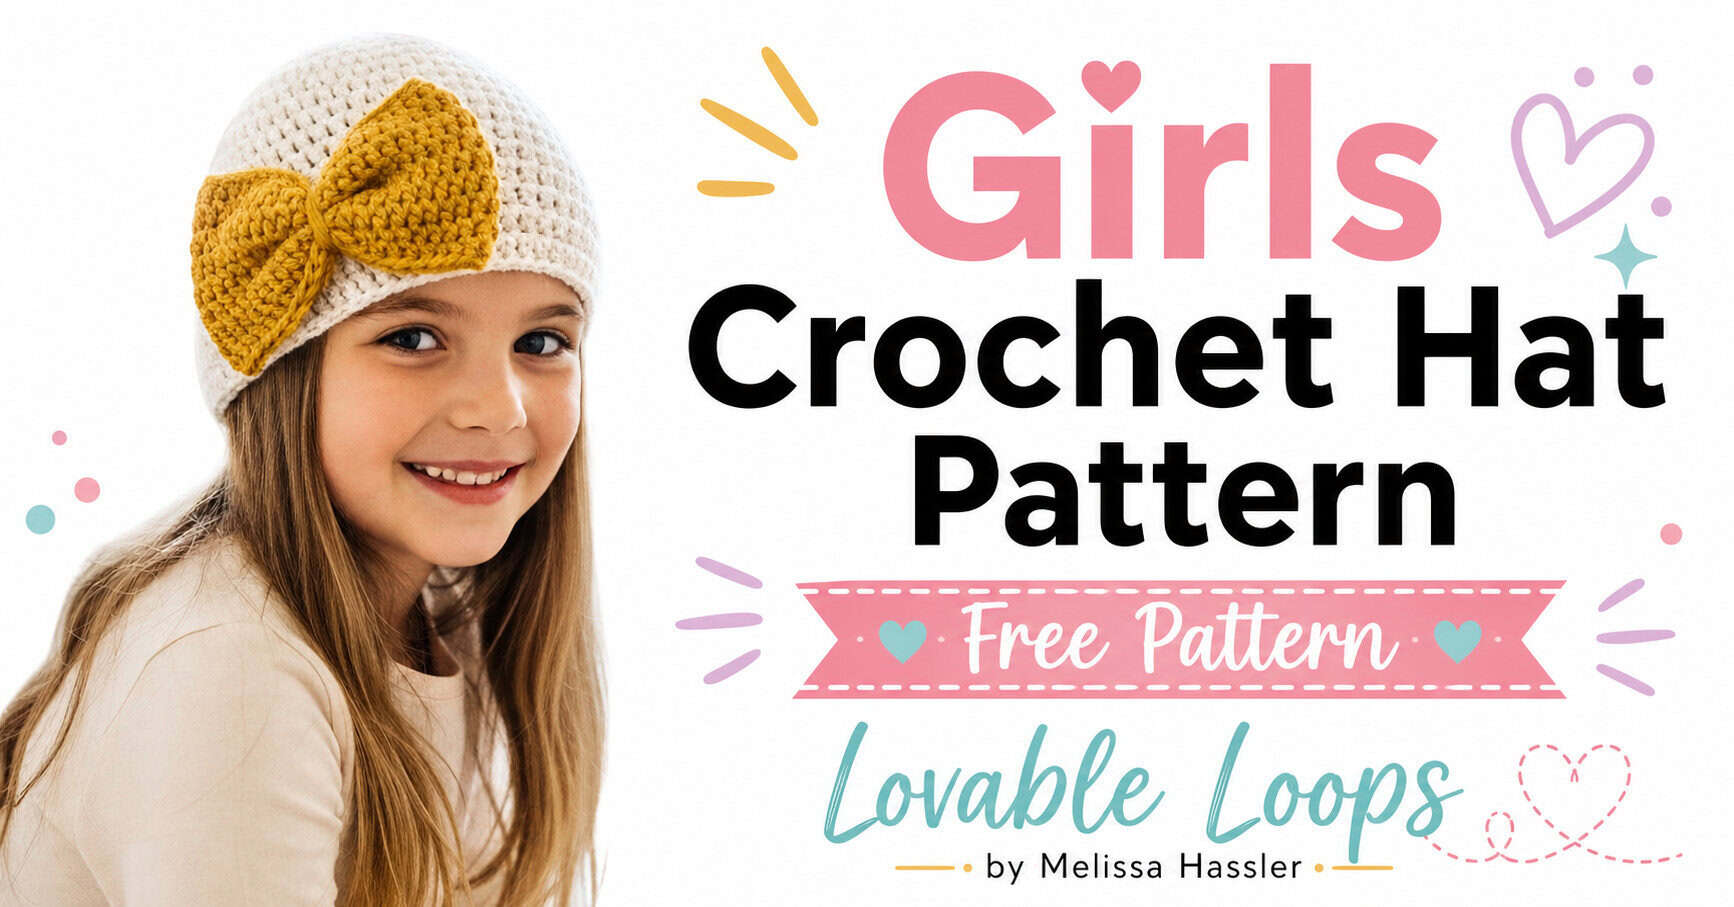
Girls crochet hat pattern
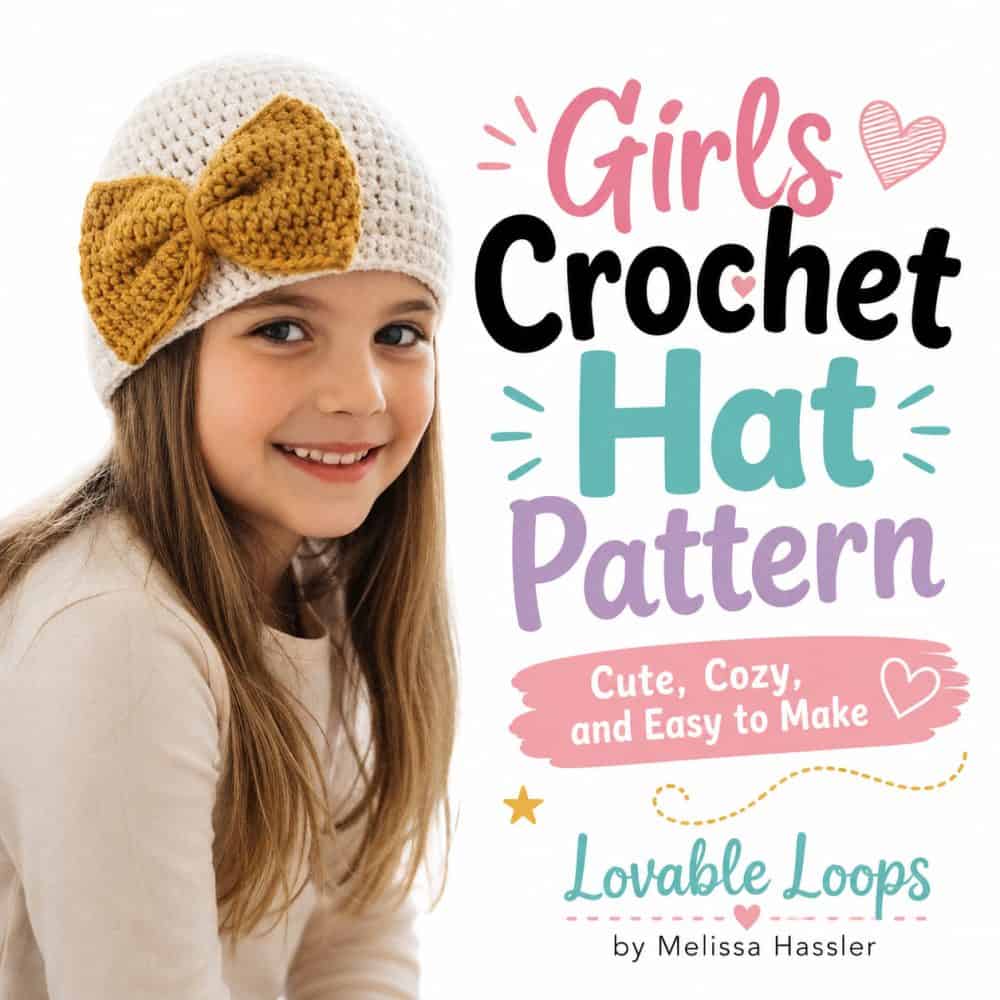
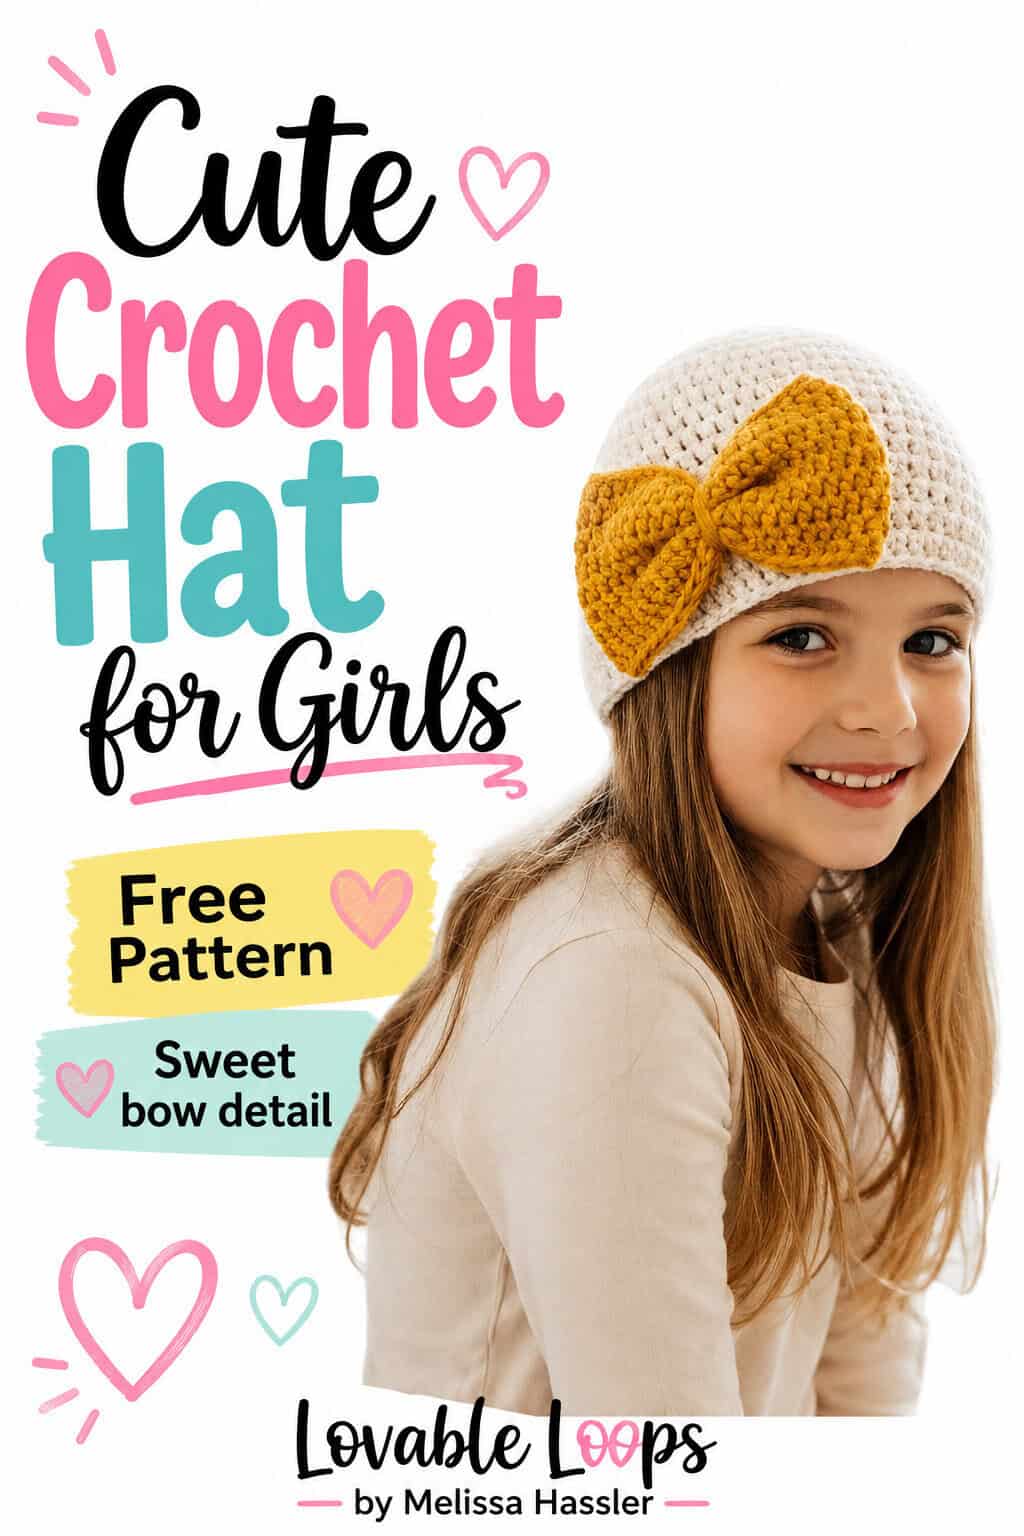
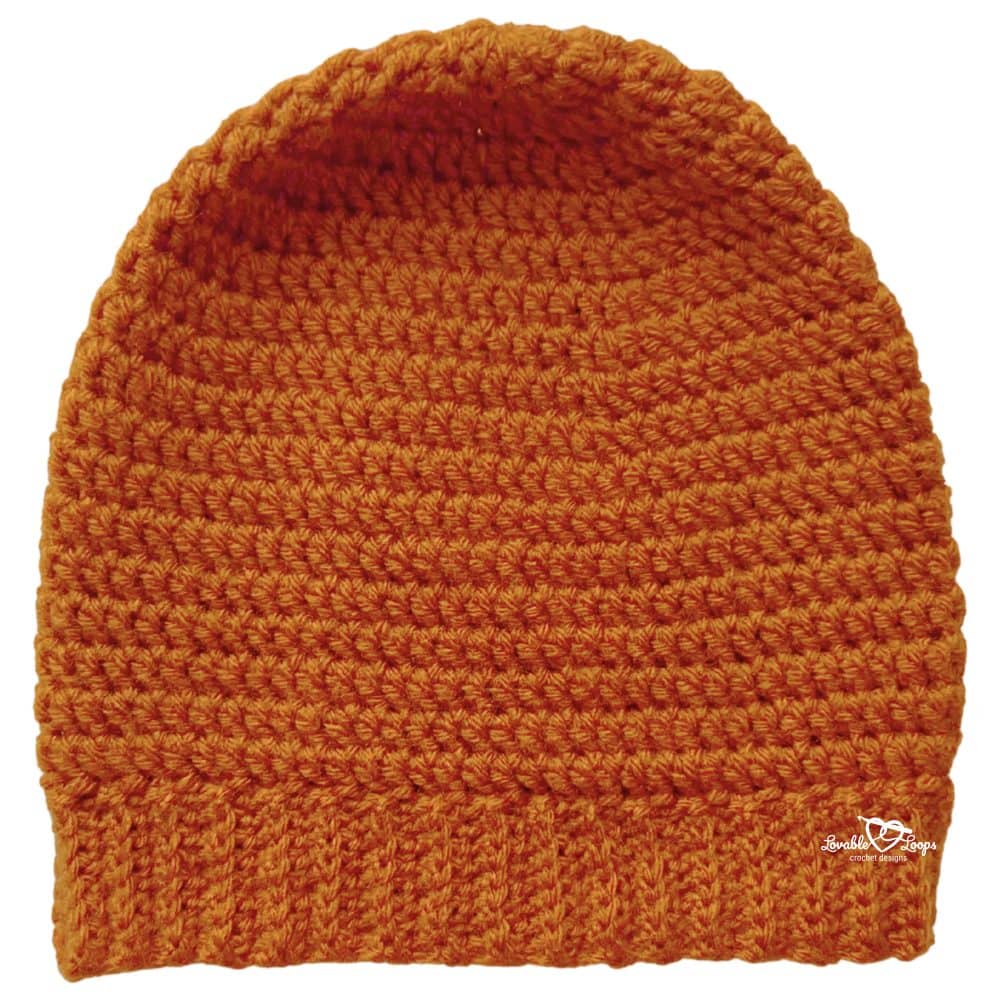
This girls crochet hat pattern is a beginner-friendly beanie worked from the top down in the round using worsted weight yarn. With baby, toddler, and child sizes, it features a large bow on the front for a cute, practical hat that’s perfect for everyday wear, gifts, and photo-ready outfits.
Quick answer
This girls crochet hat pattern is a beginner-friendly beanie worked from the top down in the round using worsted weight yarn (#4). It includes baby, toddler, and child sizes and features a large bow sewn onto the front for a cute, classic finish.
Best for: Beginners
Style: Top-down beanie with bow
Includes: 3 sizes, written instructions, gauge, and finishing notes
Why you’ll love this pattern
- The large bow adds a cute, classic look.
- It includes baby, toddler, and child sizes.
- Basic stitches keep the pattern simple and beginner-friendly.
- The hat is worked in the round, so it has a neat, smooth shape.
- The bow is made separately, which makes it easy to change colors.
- It is a great choice for gifts, photos, and everyday wear.
How the hat is constructed
The hat is worked from the top down in joined rounds using double crochet stitches. Each size starts with a magic circle, increases to shape the crown, then continues in even rounds for the body. The bow is crocheted separately, then sewn to the front of the finished hat.
Girls crochet hat pattern details
Here’s a quick overview of the materials, sizing, gauge, and pattern notes before you begin.
Skill level
Beginner — Uses basic stitches, simple repeats, and easy top-down construction in the round.
Avoid frustration by learning the most common crochet mistakes beginners make and how to fix them.
Materials needed
- Crochet hook for hat — I-9 (5.5 mm)
- Crochet hook for bow — H-8 (5 mm)
- Worsted weight yarn (#4) — I used Lion Brand Yarn’s Wool Ease
- Yarn needle — to weave in ends
- Scissors — to fasten off your yarn
- Stitch markers — to help keep track of stitches
- Measuring tape — to measure head circumference
Finished size
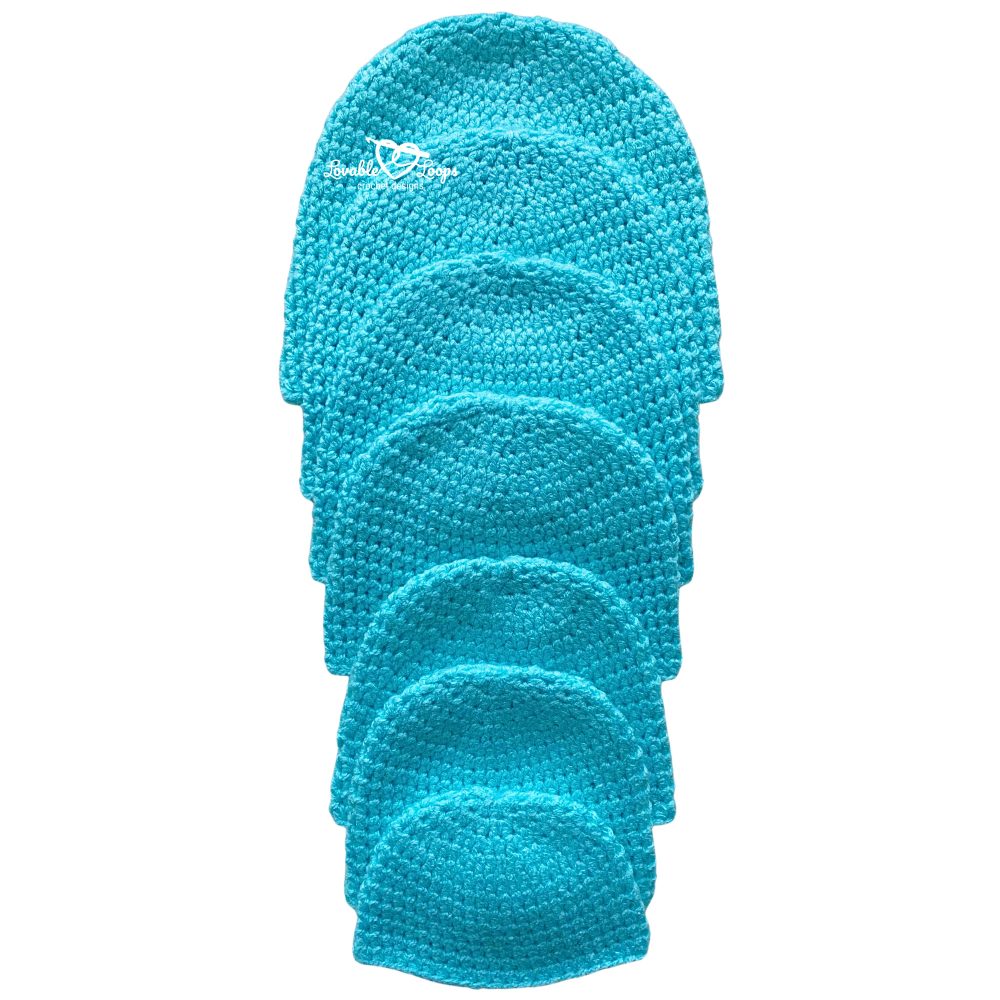
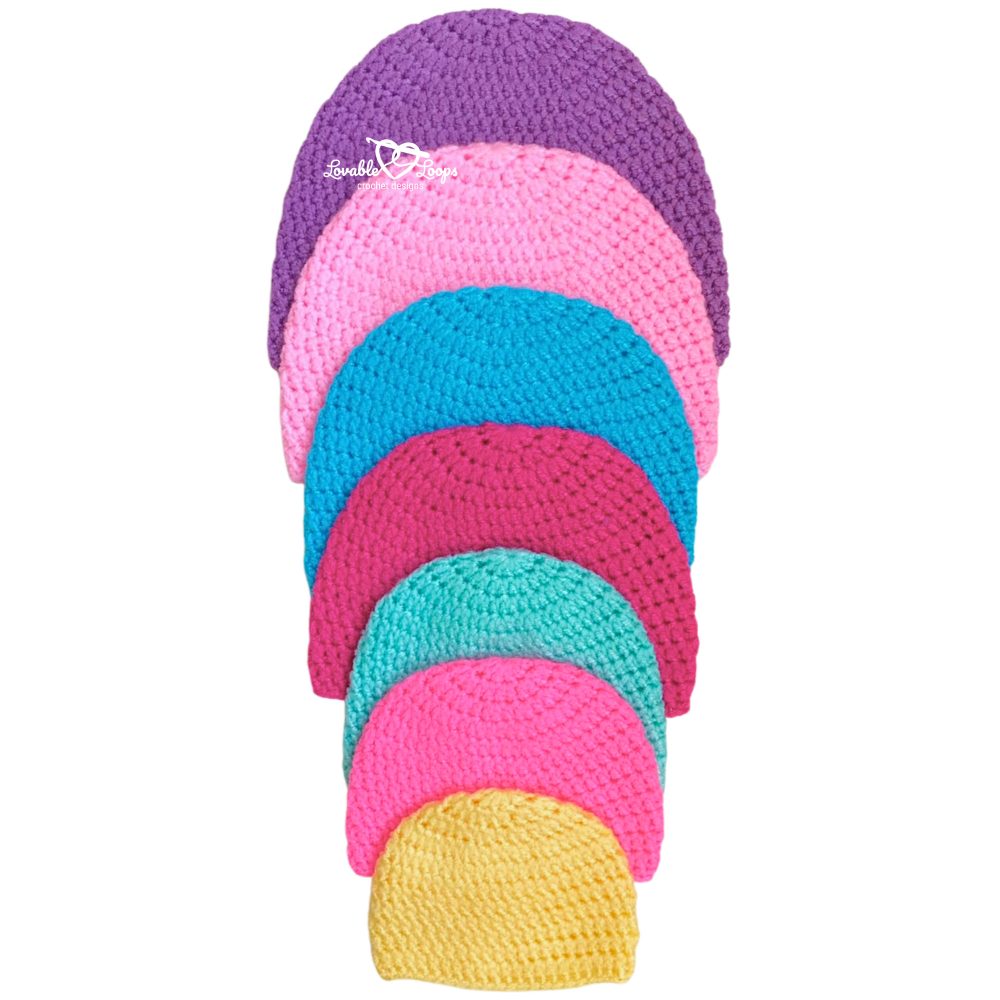
This girls crochet hat pattern includes sizes for babies, toddlers, and children.
- Baby — 14–15 inches (36–38 cm) head circumference, 6 inches (15 cm) tall
- Toddler — 18–19 inches (46–48 cm) head circumference, 6.75 inches (17 cm) tall
- Child — 19–20 inches (48–51 cm) head circumference, 7 inches (18 cm) tall
See my crochet hat sizing guide for full details and size charts.
Gauge
15 stitches and 10 rows = 4 inches (10 cm)
Learn how to check crochet gauge before you begin so you can adjust your hook size if needed.
Crochet abbreviations
- dc = double crochet stitch
- hdc = half double crochet stitch
- ch/chs = chain/chains
- st/sts = stitch/stitches
- sl st = slip stitch
- rnd/rnds = round/rounds
- rem = remaining
Pattern notes
- Use an I-9 (5.5 mm) crochet hook (or size needed for gauge) for the hat.
- Use an H-8 (5 mm) crochet hook for the bow.
- This crochet hat pattern starts with a magic circle.
- The chain at the beginning of each round does not count as your first stitch.
- Join each round with a slip stitch to the first stitch made in that round.
- Repeat instructions between the asterisks (*) for the rest of the round.
- You are crocheting in the round from the top down.
- The pattern is written in US crochet terms.
Girls crochet hat pattern instructions
This crochet hat is worked in the round from the top down. You’ll start by increasing the crown, then crochet evenly to shape the body of the hat.
Baby size
Rnd 1: Magic circle, ch 2, 11 dc, join (11 stitches)
Rnd 2: Ch 2, 2 dc in each st, join (22 stitches)
Rnd 3: Ch 2, *2 dc, dc in next st*, join (33 stitches)
Rnd 4: Ch 2, *2 dc, dc in next 2 sts*, join (44 stitches)
Rnd 5: Ch 2, *2 dc, dc in next 10 sts*, join (48 stitches)
Rnd 6: Ch 2, *2 dc, dc in next 11 sts*, join (52 stitches)
Rnd 7: Ch 2, dc in each st, join (52 stitches)
Rnds 8–15: Repeat rnd 7 (52 stitches)
Toddler size
Rnd 1: Magic circle, ch 2, 11 dc, join (11 stitches)
Rnd 2: Ch 2, 2 dc in each st, join (22 stitches)
Rnd 3: Ch 2, *2 dc, dc in next st*, join (33 stitches)
Rnd 4: Ch 2, *2 dc, dc in next 2 sts*, join (44 stitches)
Rnd 5: Ch 2, *2 dc, dc in next 10 sts*, join (48 stitches)
Rnd 6: Ch 2, *2 dc, dc in next 11 sts*, join (52 stitches)
Rnd 7: Ch 2, *2 dc, dc in next 12 sts*, join (56 stitches)
Rnd 8: Ch 2, *2 dc, dc in next 13 sts*, join (60 stitches)
Rnd 9: Ch 2, dc in each st, join (60 stitches)
Rnds 10–18: Repeat rnd 9 (60 stitches)
Child size
Rnd 1: Magic circle, ch 2, 11 dc, join (11 stitches)
Rnd 2: Ch 2, 2 dc in each st, join (22 stitches)
Rnd 3: Ch 2, *2 dc, dc in next st*, join (33 stitches)
Rnd 4: Ch 2, *2 dc, dc in next 2 sts*, join (44 stitches)
Rnd 5: Ch 2, *2 dc, dc in next 10 sts*, join (48 stitches)
Rnd 6: Ch 2, *2 dc, dc in next 11 sts*, join (52 stitches)
Rnd 7: Ch 2, *2 dc, dc in next 12 sts*, join (56 stitches)
Rnd 8: Ch 2, *2 dc, dc in next 13 sts*, join (60 stitches)
Rnd 9: Ch 2, *2 dc, dc in next 14 sts*, join (64 stitches)
Rnd 10: Ch 2, dc in each st, join (64 stitches)
Rnds 11–19: Repeat rnd 10 (64 stitches)
Adding the bow
Baby Size Bow
Rnd 1: Ch 42, hdc in 3rd ch from the hook and in each rem ch, join in the round (40 stitches)
Rnd 2: Ch 2, hdc in each st, join (40 stitches)
Rnds 3–8: Repeat rnd 2 (40 stitches)
Toddler & Child Sizes Bow
Rnd 1: Ch 47, hdc in 3rd ch from the hook and in each rem ch, join in the round (45 stitches)
Rnd 2: Ch 2, hdc in each st, join (45 stitches)
Rnds 3–9: Repeat rnd 2 (45 stitches)
Assembling the bow

- Use your yarn needle to thread the yarn tail back and forth through the middle of the bow.
- Gently pull the yarn tail to scrunch the middle.
- Next, wrap the yarn tail around the middle and secure it.
- Lastly, sew your bow to the front of your hat.
Finishing
Weave in your ends.
Frequently asked questions
Is this a beginner-friendly crochet hat pattern?
Yes. This pattern uses basic stitches, simple shaping, and easy repeats, so it is a great choice for beginners.
What sizes are included in this pattern?
The pattern includes baby, toddler, and child sizes.
Is the bow crocheted separately?
Yes. The bow is crocheted on its own, then sewn to the front of the hat.
Can I use a different color for the bow?
Yes. The bow is a great place to add a pop of color or use a contrasting shade.
How do I choose the best size?
Measure the child’s head circumference, then compare it to the size section in the pattern. My crochet hat sizing guide can help if you need extra fit tips.
What yarn does this pattern use?
This pattern uses worsted weight yarn #4 for both the hat and the bow.
More free crochet hat patterns
Looking for more sweet hats and baby projects to make? Browse my favorite crochet baby hat patterns, including cute and cozy designs for newborns, babies, and toddlers.
You can also visit my full collection of crochet hat patterns for more handmade hats in different sizes and styles, or explore my main crochet baby patterns page for baby blankets, hats, accessories, and gifts.







Let’s connect!
I’d love to see what you’re making! Share your finished project and follow along for more free crochet patterns and tutorials.
📌 Don’t forget to pin this pattern for later!
Happy crocheting! 🧶
— Melissa