
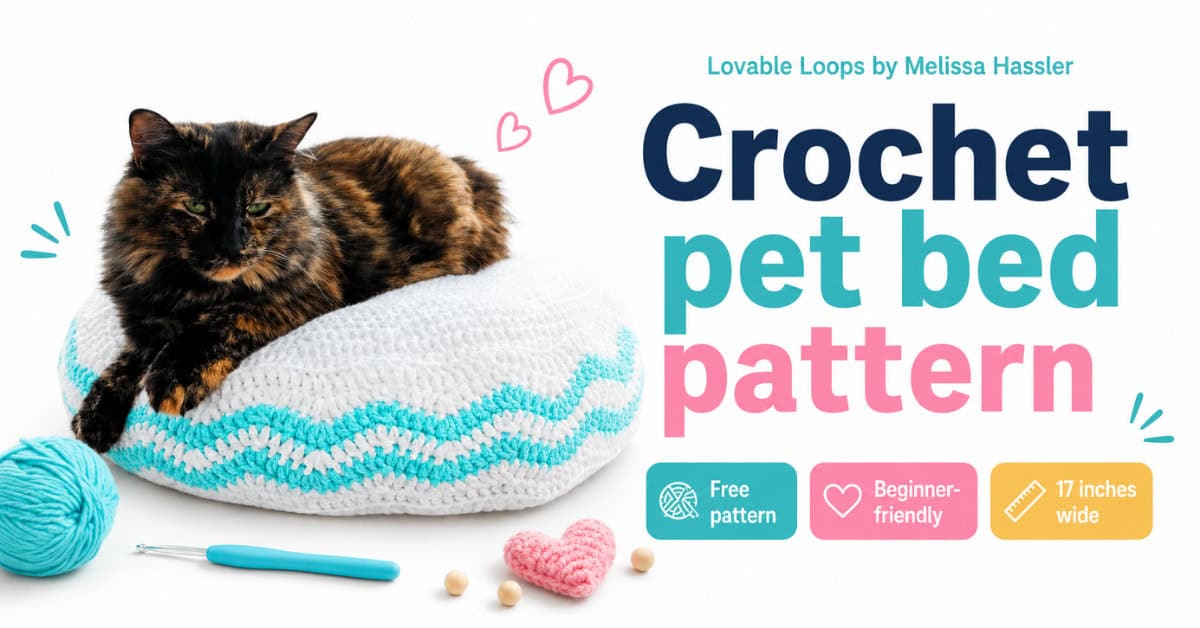
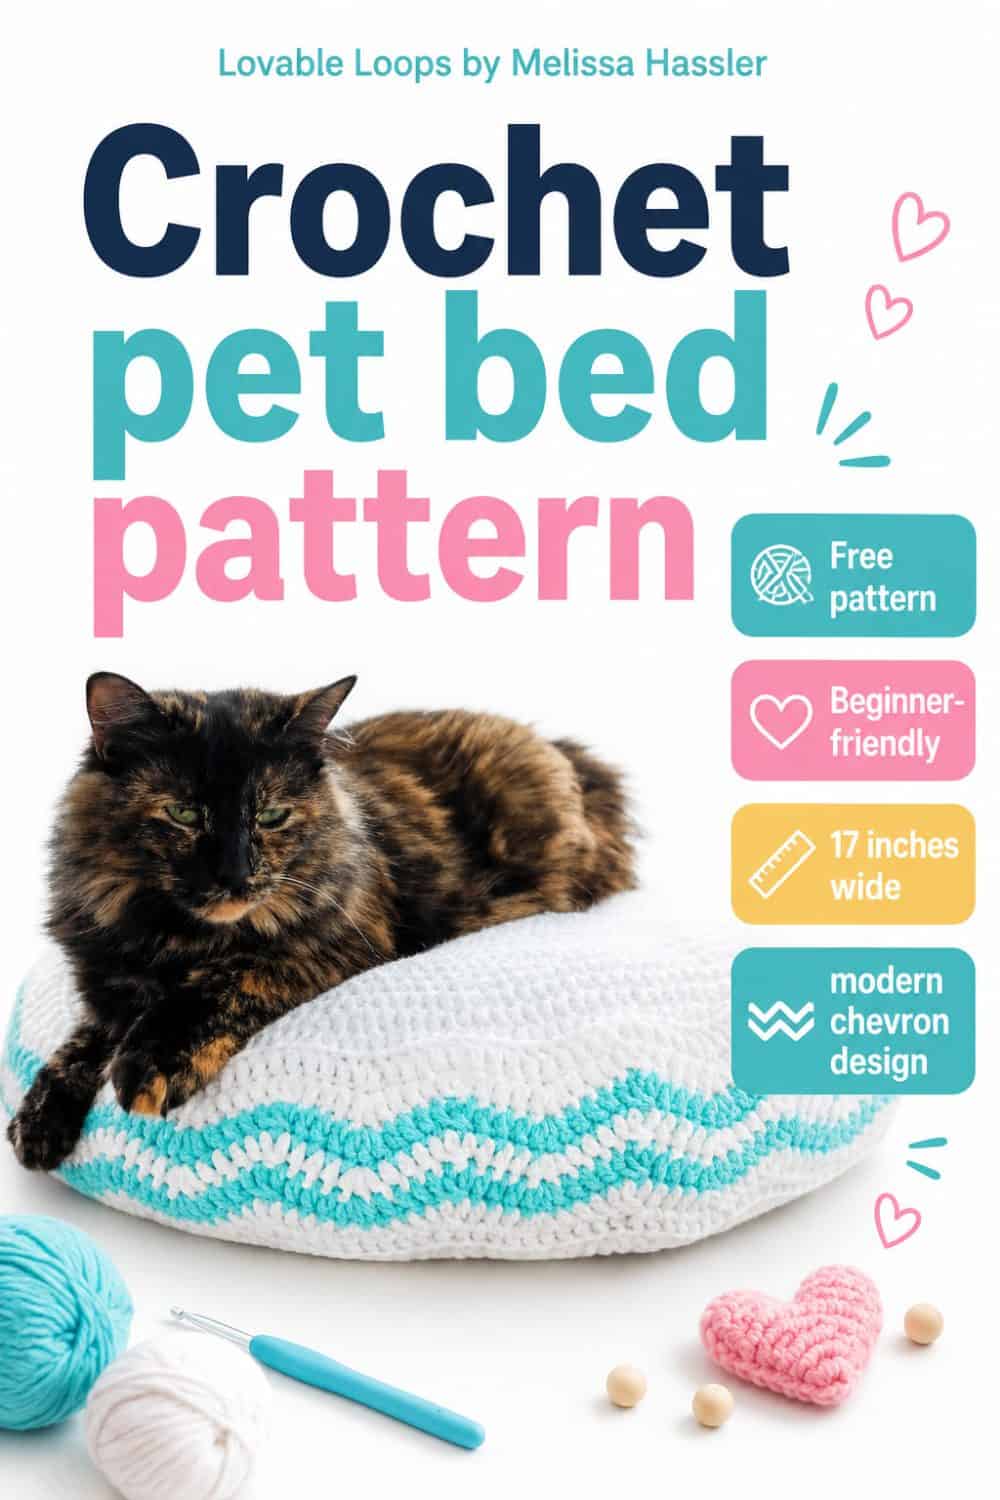
Crochet pet bed pattern
Looking for a cozy crochet pet bed pattern for your favorite furry friend? This 17-inch round bed is worked in joined rounds with modern white and aqua chevron sides, making it a pretty spot for cats, kittens, or small dogs to curl up and rest.
Quick answer
This crochet pet bed pattern makes a 17-inch round bed for cats, kittens, or small dogs. It is worked in joined rounds with double crochet stitches, modern chevron sides, and fiber fill stuffing. The pattern is best for advanced beginners who are comfortable working in the round, changing colors, and following increase and decrease rounds.
Crochet pet bed pattern details
Skill level
Advanced beginner — You should be comfortable working in the round, joining rounds, changing colors, and following increase and decrease rounds.
Materials needed
- J-10 (6 mm) crochet hook
- Worsted weight yarn (#4) — approximately 8 ounces / 228 grams
- Fiberfill
- Yarn needle
- Scissors
Finished size
17 inches (43 cm) across in diameter and 4 inches (10 cm) tall.
Gauge
17 dc stitches and 10 rounds = 4 inches (10 cm).
Learn how to check crochet gauge before you begin so you can adjust your hook size if needed.
Abbreviations
- dc = double crochet
- dc3tog = double crochet 3 stitches together
- sc = single crochet stitch
- ch/chs = chain/chains
- st/sts = stitch/stitches
- sl st = slip stitch
Pattern notes
- The starting chain does not count as a stitch.
- Join each round with a slip stitch to the first stitch.
- The pet bed is worked in the round.
- The pattern is written in US crochet terms.
Crochet pet bed pattern instructions
The chevron repeat uses 10 stitches, but the visible peak is the center stitch of the 3-dc increase. After the first chevron round, use the peaks and valleys from the previous round as your guide. Work each new peak into the center dc of the previous peak, and keep each dc3tog centered over the previous valley.
Crochet pet bed base
Round 1: Make a magic circle. Ch 2, work 10 dc into the ring. Join with a sl st. (10 sts)
Round 2: Ch 2, 2 dc in each st around. Join. (20 sts)
Round 3: Ch 2, *2 dc in next st, dc in next st; repeat from * around. Join. (30 sts)
Round 4: Ch 2, *2 dc in next st, dc in next 2 sts; repeat from * around. Join. (40 sts)
Round 5: Ch 2, *2 dc in next st, dc in next 3 sts; repeat from * around. Join. (50 sts)
Round 6: Ch 2, *2 dc in next st, dc in next 4 sts; repeat from * around. Join. (60 sts)
Round 7: Ch 2, *2 dc in next st, dc in next 5 sts; repeat from * around. Join. (70 sts)
Round 8: Ch 2, *2 dc in next st, dc in next 6 sts; repeat from * around. Join. (80 sts)
Rounds 9–19: Continue increasing in the same pattern. Each round adds 10 stitches. Work 2 dc in the first stitch of each repeat, then work 1 dc in the remaining stitches of the repeat. Join at the end of each round.
Use the chart below for each round:
| Round | Repeat | Stitch count |
|---|---|---|
| Round 9 | *2 dc in next st, dc in next 7 sts; repeat from * around | 90 sts |
| Round 10 | *2 dc in next st, dc in next 8 sts; repeat from * around | 100 sts |
| Round 11 | *2 dc in next st, dc in next 9 sts; repeat from * around | 110 sts |
| Round 12 | *2 dc in next st, dc in next 10 sts; repeat from * around | 120 sts |
| Round 13 | *2 dc in next st, dc in next 11 sts; repeat from * around | 130 sts |
| Round 14 | *2 dc in next st, dc in next 12 sts; repeat from * around | 140 sts |
| Round 15 | *2 dc in next st, dc in next 13 sts; repeat from * around | 150 sts |
| Round 16 | *2 dc in next st, dc in next 14 sts; repeat from * around | 160 sts |
| Round 17 | *2 dc in next st, dc in next 15 sts; repeat from * around | 170 sts |
| Round 18 | *2 dc in next st, dc in next 16 sts; repeat from * around | 180 sts |
| Round 19 | *2 dc in next st, dc in next 17 sts; repeat from * around | 190 sts |
Sides of the pet bed
Chevron note: Each chevron repeat uses 10 stitches. The 3-dc increase creates the peak, and the dc3tog creates the valley. After the first chevron round, line up each new peak with the center dc of the previous round’s peak. This keeps the chevron sides straight as you work in the round.
Round 20: Ch 2, dc in each st in the back loop only around. Join. (190 sts)
Round 21: Ch 2, *dc in next 3 sts, 3 dc in next st, dc in next 3 sts, dc3tog; repeat from * around. Join. (190 sts)
Color note: Use aqua for Rounds 22 and 24. Use white for the remaining rounds unless changing colors as desired.
Rounds 22–25: Ch 2. Work each 3-dc increase into the center dc of the previous round’s peak. Work each dc3tog centered over the previous round’s valley. Dc in each stitch between the peaks and valleys. Join. (190 sts)
Round 26: Ch 2, dc in each st in the back loop only around. Join. (190 sts)
Top of the pet bed
Round 27: Ch 2, working in the front loop only, *dc2tog, dc in next 17 sts; repeat from * around. Join. (180 sts)
Round 28: Ch 2, *dc2tog, dc in next 16 sts; repeat from * around. Join. (170 sts)
Round 29: Ch 2, *dc2tog, dc in next 15 sts; repeat from * around. Join. (160 sts)
Rounds 30–44: Continue decreasing in the same pattern. Each round decreases by 10 stitches. Work 1 dc2tog at the beginning of each repeat, then dc in the number of stitches shown in the chart below. Join at the end of each round.
Tip: Each decrease round removes 10 stitches. If your stitch count is correct at the end of each round, the opening will close evenly.
| Round | Repeat | Stitch count |
|---|---|---|
| Round 30 | *dc2tog, dc in next 14 sts; repeat from * around | 150 sts |
| Round 31 | *dc2tog, dc in next 13 sts; repeat from * around | 140 sts |
| Round 32 | *dc2tog, dc in next 12 sts; repeat from * around | 130 sts |
| Round 33 | *dc2tog, dc in next 11 sts; repeat from * around | 120 sts |
| Round 34 | *dc2tog, dc in next 10 sts; repeat from * around | 110 sts |
| Round 35 | *dc2tog, dc in next 9 sts; repeat from * around | 100 sts |
| Round 36 | *dc2tog, dc in next 8 sts; repeat from * around | 90 sts |
| Round 37 | *dc2tog, dc in next 7 sts; repeat from * around | 80 sts |
| Round 38 | *dc2tog, dc in next 6 sts; repeat from * around | 70 sts |
| Round 39 | *dc2tog, dc in next 5 sts; repeat from * around | 60 sts |
| Round 40 | *dc2tog, dc in next 4 sts; repeat from * around | 50 sts |
| Round 41 | *dc2tog, dc in next 3 sts; repeat from * around | 40 sts |
| Round 42 | *dc2tog, dc in next 2 sts; repeat from * around | 30 sts |
| Round 43 | *dc2tog, dc in next st; repeat from * around | 20 sts |
| Round 44 | dc2tog around. Join. (10 sts) |
Stuffing the pet bed
Before sewing the last 10 stitches closed, fill the pet bed with fiber fill.
Add the stuffing a little at a time and spread it evenly around the inside of the bed. Use enough fiber fill to help the bed hold its round shape, but do not overstuff it. The bed should feel soft and cozy, not tight or lumpy.
Finishing
Once the pet bed is evenly stuffed, use a yarn needle and the long yarn tail to sew the last 10 stitches closed. Weave in the end securely.
Prefer a printable version?
You can purchase the ad-free PDF of this Crochet Pet Bed Pattern in my Etsy shop. The downloadable pattern is easy to save, print, and keep with your crochet projects.
More free crochet for cats
Looking for crochet for cats ideas? These fun and comfy designs are perfect for spoiled kitties, handmade pet gifts, and cozy beds that double as cute home décor. Explore more free crochet cat patterns—from cat pods and caves to toys and blankets—and start your next kitty-approved project today!
If your cat prefers a tucked-away sleeping spot, try my crochet cat cave pattern. The enclosed striped design is a cozy alternative to an open pet bed.
Let’s connect!
I’d love to see what you’re making! Share your finished project and follow along for more free crochet patterns and tutorials.
📌 Don’t forget to pin this pattern for later!
Happy crocheting! 🧶
— Melissa