
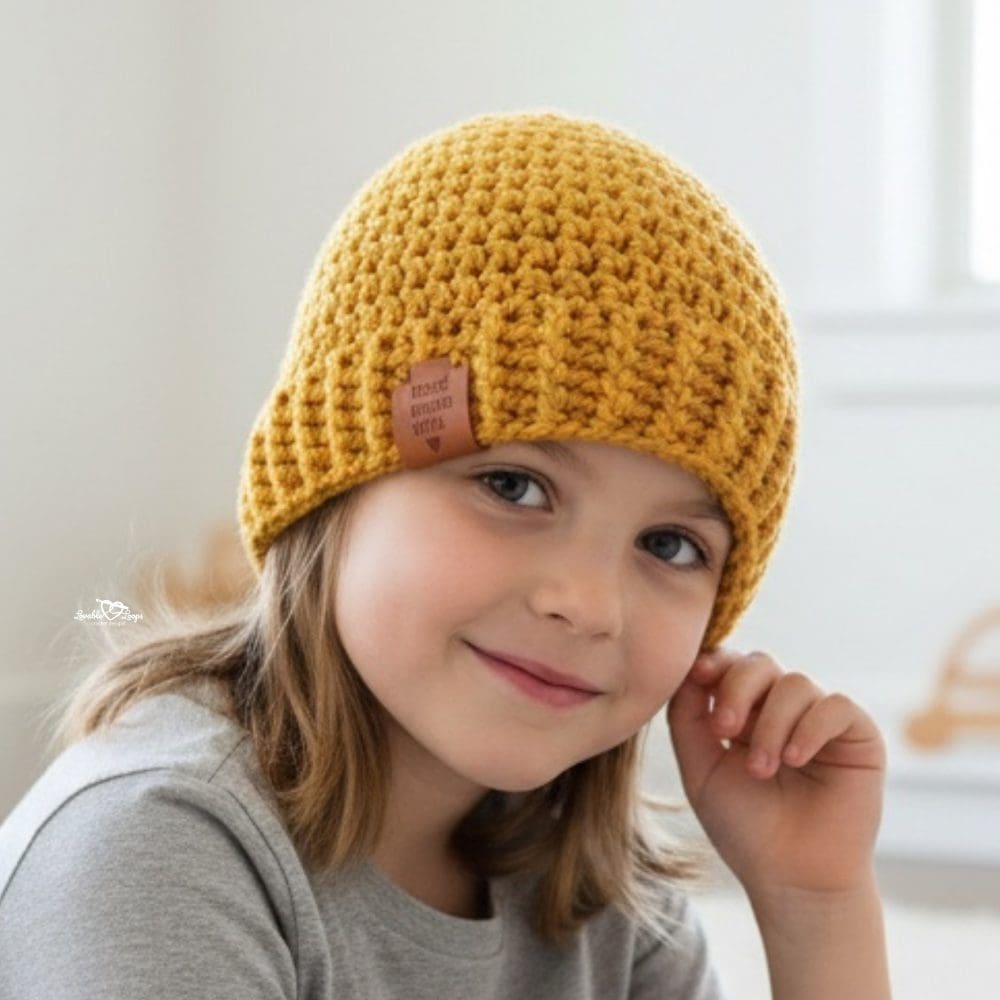
Easy crochet beanie pattern for beginners (all sizes)
Looking for a go-to hat you can crochet quickly and confidently? This easy crochet beanie pattern is designed for beginners and uses simple half double crochet stitches to create a smooth, stretchy fabric that works up fast.
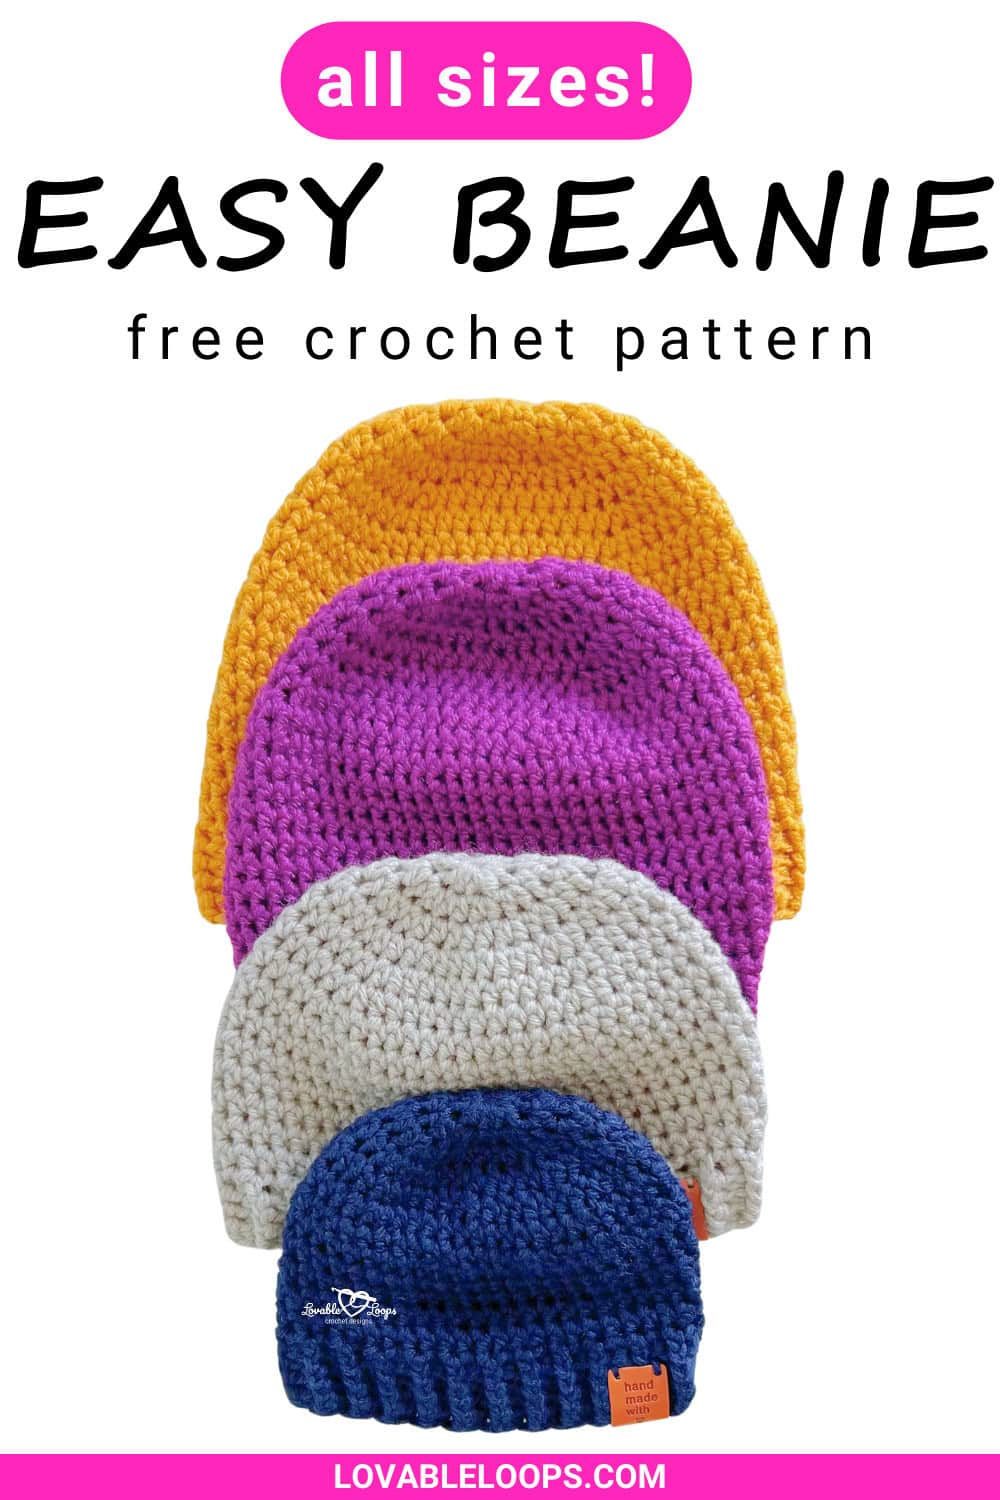
Worked in the round from the top down, this beanie includes baby, toddler, child, and adult sizes, making it perfect for gifts, everyday wear, or stocking up on handmade hats. Keep reading for the full free pattern and helpful tips along the way.
Quick answer
This free easy crochet beanie pattern is worked from the top down in the round using worsted weight (#4) yarn and an I-9 (5.5 mm) hook. Made with half double crochet stitches, it’s beginner-friendly and includes sizes for baby, toddler, child, and adult.
Why you’ll love this easy crochet beanie pattern
- Beginner-friendly — Uses simple half double crochet stitches
- Top-down construction — Easy to adjust length as you go
- Four sizes included — Baby, toddler, child, and adult
- Smooth, stretchy fabric — Comfortable fit without bulk
- Great for gifts — A classic hat you can make again and again
How this beanie is constructed (helpful tip)
This easy crochet beanie pattern is worked in the round from the crown down, which makes sizing and customization simple.
You’ll start with a magic circle, increase evenly to shape the crown, then continue working even rounds for the body. Because the hat is worked top down, you can try it on as you crochet and add or remove rounds to adjust the fit before finishing.
Free and easy crochet beanie pattern details
Before you get started, this section covers the key details for this easy crochet beanie pattern, including sizing, materials, stitch information, and construction. Take a quick look so you know exactly what to expect before diving into the instructions.
Skill level
Beginner — This easy crochet beanie pattern uses basic half double crochet stitches, simple increases, and minimal shaping, making it a great first hat project.
Materials needed
- Crochet hook size I-9 (5.5 mm) – or the size needed to match the gauge
- Worsted weight yarn (#4) – choose a soft, comfortable yarn
- Yarn needle – for weaving in your yarn ends
- Scissors – to cut your yarn when finishing your hat
- Stitch markers – optional but helpful for keeping track of rounds and stitch counts
- Tape measure – to check head size for a perfect fit
- Pom pom maker – optional if you want to add a fun yarn pom pom on top
Finished size
This easy crochet beanie pattern includes baby, toddler, child, and adult sizes, with a clear size chart to help you choose the best fit. Sizes are based on head circumference, and notes are included so you can adjust the height if needed for a snug or slightly slouchy beanie.
| Hat Size | Crown | Head Circumference | Hat Height |
| 0-3 Months | 4.25 inches (11 cm) | 13-14 inches (33-36 cm) | 5 inches (13 cm) |
| Toddler | 6 inches (15 cm) | 18-19 inches (46-48 cm) | 6.75 inches (17 cm) |
| Child | 6.5 inches (17 cm) | 19-20 inches (48-51 cm) | 7 inches (18 cm) |
| Adult | 7 inches (18 cm) | 20-23 inches (51-58 cm) | 7.75 inches (20 cm) |
Need help with crochet hat sizing?
Getting the right fit is one of the most important parts of making a crochet hat.
If you’re unsure about head circumference, negative ease, crown diameter, or hat height, I’ve created a complete Crochet Hat Sizing Guide that walks you through everything step by step.
You’ll learn:
• How to measure head circumference correctly
• How much negative ease to use
• How to calculate crown diameter
• Standard baby, child, and adult size charts
• How to adjust any crochet hat pattern for a better fit
Gauge
16 stitches and 12 rows = 4 inches (10 cm)
✅ Too many stitches? Try a larger hook
✅ Too few stitches? Try a smaller hook
Crochet abbreviations
- hdc = half double crochet stitch
- FPhdc = front post half double crochet
- BPhdc = back post half double crochet
- ch / chs = chain / chains
- st / sts = stitch / stitches
- sl st = slip stitch

Pattern notes
- Hat is worked in the round from the top down
- Begin with a magic circle
- The starting chain does not count as a stitch
- Join each round with a slip stitch to the first stitch
- Adjust length by adding or removing rounds before the brim
- Pattern is written in US crochet terms
How to make post stitches
Post stitches create the stretchy, structured ribbed brim of this easy crochet hat:
- FPhdc (front post half double crochet): Yarn over, insert your hook from front to back around the post of the stitch below, yarn over and complete a half double crochet
- BPhdc (back post half double crochet): Yarn over, insert your hook from back to front around the post of the stitch below, yarn over and complete a half double crochet

Quick links
Baby size
Toddler size
Child size
Adult size
Finishing
FAQs
Easy crochet beanie pattern instructions
Follow the step-by-step instructions below to crochet this easy crochet beanie pattern. The hat is worked in the round from the top down using half double crochet stitches, with clear size guidance included for each section.
Baby size
Round 1: Make a magic circle, ch 2, work 11 hdc into the ring. Join with a sl st. (11 stitches)
Round 2: Ch 2, work 2 hdc in each stitch around. Join. (22 stitches)
Round 3: Ch 2, *2 hdc in next st, hdc in next st. Repeat from * around. Join. (33 stitches)
Round 4: Ch 2, *2 hdc in next st, hdc in next 2 sts. Repeat around. Join. (44 stitches)
Round 5: Ch 2, *2 hdc in next st, hdc in next 10 sts. Repeat around. Join. (48 stitches)
Rounds 6-11: Ch 2, hdc in each st around. Join. (48 stitches)
Rounds 12-15: Ch 2, *FPhdc in next st, BPhdc in next st; repeat around. Join. (48 stitches)
Toddler size
Round 1: Make a magic circle, ch 2, work 11 hdc into the ring. Join with a sl st. (11 stitches)
Round 2: Ch 2, work 2 hdc in each stitch around. Join. (22 stitches)
Round 3: Ch 2, *2 hdc in next st, hdc in next st. Repeat from * around. Join. (33 stitches)
Round 4: Ch 2, *2 hdc in next st, hdc in next 2 sts. Repeat around. Join. (44 stitches)
Round 5: Ch 2, *2 hdc in next st, hdc in next 10 sts. Repeat around. Join. (48 stitches)
Round 6: Ch 2, *2 hdc in next st, hdc in next 11 sts. Repeat around. Join. (52 stitches)
Round 7: Ch 2, *2 hdc in next st, hdc in next 12 sts. Repeat around. Join. (56 stitches)
Round 8: Ch 2, *2 hdc in next st, hdc in next 13 sts. Repeat around. Join. (60 stitches)
Rounds 9-16: Ch 2, hdc in each st around. Join. (60 stitches)
Rounds 17-20: Ch 2, *FPhdc in next st, BPhdc in next st; repeat around. Join. (60 stitches)
Child size
Round 1: Make a magic circle, ch 2, work 11 hdc into the ring. Join with a sl st. (11 stitches)
Round 2: Ch 2, work 2 hdc in each stitch around. Join. (22 stitches)
Round 3: Ch 2, *2 hdc in next st, hdc in next st. Repeat from * around. Join. (33 stitches)
Round 4: Ch 2, *2 hdc in next st, hdc in next 2 sts. Repeat around. Join. (44 stitches)
Round 5: Ch 2, *2 hdc in next st, hdc in next 10 sts. Repeat around. Join. (48 stitches)
Round 6: Ch 2, *2 hdc in next st, hdc in next 11 sts. Repeat around. Join. (52 stitches)
Round 7: Ch 2, *2 hdc in next st, hdc in next 12 sts. Repeat around. Join. (56 stitches)
Round 8: Ch 2, *2 hdc in next st, hdc in next 13 sts. Repeat around. Join. (60 stitches)
Round 9: Ch 2, *2 hdc in next st, hdc in next 13 sts. Repeat around. Join. (64 stitches)
Rounds 10-17: Ch 2, hdc in each st around. Join. (64 stitches)
Rounds 18-21: Ch 2, *FPhdc in next st, BPhdc in next st; repeat around. Join. (64 stitches)
Adult size
Round 1: Make a magic circle, ch 2, work 11 hdc into the ring. Join with a sl st. (11 stitches)
Round 2: Ch 2, work 2 hdc in each stitch around. Join. (22 stitches)
Round 3: Ch 2, *2 hdc in next st, hdc in next st. Repeat from * around. Join. (33 stitches)
Round 4: Ch 2, *2 hdc in next st, hdc in next 2 sts. Repeat around. Join. (44 stitches)
Round 5: Ch 2, *2 hdc in next st, hdc in next 10 sts. Repeat around. Join. (48 stitches)
Round 6: Ch 2, *2 hdc in next st, hdc in next 11 sts. Repeat around. Join. (52 stitches)
Round 7: Ch 2, *2 hdc in next st, hdc in next 12 sts. Repeat around. Join. (56 stitches)
Round 8: Ch 2, *2 hdc in next st, hdc in next 13 sts. Repeat around. Join. (60 stitches)
Round 9: Ch 2, *2 hdc in next st, hdc in next 13 sts. Repeat around. Join. (64 stitches)
Round 10: Ch 2, *2 hdc in next st, hdc in next 13 sts. Repeat around. Join. (68 stitches)
Rounds 11-20: Ch 2, hdc in each st around. Join. (68 stitches)
Rounds 21-24: Ch 2, *FPhdc in next st, BPhdc in next st; repeat around. Join. (68 stitches)
Finishing
Fasten off and weave in your ends. Your cozy new beanie is ready to wear, gift, or sell!
Frequently asked questions
Is this easy crochet beanie pattern good for beginners?
Yes. This pattern is beginner-friendly and uses only half double crochet stitches with clear, repeatable rounds.
What yarn works best for this beanie?
Worsted weight (#4) yarn works best. Choose a soft yarn for comfort and everyday wear.
Can I make this beanie longer or slouchy?
Yes. Simply add a few extra rounds before finishing to create a longer or slouchier fit.
Do I need to make a gauge swatch?
A gauge swatch is recommended, especially if you want the beanie to fit as intended across sizes.
Can I sell hats made from this pattern?
Yes. You may sell finished items made from this pattern. Please credit the designer and link back to the pattern when selling online.
More easy crochet hat patterns
If you’re looking for more simple beanies, explore my collection of easy crochet hat patterns. You’ll find beginner-friendly hats made with basic stitches in baby, child, and adult sizes.


More free crochet hat patterns
Looking for more crochet hat ideas? Browse my full collection of free crochet hat patterns for babies, kids, and adults. You’ll find everything from classic crochet beanies and cozy winter hats to playful animal hats and seasonal designs — all written with clear instructions and helpful sizing details.


Let’s connect!
I’d love to see what you’re making! Share your finished project and follow along for more free crochet patterns and tutorials.
📌 Don’t forget to pin this pattern for later!
Happy crocheting! 🧶
— Melissa