
Bobble stitch crochet hat pattern
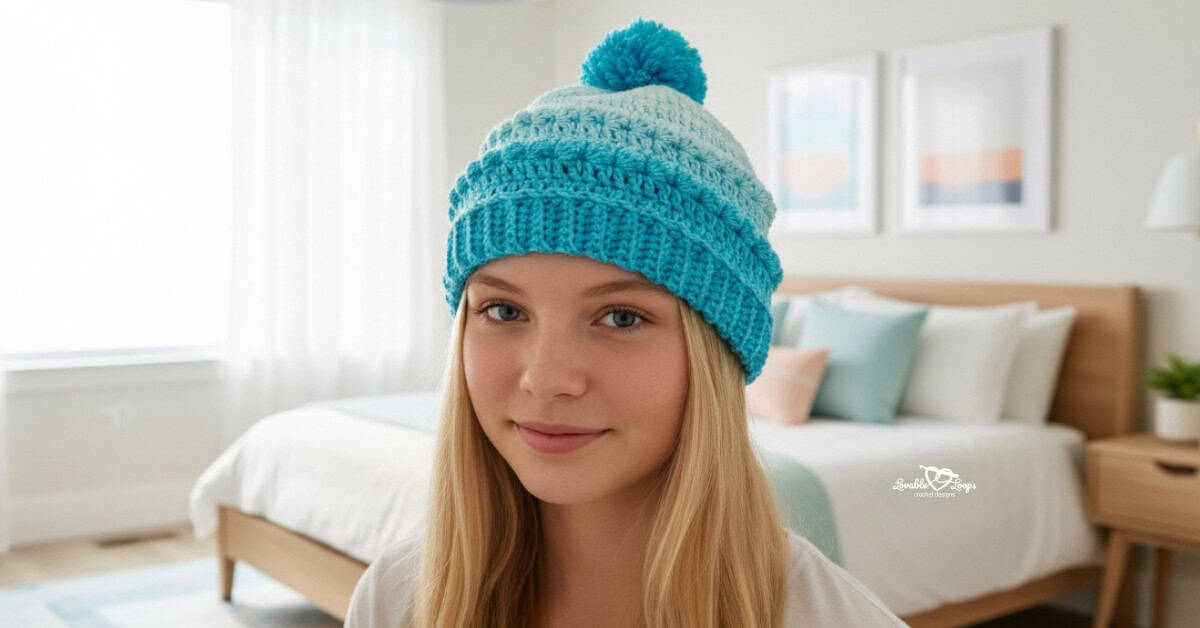
I’m super excited to share my Boho Bobble Stitch Crochet Hat Pattern with you! This trendy boho style hat has a cozy ribbed brim and a fun pom pom on top. Designed for both kids and adults, it’s perfect for adding a touch of boho flair to any outfit.
The bobble stitches make it extra special and fun to crochet. Imagine rocking this stylish hat on a chilly day, looking cute and staying warm. Grab your yarn and hook, and let’s make this adorable hat together! The free crochet pattern is below.

Free Boho Bobble Stitch Crochet Hat Pattern
Crochet Project Materials Needed
- Crochet hook sizes:
Hat: H-8 5 mm
Brim: G-6 4 mm - Yarn: Worsted weight yarn #4
- Yarn needle: Use this to weave in your ends.
- Scissors: Use scissors to fasten off your yarn.
- Stitch marker(s): These help keep track of your stitches.
- Large pom pom maker: For making a pom pom for your hat.
Boho Bobble Stitch Crochet Hat Pattern Information
Skill Level
Advanced beginner. Projects may include involved stitch patterns, color work, and/or shaping.
Gauge
8 stitches and 4 rounds = 2 inches
Finished Size
| Hat Size | Crown | Circumference | Height |
| Child | 6.25 inches | 19-20 inches | 7.5 inches |
| Adult | 7.25 inches | 20-23 inches | 8.5 inches |
Need help with crochet hat sizing?
Getting the right fit is one of the most important parts of making a crochet hat.
If you’re unsure about head circumference, negative ease, crown diameter, or hat height, I’ve created a complete crochet hat sizing guide that walks you through everything step by step.You’ll learn:
• How to measure head circumference correctly
• How much negative ease to use
• How to calculate crown diameter
• Standard baby, child, and adult size charts
• How to adjust any crochet hat pattern for a better fit
Crochet Terms
- dc = double crochet stitch
- bo = bobble stitch
- sc = single crochet stitch
- blo = back loop only
- ch/chs = chain/chains
- st/sts = stitch/stitches
- rnd/rnds = round/rounds
- rem= remaining
Pattern Notes
- Use an H-8 5 mm crochet hook for the hat.
- Use a G-6 4 mm crochet hook for the brim.
- The bobble stitches will pop out on the wrong side. Push them through to the right side as you go.
- The brim is made separately and sewn to the hat.
- The chain at the beginning of each round does not count as your first stitch.
- Join each round with a slip stitch to the first stitch made in that round.
- Repeat instructions between the asterisks (*) for the rest of the round.
- You are crocheting in the round from the top of the hat down.
- The pattern is written in US terms.
Special Stitches
Bobble Stitch (bo):
- Yarn over and insert hook in next stitch
- Yarn over and pull up a loop
- Yarn over and pull through 2 loops
- Repeat steps 2 & 3 four times in the same stitch. You will have 6 loops on your hook.
- Yarn over and pull through all 6 loops
Magic Circle Alternative
If you’re not comfortable with using a magic circle, you can use an alternative method to make round 1 of the beanie. This method is just as effective and might be easier for beginners.
Round 1: Chain 4, make 12 dc in the 4th ch from the hook, join (12 stitches)
Boho Bobble Stitch Crochet Hat Pattern Instructions
When you crochet the bobble stitches, they will pop out on the wrong side. Just push them through to the right side as you go.
Child Bobble Stitch Crochet Hat Pattern
Rnd 1: Magic circle, ch 2, 12 dc, join (12 dc)
Rnd 2: Ch 2, 2 dc in each st around, join (24 dc)
Rnd 3: Ch 2, *2 dc, dc in next st*, join (36 dc)
Rnd 4: Ch 2, *2 dc, dc in next 2 sts*, join (48 dc)
Rnd 5: Ch 2, *2 dc, dc in next 3 sts*, join (60 dc)
Rnd 6: Ch 2, *2 dc, dc in next 4 sts*, join (72 dc)
Rnd 7: Ch 2, dc in each st, join (72)
Rnd 8: Ch 2, *bo, sc in the next st*, join (36 bo, 36 sc)
Rnd 9: Ch 2, dc in each st, join (72 dc)
Rnd 10: Ch 2, dc in each st, join (72 dc)
Rnd 11: Ch 2, *bo, sc in the next st*, join (36 bo, 36 sc)
Rnd 12: Ch 2, dc in each st, join (72 dc)
Rnd 13: Ch 2, dc in each st, join (72 dc)
Rnd 14: Ch 2, *bo, sc in the next st*, join (36 bo, 36 sc)
Rnd 15: Ch 2, dc in each st, join (72 dc)
Rnd 16: Ch 2, dc in each st, join and fasten off (72 dc)
Adult Bobble Stitch Crochet Hat Pattern
Rnd 1: Magic circle, ch 2, 12 dc, join (12 dc)
Rnd 2: Ch 2, 2 dc in each st around, join (24 dc)
Rnd 3: Ch 2, *2 dc, dc in next st*, join (36 dc)
Rnd 4: Ch 2, *2 dc, dc in next 2 sts*, join (48 dc)
Rnd 5: Ch 2, *2 dc, dc in next 3 sts*, join (60 dc)
Rnd 6: Ch 2, *2 dc, dc in next 4 sts*, join (72 dc)
Rnd 7: Ch 2, *2 dc, dc in next 5 sts*, join (84 dc)
Rnd 8: Ch 2, dc in each st, join (84)
Rnd 9: Ch 2, *bo, sc in next st*, join (42 bo, 42 sc)
Rnd 10: ch 2, dc in each st, join (84 dc)
Rnd 11: ch 2, dc in each st, join (84 dc)
Rnd 12: Ch 2, *bo, sc in next st*, join (42 bo, 42 sc)
Rnd 13: ch 2, dc in each st, join (84 dc)
Rnd 14: ch 2, dc in each st, join (84 dc)
Rnd 15: Ch 2, *bo, sc in next st*, join (42 bo, 42 sc)
Rnd 16: ch 2, dc in each st, join (84 dc)
Rnd 17: ch 2, dc in each st, join and fasten off (84 dc)
Brim for the Bobble Stitch Crochet Hat Pattern
Brim is made separately and then sewn onto the hat. I used a G-6 4 mm crochet hook size.
Row 1: Ch 7, sc in 2nd ch from hook and each rem ch, turn (6 stitches)
Row 2: Ch 1, sc in each st in the back loops only, turn (6 stitches)
Child Size: Repeat row 2 for a total of 72 rows.
Adult Size: Repeat row 2 for a total of 84 rows.
Use your tapestry needle to sew the brim to the hat. Sew each stitch from the hat to a row of the brim. The brim will stretch as you go.
Pom Pom for the Bobble Stitch Crochet Hat Pattern
- Wind the yarn around both arches.
- Cut the yarn along the middle gap.
- Tie with a piece of scrap yarn.
- Open the arches and remove the pom pom.
- Trim any loose ends.
Attach the pom pom to the top of your hat.
Finishing the Bobble Stitch Crochet Hat Pattern
Weave in your ends.

More free crochet hat patterns
Looking for more crochet hat ideas? Browse my full collection of free crochet hat patterns for babies, kids, and adults. You’ll find everything from classic crochet beanies and cozy winter hats to playful animal hats and seasonal designs — all written with clear instructions and helpful sizing details.


Let’s connect!
I’d love to see what you’re making! Share your finished project and follow along for more free crochet patterns and tutorials.
📌 Don’t forget to pin this pattern for later!
Happy crocheting! 🧶
— Melissa