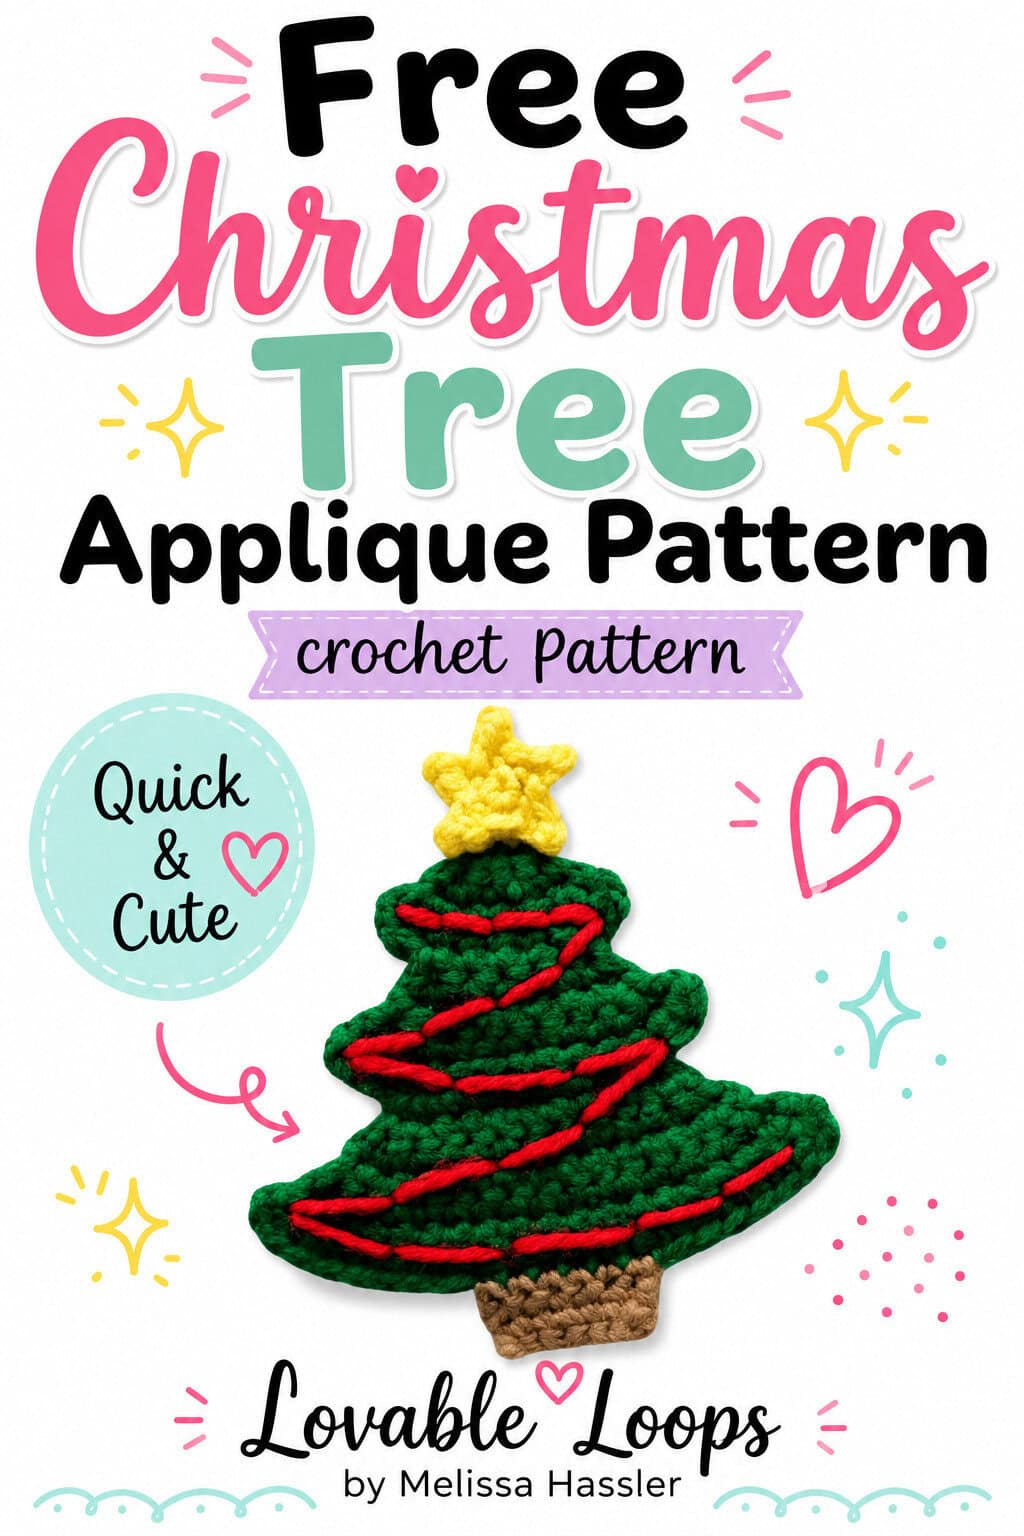
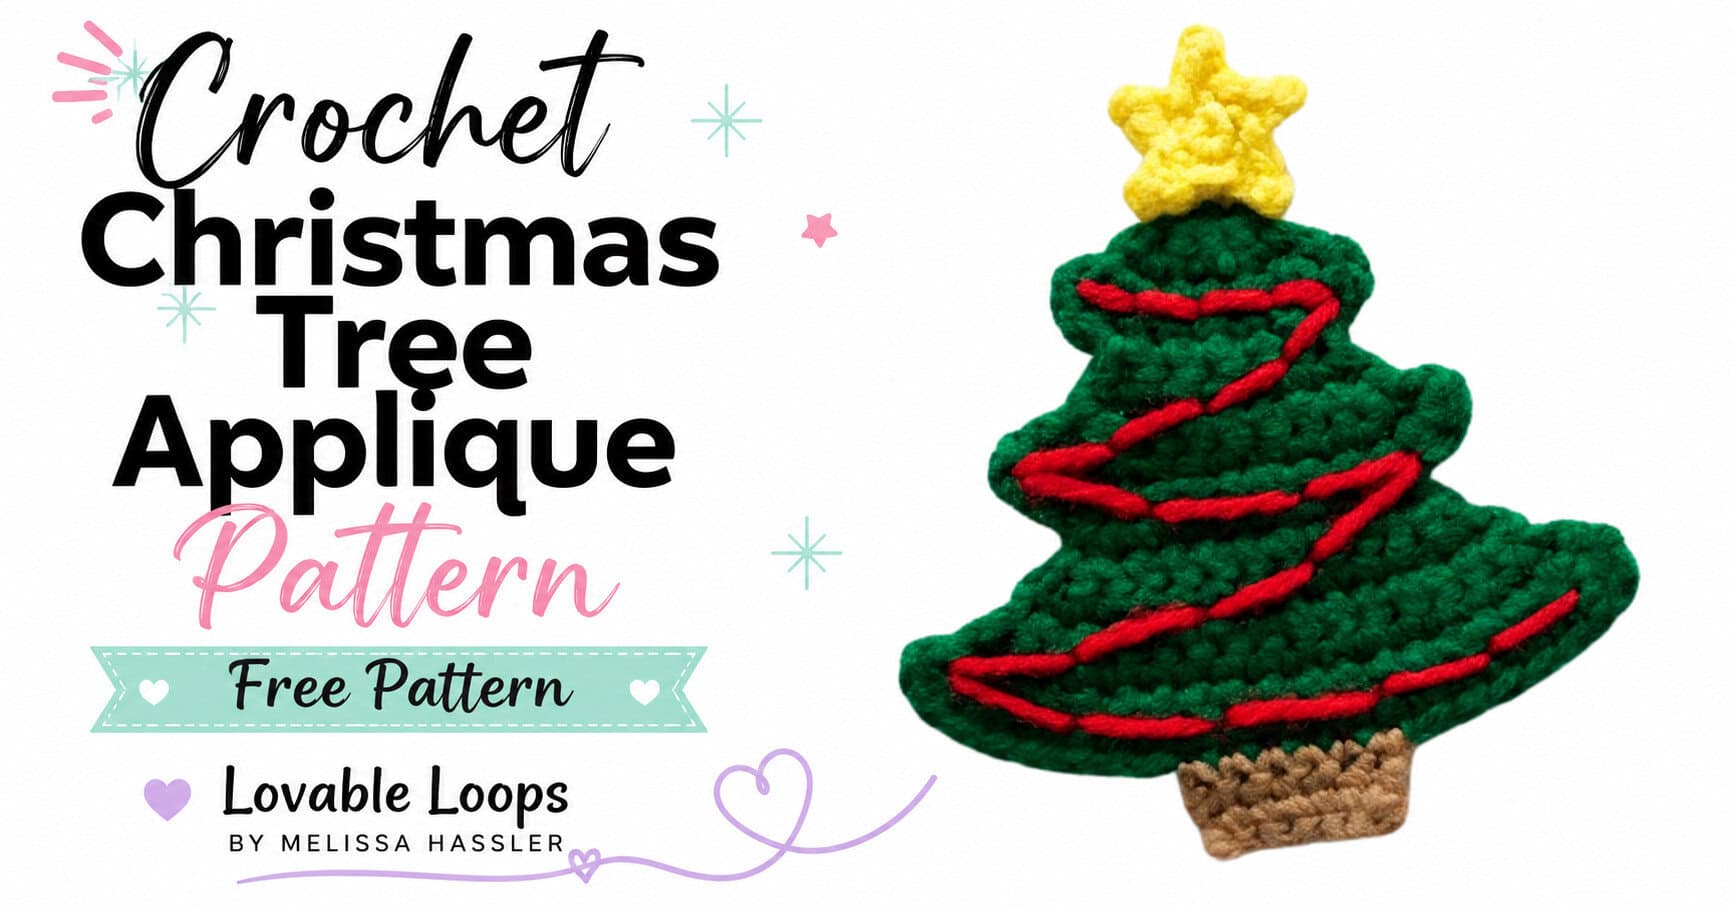
Crochet Christmas tree appliqué pattern
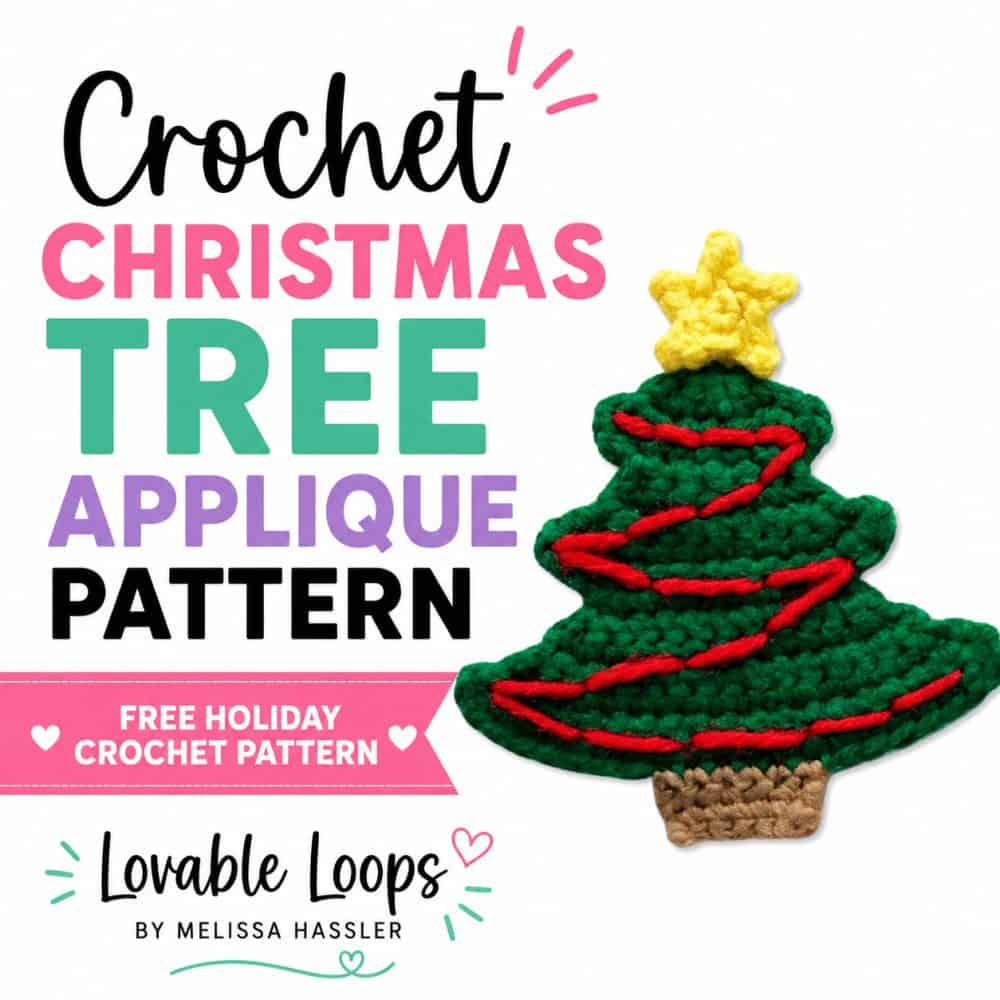
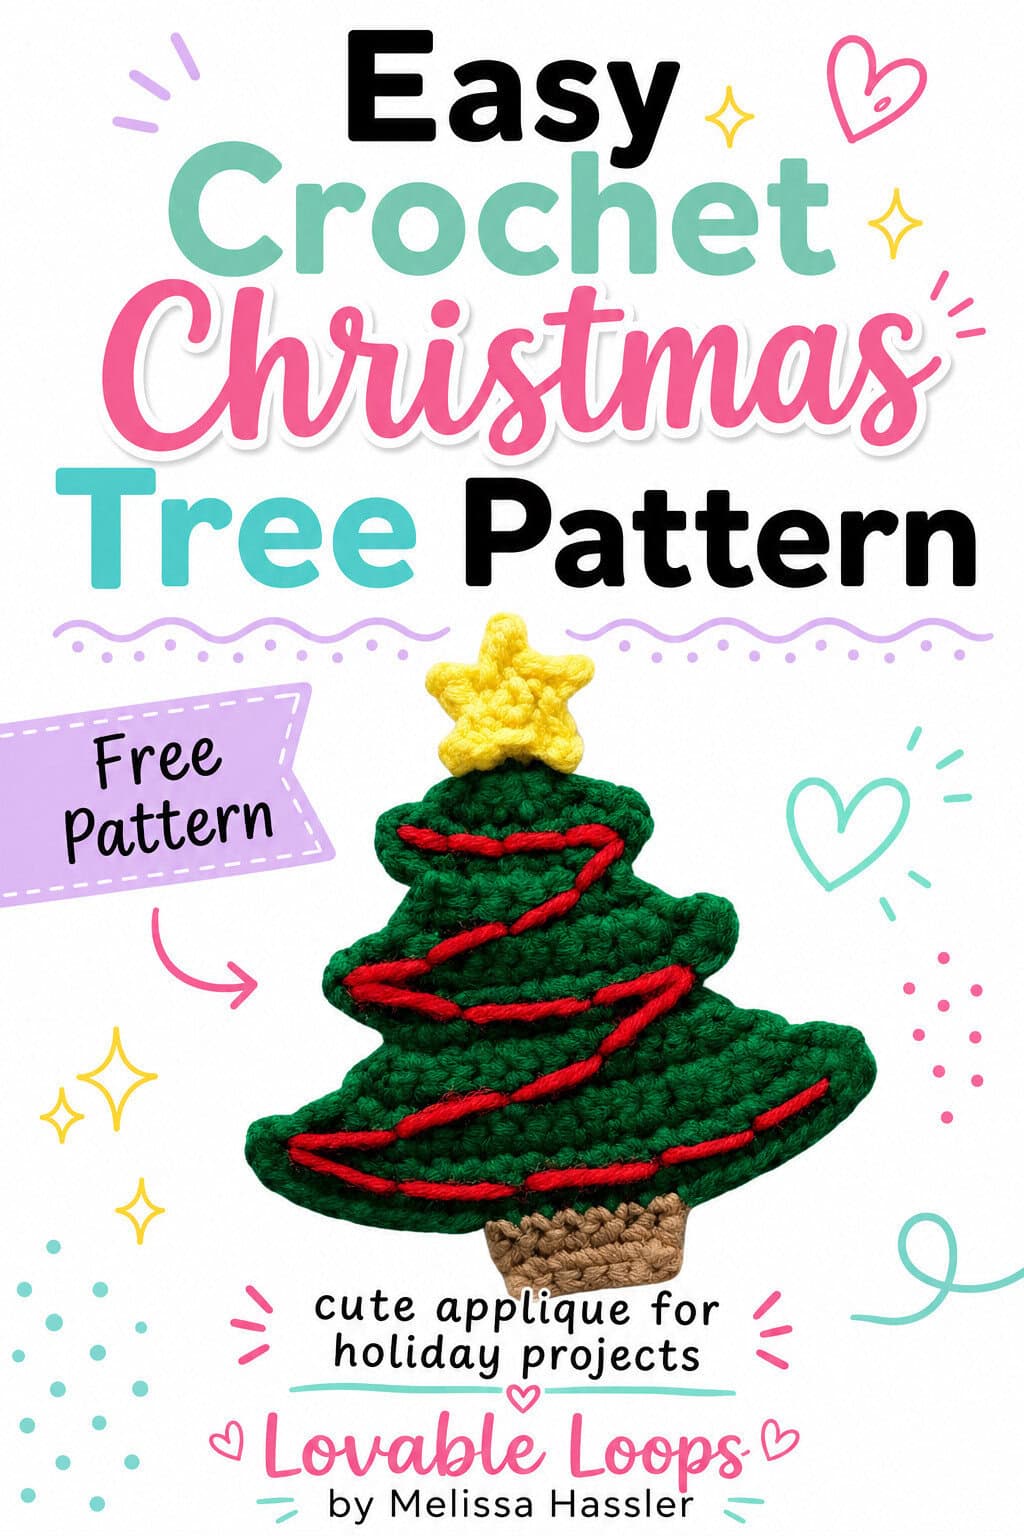
Add a cheerful handmade touch to your holiday projects with this crochet Christmas tree appliqué pattern! The layered green branches, little brown trunk, yellow star, and red garland create a festive decoration for gifts, stockings, and Christmas décor.
Quick answer
This beginner crochet Christmas tree appliqué is made with worsted weight (#4) yarn and an E (3.5 mm) crochet hook. The tree is worked from the top down in three shaped sections, the trunk is worked onto the bottom, and a separately crocheted star and stitched garland finish the design. The completed appliqué measures approximately 4.5 × 4 inches (11.4 × 10 cm) and includes a video tutorial.
Crochet Christmas tree appliqué pattern details
Skill level
Beginner — This pattern uses basic crochet stitches, simple shaping, and easy color changes.
Materials needed
- E (3.5 mm) crochet hook
- Worsted weight yarn (#4) in brown, green, red, and yellow
- Yarn needle
- Scissors
Finished size
My finished Christmas tree appliqué measures approximately 4.5 × 4 inches (11.4 × 10 cm).
Gauge
Gauge is not critical for this pattern. Small differences in tension will only slightly affect the finished size.
Crochet abbreviations
- sc = single crochet
- ch/chs = chain/chains
- st/sts = stitch/stitches
- rnd/rnds = round/rounds
- sl st = slip stitch
Pattern notes
- Beginning chains do not count as stitches.
- The pattern is written in US crochet terms.
Crochet Christmas tree appliqué video tutorial
Follow along with this step-by-step video tutorial to see how to crochet the Christmas tree appliqué from start to finish.
Prefer YouTube? Watch the crochet Christmas tree applique tutorial on YouTube.
Crochet Christmas tree appliqué pattern instructions
Top of the tree
Use green yarn.
Row 1: ch 2, sc in the 2nd ch from the hook, turn (1 stitch)
Row 2: ch 1, 2 sc in first st, turn (2 stitches)
Row 3: ch 1, 2 sc in each st, turn (4 stitches)
Row 4: ch 1, 2 sc in first st, sc in next 2 sts, 2 sc in last st, turn (6 stitches)
Row 5: ch 1, 2 sc in first st, sc in next 4 sts, 2 sc in last st, turn (8 stitches)
Row 6: ch 1, 2 sc in first st, sc in next 6 sts, 2 sc in last st, fasten off (10 stitches)
Middle of the tree
Row 7: Skip the first 2 sts of Row 6 and reattach green yarn to the 3rd st. Ch 1, 2 sc in the same st as the join, sc in next 4 sts, 2 sc in next st. Leave the remaining 2 sts unworked. Turn. (8 sts)
Row 8: ch 1, 2 sc in first st, sc in next 6 sts, 2 sc in last st, turn (10 stitches)
Row 9: ch 1, 2 sc in first st, sc in next 8 sts, 2 sc in last st, turn (12 stitches)
Row 10: ch 1, 2 sc in first st, sc in next 10 sts, 2 sc in last st, fasten off (14 stitches)
Bottom of the tree
Row 11: Skip the first 3 sts of Row 10 and reattach green yarn to the 4th st. Ch 1, 2 sc in the same st as the join, sc in next 6 sts, 2 sc in next st. Leave the remaining 3 sts unworked. Turn. (10 sts)
Row 12: ch 1, 2 sc in first st, sc in next 8 sts, 2 sc in last st, turn (12 stitches)
Row 13: ch 1, 2 sc in first st, sc in next 10 sts, 2 sc in last st, turn (14 stitches)
Row 14: ch 1, 2 sc in first st, sc in next 12 sts, 2 sc in last st, turn (16 stitches)
Row 15: ch 1, 2 sc in first st, sc in next 14 sts, 2 sc in last st, turn (18 stitches)
Row 16: ch 1, 2 sc in first st, sc in next 16 sts, 2 sc in last st, turn (20 stitches)
Row 17: ch 1, 2 sc in first st, sc in next 18 sts, 2 sc in last st, fasten off (22 stitches)
Tree trunk
Use brown yarn.
Row 1: Skip the first 8 sts of Row 17 and attach brown yarn to the 9th st. Ch 1, sc in the same st as the join and in each of the next 5 sts. Leave the remaining 8 sts unworked. Turn. (6 sts)
Row 2: ch 1, sc in each st, turn (6 stitches)
Row 3: ch 1, sc in each st, fasten off (6 stitches)
Crochet the star
Use yellow yarn.
Round 1: Ch 2, make 5 sc in the 2nd ch from the hook, join with a sl st to the first sc. (5 stitches)
Round 2: *Ch 3, sl st in the 2nd ch from the hook, sc in the 3rd ch, sl st in the next sc from Rnd 1; repeat from * around. Fasten off, leaving a long tail for sewing. (5 peaks)
Use a yarn needle and the long yarn tail to sew the star securely to the top of the tree.
Add the garland
Use a yarn needle and red yarn to sew the garland across the tree.
Finishing
Weave in all remaining ends and gently shape the appliqué if needed.
Ways to use this crochet Christmas tree appliqué
This crochet Christmas tree appliqué is small, festive, and easy to add to all kinds of holiday projects. Here are a few fun ways to use it:
- Sew it onto stockings, scarves, or hats
- Add it to gift tags, gift bags, or wrapped presents
- Use it on holiday pillows, blankets, or wall hangings
- Add it to garlands, banners, or classroom projects
- Use it as a cute handmade accent for Christmas décor
More free crochet appliqué patterns
Looking for more small crochet projects? Browse my full collection of free crochet appliqué patterns for cute designs you can add to hats, blankets, bags, garlands, and more.
For another festive design, try my crochet Christmas ornament applique pattern featuring colorful round ornaments with hanging loops and stitched sparkle details.
Prefer making individual Christmas bulbs? Try my crochet Christmas lights applique pattern for colorful decorations you can add to stockings, garlands, and other holiday projects.
Christmas crochet decor patterns
Looking for more festive projects to make? Browse my favorite Christmas crochet decor patterns, including ornaments, pillows, garlands, appliqués, stockings, and other cozy holiday makes for your home.
Want to make a three-dimensional tree? Try my stuffed crochet Christmas tree pattern with a pretty gold garland and matching star.
For a larger Christmas tree project, try my crochet Christmas tree pillow pattern featuring a green tree on a white C2C pillow.
Looking for more festive appliqués? Try my crochet snowman appliqué pattern or crochet reindeer appliqué pattern for more handmade Christmas decorations.
Let’s connect!
I’d love to see what you’re making! Share your finished project and follow along for more free crochet patterns and tutorials.
📌 Don’t forget to pin this pattern for later!
Happy crocheting! 🧶
— Melissa