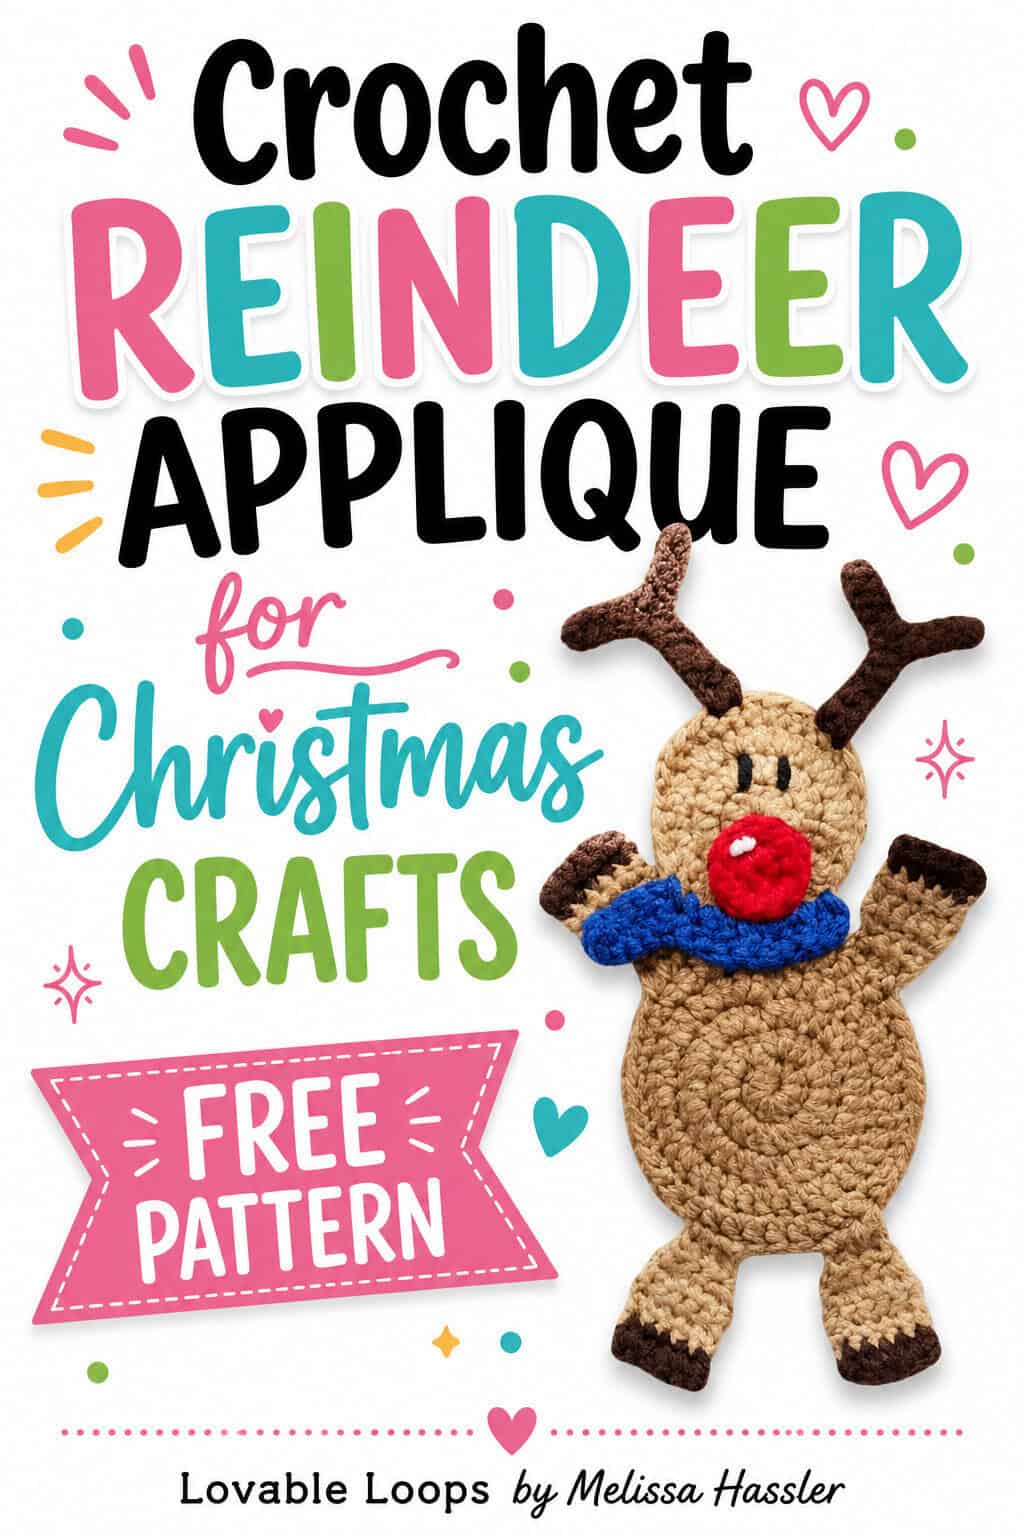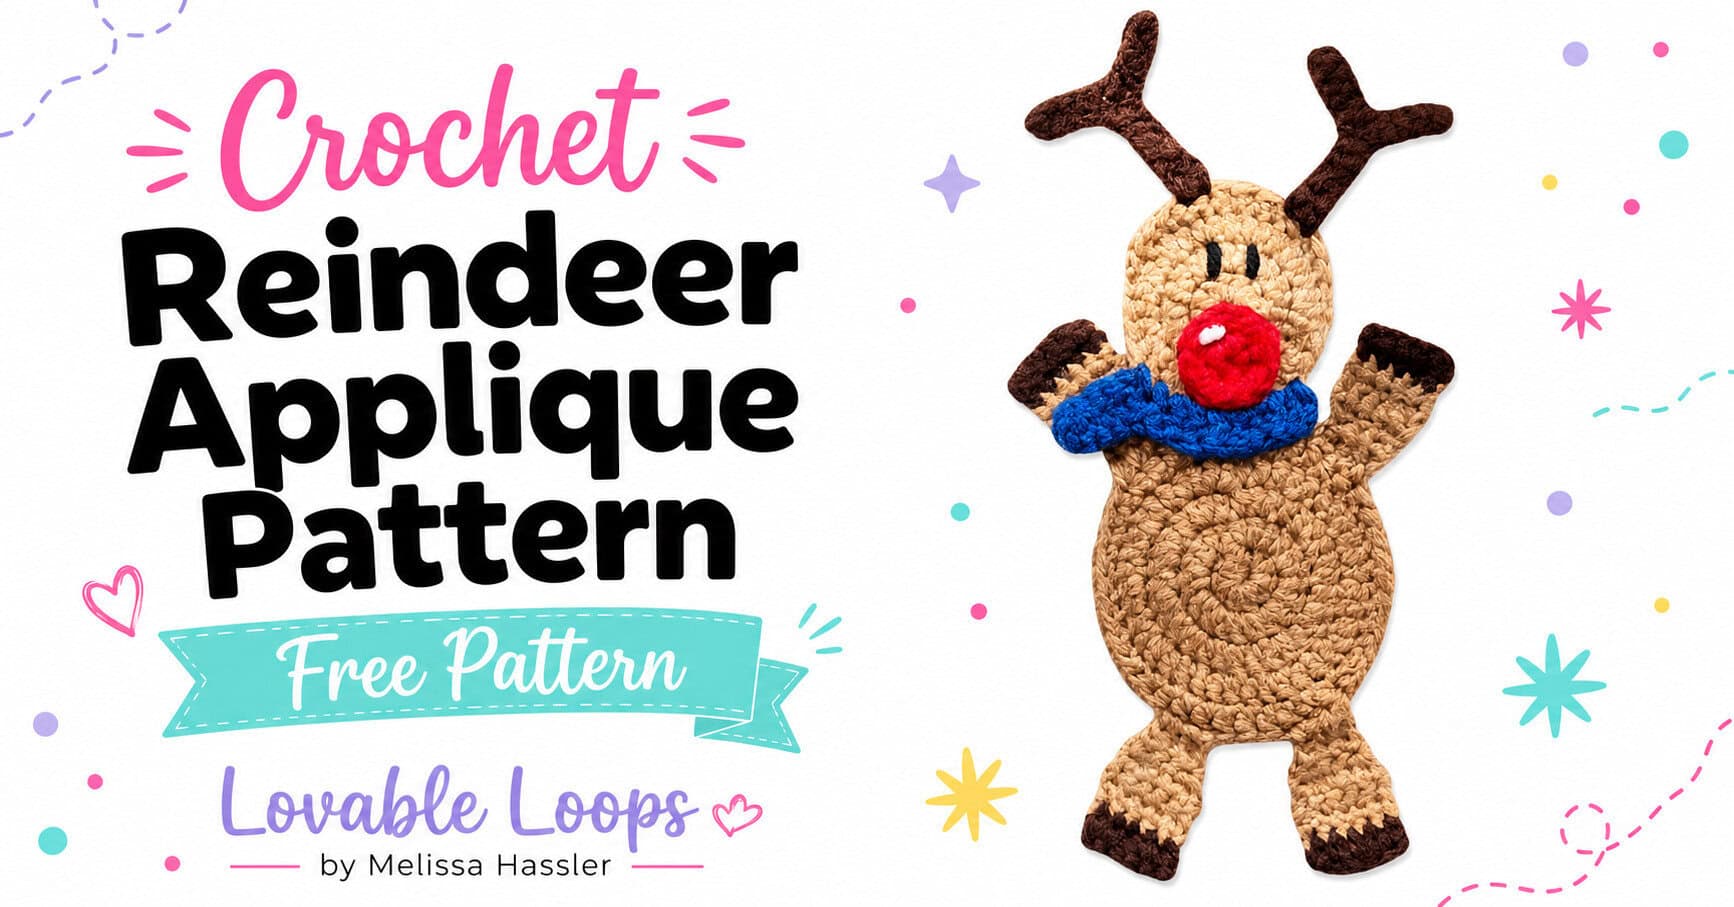
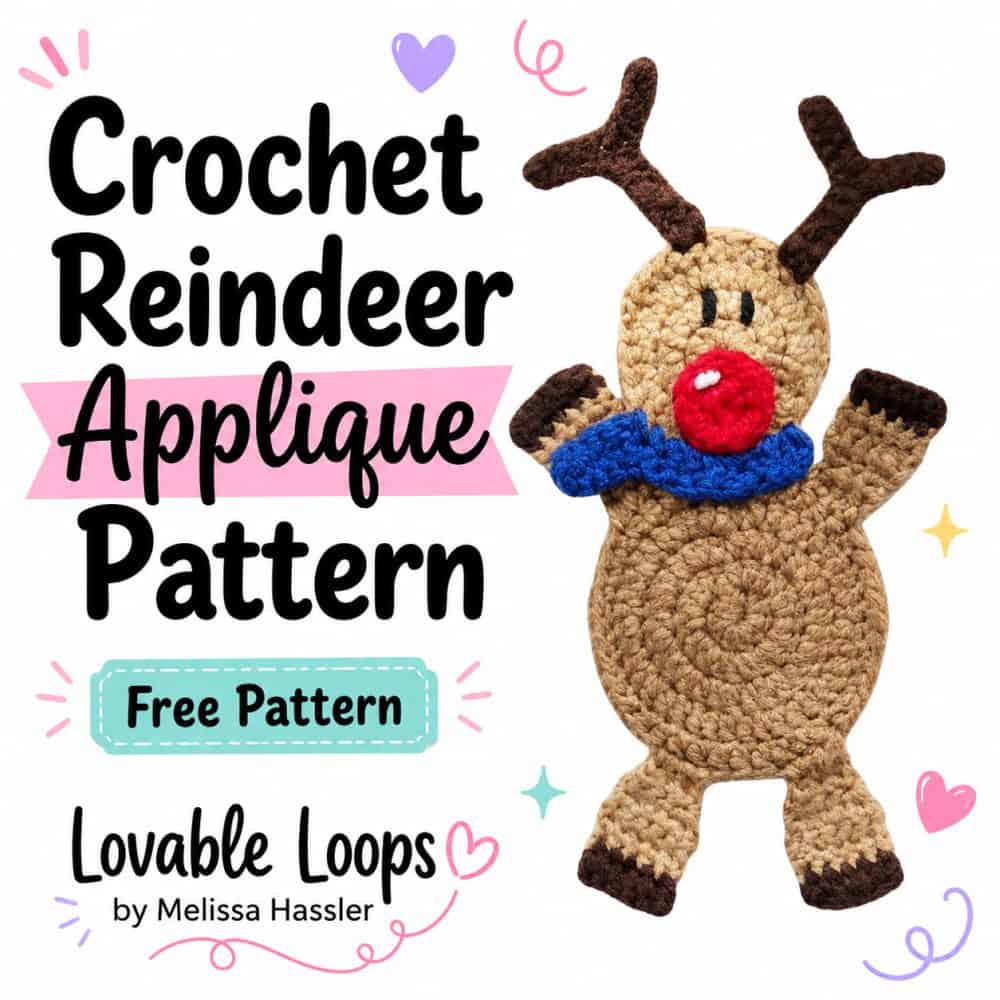
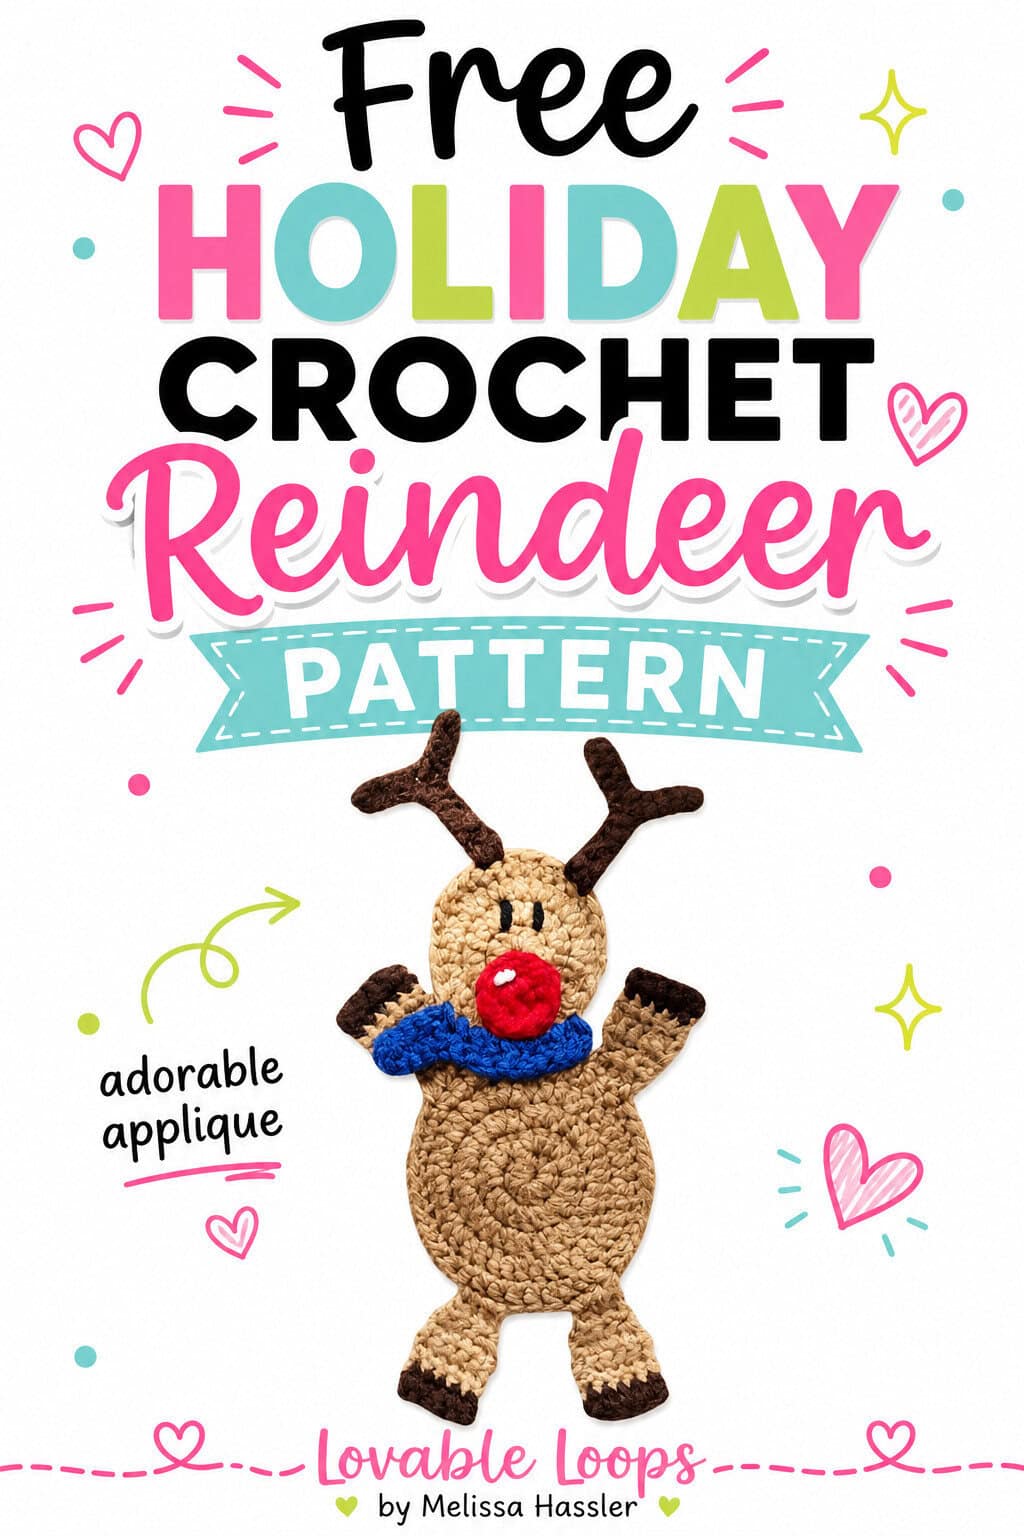
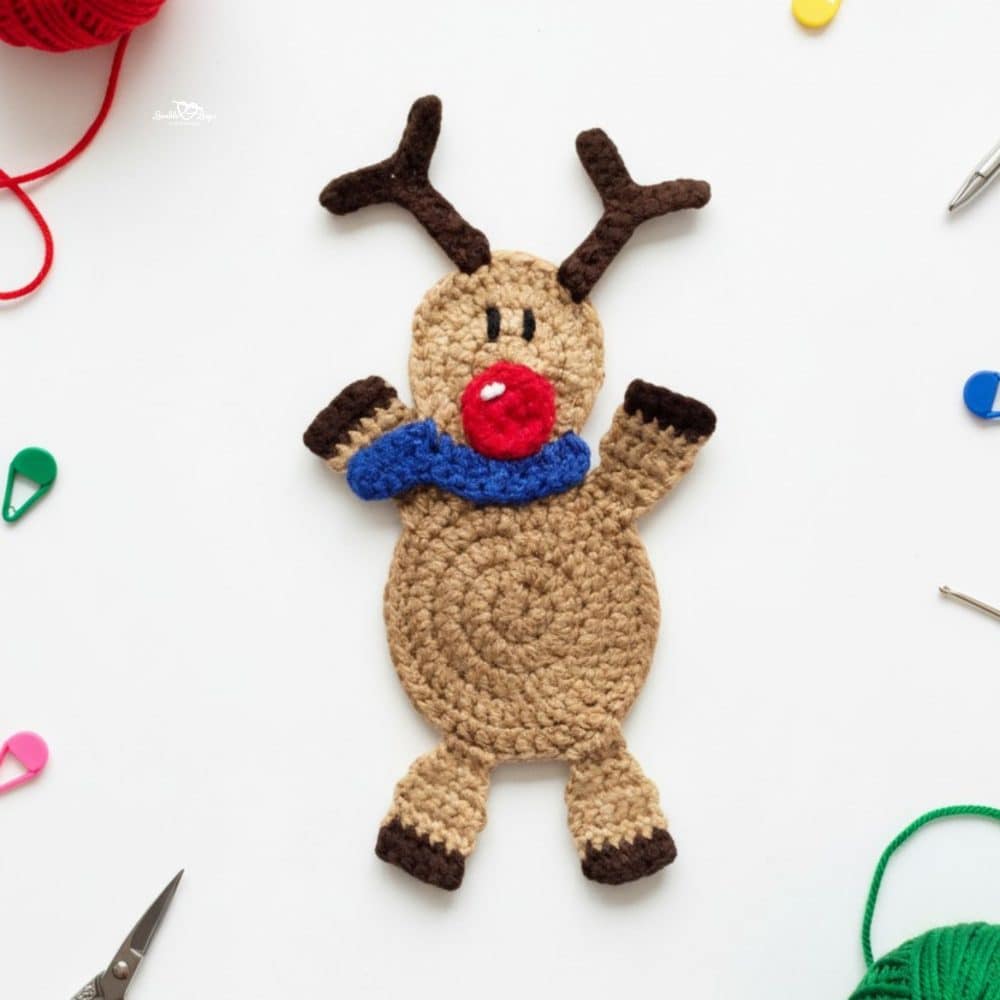
Crochet reindeer applique pattern
This crochet reindeer applique pattern is a quick, beginner-friendly project that adds a festive handmade touch to stockings, gift tags, holiday décor, and other Christmas projects. Made with simple stitches and straightforward color changes, this cute reindeer works up quickly and is easy to customize with your favorite holiday colors.
Quick answer
This crochet reindeer applique pattern is a beginner-friendly project made with worsted weight yarn and an E (3.5 mm) crochet hook. The finished reindeer measures about 8 inches long by 4 inches wide (20.3 x 10.2 cm) and works well for stockings, gift tags, holiday décor, and other Christmas projects.
Best for: Beginners
Style: Small crochet reindeer applique
Includes: Pattern details, written instructions, and FAQs
Ways to use this crochet reindeer applique
This crochet reindeer applique is small, festive, and easy to add to all kinds of holiday projects. Here are a few fun ways to use it:
- Sew it onto stockings, scarves, or hats
- Add it to gift tags, gift bags, or wrapped presents
- Use it on holiday pillows, blankets, or wall hangings
- Add it to classroom projects or Christmas décor
- Use it as a cute handmade accent for winter gifts
Crochet reindeer applique pattern details
Here’s a quick overview of the materials, sizing, gauge, and pattern notes before you begin.
Skill level
Beginner — This pattern uses simple stitches and straightforward color changes, making it a great project for beginners.
Materials needed
- Crochet Hook Size — E (3.5 mm)
- Yarn — Worsted weight yarn in light brown, dark brown, black, white, red, and blue.
- Yarn needle — Use this to weave in your ends.
- Scissors — Use scissors to fasten off your yarn.
- Stitch marker(s) — Optional. Use these to help keep track of your stitches.
Finished size
My reindeer measures about 8 inches long by 4 inches wide (20.3 x 10.2 cm).
Gauge
Gauge is not critical for this pattern. Small differences in tension will only slightly affect the finished size.
Crochet abbreviations
- dc = double crochet
- hdc = half double crochet
- sc = single crochet
- ch/chs = chain/chains
- st/sts = stitch/stitches
- rnd/rnds = round/rounds
- sl st = slip stitch
- rem = remaining
Pattern notes
- Beginning chains do not count as stitches
- Join each round with a slip stitch to the first stitch made in that round
- Repeat instructions between the asterisks (*) for the rest of the round
- The pattern is written in US terms
Crochet reindeer applique pattern instructions
Follow the step-by-step instructions below to crochet each part of this free crochet reindeer applique pattern from start to finish.
Head
Rnd 1: magic circle, ch 2, 10 dc, join (10 stitches)
Rnd 2: ch 2, 2 dc in each st, join (20 stitches)
Rnd 3: ch 2, *2 dc, dc in next st*, join (30 stitches)
Rnd 4: sl st in the next st (after the st you joined to), sc in 3 sts, hdc in 2 sts, dc in 3 sts, hdc in 2 sts, sc in 3 sts, sl st in next st, fasten off
Scarf
Your 3 dc from round 4 of the head should be positioned at the top of the head.
1. Join blue yarn on right side of head, ch 2 and dc 9.
Now you will make the part of the scarf that hangs down.
2. Ch 6, dc in the 3rd ch from the hook, dc in each of the 3 rem chs and join with a sl st to the main part of the scarf.
Fasten off leaving a long tail that you will need for later.
Body
Rnd 1: magic circle, ch 2, 10 dc, join with sl st in top of first dc (10 stitches)
Rnd 2: Ch 2, 2 dc in each st, join (20 stitches)
Rnd 3: Ch 2, *2 dc, dc in next st*, join (30 stitches)
Rnd 4: Ch 2, *2 dc, dc in next 2 sts*, join (40 stitches)
Rnd 5: Ch 2, dc 4, hdc 3, sc 6, hdc 3, dc 8, hdc 3, sc 6, hdc 3, dc 4, join and fasten off
Use a yarn needle and the yarn tail from the scarf to attach the head to the body.
Antlers
Step 1: Ch 12, sc in the 2nd ch from the hook and sc in 4 more chs (your first “branch” is made), do not fasten off. Begin step 2 from here.
Step 2: Ch 6 and sc in the 2nd ch from the hook and in each of the 4 rem chs (second “branch” is made)
Step 3: sc in the 6 rem chs from your original ch 12. Fasten off.
Use a yarn needle to sew the antlers onto the top of the head.
Nose
Rnd 1: magic circle, ch 1, 6 hdc, join with sl st in top of first hdc (6 stitches)
Rnd 2: Ch 1, 2 hdc in each st, join and fasten off leaving a long enough tail to sew onto head (12 stitches)
Use a yarn needle to sew the nose onto the head. The bottom of the nose should be positioned at the top of the scarf.
Use a yarn needle and a scrap of white yarn to add some “sparkle” to the nose.
Legs
Start with light brown yarn.
Tip: Leave a long yarn tail when you start your chain. You will need this when you sew the arms and legs onto the body.
Row 1: Ch 4, sc in 2nd ch from hook and each rem ch, turn (3 stitches)
Row 2: Ch 1, sc in each st, turn (3 stitches)
Row 3: Ch 1, 2 sc, sc, 2 sc, turn (5 stitches)
Rows 4-6: Ch 1, sc in each st, turn (5 stitches)
Switch to dark brown yarn.
Row 7: Ch 1, sc in each st, turn (5 stitches)
Row 8: Ch 1, sc in each st, fasten off
Use a yarn needle to sew the legs onto the body. See pictures for positioning.
Eyes
Use a yarn needle and a scrap of black yarn to make two lines above the nose for eyes.
Finishing
Weave in your ends.
Video tutorial
Follow along with this step-by-step video tutorial to see how to crochet the reindeer applique from start to finish.

More free crochet applique patterns
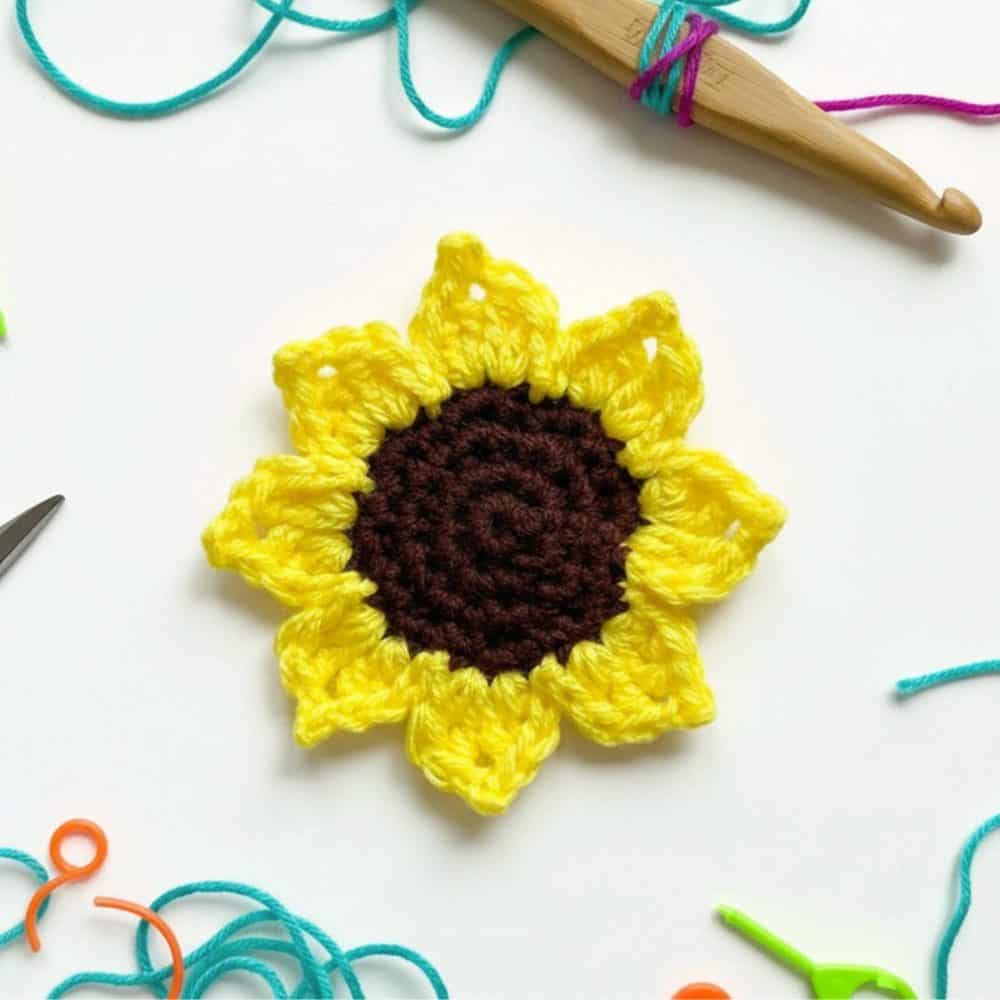
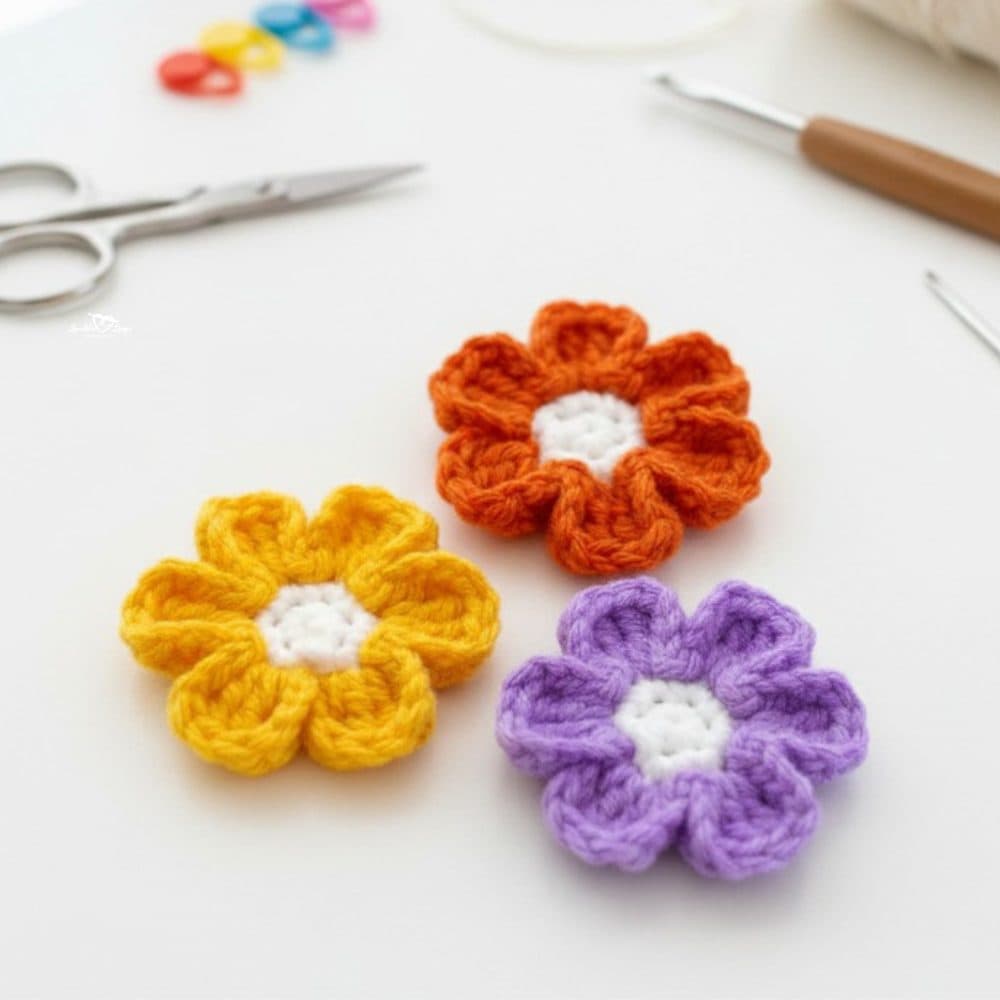
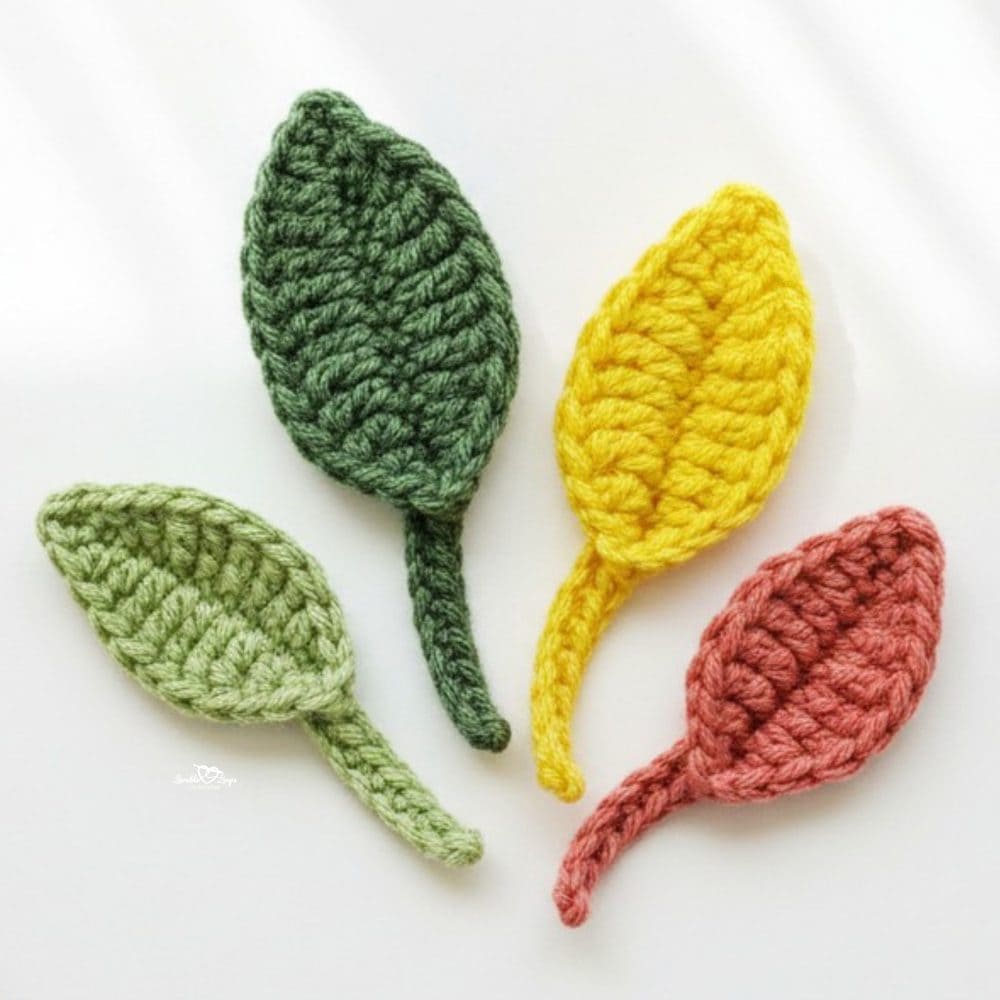
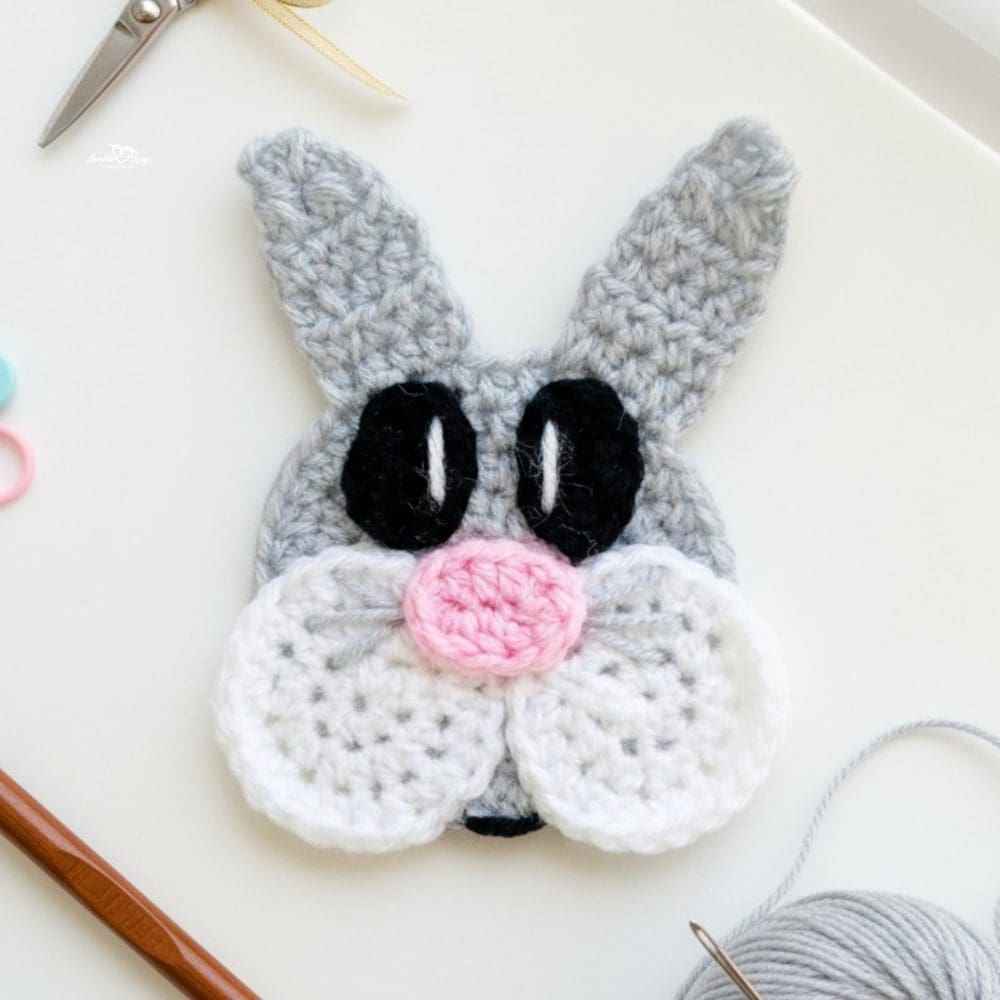
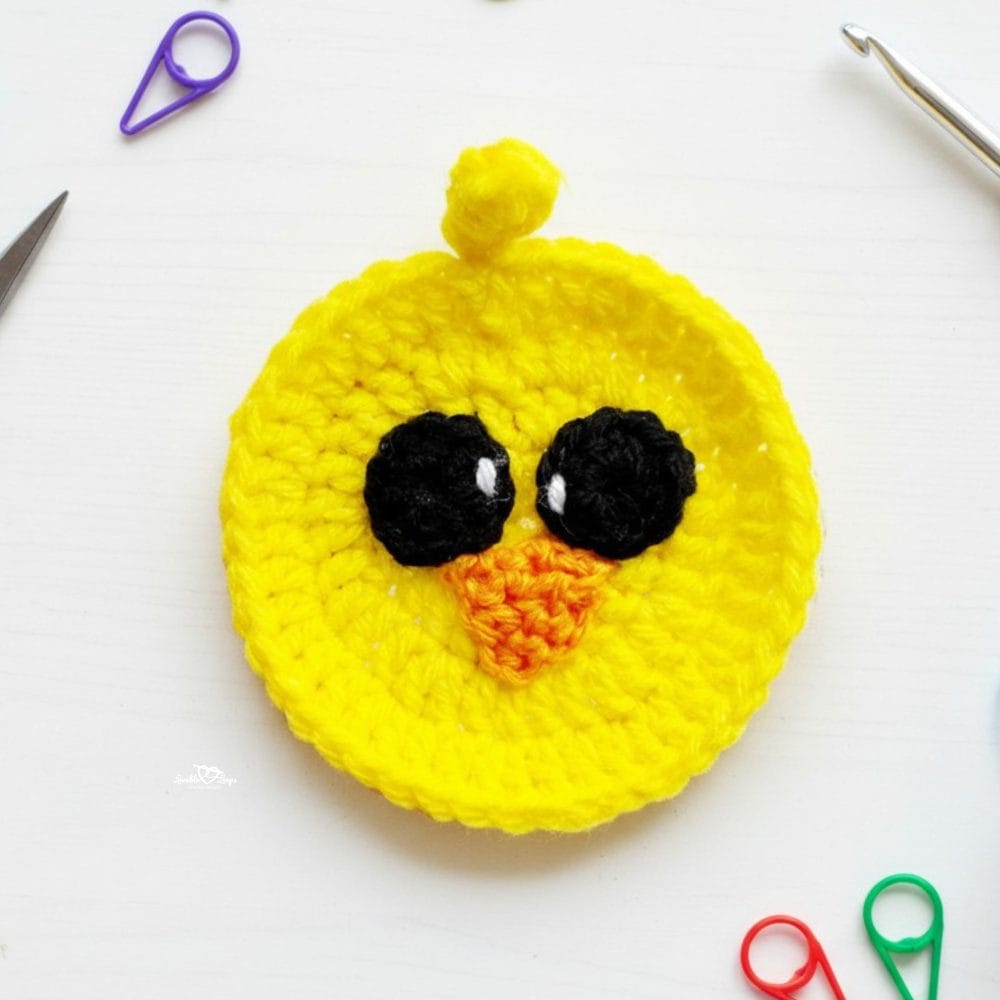
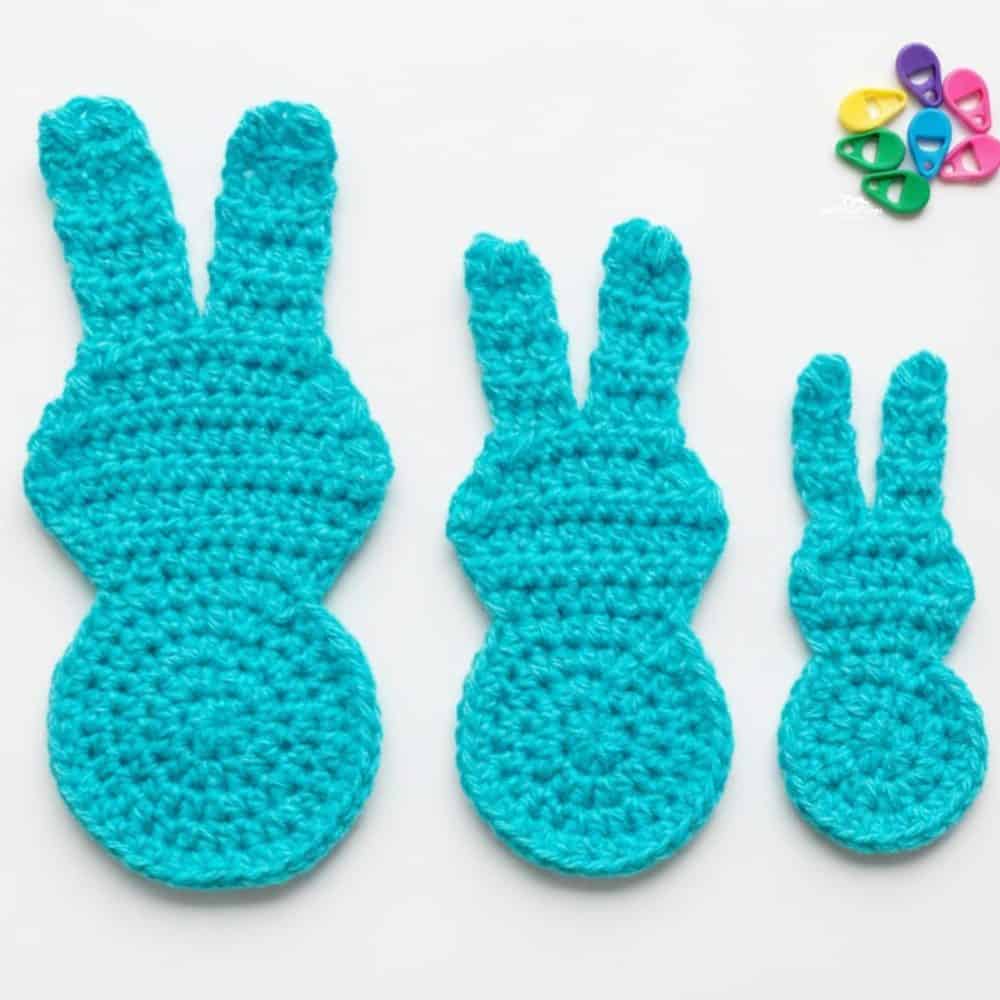
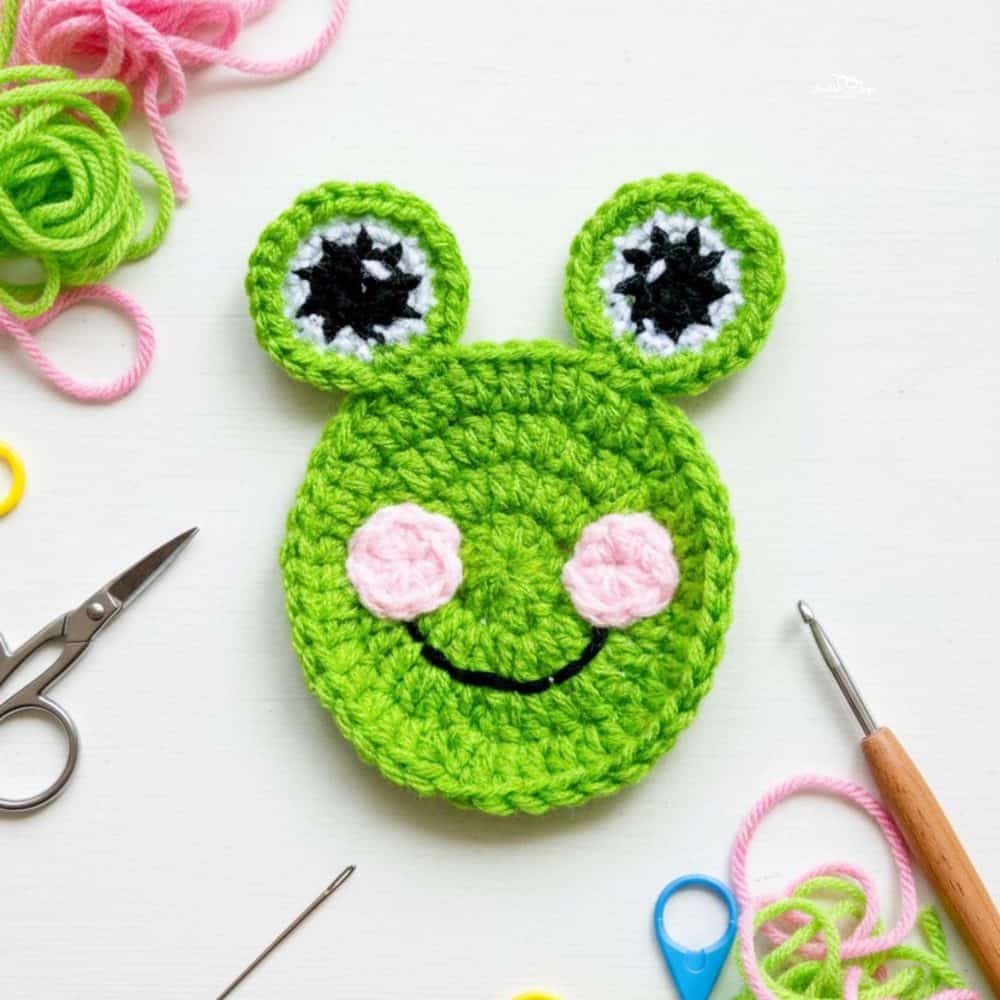
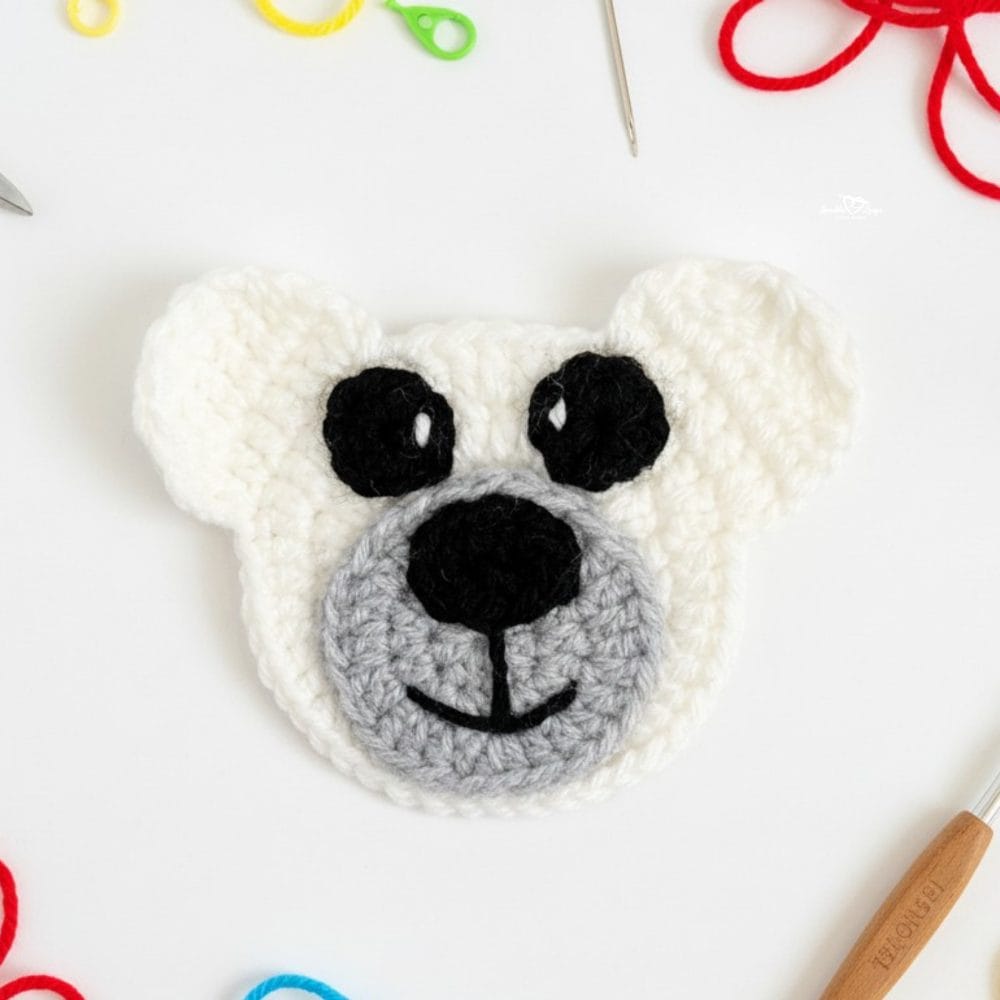
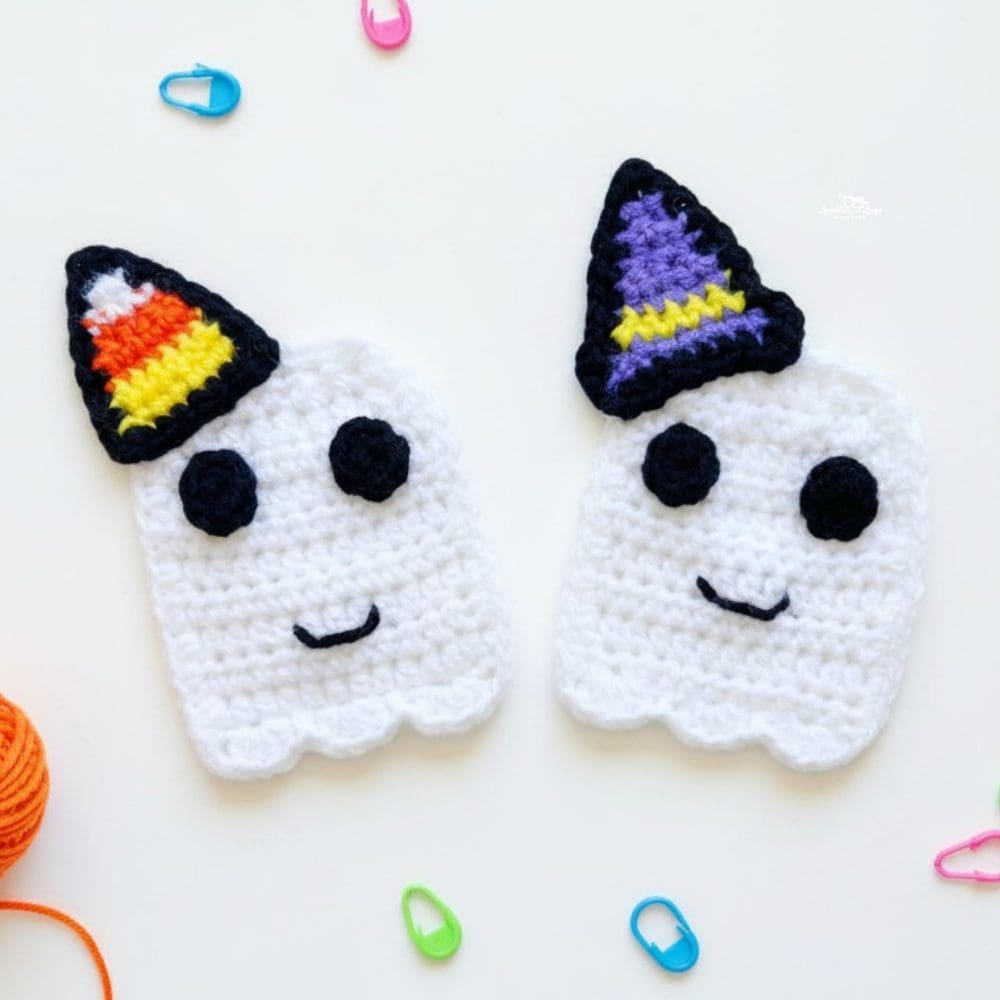
Looking for more small crochet projects? Browse my full collection of free crochet applique patterns for cute designs you can add to hats, blankets, bags, garlands, and more.


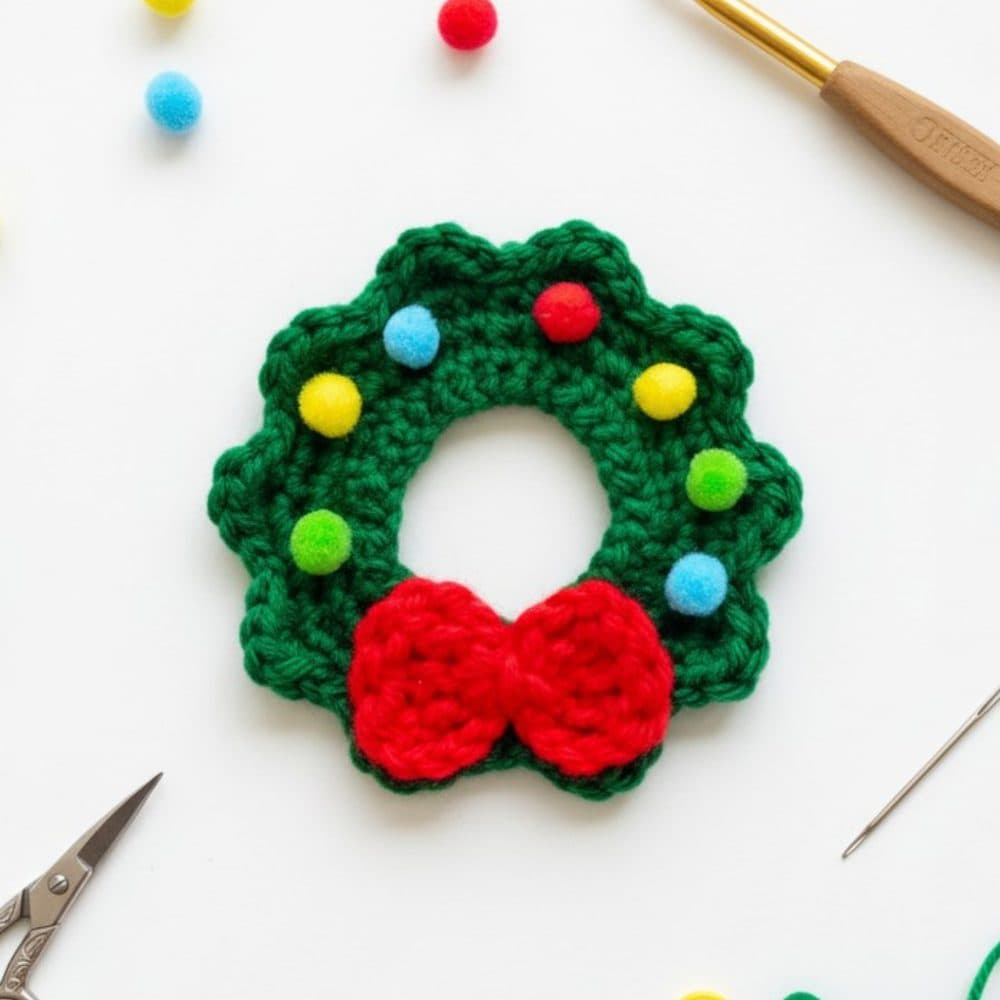
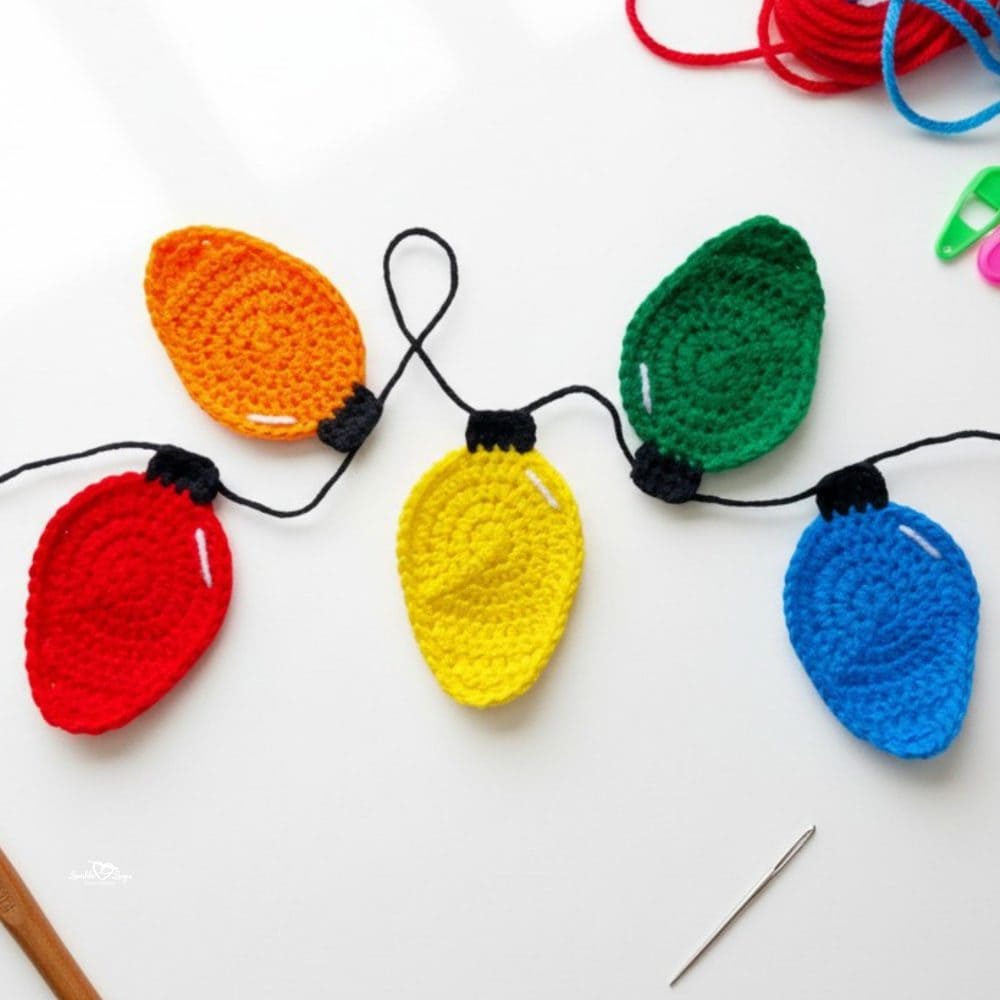
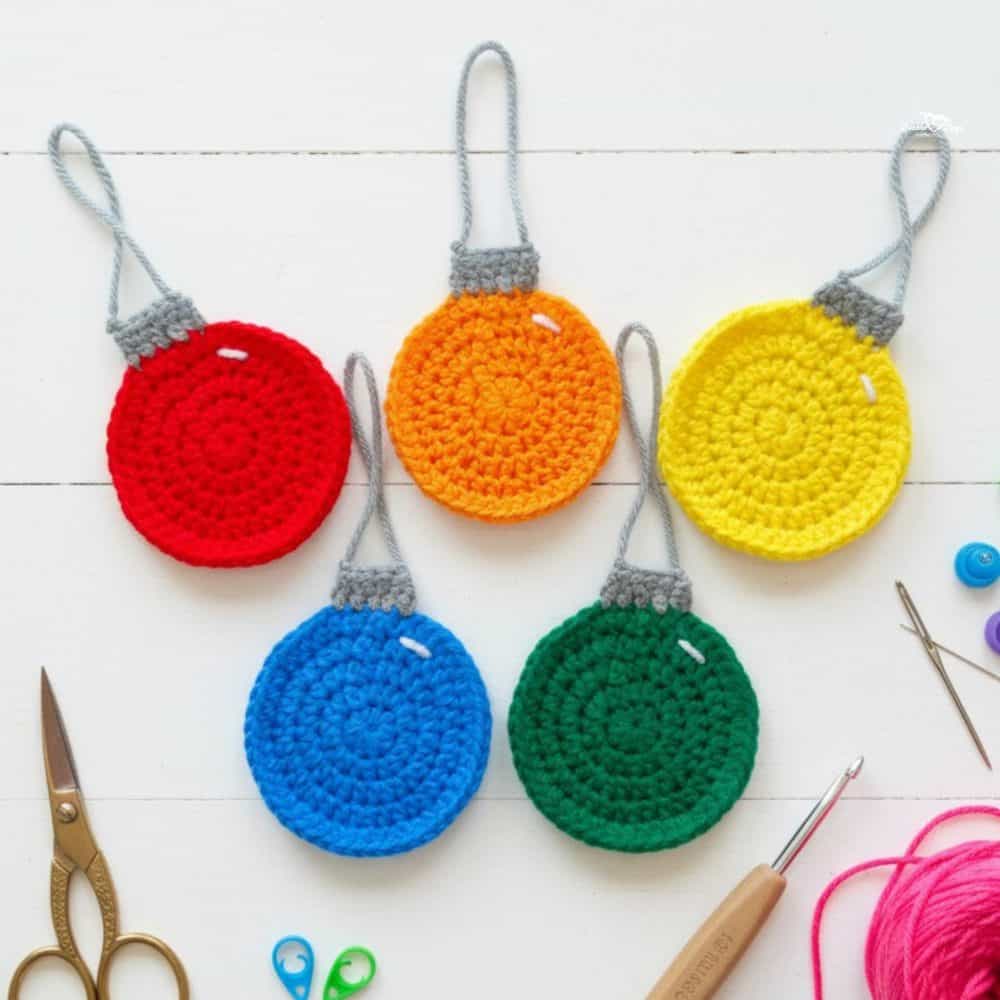
Christmas crochet decor patterns
Looking for more festive projects to make? Browse my favorite Christmas crochet decor patterns, including ornaments, pillows, garlands, appliques, stockings, and other cozy holiday makes for your home.
You can also visit my full collection of home decor crochet patterns for even more handmade ideas to decorate every season.
Let’s connect!
I’d love to see what you’re making! Share your finished project and follow along for more free crochet patterns and tutorials.
📌 Don’t forget to pin this pattern for later!
Happy crocheting! 🧶
— Melissa