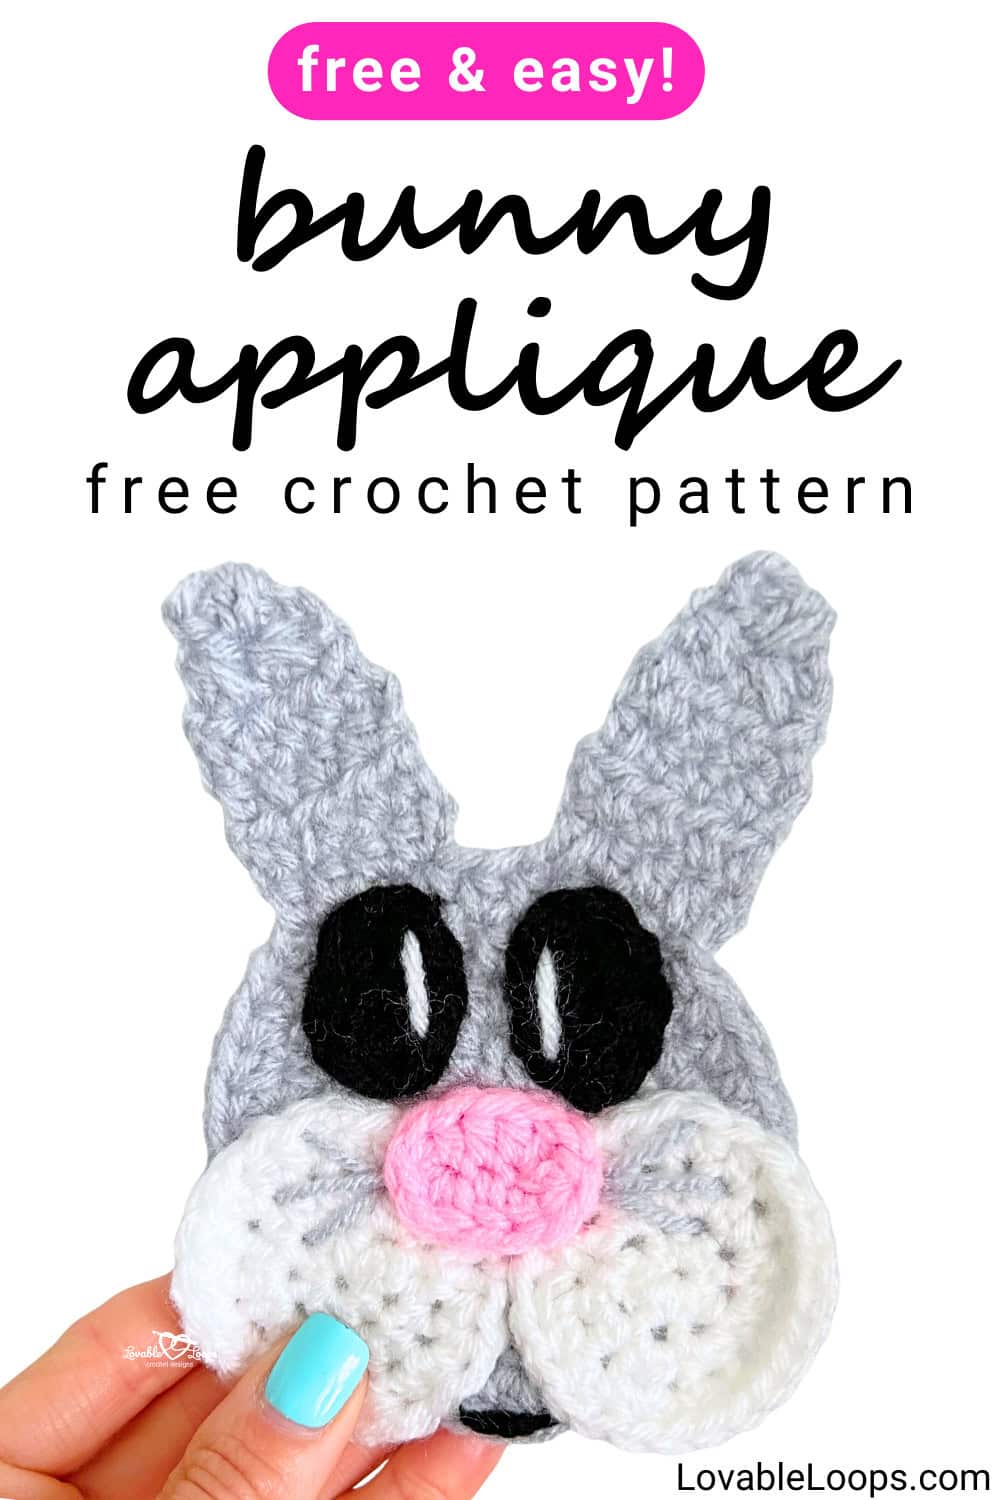
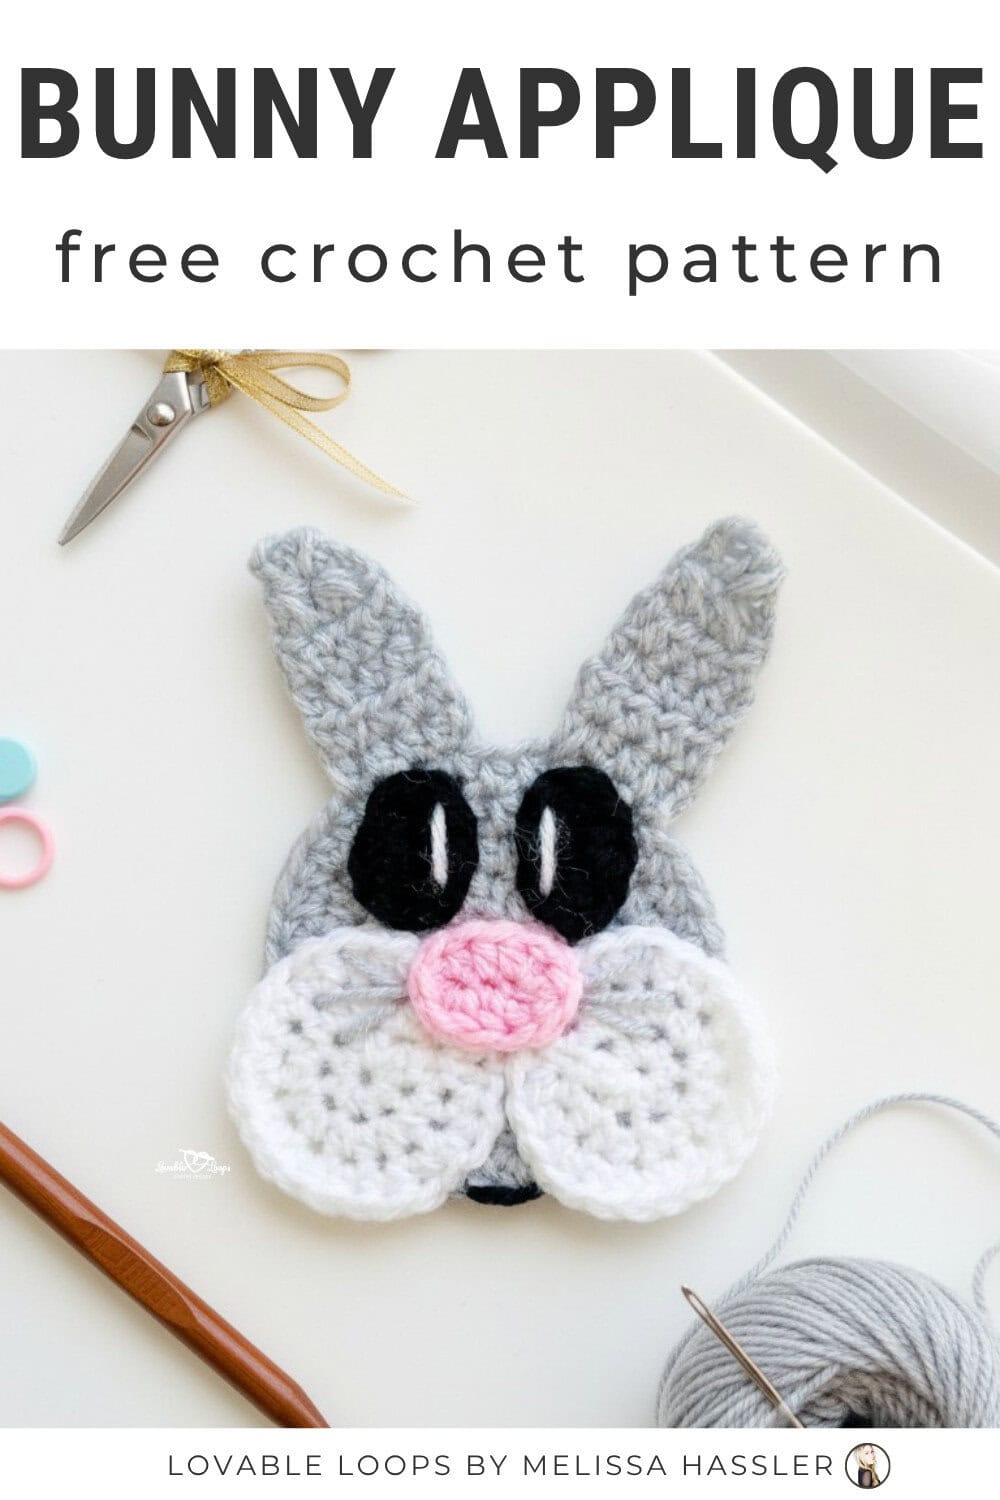
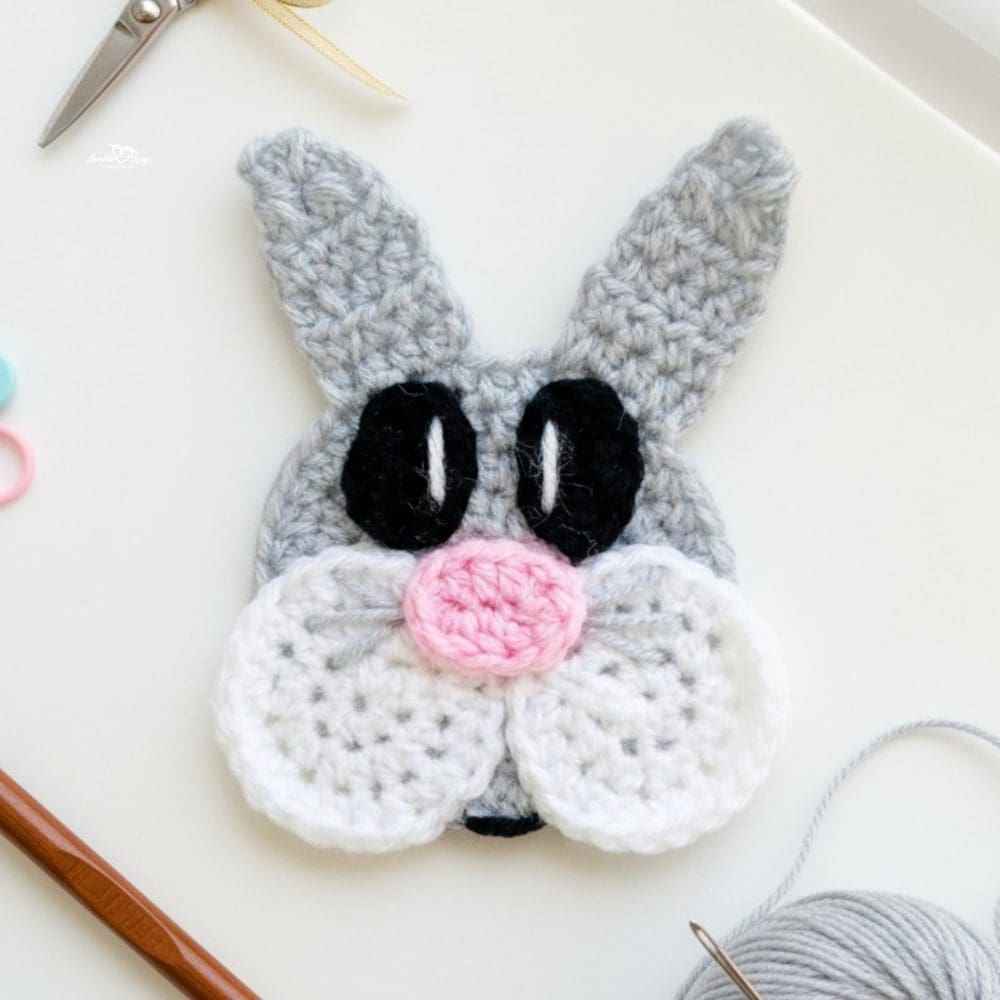
Crochet bunny applique pattern
Looking for a quick and cute Easter crochet project? This free crochet bunny applique pattern is a beginner-friendly design made with simple stitches and easy shaping. It’s a fun little project for Easter crafts, gifts, baby items, and spring décor.
Quick answer
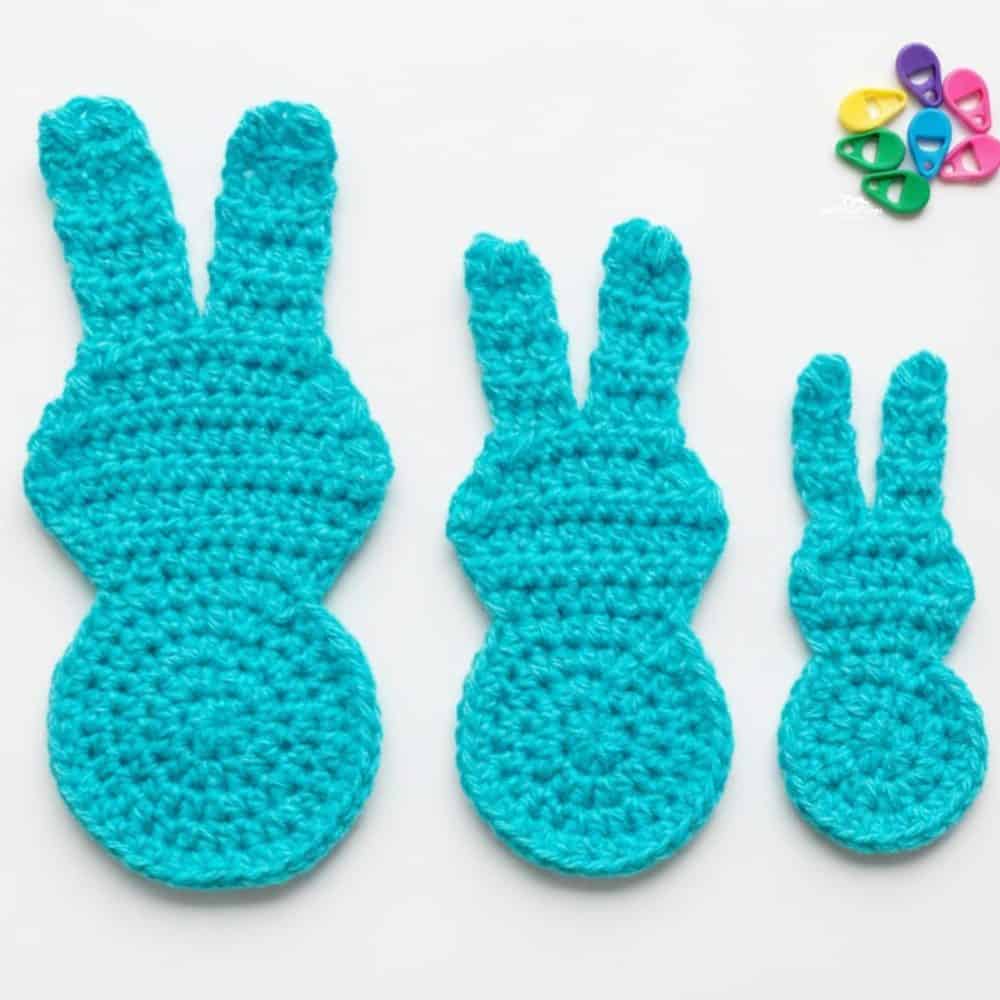
This crochet bunny applique pattern is a beginner-friendly project made with worsted weight yarn and an H-8 (5 mm) crochet hook. The finished applique measures about 5.25 inches long by 4.25 inches wide (13.3 x 10.8 cm) and works well for Easter décor, gifts, baby items, and spring crochet projects.
Best for: Beginners
Style: Small crochet bunny applique
Includes: Pattern details, written instructions, and FAQs
Ways to use this crochet bunny applique
This crochet bunny applique is small, lightweight, and easy to use in lots of spring and Easter projects. Here are a few fun ways to use it:
- Sew onto Easter baskets, treat bags, or gift bags
- Add to baby hats, sweaters, blankets, or burp cloths
- Attach to pillows, throws, or granny square projects
- Use for Easter décor like garlands, banners, or table settings
- Embellish handmade cards, gift wrap, or spring crafts
These appliques are quick to make, which also makes them great for craft fairs or last-minute Easter projects.
Crochet bunny applique pattern details
Here’s a quick overview of the materials, finished size, gauge, and pattern notes before you begin.
Skill level
Beginner — This crochet applique pattern uses basic stitches in simple repeats and is worked in rounds and rows.
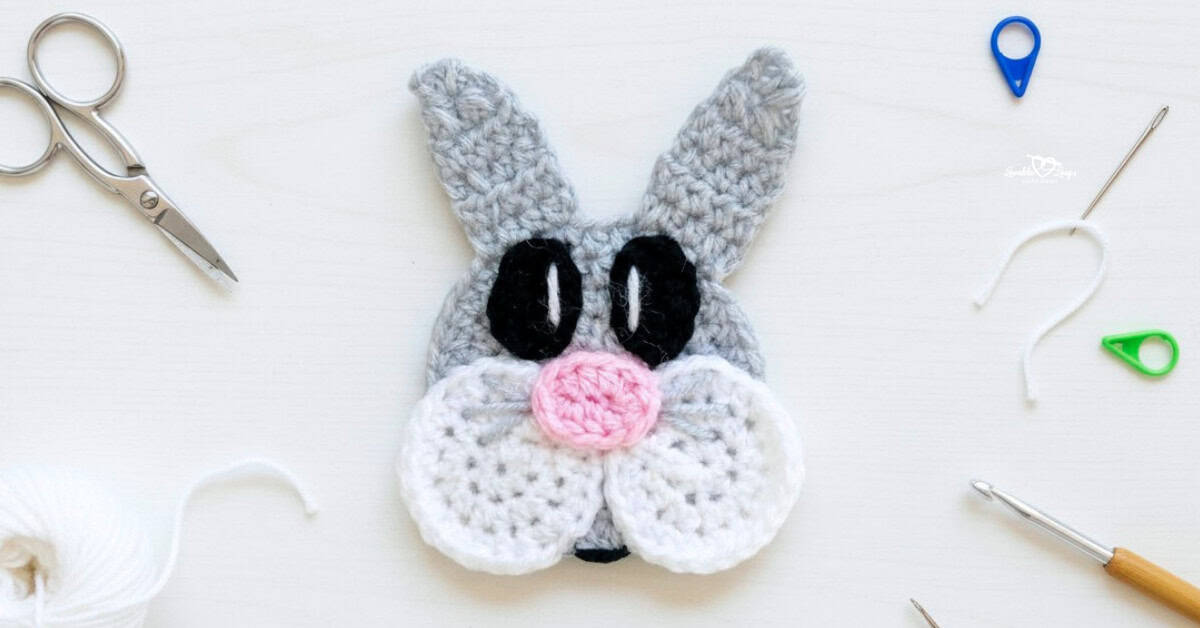
Materials needed
- Crochet hook size H-8 (5 mm) — Gauge is not critical for this pattern.
- Worsted weight yarn (#4) — In black, white, gray, and pink.
- Yarn needle — For weaving in ends neatly.
- Scissors — For cutting yarn.
- Stitch markers — Optional, but helpful for keeping track of stitches.
Finished size
The finished crochet bunny applique measures approximately 5.25 inches (13.3 cm) long and 4.25 inches (10.8 cm) wide.
Gauge
Gauge is not critical for this pattern. Small differences in tension will only slightly affect the finished size.
Crochet abbreviations
- hdc = half double crochet
- hdc2tog = half double crochet 2 stitches together
- st/sts = stitch/stitches
- sl st = slip stitch
- ch/chs = chain/chains
Pattern notes
- Join each round with a slip stitch to the first stitch.
- Beginning chains do not count as stitches.
- Repeat instructions between asterisks (*) for the rest of the round.
- The pattern is written in US crochet terms.
Free crochet bunny applique pattern instructions
Follow the step-by-step instructions below to crochet the bunny head, ears, and facial details for this free crochet bunny applique pattern.
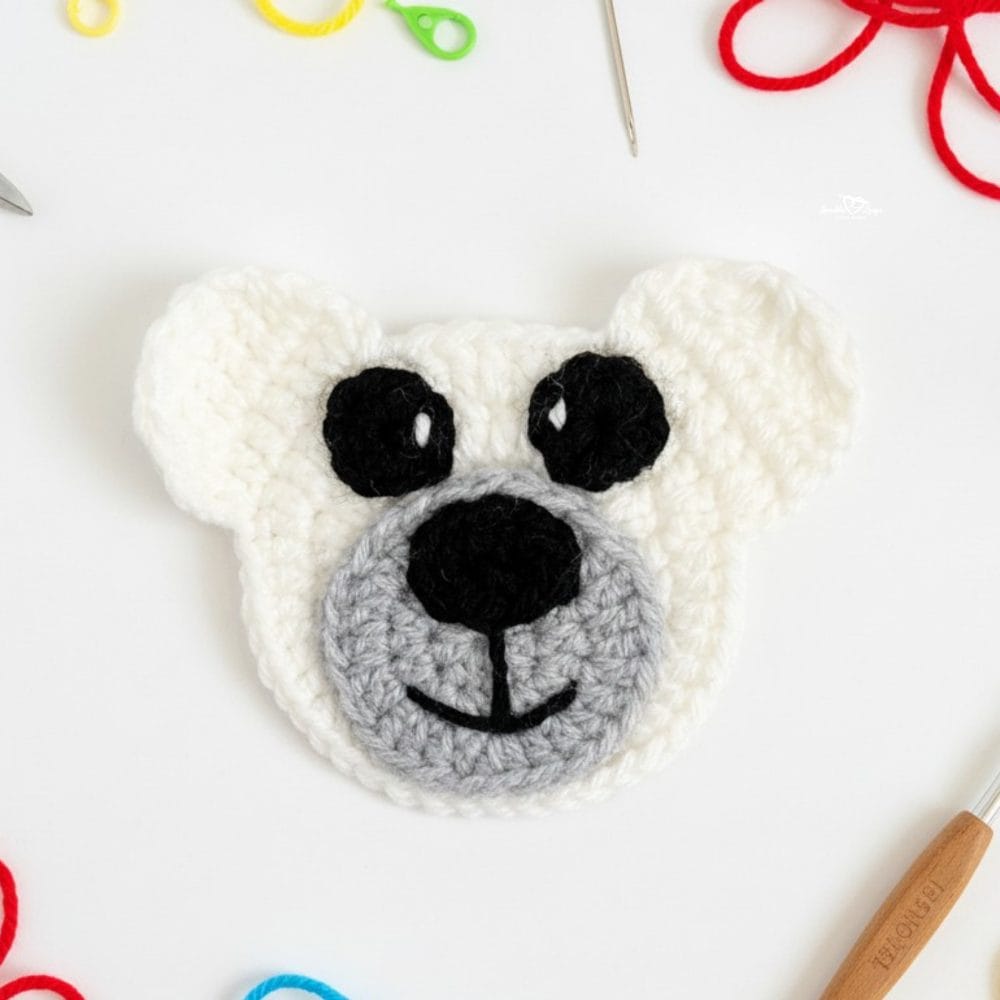
Crochet bunny head
Round 1: Magic circle, ch 2, 8 hdc, join with sl st to the top of the first hdc (8 sts)
Round 2: Ch 2, 2 hdc in each st around, join (16 sts)
Round 3: Ch 2, *2 hdc, hdc in next st* around, join (24 sts)
Round 4: Ch 2, *2 hdc, hdc in next 2 sts* around, join (32 sts)
Round 5: Ch 2, *2 hdc, hdc in next 3 sts* around, join (40 sts)
Do not fasten off. You will now begin the bunny ears.
Bunny ears
The ears are worked directly onto the head.
First ear
Begin where you left off after round 5 of the head.
Row 1: Ch 2, hdc in next 4 sts, turn (4 sts)
Rows 2–4: Ch 2, hdc in each st across, turn (4 sts)
Row 5: Ch 2, hdc2tog, hdc2tog, turn (2 sts)
Row 6: Ch 2, hdc2tog, fasten off (1 st)
Second ear
Skip the next 2 stitches on the head. Rejoin yarn to the 3rd stitch.
Repeat rows 1–6 to make the second ear.
Bunny cheeks
Make two cheeks.
Round 1: Magic circle, ch 2, 8 hdc, join with sl st to the top of the first hdc (8 sts)
Round 2: Ch 2, 2 hdc in each st around, join (16 sts)
Round 3: Ch 2, *2 hdc, hdc in next st* around, join (24 sts)
Sew the cheeks onto the bunny head.
Bunny nose
Round 1:
Ch 5, 2 hdc in 3rd ch from hook, hdc in next ch, 4 hdc in last ch.
Working along the back of the chain: hdc in next ch, 2 hdc in last ch, join (10 sts)
Sew the nose onto the head, centered between the cheeks.
Bunny eyes
Make two eyes.
Round 1:
Ch 5, 2 hdc in 3rd ch from hook, hdc in next ch, 4 hdc in last ch.
Working along the back of the chain: hdc in next ch, 2 hdc in last ch, join (10 sts)
Use small scrap pieces of white yarn to add eye sparkles, then sew the eyes onto the bunny head.
Smile and whiskers
Use black and gray yarn to stitch a smile and whiskers onto the bunny.
Finishing the crochet bunny applique
Fasten off and weave in all yarn tails using a yarn needle.

Frequently asked questions
Is this crochet bunny applique pattern beginner-friendly?
Yes. This free crochet bunny applique pattern is beginner-friendly and uses basic stitches with simple shaping.
What yarn works best for this crochet bunny applique?
Worsted weight yarn (#4) works best. Acrylic, cotton, or scrap yarn all work well.
Does gauge matter for this pattern?
No. Gauge is not critical, and small tension differences will only slightly affect size.
How big is the finished crochet bunny applique?
Approximately 5.25 inches (13.3 cm) long and 4.25 inches (10.8 cm) wide.
Can I sell items made using this pattern?
Yes, you may sell finished items made from this pattern. Please do not sell or redistribute the pattern itself.
What can I attach this bunny applique to?
Hats, blankets, bags, pillows, Easter baskets, cards, and other spring or Easter projects.
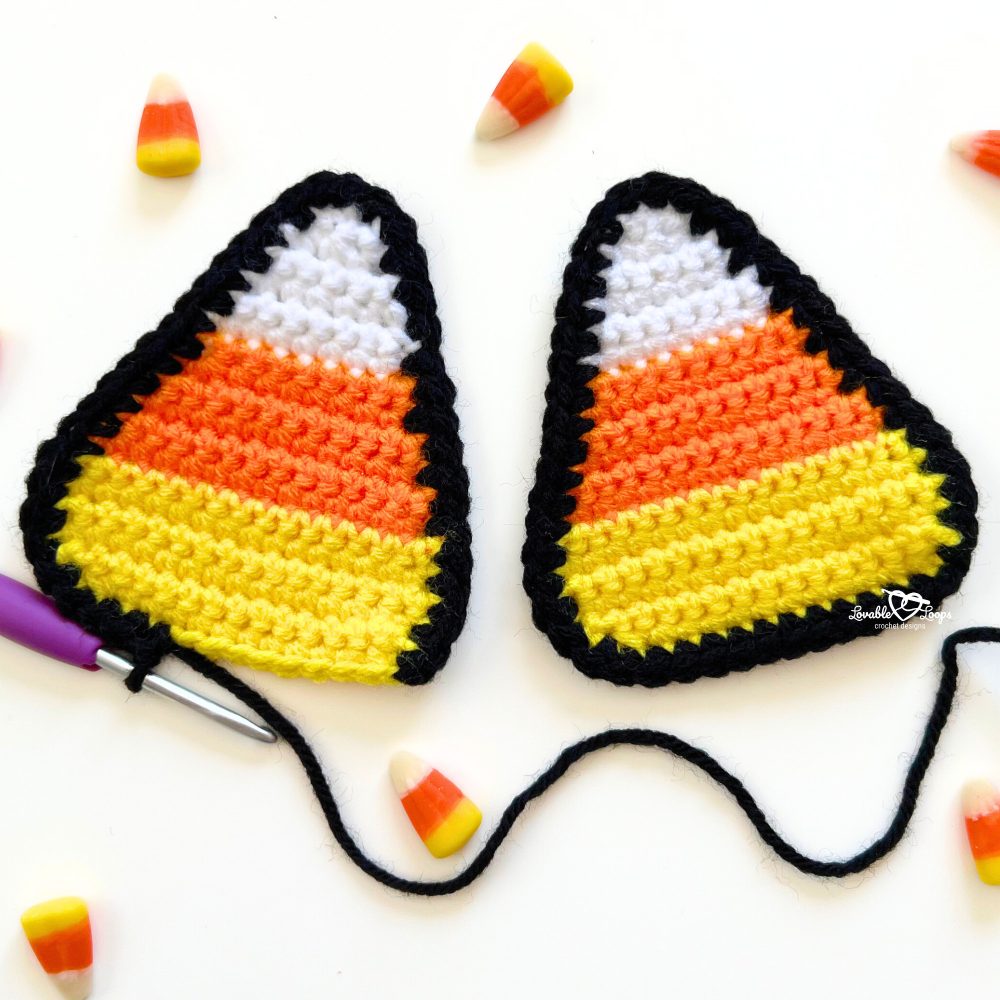
More free crochet applique patterns
Looking for more small crochet projects? Browse my full collection of free crochet applique patterns for cute designs you can add to hats, blankets, bags, garlands, and more.


Let’s connect!
I’d love to see what you’re making! Share your finished project and follow along for more free crochet patterns and tutorials.
📌 Don’t forget to pin this pattern for later!
Happy crocheting! 🧶
— Melissa