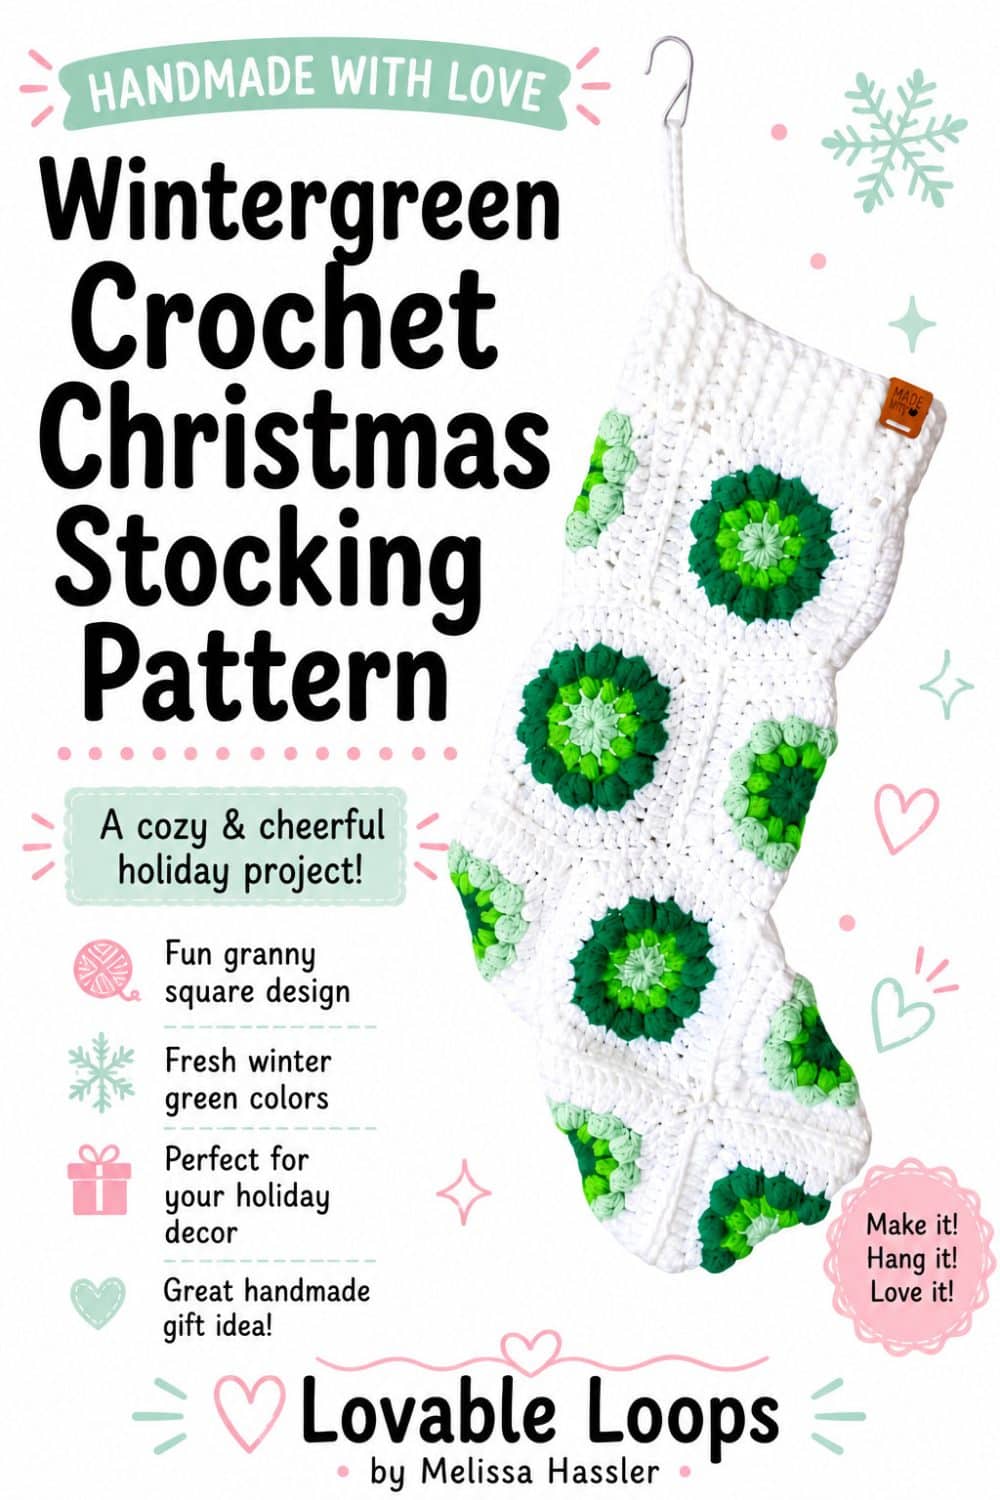

Green granny square Christmas stocking pattern
Add a festive pop of green to your mantel with this green granny square Christmas stocking pattern! Textured green and white squares give it a cozy, handmade look for holiday decorating.
Quick answer
This advanced beginner green granny square Christmas stocking pattern uses 12 textured granny squares, worsted weight (#4) yarn, and an I-9 (5.5 mm) crochet hook. The squares are assembled into a stocking with a heel, ribbed cuff, and hanging loop. The finished stocking measures approximately 20 inches (50.8 cm) long and 6.5 inches (16.5 cm) wide.
Green granny square Christmas stocking pattern details
Skill level
Advanced beginner — This pattern uses joined rounds, puff stitches, bobble stitches, front post and back post double crochet stitches, color changes, and granny square assembly.
Materials needed
- I-9 (5.5 mm) crochet hook
- Worsted weight yarn (#4) in white, light green, medium green, and dark green
- Yarn needle
- Scissors
Finished size
The finished stocking measures approximately 20 inches (50.8 cm) long and 6.5 inches (16.5 cm) wide.
Each granny square measures approximately 4.5 × 4.5 inches (11.4 × 11.4 cm).
Gauge
Gauge is not critical for this pattern, but all 12 granny squares should measure approximately the same size so their edges align when joining.
Crochet abbreviations
- dc = double crochet
- sc = single crochet stitch
- ps = puff stitch
- bo = bobble stitch
- FPdc = front post double crochet
- BPdc = back post double crochet
- ch/chs = chain stitch/chains
- ch-sp = chain space
- st/sts = stitch/stitches
- sl st = slip stitch
- YO = yarn over
Pattern notes
- Make 12 granny squares total: 6 starting with light green yarn and 6 starting with dark green yarn.
- The squares are worked in joined rounds.
- Beginning ch 2 and ch 3 do not count as stitches.
- Join each round with a sl st to the first stitch.
- Work the first stitch of each round in the same stitch or space as the join, unless otherwise directed.
- When changing colors, use the new yarn color to make the joining slip stitch.
- Bobble stitches naturally pop toward the wrong side. Push them through so they sit on the right side.
- The pattern is written in US crochet terms.
Special stitches
Puff stitch (ps):
- YO, insert hook in next stitch & pull up a loop (3 loops on hook)
- YO, insert hook in same stitch and pull up a loop (5 loops on hook)
- YO, insert hook in same stitch and pull up a loop (7 loops on hook)
- YO and pull through all 7 loops.
Bobble stitch (bo):
- YO, insert hook in next stitch, YO, pull up a loop, YO pull through 2 loops (2 loops on hook)
- YO, insert hook in same stitch, YO, pull up a loop, YO, pull through 2 loops (3 loops on hook)
- YO, insert hook in same stitch, YO, pull up a loop, YO, pull through 2 loops (4 loops on hook)
- YO, insert hook in same stitch, YO, pull up a loop, YO, pull through 2 loops (5 loops on hook)
- YO, insert hook in same stitch, YO, pull up a loop, YO, pull through 2 loops (6 loops on hook)
- YO and pull through all 6 loops.
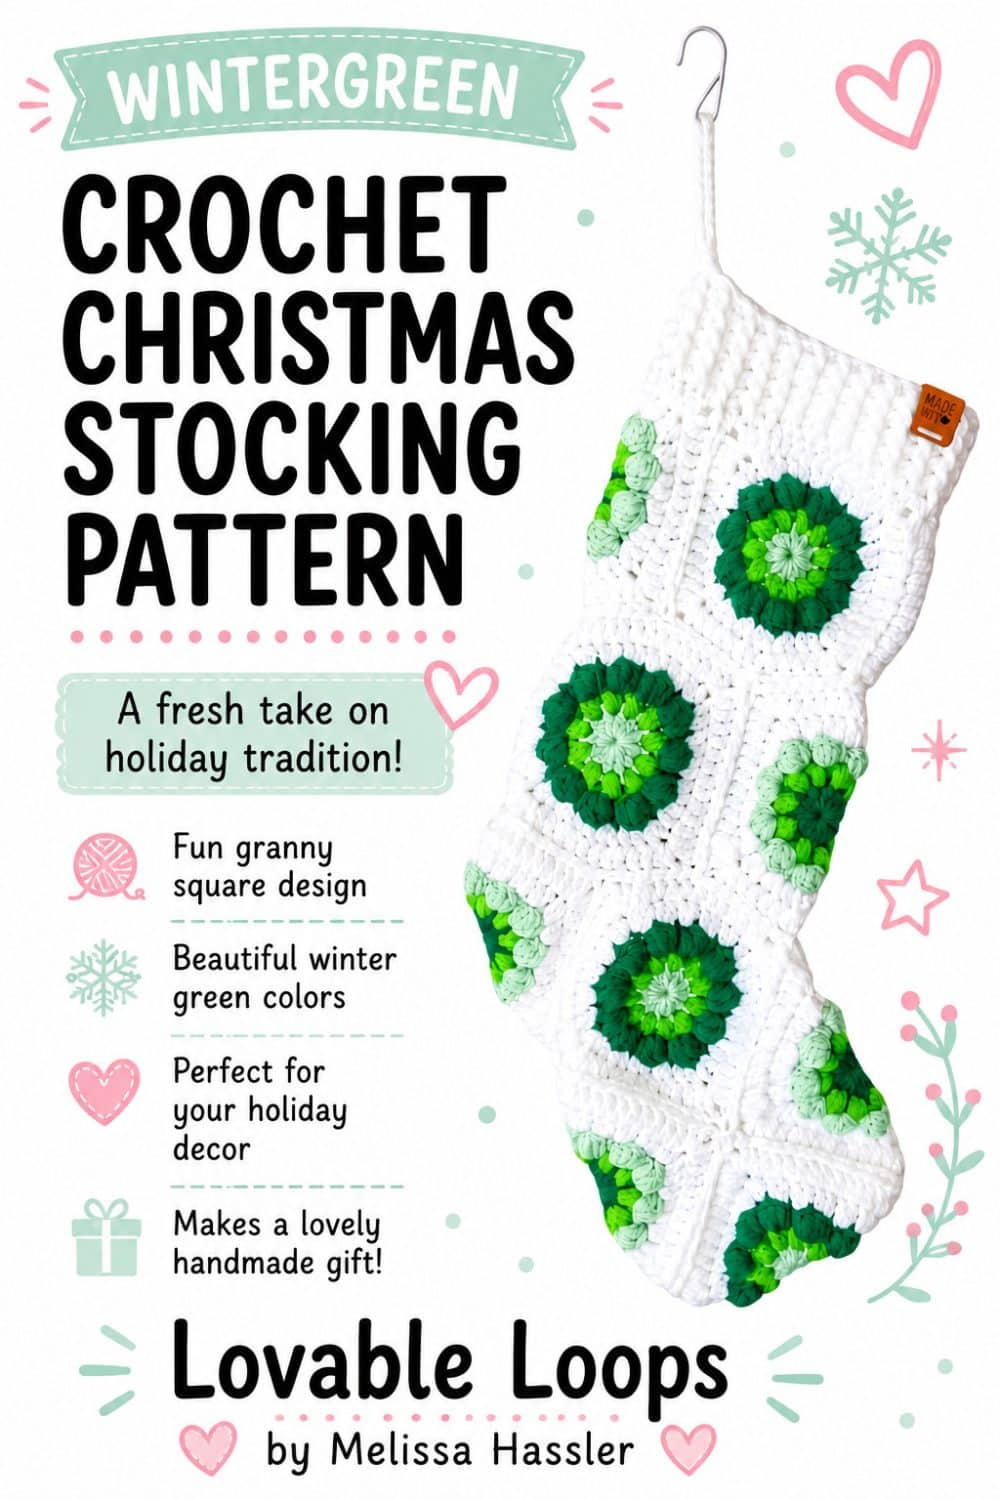
Green granny square Christmas stocking pattern instructions
Round 1: (light/dark green) magic circle, make 11 dc, join (11 stitches)
Round 2: With medium green yarn, ch 2, *ps in next st, ch 1; repeat from * around. Join with a sl st to the first ps. (11 ps and 11 ch-1 spaces)
Round 3: With dark green yarn for the light green squares, or light green yarn for the dark green squares, ch 2, *bo in next ps, sc in next ch-1 sp; repeat from * around. Join. (11 bo, 11 sc; 22 sts)
Round 4: With white yarn, ch 2, 2 dc in each st, join (44 dc)
Round 5: With white yarn, ch 2, *work (2 dc, ch 2, 2 dc) in next st, dc in each of the next 10 sts; repeat from * around. Join and fasten off. (56 dc and 4 ch-2 corner spaces)
Joining the granny squares

Arrange 11 granny squares as shown in the assembly diagram. Set the 12th square aside for the heel.
Using white yarn and a yarn needle, sew together the edges of the squares that touch in the flat layout, leaving the heel opening marked in the diagram.
Next, fold the joined squares along the pink dotted lines and sew the remaining edges together to form the stocking, leaving the heel opening unsewn.
Add the heel
Position the remaining granny square in the heel opening. Align its edges with the surrounding squares and sew them together securely using white yarn and a yarn needle.
Make sure the heel is completely attached and the top of the stocking remains open for the cuff.
Add the cuff
The photos below are from my Boho crochet Christmas stocking pattern, which uses the same heel and ribbed-cuff construction.

Use white yarn.
Join yarn at the top edge of the stocking. You will crochet around the top edges of 3 granny squares. Each square has 14 dc and 2 corner spaces, giving a total of 48 stitches (16 stitches per square × 3 squares).
Round 1: Ch 3, dc in each st and each corner ch-2 sp around. Join with a sl st to the first dc. (48 dc)
Round 2: Ch 3, *FPdc around next st, BPdc around next st; repeat from * around. Join. (48 sts)
Rounds 3–5: Repeat Round 2. (48 sts)
Add the hanging loop
Use white yarn.
At the back of the cuff, join yarn in the first of 3 adjacent stitches where you want the hanging loop.
Row 1: Ch 1, sc in the same st as the join and in each of the next 2 sts. Turn. (3 sts)
Rows 2–15: Ch 1, sc in each st across. Turn. (3 sts)
Fasten off, leaving a long tail for sewing. Fold the strip over to form a loop and sew the free end securely to the inside of the cuff.
Finishing
Weave in all of the yarn tails.
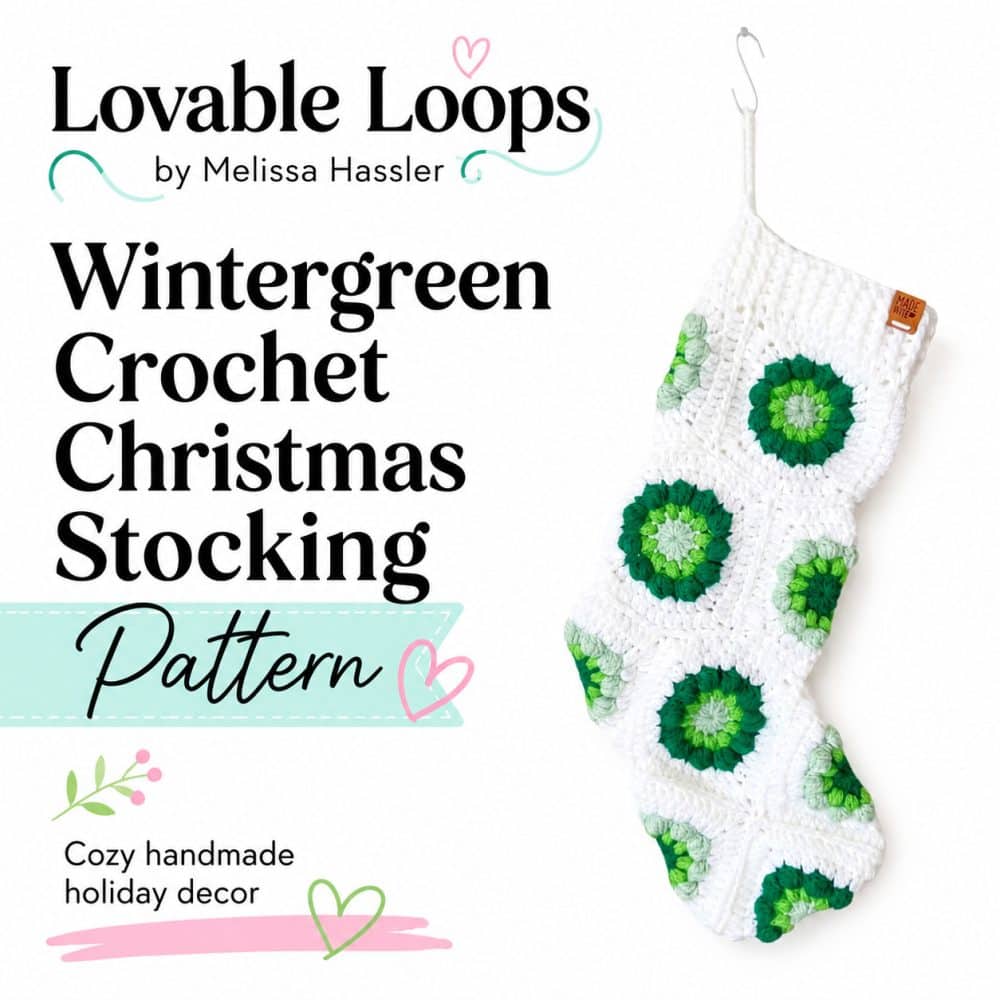
More crochet Christmas stocking patterns
Looking for another festive design? Try my granny square Christmas stocking, boho crochet Christmas stocking, or granny hexagon Christmas stocking for more handmade holiday projects.
You can also browse my Christmas crochet decor patterns for more festive inspiration.
Let’s connect!
I’d love to see what you’re making! Share your finished project and follow along for more free crochet patterns and tutorials.
📌 Don’t forget to pin this pattern for later!
Happy crocheting! 🧶
— Melissa