
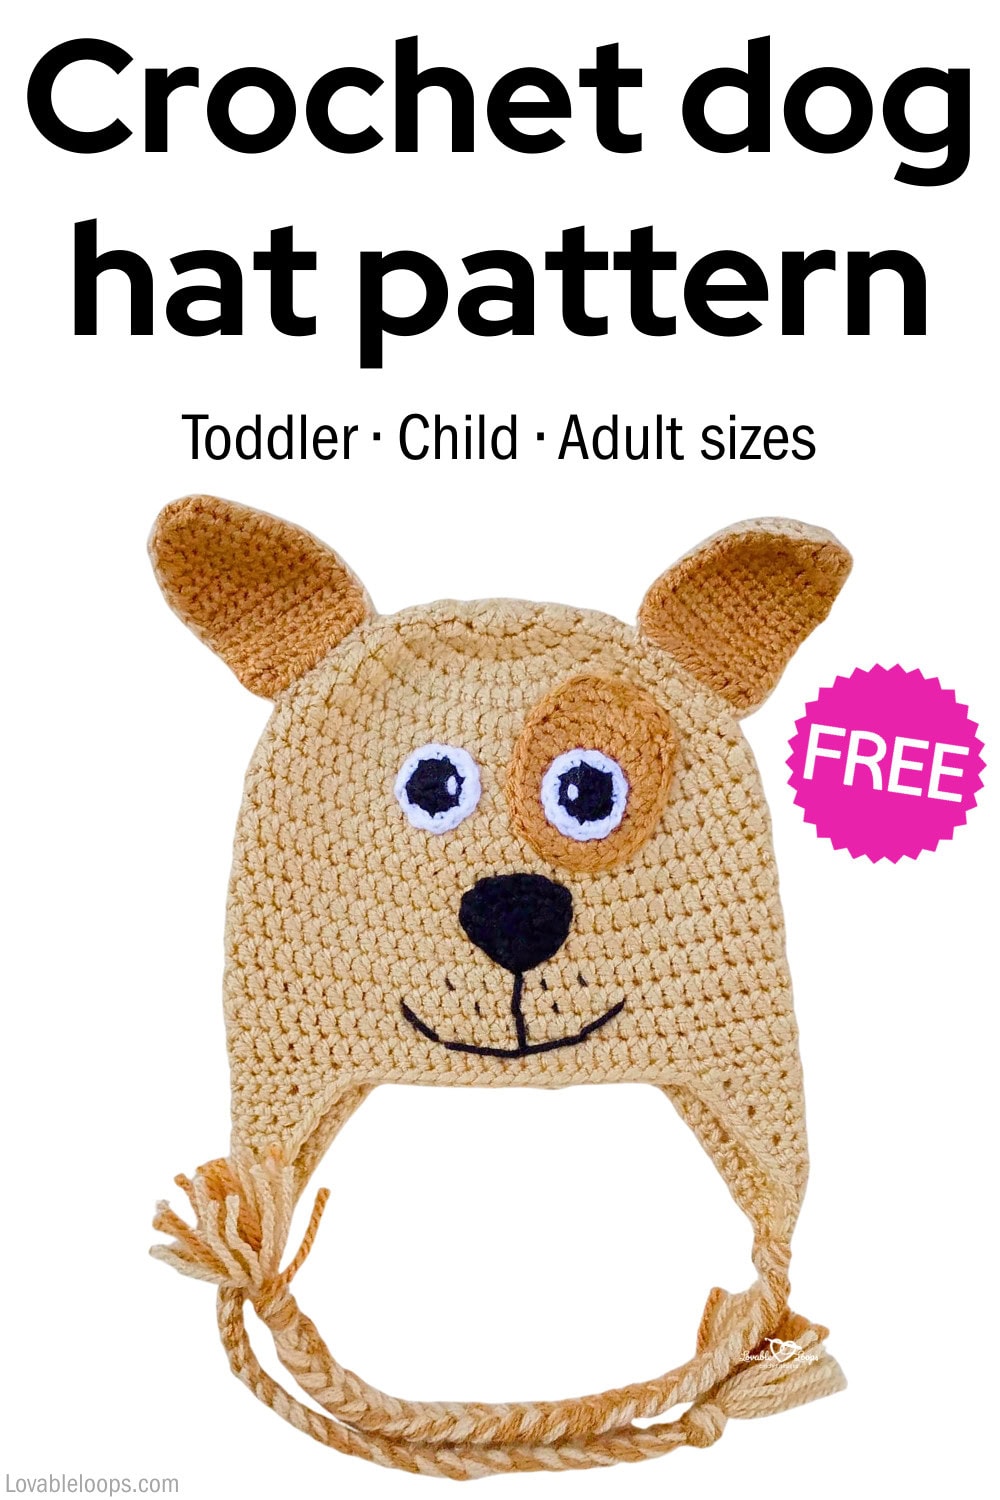
Crochet dog hat pattern (earflaps and braids)
Want a cozy hat that’s cute and totally giftable? This crochet dog hat pattern includes warm earflaps, fun braids, and an adorable dog face—perfect for dog lovers, themed photos, and winter outings.
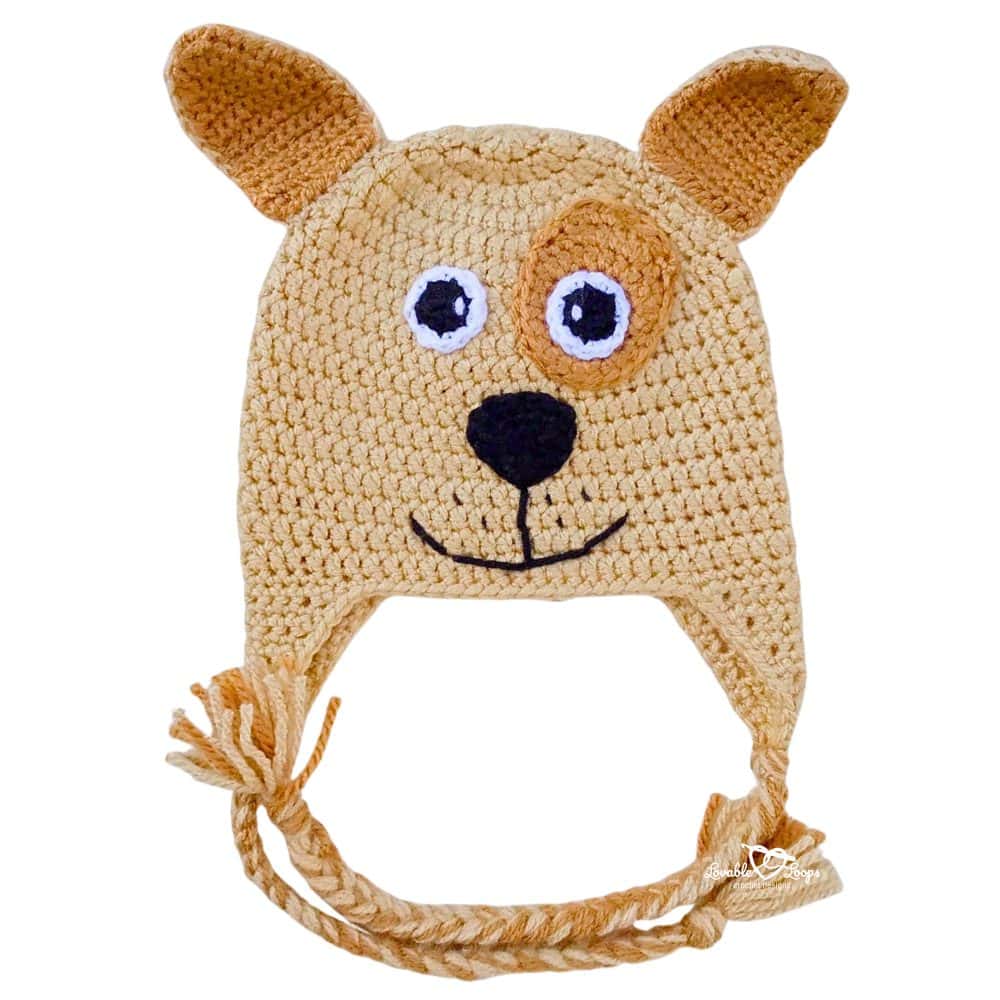
The hat is worked top down in the round using worsted weight yarn, then you’ll add the earflaps and stitch on the face pieces. Scroll down for the free pattern and sizing.
Looking for more cute designs? Explore my full collection of crochet animal hat patterns.
Quick answer
This hat is crocheted top down in the round with worsted weight yarn and an I-9 (5.5 mm) hook. After the main hat is finished, you’ll add earflaps with braids, then sew on the ears, eyes, and nose to create the dog face.
Why you’ll love this pattern
- So cute for photos — the dog face details make it extra memorable
- Warm and practical — earflaps + braids help keep ears cozy
- Great for gifting — perfect for dog lovers and winter birthdays
- Easy stitches, fun finish — simple rounds, then playful add-ons
Who this pattern is best for
This crochet dog hat pattern is a great pick if you want a hat that’s cute, warm, and fun to gift. It’s especially perfect for:
- Dog lovers who want a playful winter hat
- Toddlers, kids, and adults who like earflaps and braided ties
- Holiday photos, puppy-themed parties, school spirit days, and costume events
- Crocheters who enjoy simple stitches with a fun “character” finish
How this crochet hat is made
- Hat body (top down) — worked in the round from the crown to the brim using double crochet rounds.
- Earflaps — made in rows with single crochet and simple decreases, then single crochet around the full edge.
- Braids — added to the bottom of each earflap using strand bundles.
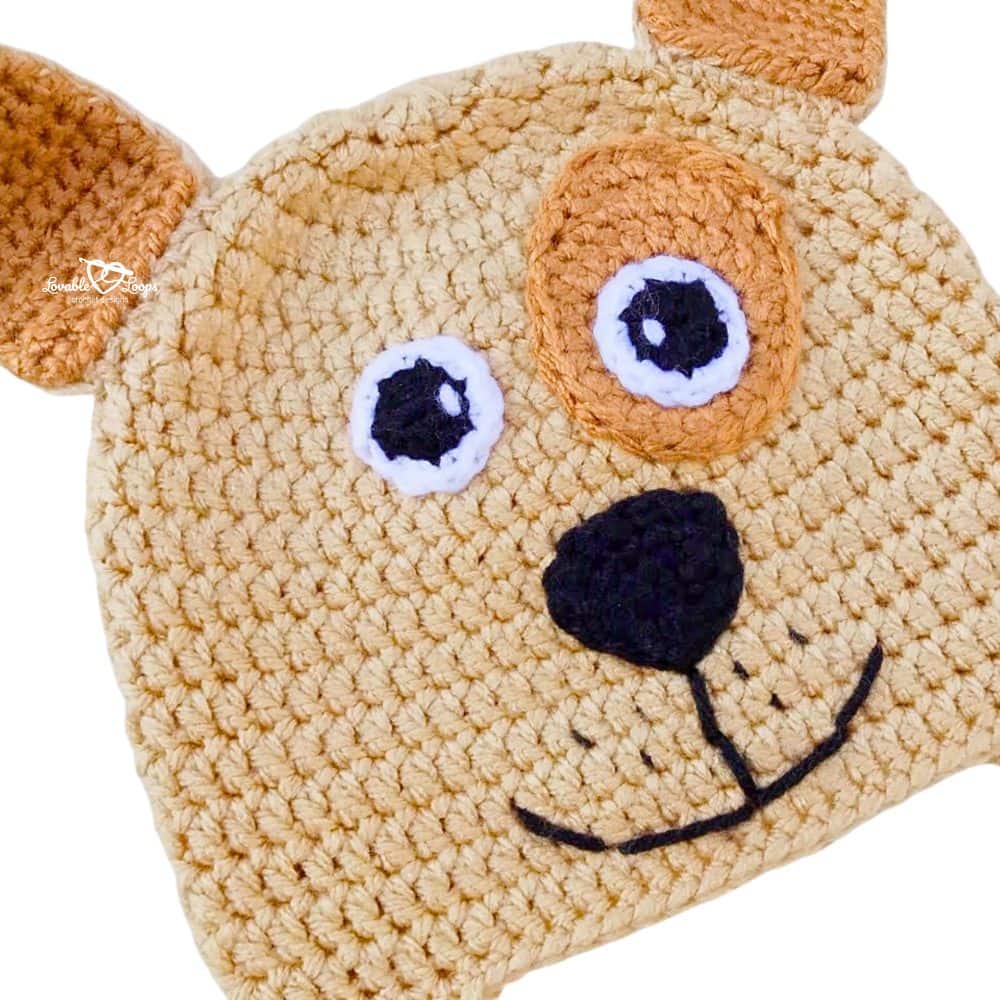
- Dog face parts — ears, eye patch, eyes, and nose are crocheted separately and sewn on with a yarn needle.
- Finishing — stitch the smile and whisker spots, then weave in ends.
Crochet dog hat pattern details
Before you jump into the pattern, take a quick peek at the details below. You’ll find the skill level, materials and tools, gauge, notes, and the toddler, child, and adult sizing info so you can choose the right fit and gather everything you need.
Skill level
Advanced beginner — Uses basic stitches in the round plus simple decreases, edge single crochet, and sewing on appliqués.
Materials needed
- I-9 (5.5 mm) crochet hook — for the hat
- H-8 (5 mm) crochet hook — for the ears, eyes, and nose
- Worsted weight yarn (#4) — in brown, dark brown, black, and white
- Yarn needle — for sewing pieces and weaving in ends neatly
- Scissors — to cut yarn and fasten off
- Stitch markers (optional) — helpful for keeping track of rounds and stitch counts
Finished size
This crochet dog hat pattern includes three sizes.
- Toddler — 18–19 inches (46–48 cm) head circumference, 6.75 inches (17 cm) tall
- Child — 19–20 inches (48–51 cm) head circumference, 7 inches (18 cm) tall
- Adult — 20–23 inches (51–58 cm) head circumference, 7.75 inches (20 cm) tall
How to adjust the fit of this crochet hat
A few small tweaks can make a big difference.
- To adjust the width — The crown rounds control the hat width. For a slightly larger hat, add one extra increase round. For a slightly smaller hat, stop increasing one round earlier.
- To adjust the height — Add or remove rounds in the straight section before you start the earflaps.
- To fine-tune the fit — Changing hook size is the quickest fix (smaller hook = snugger fit, larger hook = looser fit).
- Need help picking the right size? Use my crochet hat size guide to match head circumference to the best size before you start.
Gauge
15 stitches and 9 rounds = 4 inches (10 cm)
Crochet abbreviations
- dc = double crochet
- hdc = half double crochet
- sc = single crochet
- sc2tog = single crochet decrease
- hdc2tog = half double crochet decrease
- ch/chs = chain/chains
- st/sts = stitch/stitches
- sl st = slip stitch
- rnd/rnds = round/rounds
- rem = remaining
Pattern notes
- Rounds 1–8 are the same for all sizes.
- The chain at the beginning of each round does not count as your first stitch.
- Join each round with a slip stitch to the first stitch made in that round.
- Repeat instructions between the asterisks (*) for the rest of the round.
- You are crocheting in the round from the top of the hat down.
- The pattern is written in US crochet terms.
Quick links
Rounds 1–8
Toddler size
Child size
Adult size
Adding the earflaps
Adding the braids
Dog ears
Eye patch
Dog eyes
Dog nose
Smile and whiskers
Finishing
Crochet dog hat pattern instructions
Rounds 1–8 are the same for all three sizes.
Rounds 1–8
Round 1: Magic circle, ch 2, 11 dc, join (11 stitches)
Round 2: Ch 2, 2 dc in each st, join (22 stitches)
Round 3: Ch 2, *2 dc, dc in next st*, join (33 stitches)
Round 4: Ch 2, *2 dc, dc in next 2 sts*, join (44 stitches)
Round 5: Ch 2, *2 dc, dc in next 10 sts*, join (48 stitches)
Round 6: Ch 2, *2 dc, dc in next 11 sts*, join (52 stitches)
Round 7: Ch 2, *2 dc, dc in next 12 sts*, join (56 stitches)
Round 8: Ch 2, *2 dc, dc in next 13 sts*, join (60 stitches)
Toddler size
Round 9: Ch 2, dc in each st, join (60 stitches)
Rounds 10–18: Repeat round 9 (60 stitches)
Child size
Round 9: Ch 2, *2 dc, dc in next 14 sts*, join (64 stitches)
Round 10: Ch 2, dc in each st, join (64 stitches)
Rounds 11–19: Repeat round 10 (64 stitches)
Adult size
Round 9: Ch 2, *2 dc, dc in next 14 sts*, join (64 stitches)
Round 10: Ch 2, *2 dc, dc in next 15 sts*, join (68 stitches)
Round 11: Ch 2, dc in each st, join (68 stitches)
Rounds 12–21: Repeat round 11 (68 stitches)
Adding the earflaps
Start the first earflap where you ended the last round of the hat. Use the stitch counts below to leave space between the earflaps.
Toddler — leave 18 stitches in the front and 14 stitches in the back.
Child — leave 20 stitches in the front and 16 stitches in the back.
Adult — leave 22 stitches in the front and 18 stitches in the back.
Row 1: Ch 1, sc in 14, turn (14 stitches)
Row 2: Ch 1, sc2tog, sc in 10 sts, sc2tog, turn (12 stitches)
Row 3: Ch 1, sc in each st, turn (12 stitches)
Row 4: Ch 1, sc2tog, sc in 8 sts, sc2tog, turn (10 stitches)
Row 5: Ch 1, sc in each st, turn (10 stitches)
Row 6: Ch 1, sc2tog, sc in 6 sts, sc2tog, turn (8 stitches)
Row 7: Ch 1, sc in each st, turn (8 stitches)
Row 8: Ch 1, sc2tog, sc in 4 sts, sc2tog, turn (6 stitches)
Row 9: Ch 1, sc in each st, turn (6 stitches)
Row 10: Ch 1, sc2tog, sc in 2 sts, sc2tog, turn (4 stitches)
Row 11: Ch 1, sc in each st, turn (4 stitches)
Row 12: Ch 1, sc2tog, sc2tog, turn (2 stitches)
Row 13: sc2tog (1 stitch)
Adding the braids
Cut fifteen 30-inch (76 cm) strands of yarn for each braid.
- Fold the strands in half and pass the folded loop through the bottom of the earflap.
- Pass the strand ends through the loop and pull tight to form a knot.
- Divide into three sections and braid.
Dog ears
Make 2 outer ears in brown and 2 inner ears in light brown.
Row 1: Ch 10, hdc in 3rd ch from the hook and each rem ch, turn (8 stitches)
Rows 2-6: Ch 2, hdc in each st, turn (8 stitches)
Row 7: Ch 2, hdc2tog, hdc in 4 sts, hdc2tog (6 stitches)
Row 8: Ch 2, hdc2tog, hdc in 2 sts, hdc2tog (4 stitches)
Row 9: Ch 2, hdc2tog, hdc2tog (2 stitches)
Row 10: Ch 2, hdc2tog and continue to sc around each ear.
Use a yarn needle to sew the inner and outer ears together through the single crochet borders. Work through the back loops of the inner ear and the front loops of the outer ear. Then, sew the ears onto the hat.
Eye patch
Round 1: Magic circle, ch 2, 9 hdc, join (9 stitches)
Round 2: Ch 2, 2 hdc in each st, join (18 stitches)
Round 3: Ch 2, *2 hdc, hdc in next st*, join (27 stitches)
Round 4: (do not chain) sc, hdc, dc, tc in next 3 sts, dc, hdc, loosely sc in rem 19 sts, join (27 stitches)
Fasten off and sew to the hat.
Dog eyes
Start with black yarn
Round 1: Magic circle, ch 2, 9 hdc, join (9 stitches)
Switch to white yarn
Round 2: Ch 1, 2 sc in each st, join (18 stitches)
Use white yarn to add a “twinkle” to each eye.
Pin the eyes in place before sewing so you can check spacing and make sure the face looks centered. Then, sew the eyes to the hat.
Dog nose
Row 1: Ch 6, sc in 2nd ch from the hook and each rem ch, turn (5 stitches)
Row 2: Ch 1, sc in each st, turn (5 stitches)
Row 3: Ch 1, sc2tog, sc in next st, sc2tog, turn (3 stitches)
Row 4: Ch 1, sc in each st, turn (3 stitches)
Row 5: Ch 1, sc3tog and continue to sc around the nose.
Sew the nose to the hat.
Smile and whiskers
Use black yarn to stitch a smile and whisker spots on the hat.
Finishing the hat
Fasten off and then weave in the ends.
Frequently asked questions
Can I use a different yarn weight?
Yes, but the size will change. If you switch yarn weight, make a quick gauge swatch and measure as you go so the hat matches your target head circumference.
Do I have to use a magic circle?
No. You can use the alternative already in the post: chain 4, work 11 dc in the 4th chain from the hook, then join.
How do I keep the dog face centered?
Place the eye patch and nose first, then add the eyes. Pin pieces before sewing so you can step back and check spacing.
Can I sell finished hats made from this pattern?
Add a short permission note if you allow finished-item sales. If you don’t, add a clear “personal use only” note.
What’s the best way to wash the finished hat?
Follow your yarn label. In general, gentle cycle or hand wash and lay flat to dry helps keep the face pieces looking neat.
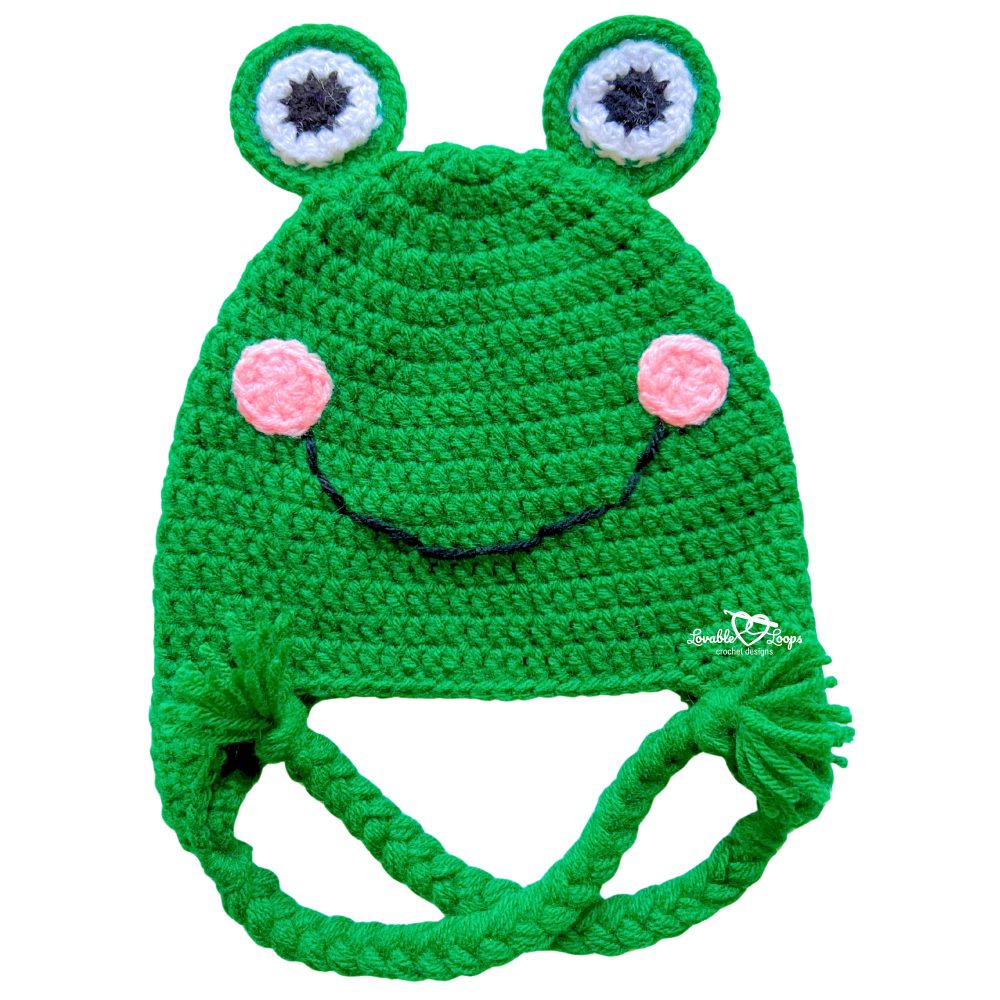
More free crochet animal hat patterns
Want more cute critter hats? Explore my crochet animal hat patterns gallery below for fun, themed designs with playful details like ears, braids, and character faces. Click any photo to visit the full free pattern and find your next animal-inspired hat to make for gifts, dress-up days, or winter wear.


More free crochet hat patterns
Looking for more hats to make next? Browse my free crochet hat patterns gallery below for cozy beanies, fun themed hats, and beginner-friendly designs in a range of sizes. Click any photo to jump straight to the full pattern, save your favorites, and build your handmade hat library one project at a time.


Let’s connect!
I’d love to see what you’re making! Share your finished project and follow along for more free crochet patterns and tutorials.
📌 Don’t forget to pin this pattern for later!
Happy crocheting! 🧶
— Melissa