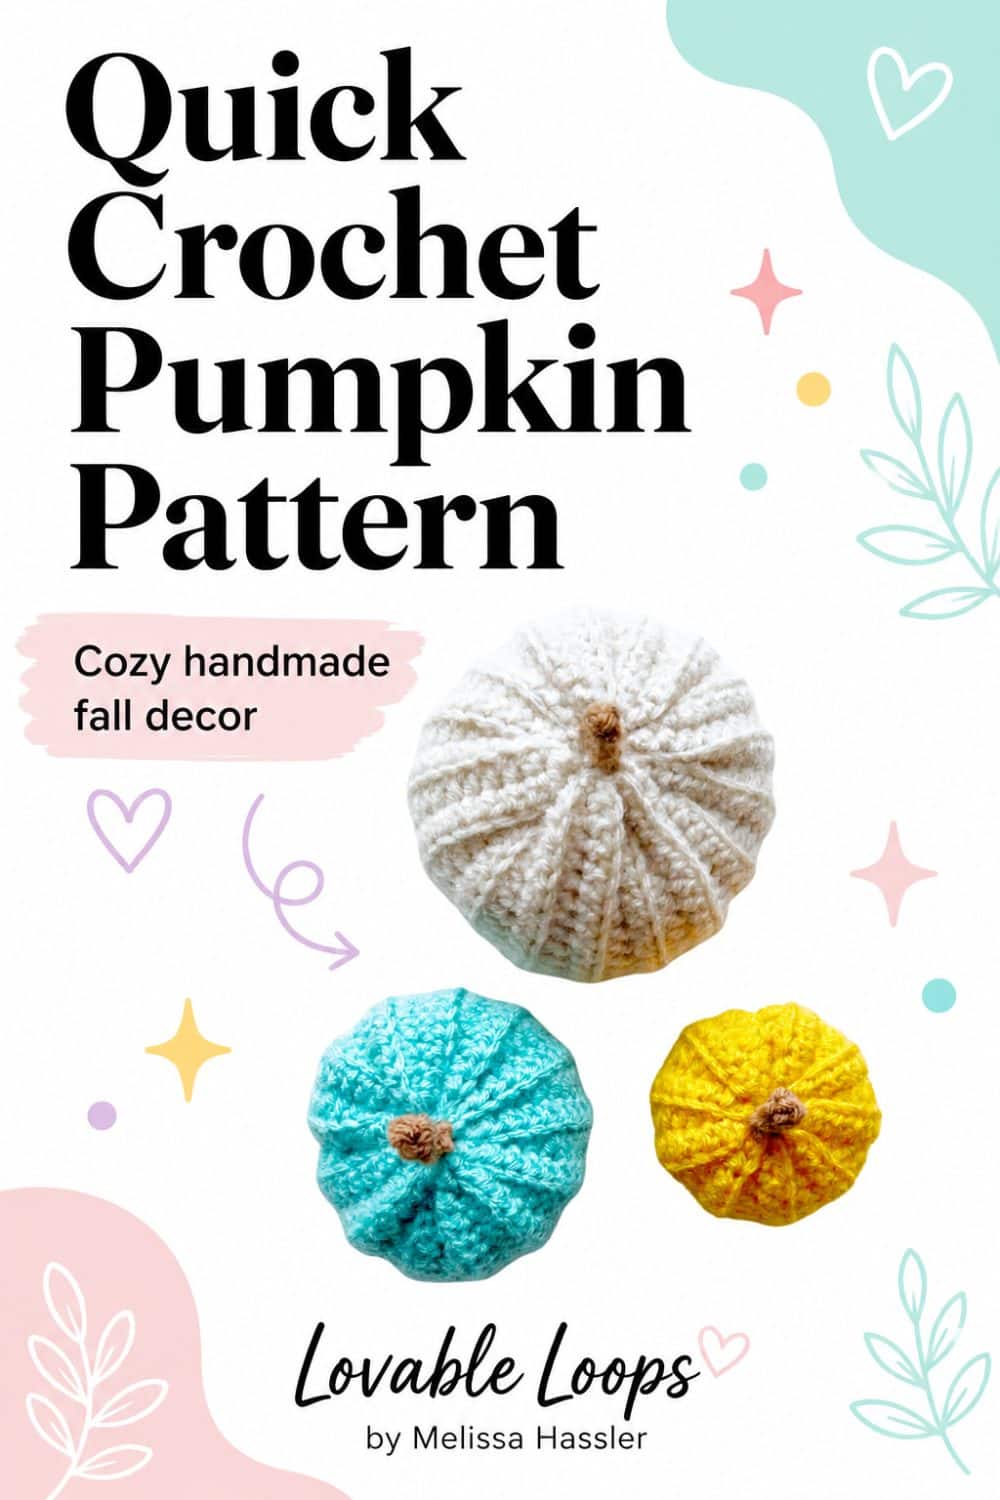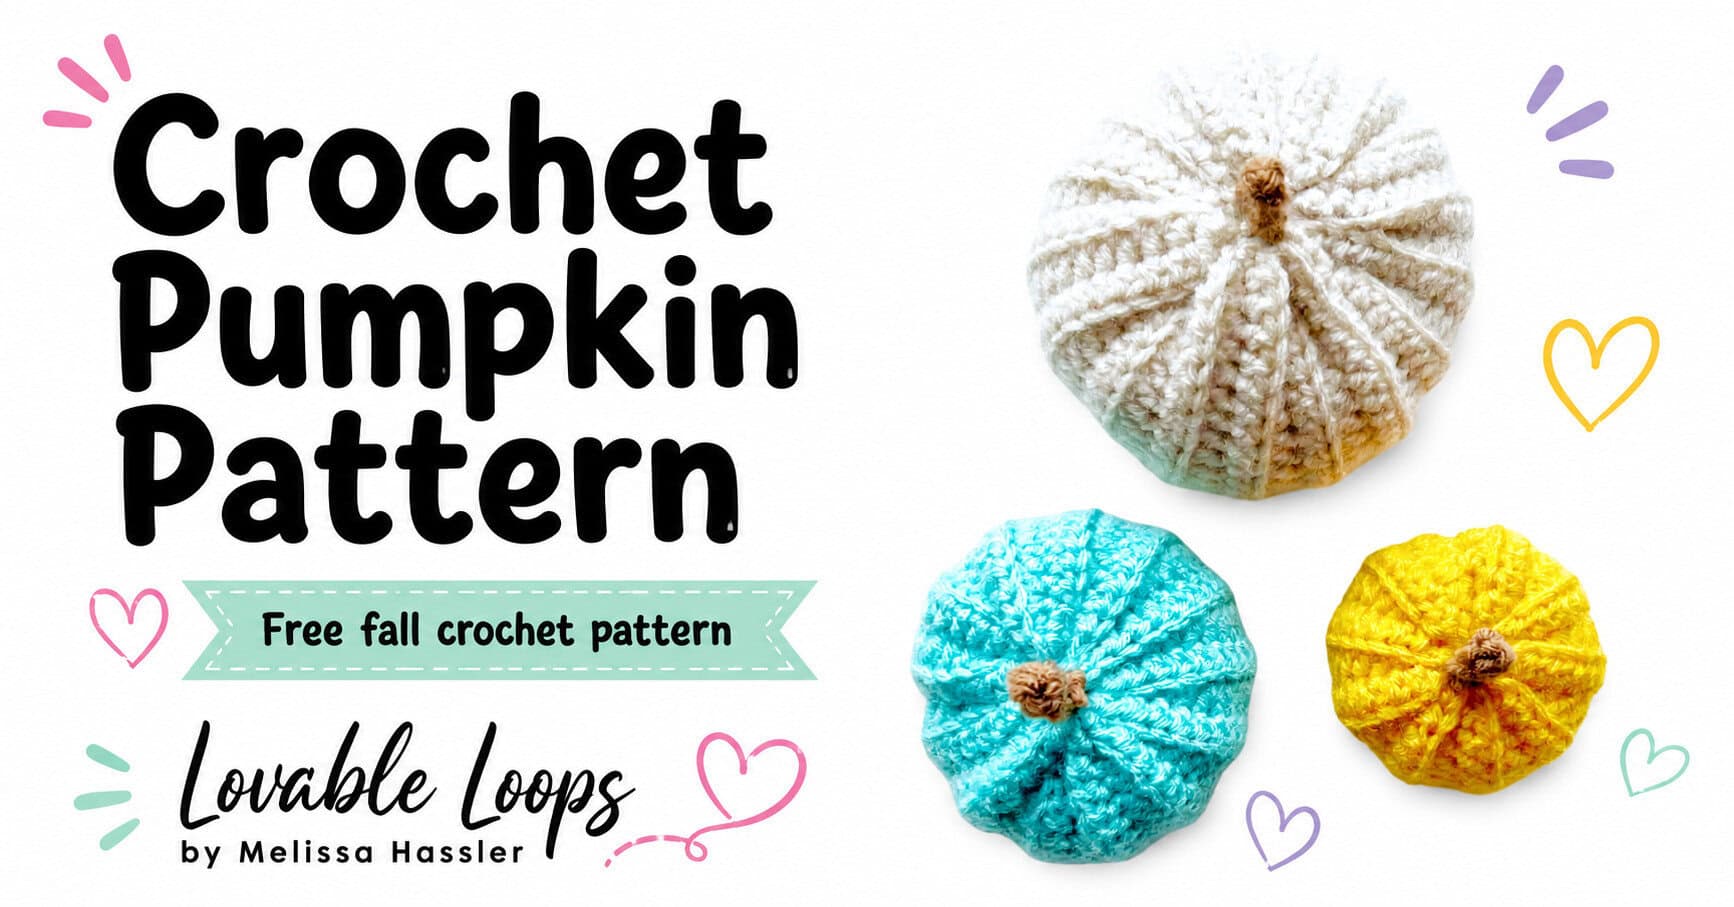
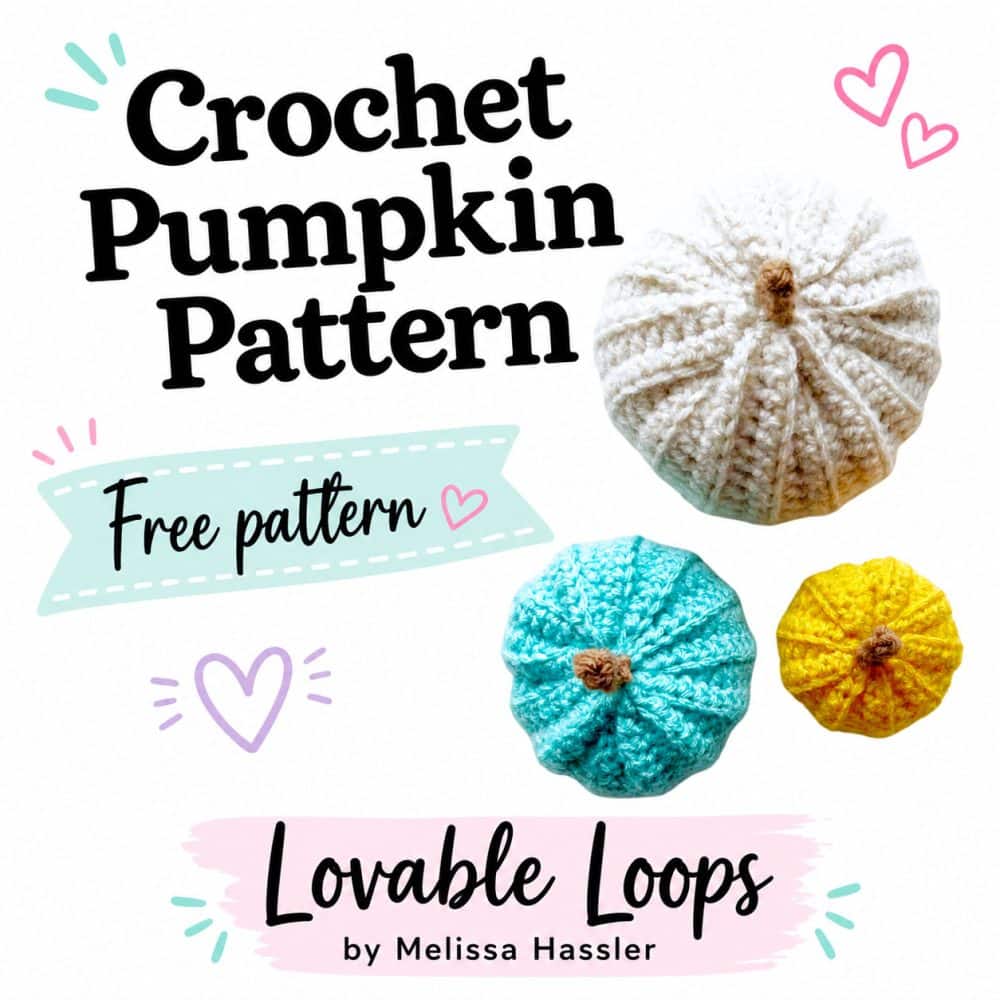
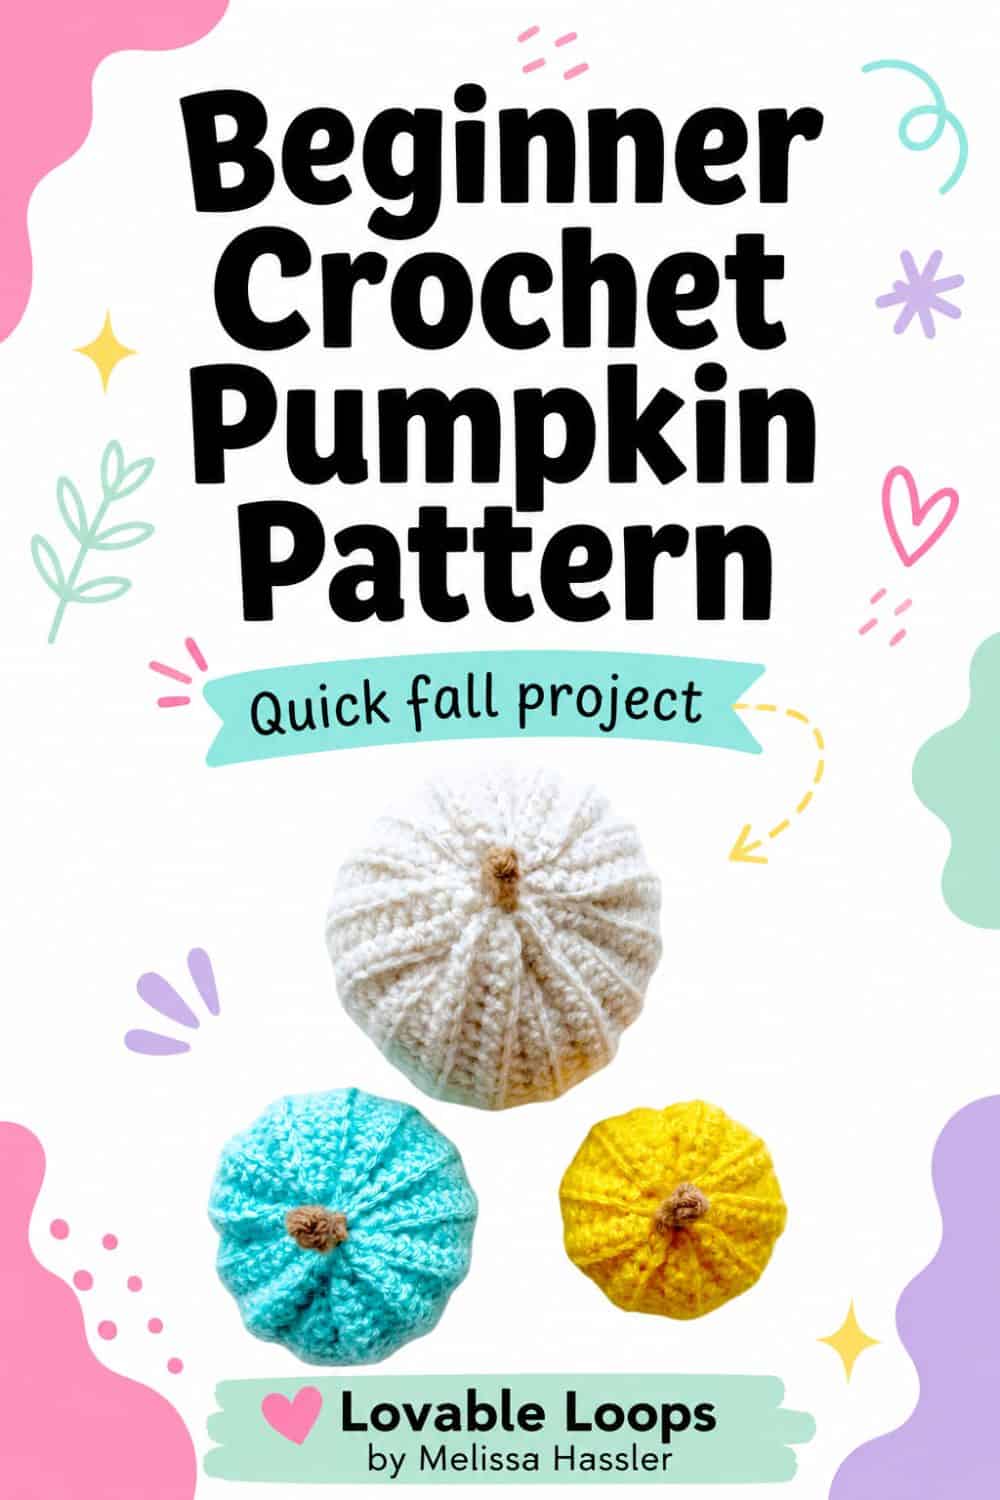
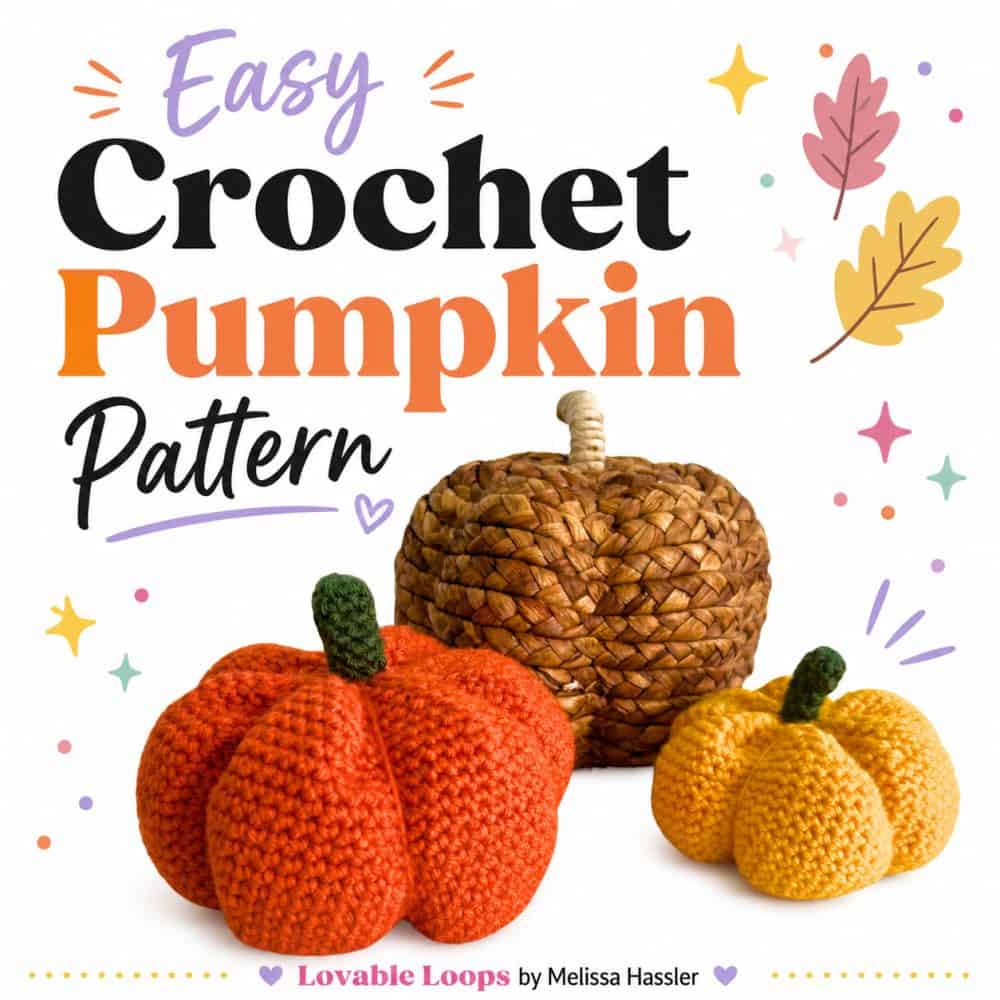
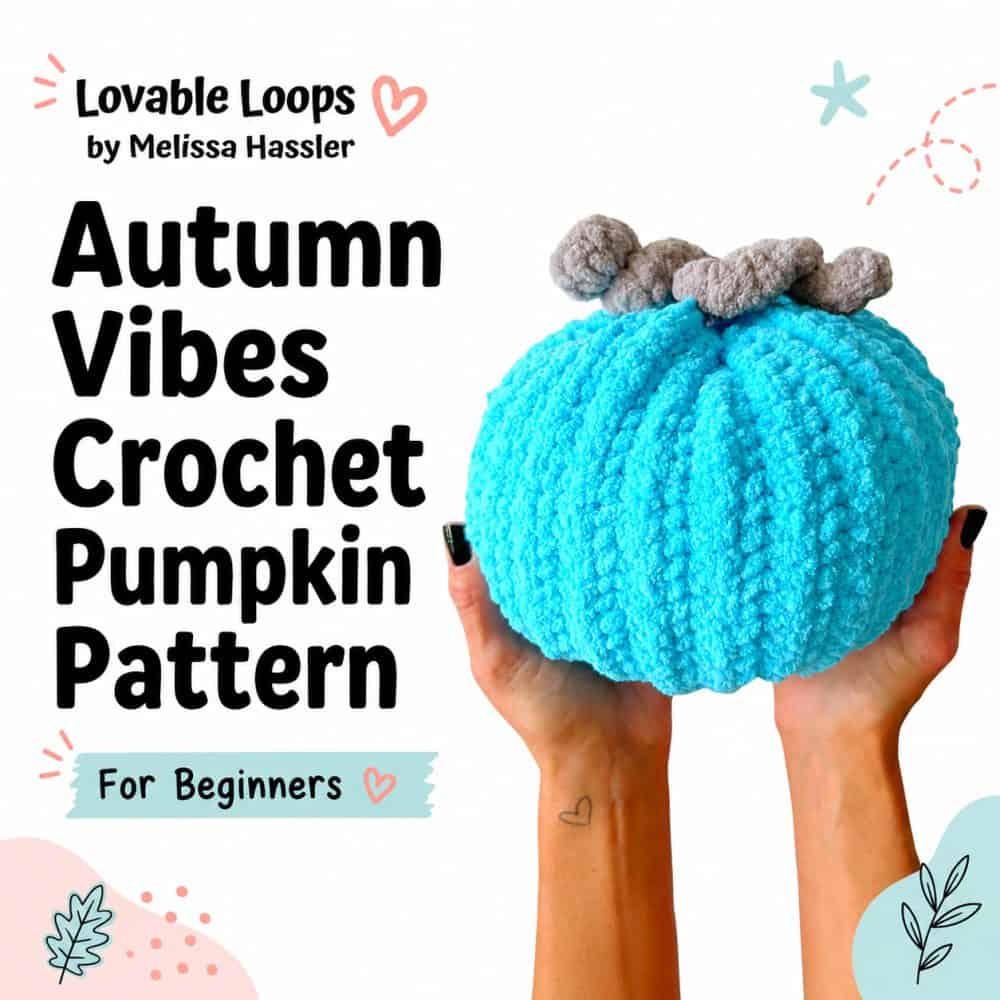
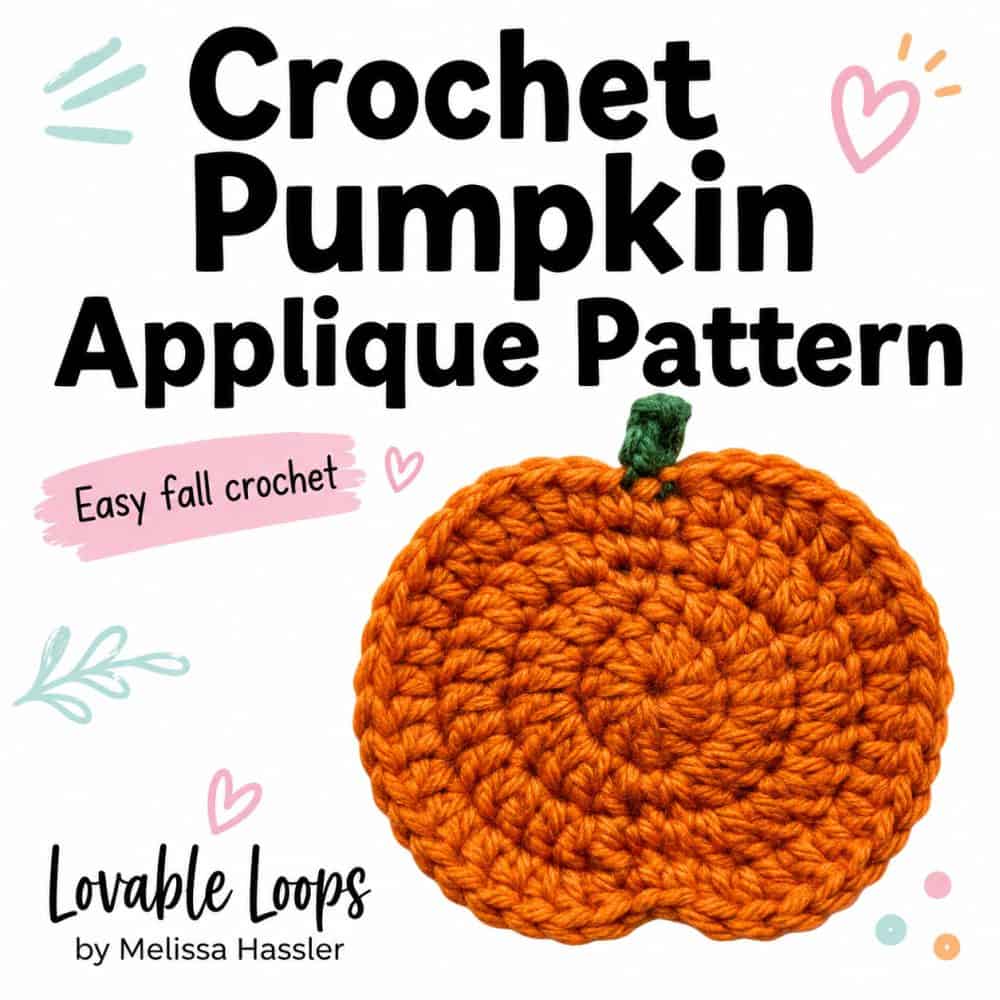
Crochet pumpkin pattern for beginners
This cute crochet pumpkin pattern is a quick and cozy project for fall. Make a few in your favorite colors and use them for shelves, mantels, tiered trays, table decor, or handmade gifts. It is a simple seasonal pattern that adds a sweet handmade touch to your autumn decorating.
Crochet pumpkin pattern for beginners details
Here’s a quick overview of the materials, sizing, gauge, and pattern notes before you begin.
Skill level
Beginner. This free crochet pumpkin pattern uses basic crochet stitches in a basic stitch pattern.
Materials needed
- Crochet hook size: G-6 4 mm
- Yarn: worsted weight yarn #4
- Yarn needle: Use this to weave in your ends.
- Scissors: Use scissors to fasten off your yarn.
- Stitch marker(s): These help to keep track of your stitches.
- Fiber fill: To stuff your pumpkins
Finished size
| Pumpkin Sizes | Flat Rectangle | Finished Pumpkin Size |
| Small Pumpkin | 2.5″ x 6.25″ | 2″ base, 2″ tall |
| Medium Pumpkin | 3.5″ x 8.75″ | 3″ base, 2.5″ tall |
| Large Pumpkin | 4.5″ x 11.25″ | 3.5″ base, 3″ tall |
Gauge
Just under 6 stitches = 1 inch and 3 rows = 1 inch
Crochet abbreviations
- hdc = half double crochet
- blo = back loop only
- ch/chs = chain/chains
- st/sts = stitch/stitches
- sl st = slip stitch
- rem = remaining
Pattern notes
- You will first crochet a flat rectangle and then sew the ends together.
- You are crocheting in the back loops only (blo).
- The beginning chain does not count as a stitch.
Free crochet pumpkin pattern
Follow the instructions below to make the small, medium, and large size pumpkins.
Small pumpkin
Row 1: Ch 16, hdc in 3rd ch from the hook, hdc in each rem ch, turn. (14 stitches)
Row 2: Ch 2, hdc blo in each st, turn. (14 stitches)
Rows 3-19: Repeat row 2.
Fasten off leaving a long tail for sewing.
Medium pumpkin
Row 1: Ch 20, hdc in 3rd ch from the hook, hdc in each rem ch, turn. (18 stitches)
Row 2: Ch 2, hdc blo in each st, turn. (18 stitches)
Rows 3-26: Repeat row 2.
Fasten off leaving a long tail for sewing.
Large pumpkin
Row 1: Ch 24, hdc in 3rd ch from the hook, hdc in each rem ch, turn. (22 stitches)
Row 2: Ch 2, hdc blo in each st, turn. (22 stitches)
Rows 3-34: Repeat row 2.
Fasten off leaving a long tail for sewing.
Pumpkin stem
Ch 6, sc in 2nd ch from the hook, sc in each rem ch. (5 stitches)
Assembly
- Sew the two ends of the rectangle together.
- Turn the tube inside out so that the seam is on the inside.
- Sew one end of the tube closed by weaving the yarn back and forth around the opening.
- Gently pull tight on the yarn to close the opening and fasten off.
- Stuff the pumpkin with fiber fill creating a pumpkin shape.
- Repeat steps 3 and 4 on the other end.
- Sew the stem to the top of the pumpkin.
Finishing
Weave in your ends.

PDF version
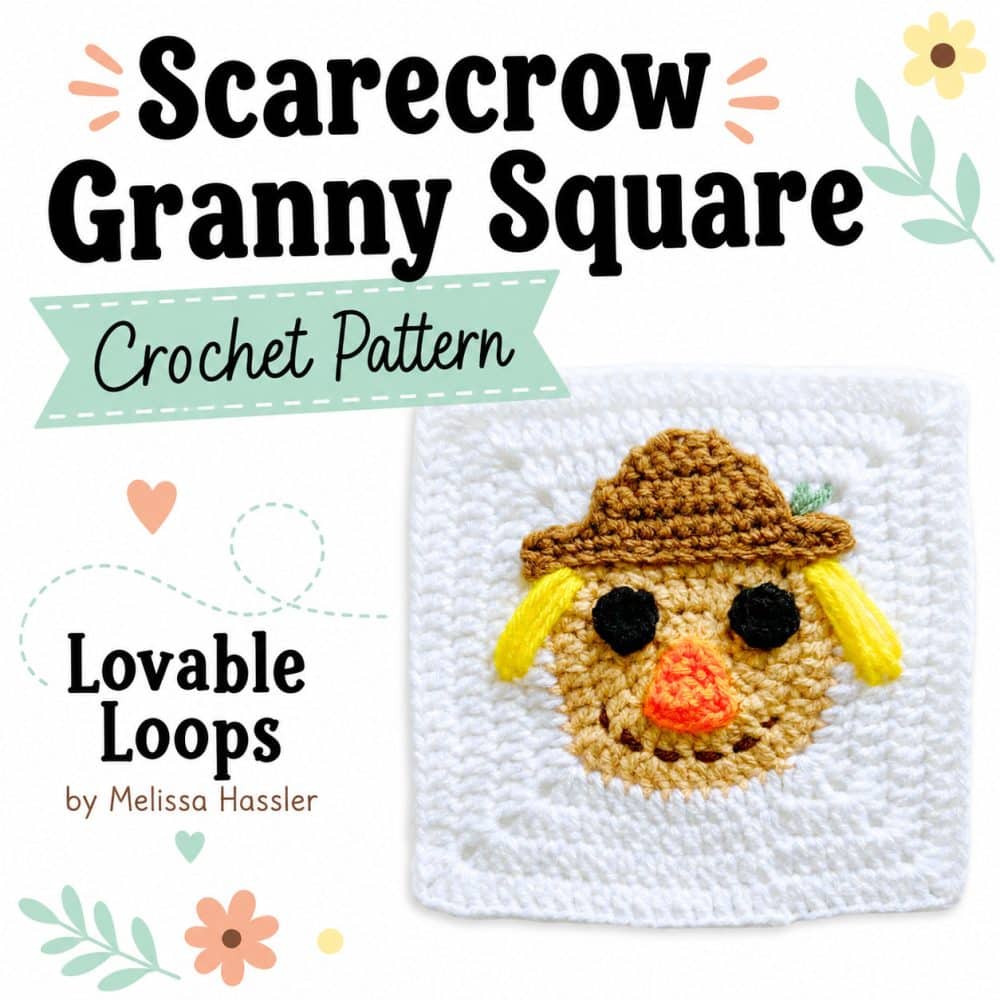
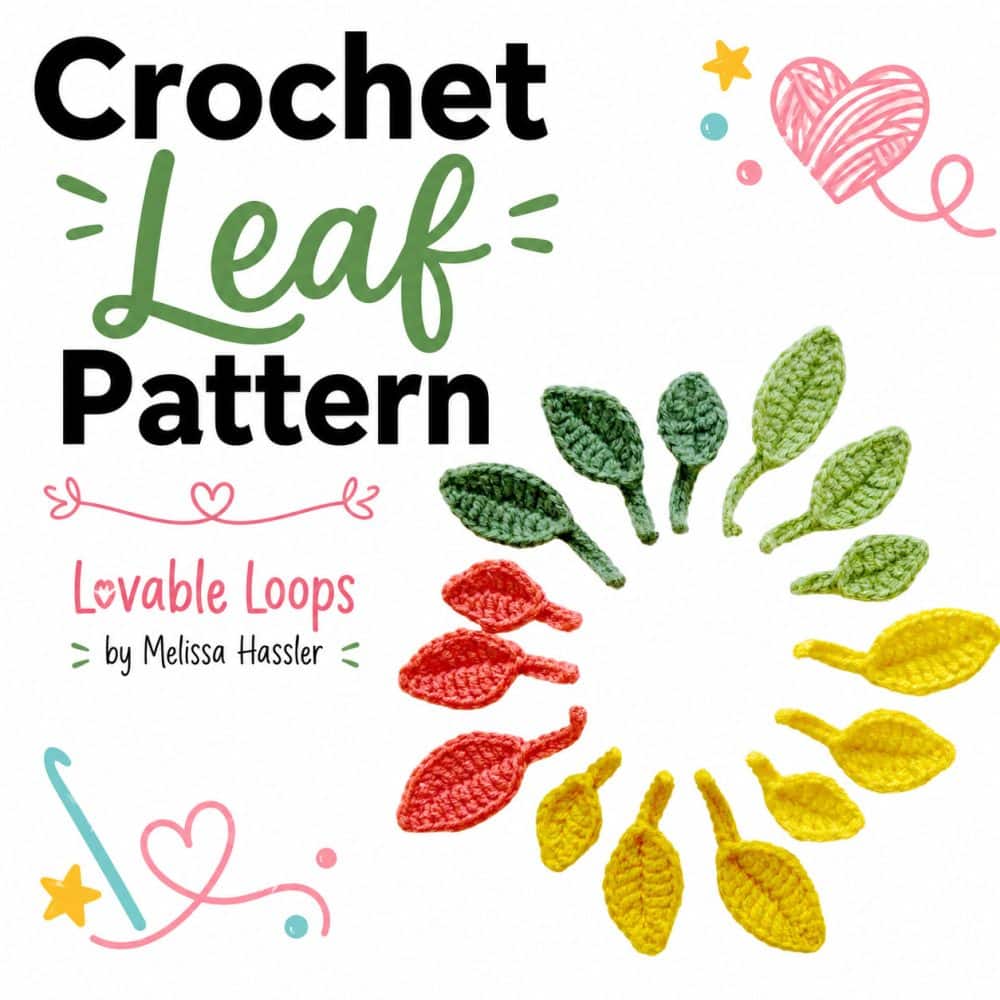
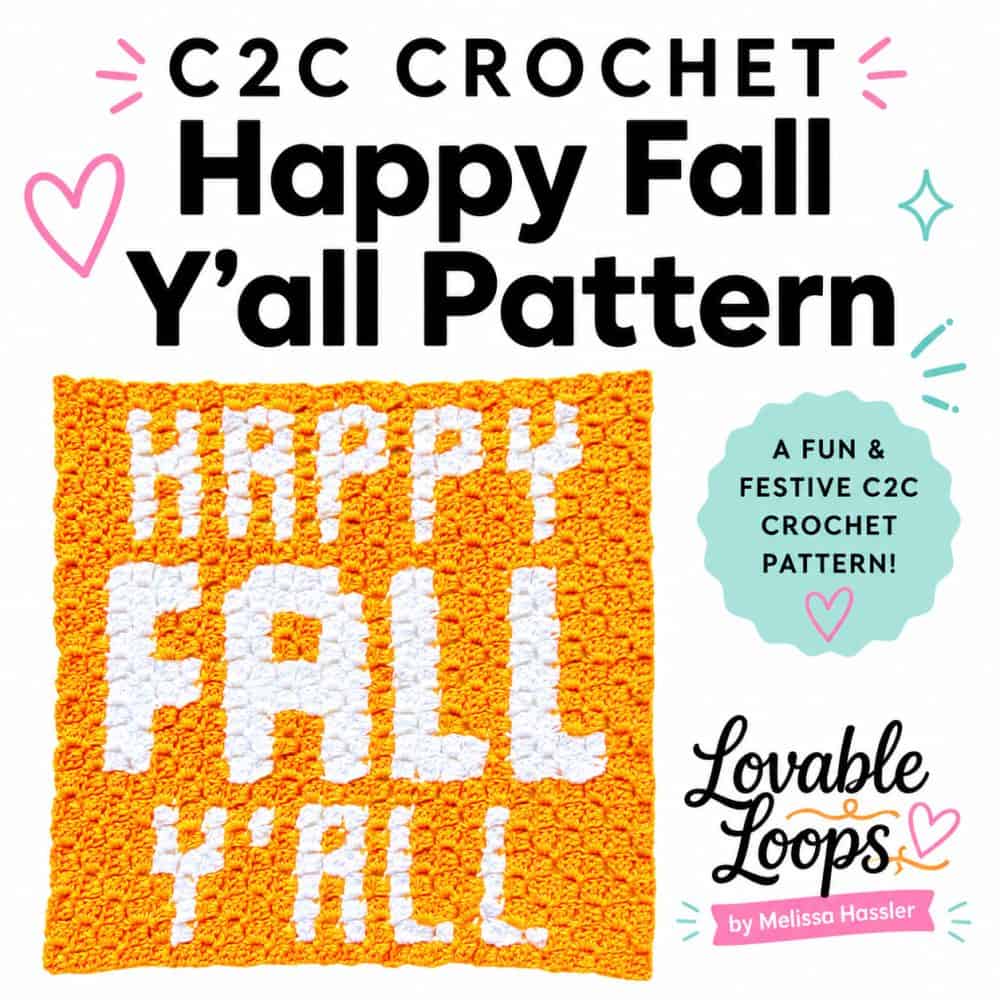
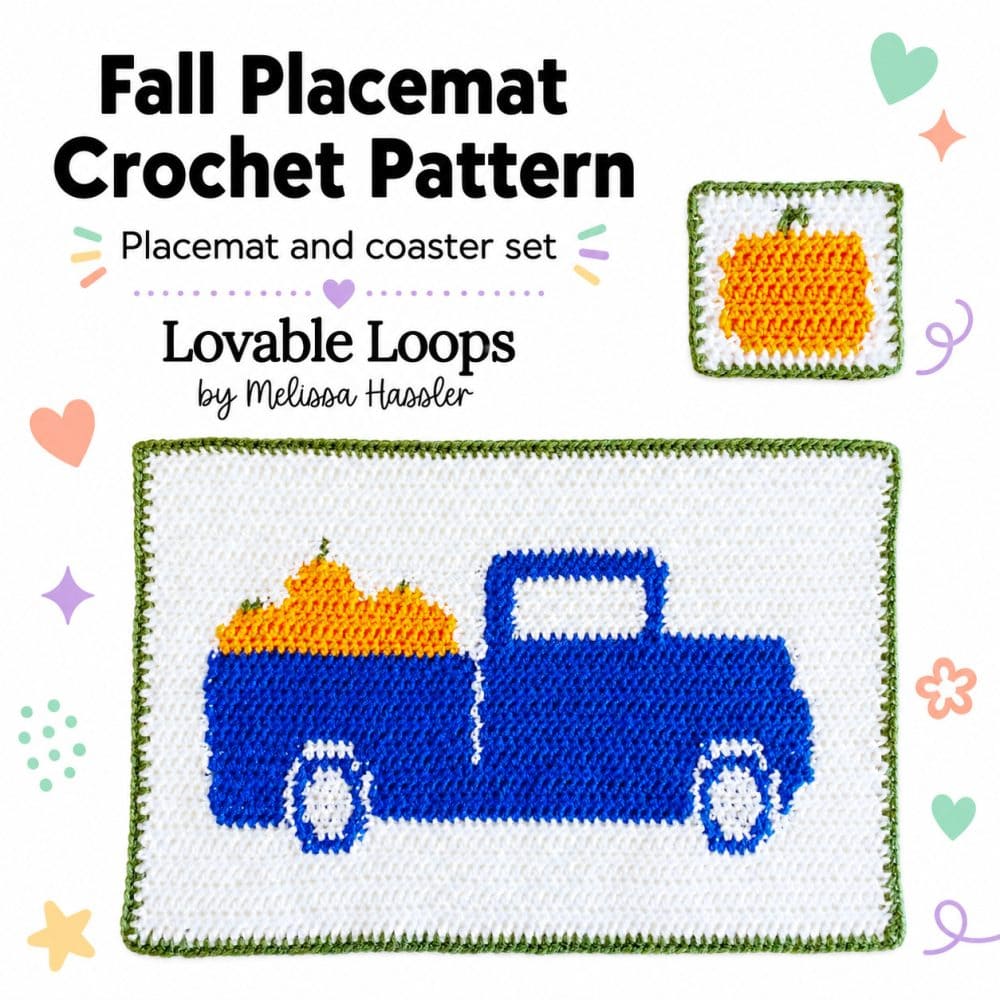
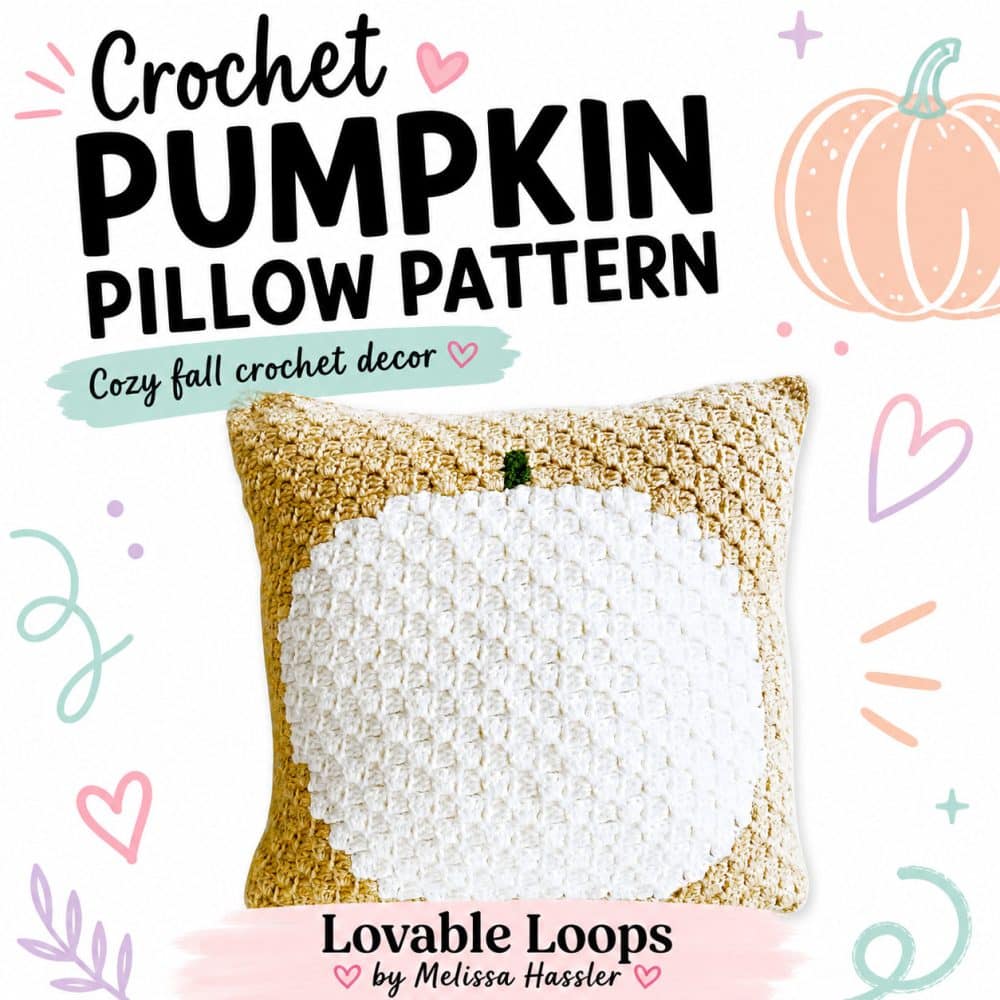
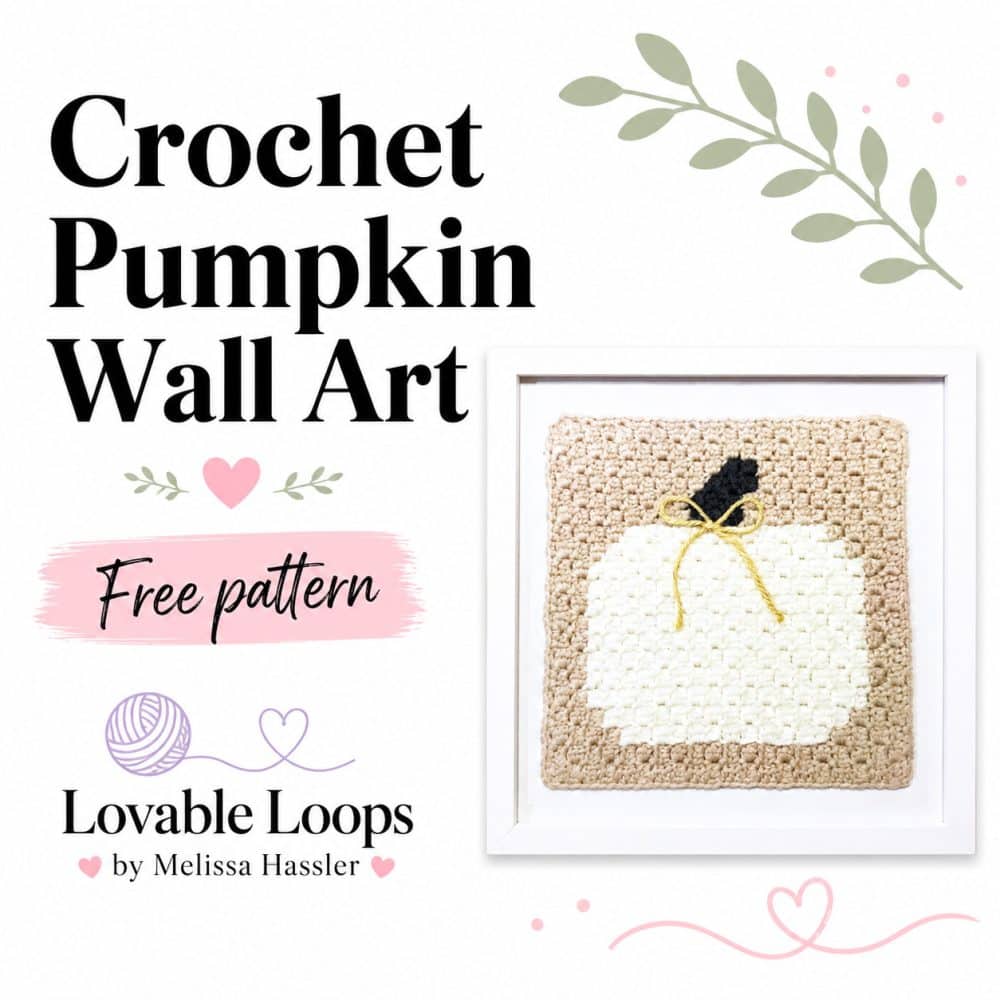
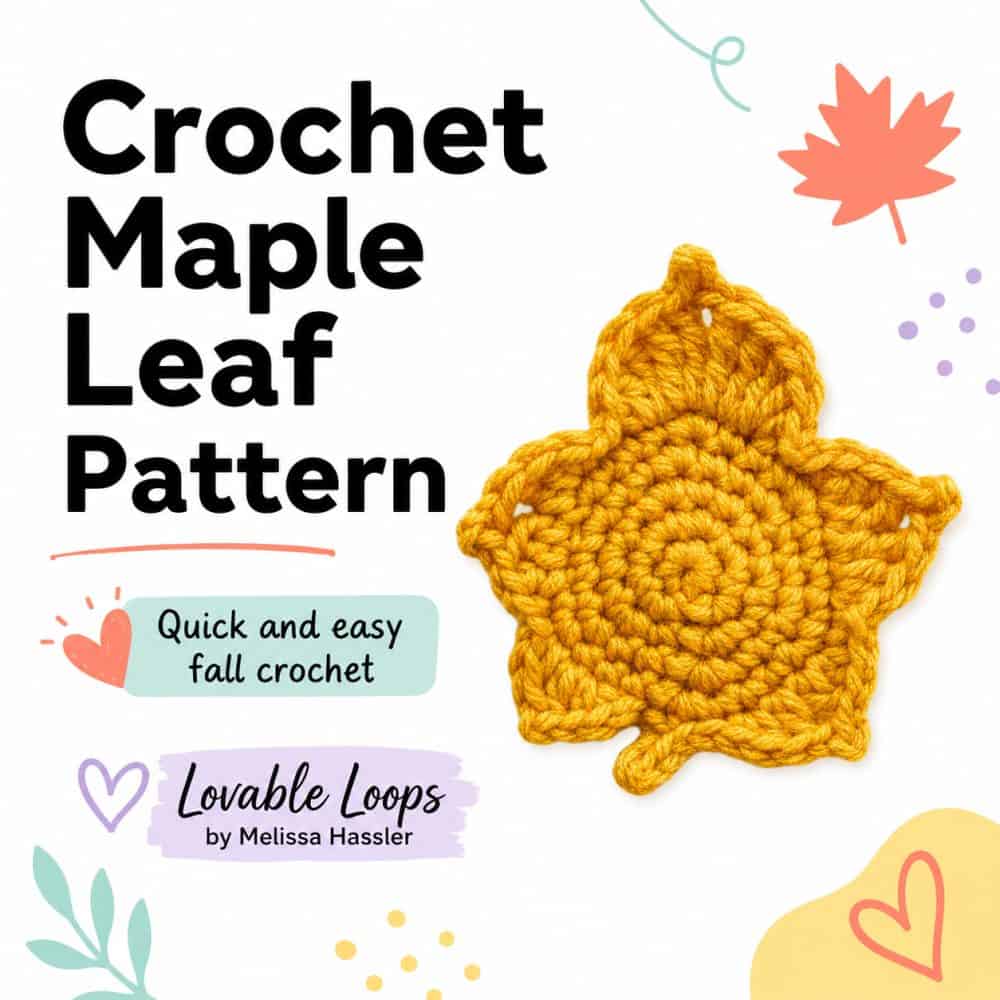
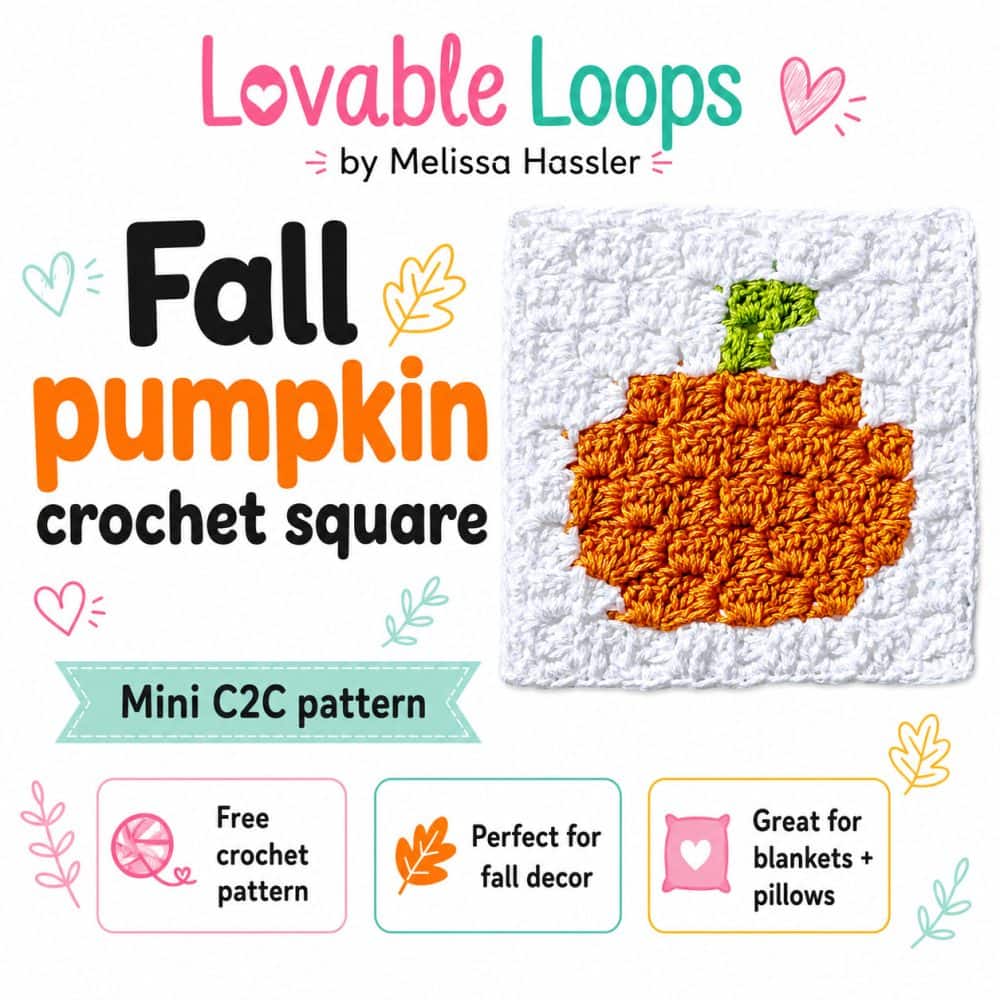
More free fall crochet decor patterns
Looking for more cozy seasonal projects to make? Browse my favorite fall crochet decor patterns, including pumpkins, leaves, pillows, appliques, baskets, garlands, and other cute autumn makes for your home.
You can also visit my full collection of home decor crochet patterns for even more handmade ideas to decorate every season.

Let’s connect!
I’d love to see what you’re making! Share your makes and follow along here:
📸 Instagram
📌 Pinterest
📘 Facebook
▶️ YouTube
🛍️ Etsy Shop
🧶 Ravelry
Happy crocheting! 🧶