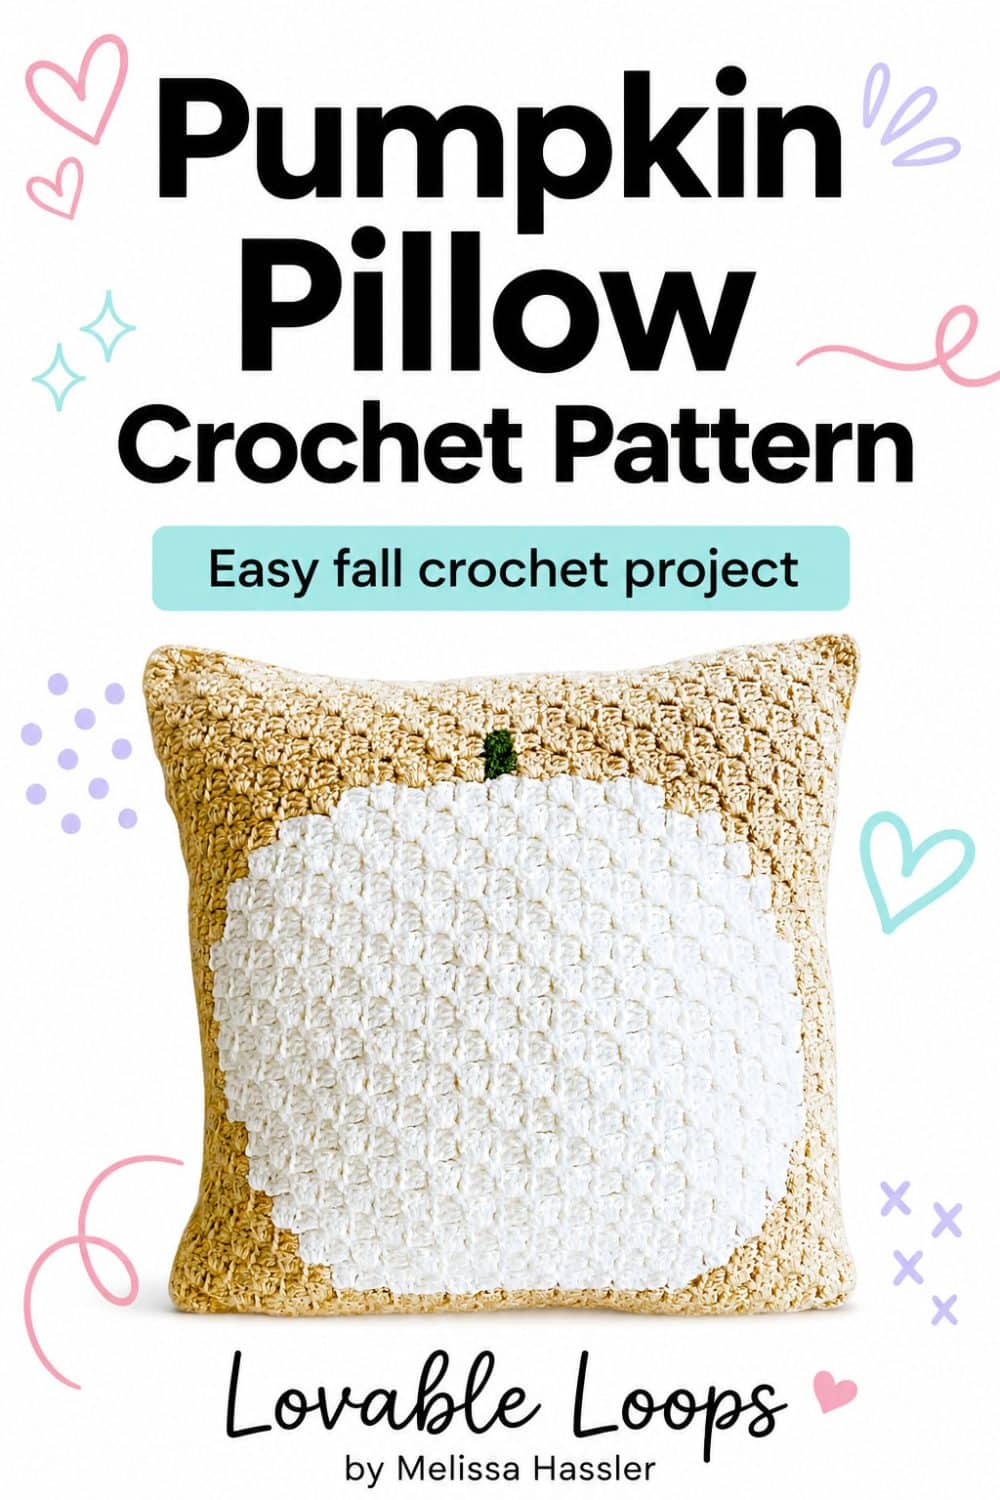
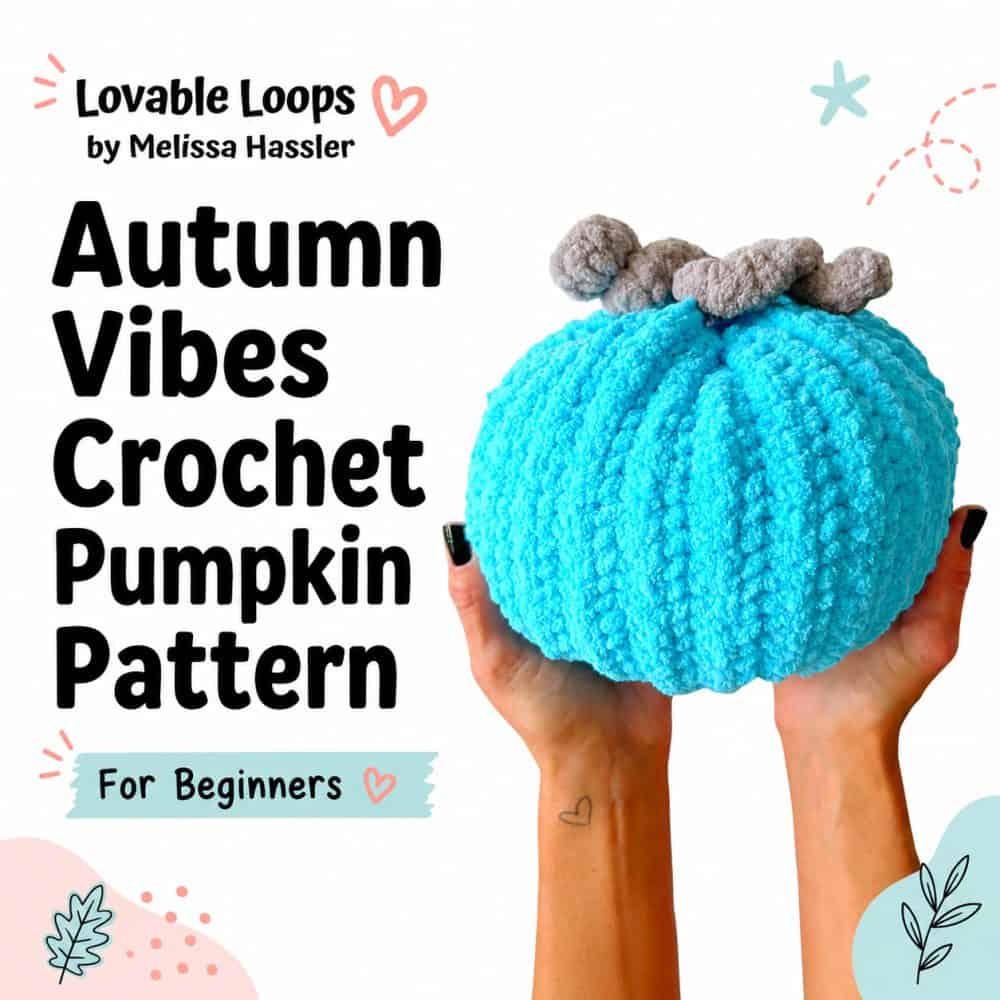
Crochet pumpkin pillow pattern
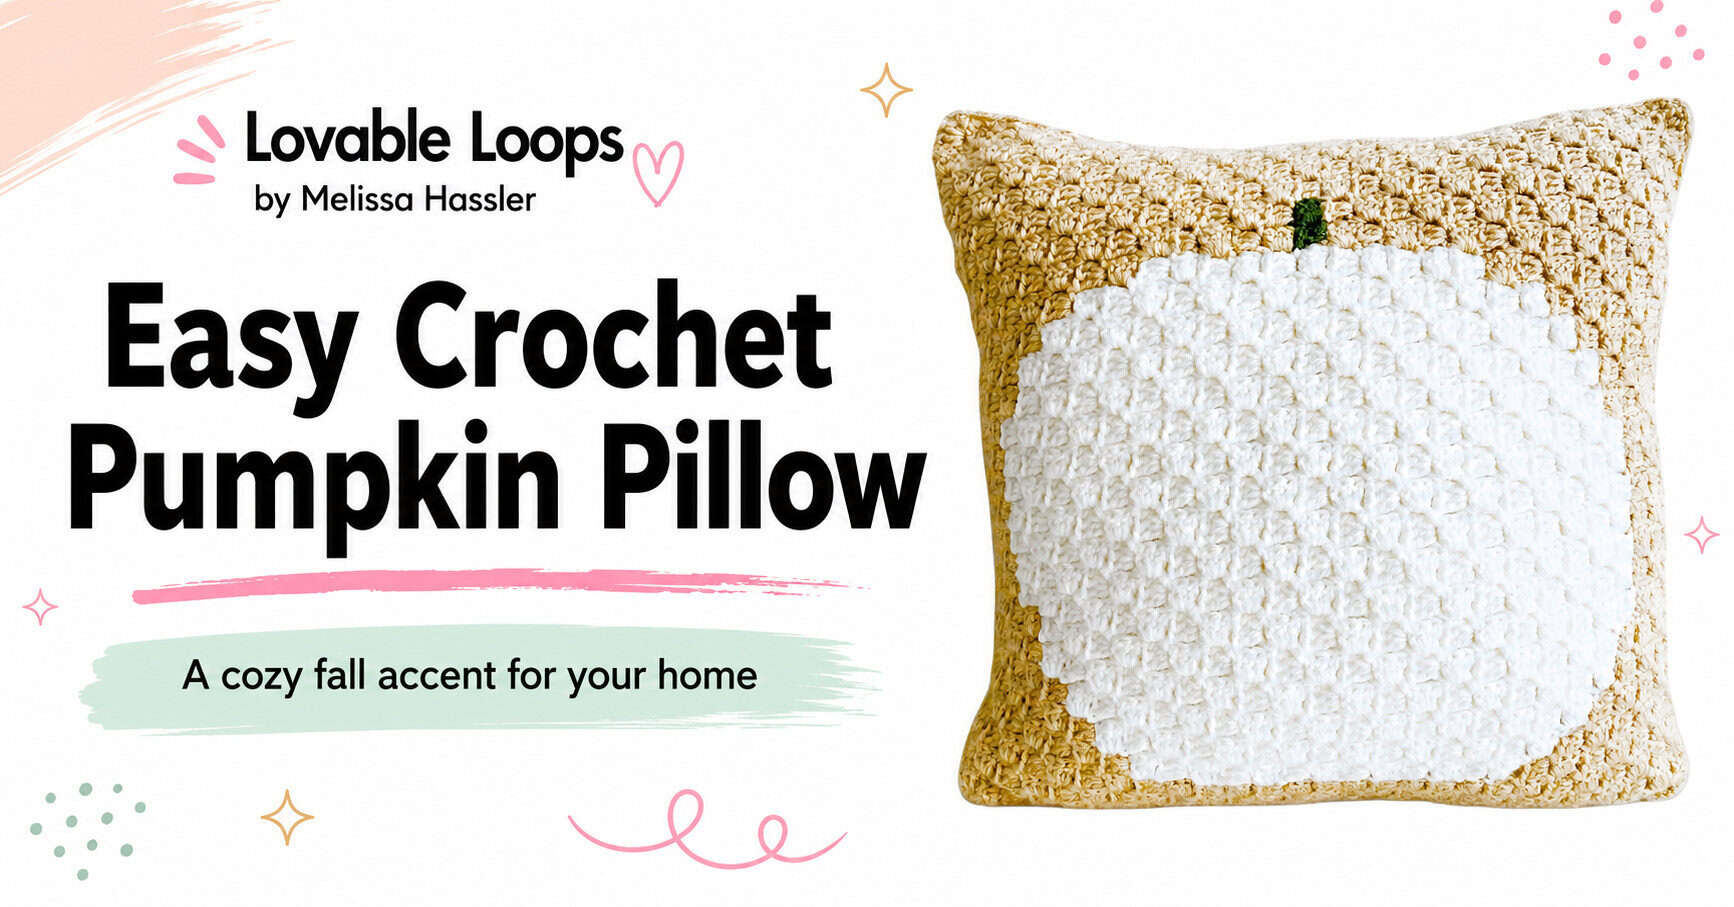
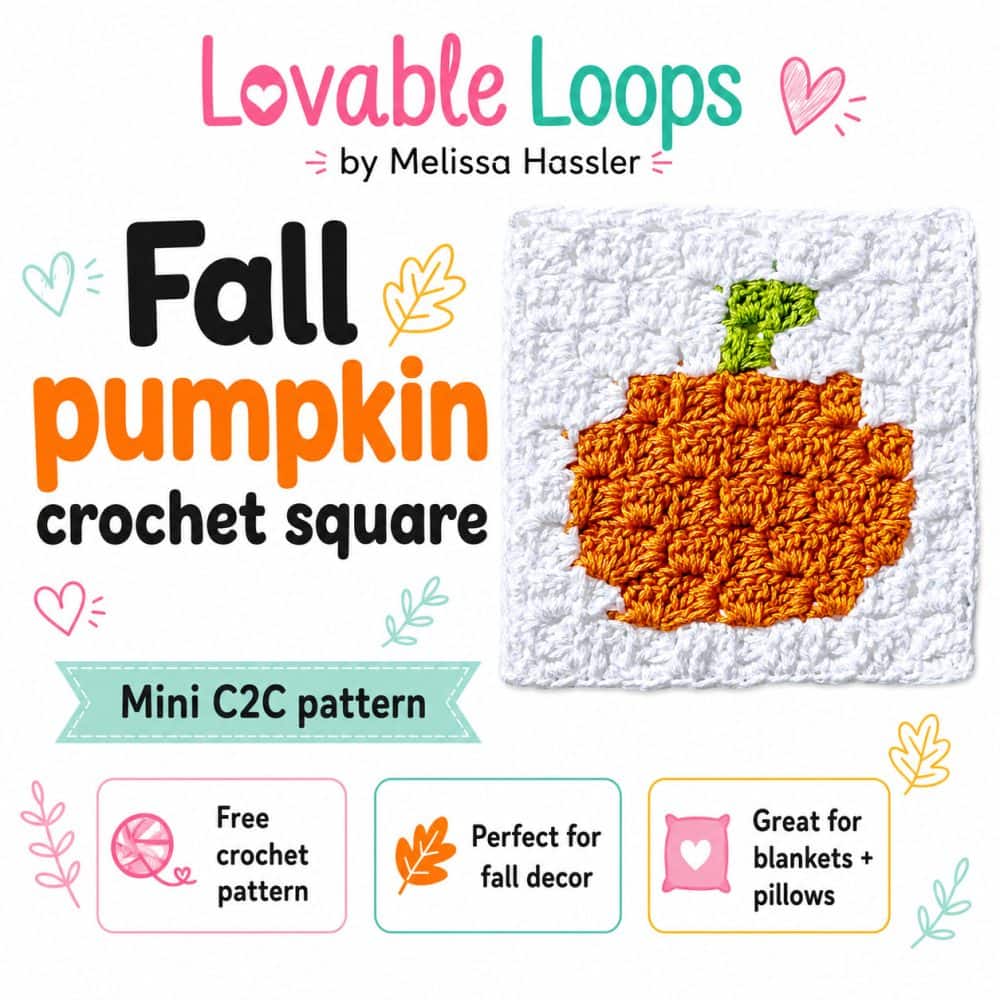
If you’re looking for the perfect crochet pumpkin pillow pattern, you’ve come to the right place! This free pattern is cozy, easy, and makes a cute addition to your fall setup. Made with the c2c technique, the pumpkin square is quick and fun to create.
Crochet pumpkin pillow pattern details
This easy pattern is designed to be fun for both beginners and advanced crocheters! If you’re new to crochet, it’s a great way to learn the c2c crochet method with simple instructions.
And if you’re more experienced, you’ll love how quick it is to make. It’s one of those fall crochet patterns that’s enjoyable for all skill levels. Head to your craft store for the supplies listed below, and you’ll be on your way!
Skill Level
Advanced beginner. This crochet square is made using the corner to corner C2C crochet method and it involves color changes.
Finished Size
The pumpkin pillow measures 15 inches by 15 inches.
Crochet Project Materials Needed
- Crochet hook size: G-6 4 mm crochet hook or size needed for gauge
- Yarn: Worsted weight yarn #4 in white, tan, and green yarn. I used Red Heart Super Saver acrylic yarn- one skein each soft white and buff, and a small amount of medium thyme for the pumpkin stem. You can also use orange yarn for the pumpkin and brown yarn for the stem.
- 14″ Pillow Insert or Fiber fill: Use either of these to stuff the pillow.
- Yarn needle/tapestry needle: Use this to weave in your ends.
- Scissors: Use scissors to fasten off your yarn.
- Stitch markers: Optional. Use these to help keep track of your stitches.
PDF Format
This pattern is also available as an ad-free instant download PDF pattern in my Etsy Shop.
Gauge
8 squares (ch 3 + 3 dc) = 4 inches
Crochet Terms
- dc = double crochet
- sc = single crochet
- ch/chs = chain/chains
- st/sts = stitch/stitches
- sl st = slip stitch
C2C Crochet Technique
- The square is made in the C2C technique. You make “squares” in diagonal rows starting in the bottom right corner and ending in the top left corner.
- Each square is made of a chain 3 + 3 double crochet.
- Chain 6 to start a new row and chain 3 to start a new square.
- You can follow the picture graph or the written pattern.
- The written pattern tells you how many squares to make of each color and in what order.
C2C Video Tutorial
Need C2C help? I have a step by step C2C tutorial for my mini heart square on my YouTube channel.
C2C Crochet Pattern Notes
- The pattern is written in US terms.
- ↙ You are working on the “right side”.
- ↗ You are working on the “wrong side”.
Crochet Pumpkin Pillow Pattern Instructions
Download the crochet pumpkin pillow pattern graph.
↙ Row 1: tan x 1 (1 square)
↗ Row 2: tan x 2 (2 squares)
↙ Row 3: tan x 3 (3 squares)
↗ Row 4: tan x 4 (4 squares)
↙ Row 5: tan x 5 (5 squares)
↗ Row 6: tan x 6 (6 squares)
↙ Row 7: tan x 7 (7 squares)
↗ Row 8: tan x 8 (8 squares)
↙ Row 9: tan x 9 (9 squares)
↗ Row 10: tan x 10 (10 squares)
↙ Row 11: tan x 11 (11 squares)
↗ Row 12: tan x 4, white x 4, tan x 4 (12 squares)
↙ Row 13: tan x 3, white x 6, tan x 4 (13 squares)
↗ Row 14: tan x 4, white x 7, tan x 3 (14 squares)
↙ Row 15: tan x 3, white x 8, tan x 4 (15 squares)
↗ Row 16: tan x 4, white x 9, tan x 3 (16 squares)
↙ Row 17: tan x 3, white x 10, tan x 4 (17 squares)
↗ Row 18: tan x 4, white x 11, tan x 3 (18 squares)
↙ Row 19: tan x 3, white x 12, tan x 4 (19 squares)
↗ Row 20: tan x 4, white x 12, tan x 4 (20 squares)
↙ Row 21: tan x 4, white x 13, tan x 4 (21 squares)
↗ Row 22: tan x 4, white x 14, tan x 4 (22 squares)
↙ Row 23: tan x 5, white x 14, tan x 4 (23 squares)
↗ Row 24: tan x 4, white x 15, tan x 5 (24 squares)
↙ Row 25: tan x 6, white x 14, tan x 5 (25 squares)
↗ Row 26: tan x 5, white x 15, tan x 6 (26 squares)
↙ Row 27: tan x 7, white x 14, tan x 6 (27 squares)
Corner: Start decreasing on both ends
↗ Row 28: tan x 5, white x 14, tan x 7 (26 squares)
↙ Row 29: tan x 6, white x 14, tan x 5 (25 squares)
↗ Row 30: tan x 4, white x 14, tan x 6 (24 squares)
↙ Row 31: tan x 6, white x 13, tan x 4 (23 squares)
↗ Row 32: tan x 4, white x 12, tan x 6 (22 squares)
↙ Row 33: tan x 6, white x 12, tan x 3 (21 squares)
↗ Row 34: tan x 3, white x 11, tan x 6 (20 squares)
↙ Row 35: tan x 5, green x 1, white x 10, tan x 3 (19 squares)
↗ Row 36: tan x 3, white x 9, tan x 1, green x 1, tan x 4 (18 squares)
↙ Row 37: tan x 6, white x 8, tan x 3 (17 squares)
↗ Row 38: tan x 3, white x 7, tan x 6 (16 squares)
↙ Row 39: tan x 6, white x 6, tan x 3 (15 squares)
↗ Row 40: tan x 4, white x 3, tan x 7 (14 squares)
↙ Row 41: tan x 13 (13 squares)
↗ Row 42: tan x 12 (12 squares)
↙ Row 43: tan x 11 (11 squares)
↗ Row 44: tan x 10 (10 squares)
↙ Row 45: tan x 9 (9 squares)
↗ Row 46: tan x 8 (8 squares)
↙ Row 47: tan x 7 (7 squares)
↗ Row 48: tan x 6 (6 squares)
↙ Row 49: tan x 5 (5 squares)
↗ Row 50: tan x 4 (4 squares)
↙ Row 51: tan x 3 (3 squares)
↗ Row 52: tan x 2 (2 squares)
↙ Row 53: tan x 1 (1 square)
Do not fasten off. You will now crochet the border.
Border for the Crochet Pumpkin Pillow Pattern
Ch 1, make 2 sc in the side of each square, in each corner make (sc, ch 2, sc), join to the first sc and then fasten off.
Back Pillow Cover
Make the back of the pillow using the same pattern as the front, but without the color changes. I used white yarn for the back.
Assembling the Crochet Pumpkin Pillow Pattern
Place the pillow panels together with the right sides facing out. Sew three sides through the borders. Add fiber fill or a pillow insert, then sew the last side closed.
Finishing the Crochet Pumpkin Pillow Pattern
Fasten off and then weave in the yarn tails.
Handmade Gifts and Craft Fairs
Handmade pumpkin pillows make fantastic gifts for the season. This diy project is the perfect handmade gift for friends, family, or even for selling at craft fairs. It’s an affordable, unique item that people will love.
With its cozy fall decor look and inviting aesthetic, this crochet pillow is sure to stand out. It’s the perfect touch of autumn charm for any home decor!
More free fall crochet decor patterns
Looking for more cozy seasonal projects to make? Browse my favorite fall crochet decor patterns, including pumpkins, leaves, pillows, appliques, baskets, garlands, and other cute autumn makes for your home.
You can also visit my full collection of home decor crochet patterns for even more handmade ideas to decorate every season.

Let’s connect!
I’d love to see what you’re making! Share your makes and follow along here:
📸 Instagram
📌 Pinterest
📘 Facebook
▶️ YouTube
🛍️ Etsy Shop
🧶 Ravelry
Happy crocheting! 🧶