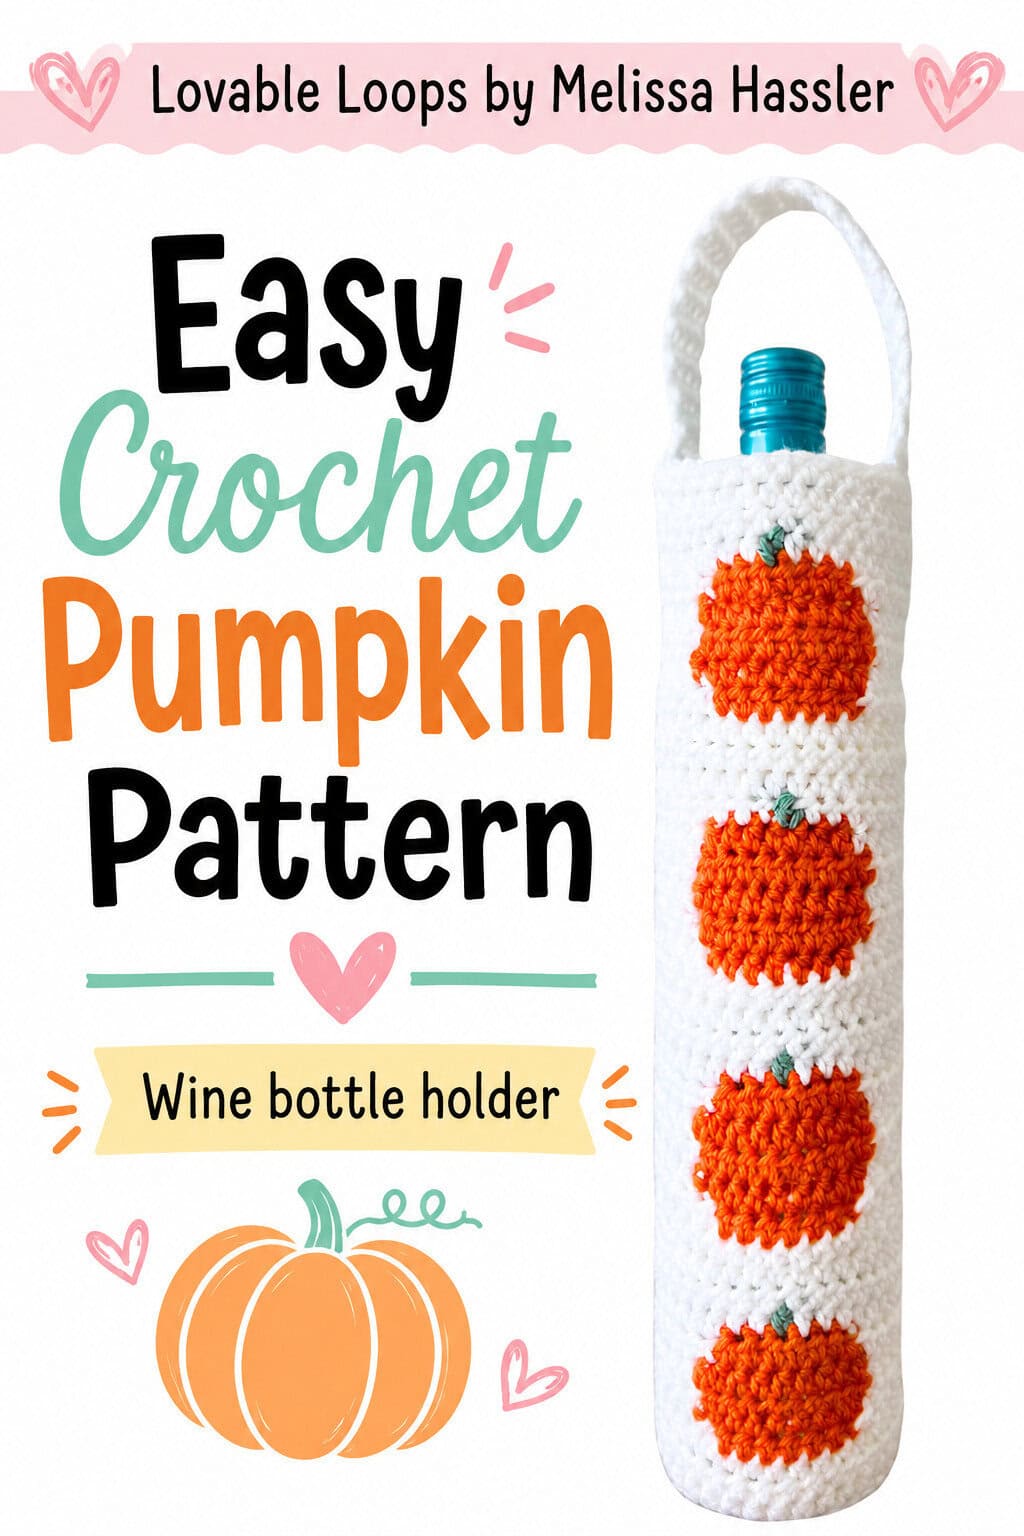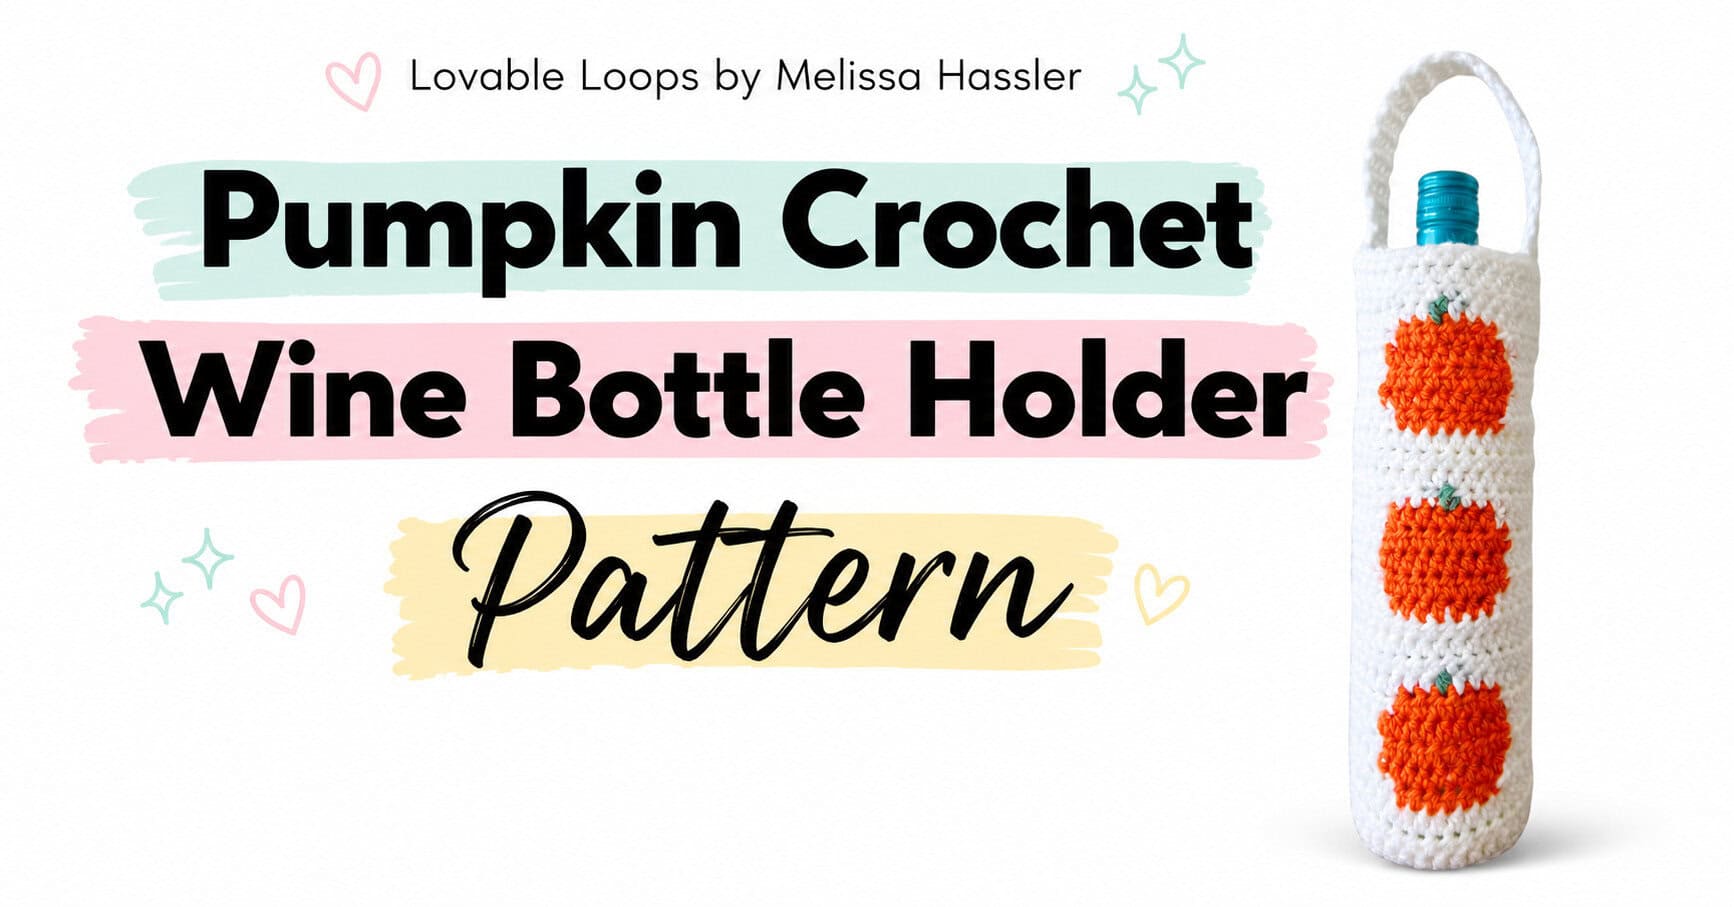
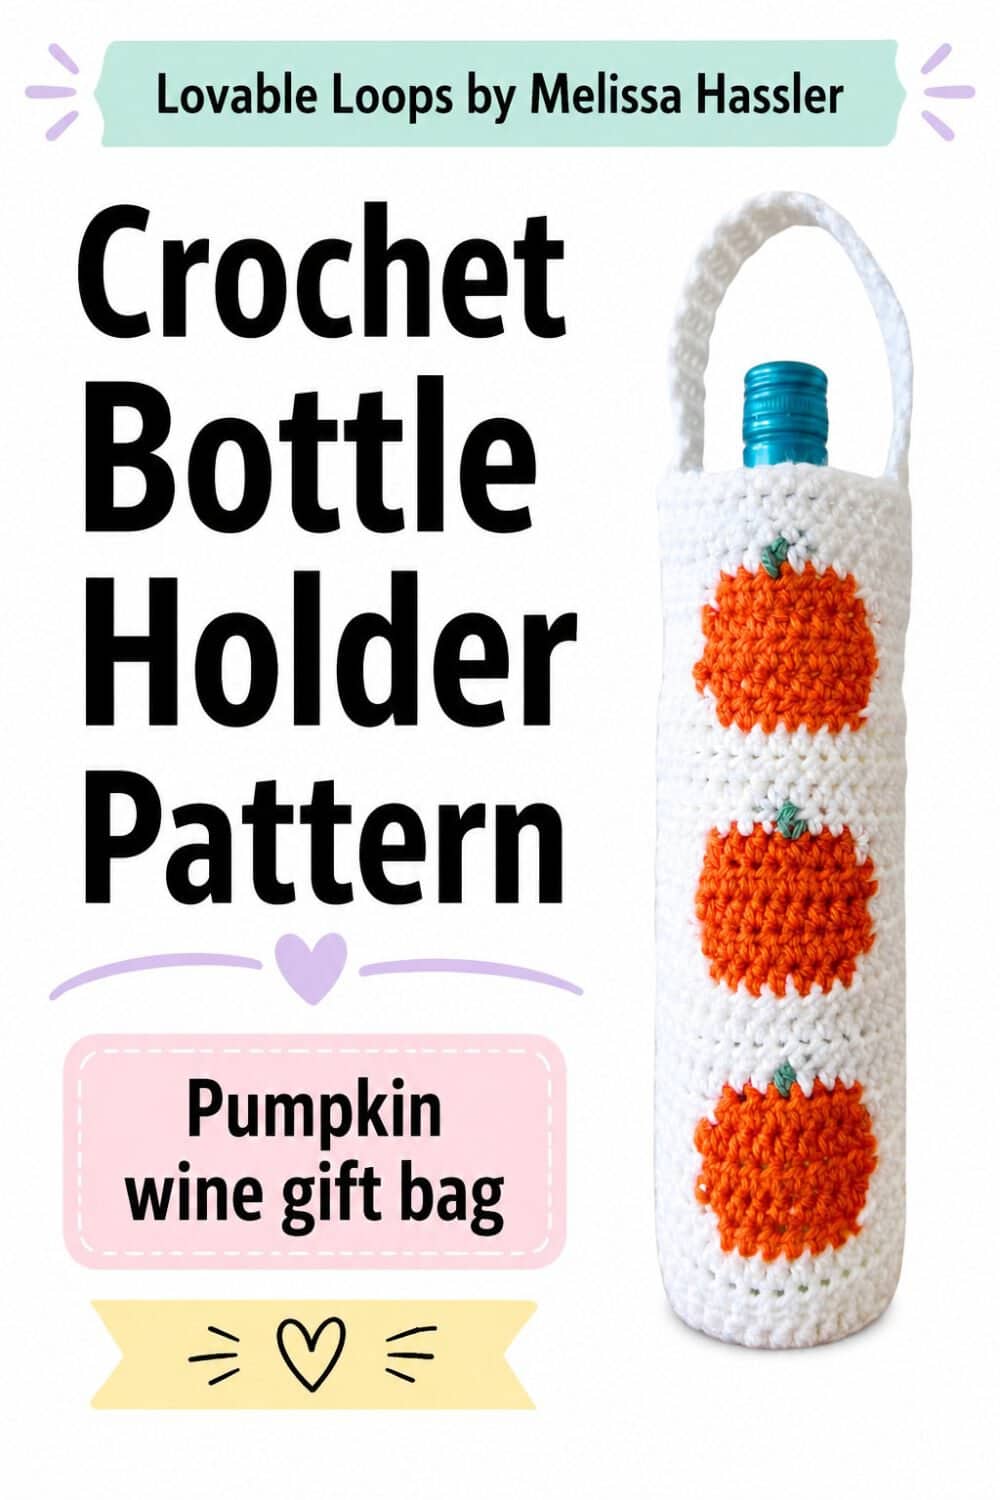
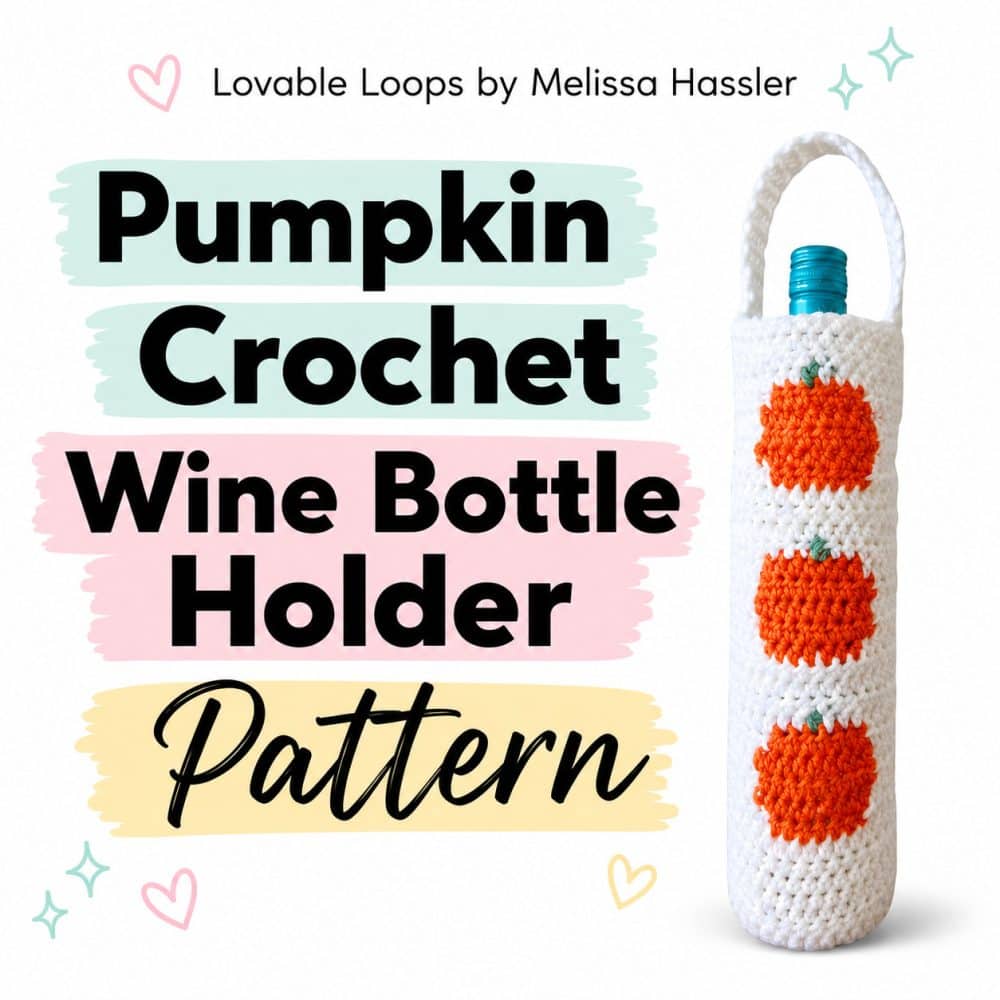
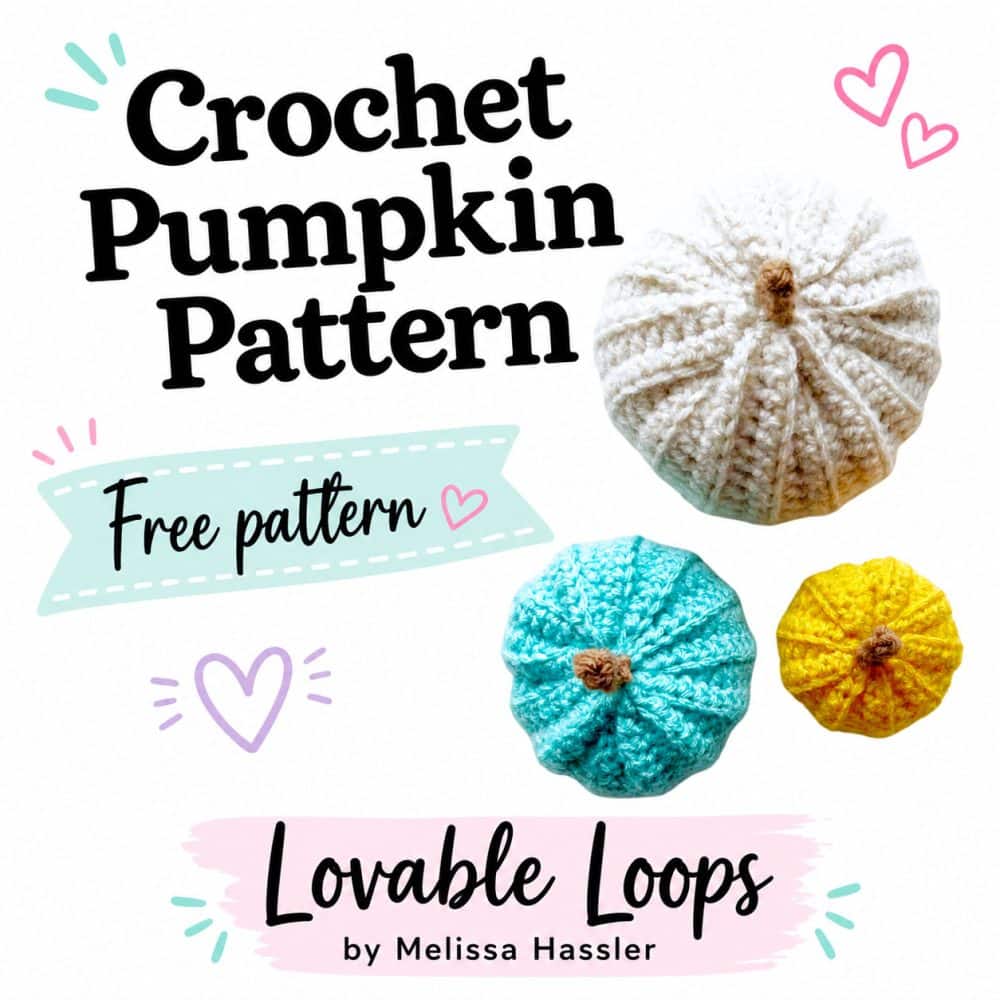
Crochet pumpkin wine bottle holder pattern
Looking for a cute way to dress up a wine bottle for fall? This pumpkin crochet wine bottle holder is a festive handmade project that fits a standard 750 ml bottle and adds a cozy touch to Thanksgiving tables, autumn gatherings, hostess gifts, and fall decor.
Crochet pumpkin wine bottle holder pattern details
Here’s a quick overview of the materials, sizing, gauge, and pattern notes before you begin.
Skill level
Advanced beginners. This crochet pattern involves color changes and a basic half double crochet stitch pattern.
Materials needed
- Crochet Hook Size: H-8 5 mm crochet hook or hook needed for gauge
- Yarn: Worsted weight yarn #4 in white, orange, and green (cotton yarn is a great choice!)
- Yarn needle: Use this to weave in your ends.
- Scissors: Use scissors to fasten off your yarn.
- Stitch marker(s): Optional. Use these to help keep track of your stitches.
PDF version
This pattern is also available as an ad-free PDF pattern in my Etsy Shop: pumpkin crochet wine bottle holder pattern
Finished Size
This easy wine bottle holder will fit a standard 750 ml bottle of wine.
My wine holder measured approximately 9.5 inches (24 cm) wide and 10 inches (25.5 cm) tall.
Gauge
13 stitches and 12 rows = 4 inches (5 cm)
If you have more than 13 stitches in 4 inches, try using a larger hook. If you have less than 13 stitches, try a smaller hook.
Crochet abbreviations
- hdc = half double crochet
- sc = single crochet stitch
- ch/chs = chain/chains
- st/sts = stitch/stitches
- sl st = slip stitch
- rnd = round
- rem = remaining
Pattern notes
- When you are changing colors, use the new color to do the final pull through of the stitch that is the old color.
- Pattern is worked back and forth in rows of half double crochet (hdc) from the bottom up.
- You can print and follow the pixel graph or follow the written instructions.
- Chain 2 at the beginning of each row.
- Repeat instructions between asterisks (*) for the rest of the round.
Seamless color changes
Begin color changes in the stitch right before the one where you need the new color. To do this, finish the last stitch in the old color up to the point where only three loops remain on your hook. Then, pull the new color through these three loops to finish the stitch. Now, you’re all set to start the next stitch with the new color!

Crochet pumpkin wine bottle holder pattern instructions
Download the crochet wine bottle holder pattern graph.
Written instructions
Chain 38. Your first hdc for row 1 is worked in the 3rd chain from the hook.
← Row 1: white x 36 (36 squares)
→ Row 2: white x 36 (36 squares)
← Row 3: white x 36 (36 squares)
→ Row 4: white x 15, orange x 7, white x 14 (36 squares)
← Row 5: white x 13, orange x 9, white x 14 (36 squares)
→ Row 6: white x 14, orange x 9, white x 13 (36 squares)
← Row 7: white x 13, orange x 9, white x 14 (36 squares)
→ Row 8: white x 15, orange x 7, white x 14 (36 squares)
← Row 9: white x 17, green x 1, white x 18 (36 squares)
→ Row 10: white x 36 (36 squares)
← Row 11: white x 36 (36 squares)
→ Row 12: white x 36 (36 squares)
← Row 13: white x 14, orange x 7, white x 15 (36 squares)
→ Row 14: white x 14, orange x 9, white x 13 (36 squares)
← Row 15: white x 13, orange x 9, white x 14 (36 squares)
→ Row 16: white x 14, orange x 9, white x 13 (36 squares)
← Row 17: white x 14, orange x 7, white x 15 (36 squares)
→ Row 18: white x 18, green x 1, white x 17 (36 squares)
← Row 19: white x 36 (36 squares)
→ Row 20: white x 36 (36 squares)
← Row 21: white x 36 (36 squares)
→ Row 22: white x 15, orange x 7, white x 14 (36 squares)
← Row 23: white x 13, orange x 9, white x 14 (36 squares)
→ Row 24: white x 14, orange x 9, white x 13 (36 squares)
← Row 25: white x 13, orange x 9, white x 14 (36 squares)
→ Row 26: white x 15, orange x 7, white x 14 (36 squares)
← Row 27: white x 17, green x 1, white x 18 (36 squares)
→ Row 28: white x 36 (36 squares)
← Row 29: white x 36 (36 squares)
→ Row 30: white x 36 (36 squares)
Weave the yarn ends in on the wrong side and then sew the two ends together.

Base of the holder
Rnd 1: Magic ring, ch 2, 9 hdc, join with sl st in top of 1st hdc (9 stitches)
Rnd 2: Ch 2, 2 hdc in each st, join (18 stitches)
Rnd 3: Ch 2, *2 hdc in same st, hdc in next st*, join (27 stitches)
Rnd 4: Ch 2, *2 hdc, hdc in next 2 sts*, join (36 stitches)
Fasten off, leaving a long tail. Sew it to the bottom of your bottle cover, making sure the trees are right-side up. Both the cover and bottom have 36 stitches.
Adding the strap
Place locking stitch markers on the 7th, 12th, 25th, and 30th stitches.
Join the yarn to the first stitch between the markers on the 7th and 12th stitches.
Row 1: Ch 1, sc in each st, turn (4 stitches)
Rows 2- 40: Ch 1, sc in each st, turn (4 stitches)
Attach the other strap end between the markers on the 25th and 30th stitches.
Finishing
Fasten off and then weave in the yarn tails.

Handmade wine bottle holders make great gifts
Handmade wine bottle cozies make thoughtful gifts, reusable wine bags, and festive carriers for holiday parties. This pumpkin-themed crochet wine bottle holder is practical, charming, and perfect for Thanksgiving, fall gatherings, hostess gifts, and craft fairs. It’s a fun seasonal project that looks cute, feels cozy, and makes any bottle feel extra special.
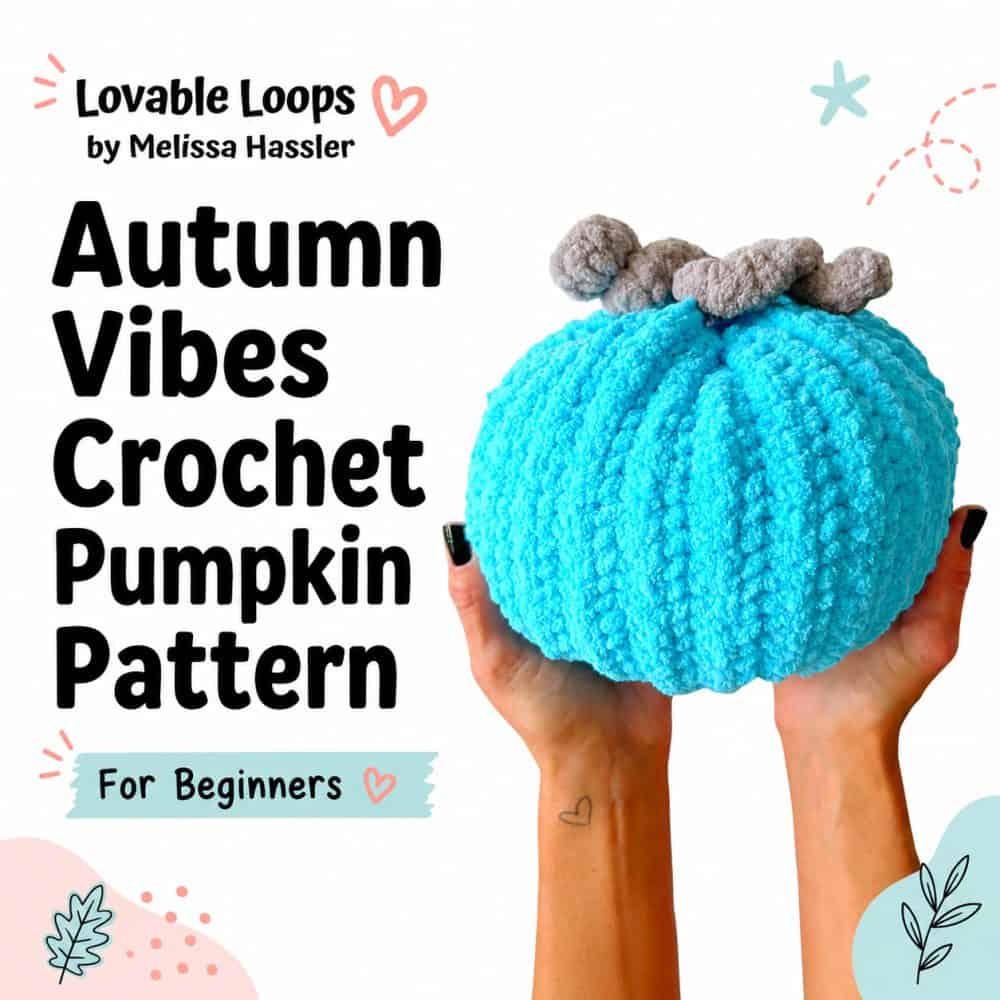
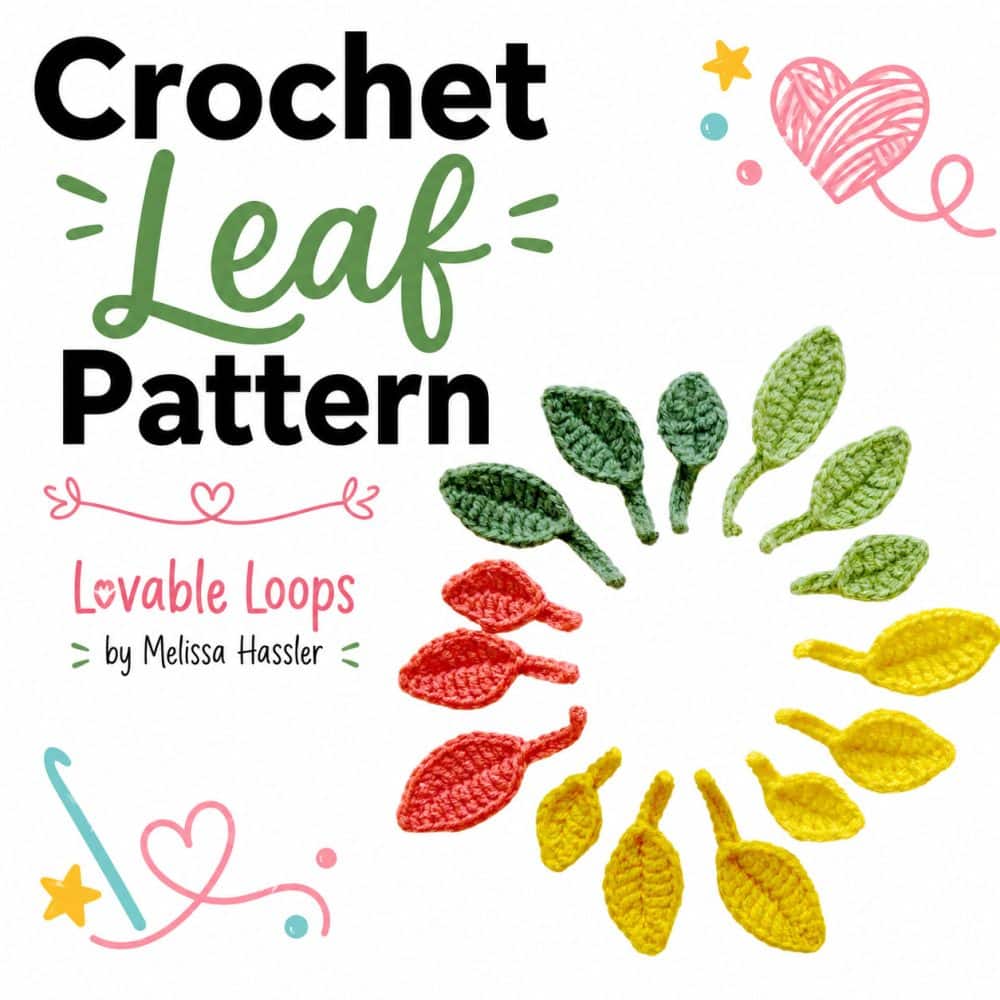
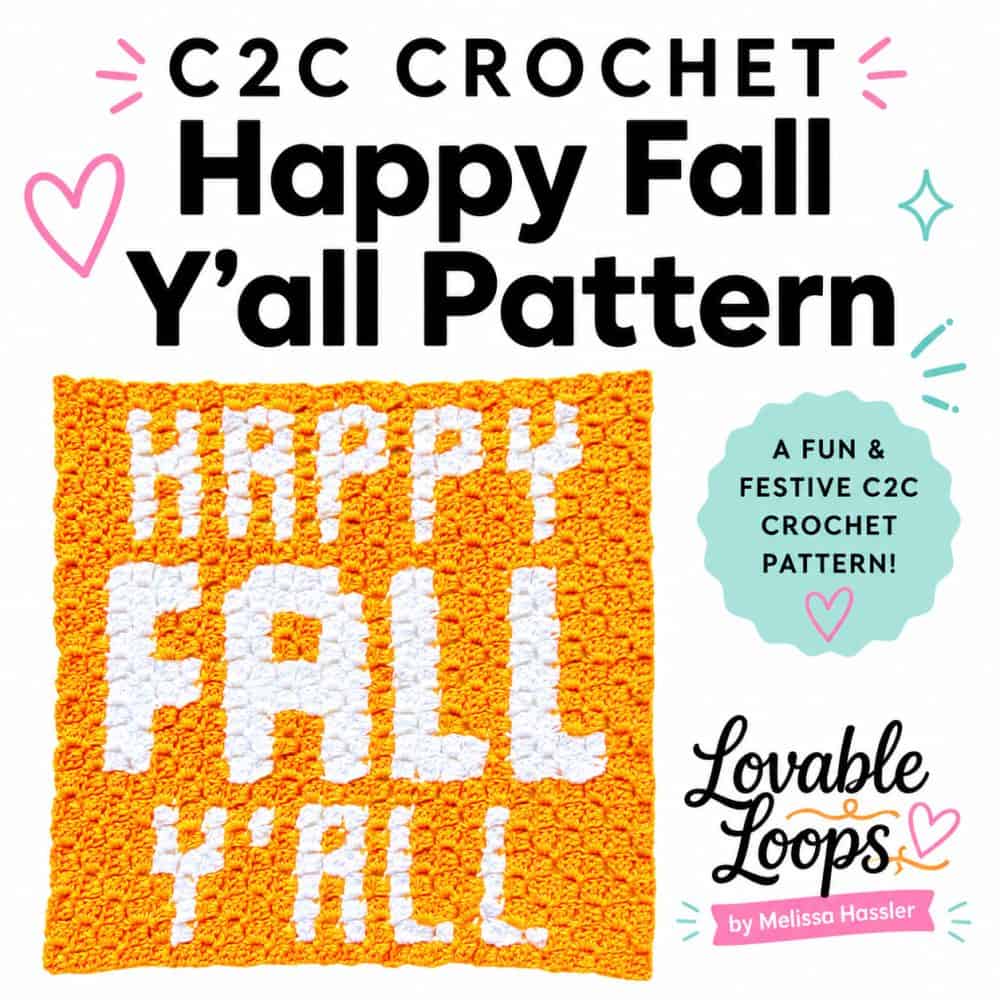
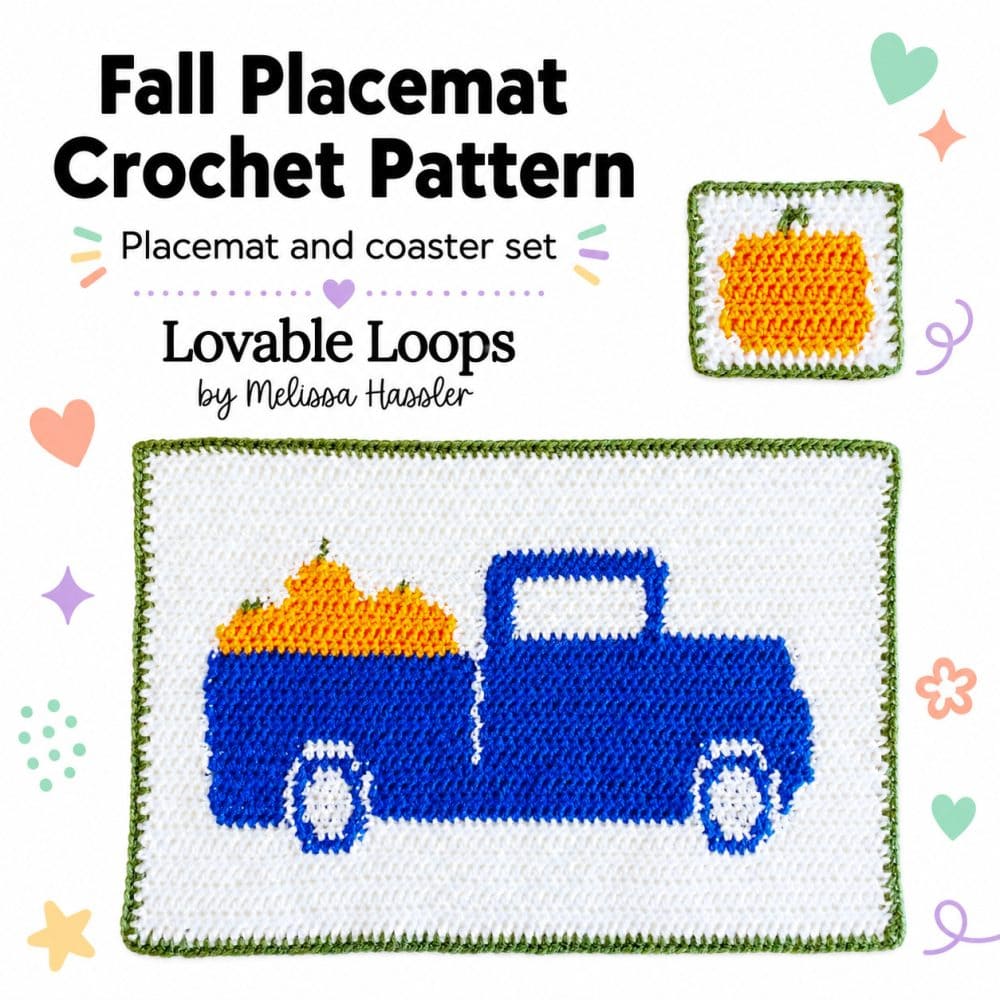
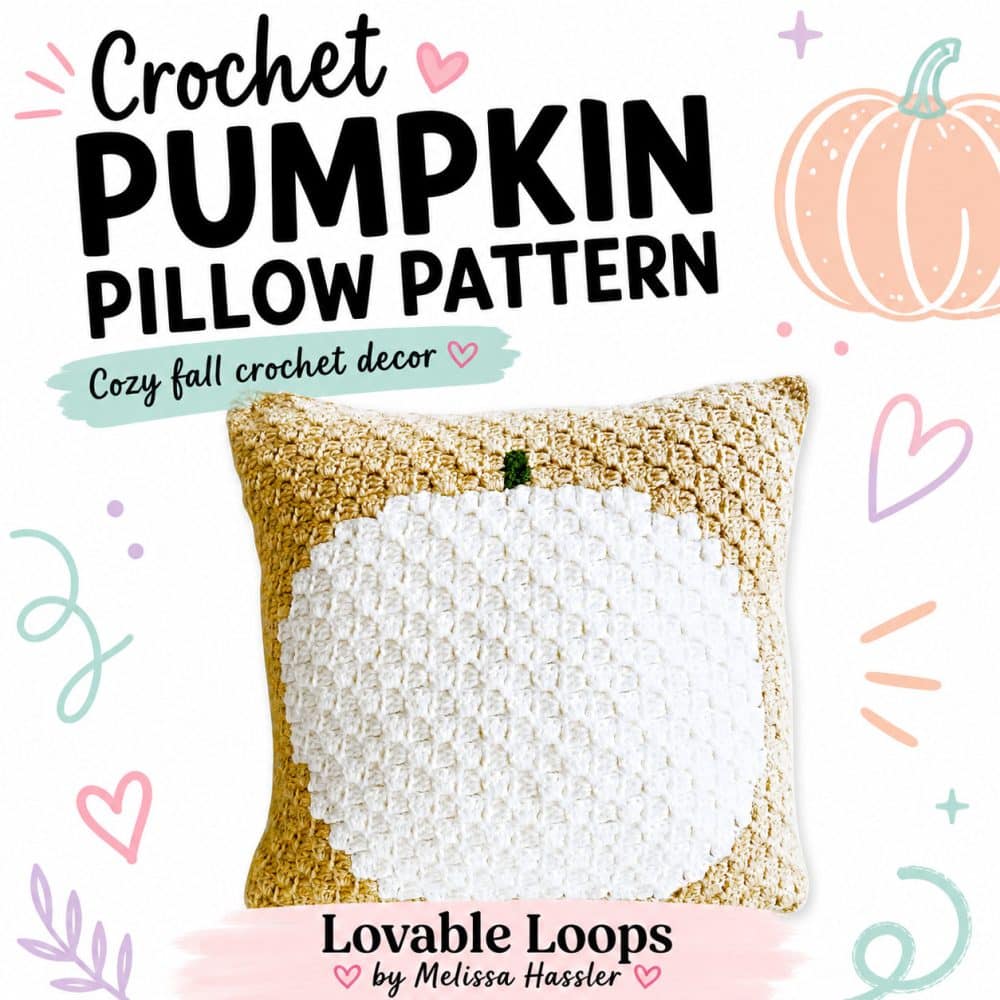
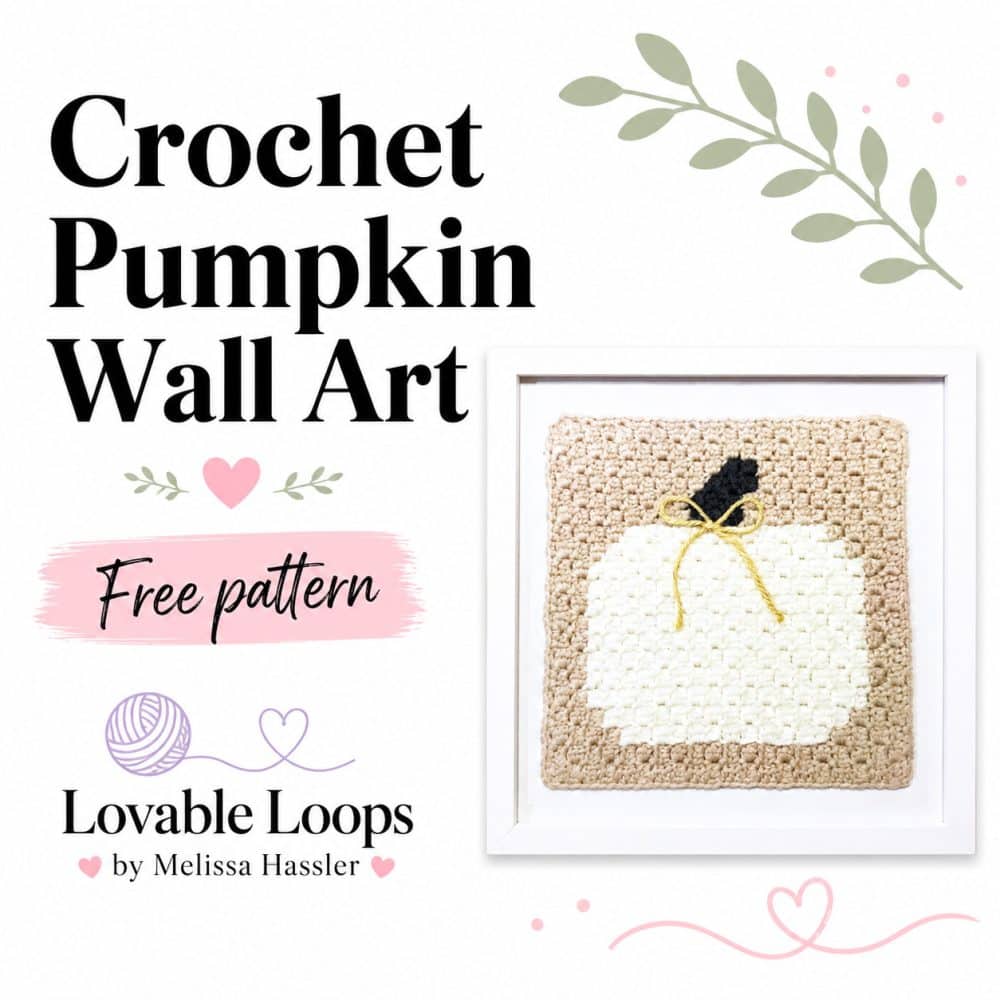
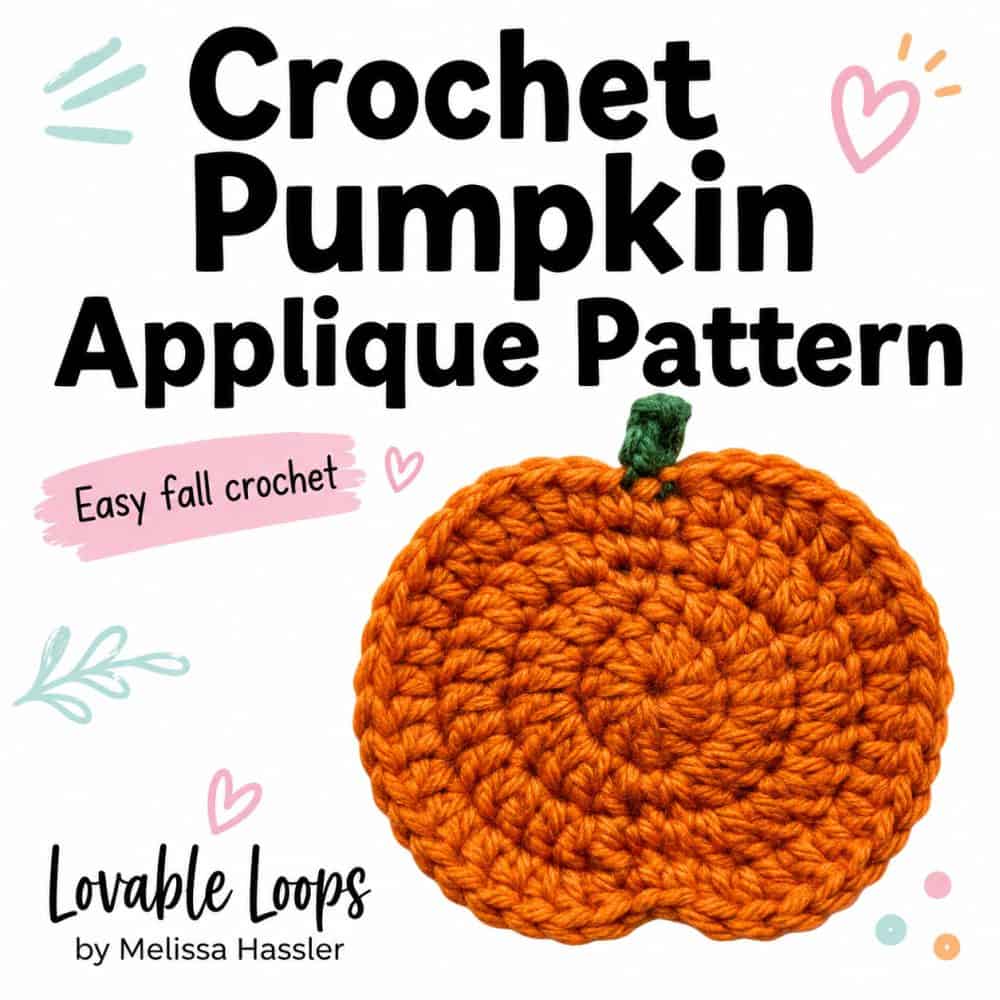
More free fall crochet decor patterns
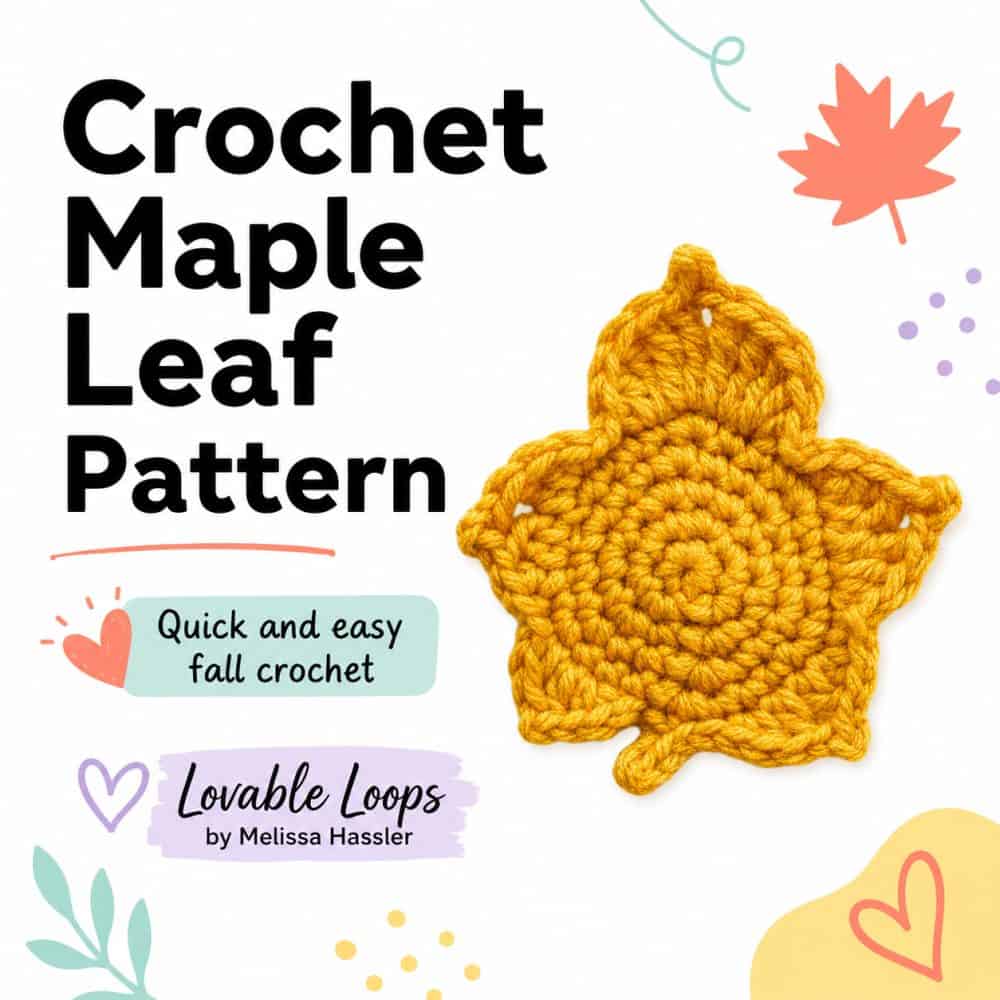
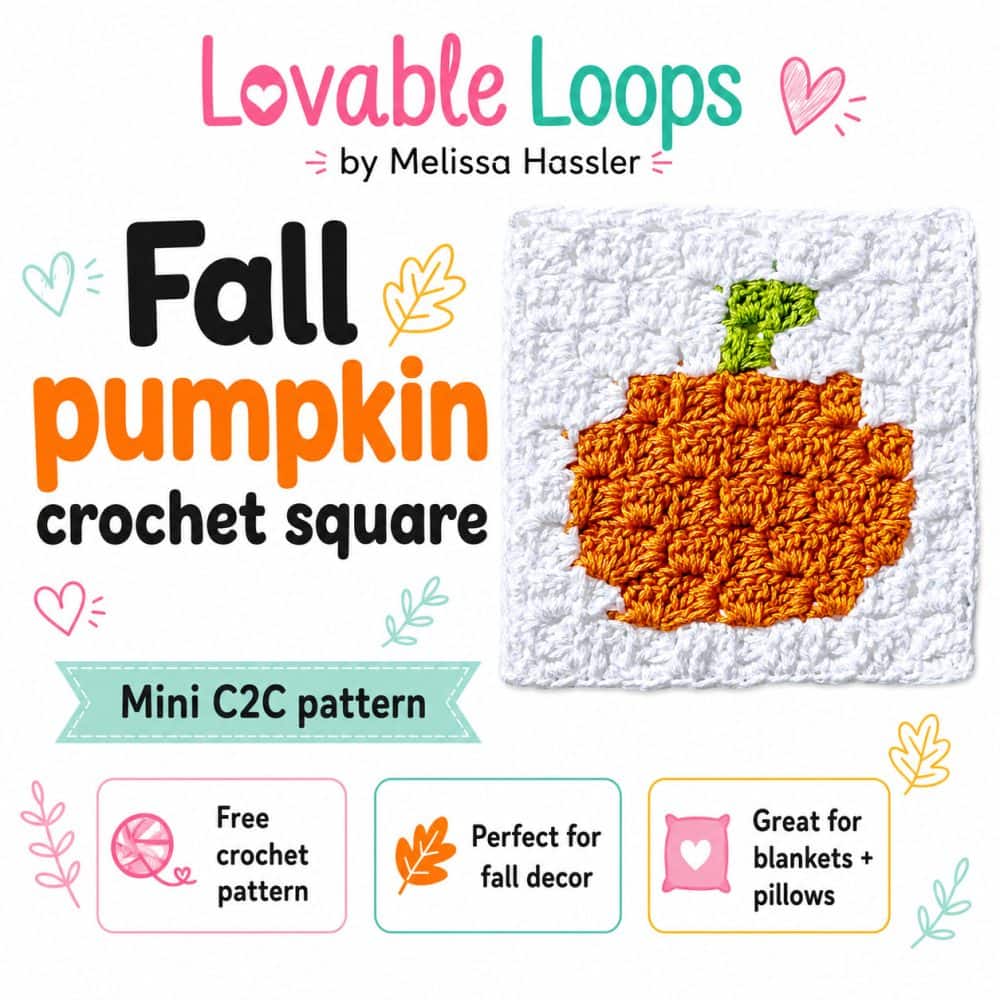
Looking for more cozy seasonal projects to make? Browse my favorite fall crochet decor patterns, including pumpkins, leaves, pillows, appliques, baskets, garlands, and other cute autumn makes for your home.
You can also visit my full collection of home decor crochet patterns for even more handmade ideas to decorate every season.
Let’s connect!
I’d love to see what you’re making! Share your finished project and follow along for more free crochet patterns and tutorials.
📌 Don’t forget to pin this pattern for later!
Happy crocheting! 🧶
— Melissa