
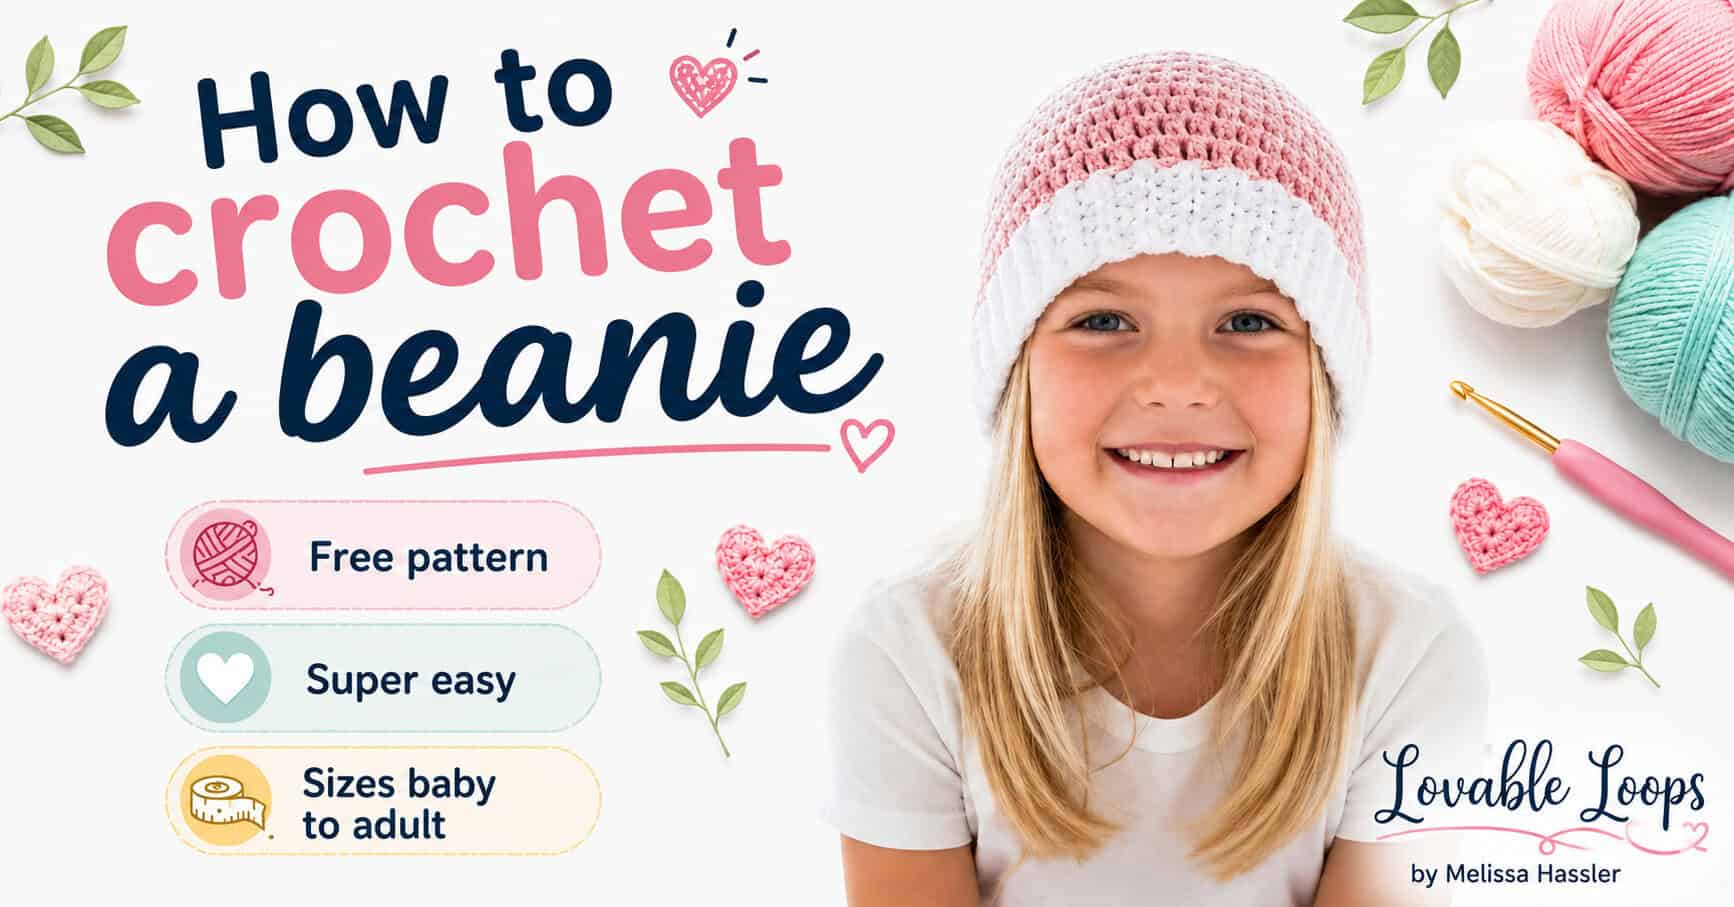
How to crochet a beanie
This how to crochet a beanie tutorial is a beginner-friendly pattern that teaches the core skills for making a simple, cozy beanie from the top down. With baby, toddler, child, and adult sizes, it’s a practical hat pattern you can use again and again for gifts, craft fairs, and everyday wear.
Quick answer
This how to crochet a beanie pattern is a beginner-friendly hat worked from the top down in the round using worsted weight yarn. It includes baby, toddler, child, and adult sizes and uses an H-8 (5 mm) hook for the hat and an I-9 (5.5 mm) hook for the ribbed brim.
Best for: Beginners
Style: Top-down beanie with ribbed brim
Includes: 4 sizes, written instructions, fit tips, and gauge
Why you’ll love this pattern
- Beginner-friendly — simple stitches and repeatable rounds
- Learn once, make forever — a classic beanie you’ll come back to again and again
- Four sizes included — baby, toddler, child, and adult
- Top-down construction — easy to try on as you go
- Stretchy ribbed brim — comfy fit that stays put
How this crochet hat is made
This beanie is worked in the round from the top down. Start with a magic circle, increase to shape the crown, then work even rounds for the body. The ribbed brim is added last using single crochet worked in the back loop only for a stretchy finish.
How to crochet a beanie pattern details
Here’s a quick overview of the materials, sizing, gauge, and pattern notes before you begin.
Skill level
Beginner — This beanie uses basic stitches (double crochet and single crochet) in simple repeats worked in rounds.
Materials needed
- H-8 (5 mm) crochet hook — for the hat
- I-9 (5.5 mm) crochet hook — for the brim
- Yarn — worsted weight yarn (#4)
- Yarn needle — for weaving in ends
- Scissors — for finishing
- Stitch marker — optional, for tracking rounds
- Tape measure — to check fit
Finished size
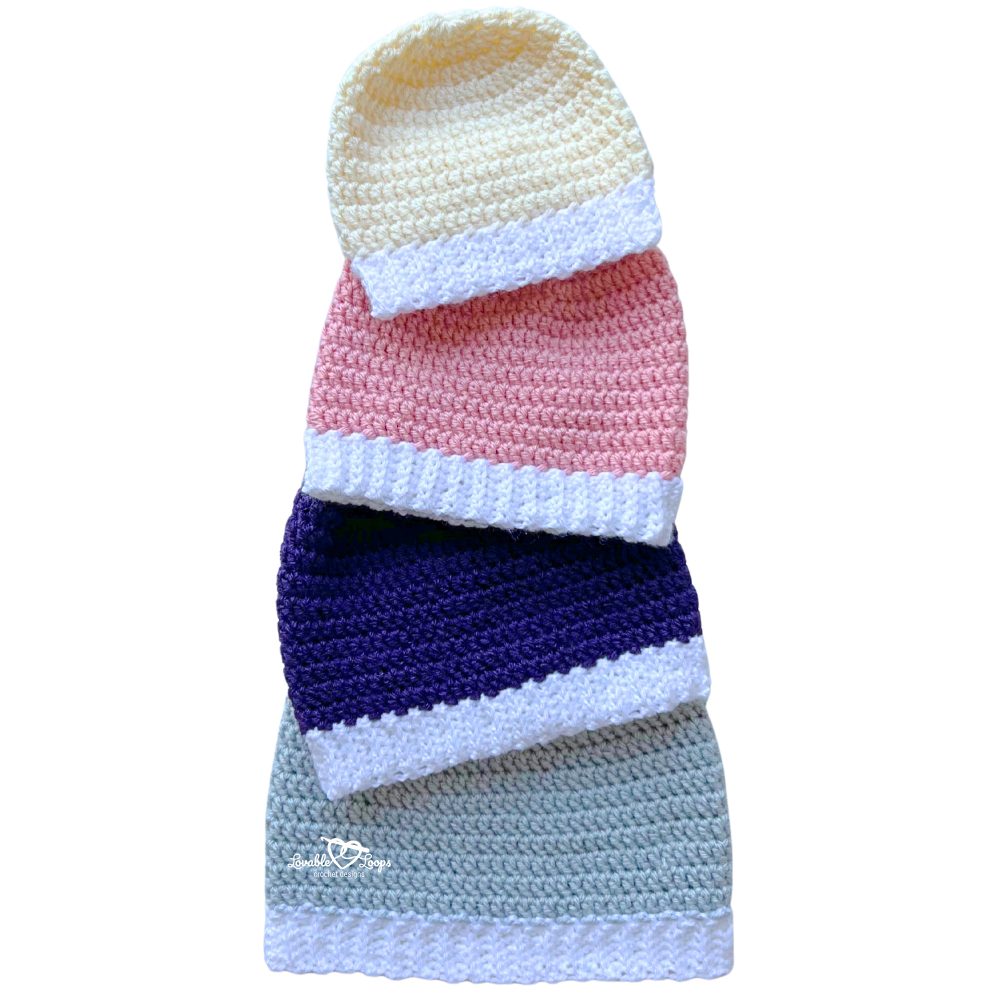
This crochet beanie pattern includes four sizes.
- Baby — 16–17 inches (41–43 cm) head circumference, 5.5 inches (14 cm) tall
- Toddler — 18–19 inches (46–48 cm) head circumference, 6.75 inches (17 cm) tall
- Child — 19–20 inches (48–51 cm) head circumference, 7.25 inches (18 cm) tall
- Adult — 20–23 inches (51–58 cm) head circumference, 8 inches (20 cm) tall
How to adjust the fit of this crochet hat
This hat is easy to customize depending on the fit and style you prefer.
Adjusting the height
• To make it longer, add 1–3 rounds to the hat body before starting the brim
• To make it shorter, work fewer even rounds before beginning the brim
Height adjustments affect the overall look and slouch of the hat.
Adjusting the fit (circumference)
• For a snugger fit, choose the smaller end of the listed head circumference range and use a slightly smaller hook if needed
• For a slouchier or more relaxed fit, add extra height to the body and use a slightly larger hook if needed
Most crochet hats are designed with slight negative ease, meaning the finished hat should measure slightly smaller than the head circumference for a secure fit. Matching gauge will give you the most accurate result before making other adjustments.
If you’d like help calculating crown diameter, understanding negative ease, or reviewing standard size charts, see my Crochet Hat Sizing Guide for full details.
Gauge
8 stitches and 5 rows = 2 inches (5 cm)
Too many stitches? Try a larger hook
Too few stitches? Try a smaller hook
Crochet abbreviations
- dc = double crochet stitch
- sc = single crochet stitch
- ch/chs = chain/chains
- st/sts = stitch/stitches
- rnd/rnds = round/rounds
- blo = back loop only
- rem = remaining
Pattern notes
- The chain at the beginning of each round does not count as your first stitch.
- Join the rounds with a slip stitch to the first stitch made in that round.
- Repeat instructions between the asterisks (*) for the rest of the round.
- You are crocheting in the round and working from the top of the hat down.
- The pattern is written in US crochet terms.

Quick links
Baby size
Toddler size
Child size
Adult size
Adding a brim
Finishing
FAQs
How to crochet a beanie pattern instructions
Ready to crochet? Follow the size you’re making (baby, toddler, child, or adult) and work from the top down, then finish with the ribbed brim.
Baby size
Round 1: Magic circle, ch 2, 12 dc, join (12 stitches)
Round 2: Ch 2, 2 dc in each st, join (24 stitches)
Round 3: Ch 2, *2 dc, dc in the next st*, join (36 stitches)
Round 4: Ch 2, *2 dc, dc in the next 2 sts*, join (48 stitches)
Rnds 5-11: Ch 2, dc in each st, join (48 stitches)
Toddler size
Round 1: Magic circle, ch 2, 12 dc, join (12 stitches)
Round 2: Ch 2, 2 dc in each st, join (24 stitches)
Round 3: Ch 2, *2 dc, dc in the next st*, join (36 stitches)
Round 4: Ch 2, *2 dc, dc in the next 2 sts*, join (48 stitches)
Round 5: Ch 2, *2 dc, dc in the next 7 sts*, join (54 stitches)
Round 6: Ch 2, *2 dc, dc in the next 8 sts*, join (60 stitches)
Rnds 7-15: Ch 2, dc in each st, join (60 stitches)
Child size
Round 1: Magic circle, ch 2, 12 dc, join (12 stitches)
Round 2: Ch 2, 2 dc in each st, join (24 stitches)
Round 3: Ch 2, *2 dc, dc in the next st*, join (36 stitches)
Round 4: Ch 2, *2 dc, dc in the next 2 sts*, join (48 stitches)
Round 5: Ch 2, *2 dc, dc in the next 7 sts*, join (54 stitches)
Round 6: Ch 2, *2 dc, dc in the next 8 sts*, join (60 stitches)
Round 7: Ch 2, *2 dc, dc in the next 9 sts*, join (66 stitches)
Rnds 8-16: Ch 2, dc in each st, join (66 stitches)
Adult size
Round 1: Magic circle, ch 2, 12 dc, join (12 stitches)
Round 2: Ch 2, 2 dc in each st, join (24 stitches)
Round 3: Ch 2, *2 dc, dc in the next st*, join (36 stitches)
Round 4: Ch 2, *2 dc, dc in the next 2 sts*, join (48 stitches)
Round 5: Ch 2, *2 dc, dc in the next 7 sts*, join (54 stitches)
Round 6: Ch 2, *2 dc, dc in the next 8 sts*, join (60 stitches)
Round 7: Ch 2, *2 dc, dc in the next 9 sts*, join (66 stitches)
Round 8: Ch 2, *2 dc, dc in the next 10 sts*, join (72 stitches)
Rounds 9-17: Ch 2, dc in each st, join (72 stitches)
Adding the ribbed brim
- I-9 5.5 mm crochet hook
- begin where you left off for the hat
- the images are from my toddler hat pattern

Step 1: Ch 7, sc in 2nd ch from hook and in each rem ch, (6 stitches)
Step 2: Slip stitch in the next 2 stitches.
Step 3: Turn your work clockwise
↑ Step 4: Do not chain, sc blo in each st, (6 stitches)
↓ Step 5: Ch 1, sc blo in each st, (6 stitches)
Repeat steps 2-5 all the way around.
Finally, use a yarn needle to sew the seam where the two ends of the brim meet.
Finishing
Fasten off and weave in your ends.
Frequently asked questions
What yarn works best for a beginner beanie?
Worsted weight yarn (#4) is a great choice because it’s easy to see your stitches and works up quickly.
Can I make this beanie in a different stitch?
Yes. The shaping stays the same, but changing stitches can change your gauge and size. If you switch stitches, re-check gauge before you commit.
How do I make the beanie longer or shorter?
Adjust the height by adding or removing even rounds in the hat body before you start the brim.
Do I have to use a magic circle?
It gives a neat top, but if you prefer, you can start with an alternative (like chaining and joining). Your stitch count for Round 1 should still be 12 dc.
Why doesn’t the beginning chain count as a stitch?
It keeps the seam cleaner and helps your stitch counts stay consistent.
How do I sew the brim seam?
Use a yarn needle to sew the two ends together neatly after you finish the ribbing.
More easy crochet hat patterns
If you’re looking for more simple beanies, explore my collection of easy crochet hat patterns. You’ll find beginner-friendly hats made with basic stitches in baby, child, and adult sizes.


Free crochet hat patterns
Looking for more crochet hat ideas? Browse my full collection of free crochet hat patterns for babies, kids, and adults. You’ll find everything from classic crochet beanies and cozy winter hats to playful animal hats and seasonal designs — all written with clear instructions and helpful sizing details.


Let’s connect!
I’d love to see what you’re making! Share your finished project and follow along for more free crochet patterns and tutorials.
📌 Don’t forget to pin this pattern for later!
Happy crocheting! 🧶
— Melissa