
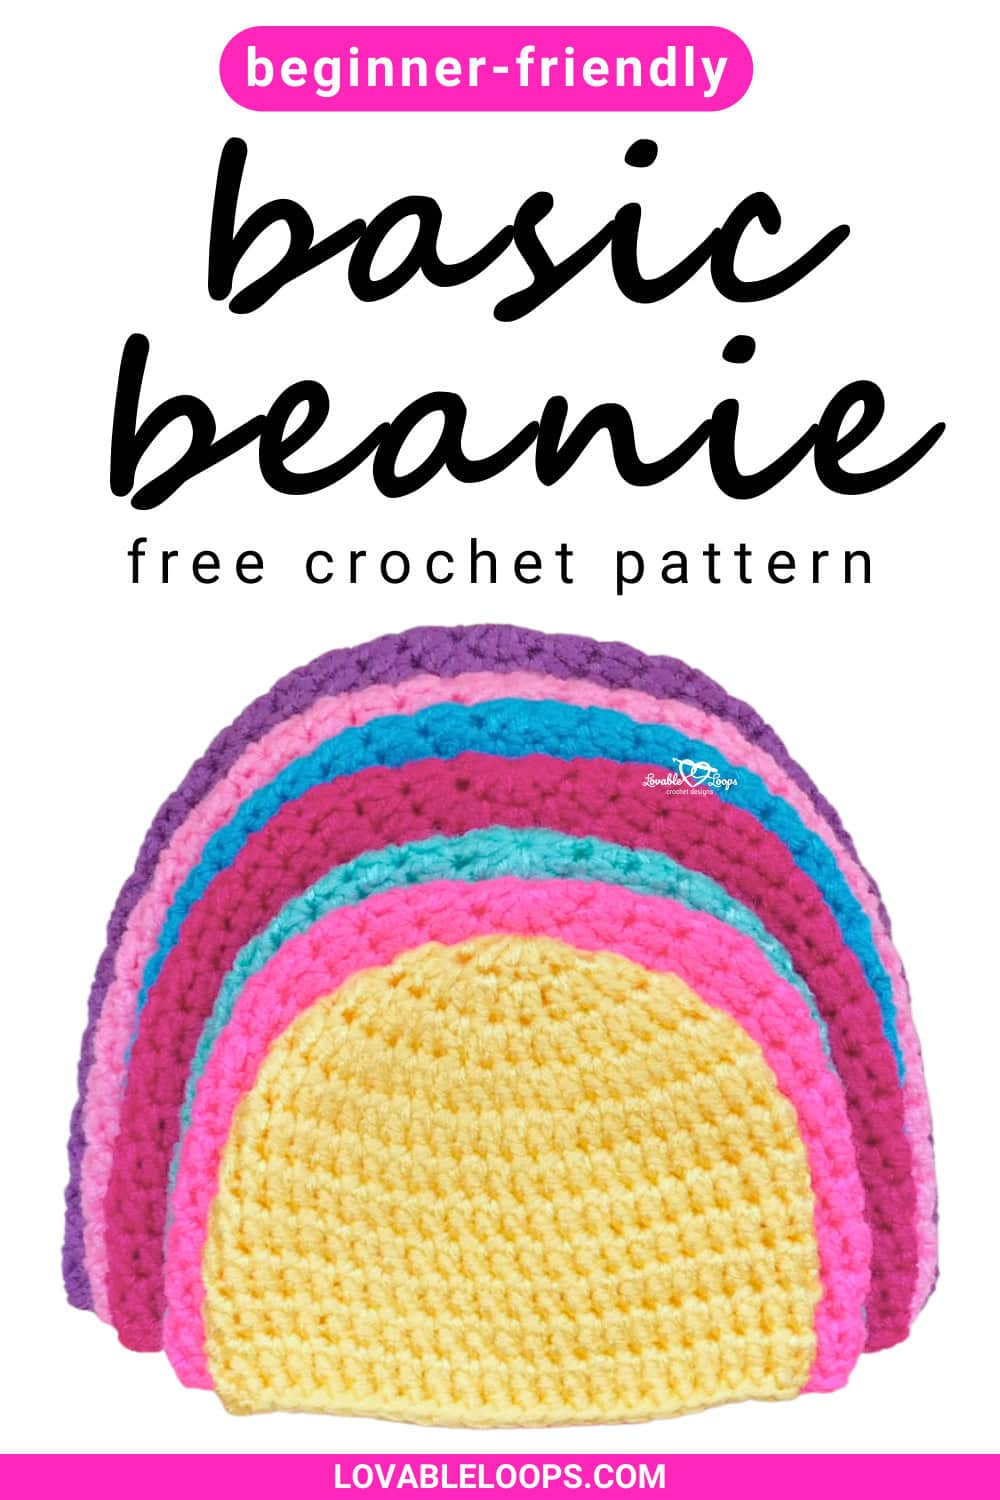
Basic crochet beanie pattern (free & beginner friendly)
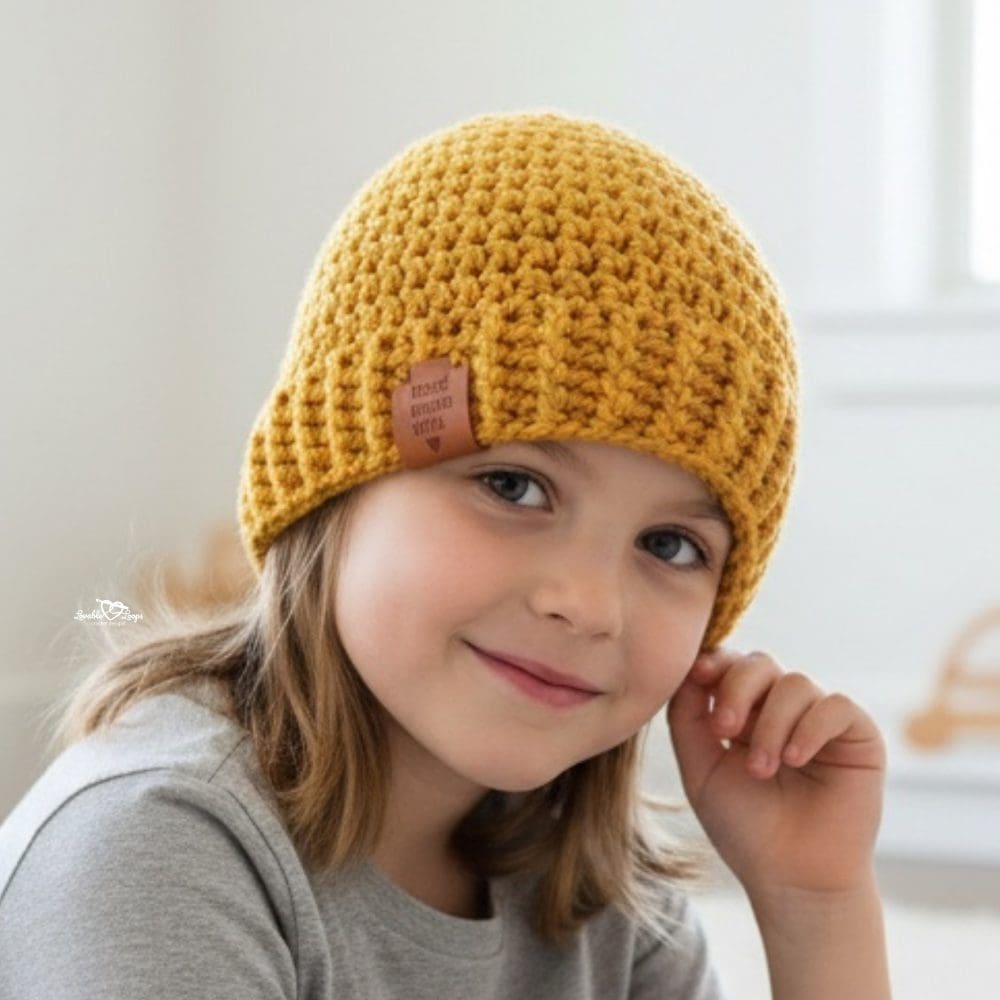
Want to make a basic crochet beanie the easy way? This basic crochet beanie pattern is perfect for beginners! Using simple double crochet stitches and worked in the round from the top down, this classic hat is quick, fun, and easy to follow.
Whether you’re making your first crochet hat or want a reliable go-to design, this soft and stretchy easy crochet beanie pattern is a must-try. With 7 sizes, clear step-by-step instructions, and a full video tutorial, you’ll have the confidence to create a beanie you’ll love—every stitch of the way. Scroll down for the full free basic crochet beanie pattern.
Quick answer
This basic crochet beanie pattern is worked in the round from the top down using simple double crochet stitches. Designed for beginners, this free pattern includes seven sizes from preemie to adult and uses worsted weight yarn for a soft, stretchy, everyday beanie that’s easy to customize.
Why this basic crochet beanie is great for beginners
This basic crochet beanie is an ideal first hat project. You’ll learn how to crochet a simple beanie using only basic stitches and easy increases—perfect for building confidence without feeling overwhelmed.
A detailed, step-by-step video tutorial is included so you can follow along visually as you work. Even if you’ve never made a hat before, you’ll finish with a soft, stretchy double crochet beanie that’s both stylish and practical. It’s a confidence-boosting project that shows just how fun crochet can be.
Perfect for gifts, craft fairs, and quick crochet beanies
This basic crochet beanie pattern is a great choice when you need a reliable hat you can make again and again. The simple construction and classic shape make it easy to batch in multiple colors or sizes.
Because it works up quickly and uses worsted weight yarn, it’s ideal for baby showers, charity donations, and craft fair inventory. Whether you’re crocheting for loved ones or building stock for your handmade shop, this is a beanie pattern you’ll reach for often.

Free basic crochet beanie pattern details
Here’s a quick overview of everything you need to know before you start, including skill level, materials, sizing, gauge, and helpful notes to set you up for success.
Skill level
Beginner level — This double crochet beanie pattern uses only simple stitches and easy increases, making it a great first crochet hat project.
Materials needed
- Crochet hook size I-9 (5.5 mm) — Or the size needed to match the gauge.
- Worsted weight yarn (#4) — Soft yarn works best.
- Yarn needle — For weaving in ends neatly.
- Scissors — To cut your yarn.
- Stitch markers — Optional, to help mark stitches or keep track of rows.
- Pom pom maker — Optional, to make a yarn pom pom.
Finished size
This pattern includes multiple sizes with a complete size chart to help you choose the best fit. Use the chart below to match head circumference, crown size, and hat height, and always check your gauge for the most accurate results.
Sizes are based on average head circumference. When between sizes, size up for a more relaxed fit.
| Beanie Size | Crown | Head Circumference | Hat Height |
| Preemie | 3.5 inches (9 cm) | 12–13 inches (30-33 cm) | 4.25 inches (11 cm) |
| 0–3 months | 4.5 inches (11 cm) | 13–14 inches (33-36 cm) | 5 inches (13 cm) |
| 3–6 months | 5 inches (13 cm) | 14–15 inches (36-38 cm) | 5.5 inches (14 cm) |
| 6–12 months | 5.5 inches (14 cm) | 16–17 inches (41-43 cm) | 6.25 inches (16 cm) |
| Toddler | 6 inches (15 cm) | 18–19 inches (46-48 cm) | 6.75 inches (17 cm) |
| Child | 6.5 inches (17 cm) | 19–20 inches (48-51 cm) | 7 inches (18 cm) |
| Adult | 7 inches (18 cm) | 20–23 inches (51-58 cm) | 7.75 inches (20 cm) |
Need help with crochet hat sizing?
Getting the right fit is one of the most important parts of making a crochet hat.
If you’re unsure about head circumference, negative ease, crown diameter, or hat height, I’ve created a complete Crochet Hat Sizing Guide that walks you through everything step by step.
You’ll learn:
• How to measure head circumference correctly
• How much negative ease to use
• How to calculate crown diameter
• Standard baby, child, and adult size charts
• How to adjust any crochet hat pattern for a better fit
Gauge
Gauge: 15 stitches and 10 rounds = 4 inches (10 cm)
✅ Too many stitches? Try a larger hook
✅ Too few stitches? Try a smaller hook
Crochet abbreviations
- dc = double crochet stitch
- sc = single crochet stitch
- ch / chs = chain / chains
- st / sts = stitch / stitches
- sl st = slip stitch
Pattern notes
- Begin with a magic circle
- The starting chain does not count as a stitch
- Join each round with a slip stitch to the first stitch
- Hat is worked in the round from the top down
- Pattern is written in US crochet terms
Get the ad-free printable PDF
Want to crochet your beanie without ads or interruptions? Grab the printable PDF of the Basic Crochet Beanie Pattern in my Etsy shop. It includes all 7 sizes and is perfect for offline use or saving for later.
Basic crochet beanie pattern video tutorial
In this basic crochet beanie pattern video tutorial, I demonstrate the 0–3 month size step by step so you can see how the crown, body, and brim come together. Follow along with the video, then use the written instructions below to make any of the 7 sizes.

Basic crochet beanie pattern instructions
Follow the step-by-step instructions below to crochet this hat from the top down in the round. Choose your size and work through the pattern at your own pace.
Preemie size
Round 1: Make a magic circle. Ch 2, work 11 dc into the ring. Join. (11 sts)
Round 2: Ch 2, 2 dc in each st around. Join. (22 sts)
Round 3: Ch 2, *2 dc in next st, dc in next st; repeat from * around. Join. (33 sts)
Round 4: Ch 2, *2 dc in next st, dc in next 2 sts; repeat around. Join. (44 sts)
Round 5: Ch 2, dc in each stitch around. Join. (44 sts)
Rounds 6–11: Repeat Round 5. (44 sts per round)
Round 12: Ch 1, sc in each stitch around. Join, fasten off, and weave in ends. (44 sts)
0–3 months size
Round 1: Make a magic circle. Ch 2, work 11 dc into the ring. Join. (11 sts)
Round 2: Ch 2, 2 dc in each st around. Join. (22 sts)
Round 3: Ch 2, *2 dc in next st, dc in next st; repeat from * around. Join. (33 sts)
Round 4: Ch 2, *2 dc in next st, dc in next 2 sts; repeat around. Join. (44 sts)
Round 5: Ch 2, *2 dc in next st, dc in next 10 sts; repeat around. Join. (48 sts)
Round 6: Ch 2, dc in each stitch around. Join. (48 sts)
Rounds 7–13: Repeat Round 6. (48 sts per round)
Round 14: Ch 1, sc in each stitch around. Join and fasten off. (48 sts)
3–6 months size
Round 1: Make a magic circle. Ch 2, work 11 dc into the ring. Join. (11 sts)
Round 2: Ch 2, 2 dc in each st around. Join. (22 sts)
Round 3: Ch 2, *2 dc in next st, dc in next st; repeat from * around. Join. (33 sts)
Round 4: Ch 2, *2 dc in next st, dc in next 2 sts; repeat around. Join. (44 sts)
Round 5: Ch 2, *2 dc in next st, dc in next 10 sts; repeat around. Join. (48 sts)
Round 6: Ch 2, *2 dc in next st, dc in next 11 sts; repeat around. Join. (52 sts)
Round 7: Ch 2, dc in each stitch around. Join. (52 sts)
Rounds 8–15: Repeat Round 7. (52 sts per round)
Round 16: Ch 1, sc in each stitch around. Join and fasten off. (52 sts)
6–12 months size
Round 1: Make a magic circle. Ch 2, work 11 dc into the ring. Join. (11 sts)
Round 2: Ch 2, 2 dc in each st around. Join. (22 sts)
Round 3: Ch 2, *2 dc in next st, dc in next st; repeat from * around. Join. (33 sts)
Round 4: Ch 2, *2 dc in next st, dc in next 2 sts; repeat around. Join. (44 sts)
Round 5: Ch 2, *2 dc in next st, dc in next 10 sts; repeat around. Join. (48 sts)
Round 6: Ch 2, *2 dc in next st, dc in next 11 sts; repeat around. Join. (52 sts)
Round 7: Ch 2, *2 dc in next st, dc in next 12 sts; repeat around. Join. (56 sts)
Round 8: Ch 2, dc in each stitch around. Join. (56 sts)
Rounds 9–16: Repeat Round 8. (56 sts per round)
Round 17: Ch 1, sc in each stitch around. Join and fasten off. (56 sts)
Toddler size
Round 1: Make a magic circle. Ch 2, work 11 dc into the ring. Join. (11 sts)
Round 2: Ch 2, 2 dc in each st around. Join. (22 sts)
Round 3: Ch 2, *2 dc in next st, dc in next st; repeat from * around. Join. (33 sts)
Round 4: Ch 2, *2 dc in next st, dc in next 2 sts; repeat around. Join. (44 sts)
Round 5: Ch 2, *2 dc in next st, dc in next 10 sts; repeat around. Join. (48 sts)
Round 6: Ch 2, *2 dc in next st, dc in next 11 sts; repeat around. Join. (52 sts)
Round 7: Ch 2, *2 dc in next st, dc in next 12 sts; repeat around. Join. (56 sts)
Round 8: Ch 2, *2 dc in next st, dc in next 13 sts; repeat around. Join. (60 sts)
Round 9: Ch 2, dc in each stitch around. Join. (60 sts)
Rounds 10–18: Repeat Round 9. (60 sts per round)
Round 19: Ch 1, sc in each stitch around. Join and fasten off. (60 sts)
Child size
Round 1: Make a magic circle. Ch 2, work 11 dc into the ring. Join. (11 sts)
Round 2: Ch 2, 2 dc in each st around. Join. (22 sts)
Round 3: Ch 2, *2 dc in next st, dc in next st; repeat from * around. Join. (33 sts)
Round 4: Ch 2, *2 dc in next st, dc in next 2 sts; repeat around. Join. (44 sts)
Round 5: Ch 2, *2 dc in next st, dc in next 10 sts; repeat around. Join. (48 sts)
Round 6: Ch 2, *2 dc in next st, dc in next 11 sts; repeat around. Join. (52 sts)
Round 7: Ch 2, *2 dc in next st, dc in next 12 sts; repeat around. Join. (56 sts)
Round 8: Ch 2, *2 dc in next st, dc in next 13 sts; repeat around. Join. (60 sts)
Round 9: Ch 2, *2 dc in next st, dc in next 14 sts; repeat around. Join. (64 sts)
Round 10: Ch 2, dc in each stitch around. Join. (64 sts)
Rounds 11–19: Repeat Round 10. (64 sts per round)
Round 20: Ch 1, sc in each stitch around. Join and fasten off. (64 sts)
Adult size
Round 1: Make a magic circle. Ch 2, work 11 dc into the ring. Join. (11 sts)
Round 2: Ch 2, 2 dc in each st around. Join. (22 sts)
Round 3: Ch 2, *2 dc in next st, dc in next st; repeat from * around. Join. (33 sts)
Round 4: Ch 2, *2 dc in next st, dc in next 2 sts; repeat around. Join. (44 sts)
Round 5: Ch 2, *2 dc in next st, dc in next 10 sts; repeat around. Join. (48 sts)
Round 6: Ch 2, *2 dc in next st, dc in next 11 sts; repeat around. Join. (52 sts)
Round 7: Ch 2, *2 dc in next st, dc in next 12 sts; repeat around. Join. (56 sts)
Round 8: Ch 2, *2 dc in next st, dc in next 13 sts; repeat around. Join. (60 sts)
Round 9: Ch 2, *2 dc in next st, dc in next 14 sts; repeat around. Join. (64 sts)
Round 10: Ch 2, *2 dc in next st, dc in next 15 sts; repeat around. Join. (68 sts)
Round 11: Ch 2, dc in each stitch around. Join. (68 sts)
Rounds 12–21: Repeat Round 11. (68 sts per round)
Round 22: Ch 1, sc in each stitch around. Join and fasten off. (68 sts)
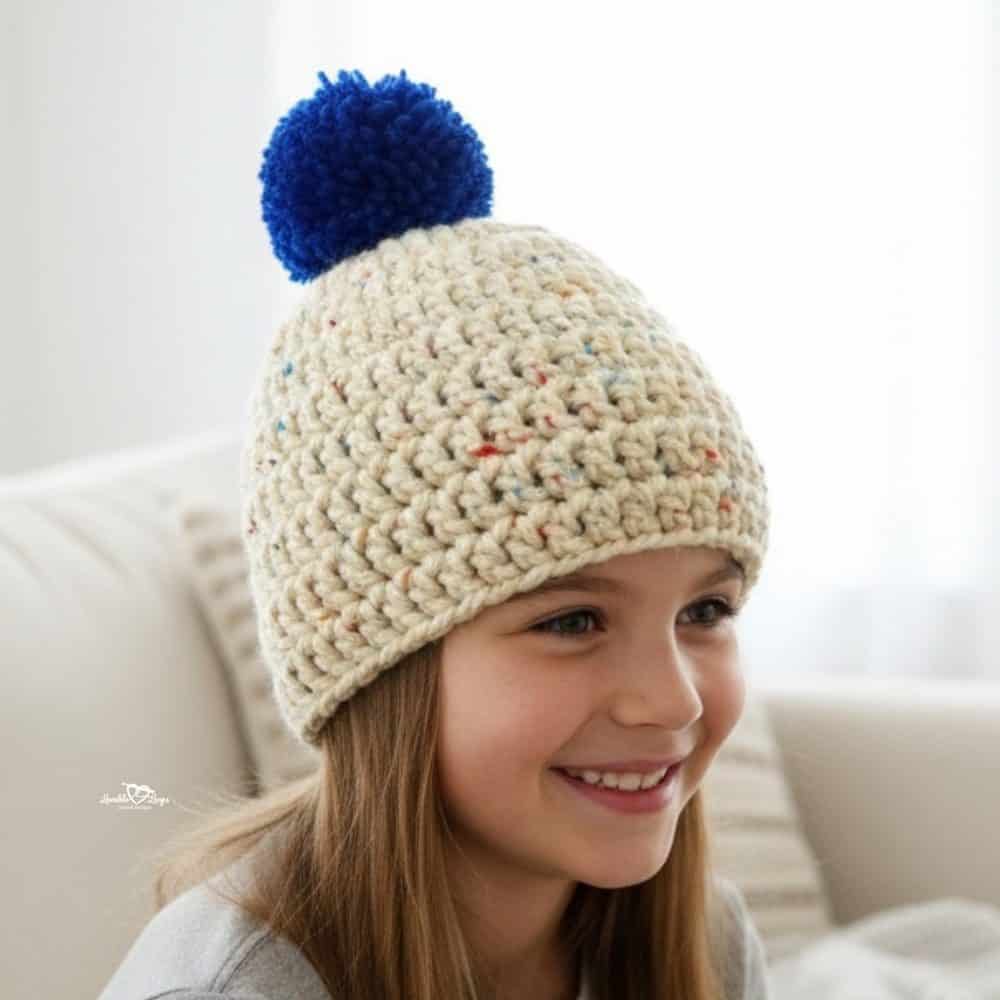
Add a pom pom to your crochet beanie
Want to give your beanie a fun finishing touch? Try adding a yarn pom pom.
- Wrap yarn around a pom pom maker
- Cut along the groove
- Tie securely in the center with strong yarn
- Fluff and trim
- Sew firmly to the top of your hat
Finishing your beanie
Fasten off and weave in your yarn ends. Add a pom pom if you’d like. Your cozy crochet beanie is ready to go—wear it, gift it, or sell it with pride!

Frequently asked questions
Is this a good crochet beanie pattern for beginners?
Yes! This easy crochet beanie pattern is designed with beginners in mind and includes clear instructions plus a full video tutorial.
What sizes are included?
This pattern includes 7 sizes: Preemie, 0–3 months, 3–6 months, 6–12 months, Toddler, Child, and Adult.
What yarn is best for this beanie?
Soft worsted weight yarn (#4 medium) works best. Acrylic yarn is a popular choice because it’s affordable, machine washable, and holds its shape well.
How much yarn do I need?
You’ll need approximately 50–150 yards, depending on the size.
Do I have to add a pom pom?
Nope! The pom pom is completely optional.
Can I sell finished beanies made from this pattern?
Yes! You may sell finished beanies made using this pattern. When possible, please credit Lovable Loops as the designer.
More easy crochet hat patterns
If you’re looking for more simple beanies, explore my collection of easy crochet hat patterns. You’ll find beginner-friendly hats made with basic stitches in baby, child, and adult sizes.


More free crochet hat patterns
Looking for more crochet hat ideas? Browse my full collection of free crochet hat patterns for babies, kids, and adults. You’ll find everything from classic crochet beanies and cozy winter hats to playful animal hats and seasonal designs — all written with clear instructions and helpful sizing details.


Let’s connect!
I’d love to see what you’re making! Share your finished project and follow along for more free crochet patterns and tutorials.
📌 Don’t forget to pin this pattern for later!
Happy crocheting! 🧶
— Melissa