
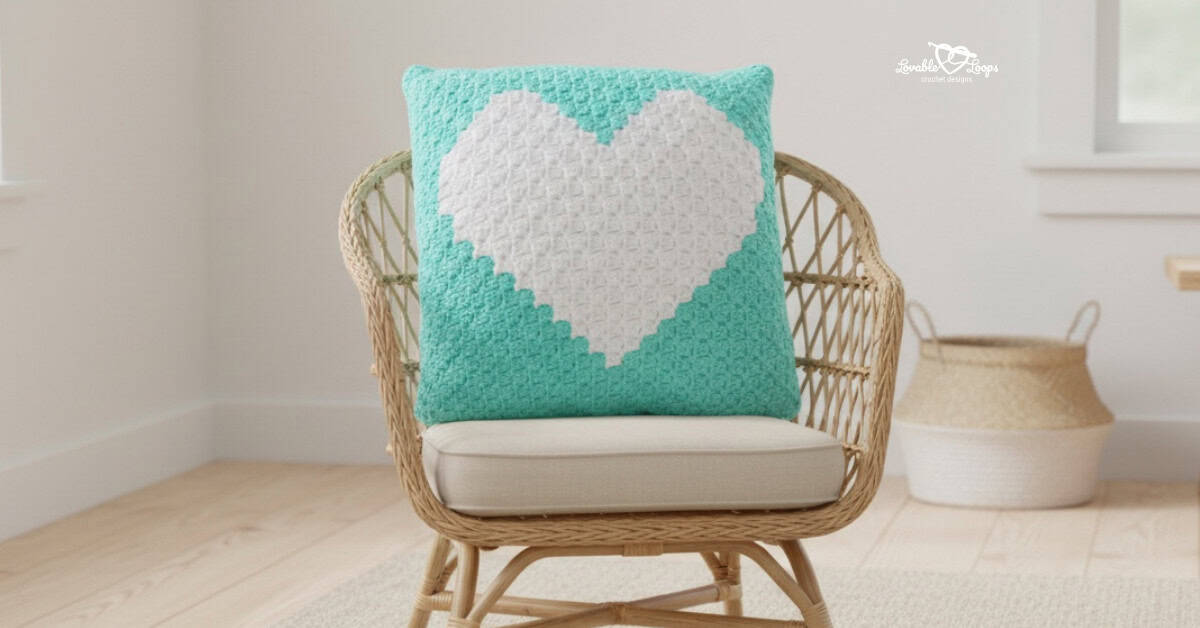
Free crochet heart pillow pattern – easy C2C square design
Looking for a cozy and meaningful crochet project? This free crochet heart pillow pattern uses the corner-to-corner (C2C) method to create a bold heart square that’s perfect for pillows, home décor, and heartfelt handmade gifts. The pattern is beginner-friendly, easy to customize, and includes both a graph and written instructions so you can crochet with confidence from start to finish. Keep reading for the full free pattern.

Why you’ll love this crochet heart pillow pattern
This heart pillow crochet pattern is designed to be fun, flexible, and rewarding—whether you’re new to C2C crochet or looking for a quick project with big visual impact.
- Beginner-friendly C2C design: Uses simple double crochet stitches and easy color changes.
- Free pattern: The complete crochet heart pillow pattern is available right here on the blog.
- Versatile heart square: Use the same square for pillows, blankets, bags, or wall décor.
- Includes graph + written instructions: Crochet the way that works best for you.
- Perfect for gifting: A handmade heart pillow makes a thoughtful gift for holidays, birthdays, or special occasions.
- Easy to customize: Change colors, yarn, or size to match your style or décor.
The many uses for this crochet heart C2C pattern
This crochet heart pillow free pattern is more than just a pillow—it’s a versatile heart square you can use in so many creative ways.
- Heart pillow: Turn the square into a cozy decorative pillow using a pillow insert or fiber fill.
- Blankets & afghans: Combine multiple heart squares to create a larger C2C crochet blanket.
- Wall hangings: Add a dowel or hanging loop for charming handmade wall art.
- Tote bags: Sew the square onto a bag panel for a bold crochet statement piece.
- Seasonal décor: Perfect for Valentine’s Day, weddings, baby showers, or year-round love-themed décor.
Once you learn how to crochet a heart pillow square, you’ll find endless ways to use it in future projects.

Crochet heart pillow pattern details
This section includes all the key information for this crochet heart pillow pattern, including skill level, materials, sizing, gauge, and notes to help you get the best results before you start crocheting.
Skill level
Advanced beginner — This crochet heart pillow pattern uses the corner-to-corner (C2C) crochet technique with basic double crochet stitches and simple color changes, making it a great project for confident beginners ready to try C2C.
Materials needed
- G-6 (4 mm) crochet hook – or size needed to match gauge
- Worsted weight yarn (#4) – in green, white, and gray
- Pillow insert or fiber fill – for stuffing (15″ x 15″)
- Yarn needle – for weaving in ends
- Scissors – for cutting yarn
- Stitch markers (optional) – for keeping track of rows
Ad-free printable PDF
Prefer a print-friendly version? Grab the ad-free, printable PDF of this crochet heart pillow pattern and enjoy easy, distraction-free crocheting.
Finished size
15 inches by 15 inches
Gauge
8 C2C squares (ch 3 + 3 dc) = 4 inches (10 cm)
✅ Too many stitches in 4 inches? Try a larger hook.
✅ Too few stitches in 4 inches? Try a smaller hook.
Crochet abbreviations
- dc = double crochet
- sc = single crochet
- hdc = half double crochet
- ch/chs = chain/chains
- st/sts = stitch/stitches
- sl st = slip stitch
Pattern notes
- The pillow is made using the corner-to-corner (C2C) crochet technique
- You can follow either the graph or the written instructions for color changes
- Each C2C block is worked as chain 3 + 3 double crochet
- Chain 6 to start a new row, and chain 3 to start a new block
- ↙ Rows worked in this direction are right-side rows
- ↗ Rows worked in this direction are wrong-side rows
- The pattern is written in US terms
Corner-to-corner crochet (C2C) technique explained
Corner-to-corner crochet (C2C) is a fun technique where you work in diagonal rows instead of straight rows. In this crochet heart pillow pattern, the C2C method is used to create a square made up of small blocks, each worked with a chain 3 and double crochet stitches. You’ll start in one corner of the square, increase to the widest point, then decrease to the opposite corner, forming the heart design as you go.
Video tutorial: how to crochet a C2C heart square
New to corner-to-corner crochet? This beginner-friendly C2C video tutorial walks you through the basics step by step, using a small heart square so you can practice before starting the full crochet heart pillow pattern. You’ll learn how to work C2C rows, change colors, and follow a heart design using simple double crochet stitches.

Free crochet heart pillow pattern instructions
Follow the step-by-step instructions below to crochet your heart pillow square using the C2C method. You can work from the graph or the written instructions to create the heart design, then finish it into a cozy crochet heart pillow.
Heart square graph
Download the heart square graph
Written instructions
↙ Row 1: green x 1 (1 square)
↗ Row 2: green x 2 (2 squares)
↙ Row 3: green x 3 (3 squares)
↗ Row 4: green x 4 (4 squares)
↙ Row 5: green x 5 (5 squares)
↗ Row 6: green x 6 (6 squares)
↙ Row 7: green x 7 (7 squares)
↗ Row 8: green x 8 (8 squares)
↙ Row 9: green x 9 (9 squares)
↗ Row 10: green x 10 (10 squares)
↙ Row 11: green x 11 (11 squares)
↗ Row 12: green x 12 (12 squares)
↙ Row 13: green x 13 (13 squares)
↗ Row 14: green x 14 (14 squares)
↙ Row 15: green x 15 (15 squares)
↗ Row 16: green x 16 (16 squares)
↙ Row 17: green x 17 (17 squares)
↗ Row 18: green x 18 (18 squares)
↙ Row 19: green x 5, white x 9, green x 5 (19 squares)
↗ Row 20: green x 6, white x 10, green x 4 (20 squares)
↙ Row 21: green x 4, white x 11, green x 6 (21 squares)
↗ Row 22: green x 7, white x 11, green x 4 (22 squares)
↙ Row 23: green x 4, white x 12, green x 7 (23 squares)
↗ Row 24: green x 8, white x 11, green x 5 (24 squares)
↙ Row 25: green x 5, white x 12, green x 8 (25 squares)
↗ Row 26: green x 9, white x 11, green x 6 (26 squares)
↙ Row 27: green x 6, white x 12, green x 9 (27 squares)
Corner: Start decreasing on both ends
↗ Row 28: green x 9, white x 11, green x 6 (26 squares)
↙ Row 29: green x 5, white x 12, green x 8 (25 squares)
↗ Row 30: green x 8, white x 11, green x 5 (24 squares)
↙ Row 31: green x 5, white x 11, green x 7 (23 squares)
↗ Row 32: green x 7, white x 6, green x 9 (22 squares)
↙ Row 33: green x 8, white x 7, green x 6 (21 squares)
↗ Row 34: green x 6, white x 6, green x 8 (20 squares)
↙ Row 35: green x 7, white x 7, green x 5 (19 squares)
↗ Row 36: green x 5, white x 6, green x 7 (18 squares)
↙ Row 37: green x 6, white x 6, green x 5 (17 squares)
↗ Row 38: green x 4, white x 6, green x 6 (16 squares)
↙ Row 39: green x 5, white x 6, green x 4 (15 squares)
↗ Row 40: green x 4, white x 5, green x 5 (14 squares)
↙ Row 41: green x 5, white x 4, green x 4 (13 squares)
↗ Row 42: green x 12 (12 squares)
↙ Row 43: green x 11 (11 squares)
↗ Row 44: green x 10 (10 squares)
↙ Row 45: green x 9 (9 squares)
↗ Row 46: green x 8 (8 squares)
↙ Row 47: green x 7 (7 squares)
↗ Row 48: green x 6 (6 squares)
↙ Row 49: green x 5 (5 squares)
↗ Row 50: green x 4 (4 squares)
↙ Row 51: green x 3 (3 squares)
↗ Row 52: green x 2 (2 squares)
↙ Row 53: green x 1 (1 square)
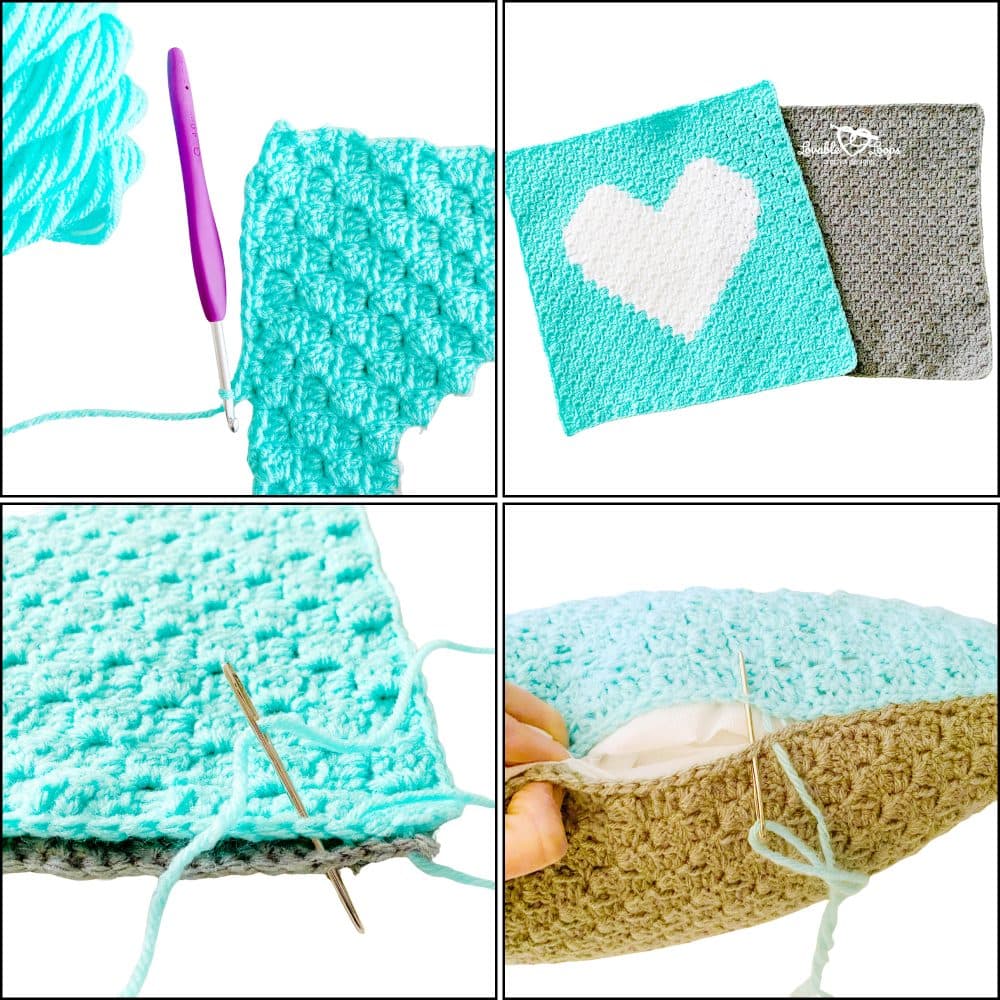
Border for the heart pillow square
Add a single crochet border around the heart square to create a clean, finished edge. Work 2 single crochet stitches in each C2C square along the sides. In each corner square, work (2 single crochet, chain 2, 2 single crochet) to keep the corners neat and square.
Back cover for the heart pillow
Crochet the back cover using the same C2C pattern as the front, but work it in one solid color without the heart design. Once finished, add the same single crochet border around the back piece.
Assembling the heart pillow
Place the front and back pieces together with the right sides facing out. Sew three sides together using a yarn needle, then insert a pillow form or stuff with fiber fill. Sew the final side closed to secure the pillow.
Finishing the heart pillow
Weave in all yarn ends and trim any excess. Your crochet heart pillow is now finished and ready to display or gift!
FAQ – crochet heart pillow pattern
Is this crochet heart pillow pattern beginner friendly?
Yes. This is an advanced beginner crochet pattern that uses the corner-to-corner (C2C) method with basic double crochet stitches and simple color changes.
What size is the finished crochet heart pillow?
The finished C2C heart square measures approximately 15 inches by 15 inches, making it a great size for a decorative pillow.
Can I use this pattern for projects other than a pillow?
Absolutely. This heart square crochet pattern can also be used for blankets, tote bags, wall hangings, and other decorative crochet projects.
Do I need to follow the graph or the written instructions?
You can use either option. The pattern includes both a C2C graph and written instructions so you can crochet using the method you prefer.
What yarn works best for this crochet heart pillow pattern?
Worsted weight (#4) yarn works best for this pattern. Using a smooth yarn will help the heart design stand out clearly.
Is this a free crochet heart pillow pattern?
Yes. The full crochet heart pillow pattern is free on the blog, with an optional printable PDF available for purchase if you prefer a print-friendly version.
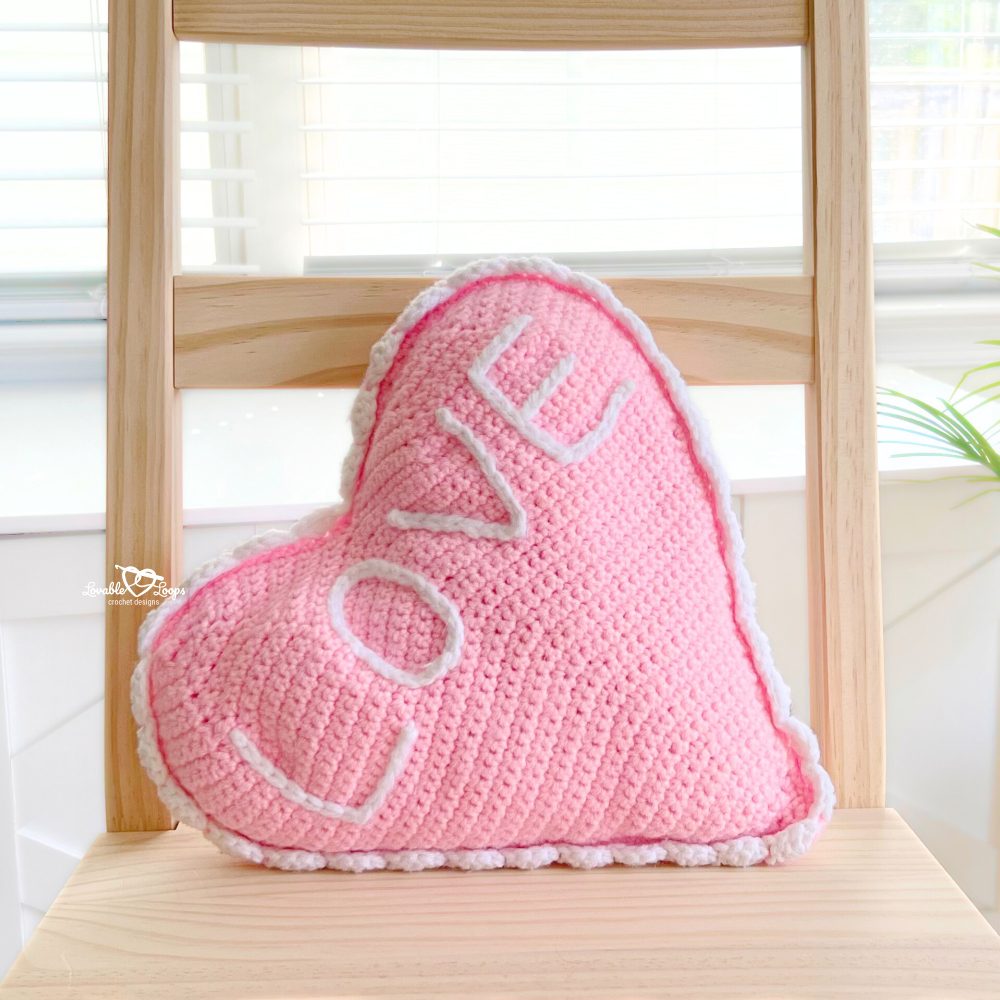
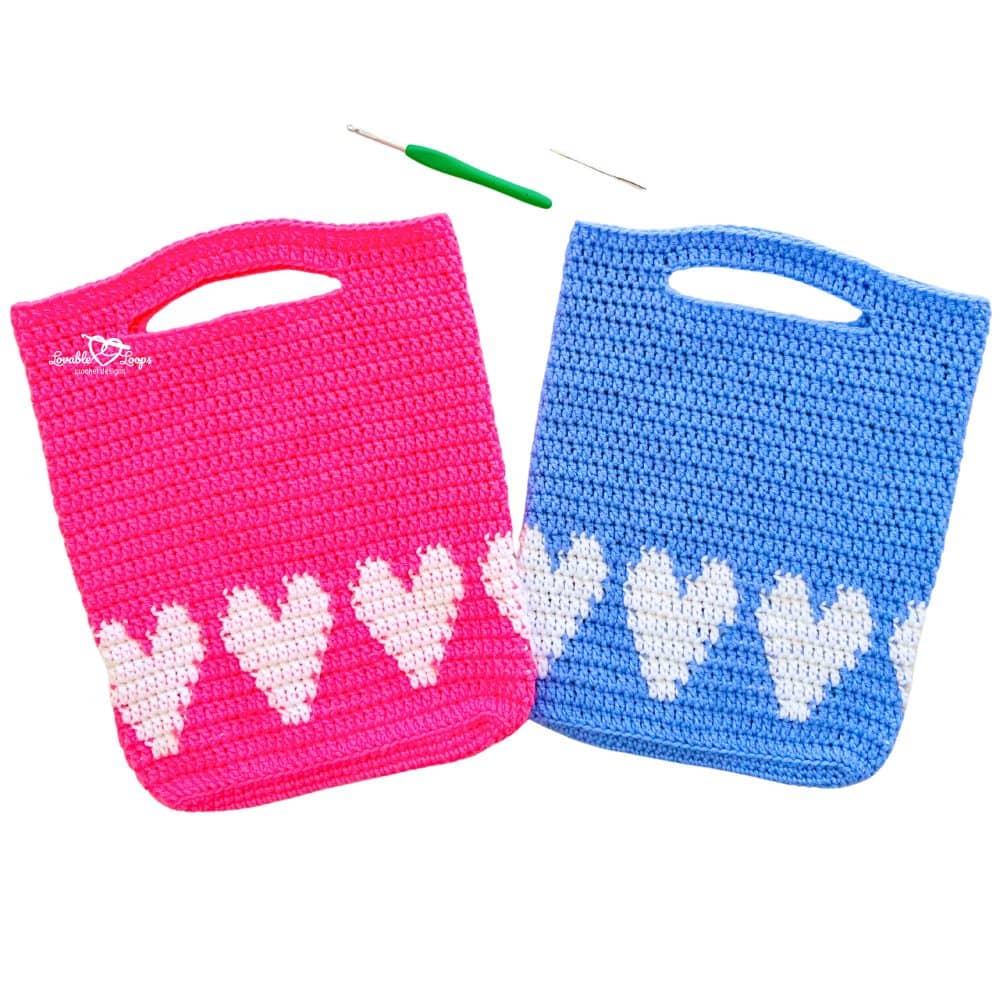
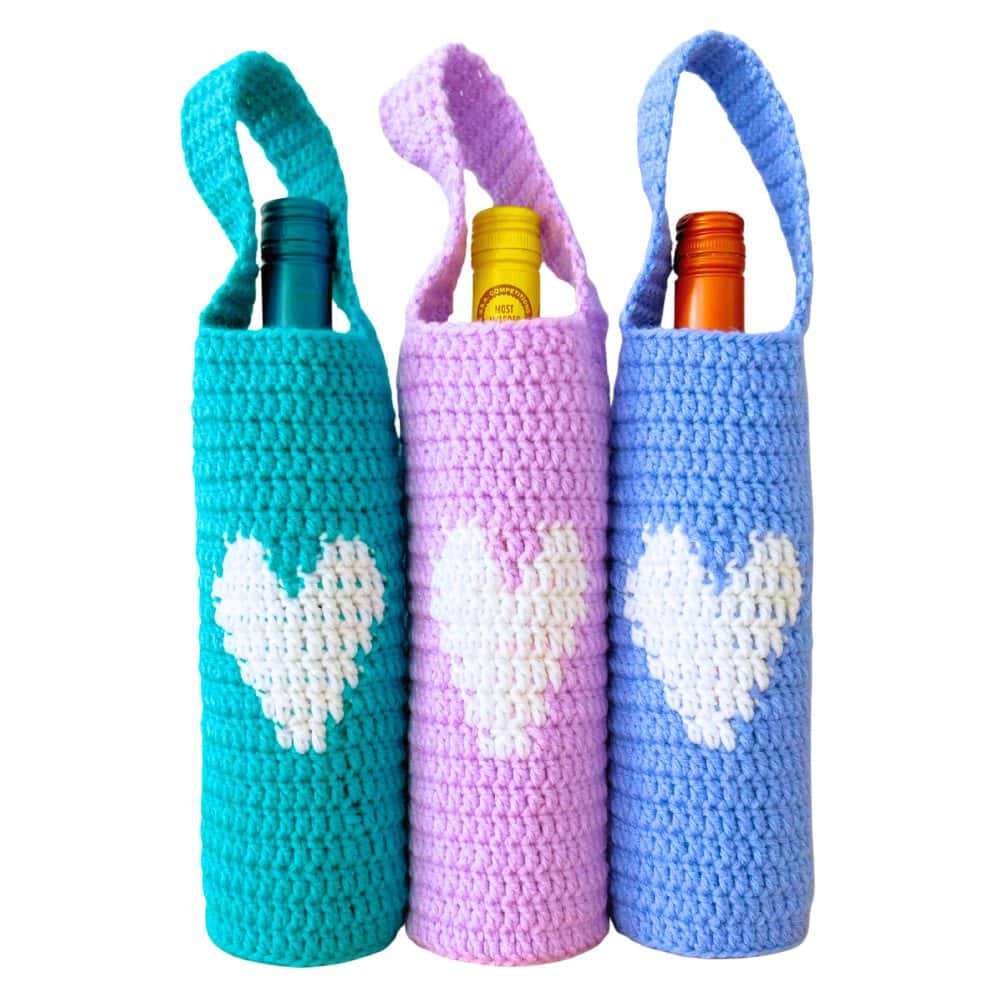
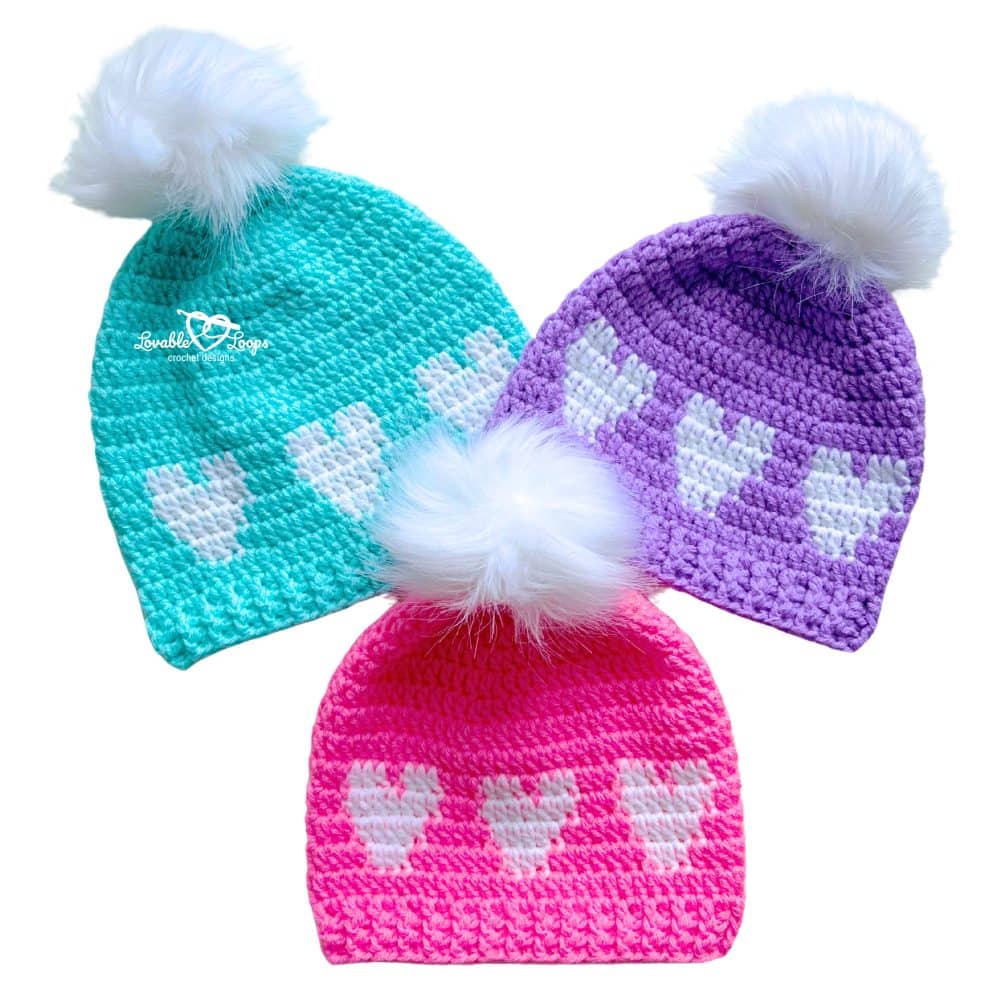
Free crochet heart patterns
Looking for more free crochet heart patterns? These sweet and simple designs are perfect for Valentine’s Day gifts, heartfelt décor, and quick handmade projects. Start your crochet heart creations today and spread a little love with every stitch!


More crochet pillow patterns
Looking for more cozy handmade accents for your home? Browse my favorite crochet pillow patterns, including seasonal pillows, decorative cushions, and cute crochet designs for couches, chairs, beds, and benches.
You can also visit my full collection of home decor crochet patterns for even more handmade ideas to decorate every season.
Let’s connect!
I’d love to see what you’re making! Share your makes and follow along here:
📸 Instagram
📌 Pinterest
📘 Facebook
▶️ YouTube
🛍️ Etsy Shop
🧶 Ravelry
Pin this crochet heart pillow pattern so you can make it anytime you need a heartfelt handmade gift!
Happy crocheting! 🧶
-Melissa