

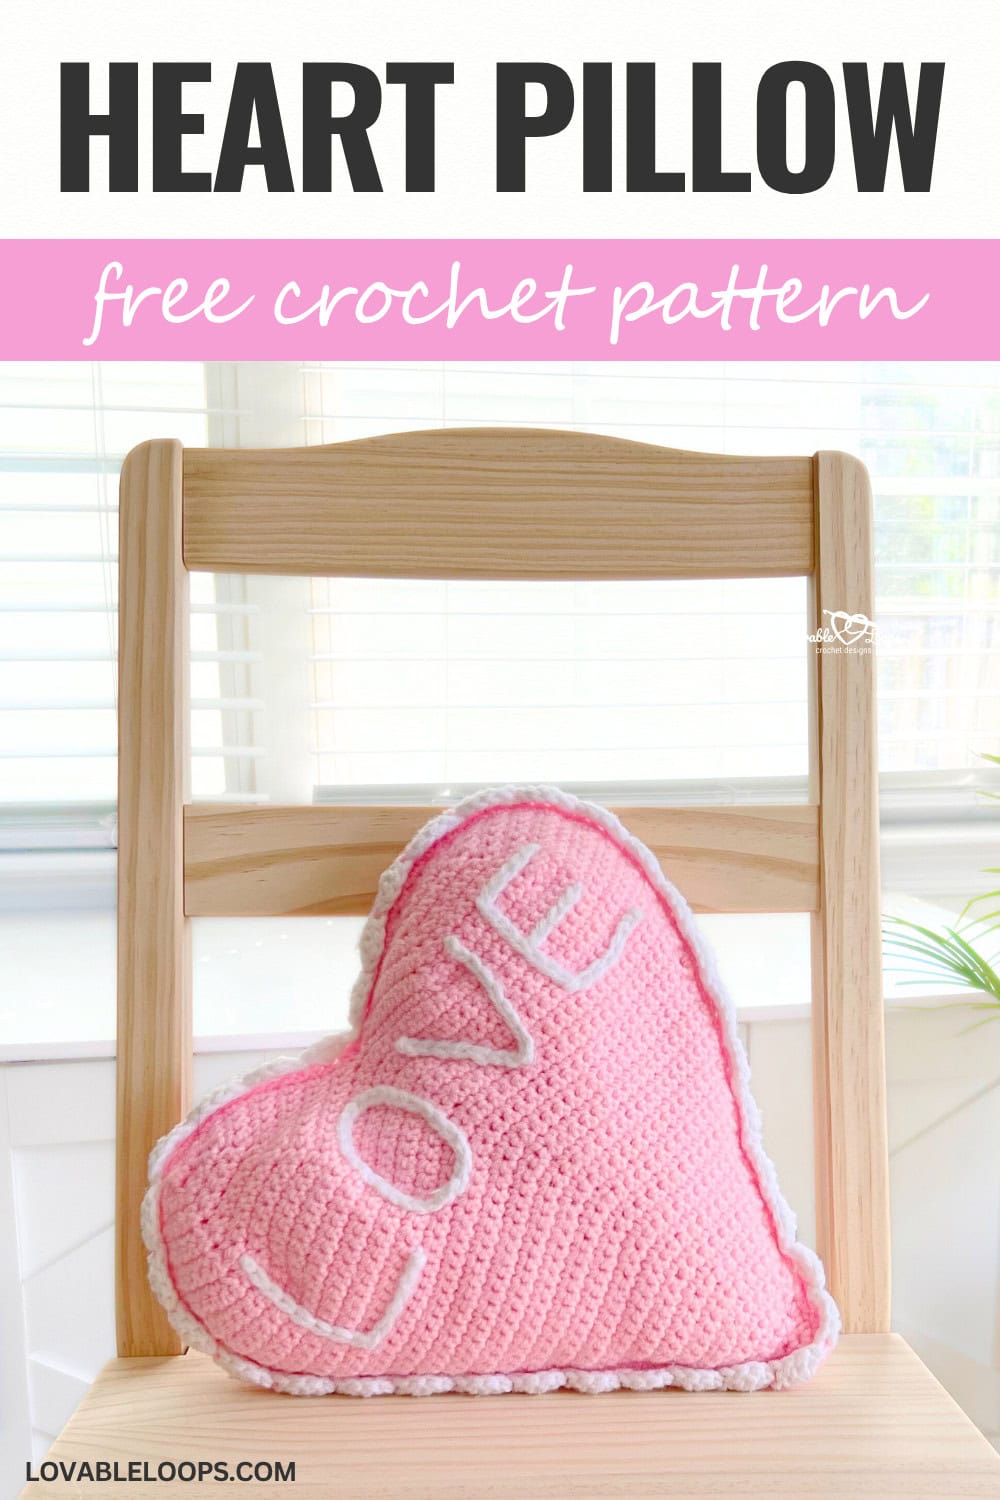
Crochet heart pillow pattern – cute Valentine’s Day decor
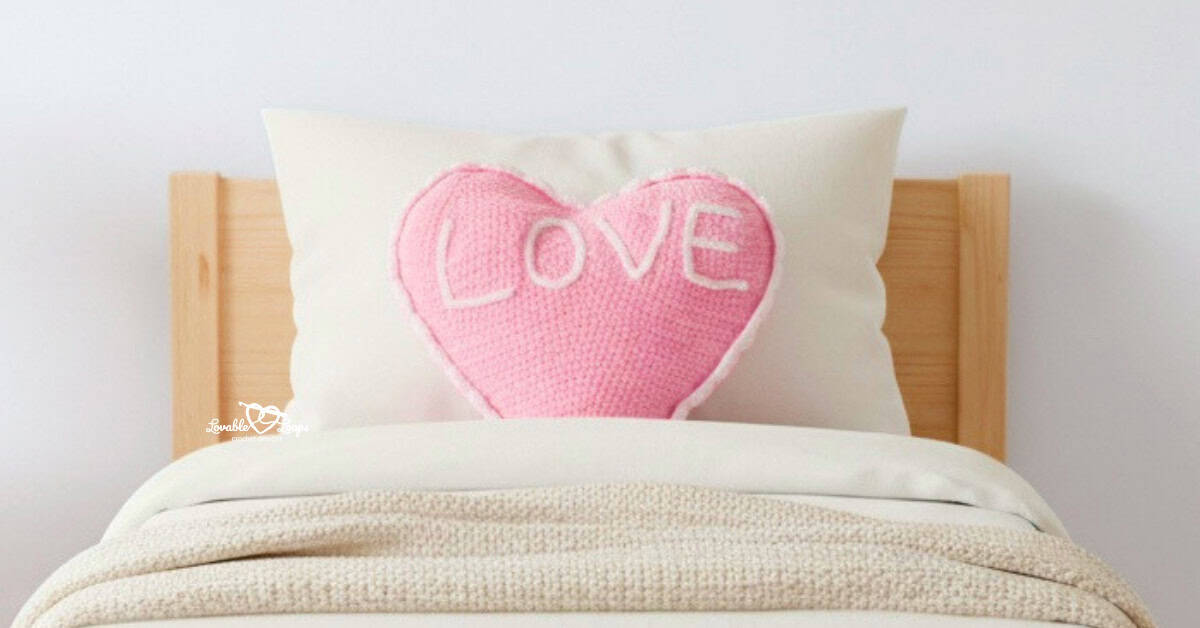
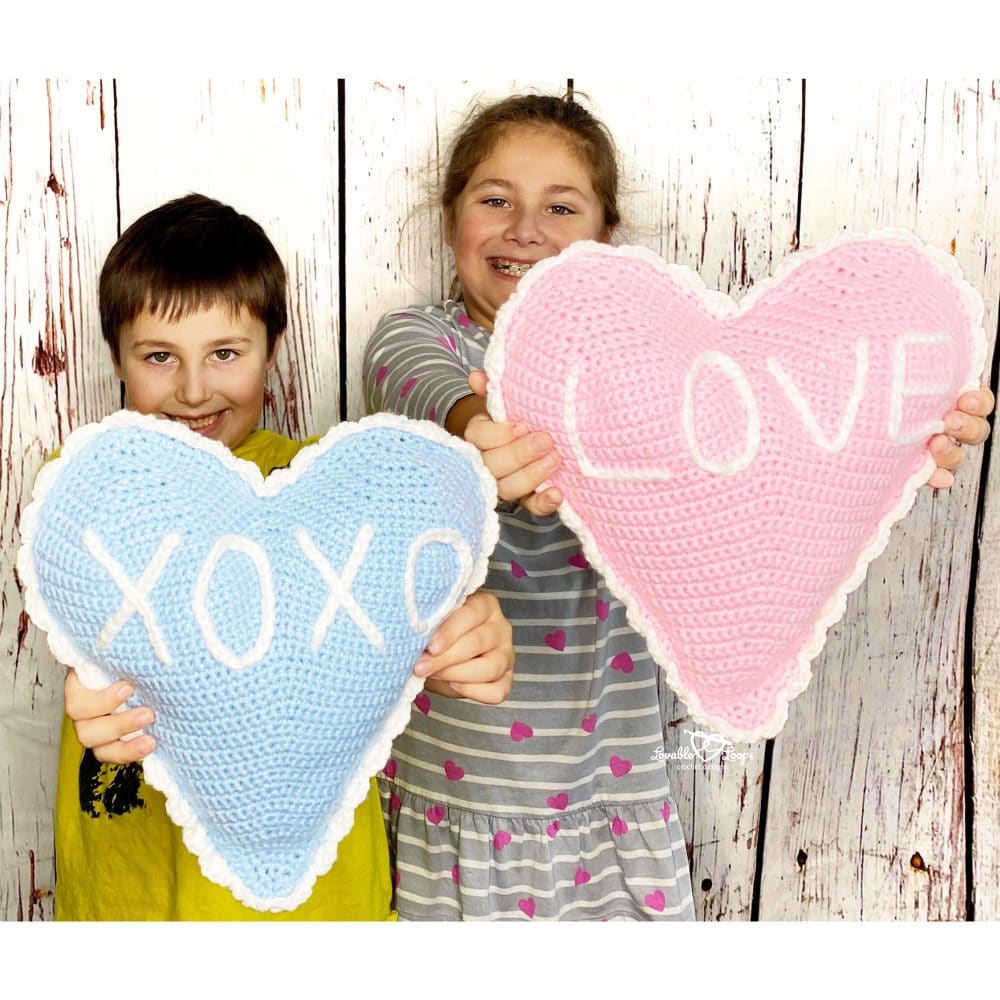
Looking for a cute and cozy Valentine’s Day project? This crochet heart pillow pattern is the perfect way to spread some love—literally! Shaped like a classic conversation heart candy and stitched with sweet messages like “LOVE” and “XOXO,” this soft and squishy pillow makes a thoughtful handmade gift or fun seasonal accent for your home.
Whether you’re making it for someone special or adding a charming touch to your Valentine’s decor, this heart pillow is a quick, satisfying project you’ll want to make again and again. Scroll down for the free crochet pattern!
Why you’ll love this pattern
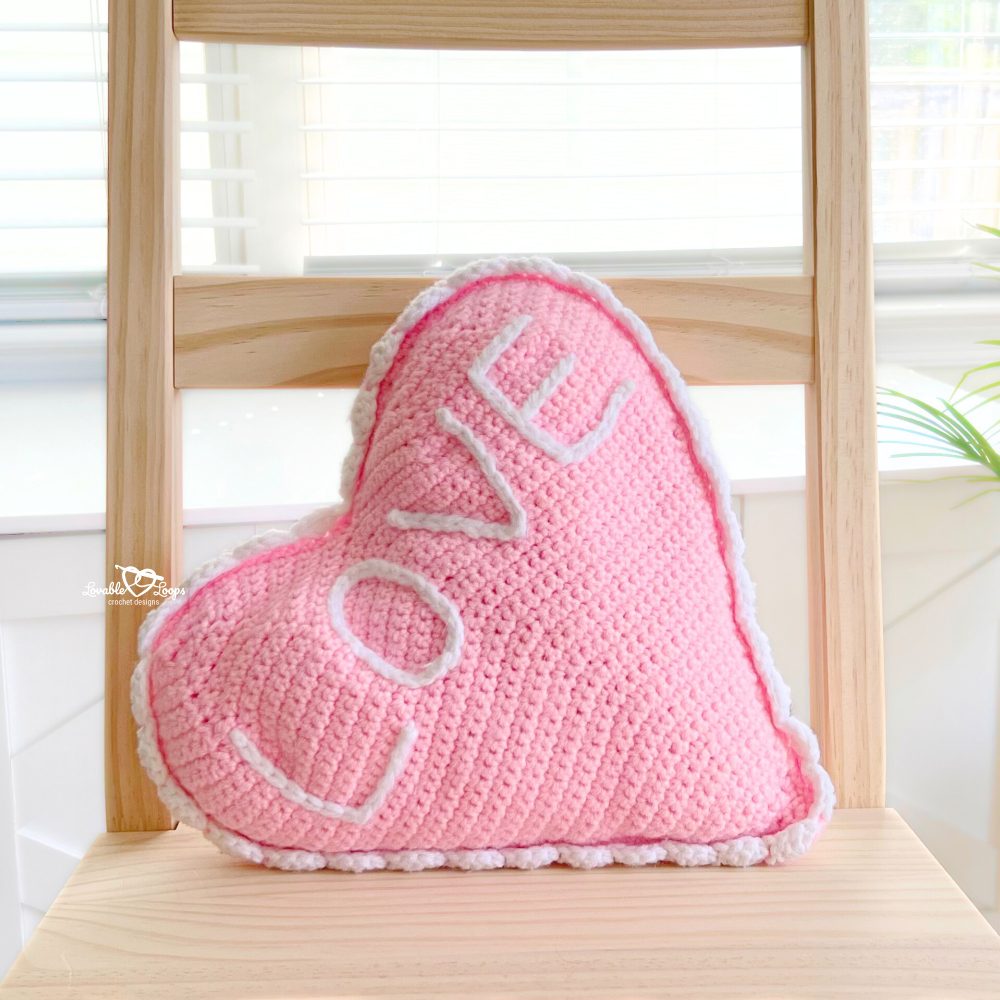
This heart pillow is the perfect blend of sweet and simple. It’s beginner-friendly and worked flat in two pieces using basic stitches. Once the panels are done, you’ll seam and stuff them as you go. Want to add a personal touch? Use surface slip stitches to decorate your pillow with cute conversation-heart-style words like “LOVE” or “XOXO.”
Use any worsted weight yarn and color combo to match your decor or gift theme. Whether you stick with soft pastels or go bold with bright reds and pinks, this handmade pillow is full of heart. It’s a great project for Valentine’s Day, anniversaries, or just because!
Skill level
Advanced beginner – This pattern is perfect for crocheters who are confident with basic stitches and ready to practice shaping using increases and decreases.
Materials needed
- Worsted weight yarn (#4) – for the heart panels and optional scalloped trim
- Bulky weight yarn (#5) – for the surface slip-stitched lettering
- Crochet hook size 7 (4.5 mm) – or size needed to match gauge
- Fiber fill – for stuffing your pillow
- Yarn needle – for weaving in your yarn ends
- Scissors – to cut your yarn when finishing your hat
- Stitch markers – optional but helpful for keeping track of rounds and stitch counts
Finished size
Each pillow measures approximately 13 x 13 inches (33 x 33 cm) when stuffed.
Gauge
9 stitches and 10 rows = 2 inches
✅ Too many stitches? Try a larger hook
✅ Too few stitches? Try a smaller hook
Crochet abbreviations
- sc = single crochet
- sc2tog = single crochet decrease
- ch/chs = chain/chains
- st/sts = stitch/stitches
Pattern notes
- This pattern is written in US crochet terms.
- You’ll be working two identical heart panels flat in rows, from the bottom up.
- After finishing both panels, you’ll seam them together, stuffing as you go.
- To add words like “LOVE” or “XOXO,” you’ll use surface slip stitches on the front panel before assembly.
Crochet heart pillow pattern instructions
Make 2 panels
You’ll crochet two identical heart shapes and seam them together later to form the pillow.
Bottom of the heart
Row 1: ch 4, sc in 2nd ch from hook, sc in next 2 chs, turn [3]
Row 2: ch 1, sc in first st, 2 sc in next st, sc in last st, turn [4]
Row 3: ch 1, *2 sc, sc in next st, repeat from * to end, turn [6]
Row 4: ch 1, sc in each st, turn [6]
Row 5: ch 1, *2 sc, sc in next 2 sts, repeat from * to end, turn [8]
Row 6: ch 1, *2 sc, sc in next 3 sts, repeat from * to end, turn [10]
Row 7: ch 1, sc in each st, turn [10]
Row 8: ch 1, *2 sc, sc in next 4 sts, repeat from * to end, turn [12]
Row 9: ch 1, *2 sc, sc in next 5 sts, repeat from * to end, turn [14]
Row 10: ch 1, sc in each st, turn [14]
Row 11: ch 1, *2 sc, sc in next 6 sts, repeat from * to end, turn [16]
Row 12: ch 1, *2 sc, sc in next 7 sts, repeat from * to end, turn [18]
Row 13: ch 1, sc in each st, turn [18]
Row 14: ch 1, *2 sc, sc in next 8 sts, repeat from * to end, turn [20]
Row 15: ch 1, *2 sc, sc in next 9 sts, repeat from * to end, turn [22]
Row 16: ch 1, sc in each st, turn [22]
Row 17: ch 1, *2 sc, sc in next 10 sts, repeat from * to end, turn [24]
Row 18: ch 1, *2 sc, sc in next 11 sts, repeat from * to end, turn [26]
Row 19: ch 1, sc in each st, turn [26]
Row 20: ch 1, *2 sc, sc in next 12 sts, repeat from * to end, turn [28]
Row 21: ch 1, *2 sc, sc in next 13 sts, repeat from * to end, turn [30]
Row 22: ch 1, sc in each st, turn [30]
Row 23: ch 1, *2 sc, sc in next 14 sts, repeat from * to end, turn [32]
Row 24: ch 1, *2 sc, sc in next 15 sts, repeat from * to end, turn [34]
Row 25: ch 1, sc in each st, turn [34]
Row 26: ch 1, *2 sc, sc in next 16 sts, repeat from * to end, turn [36]
Row 27: ch 1, *2 sc, sc in next 17 sts, repeat from * to end, turn [38]
Row 28: ch 1, sc in each st, turn [38]
Row 29: ch 1, *2 sc, sc in next 18 sts, repeat from * to end, turn [40]
Row 30: ch 1, *2 sc, sc in next 19 sts, repeat from * to end, turn [42]
Row 31: ch 1, sc in each st, turn [42]
Row 32: ch 1, *2 sc, sc in next 20 sts, repeat from * to end, turn [44]
Row 33: ch 1, *2 sc, sc in next 21 sts, repeat from * to end, turn [46]
Row 34: ch 1, sc in each st, turn [46]
Row 35: ch 1, *2 sc, sc in next 22 sts, repeat from * to end, turn [48]
Row 36: ch 1, *2 sc, sc in next 23 sts, repeat from * to end, turn [50]
Row 37: ch 1, sc in each st, turn [50]
Row 38: ch 1, *2 sc, sc in next 24 sts, repeat from * to end, turn [52]
Row 39: ch 1, *2 sc, sc in next 25 sts, repeat from * to end, turn [54]
Row 40: ch 1, sc in each st, turn [54]
Row 41: ch 1, *2 sc, sc in next 26 sts, repeat from * to end, turn [56]
Row 42: ch 1, *2 sc, sc in next 27 sts, repeat from * to end, turn [58]
Row 43: ch 1, *2 sc, sc in next 28 sts, repeat from * to end, turn [60]
Row 44: ch 1, sc in each st, turn [60]
Do not fasten off.
Top of the heart (heart bumps)
You’ll now shape the two top “bumps” of the heart, one at a time.
Row 1: ch 1, sc 9, sc2tog, sc 9, sc2tog, sc 8, turn [28]
Row 2: ch 1, sc 8, sc2tog, sc 8, sc2tog, sc 8, turn [26]
Row 3: ch 1, sc 8, sc2tog, sc 7, sc2tog, sc 7, turn [24]
Row 4: ch 1, sc 7, sc2tog, sc 7, sc2tog, sc 6, turn [22]
Row 5: ch 1, sc 6, sc2tog, sc 6, sc2tog, sc 6, turn [20]
Row 6: ch 1, sc 6, sc2tog, sc 5, sc2tog, sc 5, turn [18]
Row 7: ch 1, sc 5, sc2tog, sc 5, sc2tog, sc 4, turn [16]
Row 8: ch 1, sc 4, sc2tog, sc 4, sc2tog, sc 4, turn [14]
Row 9: ch 1, sc 4, sc2tog, sc 3, sc2tog, sc 3, turn [12]
Row 10: ch 1, sc 3, sc2tog, sc 3, sc2tog, sc 2, turn [10]
Row 11: ch 1, sc 2, sc2tog, sc 2, sc2tog, sc 2, turn [8]
Row 12: ch 1, sc 2, sc2tog, sc 1, sc2tog, sc 1, turn [6]
Row 13: ch 1, sc2tog three times, turn [3]
Fasten off. Repeat Rows 1–13 to make the second heart bump on the other side.
Border
After completing both heart bumps, single crochet around the entire outer edge of the heart to create a smooth border before seaming.
Blocking
I recommend you block your hearts. I used an iron but you could also use blocking boards. Make sure you use a piece of cloth between your crochet work and the iron.
How to surface slip stitch
To add words like “LOVE” or “XOXO” to your pillow, use surface slip stitches with bulky weight yarn. This technique lets you “write” on your crochet fabric with smooth, raised lines. I have a helpful Surface Slip Stitch Tutorial, or follow the steps below:
Surface slip stitch with a crochet hook:
- Make a slip knot and remove it from your hook.
- Decide where you want the letter to begin.
- Insert your hook from front to back through the crochet fabric.
- Place the slip knot back onto your hook and pull it through to the front.
- Insert your hook into the next spot (in the direction you want the letter to go).
- Yarn over and pull up a loop to the front.
- Pull that loop through the loop already on your hook — this makes a slip stitch.
- Repeat steps 5–7 to continue forming your letter.
- When finished, fasten off and weave in ends.
Alternative method:
You can also use a yarn needle instead of a hook to embroider the letters. Simply thread your bulky yarn and use short, neat stitches to trace the shape of each letter. This is a great option if you’re more comfortable with hand-sewing techniques.
Assembling the pillow
- Align Panels:
Line up your two heart panels with the wrong sides facing inward and the right sides facing outward. Use locking stitch markers to secure the pieces together. - Join the Covers:
Join your yarn, chain 1, and single crochet the two heart covers together along the single crochet stitch borders. - Stuff the Pillow:
Leave enough space to fit your hand inside the pillow, then fill it with fiber fill. - Finish Seaming:
Continue crocheting along the border to complete the seam and finish assembling your pillow.
Adding the scalloped trim
Join your worsted weight yarn, chain 2, *skip a st, 4 dc in next st, skip a st, slip st in next st, repeat from * around, join, fasten off and weave in ends.
Finishing
Fasten off and weave in all of the yarn tails.
FAQs
Can beginners make this crochet heart pillow?
Yes! This pattern is perfect for advanced beginners. You’ll use basic stitches like single crochet, simple increases and decreases, and some shaping. If you’re new to surface slip stitching, there are step-by-step tips to help.
How big is the finished pillow?
The finished heart pillow measures approximately 13 x 13 inches (33 x 33 cm) when stuffed, making it a great size for home decor or gifting.
What kind of yarn should I use?
The pattern calls for worsted weight (#4) yarn for the pillow panels and bulky weight (#5) yarn for the lettering and scalloped trim. You can customize your colors to match your decor or holiday theme.
Can I add different words to the heart pillow?
Absolutely! You can use surface slip stitches or a yarn needle to embroider any word or short phrase you like—just keep it short enough to fit on the pillow front.
Do I have to add the scalloped trim?
Nope! The scalloped trim is optional. The pillow looks great with or without it, so feel free to leave it off for a simpler look.
Is this pattern good for Valentine’s Day gifts?
Yes! This handmade heart pillow makes a thoughtful and cozy Valentine’s Day gift, but it’s also great for anniversaries, baby showers, or just to show someone you care.
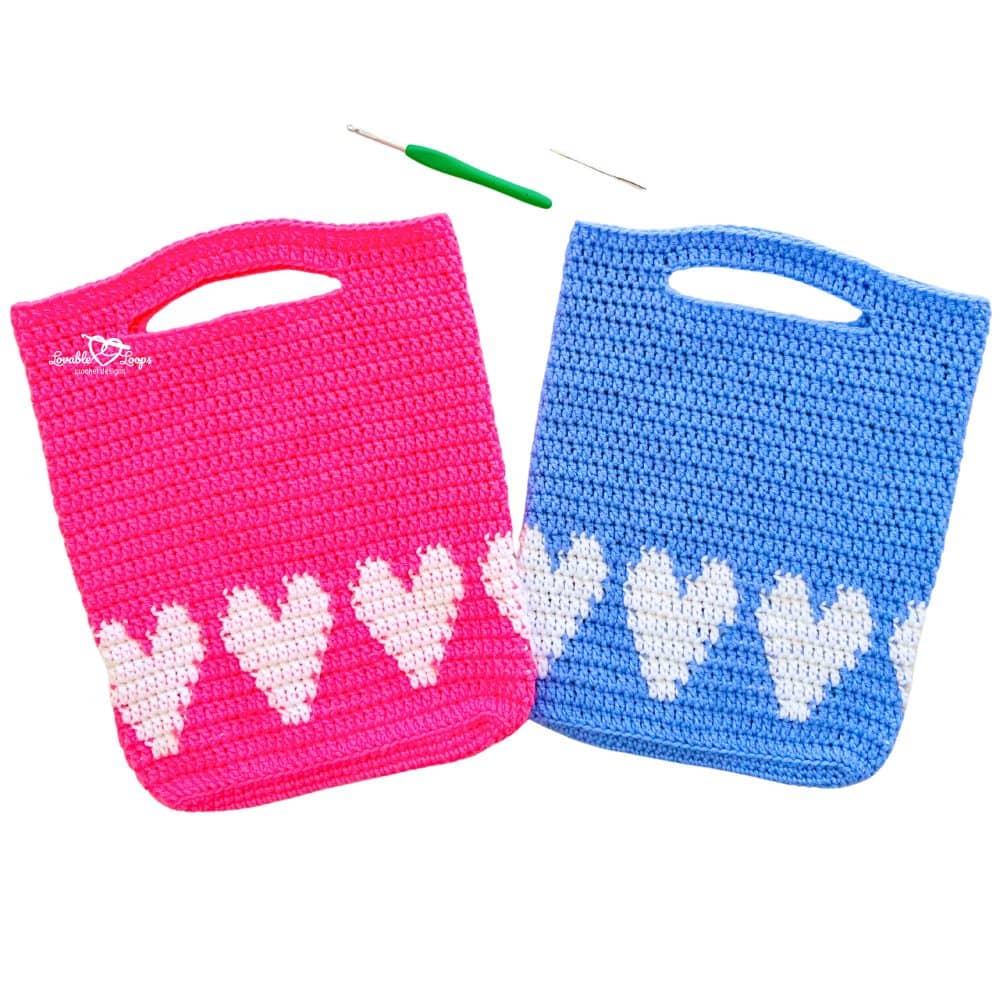
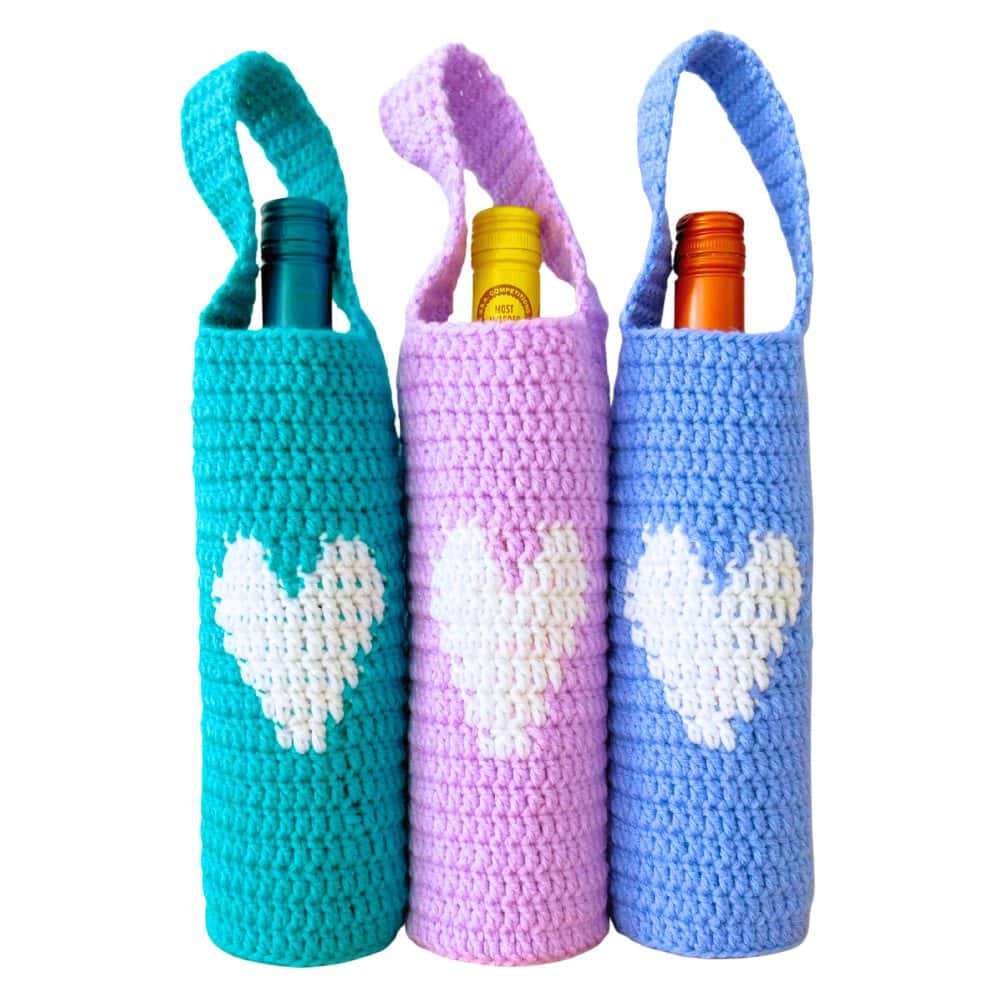
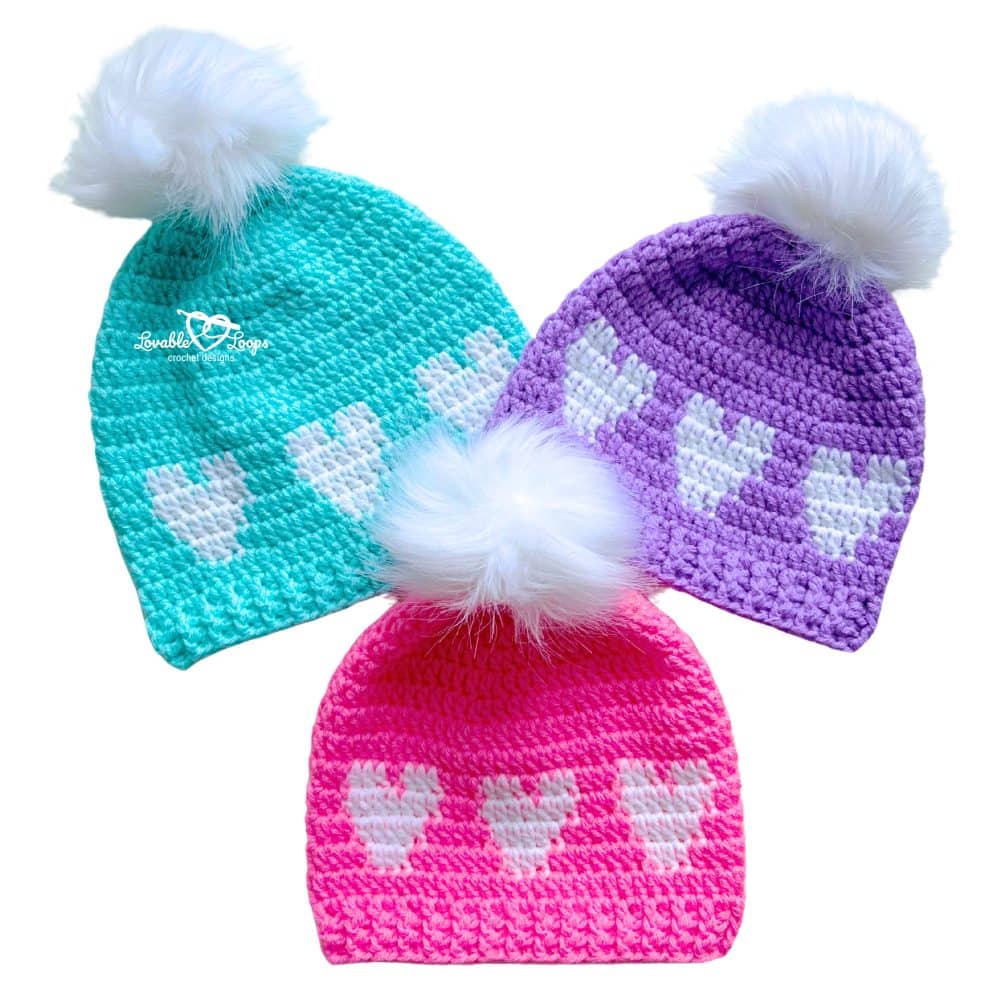
Sweet & simple crochet heart patterns
Discover free crochet heart patterns that are quick to make and perfect for gifts, appliques, decorations, and seasonal crochet projects.


Let’s connect!
I’d love to see what you’re making! Come hang out with me on social media:
📸 Instagram
📌 Pinterest
📘 Facebook
▶️ YouTube
🧶 Etsy
Happy crocheting! 🧶
— Melissa