

Free baby hat crochet pattern
Looking for a quick and easy baby hat crochet pattern that’s perfect for beginners? You’re in the right place! This sweet little hat is soft, cozy, and sized just right for babies from newborn to 12 months.
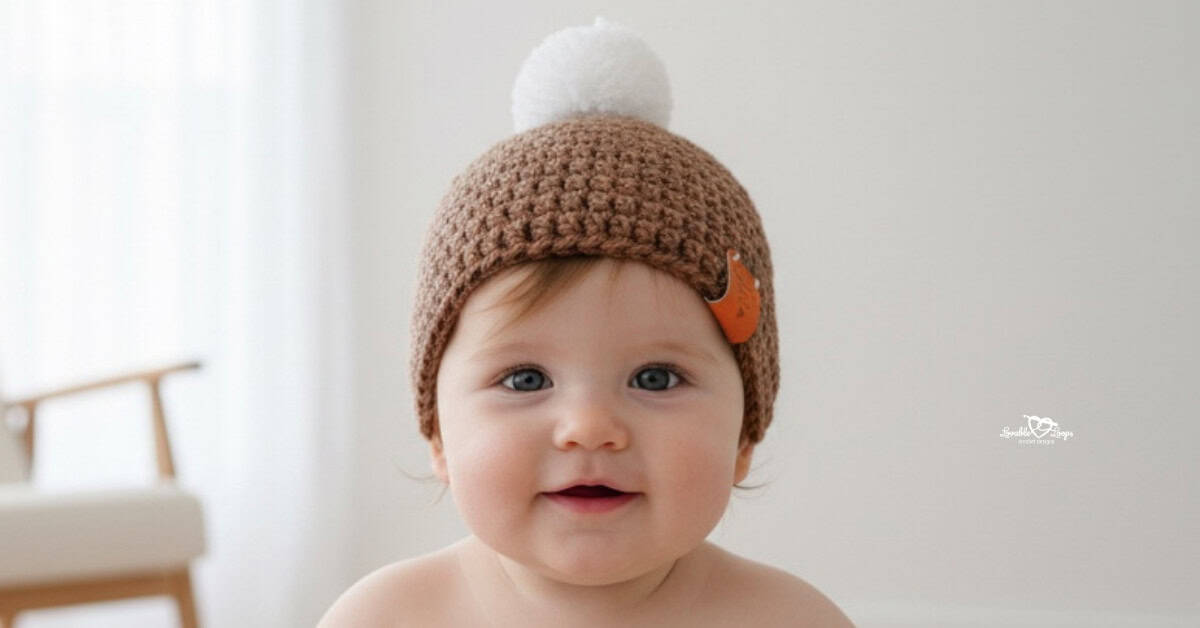
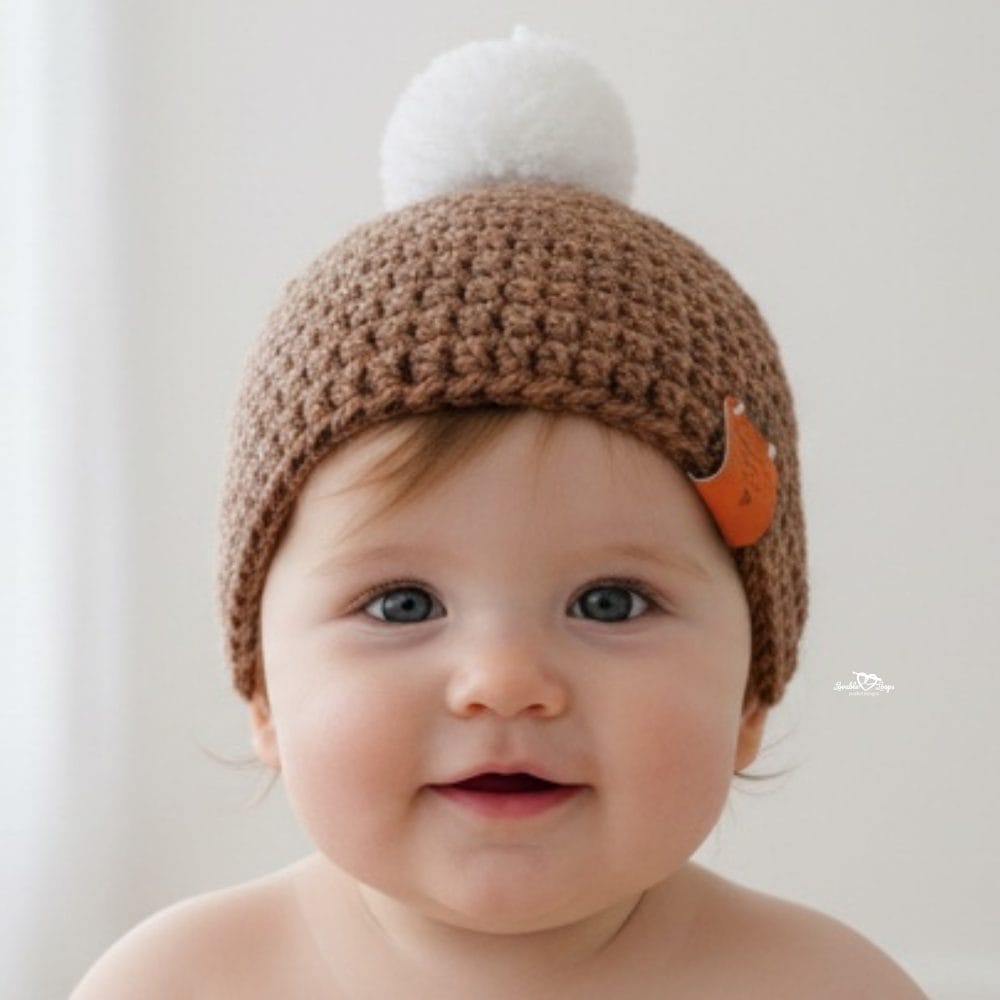
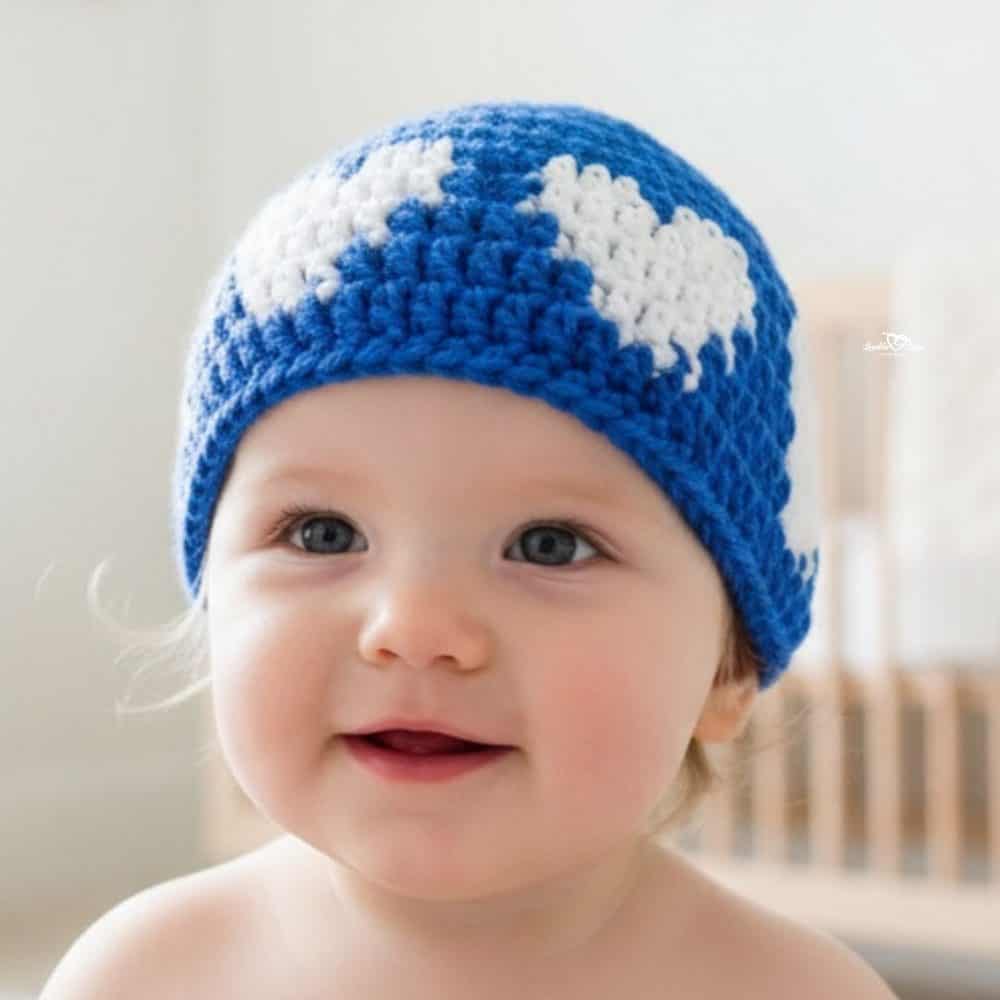
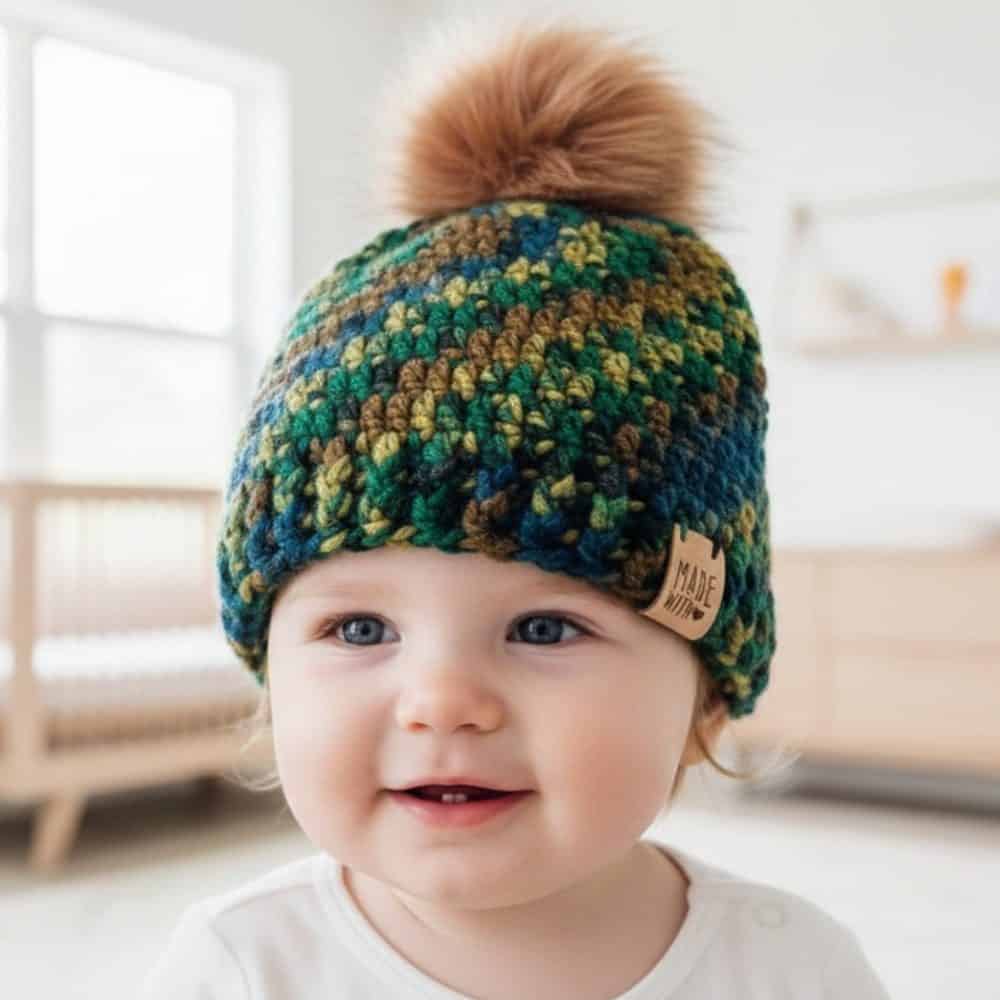
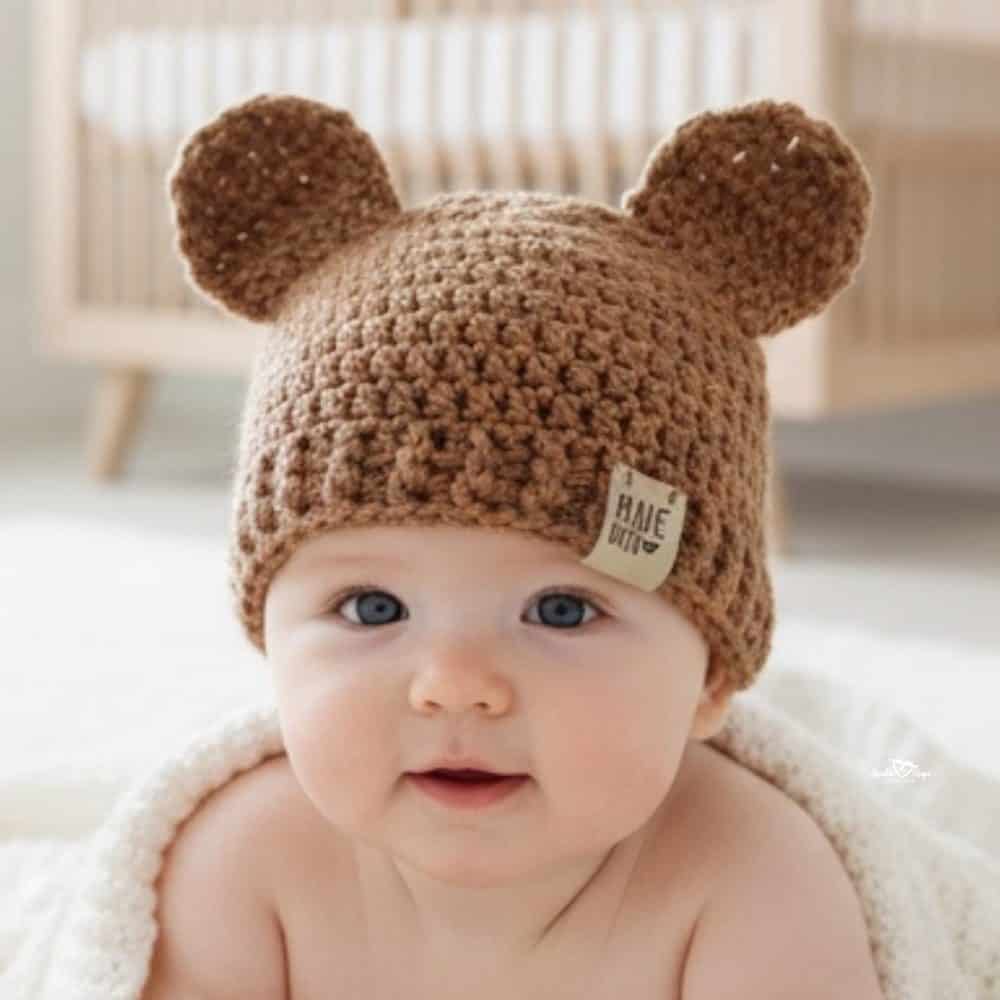
Whether you’re making a thoughtful baby shower gift or a cute accessory for your own little one, this free baby hat crochet pattern is a fun and relaxing project you can finish in no time. Add a fluffy pom pom on top, and you’ve got a handmade hat that’s as adorable as it is practical. The free pattern is below!
Why you’ll love this pattern
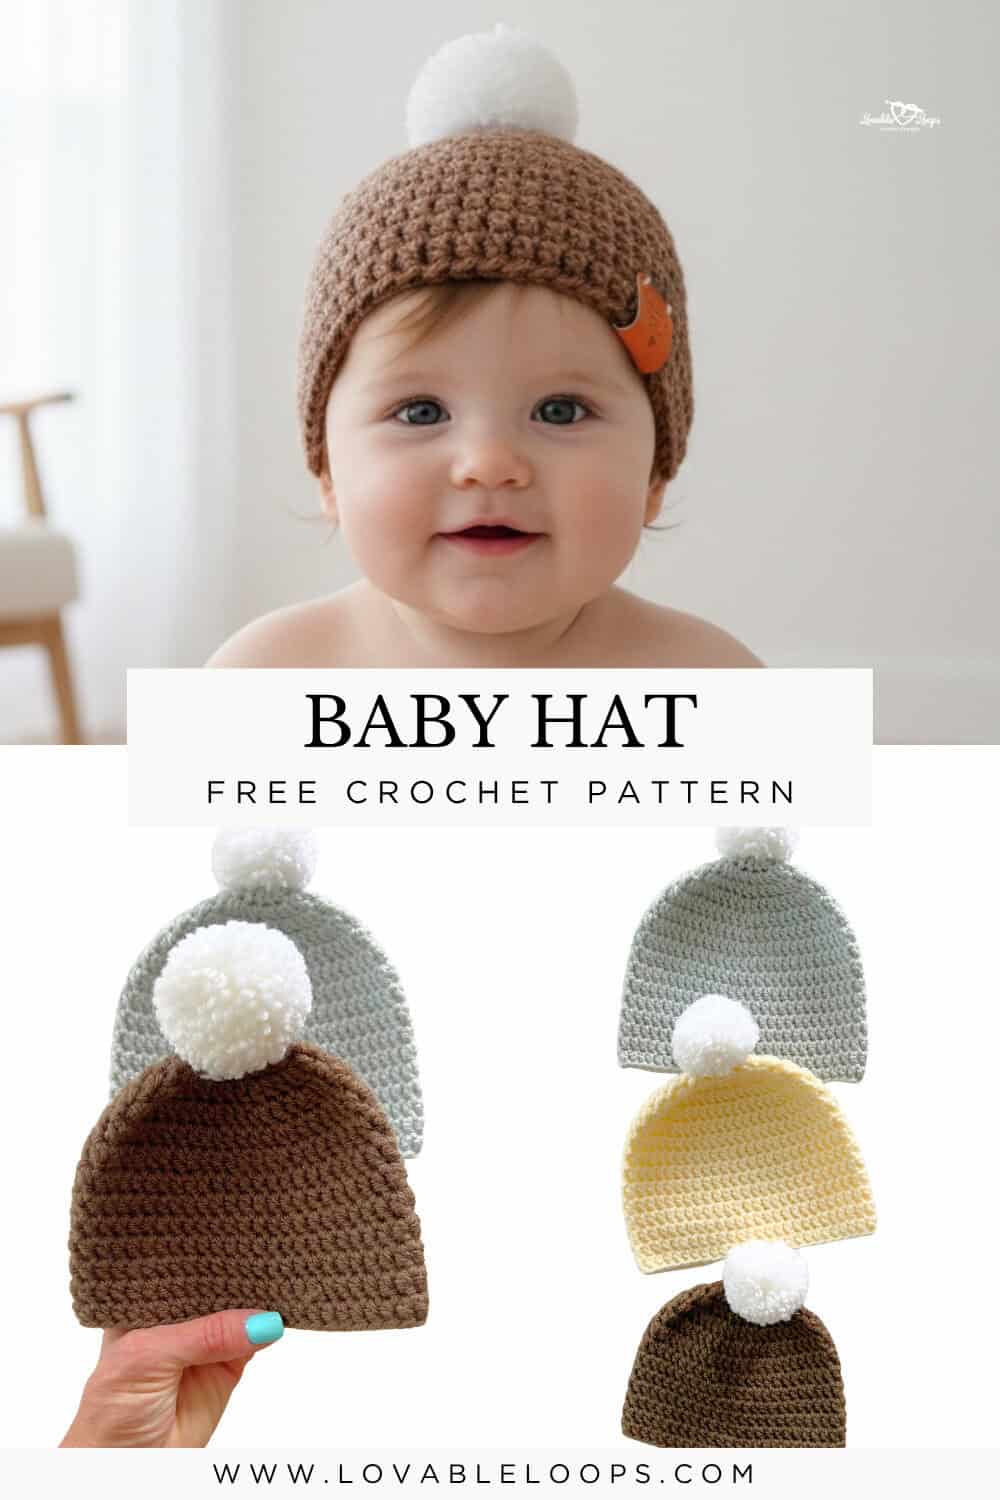
This baby hat crochet pattern is easy to follow and great for beginners. It uses basic double crochet stitches and simple rounds, so even if you’re new to crochet, you’ll feel confident making it. The pattern includes three baby sizes, so you can create hats that grow with your little one.
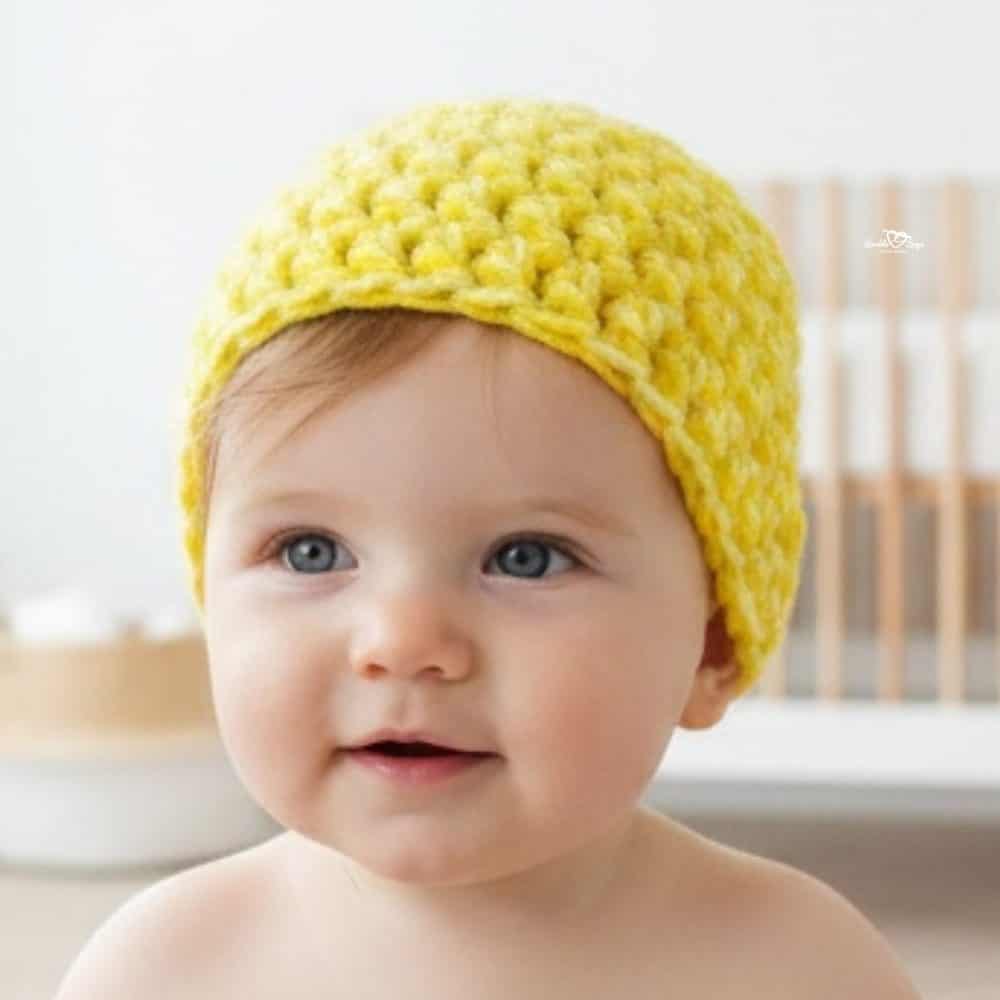
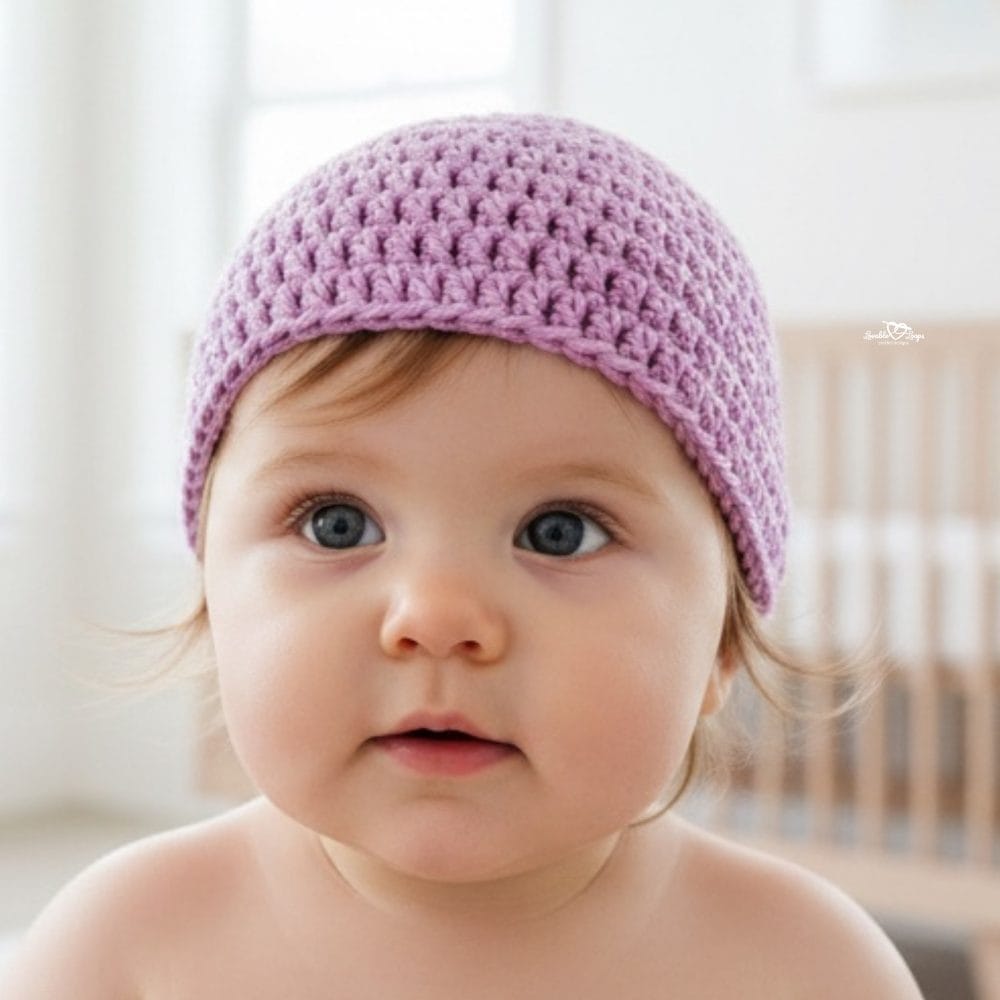
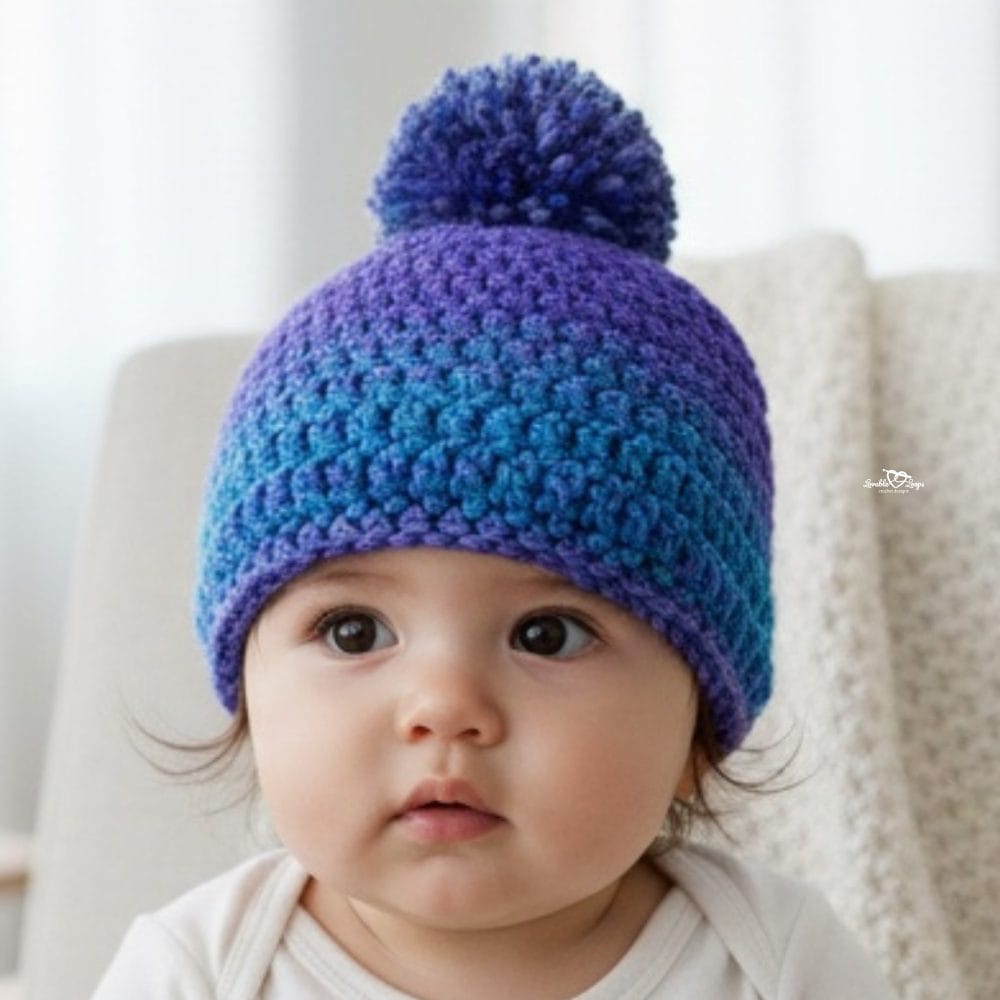
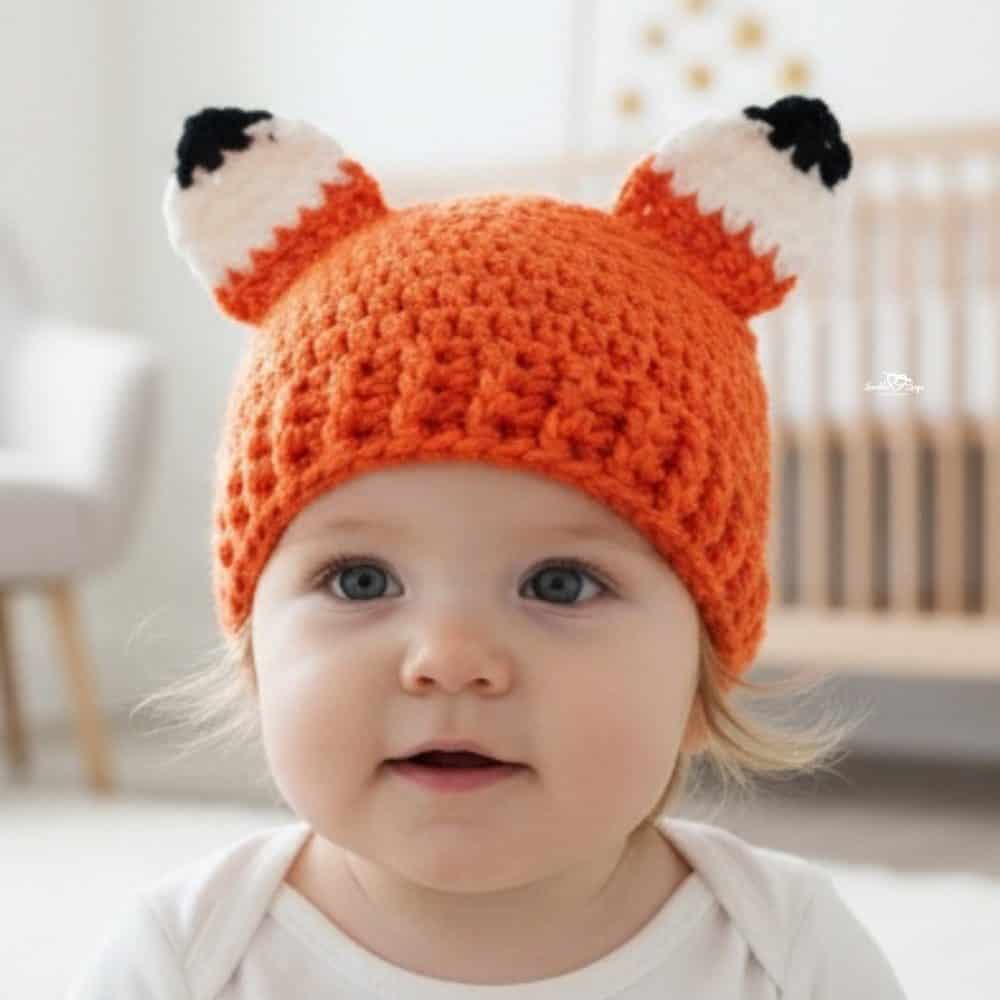
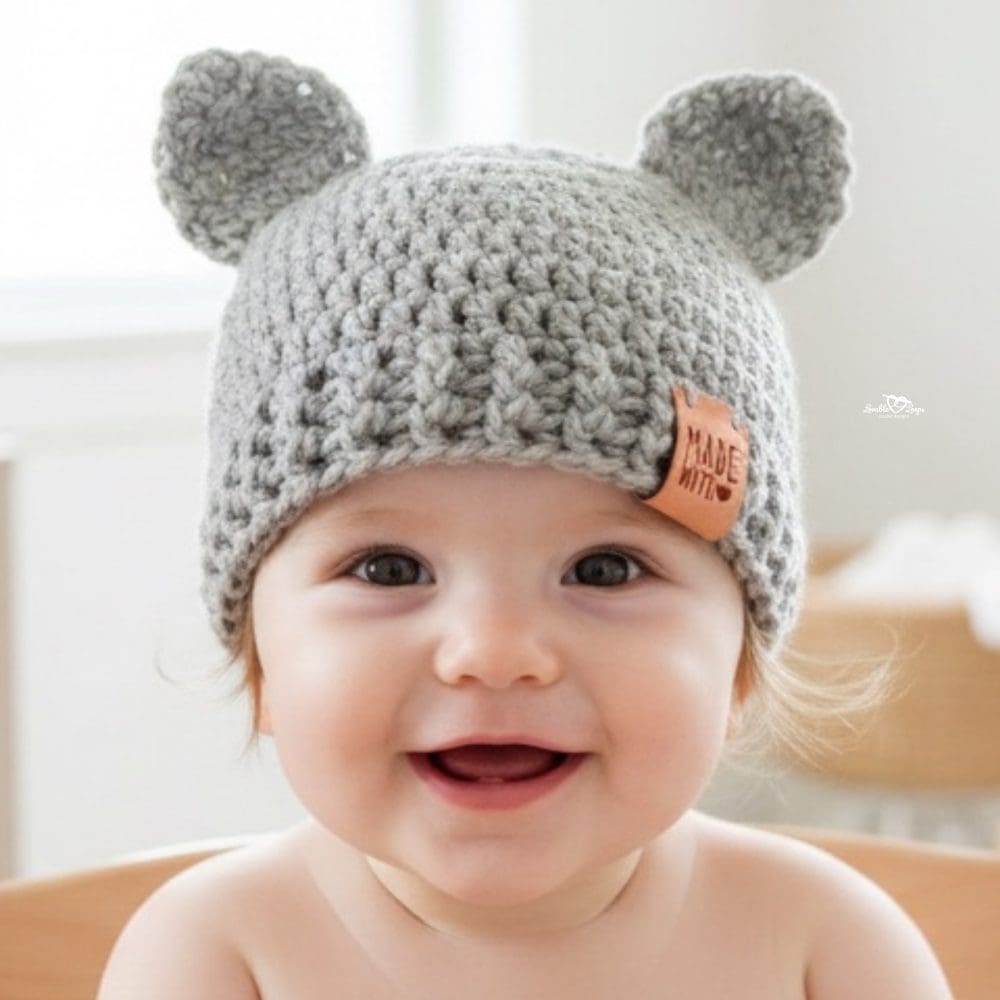
It works up quickly with worsted weight yarn, making it a great choice for last-minute gifts, baby showers, or donation projects. You can personalize the hat with different yarn colors or top it off with a pom pom for an extra cute touch. Whether you’re making it for your baby, a loved one, or to give back, this handmade hat is sure to be a favorite.
Baby hat crochet pattern details
Skill level
Beginner – This pattern uses basic stitches and simple round repeats, making it perfect for new crocheters.
Materials needed
- Crochet hook size I-9 (5.5 mm) – or the size needed to match the gauge
- Worsted weight yarn (#4 medium yarn) – any soft baby-friendly yarn will work
- Yarn needle – for weaving in your ends
- Scissors – to cut your yarn
- Stitch markers – optional, but helpful for keeping track of rounds and stitch count
- Pom pom maker – optional, for adding a fun yarn pom pom on top
Finished size
| Hat Size | Crown | Circumference | Height |
| 0-3 Months | 4.5 inches | 13-14 inches | 5 inches |
| 3-6 Months | 5 inches | 14-15 inches | 5.5 inches |
| 6-12 Months | 5.5 inches | 16-17 inches | 6.25 inches |
If you need help choosing the right fit, visit my crochet hat sizing guide for head circumference tips and size charts.
Gauge
15 stitches and 10 rows = 4 inches
✅ Too many stitches? Use a larger hook
✅ Too few stitches? Use a smaller hook
Crochet abbreviations
- dc = double crochet
- ch / chs = chain / chains
- st / sts = stitch / stitches
- sl st = slip stitch
Pattern notes
- Begin with a magic circle
- The starting chain does not count as a stitch
- Join each round with a slip stitch to the first stitch
- Hat is worked from the top down in the round
- Adjust the length by adding or removing rounds
- The pattern is written in US crochet terms

Baby hat crochet pattern instructions
0-3 months size
Round 1: Magic circle, ch 2, 11 dc, join with sl st to the top of the first dc (11 stitches)
Round 2: Ch 2, 2 dc in each stitch, join (22 stitches)
Round 3: Ch 2, *2 dc, dc in next stitch, repeat from * around, join (33 stitches)
Round 4: Ch 2, *2 dc, dc in next 2 stitches, repeat from * around, join (44 stitches)
Round 5: Ch 2, *2 dc, dc in next 10 stitches, repeat from * around, join (48 stitches)
Round 6: Ch 2, dc in each stitch around, join (48 stitches)
Rounds 7–13: Repeat round 6 (48 stitches)
3-6 months size
Round 1: Magic circle, ch 2, 11 dc, join with sl st to the top of the first dc (11 stitches)
Round 2: Ch 2, 2 dc in each stitch, join (22 stitches)
Round 3: Ch 2, *2 dc, dc in next stitch, repeat from * around, join (33 stitches)
Round 4: Ch 2, *2 dc, dc in next 2 stitches, repeat from * around, join (44 stitches)
Round 5: Ch 2, *2 dc, dc in next 10 stitches, repeat from * around, join (48 stitches)
Round 6: Ch 2, *2 dc, dc in next 11 stitches, repeat from * around, join (52 stitches)
Round 7: Ch 2, dc in each stitch around, join (52 stitches)
Rounds 8–15: Repeat round 7 (52 stitches)
6-12 months size
Round 1: Magic circle, ch 2, 11 dc, join with sl st to the top of the first dc (11 stitches)
Round 2: Ch 2, 2 dc in each stitch, join (22 stitches)
Round 3: Ch 2, *2 dc, dc in next stitch, repeat from * around, join (33 stitches)
Round 4: Ch 2, *2 dc, dc in next 2 stitches, repeat from * around, join (44 stitches)
Round 5: Ch 2, *2 dc, dc in next 10 stitches, repeat from * around, join (48 stitches)
Round 6: Ch 2, *2 dc, dc in next 11 stitches, repeat from * around, join (52 stitches)
Round 7: Ch 2, *2 dc, dc in next 12 stitches, repeat from * round, join (56 stitches)
Round 8: Ch 2, dc in each stitch around, join (56 stitches)
Rounds 9–16: Repeat round 8 (56 stitches)
Adding the pom pom
Make a pom pom using your pom pom maker:
- Wind yarn evenly around both arches
- Cut the yarn along the center gap
- Tie tightly with a piece of scrap yarn
- Open the arches and remove the pom pom
- Trim any uneven ends
- Attach the pom pom to the top of the hat
Finishing the hat
You’re almost done! Just fasten off your yarn, weave in those ends, and pop that pom pom on top. Now you’ve got an adorable handmade baby hat ready to wear or gift!
Frequently asked questions
What size does this baby hat fit?
This pattern includes instructions for 0–3 months, 3–6 months, and 6–12 months. See the size chart for measurements.
Can I use a different yarn?
Yes! Use any medium worsted weight (#4) yarn. Soft acrylics or cotton blends work well for baby hats.
How do I make the hat larger or smaller?
To make the hat taller, just repeat the final round before fastening off. To shorten it, stop a round or two early.
Do I have to add a pom pom?
Nope! The pom pom is totally optional. You can leave it plain or add a bow, button, or faux fur pom.
Is this pattern beginner-friendly?
Yes! It’s great for beginners and uses only basic stitches and simple rounds.
Looking for more adorable hats for little ones?
Explore my collection of 40+ free crochet baby hat patterns including newborn hats, cozy baby beanies, seasonal styles, and fun character designs.
👉 Browse all 40+ free crochet baby hat patterns
Let’s connect!
I’d love to see what you’re making! Share your finished project and follow along for more free crochet patterns and tutorials.
📌 Don’t forget to pin this pattern for later!
Happy crocheting! 🧶
— Melissa