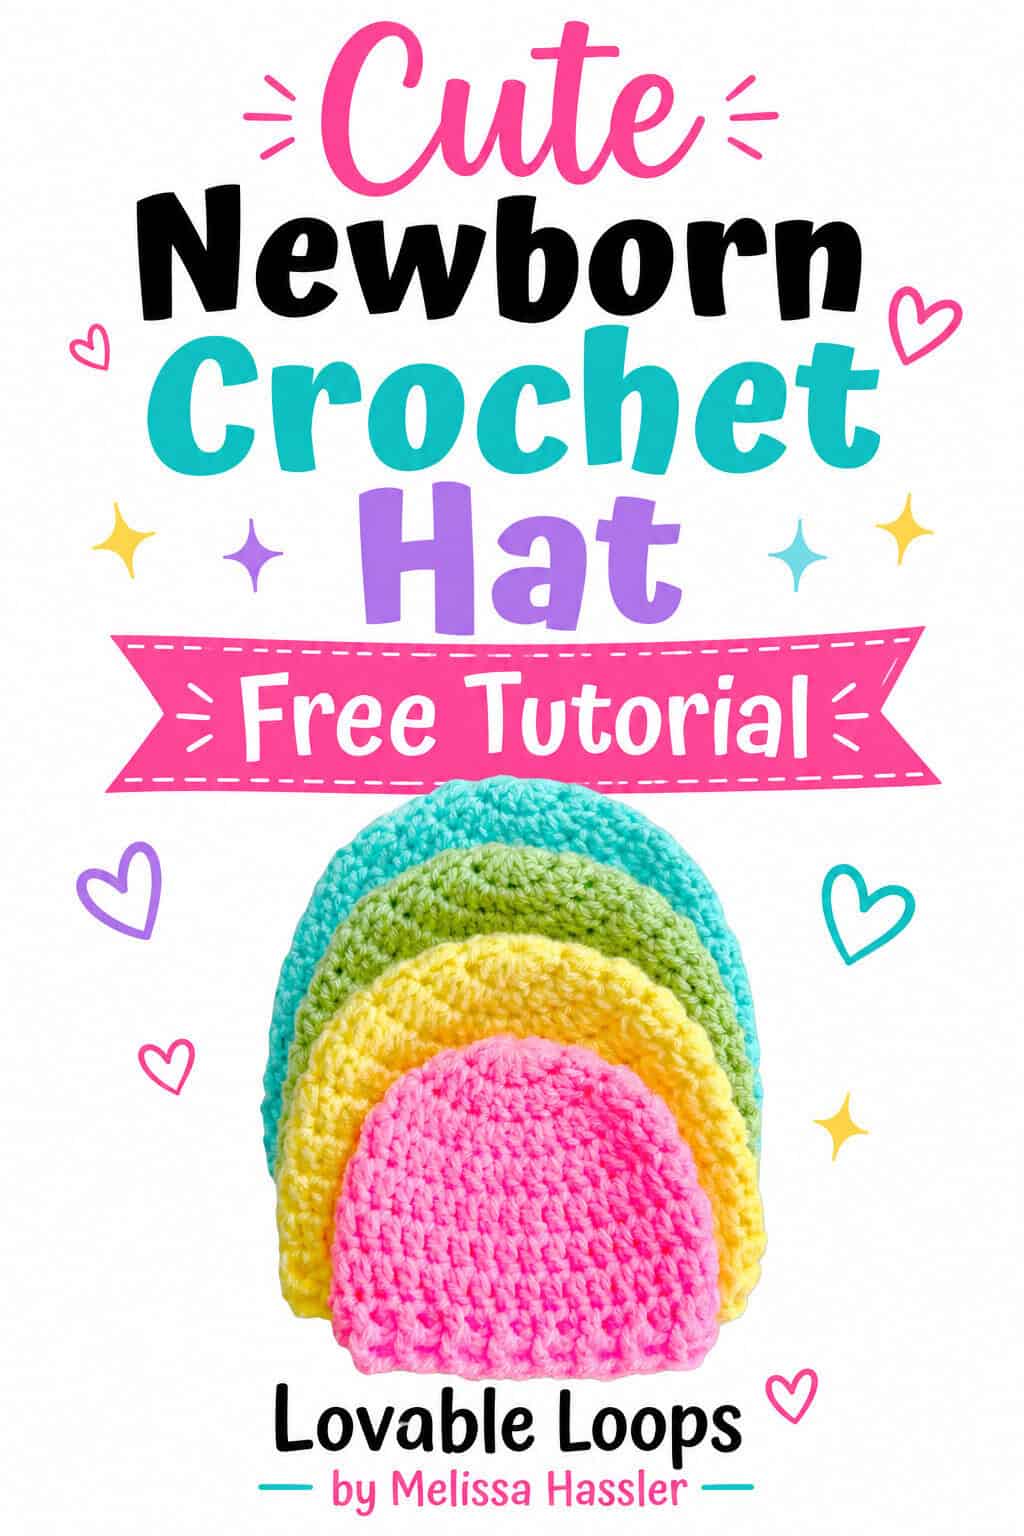
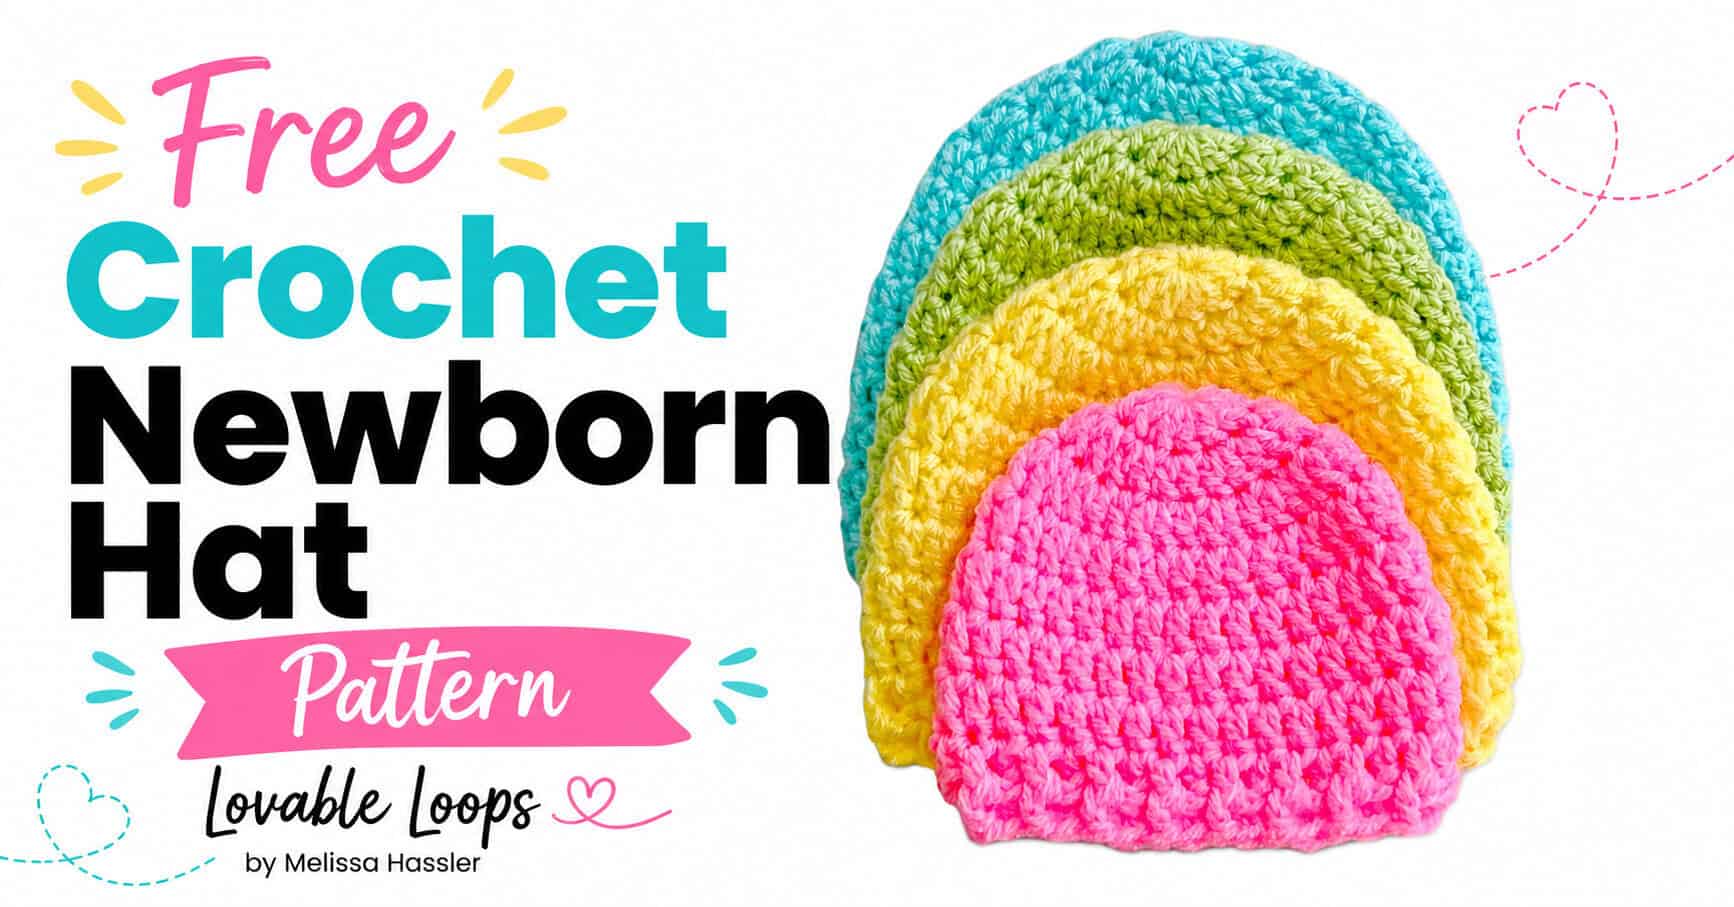
Ribbed crochet newborn hat pattern
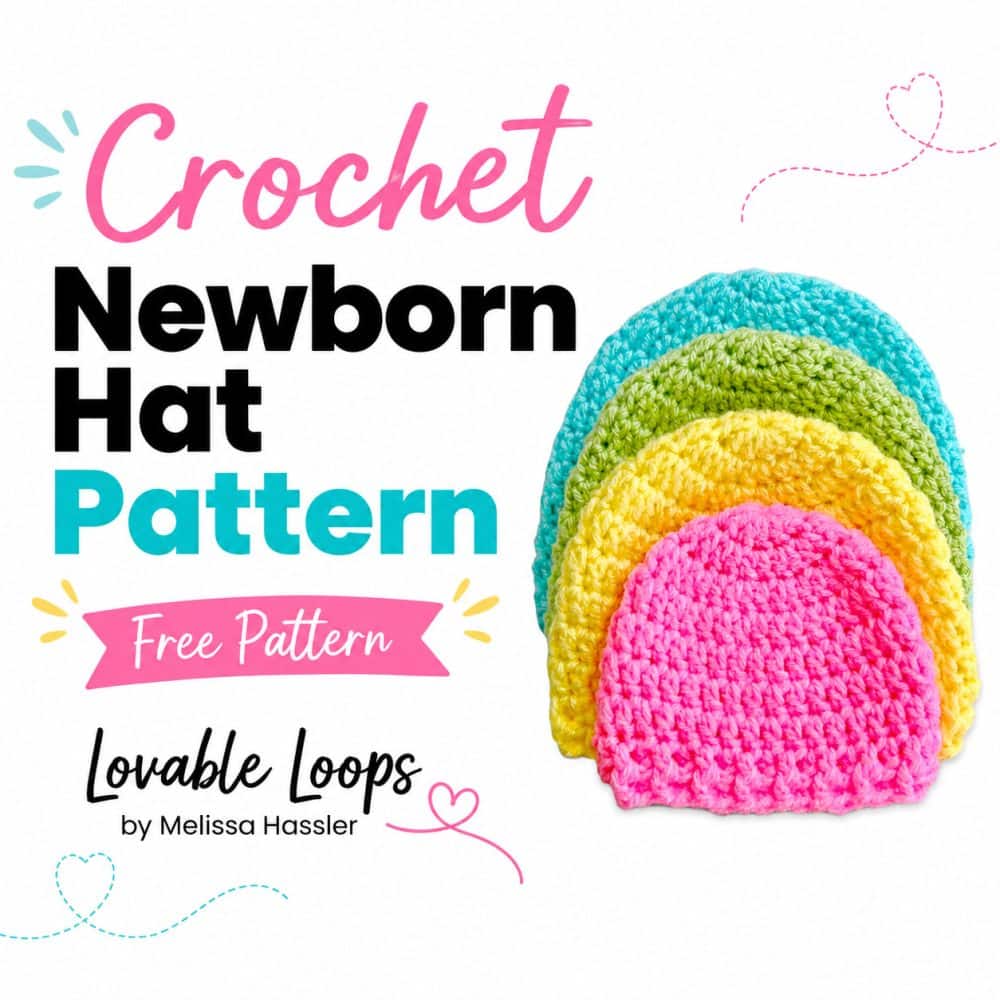
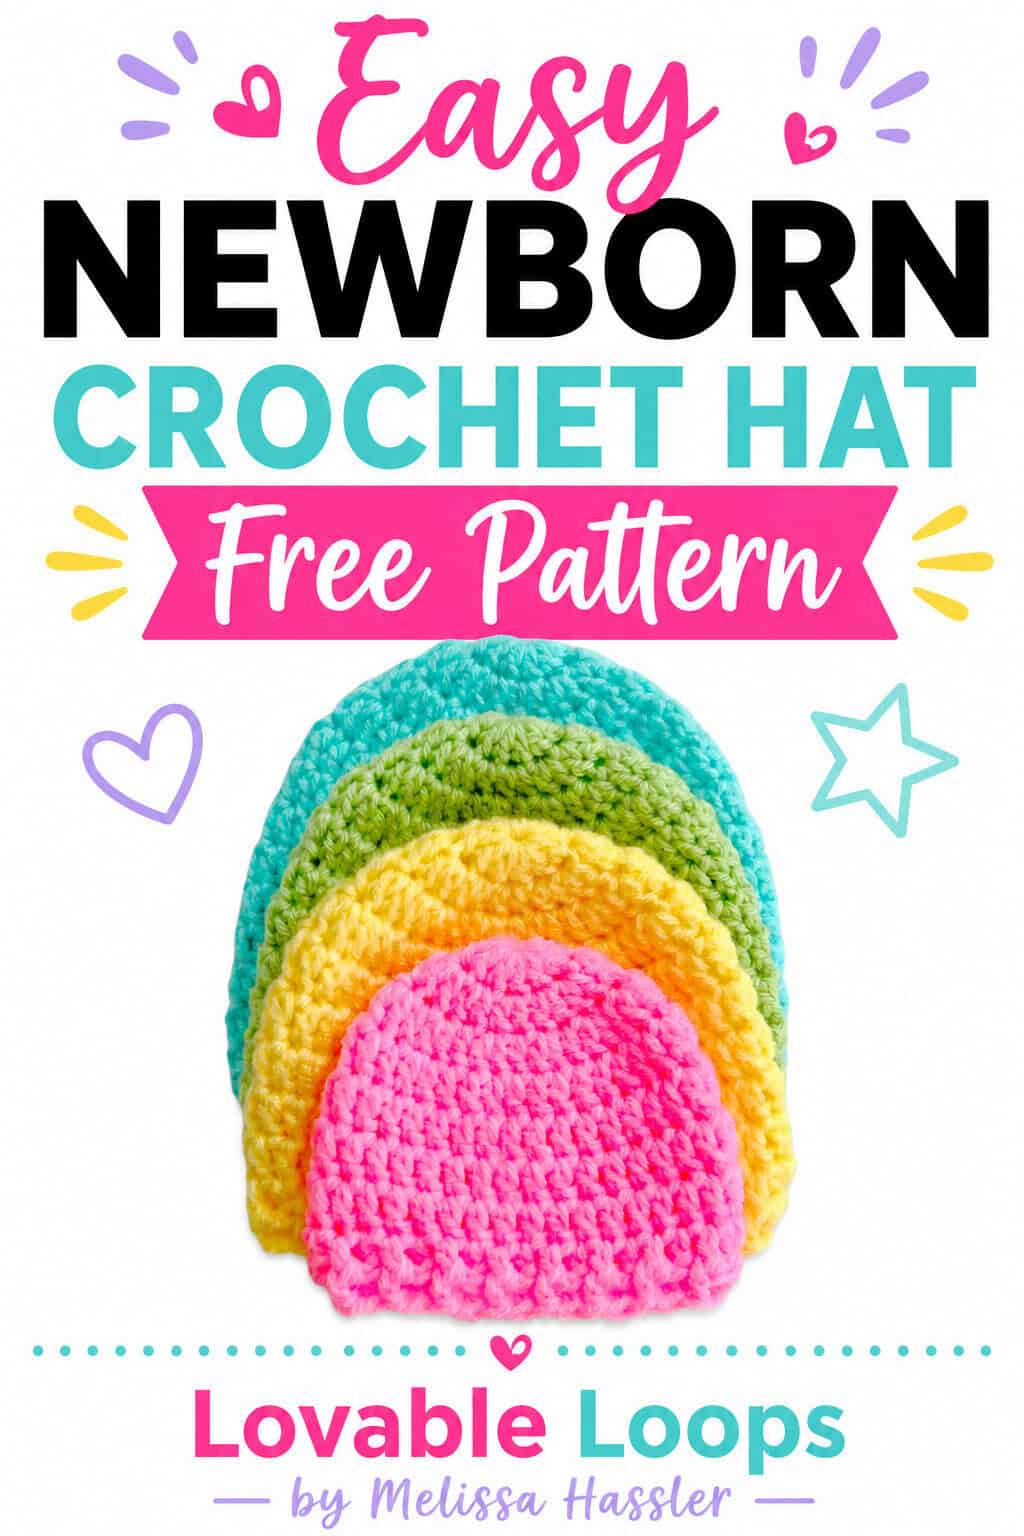
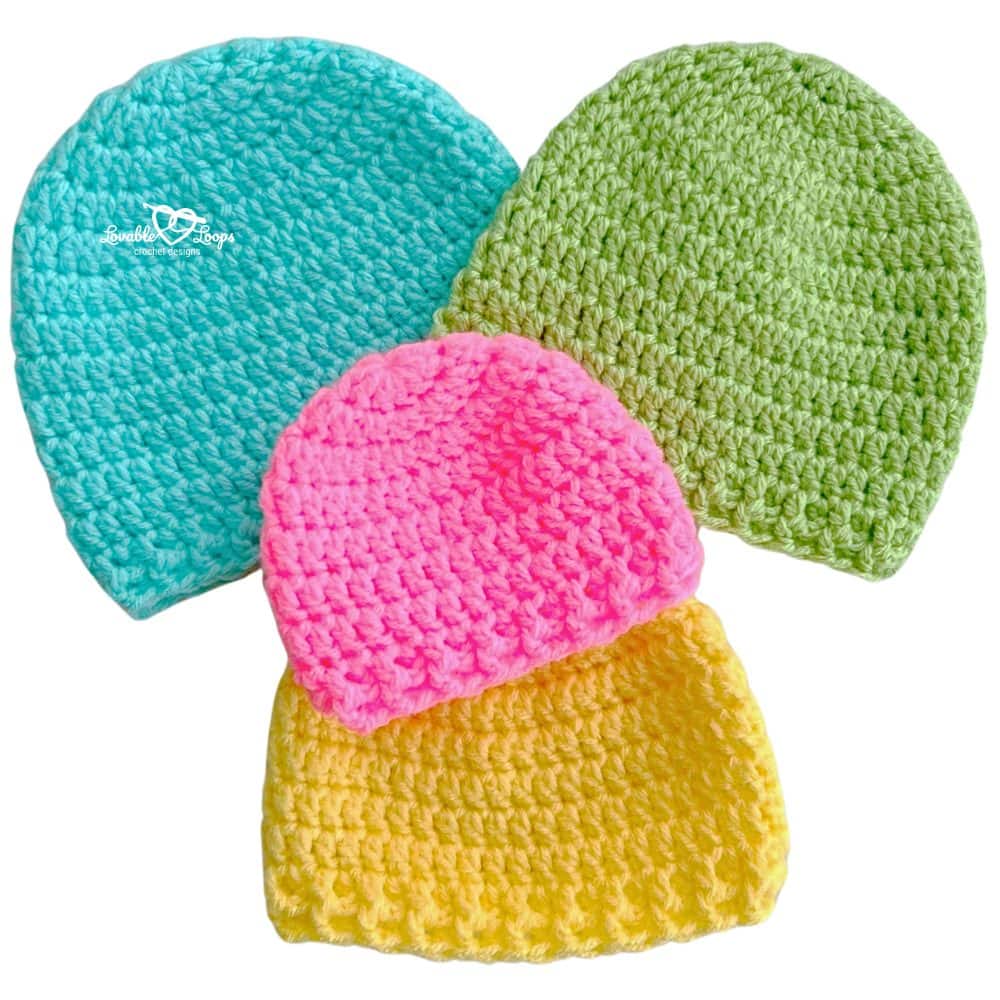
This ribbed crochet newborn hat pattern makes a cozy baby beanie with a stretchy, textured brim. It’s a sweet handmade choice for baby showers, newborn photos, hospital donations, or everyday wear, and it looks cute in any baby-friendly color.
Quick answer
This advanced beginner ribbed crochet newborn hat pattern is worked from the top down in joined rounds using worsted weight (#4) yarn and an I-9 (5.5 mm) crochet hook. Double crochet increases shape the crown, straight rounds form the body, and front and back post double crochet stitches create the stretchy ribbed brim. The pattern includes four sizes from preemie through 6–12 months.
Ribbed crochet newborn hat pattern details
Skill level
Advanced beginner — Uses joined rounds, basic double crochet increases, and front and back post double crochet stitches to create the ribbed brim.
Materials needed
- I-9 (5.5 mm) crochet hook
- Worsted weight yarn (#4)
- Yarn needle
- Tape measure
- Scissors
Size guide
This pattern includes four baby sizes. The measurements below are the intended wearer head circumference ranges.
- Preemie — 12–13 in (30–33 cm)
- 0–3 months — 13–14 in (33–36 cm)
- 3–6 months — 14–15 in (36–38 cm)
- 6–12 months — 15–17 in (38–43 cm)
Always check gauge for the best fit. For more baby sizing help, see my Crochet hat sizing guide.
Gauge
15 dc stitches and 9 dc rounds = 4 inches (10 cm)
Learn how to check crochet gauge before you begin so you can adjust your hook size if needed.
Crochet abbreviations
- dc = double crochet stitch
- FPdc = front post double crochet
- BPdc = back post double crochet
- ch/chs = chain/chains
- st/sts = stitch/stitches
- sl st = slip stitch
Pattern notes
- The hat is worked from the top down in joined rounds.
- The beginning ch 2 does not count as a stitch.
- Join each completed round with a sl st to the first stitch made in the round.
- Repeat from the asterisk (*) as indicated.
- Add or remove straight body rounds before the ribbed brim to adjust the finished hat height.
- The pattern is written in US crochet terms.
How to make post stitches
Post stitches create the stretchy, textured ribbed brim of this newborn hat.
- FPdc (front post double crochet): Yarn over, insert your hook from front to back and then back to front around the post of the next st. Yarn over and pull up a loop, then yarn over and pull through 2 loops twice.
- BPdc (back post double crochet): Yarn over, insert your hook from back to front and then front to back around the post of the next st. Yarn over and pull up a loop, then yarn over and pull through 2 loops twice.
Ribbed crochet newborn hat pattern instructions
Choose your size below and follow the round-by-round instructions.
Preemie size
Round 1: Make a magic circle. Ch 2, work 11 dc into the ring. Join. (11 sts)
Round 2: Ch 2, work 2 dc in each st around. Join. (22 sts)
Round 3: Ch 2, *2 dc in next st, dc in next st; repeat from * around. Join. (33 sts)
Rounds 4–8: Ch 2, dc in each st around. Join. (33 sts)
Round 9: Ch 2, *FPdc in next st, BPdc in next st; repeat from * around until 1 st remains, FPdc in last st. Join. (33 sts)
Fasten off.
0–3 months size
Round 1: Make a magic circle. Ch 2, work 11 dc into the ring. Join. (11 sts)
Round 2: Ch 2, work 2 dc in each st around. Join. (22 sts)
Round 3: Ch 2, *2 dc in next st, dc in next st; repeat from * around. Join. (33 sts)
Round 4: Ch 2, *2 dc in next st, dc in next 2 sts; repeat from * around. Join. (44 sts)
Rounds 5–10: Ch 2, dc in each st around. Join. (44 sts)
Round 11: Ch 2, *FPdc in next st, BPdc in next st; repeat from * around. Join. (44 sts)
Fasten off.
3–6 months size
Round 1: Make a magic circle. Ch 2, work 11 dc into the ring. Join. (11 sts)
Round 2: Ch 2, work 2 dc in each st around. Join. (22 sts)
Round 3: Ch 2, *2 dc in next st, dc in next st; repeat from * around. Join. (33 sts)
Round 4: Ch 2, *2 dc in next st, dc in next 2 sts; repeat from * around. Join. (44 sts)
Round 5: Ch 2, *2 dc in next st, dc in next 10 sts; repeat from * around. Join. (48 sts)
Rounds 6–12: Ch 2, dc in each st around. Join. (48 sts)
Round 13: Ch 2, *FPdc in next st, BPdc in next st; repeat from * around. Join. (48 sts)
Fasten off.
6–12 months size
Round 1: Make a magic circle. Ch 2, work 11 dc into the ring. Join. (11 sts)
Round 2: Ch 2, work 2 dc in each st around. Join. (22 sts)
Round 3: Ch 2, *2 dc in next st, dc in next st; repeat from * around. Join. (33 sts)
Round 4: Ch 2, *2 dc in next st, dc in next 2 sts; repeat from * around. Join. (44 sts)
Round 5: Ch 2, *2 dc in next st, dc in next 10 sts; repeat from * around. Join. (48 sts)
Round 6: Ch 2, *2 dc in next st, dc in next 11 sts; repeat from * around. Join. (52 sts)
Rounds 7–13: Ch 2, dc in each st around. Join. (52 sts)
Round 14: Ch 2, *FPdc in next st, BPdc in next st; repeat from * around. Join. (52 sts)
Fasten off.
Finishing
Use a yarn needle to weave in all remaining yarn ends. Trim any excess yarn and gently shape the hat by hand.
Printable PDF version
You can purchase the ad-free PDF version of this ribbed crochet newborn hat pattern in my Etsy shop. The downloadable pattern is easy to save, print, and keep with your crochet projects.
More free crochet baby hat patterns
Prefer a classic baby beanie without the post-stitch brim? Try my newborn crochet hat pattern, available in four baby sizes from preemie through 6–12 months.
Need sizes for the whole family? My basic crochet beanie pattern includes seven sizes from preemie through adult.
For more baby designs, browse my crochet baby hat patterns or explore my complete collection of crochet hat patterns.
Let’s connect!
I’d love to see what you’re making! Share your finished project and follow along for more free crochet patterns and tutorials.
📌 Don’t forget to pin this pattern for later!
Happy crocheting! 🧶
— Melissa