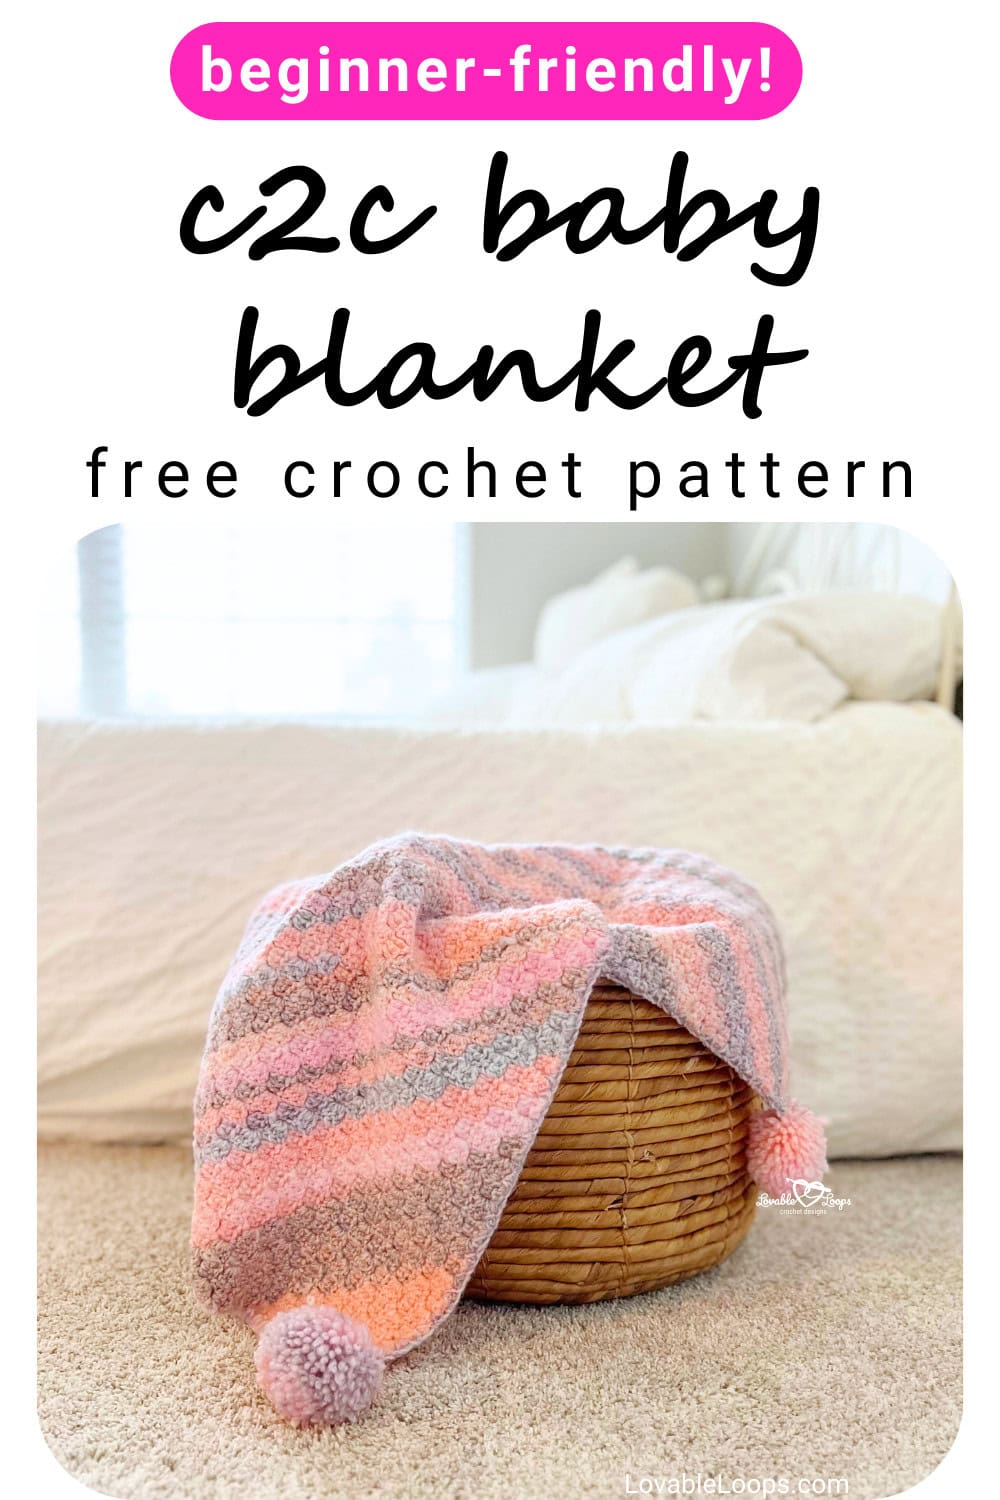
C2C baby blanket crochet pattern
Looking for an easy, cozy baby blanket that works up fast and is perfect for beginners? This C2C baby blanket crochet pattern is a simple one-color project made with bulky yarn and the classic corner-to-corner method. It includes a step-by-step video tutorial, making it a great first baby blanket and an easy introduction to C2C crochet.
Quick answer
This C2C baby blanket crochet pattern is a beginner-friendly project worked continuously using bulky weight (#5) yarn and a J-10 (6 mm) crochet hook. It includes a video tutorial and finishes at about 30 x 34 inches (76 x 86 cm), making it a great first C2C blanket with no color changes to manage.
Best for: Beginners
Style: One-color C2C baby blanket
Includes: Video tutorial, written instructions, blanket details, and FAQs
What is corner-to-corner crochet (C2C)?
Corner-to-corner crochet, also called C2C, is a method where you crochet diagonally instead of in rows. The project is built using small blocks made with chains and double crochet stitches, starting in one corner and growing row by row until you reach the widest point, then decreasing to finish the opposite corner.
C2C is especially popular for baby blankets because it works up quickly, has an easy-to-remember rhythm, and creates a soft, flexible fabric. This pattern is worked continuously using one yarn color with no color changes, making it a great first C2C project for beginners.
Why you’ll love this pattern
- Beginner-friendly C2C construction — Simple repetition makes the pattern easy to follow.
- Video tutorial included — Follow along step by step as you crochet.
- No color changes — Worked continuously in one yarn color.
- Works up quickly — Bulky yarn helps the blanket grow fast.
- Great first C2C project — A nice introduction to corner-to-corner crochet.
- Soft baby blanket texture — Cozy and comfortable for little ones.
This baby blanket is made with double crochet stitches. If you need help with the stitch, see my how to double crochet tutorial.
Free C2C baby blanket crochet pattern details
Here’s a quick overview of the materials, finished size, gauge, and pattern notes before you begin.
Skill level
Beginner — A great choice if you’re new to C2C crochet or making your first baby blanket. A step-by-step video tutorial is included to help you start, increase, decrease, add the border, and finish with pom poms.
Materials needed
- Crochet hook size: J-10 6 mm
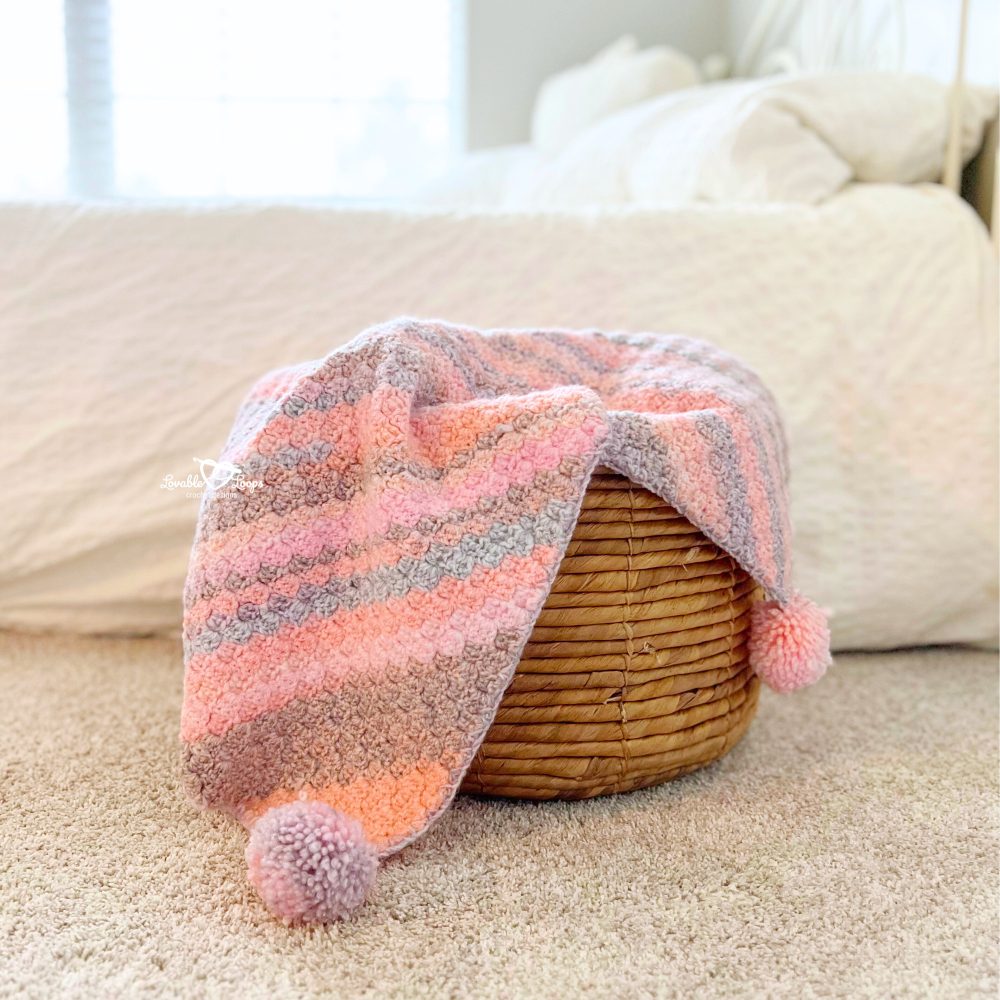
- Yarn: Bulky weight yarn #5. I used 3 skeins of Premier Puzzle yarn in the color Cat’s Cradle
- Yarn needle: Use this to weave in your ends.
- Scissors: Use scissors to fasten off your yarn.
- Stitch marker(s): Optional, but helpful for keeping track of your stitches.
- Large pom pom maker: For making the pom poms for your baby blanket.
Finished size
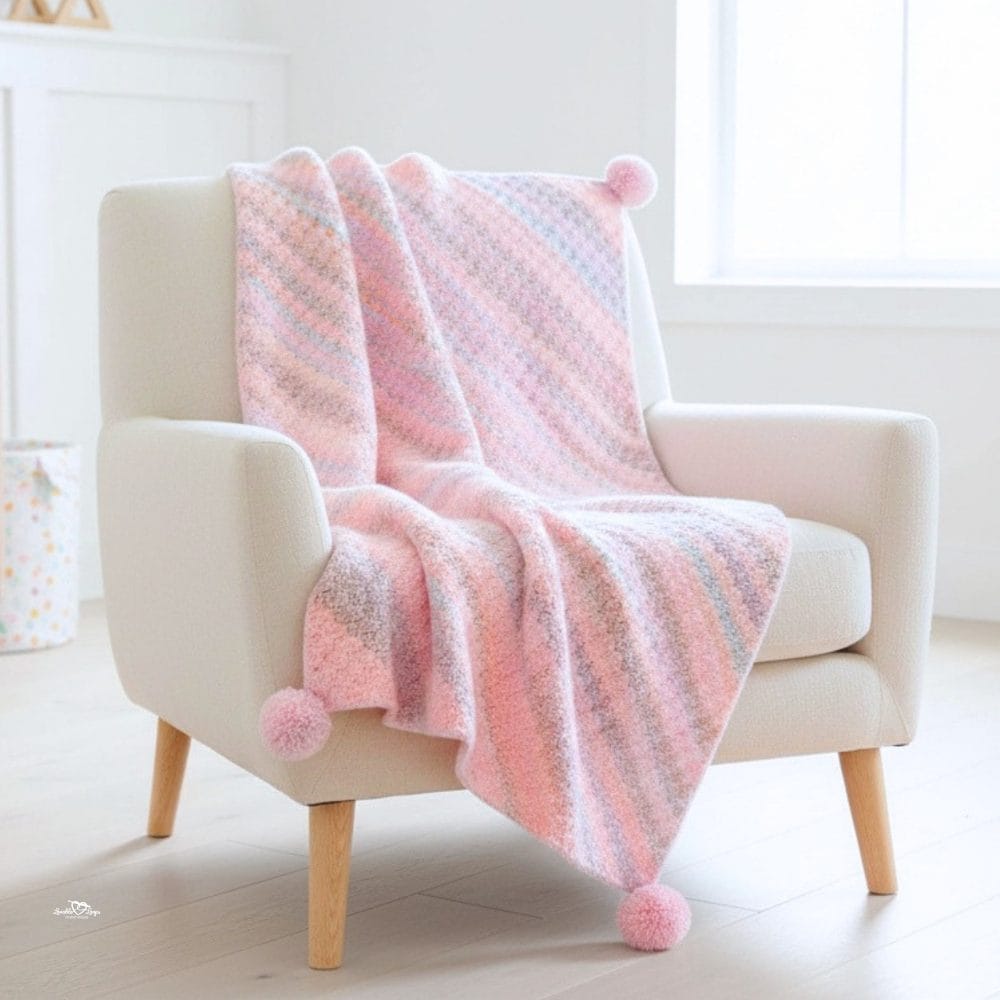
The finished baby blanket measures 30 inches × 34 inches
(76 cm × 86 cm).
This size works well for stroller blankets, tummy time, and everyday baby use.
Gauge
13 C2C blocks (ch 3 + 3 dc) = 8 inches (20 cm)
One C2C block = ch 3 + 3 double crochet
Gauge isn’t critical for this project, but it will affect the finished size of your baby blanket. If your blanket is coming out larger or smaller than expected, adjust your hook size as needed.
Crochet abbreviations
- dc = double crochet stitch
- sc = single crochet stitch
- hdc = half double crochet stitch
- ch/chs = chain/chains
- st/sts = stitch/stitches
- sl st = slip stitch
Pattern notes
- This blanket is made using the corner-to-corner (C2C) crochet technique.
- Each C2C block is made with ch 3 + 3 dc.
- Ch 6 to start a new row, and ch 3 to start each new block.
- Rows worked in the ↙ direction are right-side rows.
- Rows worked in the ↗ direction are wrong-side rows.
- This pattern is written in US crochet terms.
C2C baby blanket crochet pattern written instructions
Increase until you reach Row 56, then begin decreasing to shape the blanket.
↙ Row 1: 1 C2C block
↗ Row 2: 2 C2C blocks
↙ Row 3: 3 C2C blocks
↗ Row 4: 4 C2C blocks
↙ Row 5: 5 C2C blocks
↗ Row 6: 6 C2C blocks
↙ Row 7: 7 C2C blocks
↗ Row 8: 8 C2C blocks
↙ Row 9: 9 C2C blocks
↗ Row 10: 10 C2C blocks
↙ Row 11: 11 C2C blocks
↗ Row 12: 12 C2C blocks
↙ Row 13: 13 C2C blocks
↗ Row 14: 14 C2C blocks
↙ Row 15: 15 C2C blocks
↗ Row 16: 16 C2C blocks
↙ Row 17: 17 C2C blocks
↗ Row 18: 18 C2C blocks
↙ Row 19: 19 C2C blocks
↗ Row 20: 20 C2C blocks
↙ Row 21: 21 C2C blocks
↗ Row 22: 22 C2C blocks
↙ Row 23: 23 C2C blocks
↗ Row 24: 24 C2C blocks
↙ Row 25: 25 C2C blocks
↗ Row 26: 26 C2C blocks
↙ Row 27: 27 C2C blocks
↗ Row 28: 28 C2C blocks
↙ Row 29: 29 C2C blocks
↗ Row 30: 30 C2C blocks
↙ Row 31: 31 C2C blocks
↗ Row 32: 32 C2C blocks
↙ Row 33: 33 C2C blocks
↗ Row 34: 34 C2C blocks
↙ Row 35: 35 C2C blocks
↗ Row 36: 36 C2C blocks
↙ Row 37: 37 C2C blocks
↗ Row 38: 38 C2C blocks
↙ Row 39: 39 C2C blocks
↗ Row 40: 40 C2C blocks
↙ Row 41: 41 C2C blocks
↗ Row 42: 42 C2C blocks
↙ Row 43: 43 C2C blocks
↗ Row 44: 44 C2C blocks
↙ Row 45: 45 C2C blocks
↗ Row 46: 46 C2C blocks
↙ Row 47: 47 C2C blocks
↗ Row 48: 48 C2C blocks
Corner: Start decreasing on the length end
↙ Row 49: 49 C2C blocks
↗ Row 50: 50 C2C blocks
↙ Row 51: 51 C2C blocks
↗ Row 52: 52 C2C blocks
↙ Row 53: 53 C2C blocks
↗ Row 54: 54 C2C blocks
↙ Row 55: 55 C2C blocks
↗ Row 56: 56 C2C blocks
Corner: Start decreasing on the width end (after 56)
↙ Row 57: 57 C2C blocks
↗ Row 58: 58 C2C blocks
↙ Row 59: 59 C2C blocks
↗ Row 60: 60 C2C blocks
↙ Row 61: 61 C2C blocks
↗ Row 62: 62 C2C blocks
↙ Row 63: 63 C2C blocks
↗ Row 64: 64 C2C blocks
↙ Row 65: 65 C2C blocks
↗ Row 66: 66 C2C blocks
↙ Row 67: 67 C2C blocks
↗ Row 68: 68 C2C blocks
↙ Row 69: 69 C2C blocks
↗ Row 70: 70 C2C blocks
↙ Row 71: 71 C2C blocks
↗ Row 72: 72 C2C blocks
↙ Row 73: 73 C2C blocks
↗ Row 74: 74 C2C blocks
↙ Row 75: 75 C2C blocks
↗ Row 76: 76 C2C blocks
↙ Row 77: 77 C2C blocks
↗ Row 78: 78 C2C blocks
↙ Row 79: 79 C2C blocks
↗ Row 80: 80 C2C blocks
↙ Row 81: 81 C2C blocks
↗ Row 82: 82 C2C blocks
↙ Row 83: 83 C2C blocks
↗ Row 84: 84 C2C blocks
↙ Row 85: 85 C2C blocks
↗ Row 86: 86 C2C blocks
↙ Row 87: 87 C2C blocks
↗ Row 88: 88 C2C blocks
↙ Row 89: 89 C2C blocks
↗ Row 90: 90 C2C blocks
↙ Row 91: 91 C2C blocks
↗ Row 92: 92 C2C blocks
↙ Row 93: 93 C2C blocks
↗ Row 94: 94 C2C blocks
↙ Row 95: 95 C2C blocks
↗ Row 96: 96 C2C blocks
↙ Row 97: 97 C2C blocks
↗ Row 98: 98 C2C blocks
↙ Row 99: 99 C2C blocks
↗ Row 100: 100 C2C blocks
↙ Row 101: 101 C2C blocks
↗ Row 102: 102 C2C blocks
↙ Row 103: 103 C2C blocks
Adding a border
Join yarn in any corner. Ch 1 and work 2 sc in the side of each block and in each corner work (sc, ch 2, sc).
Adding pom poms
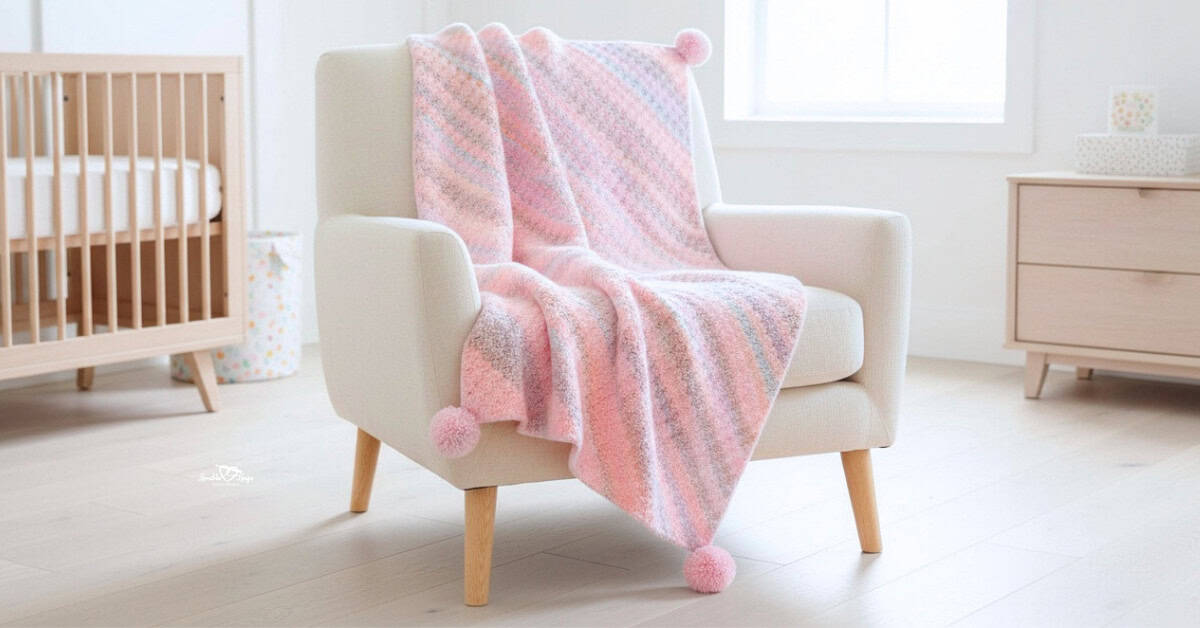
Adding pom poms is an optional finishing touch that gives this C2C baby blanket a soft, playful look. You can add them to one corner or all four corners, depending on your style.
How to make pom poms:
- Wrap the yarn evenly around both arches of a pom-pom maker.
- Cut the yarn along the center groove between the arches.
- Tie a piece of scrap yarn tightly around the middle to secure the pom pom.
- Open the arches and remove the pom pom from the maker.
- Trim the pom pom evenly, cutting away any long or uneven strands.
How to attach the pom poms:
Use a yarn needle to securely attach a pom pom to each corner of the crochet baby blanket. Tie firmly and weave in the ends to keep them in place.
Finishing
Weave in your ends. Block if desired.

Frequently asked questions
Is this C2C baby blanket crochet pattern beginner-friendly?
Yes. This is a beginner-friendly pattern and a great first C2C baby blanket because it uses one yarn color and simple, repeated stitches.
Does this pattern include a video tutorial?
Yes. This C2C baby blanket crochet pattern includes a step-by-step video tutorial to help guide you through the corner-to-corner construction.
What yarn and hook does this pattern use?
This pattern uses bulky weight (#5) yarn and a J-10 (6 mm) crochet hook.
Are there any color changes in this pattern?
No. The blanket is worked continuously with one yarn and no color changes, making it very easy to follow.
Can I make this baby blanket bigger or smaller?
Yes. You can adjust the size by increasing or decreasing the number of C2C rows to customize the finished blanket.
Is this pattern worked in one piece?
Yes. The blanket is worked continuously in one piece using the C2C method, with no seaming required.
Video tutorial: how to crochet this C2C baby blanket
Prefer to learn by watching? I’ve created a full step-by-step video tutorial that walks you through every part of this C2C baby blanket pattern, from the very first block to the final finishing touches.
In the video, I show you how to:
- Start a corner-to-corner (C2C) crochet project
- Increase and decrease correctly to shape the blanket
- Keep your edges neat and even
- Add a clean, simple border
- Make pom poms and attach them securely to the corners
This tutorial is beginner-friendly and perfect if this is your first C2C blanket. You can follow along with the video as you crochet or pause and rewind as needed while working through the pattern.

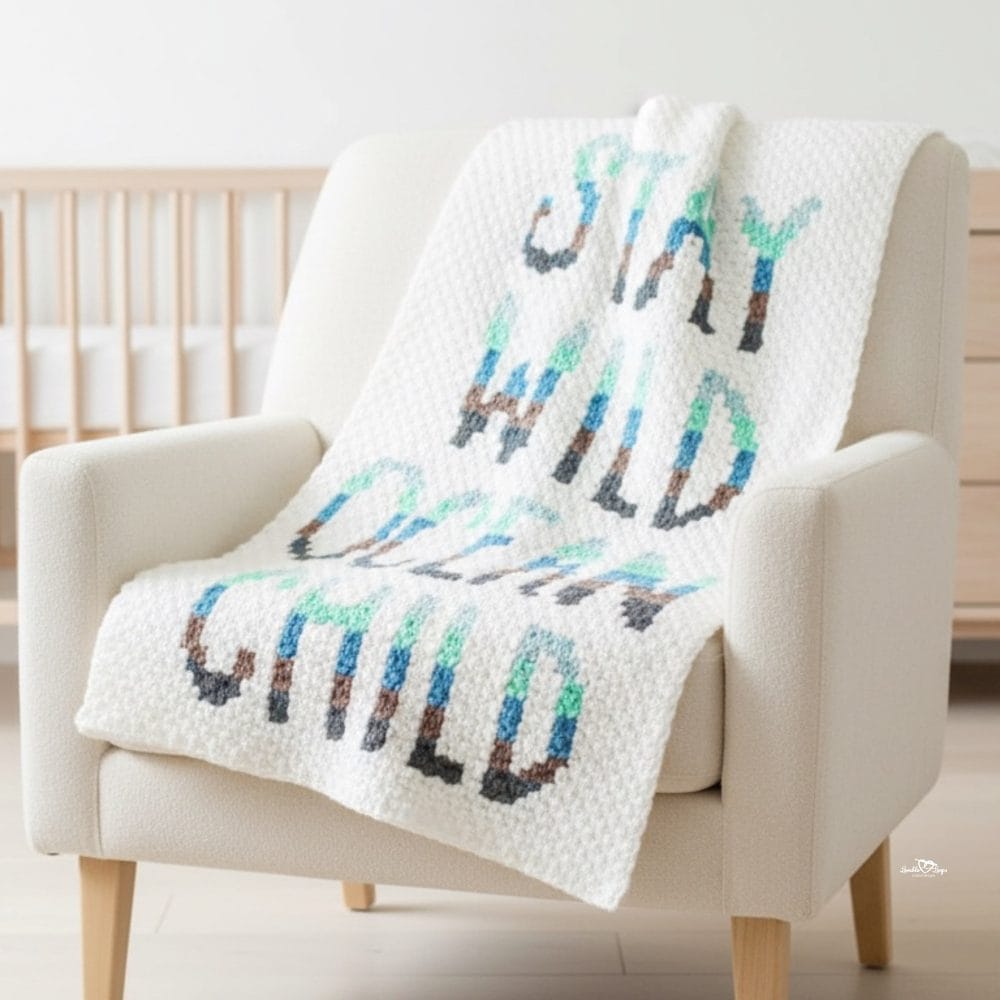
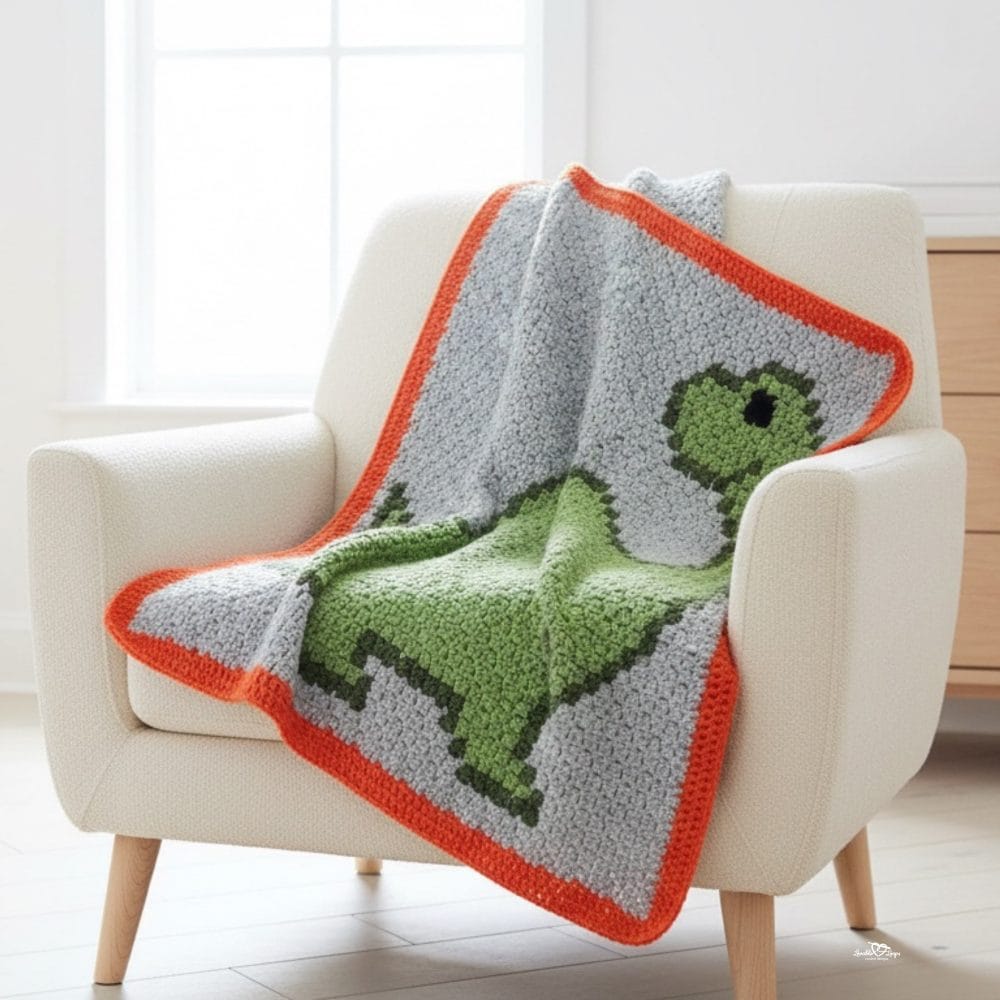
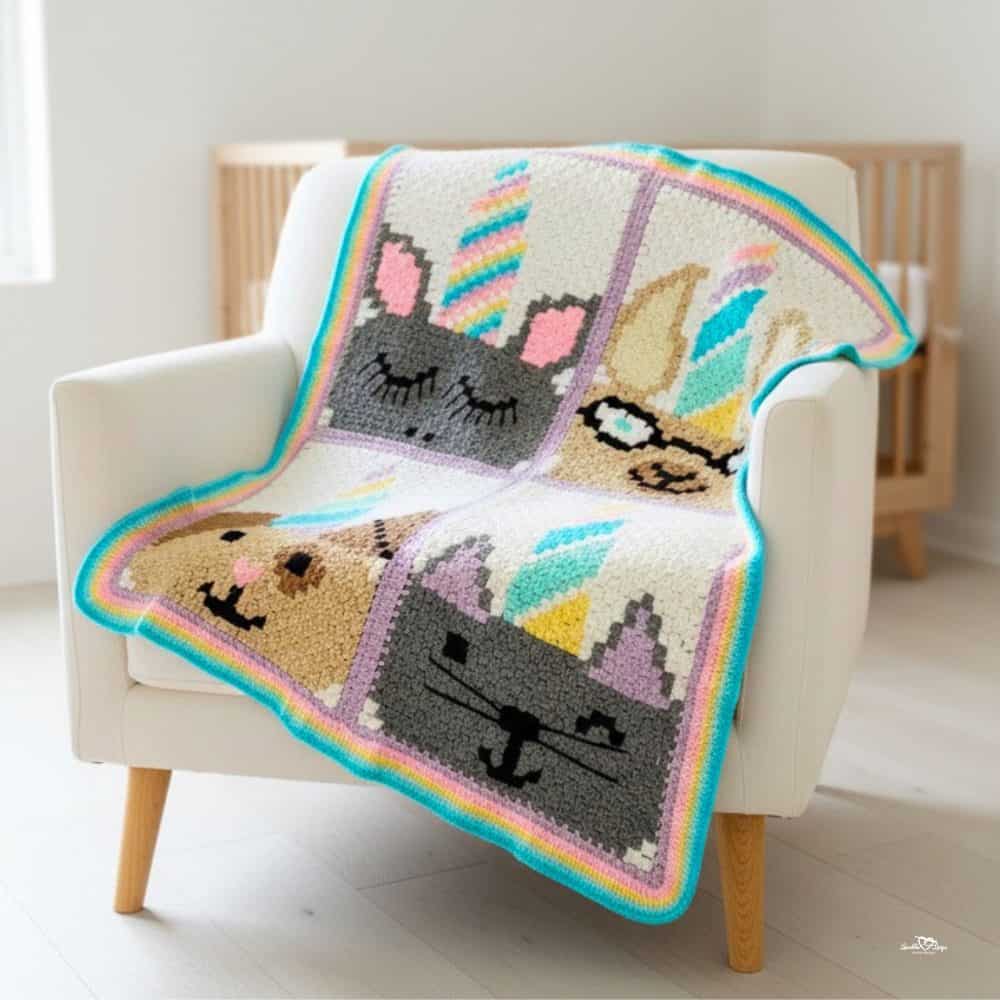
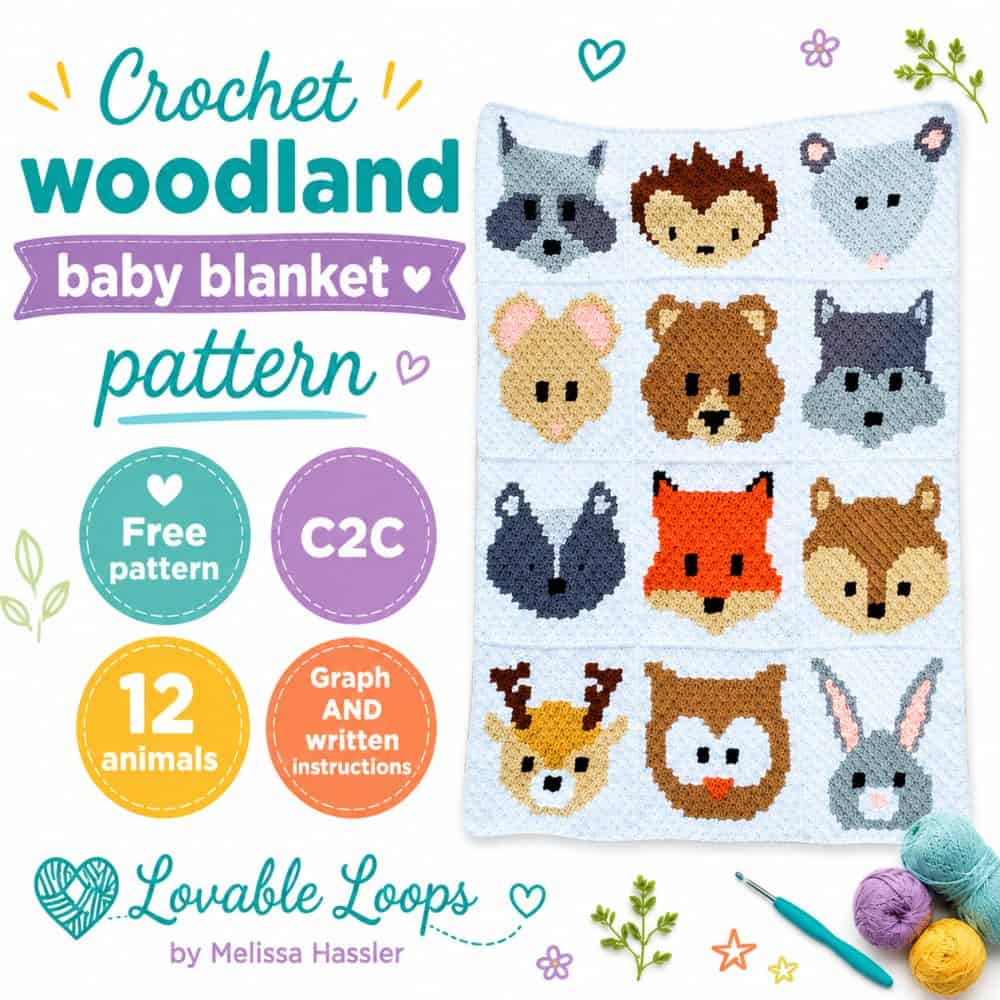
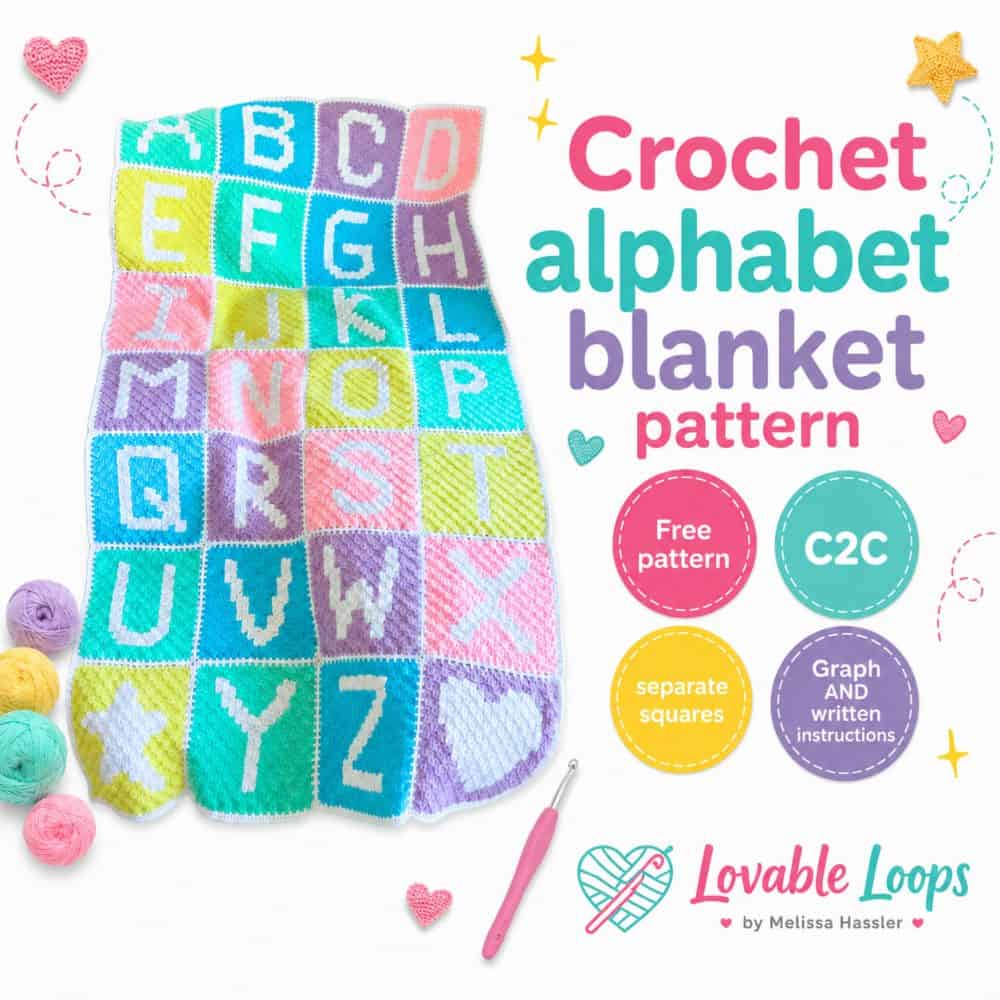
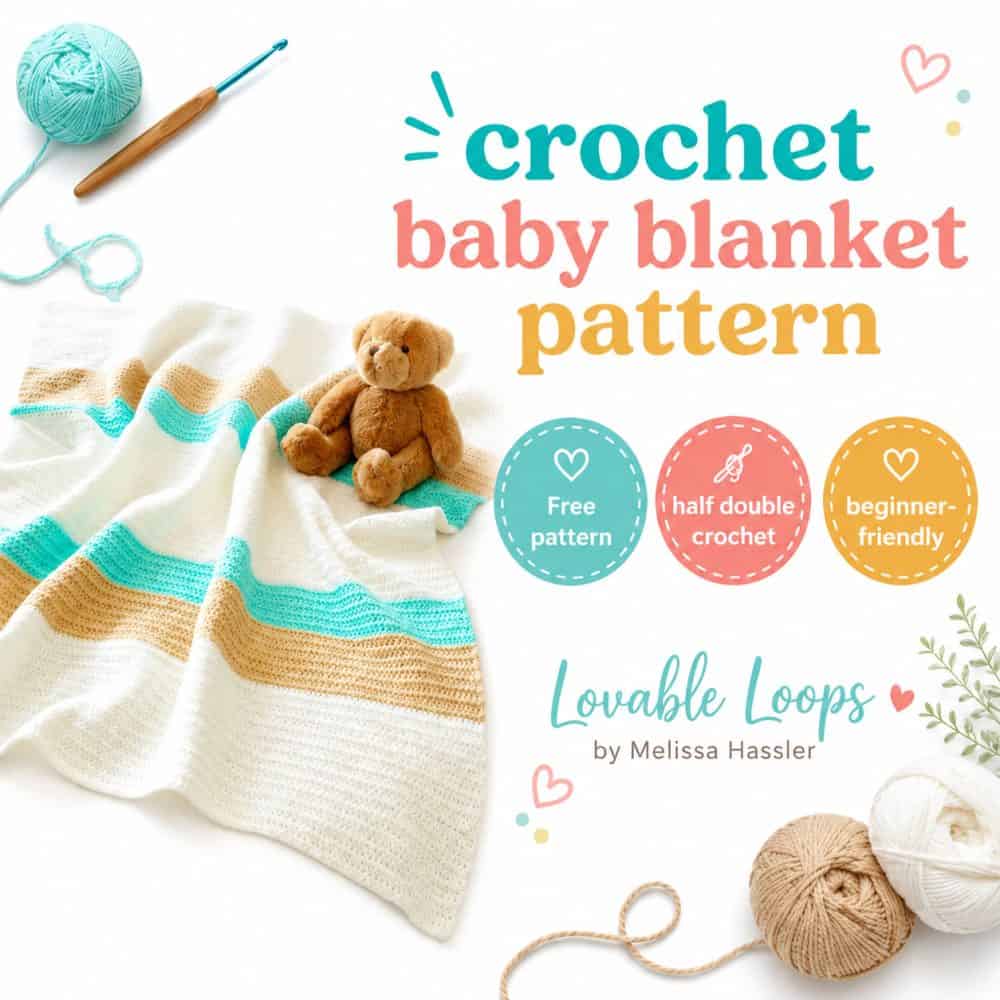
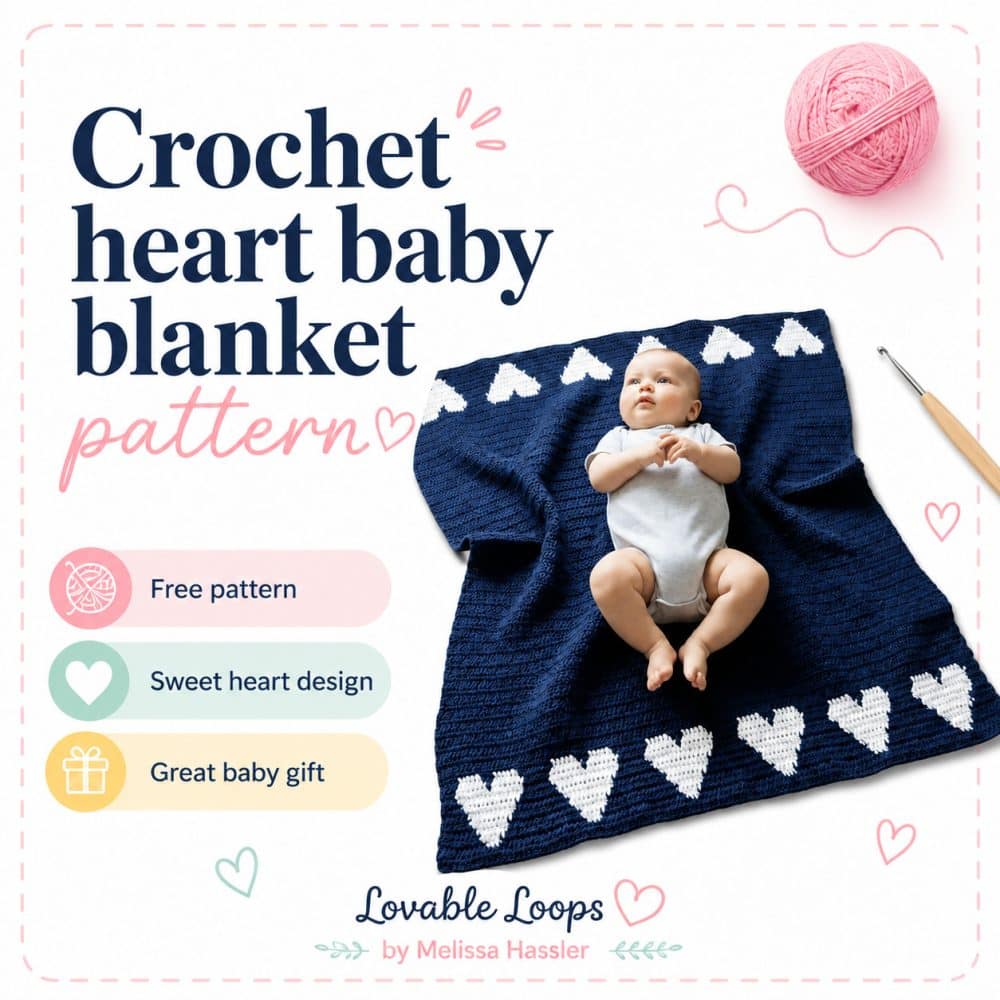
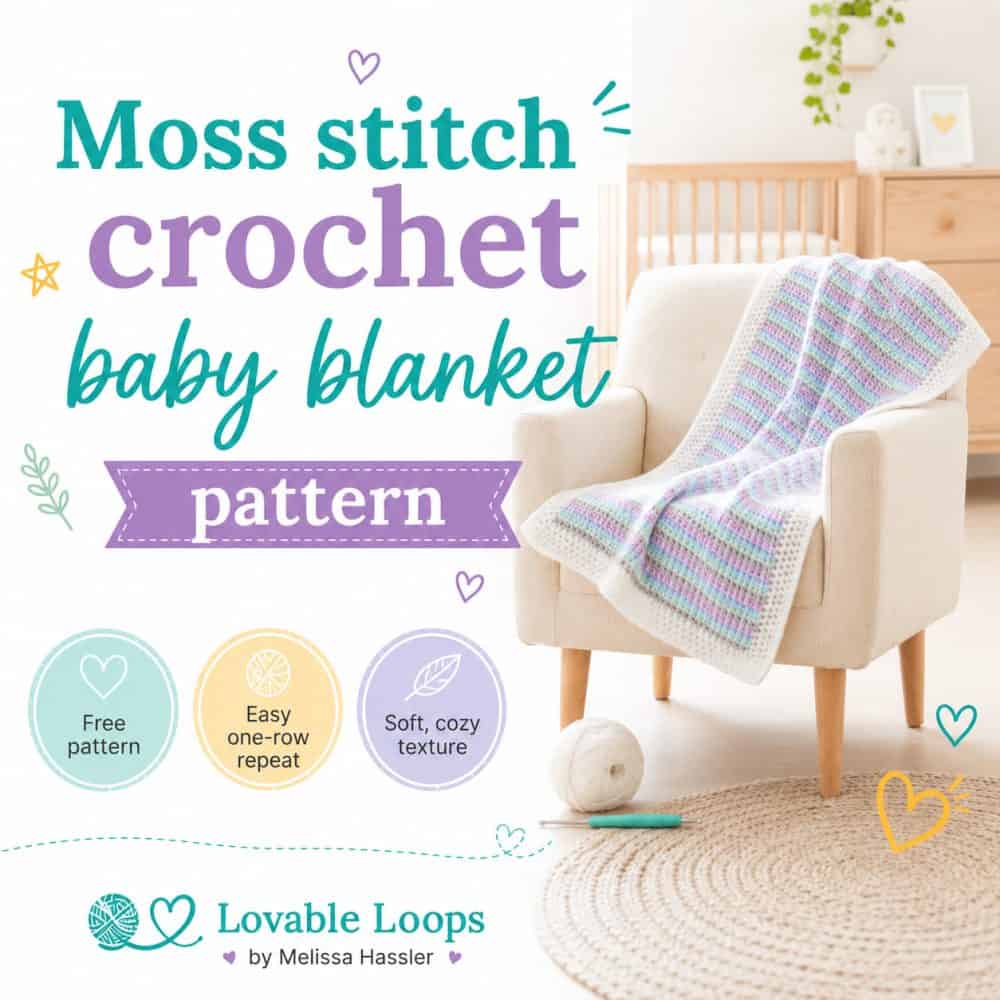
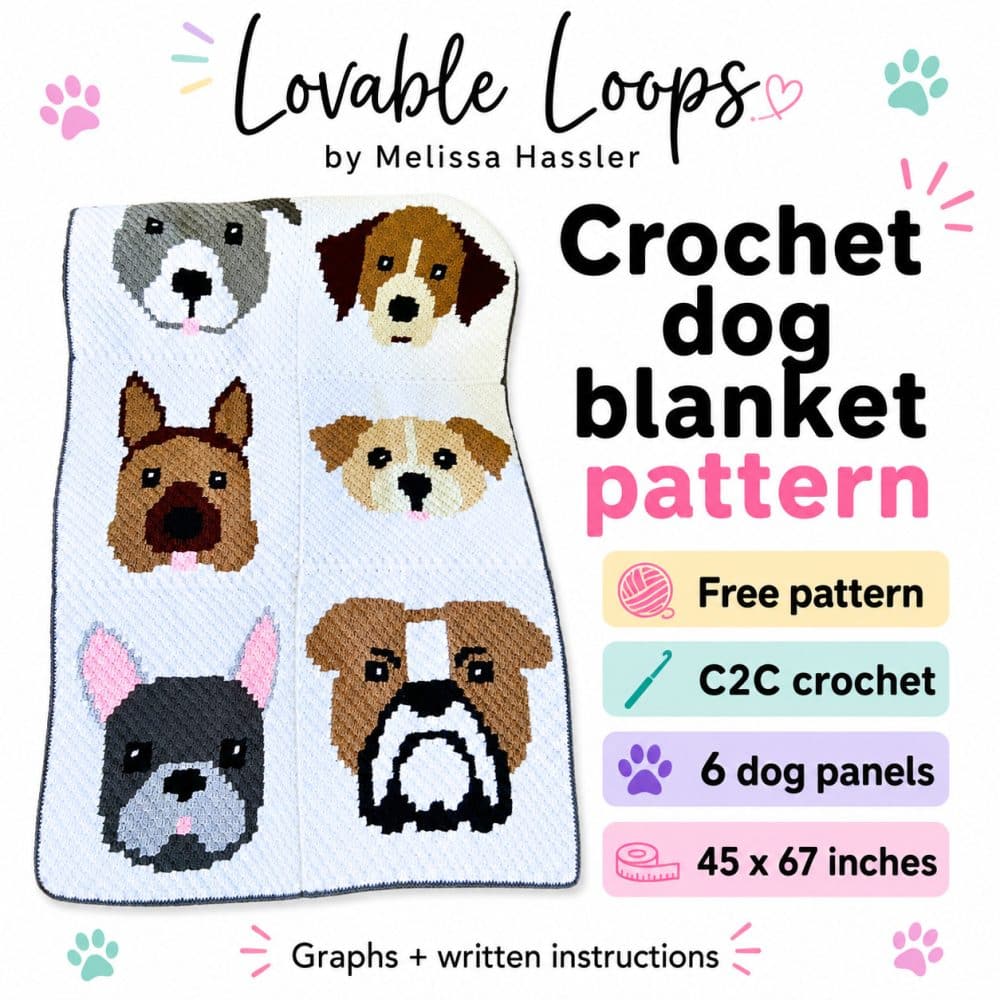
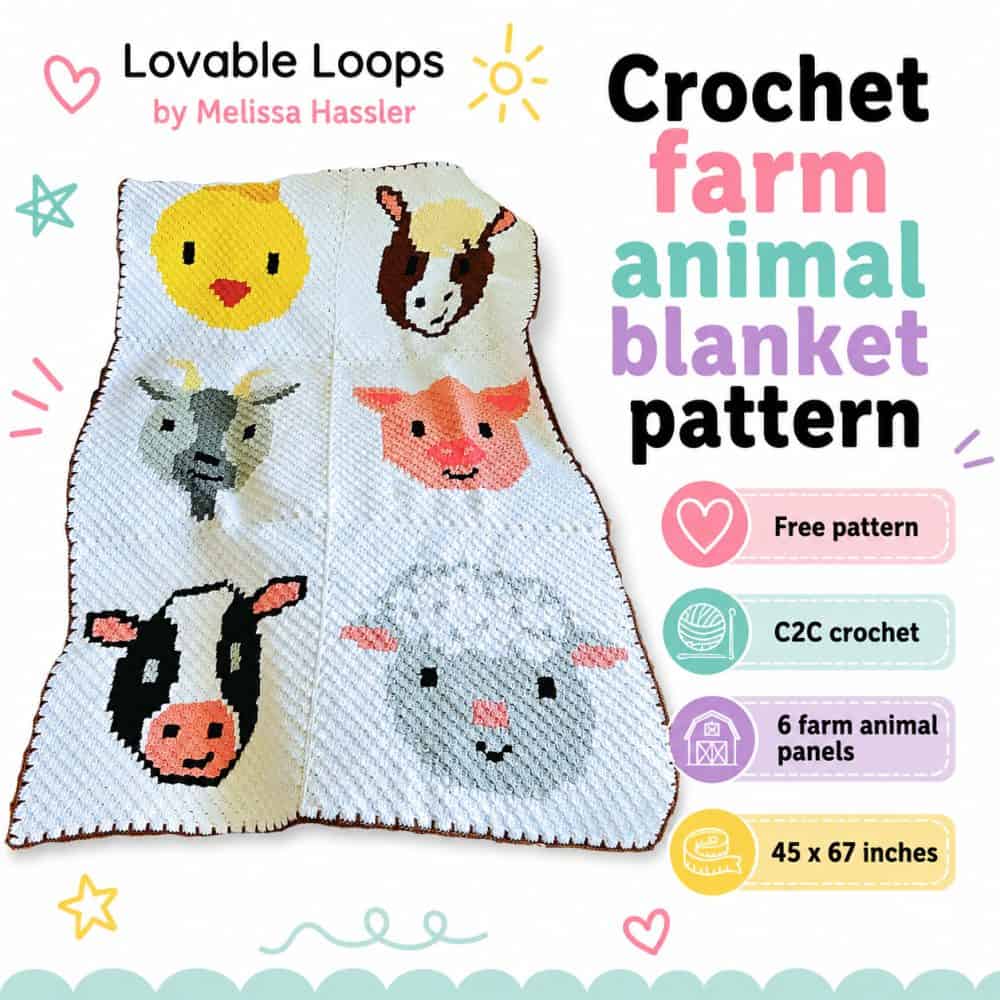
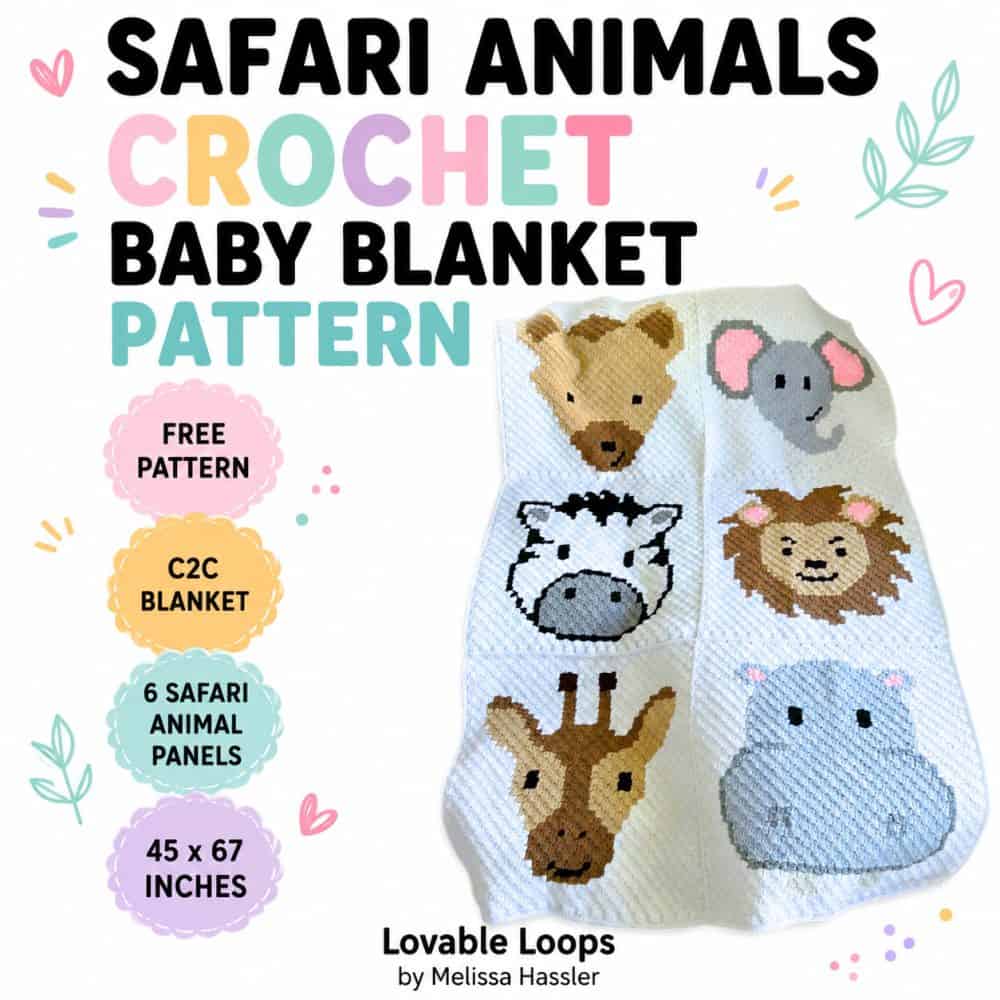
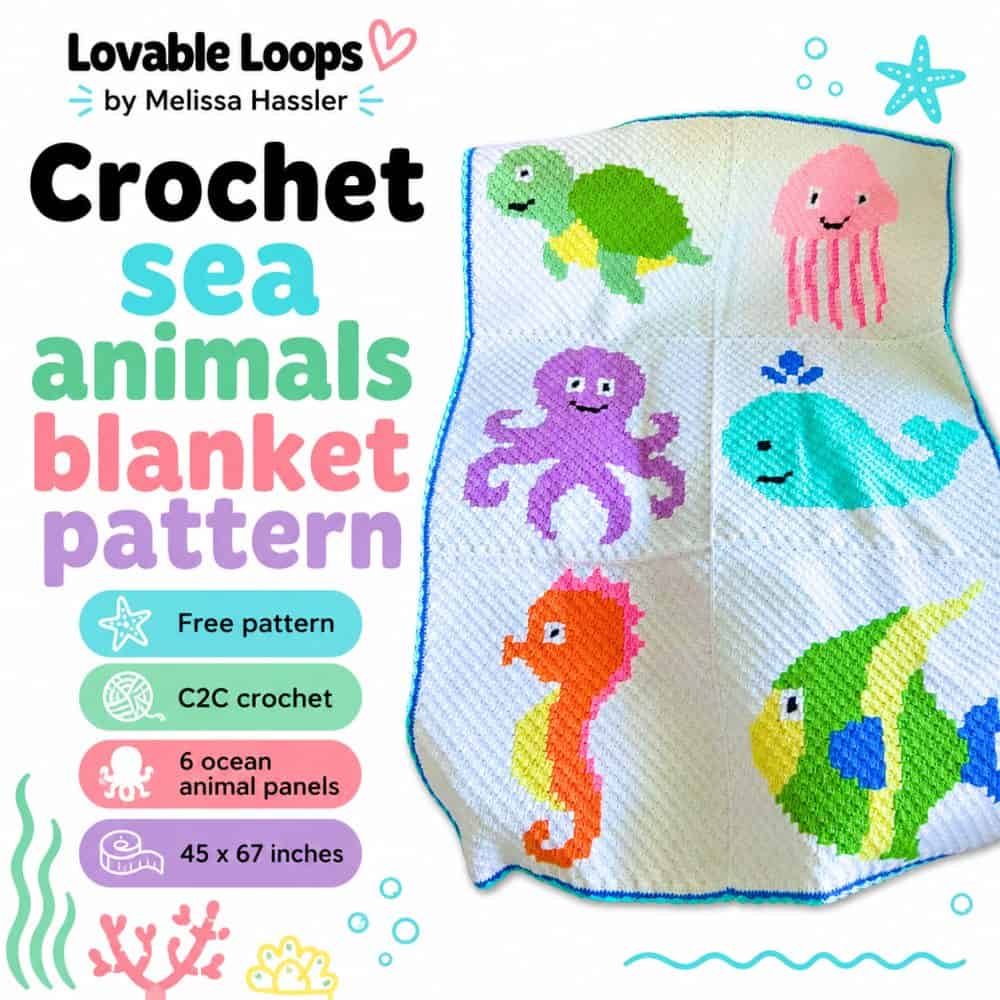
More crochet baby blanket patterns
Looking for more cozy projects for little ones? Browse my favorite crochet baby blanket patterns, including sweet handmade blankets for babies, nurseries, showers, and gifts.
You can also visit my main crochet baby patterns page for more baby and child projects, or explore my full collection of crochet blanket patterns and C2C crochet blanket patterns for even more cozy blanket ideas.
Let’s connect!
I’d love to see what you’re making! Share your finished project and follow along for more free crochet patterns and tutorials.
📌 Don’t forget to pin this pattern for later!
Happy crocheting! 🧶
— Melissa