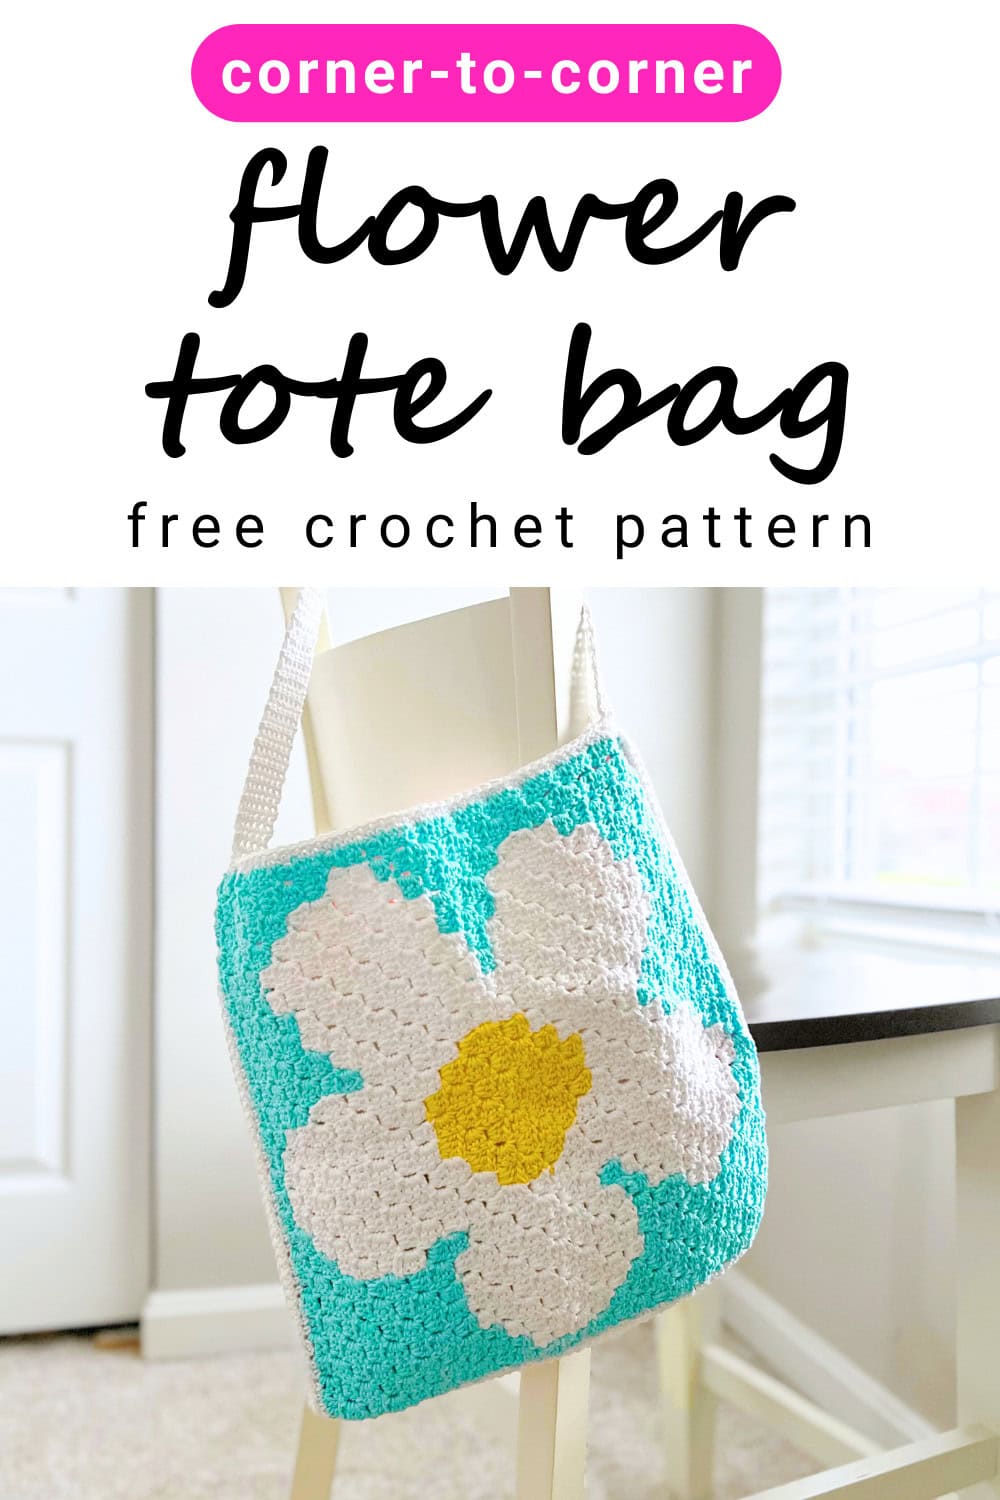
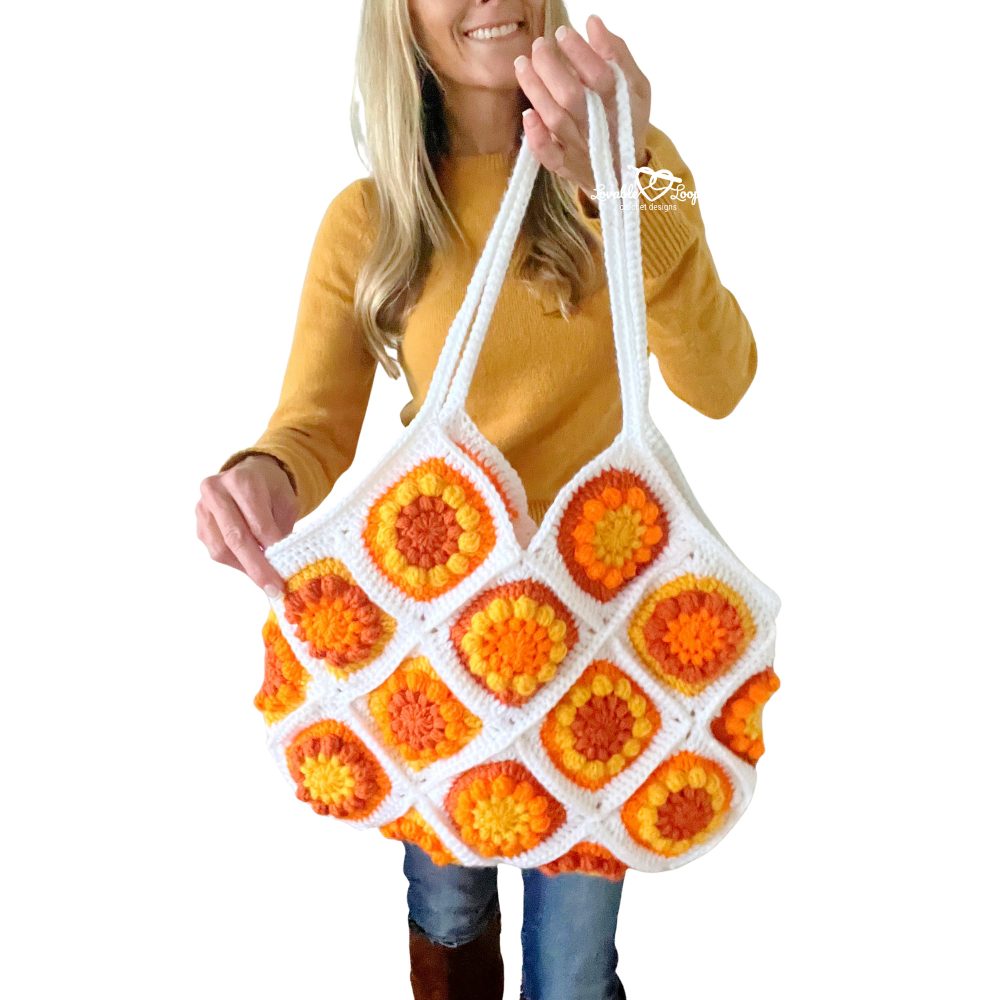
Crochet flower tote bag pattern (C2C, modern & beginner-friendly)
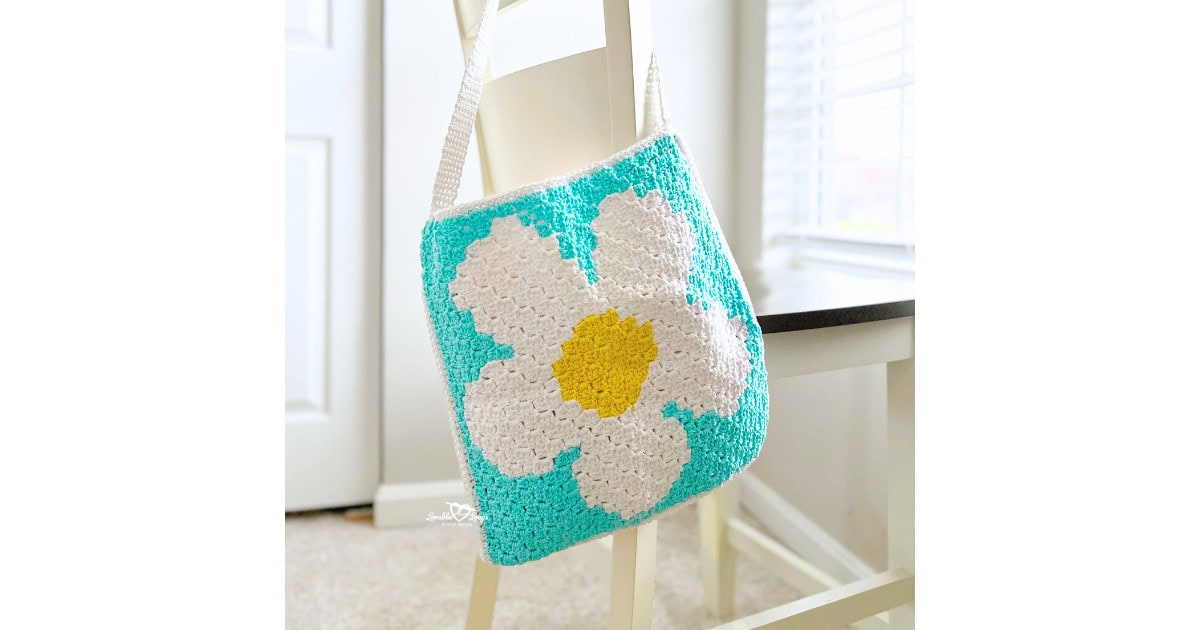
Looking for a fresh, modern crochet bag that’s both fun to make and easy to use? This crochet flower tote bag pattern features a bold daisy design made with corner-to-corner crochet (C2C) panels, creating clean lines and beautiful colorwork.
Designed with a neutral, spring-ready vibe, this tote is sturdy, lightweight, and perfect for everyday use. Whether you’re carrying a book, a small project, or running quick errands, this bag is a practical make that still feels stylish and handmade.
Quick answer:
This crochet flower tote bag pattern is an advanced beginner C2C design made from two C2C panels that are sewn together and finished with a simple strap. The finished bag measures 13 inches wide by 13 inches tall (about 33 × 33 cm) and uses worsted weight yarn with a G-6 (4 mm) crochet hook.
What is corner-to-corner crochet (C2C)?
Corner-to-corner crochet (also called C2C) is a technique where you work diagonally instead of crocheting straight rows. The fabric is built using small blocks made with ch 3 + 3 dc, starting in one corner and increasing diagonally until you reach the widest point, then decreasing to finish the opposite corner.
C2C is especially popular for projects with colorwork because it makes color changes simple and easy to follow. That’s what makes it a great fit for this crochet flower tote bag pattern, where two C2C panels are used to create a bold, clean flower design.
Why you’ll love this pattern
- Clean, modern flower design with a soft spring feel
- Made from simple C2C panels with easy color changes
- Structured but lightweight — great for everyday use
- Clear, step-by-step construction that’s easy to follow
- Perfect size for books, projects, or quick errands
Free crochet flower tote bag pattern details
Ready to start crocheting your tote bag? Below you’ll find everything you need to know before you begin, including the skill level, materials, yarn colors, gauge, and finished measurements.
Skill level
Advanced beginner. You’ll need to be comfortable with basic C2C crochet, color changes, and simple seaming. The construction is straightforward once the panels are complete.
Materials needed
- G-6 (4 mm) crochet hook: Use this size or the hook needed to meet gauge.
- Worsted weight yarn (#4): In white, yellow, and a background color.
- Yarn needle: For weaving in ends.
- Scissors: For cutting yarn.
- Stitch markers (optional): Helpful for counting rows or marking corners.
Yardage
- Total finished bag weight: 284 grams (10 oz)
- Approximate total yardage used: 525–530 yards (480–485 meters)
Yardage may vary slightly depending on your stitch tension, color placement, and strap length. If you tend to crochet tightly or plan to make a longer strap, consider allowing a little extra yarn.
Finished size
The finished tote bag measures 13 inches wide by 13 inches tall (approximately 33 × 33 cm). The strap measures 25 inches long (about 64 cm).
Printable PDF pattern
If you prefer an easy, print-friendly version of this crochet flower tote bag pattern, a printable PDF is available in my Etsy shop. The PDF includes the full pattern instructions in a clean, ad-free format, making it perfect for printing or saving on your device.
Gauge
7 blocks = 4 inches (10 cm)
Each block = ch 3 + 3 dc
Crochet abbreviations
- sc = single crochet
- dc = double crochet
- ch/chs = chain/chains
- st/sts = stitch/stitches
- sl st = slip stitch
Pattern notes
- This pattern is made using the corner-to-corner (C2C) crochet technique.
- You’ll crochet two C2C panels separately, then sew them together to form the bag.
- The strap is crocheted last and sewn onto the top of the finished bag.
- You may follow either the graph or the written instructions for color changes.
- Each C2C block is made with ch 3 + 3 dc.
- Ch 6 to start a new C2C row and ch 3 to start each new block.
- Diagonal rows worked ↙ are right-side rows.
- Diagonal rows worked ↗ are wrong-side rows.
- The pattern is written in US crochet terms.
New to C2C? Start with my video tutorial
If you’re new to corner-to-corner crochet, I recommend starting with my beginner-friendly C2C video tutorial. It walks you through the basic C2C block, plus increases and decreases, using a small practice panel before jumping into larger projects.

Quick links
Graph
Written instructions
Add a border
Sew the bag together
Crochet the strap
Finishing
FAQs
Crochet flower tote bag pattern instructions
Make two C2C panels using the corner-to-corner method. You can crochet two flower panels and sew them together, or make one flower panel and one solid-color panel for the back of the bag. Follow either the picture graph or the written instructions below for the flower design.
Graph
Download the crochet flower tote bag graph.
Written instructions
↙ Row 1: blue x 1 (1 block)
↗ Row 2: blue x 2 (2 blocks)
↙ Row 3: blue x 3 (3 blocks)
↗ Row 4: blue x 4 (4 blocks)
↙ Row 5: blue x 5 (5 blocks)
↗ Row 6: blue x 6 (6 blocks)
↙ Row 7: blue x 7 (7 blocks)
↗ Row 8: blue x 8 (8 blocks)
↙ Row 9: blue x 4, white x 3, blue x 2 (9 blocks)
↗ Row 10: blue x 1, white x 5, blue x 4 (10 blocks)
↙ Row 11: blue x 5, white x 5, blue x 1 (11 blocks)
↗ Row 12: blue x 2, white x 5, blue x 5 (12 blocks)
↙ Row 13: blue x 5, white x 6, blue x 2 (13 blocks)
↗ Row 14: blue x 3, white x 5, blue x 3, white x 2, blue x 1 (14 blocks)
↙ Row 15: blue x 1, white x 4, blue x 1, white x 6, blue x 3 (15 blocks)
↗ Row 16: blue x 4, white x 5, blue x 1, white x 5, blue x 1 (16 blocks)
↙ Row 17: blue x 1, white x 11, blue x 5 (17 blocks)
↗ Row 18: blue x 5, white x 11, blue x 2 (18 blocks)
↙ Row 19: blue x 2, white x 11, blue x 2, white x 2, blue x 2 (19 blocks)
↗ Row 20: blue x 2, white x 4, blue x 1, white x 10, blue x 3 (20 blocks)
↙ Row 21: blue x 3, white x 6, yellow x 3, white x 7, blue x 2 (21 blocks)
↗ Row 22: blue x 3, white x 6, yellow x 4, white x 5, blue x 4 (22 blocks)
↙ Row 23: blue x 5, white x 4, yellow x 5, white x 6, blue x 3 (23 blocks)
↗ Row 24: blue x 3, white x 7, yellow x 4, white x 4, blue x 6 (24 blocks)
↙ Row 25: blue x 8, white x 2, yellow x 5, white x 6, blue x 4 (25 blocks)
Corner: Start decreasing on both ends
↗ Row 26: blue x 4, white x 6, yellow x 4, white x 2, blue x 8 (24 blocks)
↙ Row 27: blue x 6, white x 3, yellow x 5, white x 6, blue x 3 (23 blocks)
↗ Row 28: blue x 3, white x 6, yellow x 4, white x 4, blue x 5 (22 blocks)
↙ Row 29: blue x 4, white x 5, yellow x 3, white x 6, blue x 3 (21 blocks)
↗ Row 30: blue x 6, white x 11, blue x 3 (20 blocks)
↙ Row 31: blue x 3, white x 11, blue x 5 (19 blocks)
↗ Row 32: blue x 5, white x 11, blue x 2 (18 blocks)
↙ Row 33: blue x 2, white x 5, blue x 1, white x 5, blue x 4 (17 blocks)
↗ Row 34: blue x 3, white x 12, blue x 1 (16 blocks)
↙ Row 35: blue x 1, white x 5, blue x 1, white x 5, blue x 3 (15 blocks)
↗ Row 36: blue x 2, white x 6, blue x 1, white x 4, blue x 1 (14 blocks)
↙ Row 37: blue x 1, white x 3, blue x 2, white x 5, blue x 2 (13 blocks)
↗ Row 38: blue x 1, white x 5, blue x 6 (12 blocks)
↙ Row 39: blue x 5, white x 5, blue x 1 (11 blocks)
↗ Row 40: blue x 2, white x 3, blue x 5 (10 blocks)
↙ Row 41: blue x 9 (9 blocks)
↗ Row 42: blue x 8 (8 blocks)
↙ Row 43: blue x 7 (7 blocks)
↗ Row 44: blue x 6 (6 blocks)
↙ Row 45: blue x 5 (5 blocks)
↗ Row 46: blue x 4 (4 blocks)
↙ Row 47: blue x 3 (3 blocks)
↗ Row 48: blue x 2 (2 blocks)
↙ Row 49: blue x 1 (1 block)
Add a border to your C2C flower panels
Using white yarn, crochet a simple border around each square:
- Work 2 single crochet stitches (sc) in the side of each C2C block
- In each corner square, make: (2 sc, ch 2, 2 sc)
This border makes it easier to sew the squares together and gives the bag a clean, finished look.
Sew the C2C flower tote bag together
Place the two panels wrong sides together so the right sides face out. Using a yarn needle and matching yarn, sew the sides and bottom of the bag together, leaving the top edge open. Take care to align stitches for a clean, even seam.
Crochet and attach the strap for the C2C flower tote bag
The strap is crocheted in rows and then sewn to each side of the bag.
- Find the 6 center stitches along the top edge of one side of the bag.
- Attach your yarn.
Row 1: Ch 1, sc in the next 6 stitches, turn.
Rows 2–125: Ch 1, sc in each stitch across, turn. (6 stitches)
Fasten off and sew the strap to the 6 center stitches on the opposite side of the bag using a yarn needle.
You can easily adjust the strap length by crocheting more or fewer rows.
Finishing
Fasten off and weave in all remaining ends using a yarn needle. Gently straighten the bag by hand so the panels lay flat and the seams sit evenly.
If needed, lightly steam block or shape the bag to smooth the edges. Your crochet flower tote bag is now ready to use, gift, or enjoy as an everyday handmade accessory.

Frequently asked questions
Is this crochet flower tote bag pattern beginner-friendly?
This pattern is best for advanced beginners. If you already know the basics of C2C crochet and simple seaming, you’ll be able to follow along comfortably.
What type of yarn works best for this bag?
Worsted weight (#4) yarn works best. Choose a smooth cotton or cotton-blend yarn for structure, or a soft acrylic for a lighter everyday tote.
Does the bag stretch with use?
Using a tighter stitch tension and a sturdy yarn helps the bag keep its shape. Cotton yarns tend to hold structure better for bags.
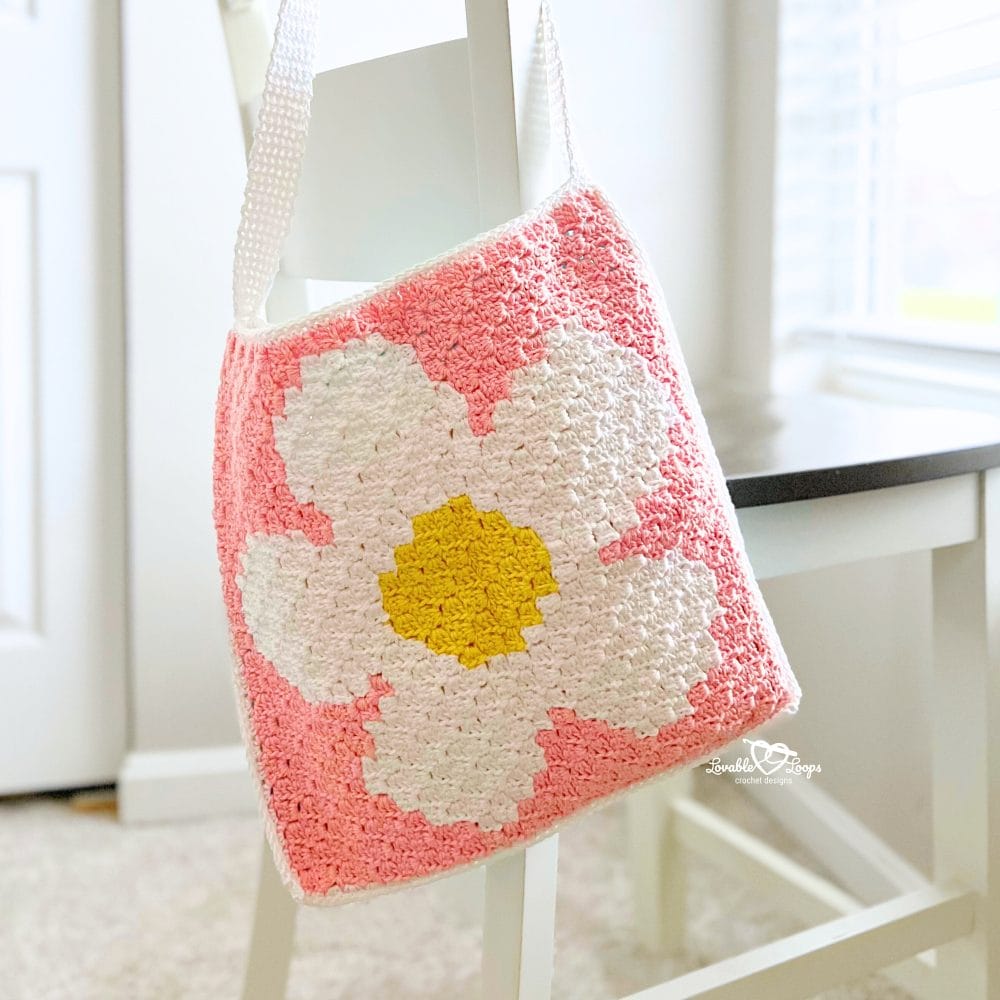
Can I change the colors of the flower or background?
Yes! This pattern is easy to customize. Swap colors to match your décor, seasonal style, or personal preference.
Can I make the bag bigger or smaller?
You can adjust the size by using a different yarn weight or hook size, but keep in mind this will affect the finished measurements and drape.
Can I sell finished bags made from this pattern?
Yes, you may sell finished items made from this pattern. Please do not share, copy, or redistribute the pattern itself.
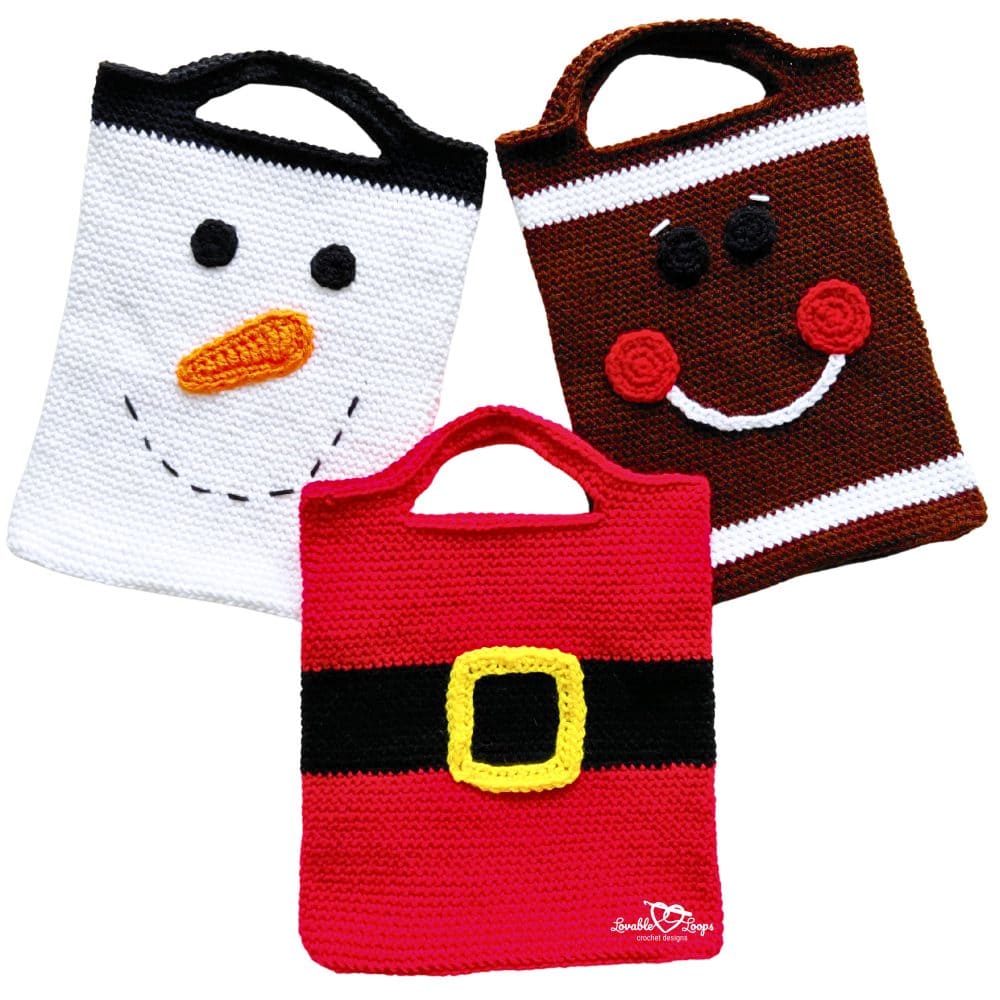
More crochet bag patterns
Looking for more handmade bag ideas? Browse my collection of free crochet bag patterns, including totes, purses, and everyday carry bags made with simple stitches and modern designs. These projects are perfect for gifts, craft fairs, or adding a handmade touch to your daily routine.


Let’s connect!
I’d love to see what you’re making! Share your finished project and follow along for more free crochet patterns and tutorials.
📌 Don’t forget to pin this pattern for later!
Happy crocheting! 🧶
— Melissa